In this tutorial I will show you how to export videos in Adobe Premiere Pro CC in MOV format to consider the alpha channel. This is especially important when you need transparent areas in your video - for example with graphics that should overlay other content. With this guide, you will learn how to achieve the desired result and professionally edit your projects.
Main Takeaways
- Exporting in MOV format enables consideration of the alpha channel.
- The alpha channel ensures that transparent areas are displayed correctly.
- With the right export settings, you can seamlessly integrate graphics and animations into your projects.
Step-by-Step Guide
First, I recommend opening your clip or graphics in Adobe Premiere Pro CC. Make sure you're at the beginning of your sequence.
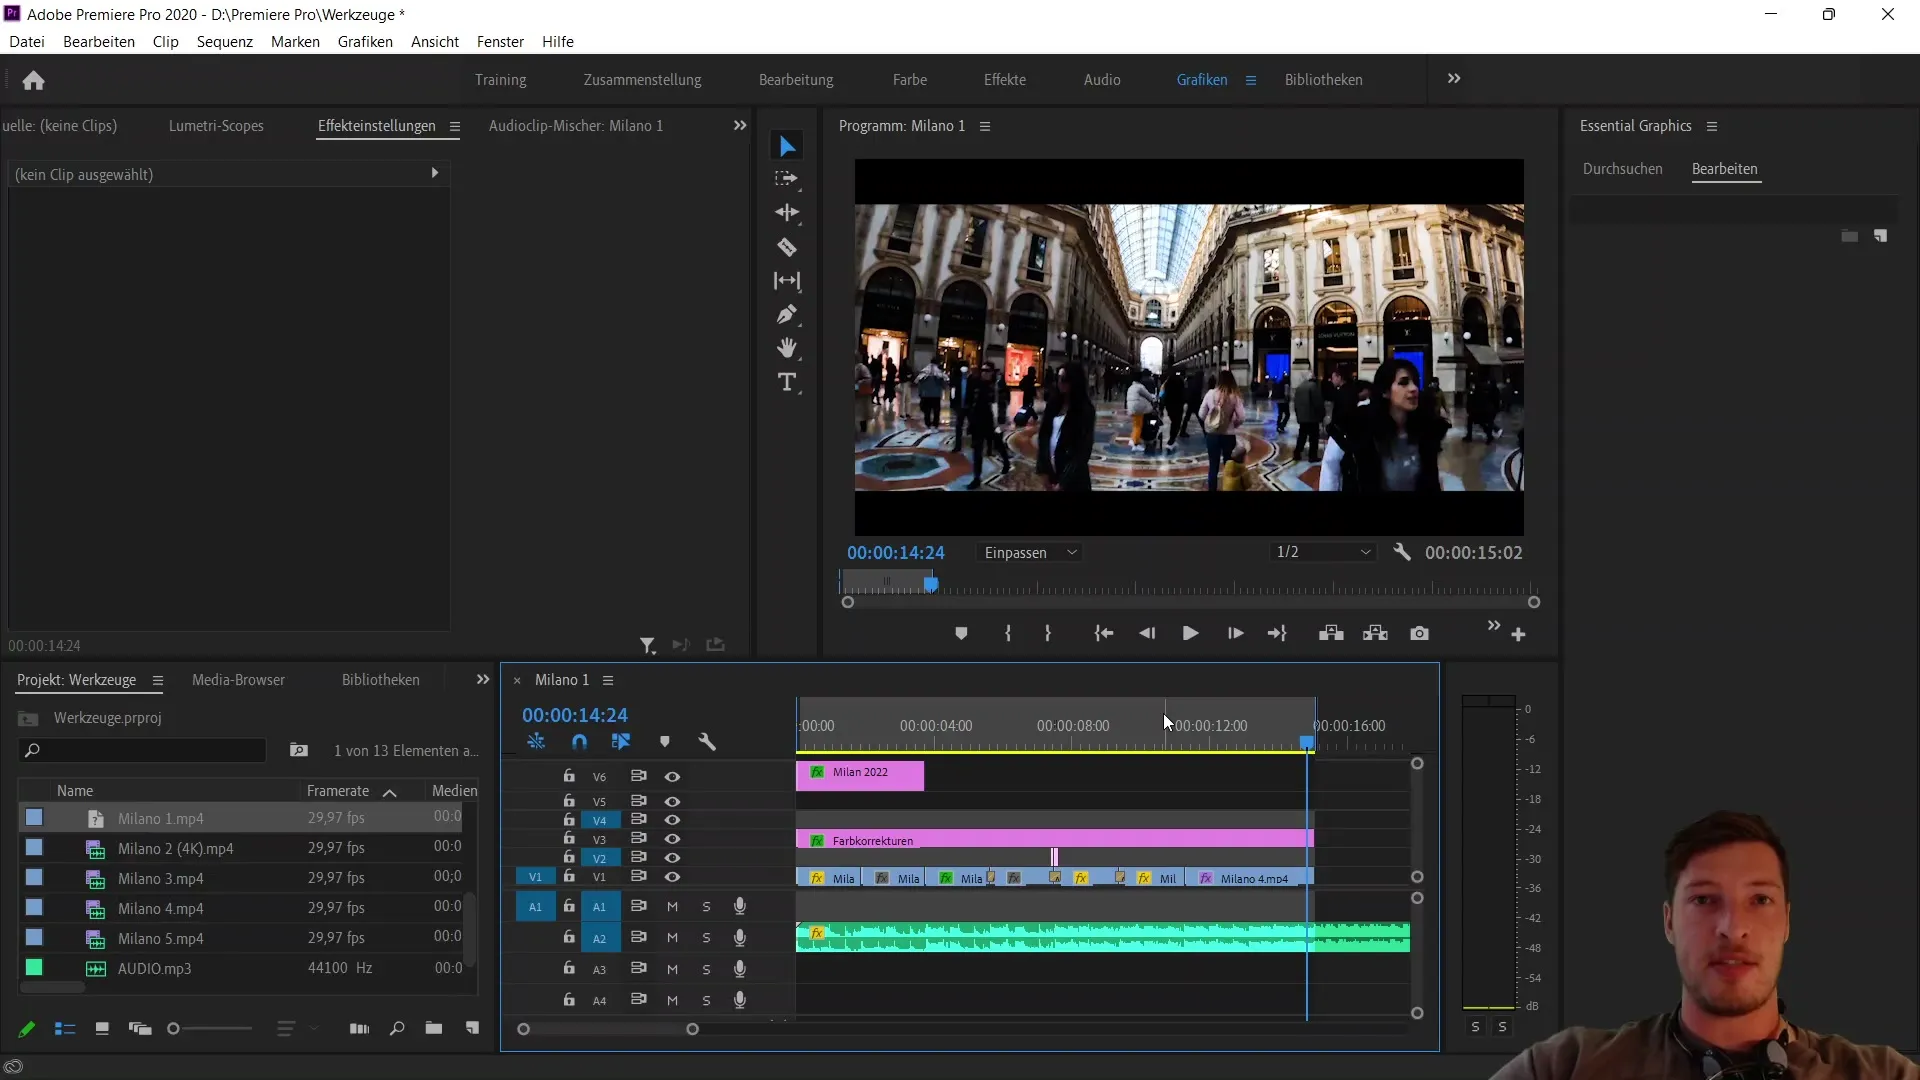
Initially, we should select an area that you want to export. For example, if you only want to render an Essential Graphic, focus on setting the Outpoint correctly. This means you should mark the desired part of your clip without losing other elements in the background.
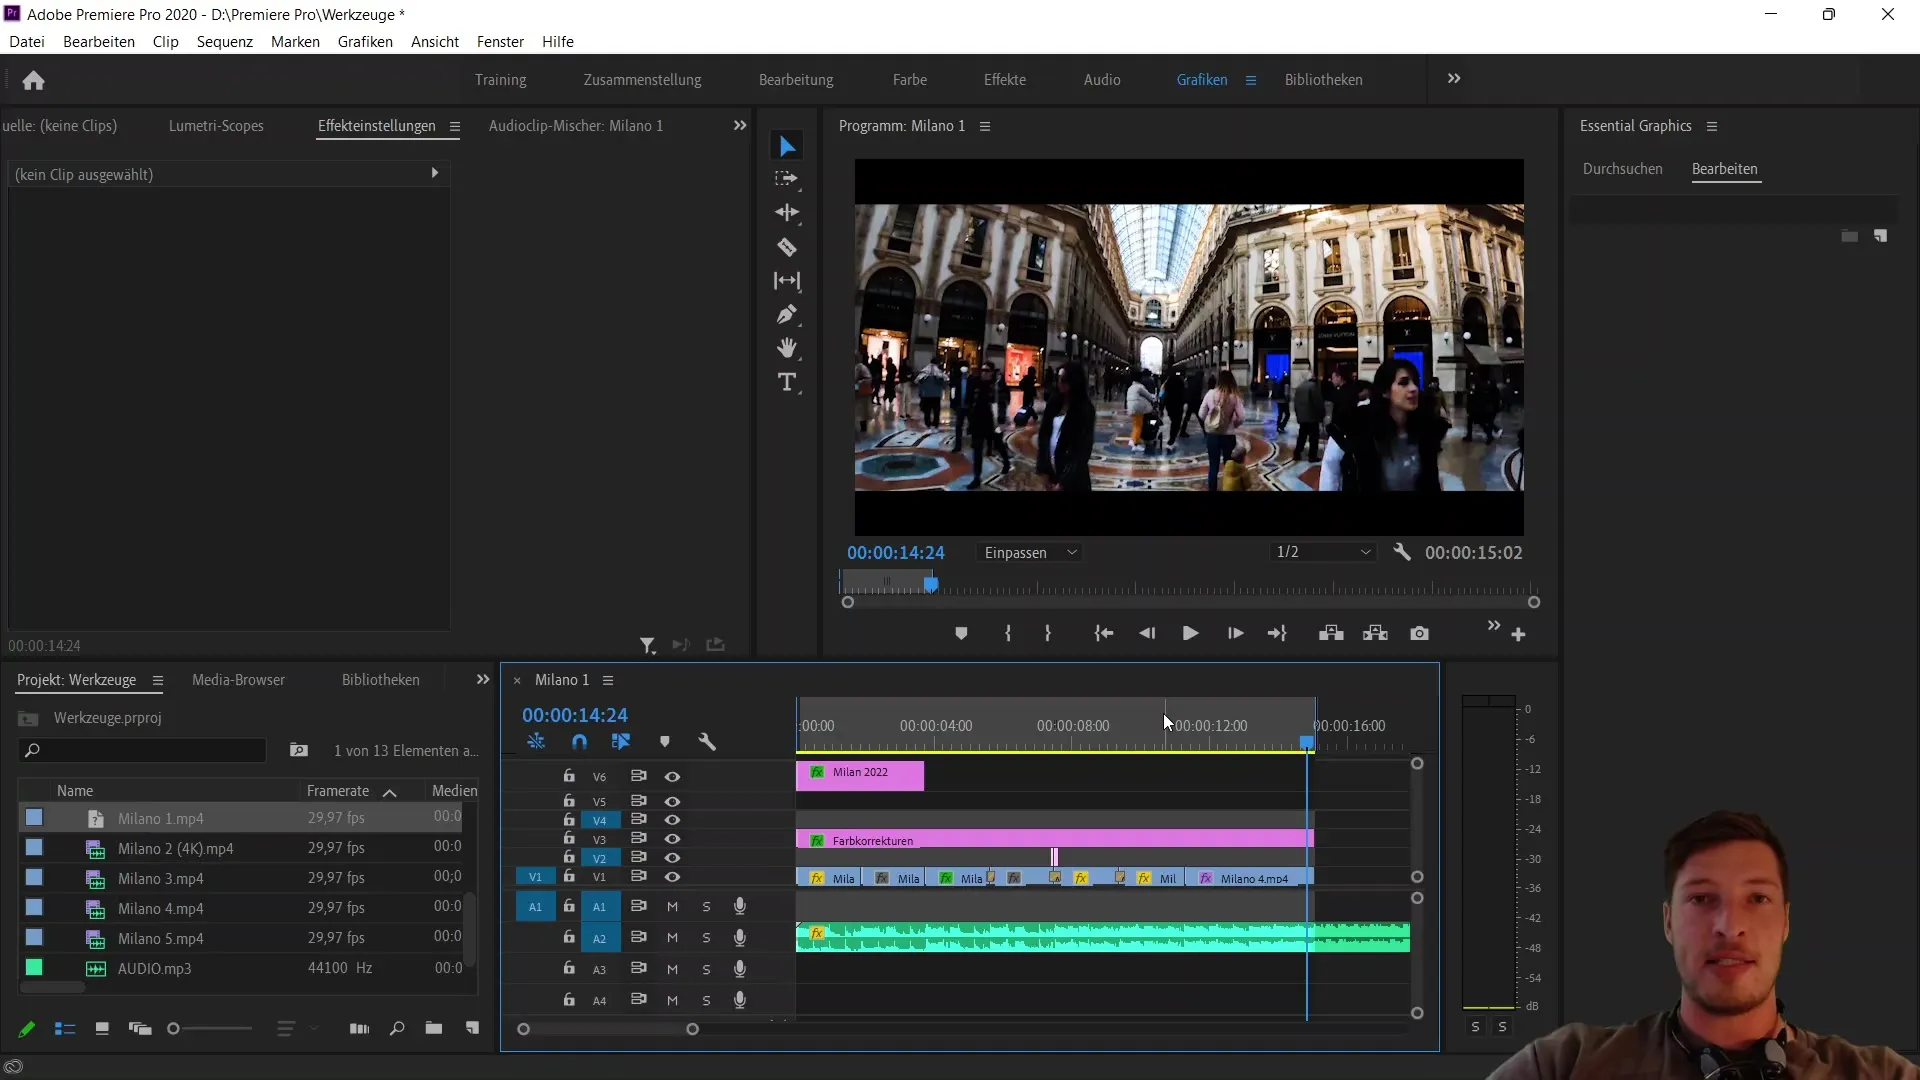
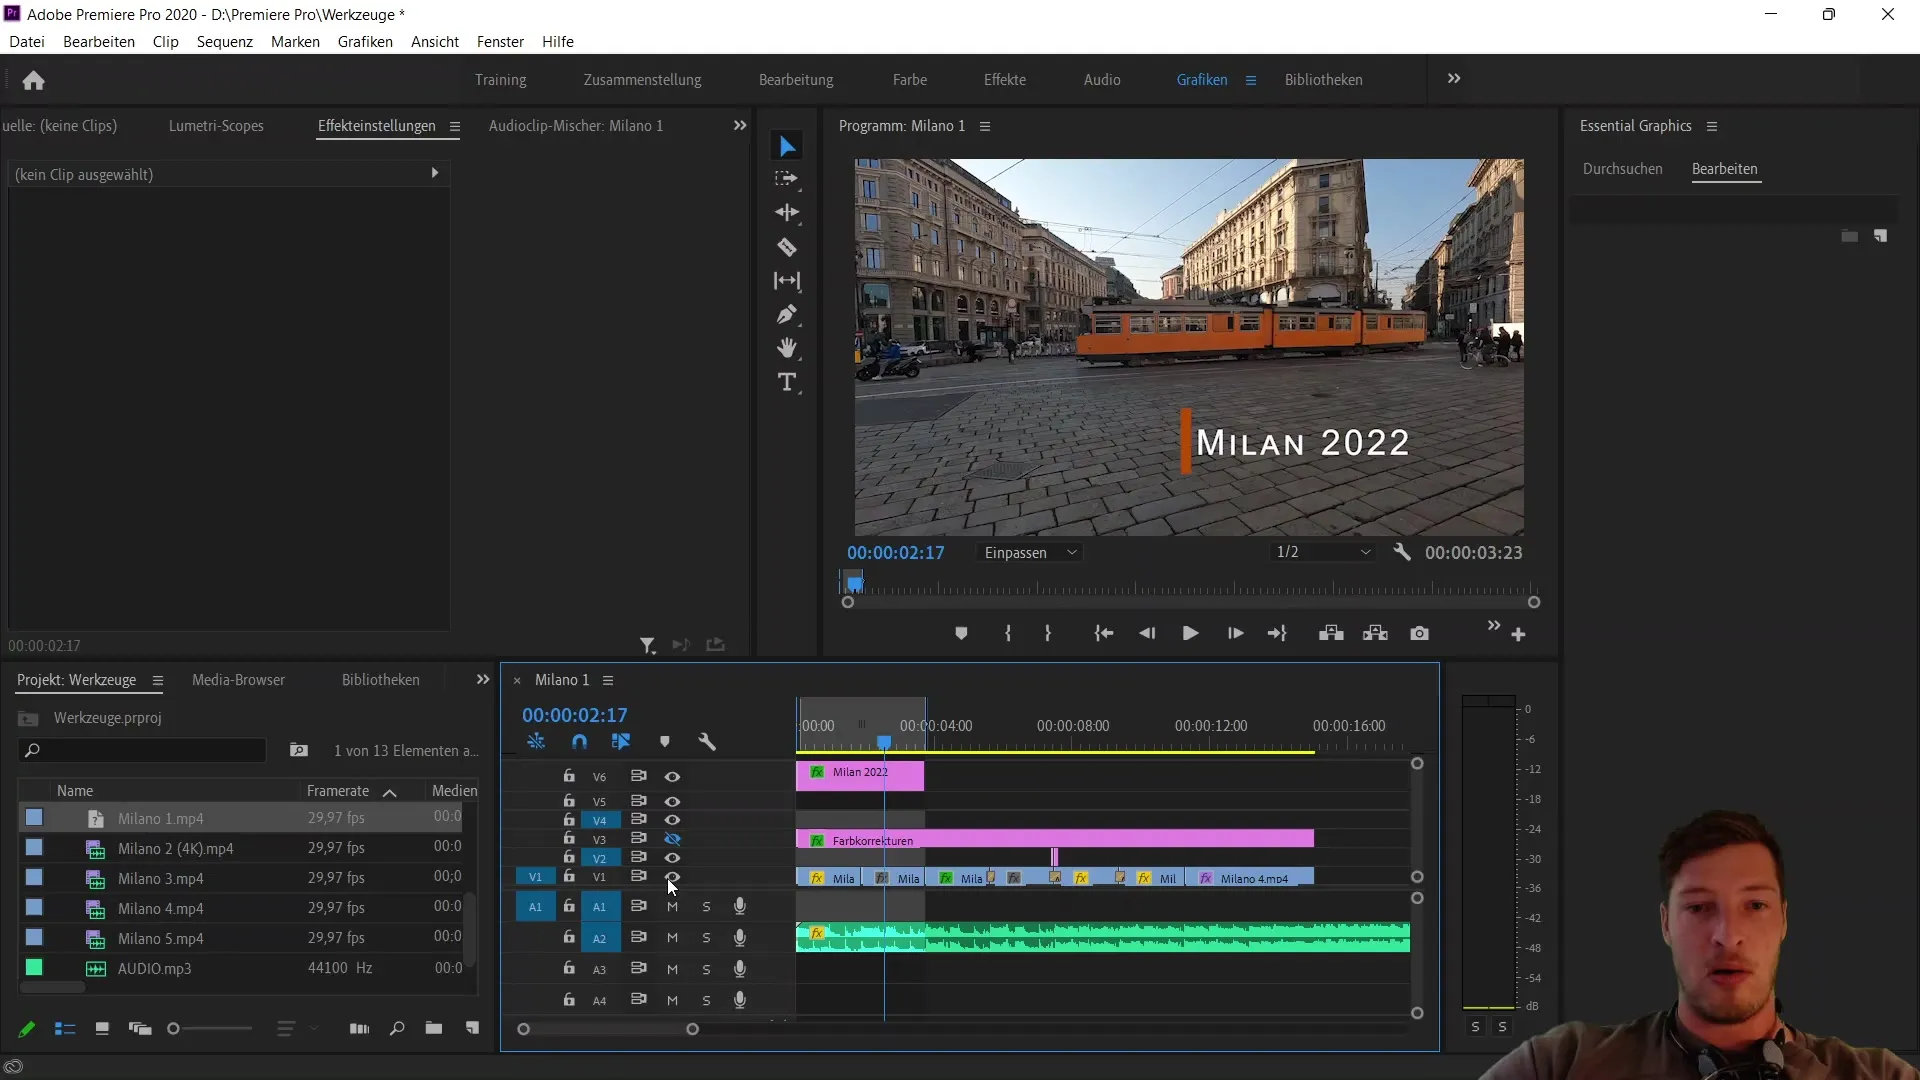
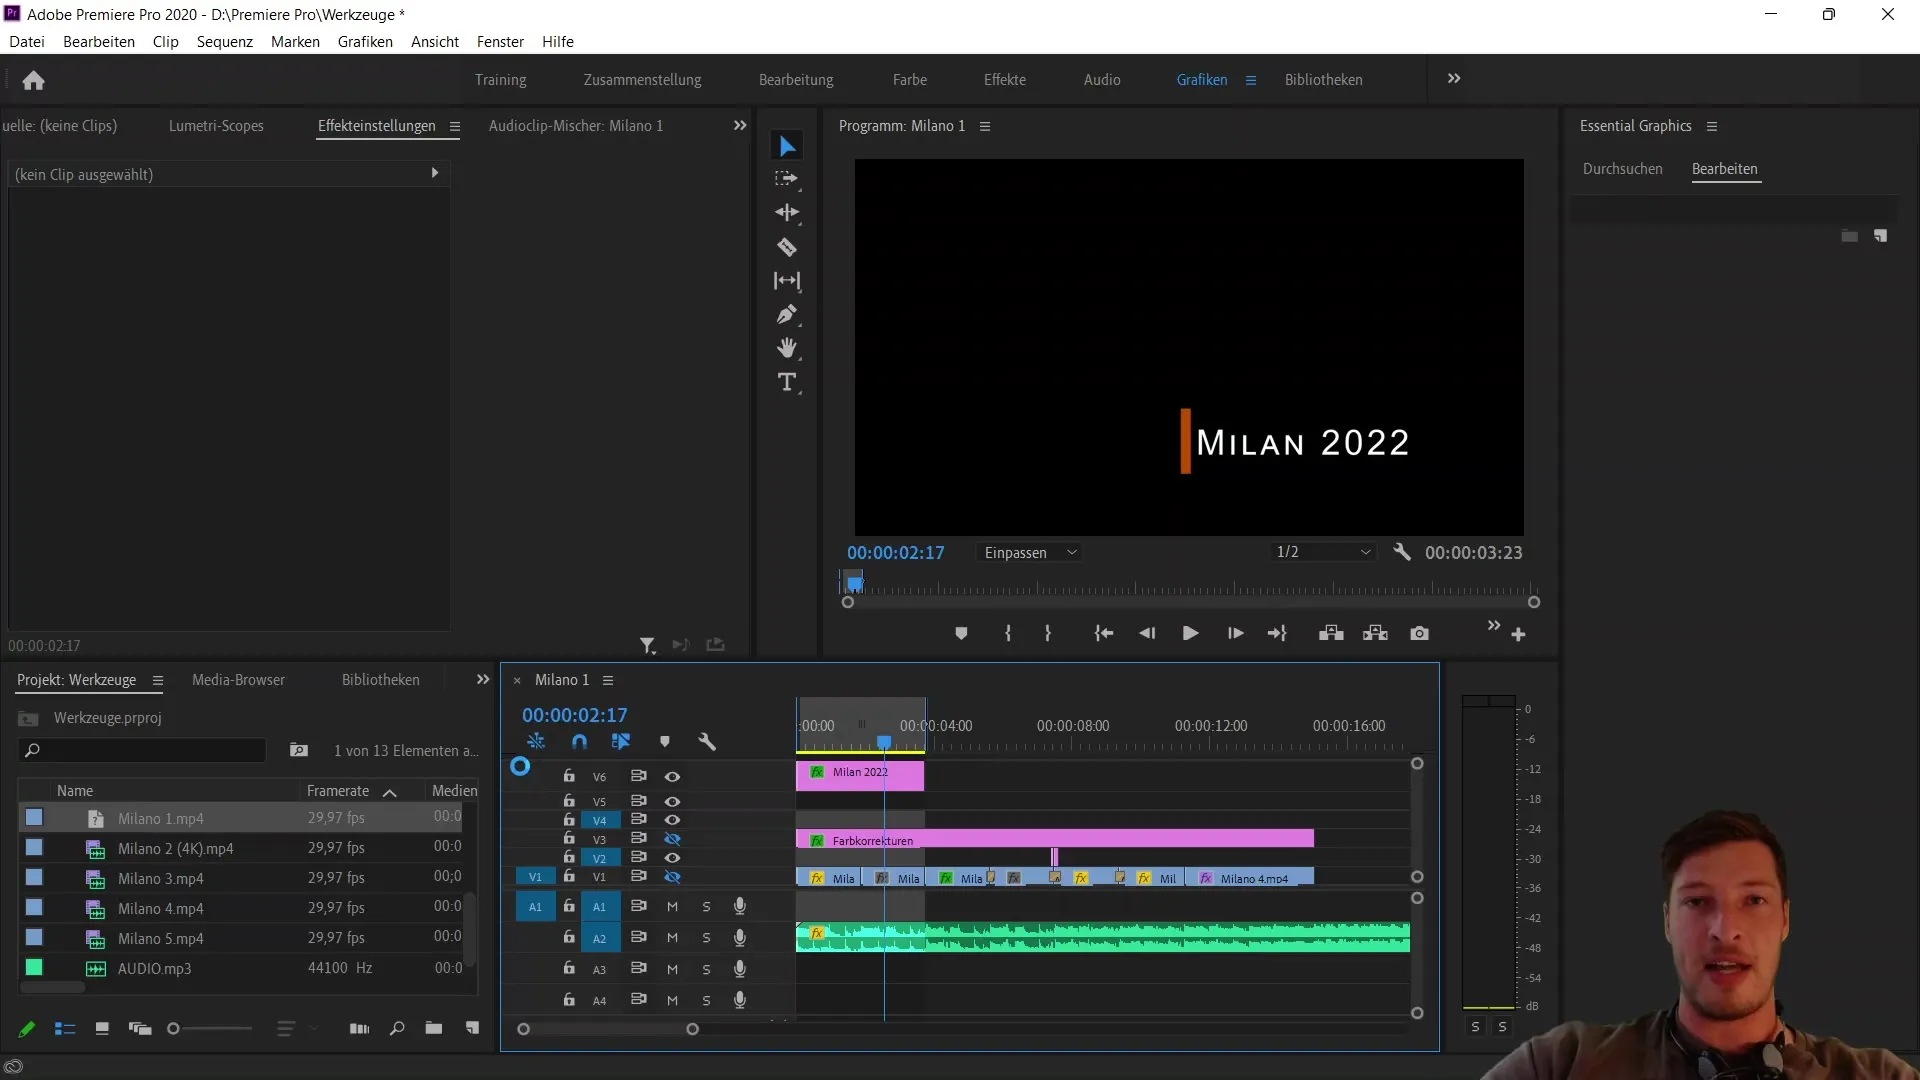
To work precisely, you can deactivate the unnecessary video and adjustment layers. This simplifies the visualization of the area to be rendered. Now navigate to the "File" menu and select "Export" and then "Media". Here the export process is configured.
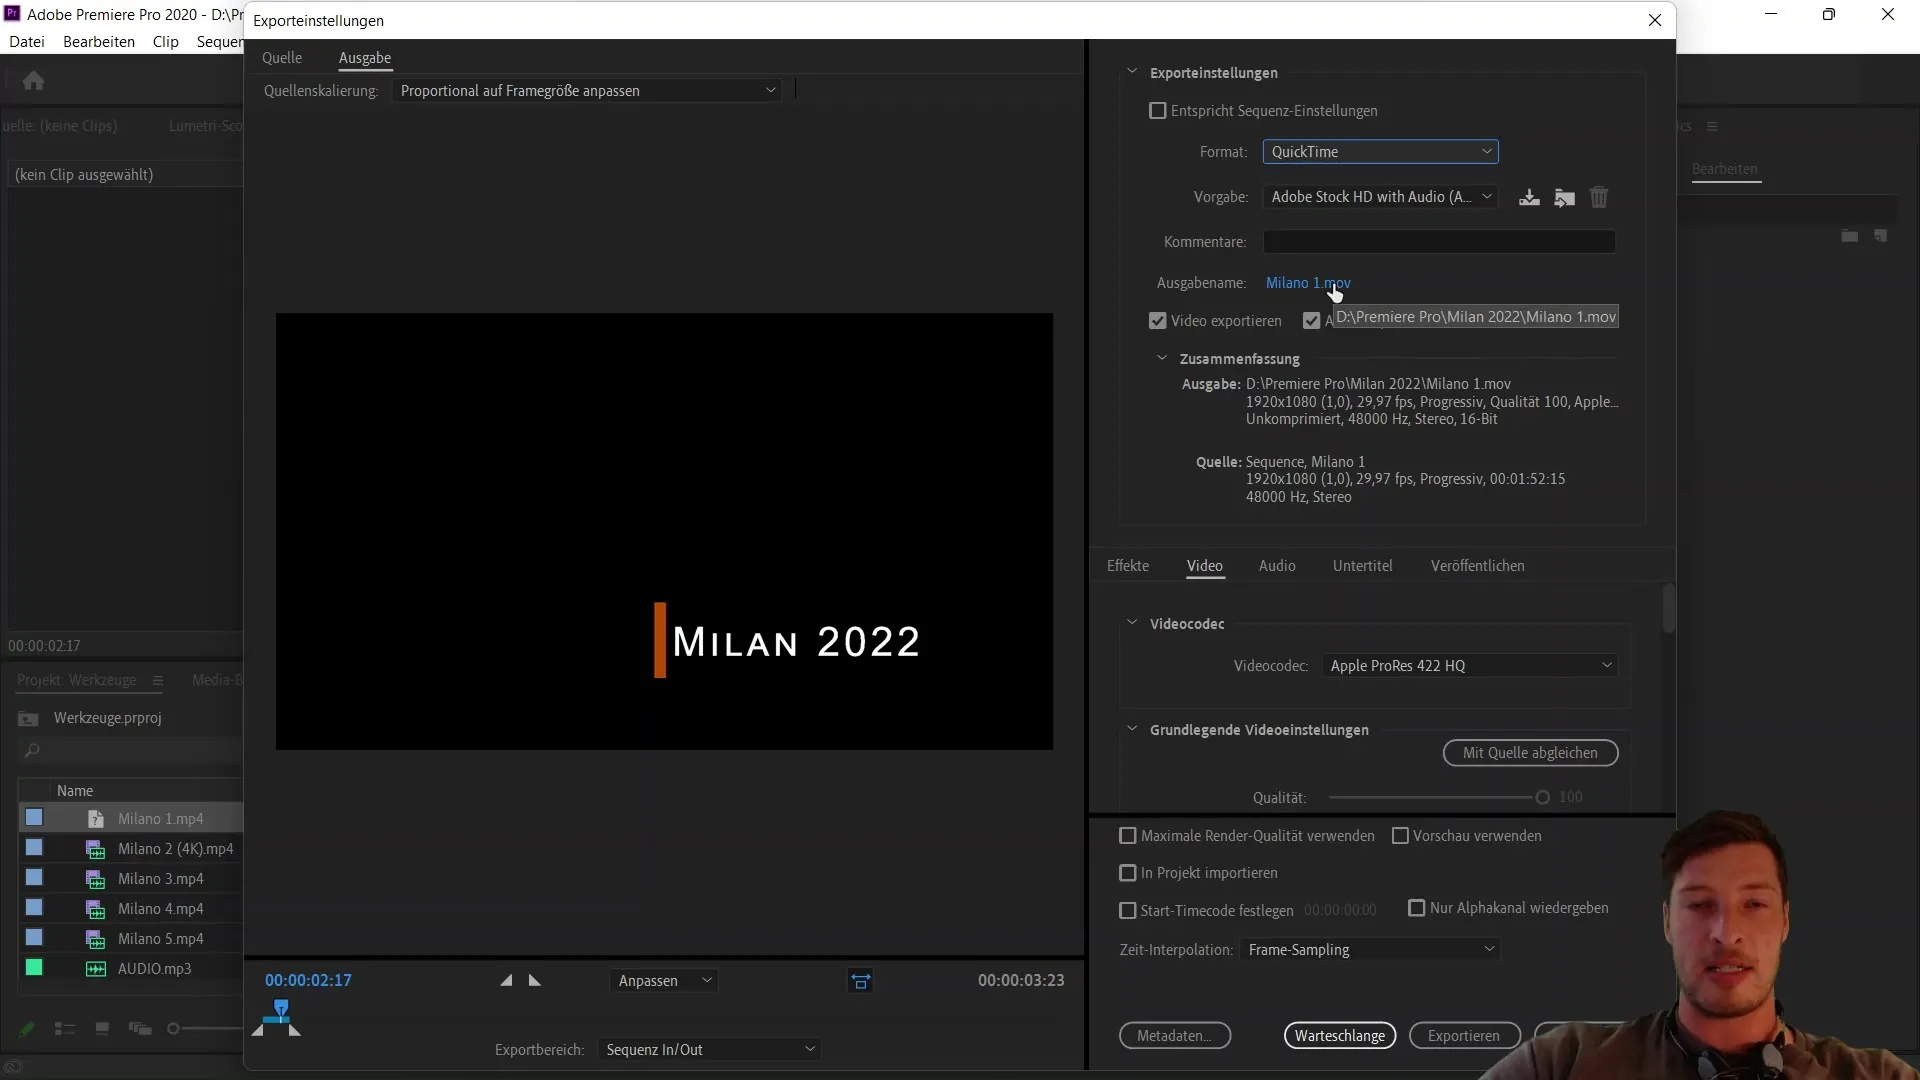
You'll notice that the default setting is on the H.264 format. To export the alpha channel, you need to change the format to QuickTime. This is necessary because Apple's MOV format supports the configuration for alpha channels.
After changing the format, go to the "Video Codec" section. Set this to "Animation". This is important to ensure that transparency is implemented correctly.
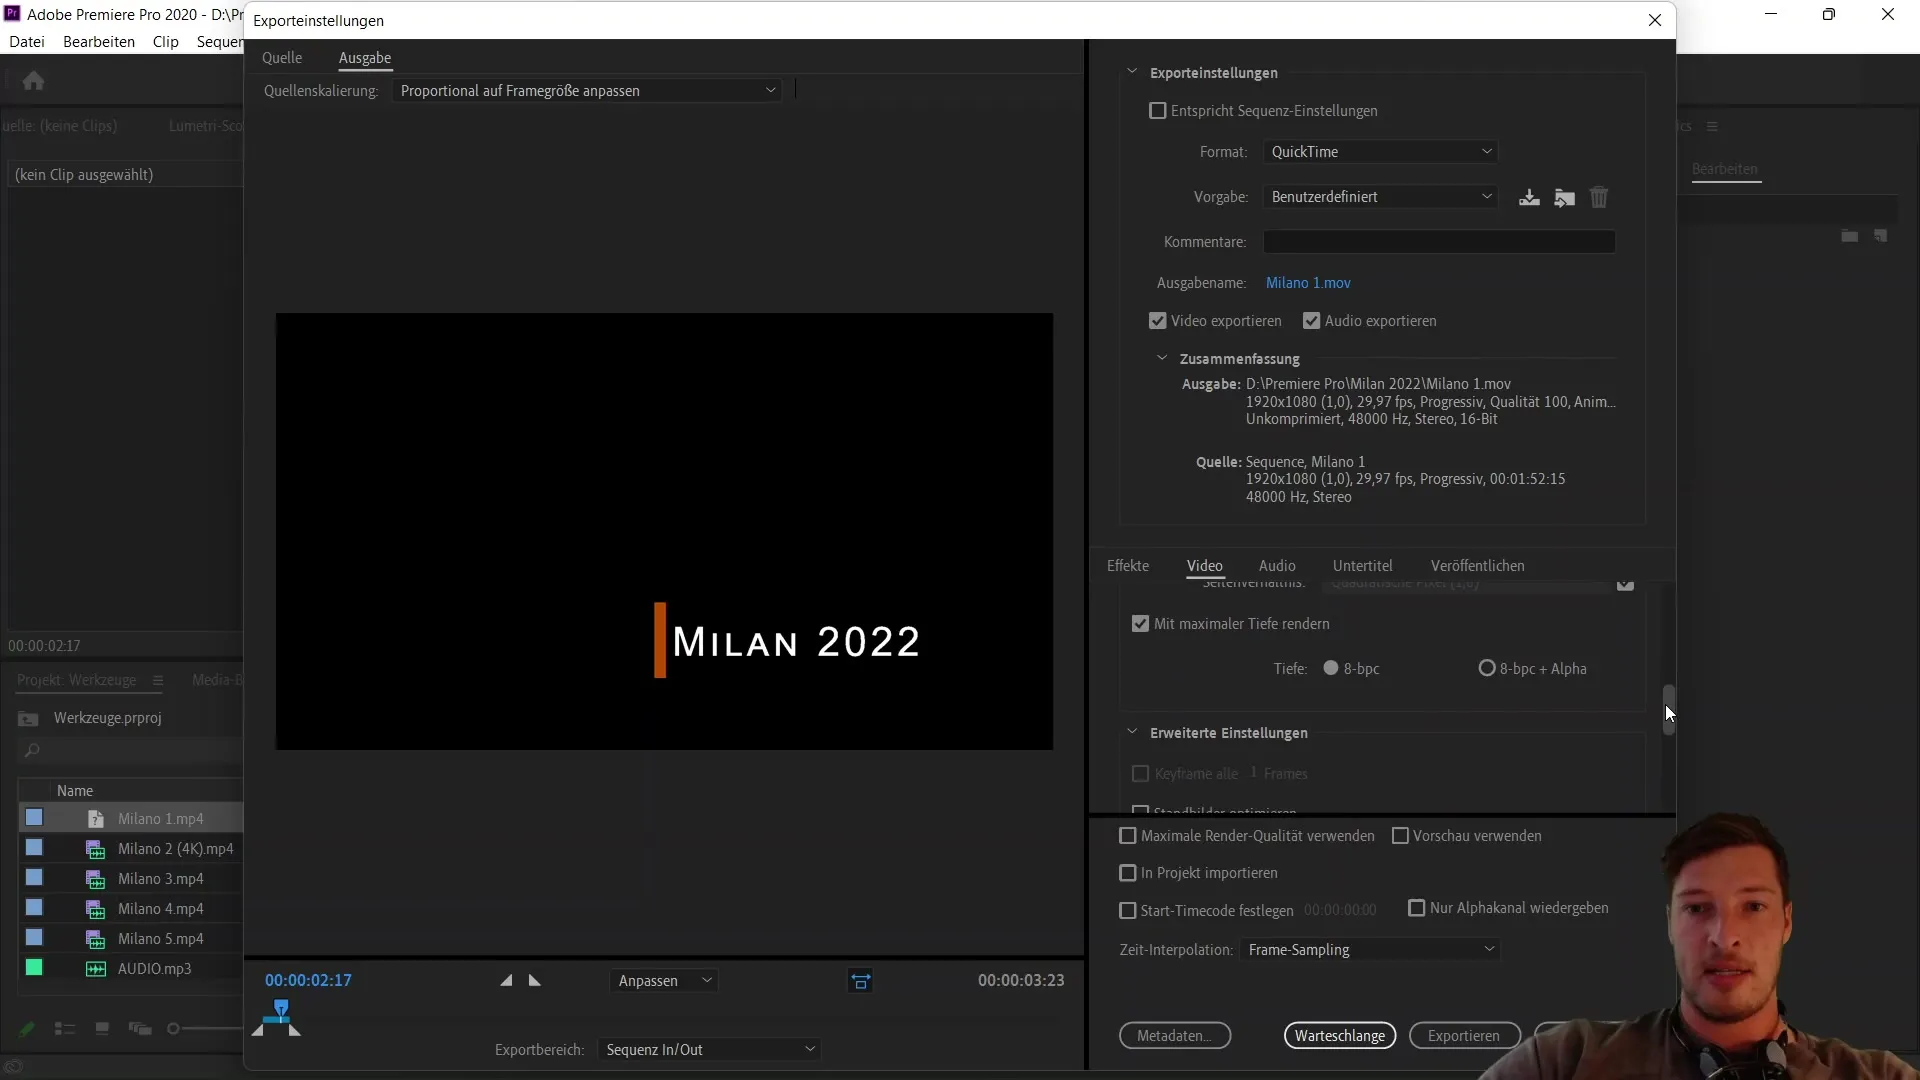
As a next step, scroll further down and change the color depth from "8 bits per channel" to "8 bits per channel + Alpha". This setting is crucial to ensure transparency in your MOV file.
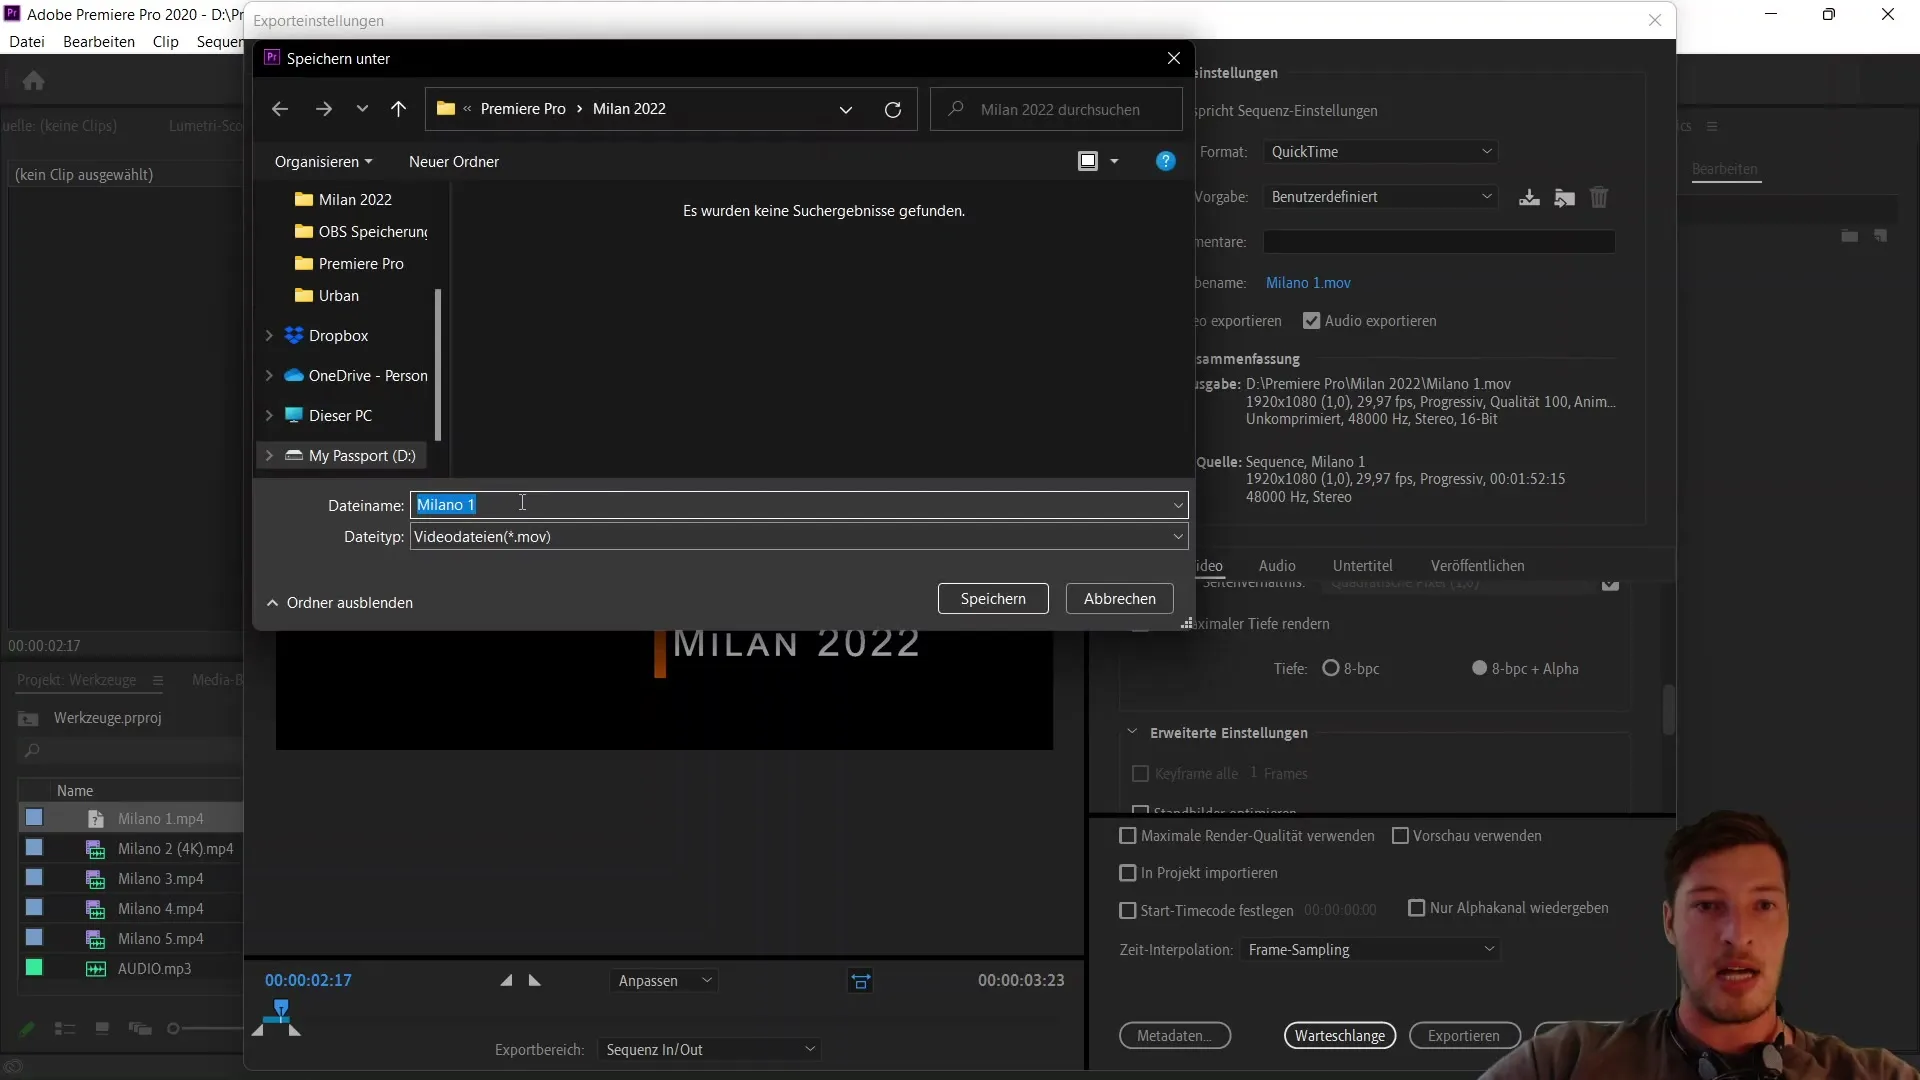
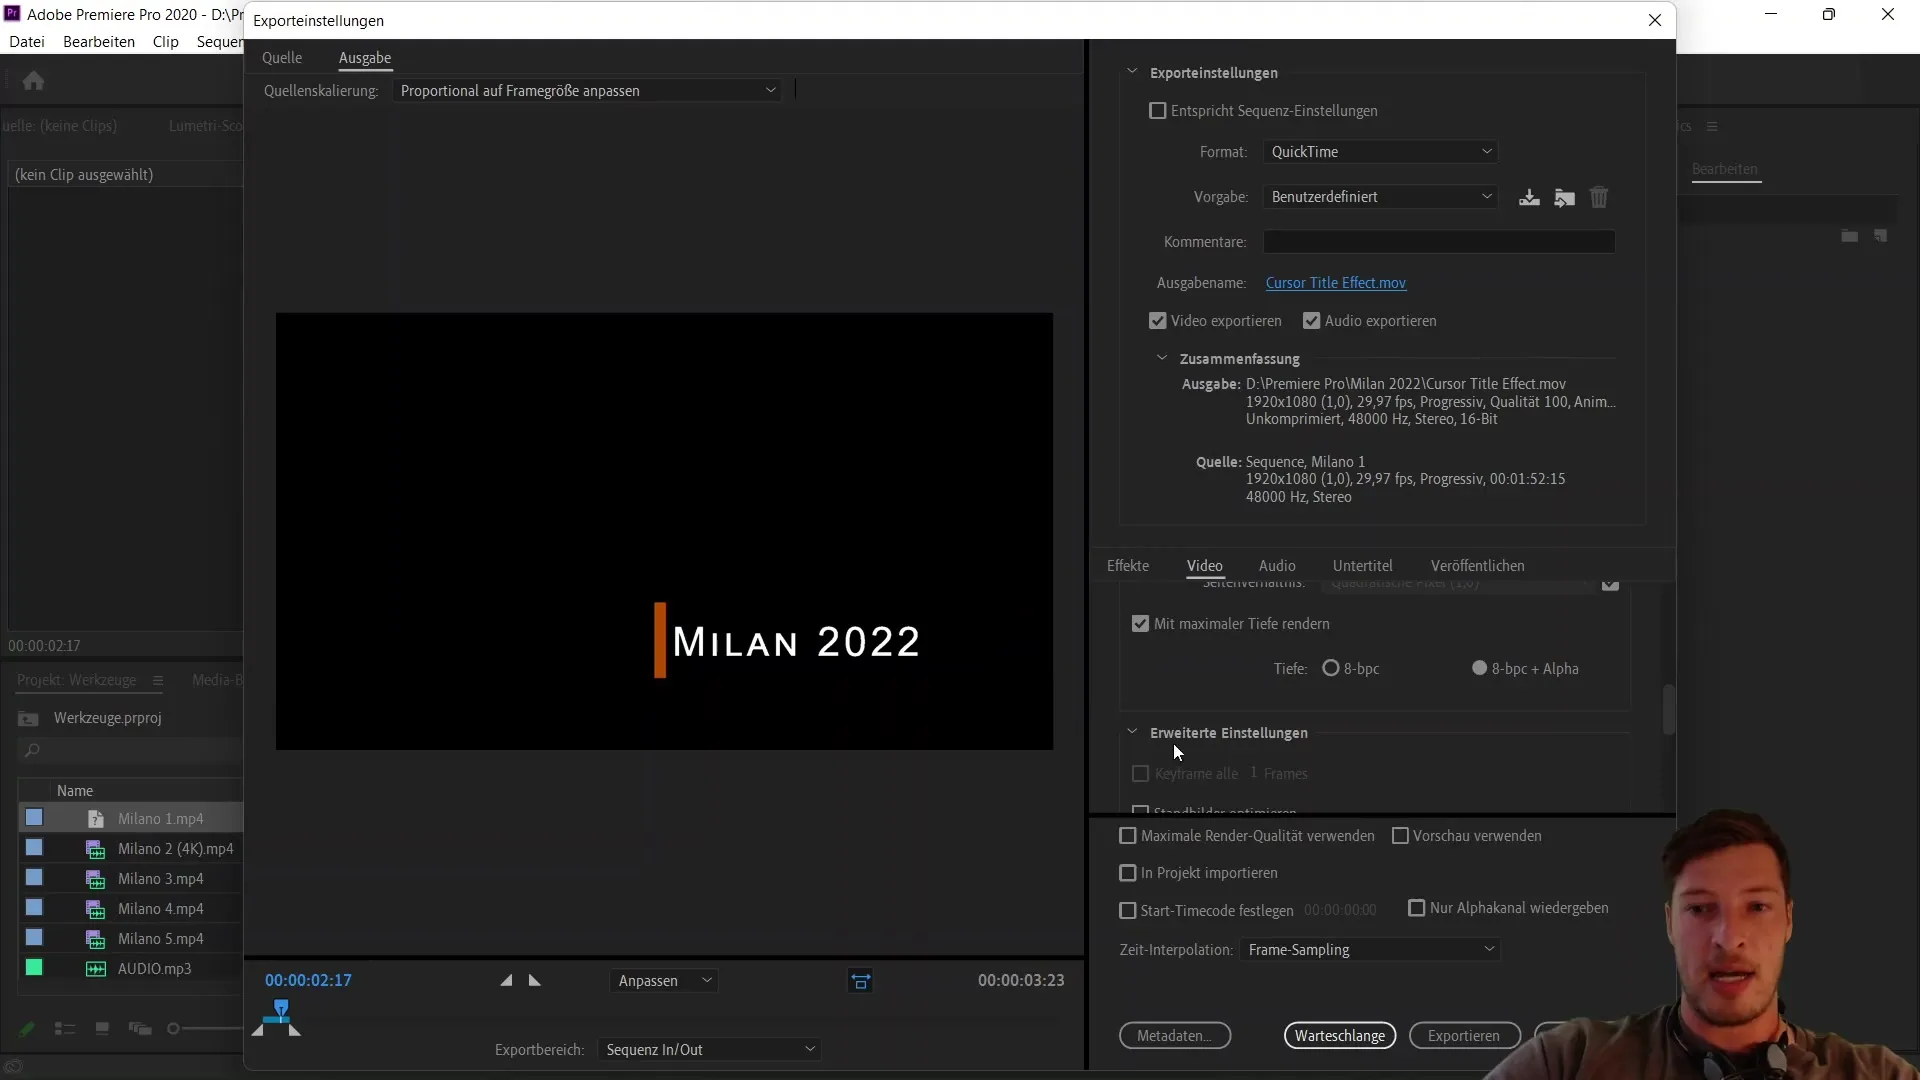
Now you can also set the In and Out points. Remember to choose a suitable output name for your file - perhaps something like "Cursor title effect". Then click "Save" to start the export process.
As the export process may take a few seconds, take this time to relax. After the export is complete, navigate to the folder where you saved the file and import it directly into your sequence.
Now it's time to view the exported file. Activate the two layers you had deactivated earlier. You should now see that the background of your Essential Graphic remains transparent, and the underlying scene is visible.
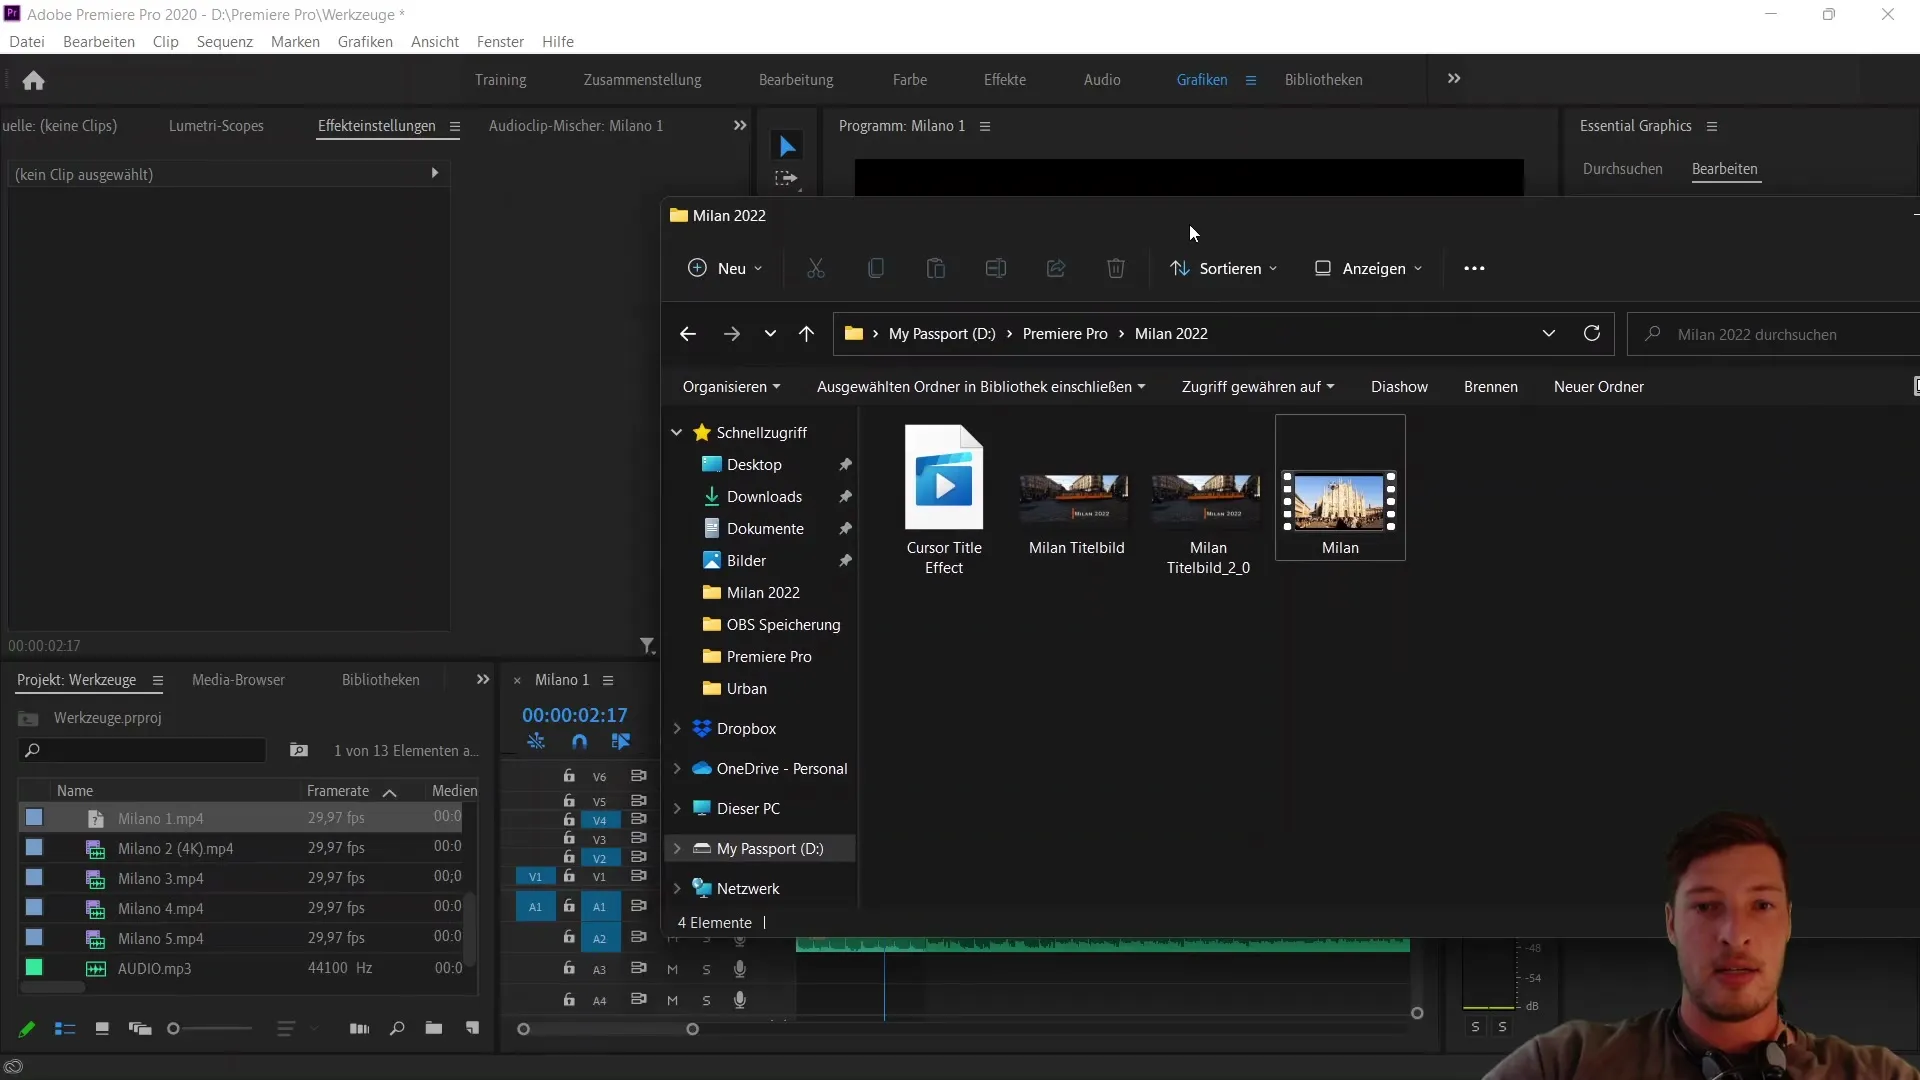
This method allows you to create creative video elements that can be seamlessly integrated into complex projects. The alpha channel is an important component to give full effectiveness to this technique.
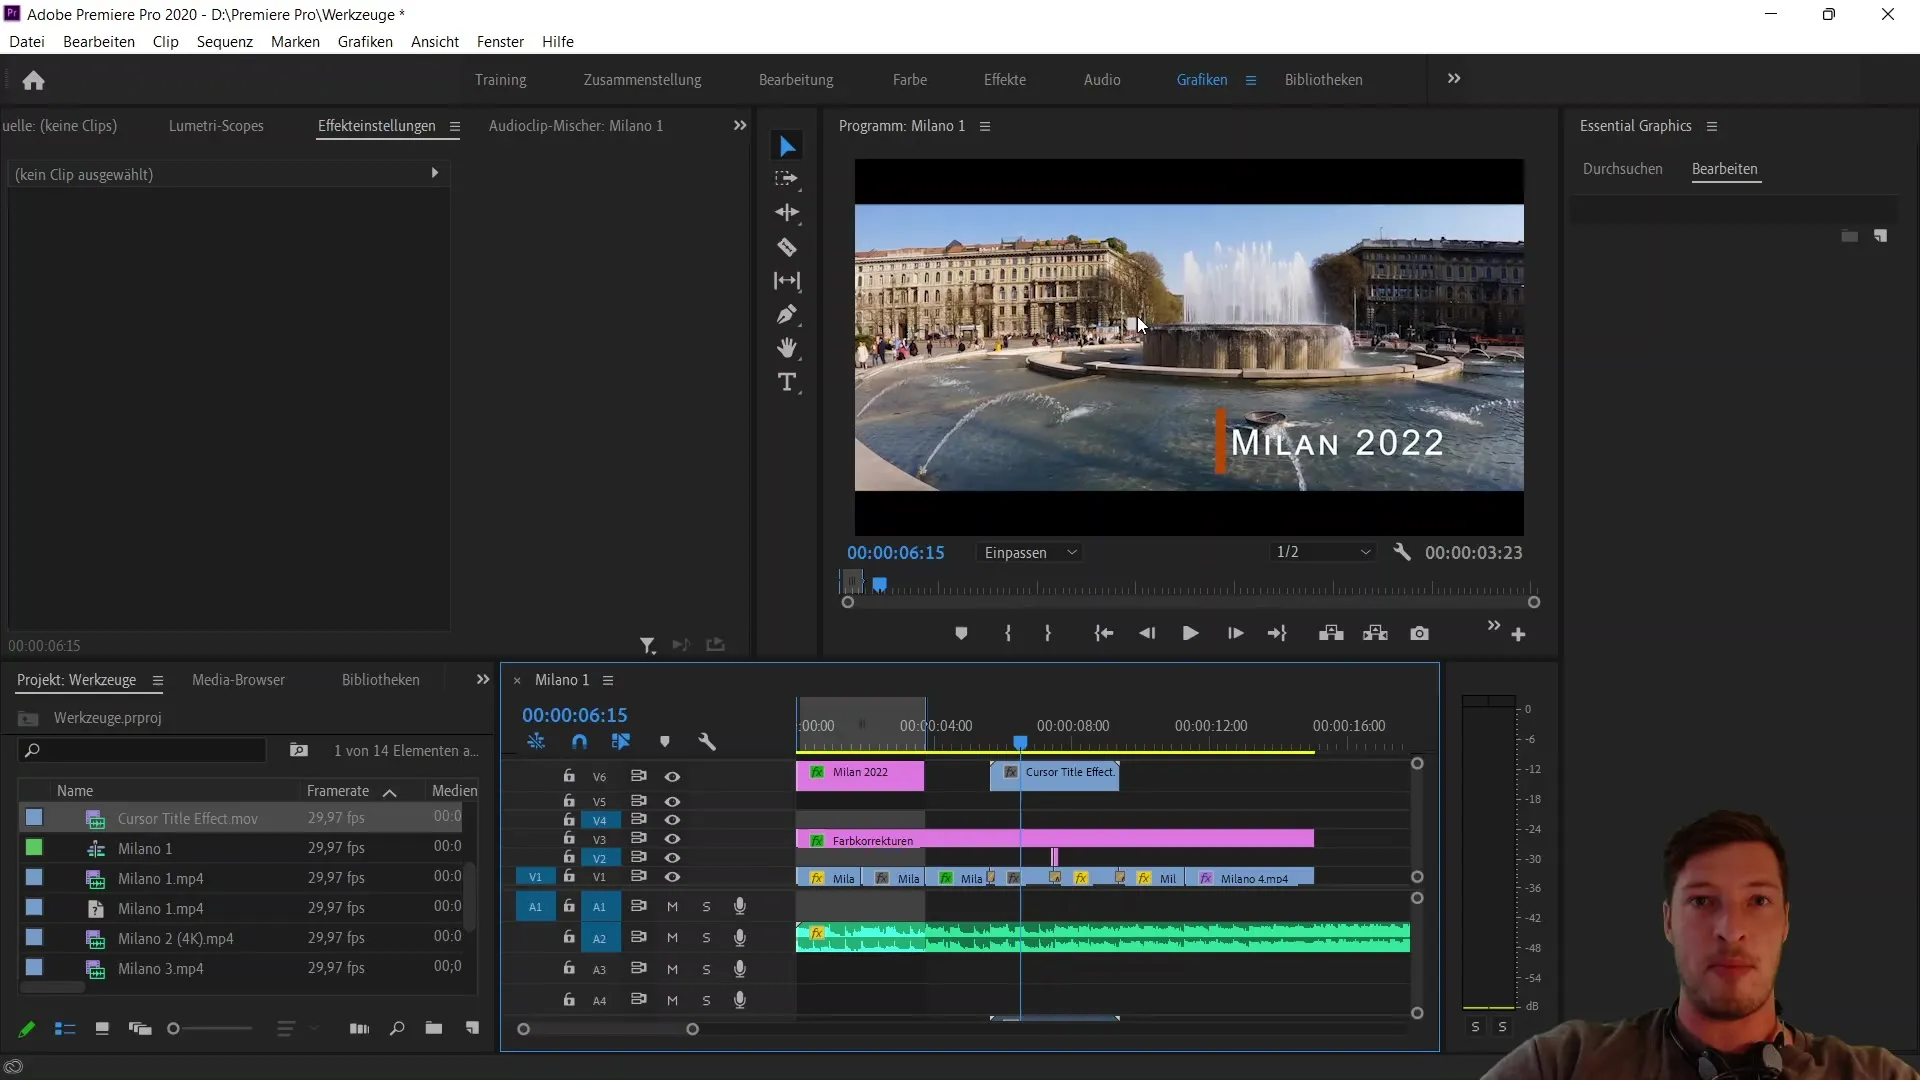
Personally, I often use this technique to create presets for videos or to insert graphics like Subscribe buttons into my YouTube videos. These graphics are typically saved as MOV files with a transparent background and can easily be used in an existing video.
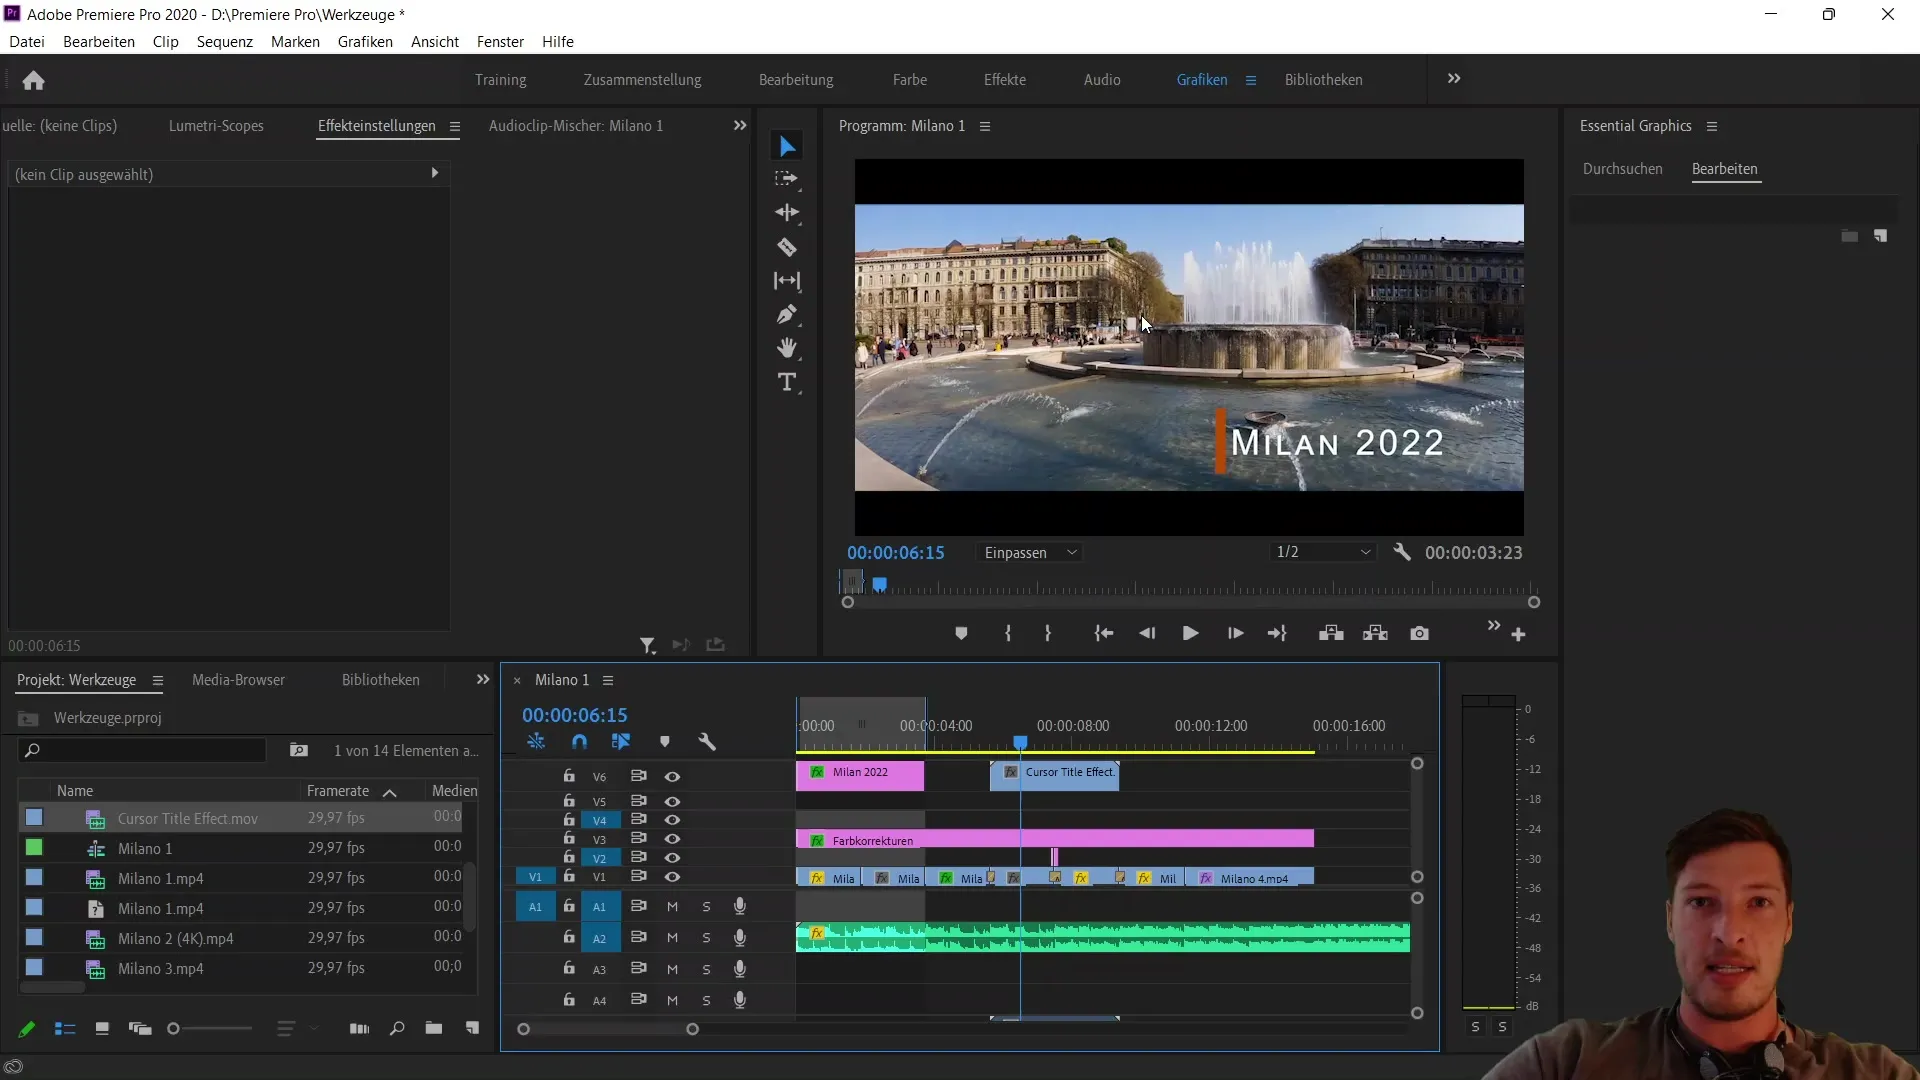
Finally, when you have everything set up correctly, you will see, for example, a transparent subscribe button on your video. This is a simple yet very effective element to animate your viewers.
I hope this guide was helpful for you and showed you how to export transparent layers in Adobe Premiere Pro.
Summary
This guide has shown you how to choose the MOV format in Adobe Premiere Pro CC to export videos with transparent elements. The steps to adjust the video codec and color depth are crucial for the correct display of the alpha channel.
Frequently Asked Questions
How do I export a MOV file with an alpha channel?You need to change the export format to QuickTime and set the codec to Animation, then change the color depth to 8 bits per channel + Alpha.
Why is the alpha channel important?The alpha channel allows for the display of transparencies in your video elements, which is especially important for graphics and animations.
Can I export other video formats with alpha channels?Yes, besides MOV, you can also use other formats that support alpha channels, such as the ProRes format.


