In this guide, I will show you how to edit an Instagram Travel Reel with Adobe Premiere Pro CC. We will go through different techniques that go beyond basic knowledge and help you make your Reel appealing and professional. We will focus on editing vertical format videos and incorporate special effects as well as music. By the end of this guide, you will understand how to combine your own sounds and use licensed music from Instagram.
Main Takeaways
- Use of licensed music and your own sounds
- Creation of a customized layout for vertical videos
- Application of Time Remapping and advanced color adjustments
- Utilization of masks and adjustment layers to enhance your videos
Step-by-Step Guide
First, open Adobe Premiere Pro CC and create your project. Focus on editing a vertical format video optimized for Instagram. Adjust the layout to show the video preview area on the right side.
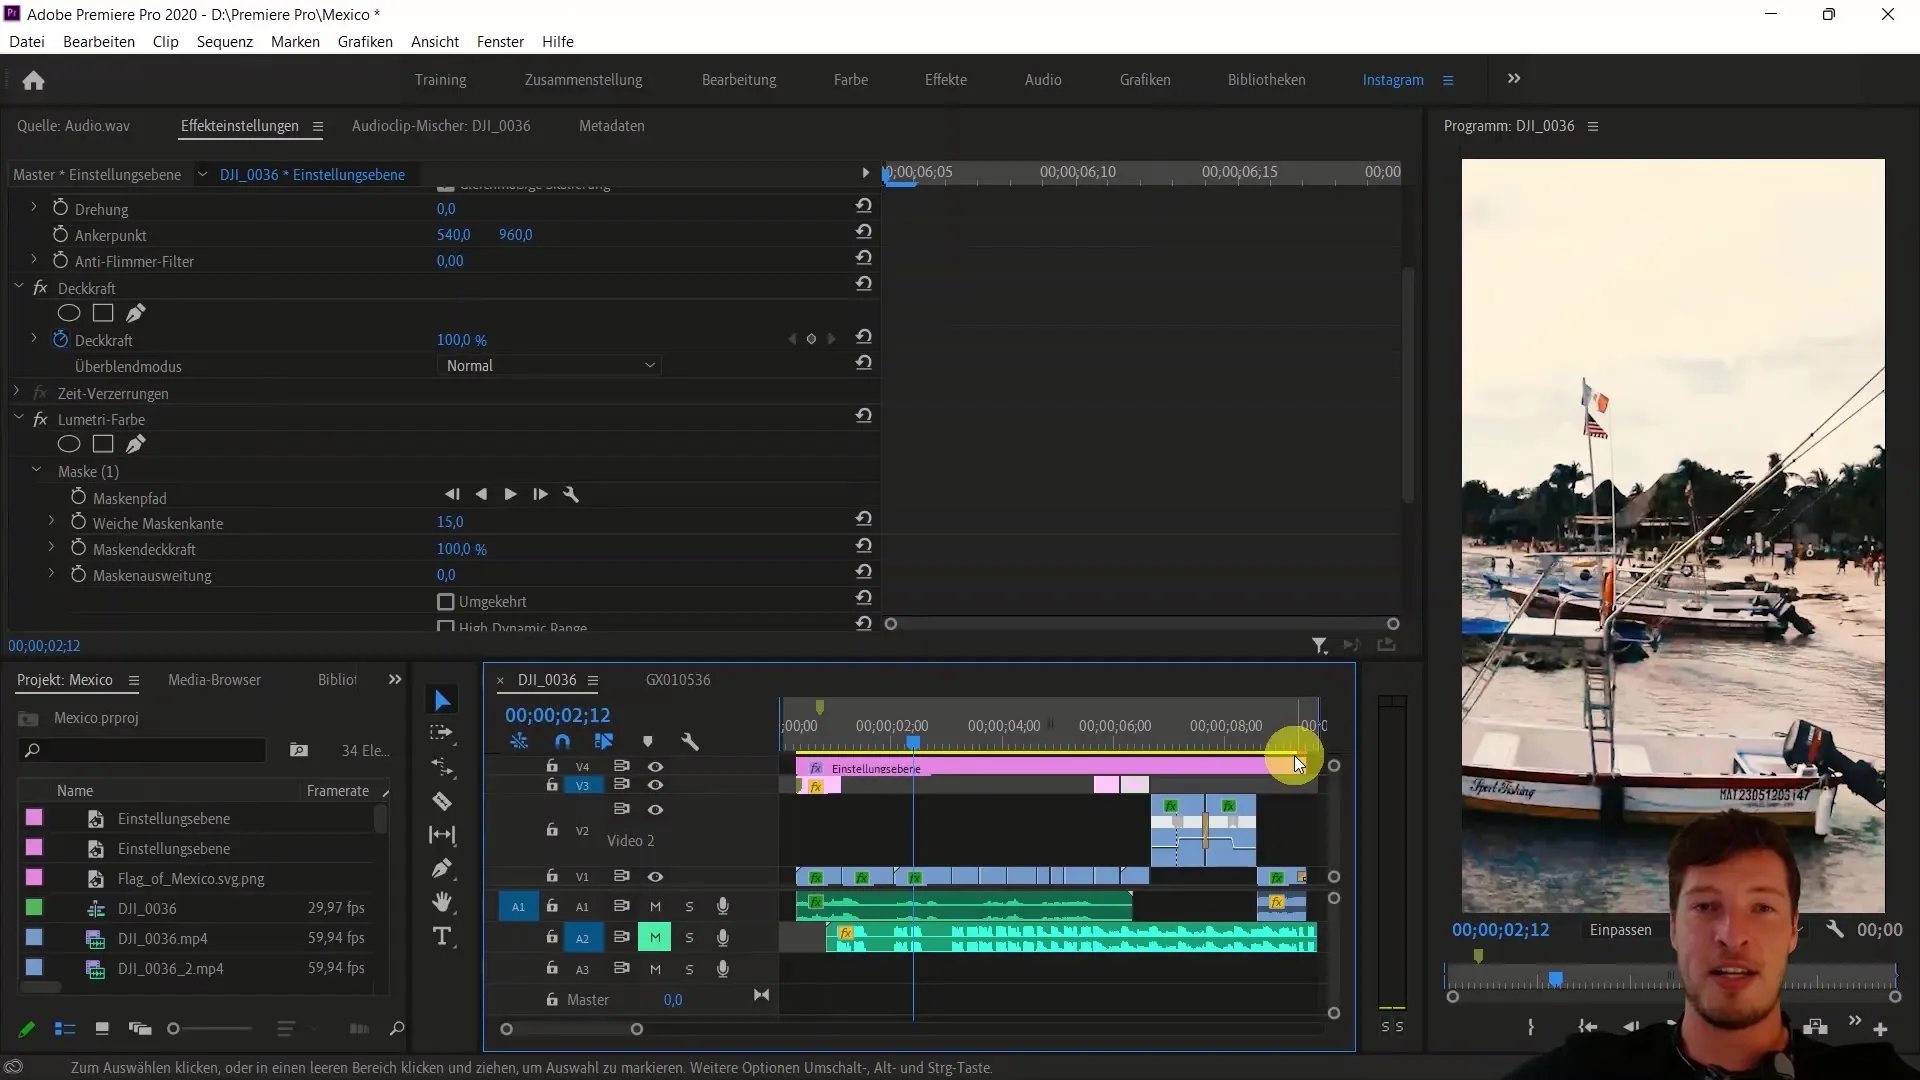
To make your Reel appealing, we will look at how you can use licensed music from Instagram. You can directly integrate this music into your editing to better time your clips. The video will detail how to do this.
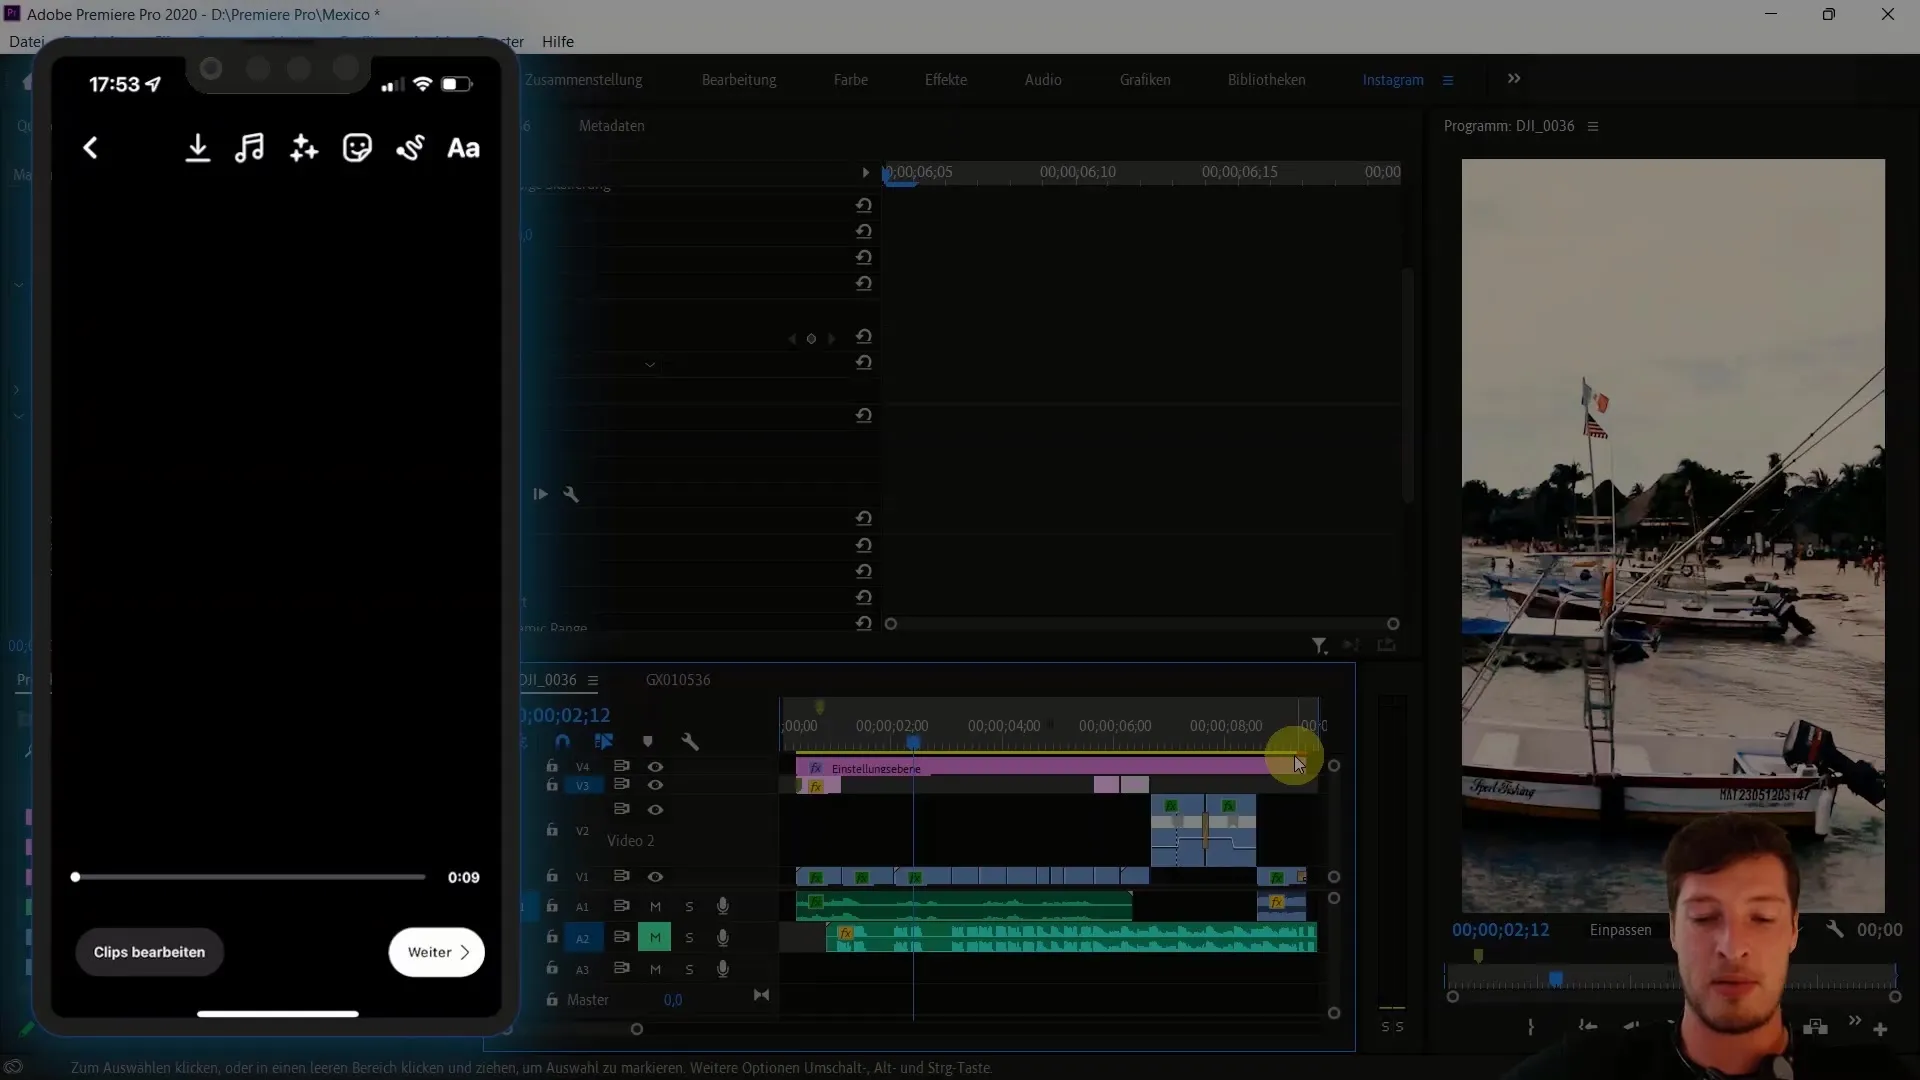
An important aspect of editing is Time Remapping, which allows you to adjust the speed of certain clips. Different tempos are used to create dynamic transitions. The video will show you how to apply this technique to achieve impressive effects.
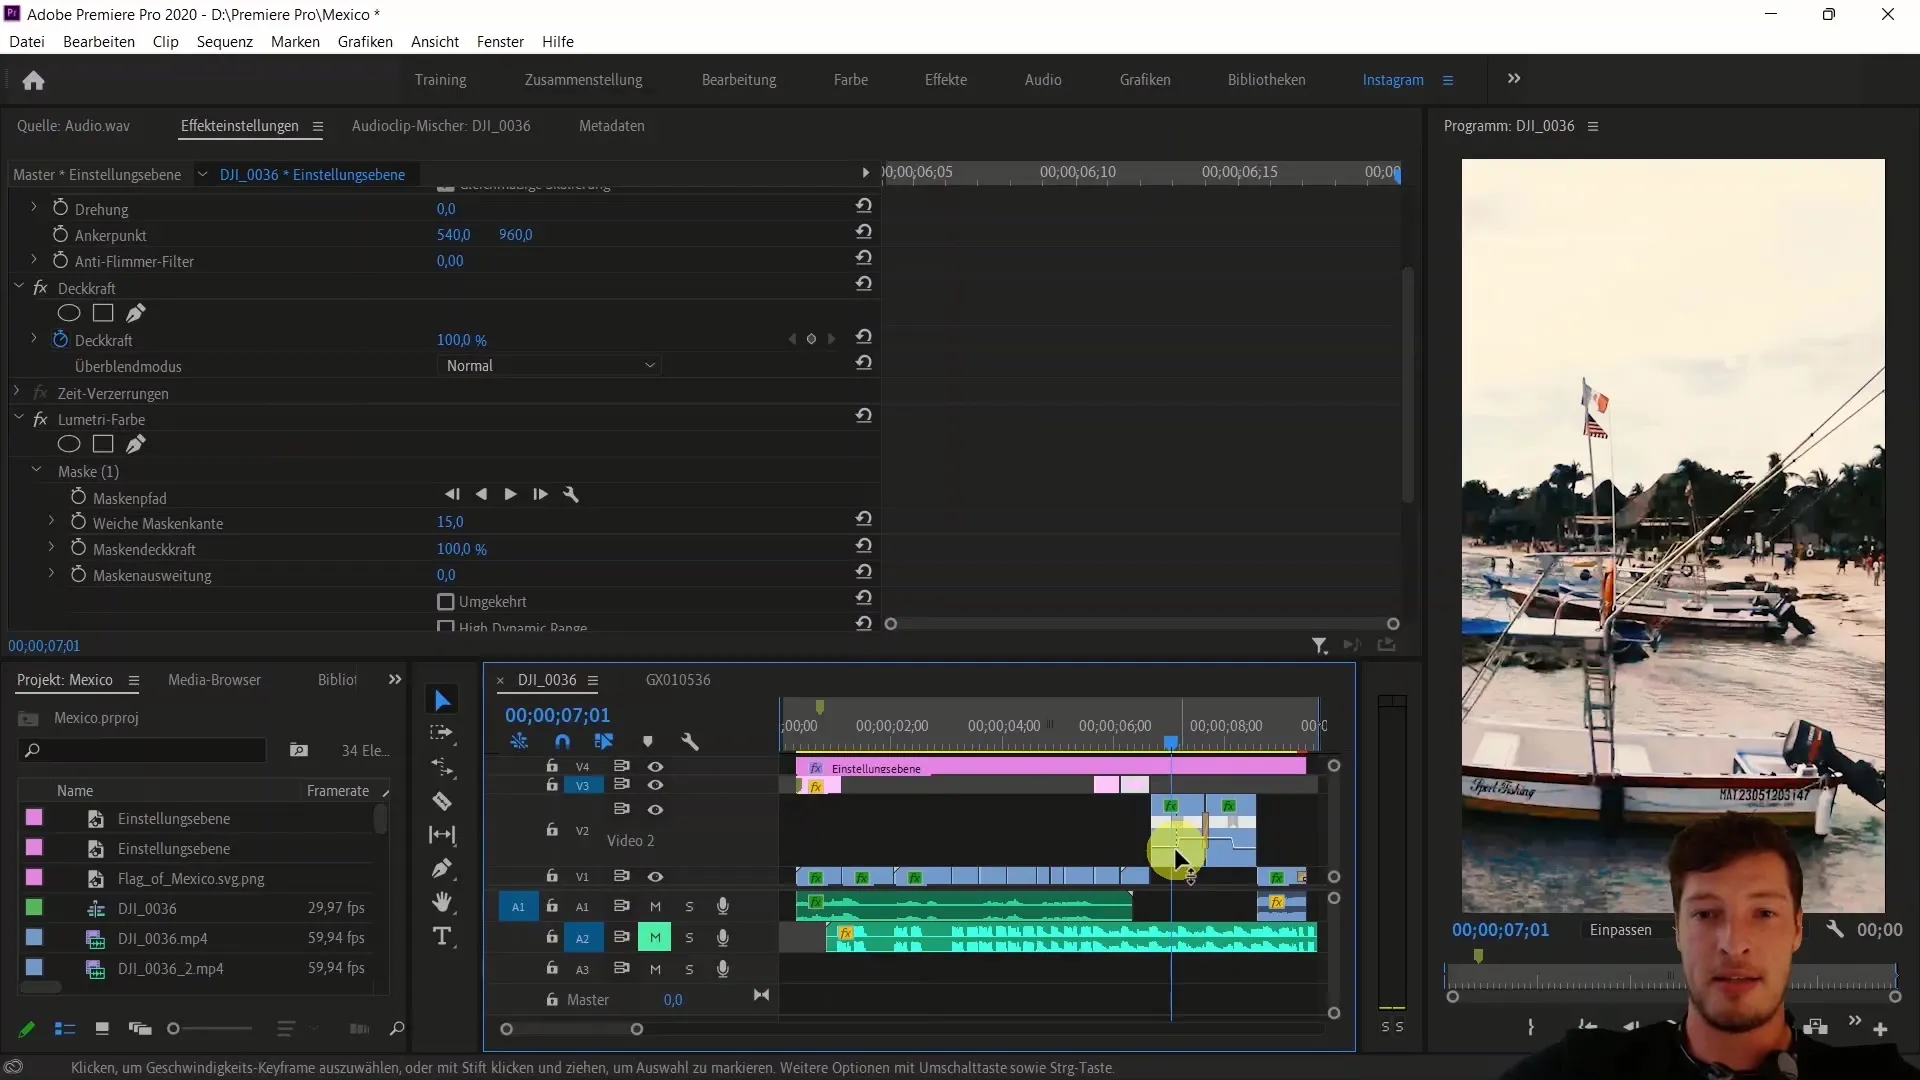
Another crucial point is color adjustment. We will delve into Lumetri Color extensively to edit specific color tones, such as the sky, separately. This gives your video a professional look and sets it apart from others.
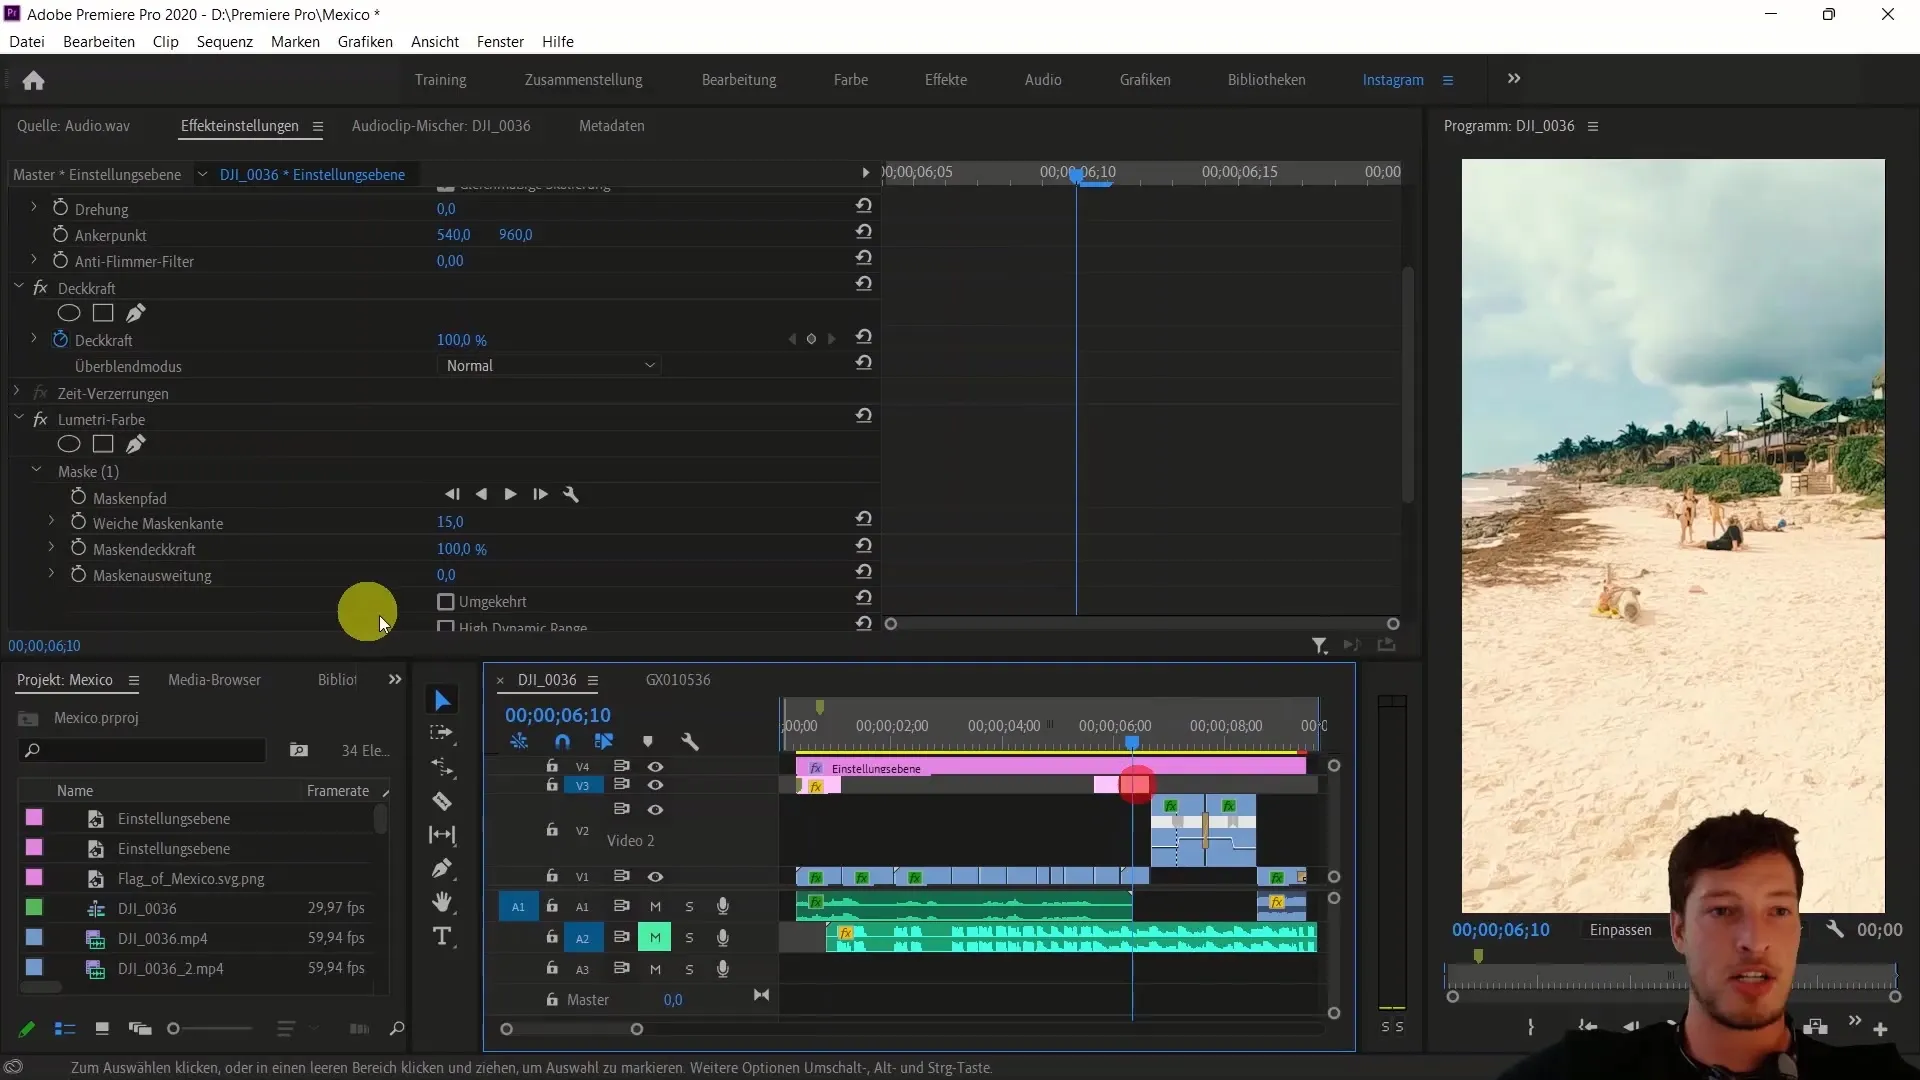
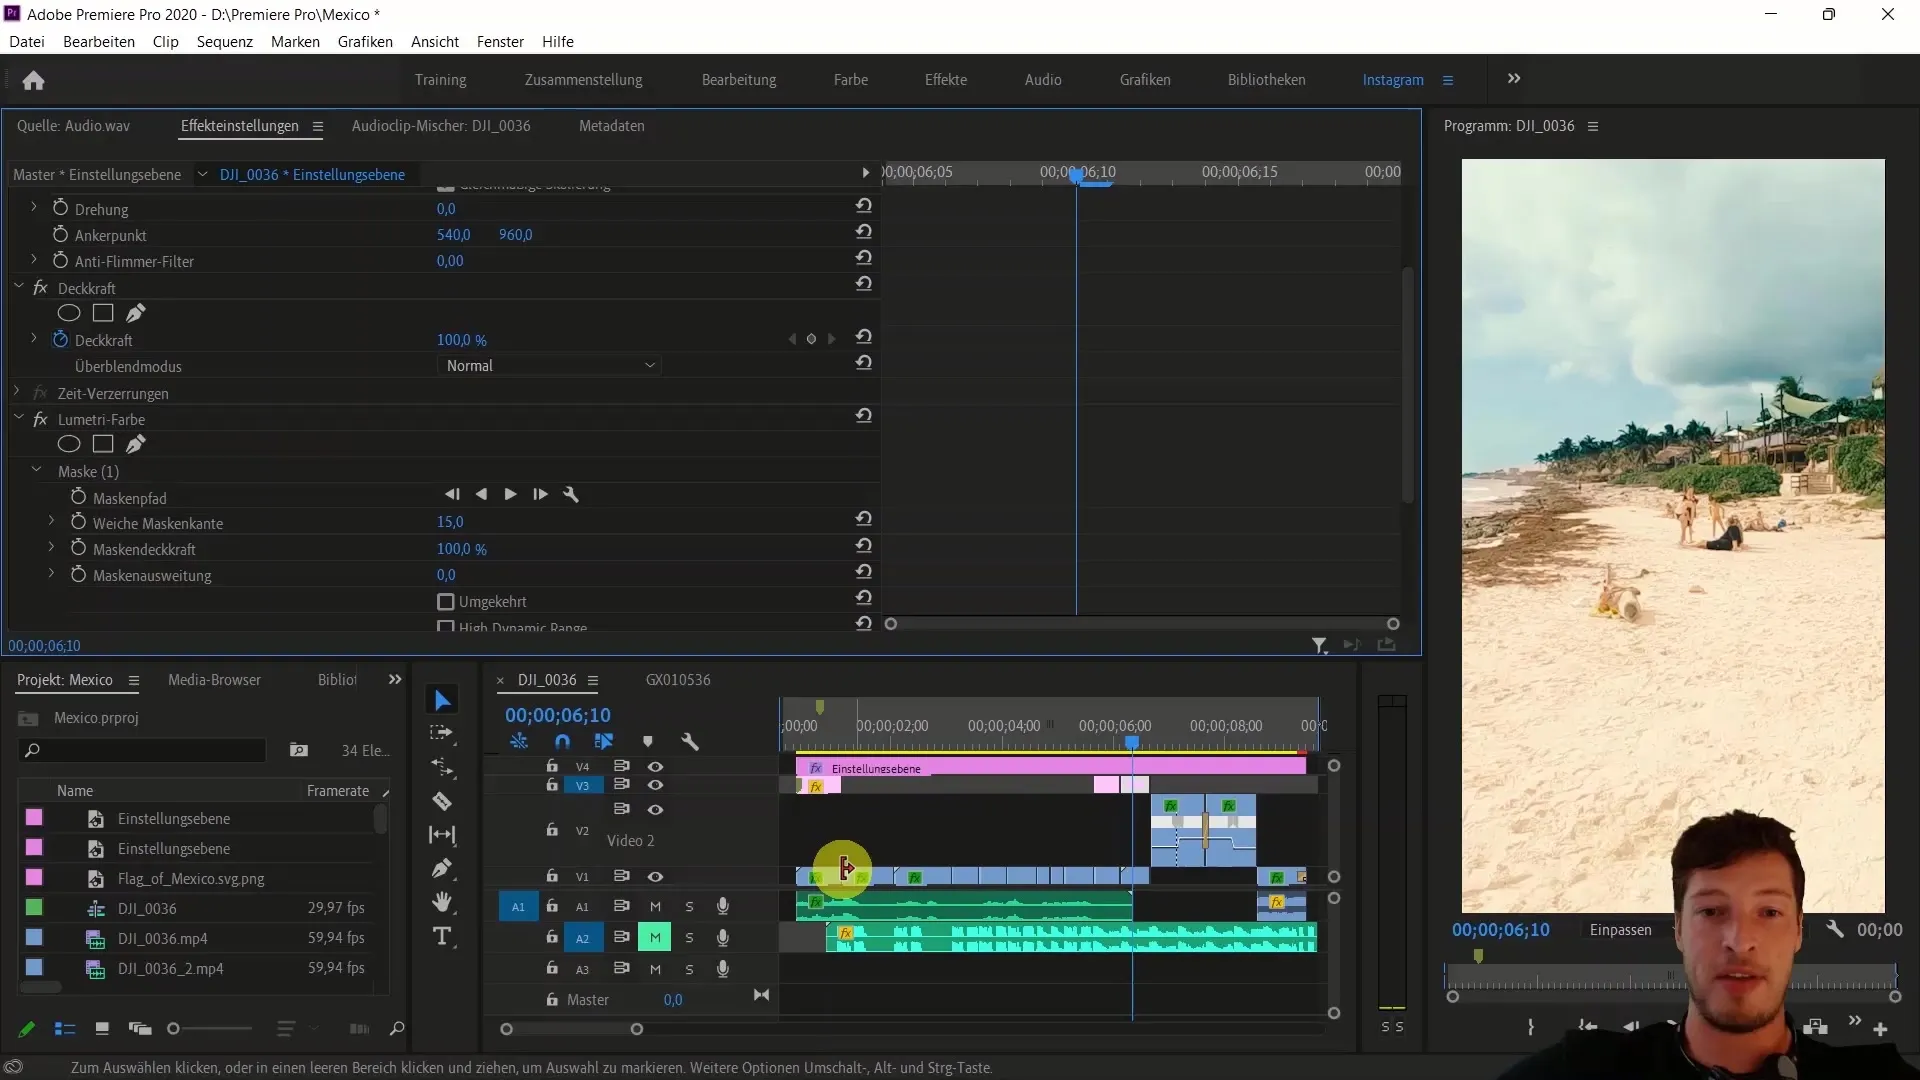
In addition, we will use masks to selectively edit specific areas of the image. This allows for much more precise control over the coloring and lighting in your clips.
To create a harmonious sound, voice transformation into a trailer voice will also be addressed. This is particularly important to give your Reel a consistent and appealing style.
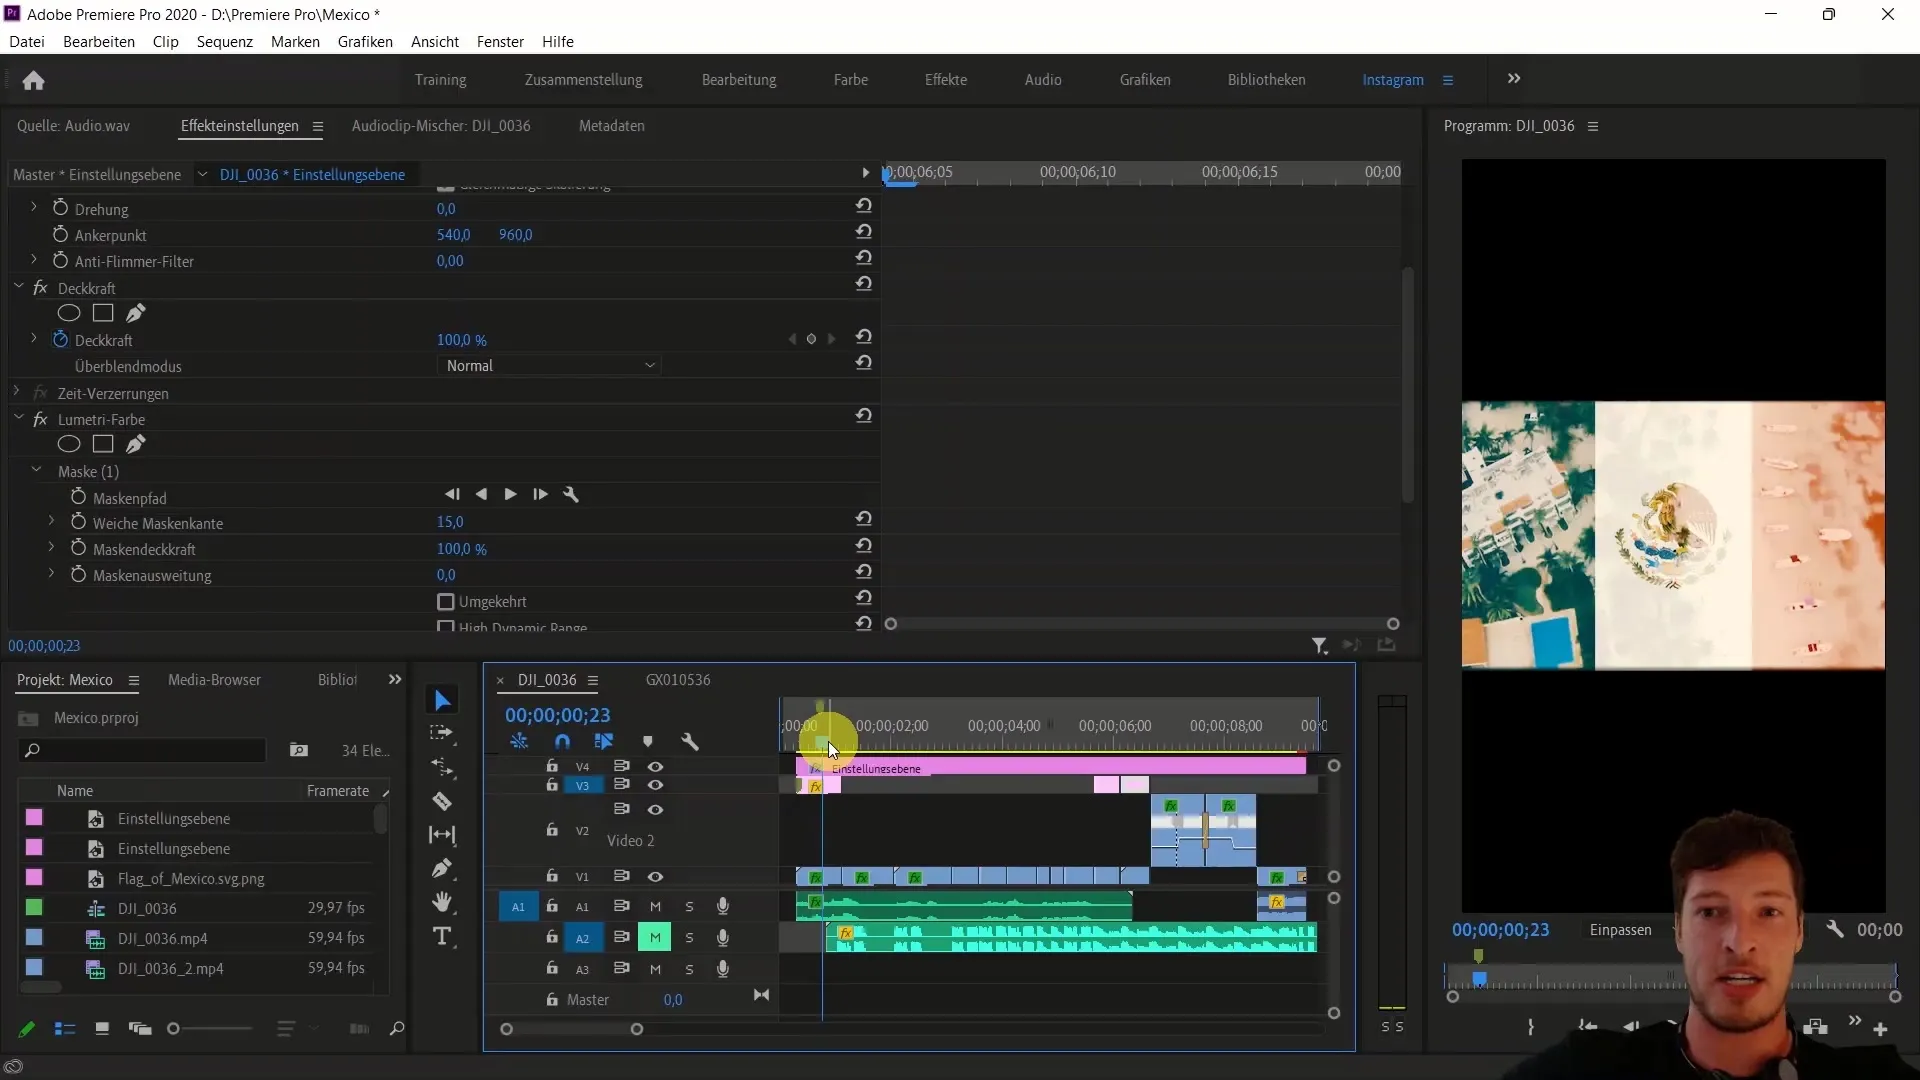
At the end of these steps, you will have an impressive Instagram Travel Reel ready to be shared with your community. In the upcoming sections, we will dive deeper into the techniques and explain in detail all the necessary steps to optimize your video editing.
Summary
In this guide, we have covered the essential steps for creating an Instagram Travel Reel with Adobe Premiere Pro CC. From adjusting the layout to using licensed music and special editing techniques – you should now be well-equipped to create your own professional Reel. These techniques and tips will help you create creative and engaging content that resonates with the Instagram community.
Frequently Asked Questions
How can I insert licensed music from Instagram into my video?You can select licensed music directly from the Instagram app and integrate it into your Reel.
What is Time Remapping and how do I use it?Time Remapping is a technique to adjust the speed of clips. You can create dynamic transitions and interesting effects with it.
How can I enhance the color of my video?Use Lumetri Color in Adobe Premiere Pro to make targeted color adjustments and maskings.
How do I create masks in Premiere Pro?You can create and adjust masks directly in the Effect Controls panel to edit specific areas of your video.
How can I change my voice to sound more cinematic?Use the audio effects in Premiere Pro to edit your voice and achieve a Trailer-Voice effect.
