In this guide, you will learn how to adjust and save your workspace in Adobe Premiere Pro CC for vertical videos such as Instagram Reels or Stories. Such adjustments not only improve your editing efficiency but also ensure that you have more space for your important elements. Let's walk through the process step by step together.
Key Takeaways
You will learn how to optimize the user interface for vertical formats, adjust the preview area, and save your personal layouts for reuse at any time.
Step-by-Step Guide
First, we need to make sure that we are working in the correct sequence. You should be in the audio sequence where the first vertical video is being created. Check this by making sure that the video track is in a 9:16 format and not 16:9.
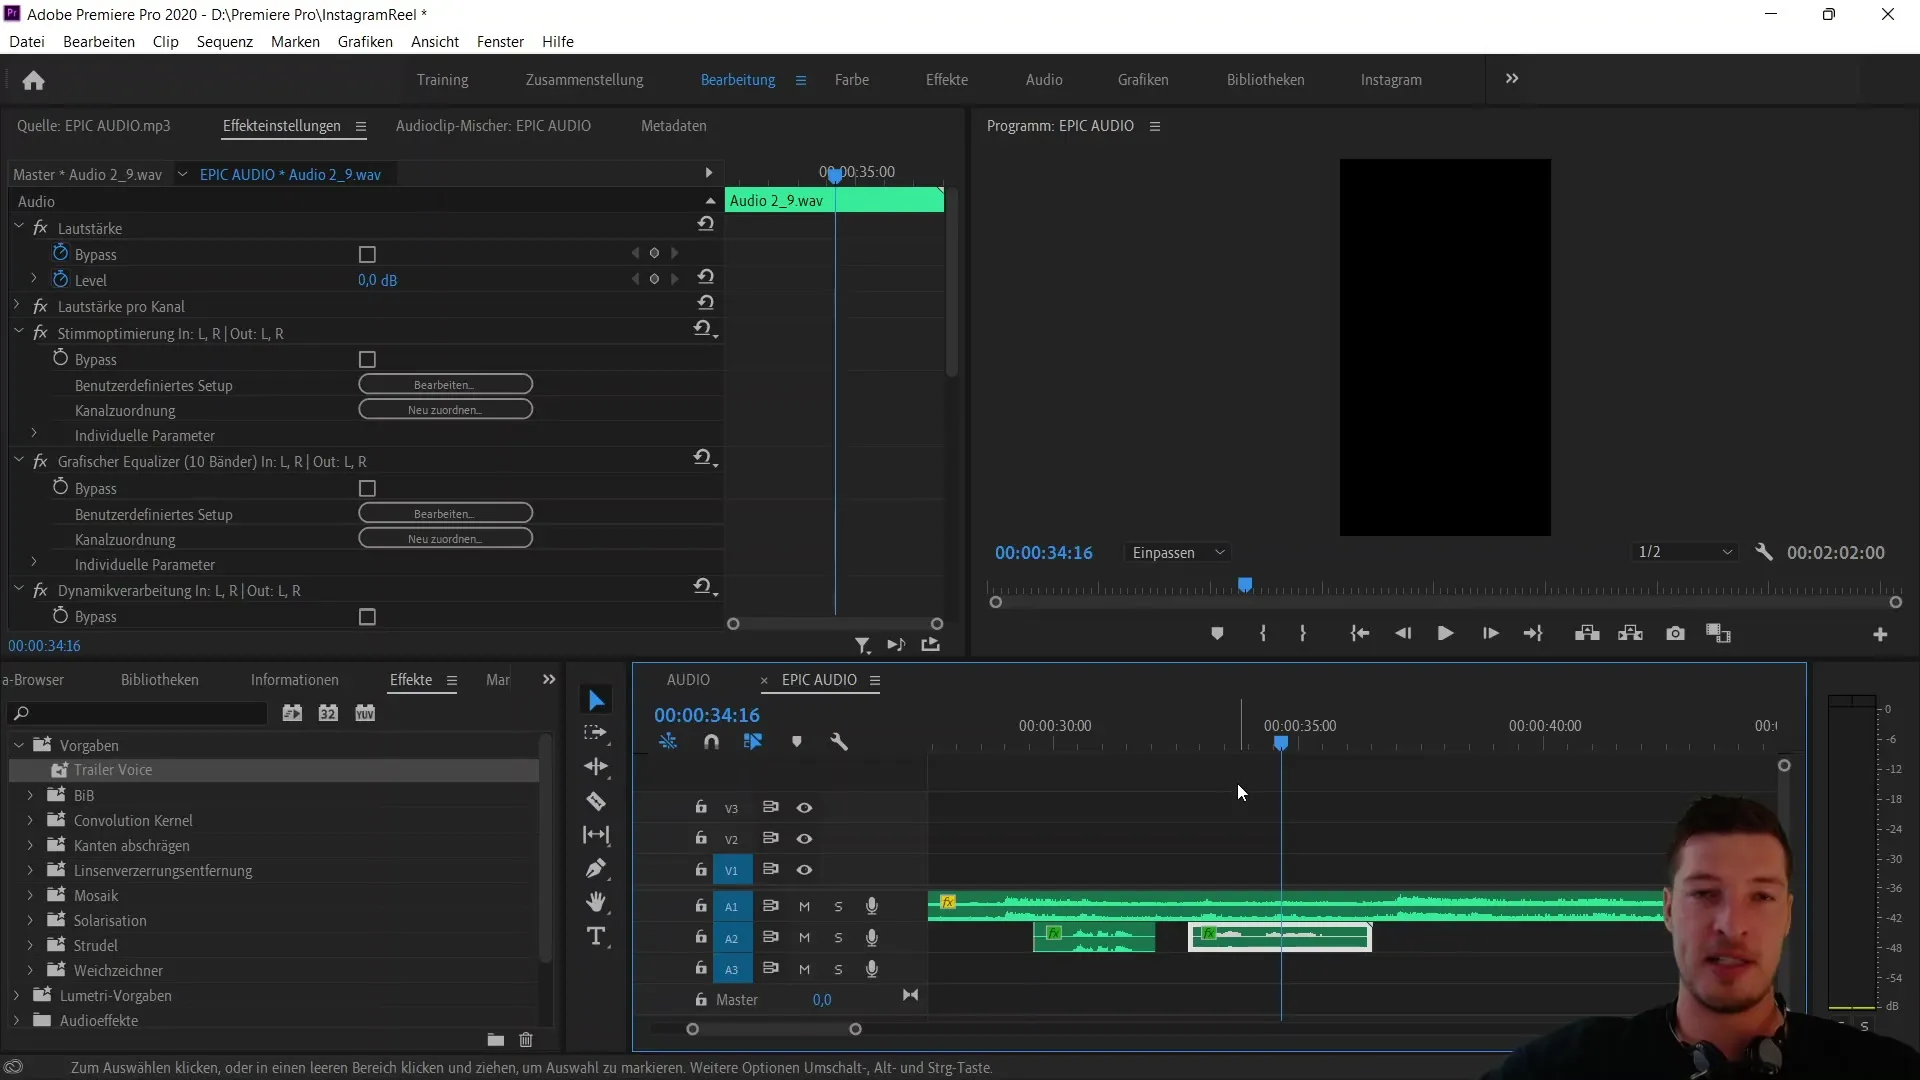
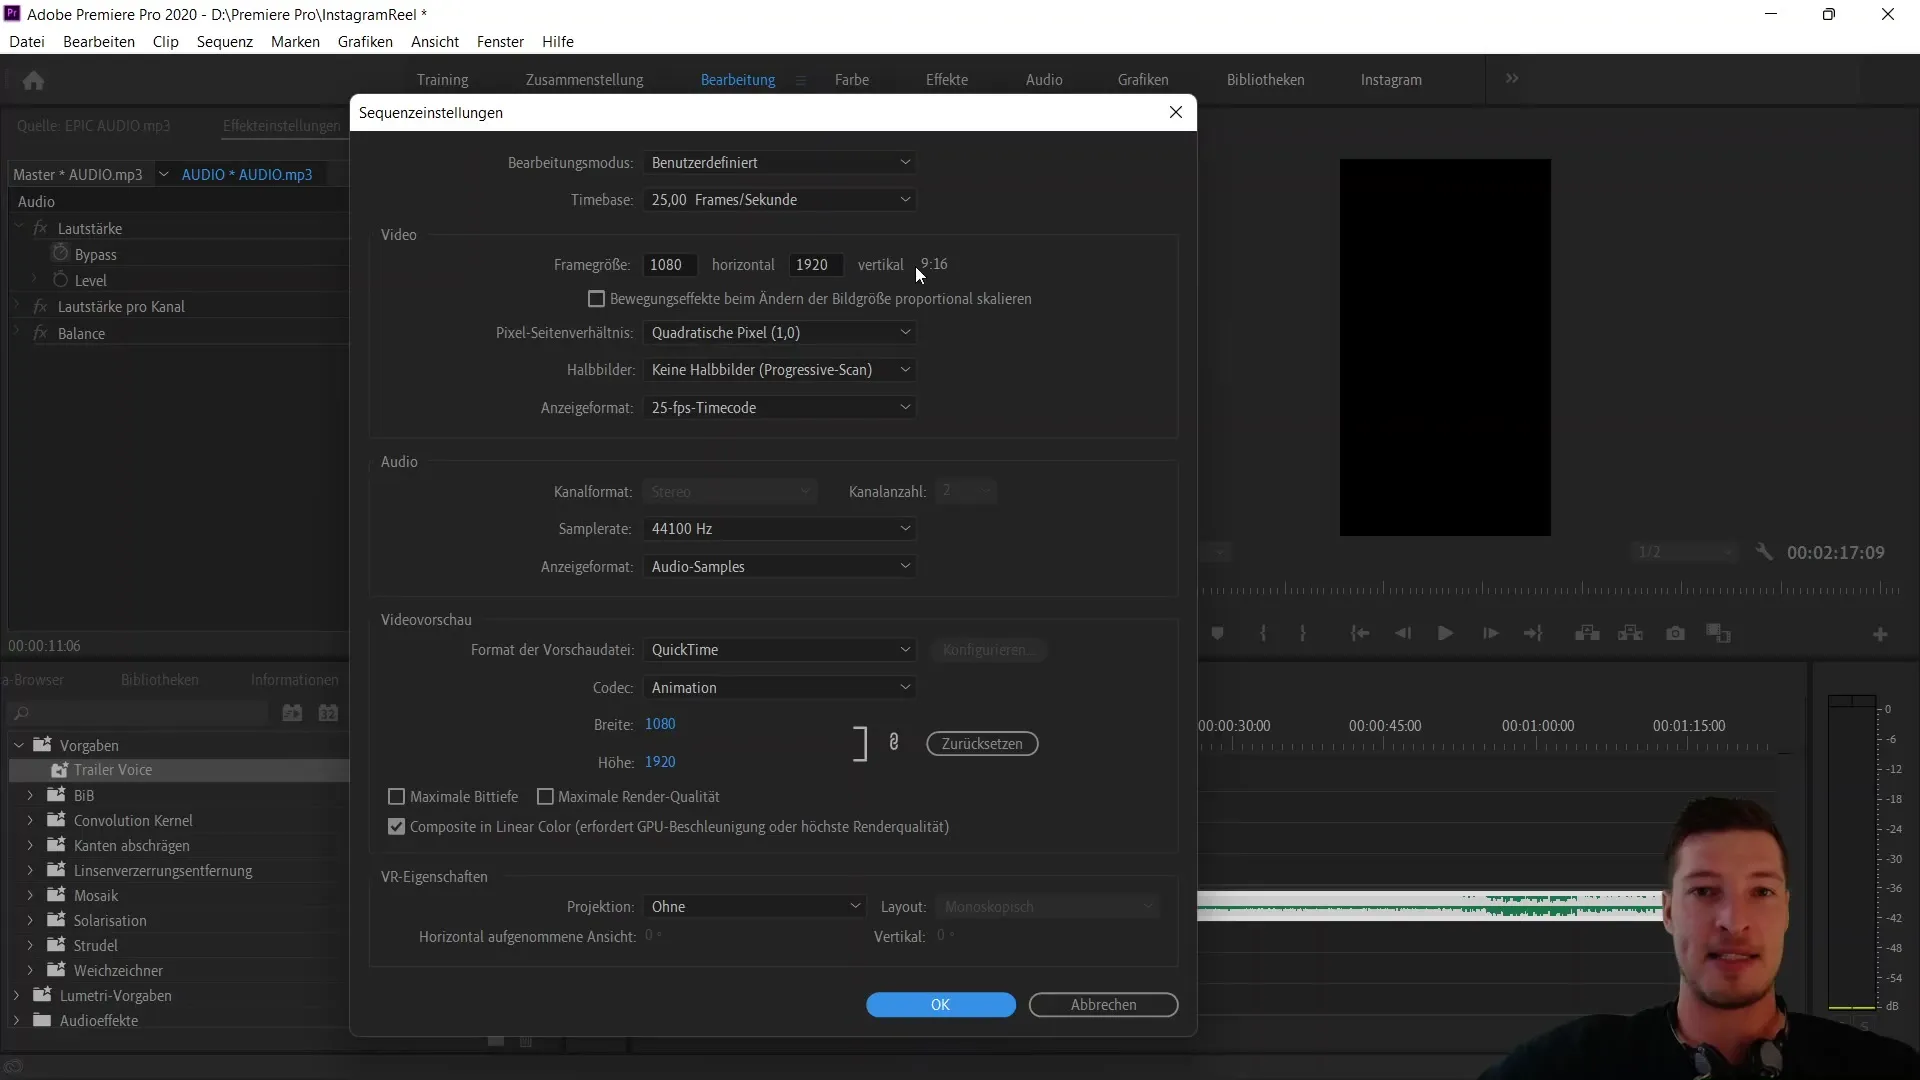
To achieve this, go to the sequence settings. The frame size for vertical videos should be set to 1080 pixels in width and 1920 pixels in height.
Once you have set this up correctly and click "OK," you should see a preview area that closely matches what you see on your screen. It is important to ensure that you provide enough space for your preview video to avoid wasting valuable screen space during editing.
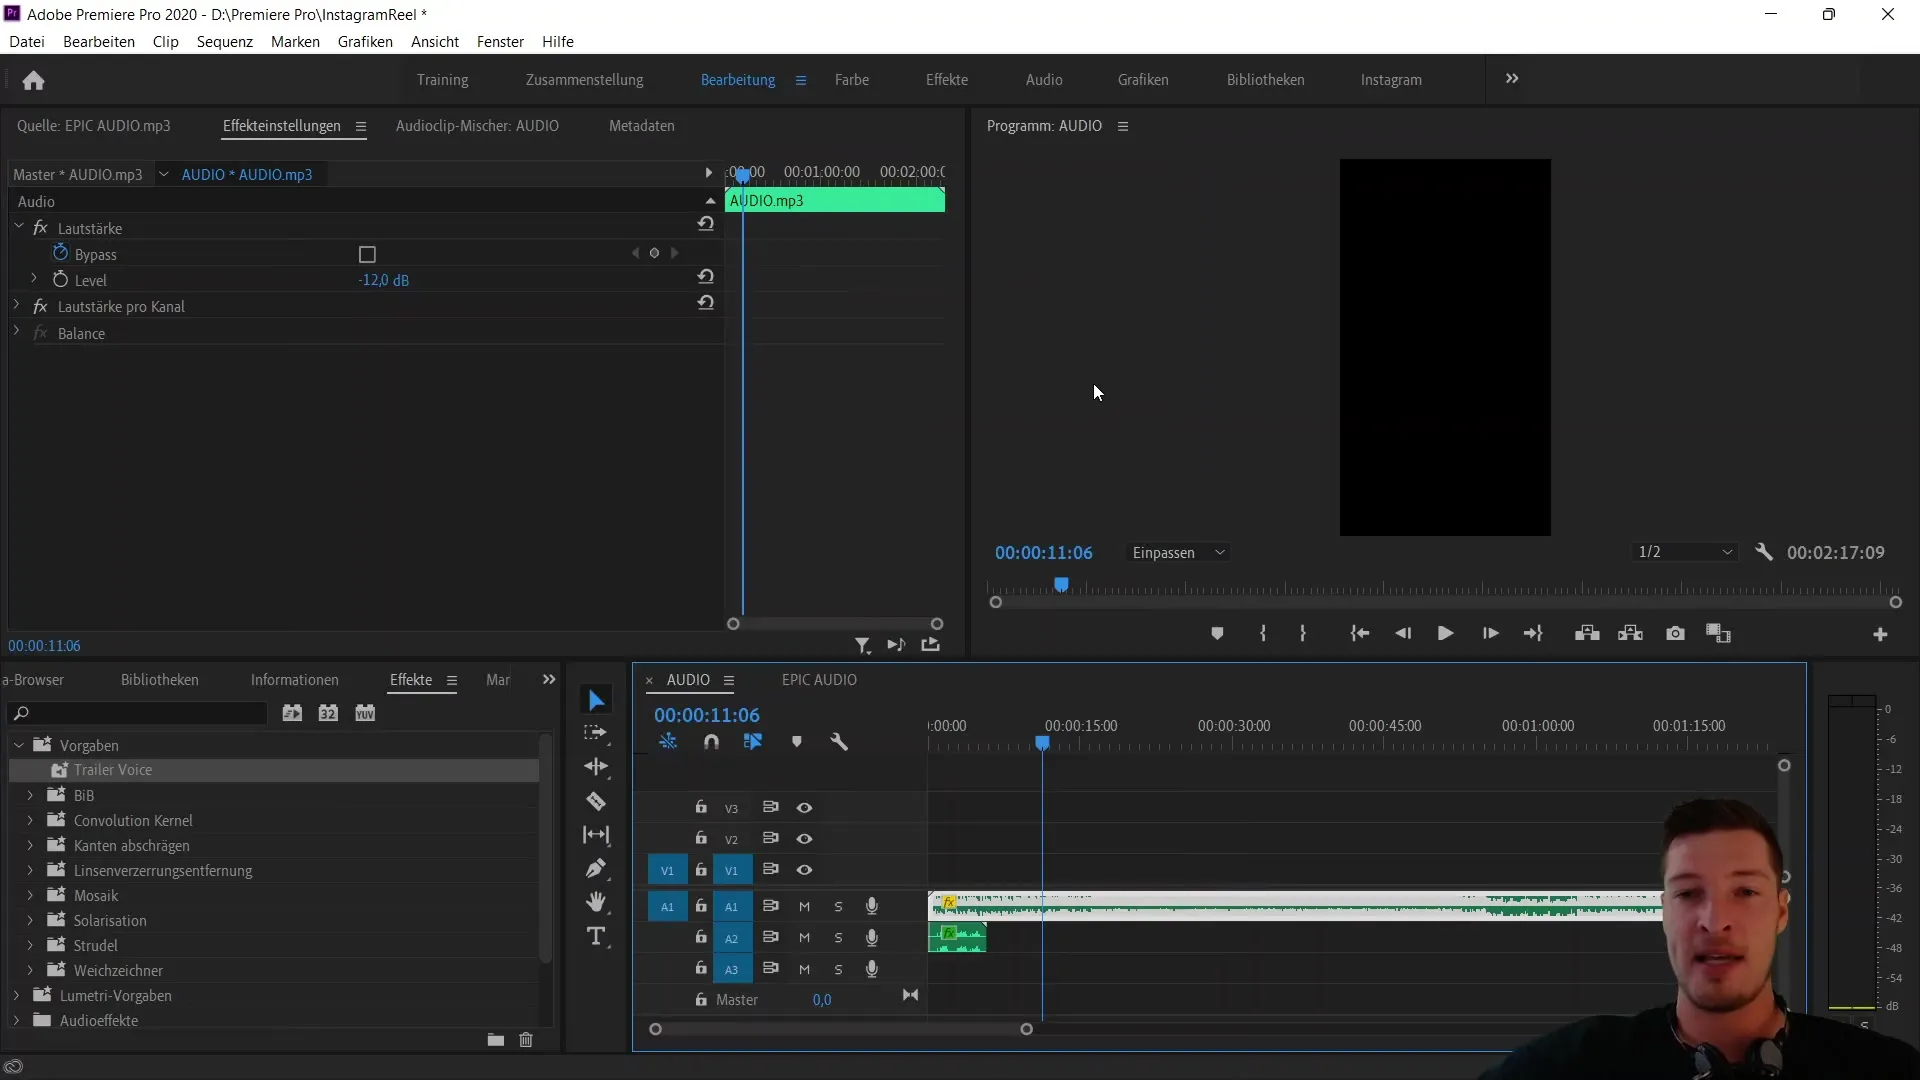
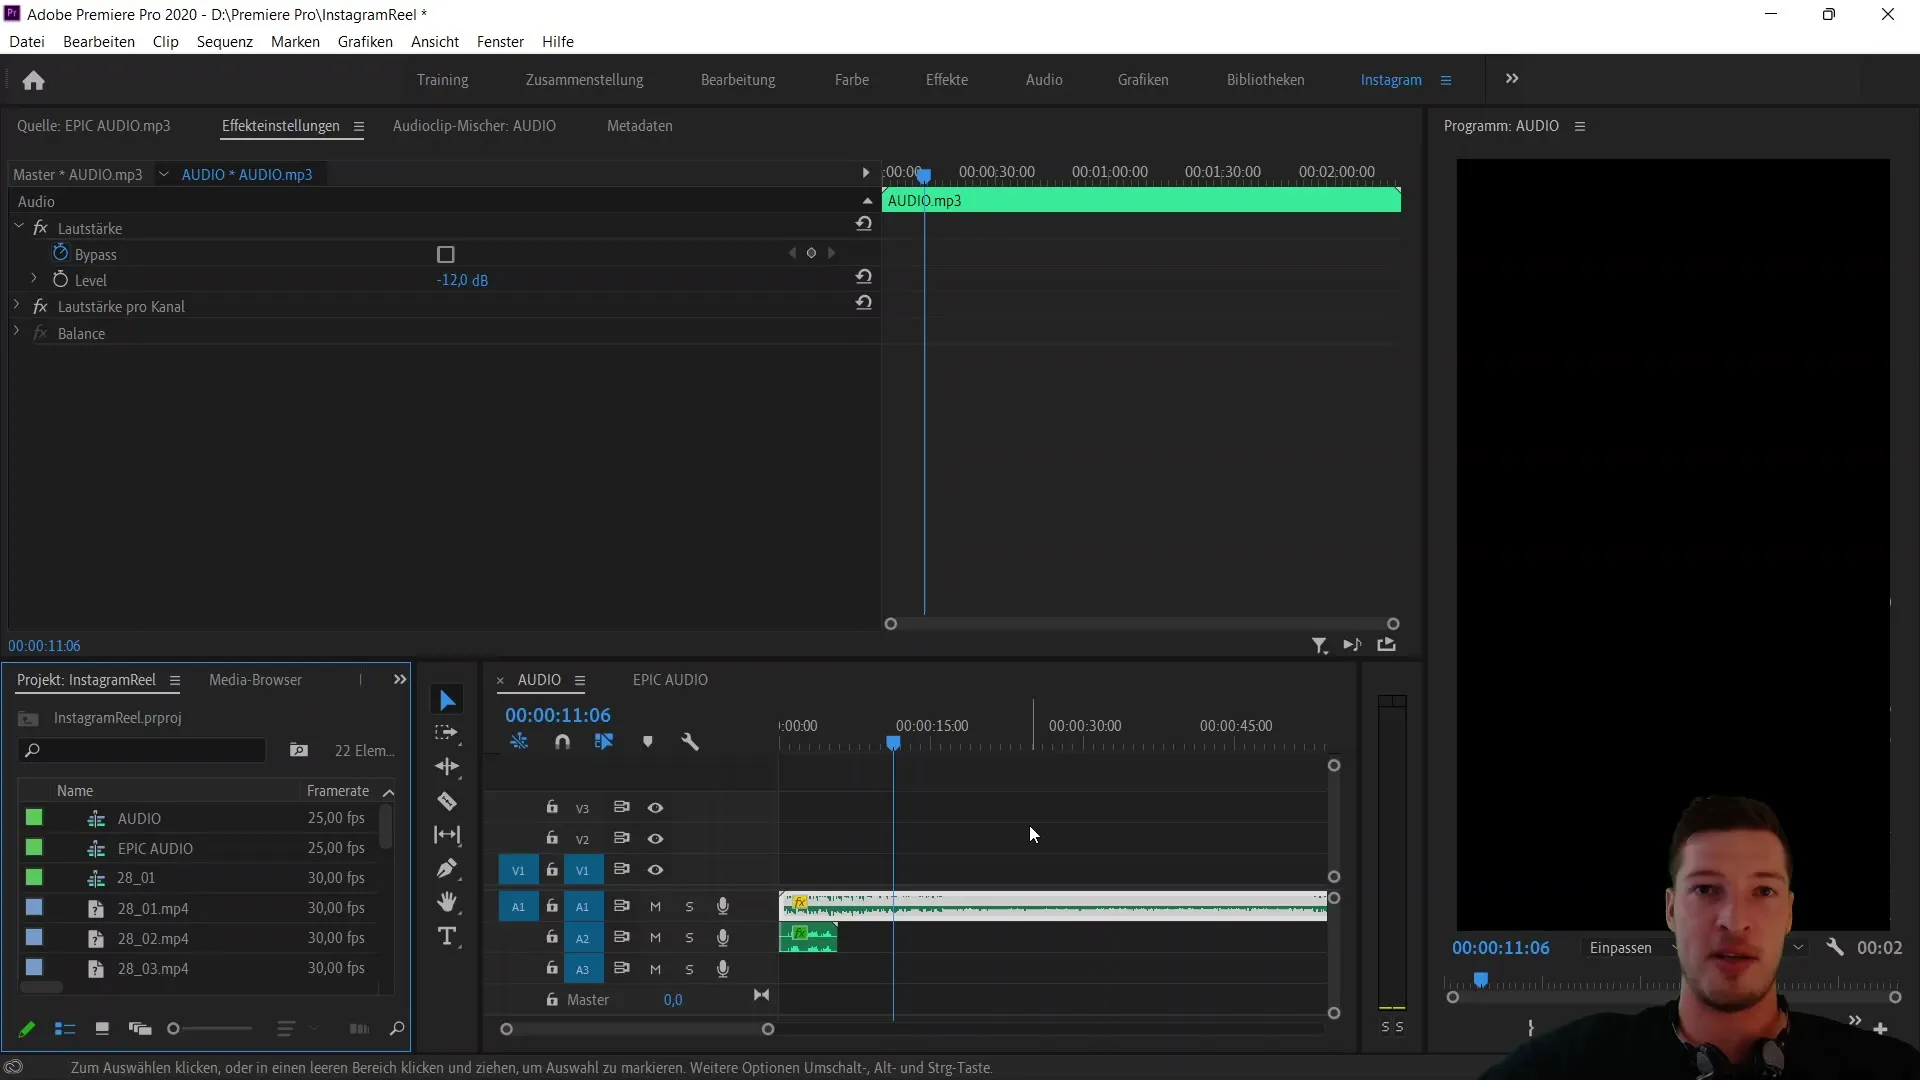
To optimize the preview area, select it and drag the entire display to the right until it reaches the small green rectangle. Do not release while dragging until it is at the desired position.
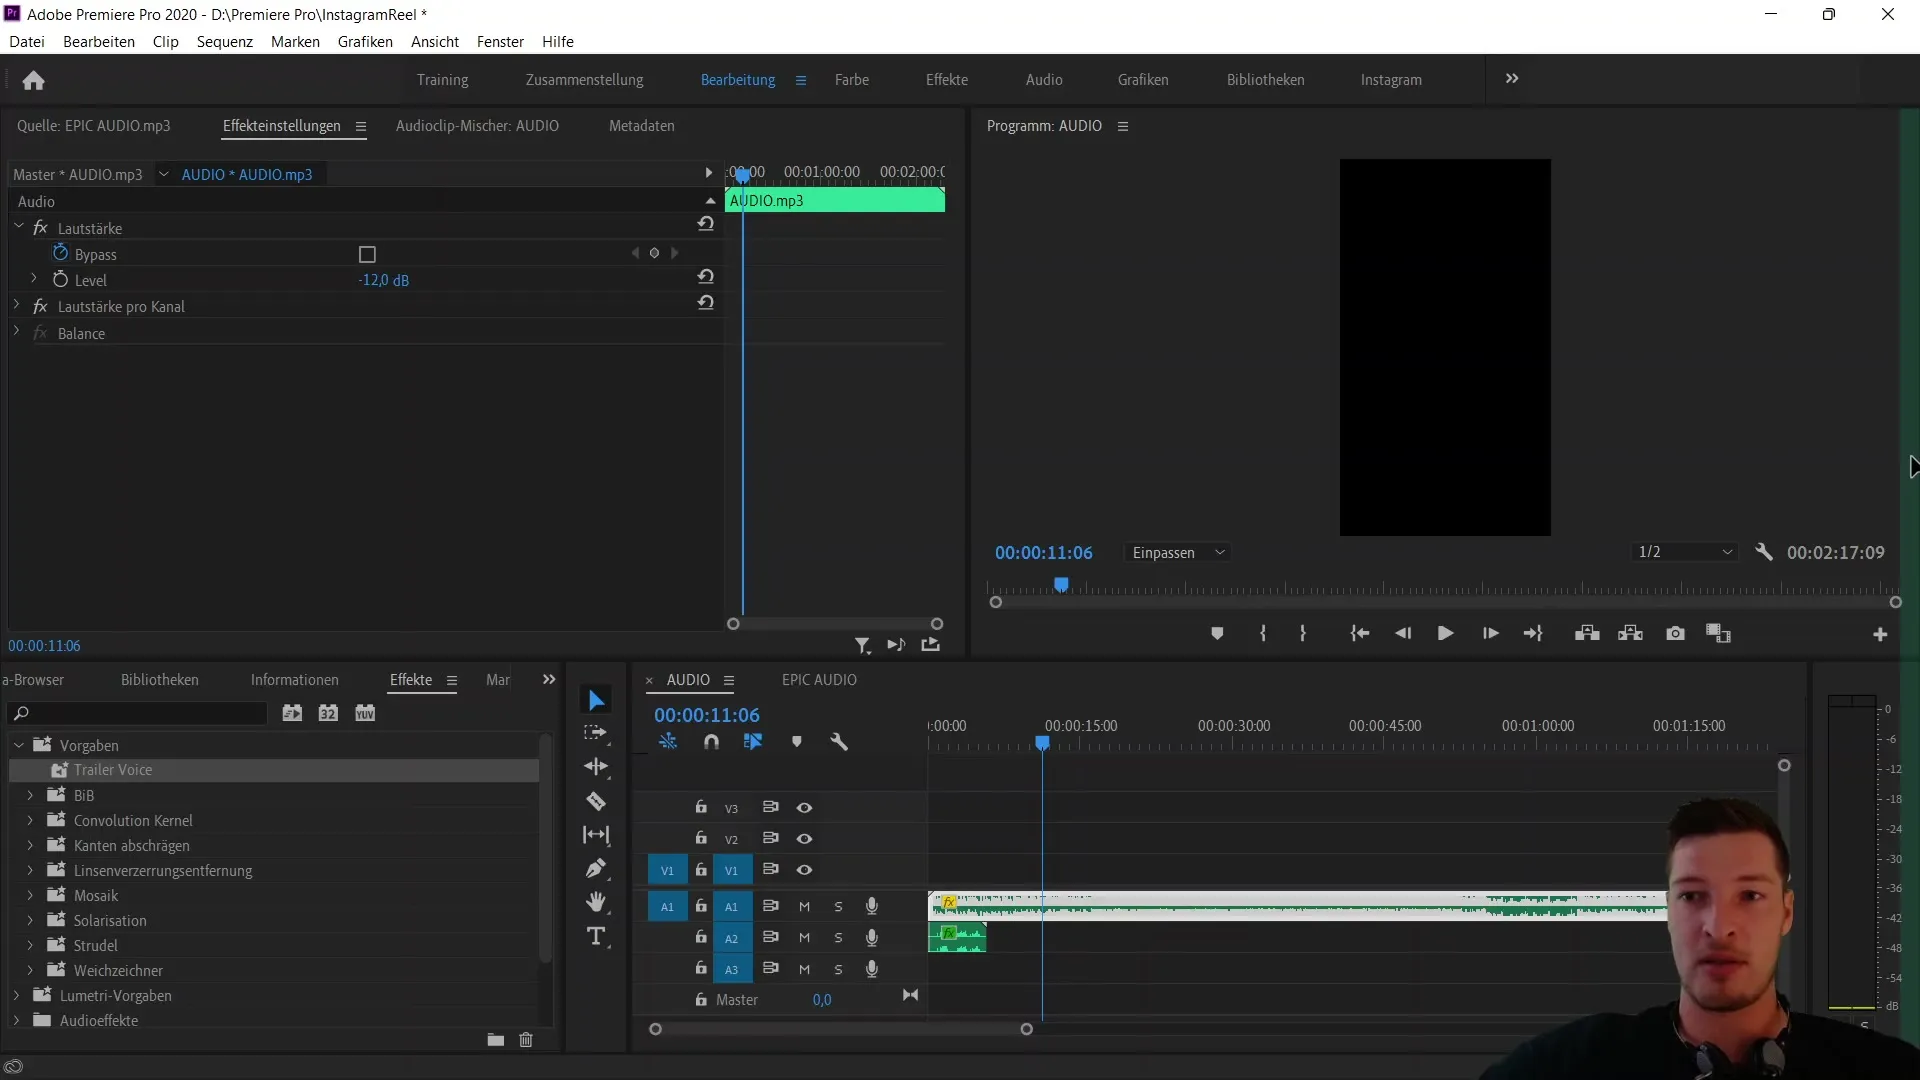
This allows you to maximize the viewing area from top to bottom. Then, if you touch the left edge and continue moving it to the right, you can further narrow down and optimize the space around your relevant content.
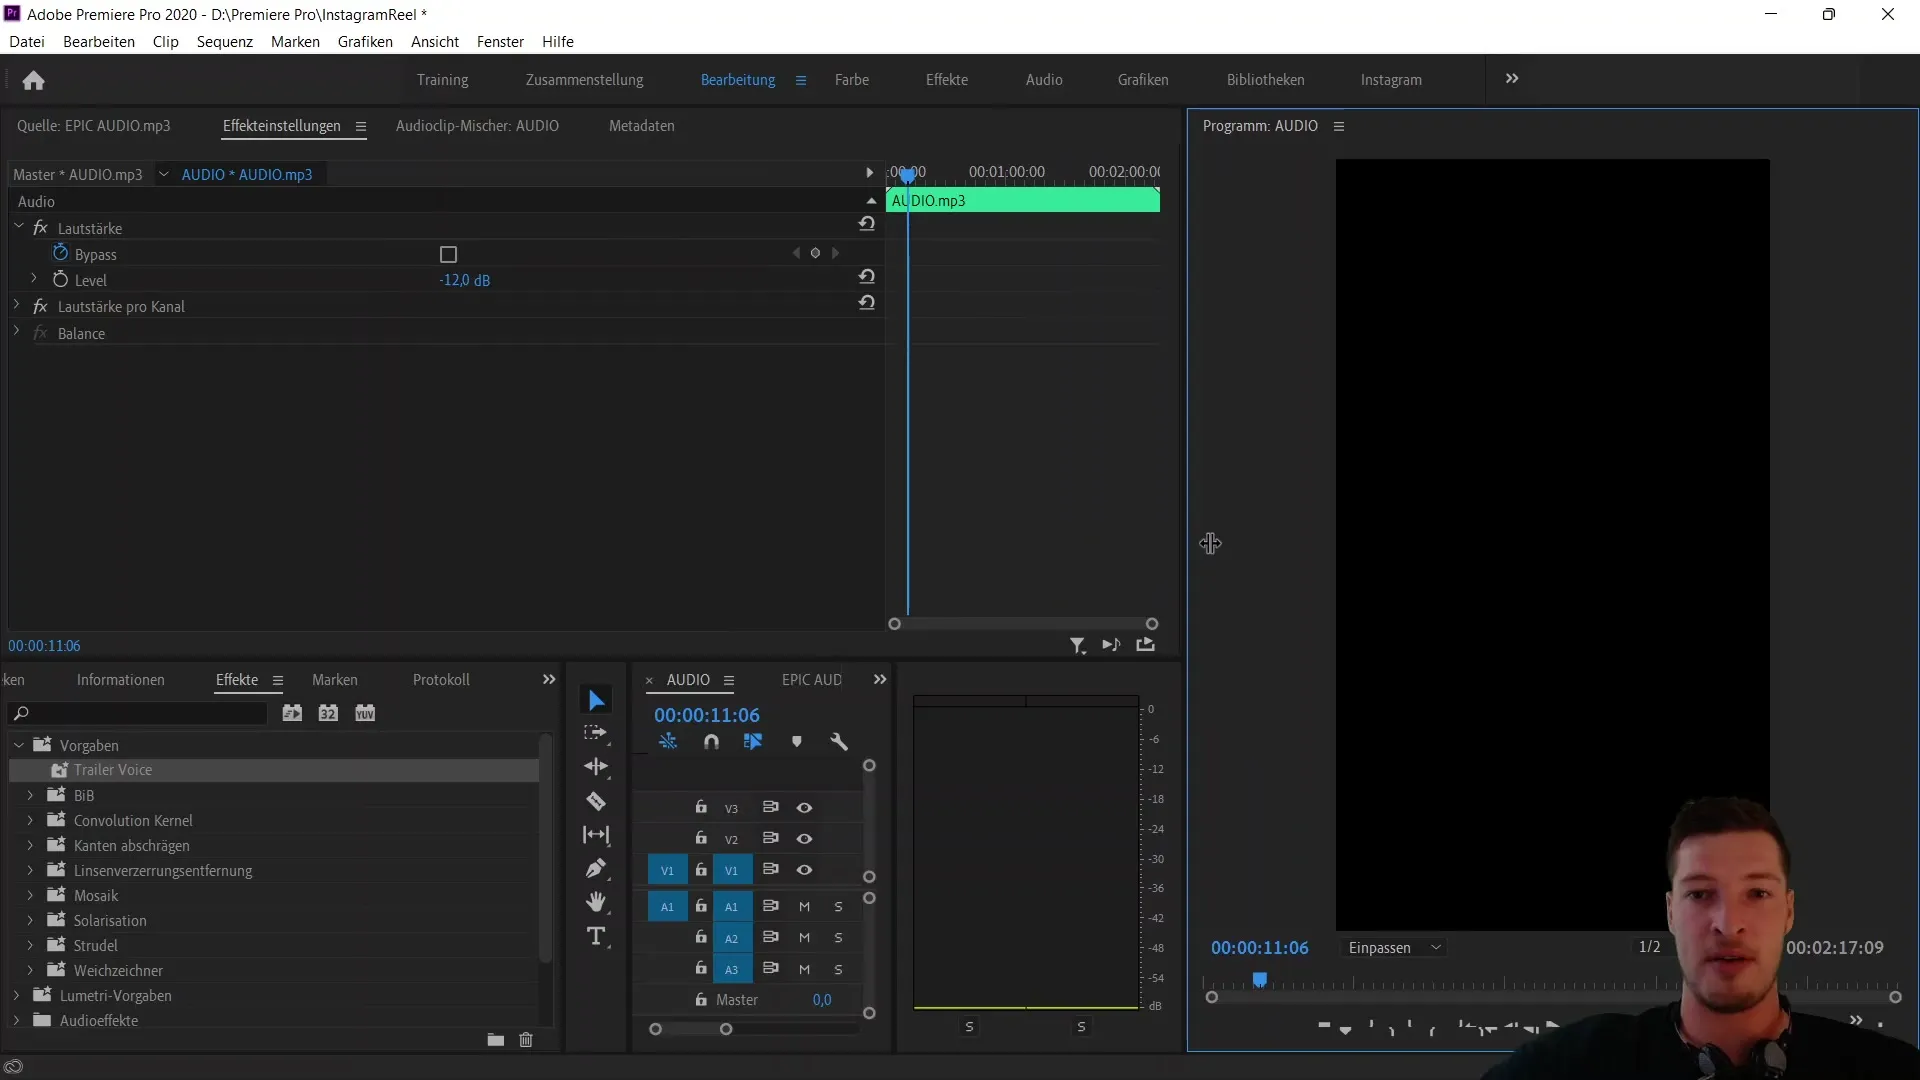
Make sure to adjust the editing area as well. This ensures that the editing area remains visible and allows you to work comfortably. To adjust this, move the level to the right until it is only minimally visible.
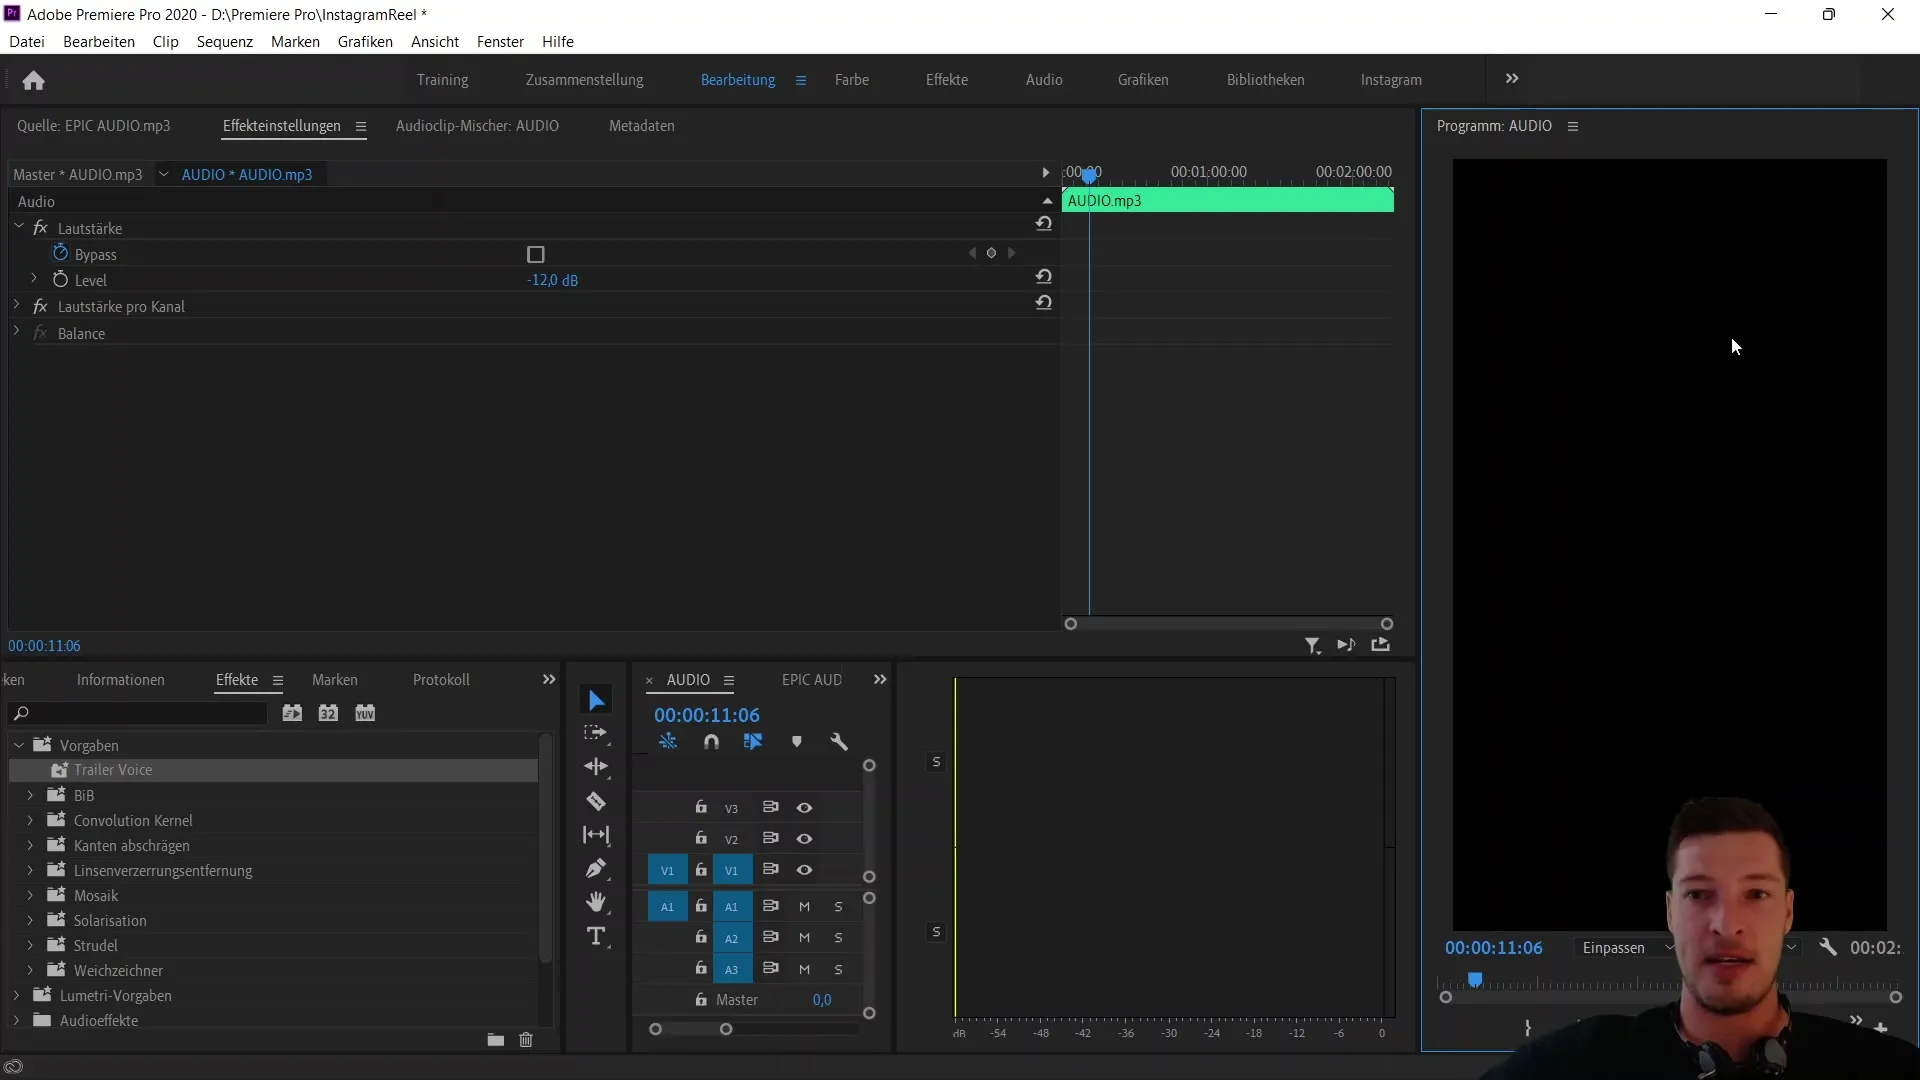
You should also shrink the project area so that the tools and editing area work together harmoniously, allowing you to work effectively with the files.
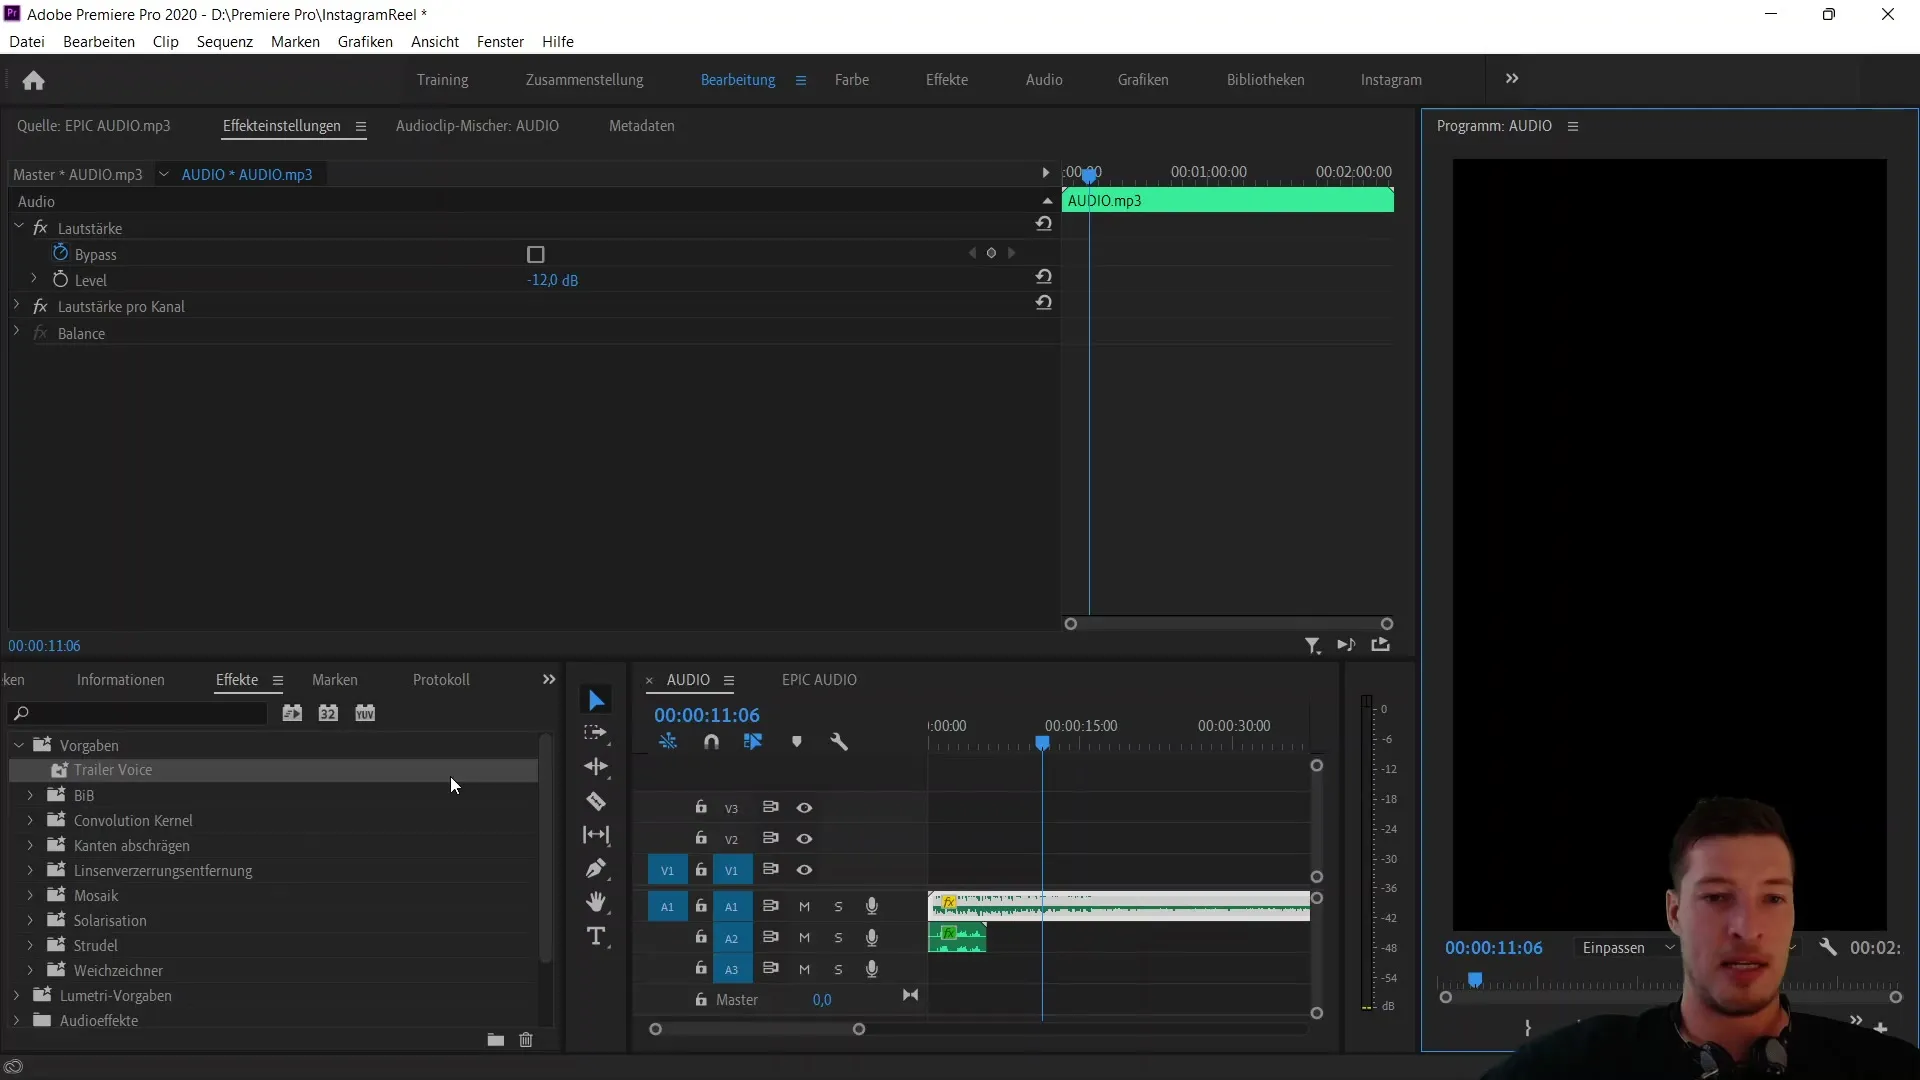
If you are using an ultrawide monitor, you will appreciate the optimized view. On a Full HD monitor, this layout configuration should also provide enough space for your adjustments.
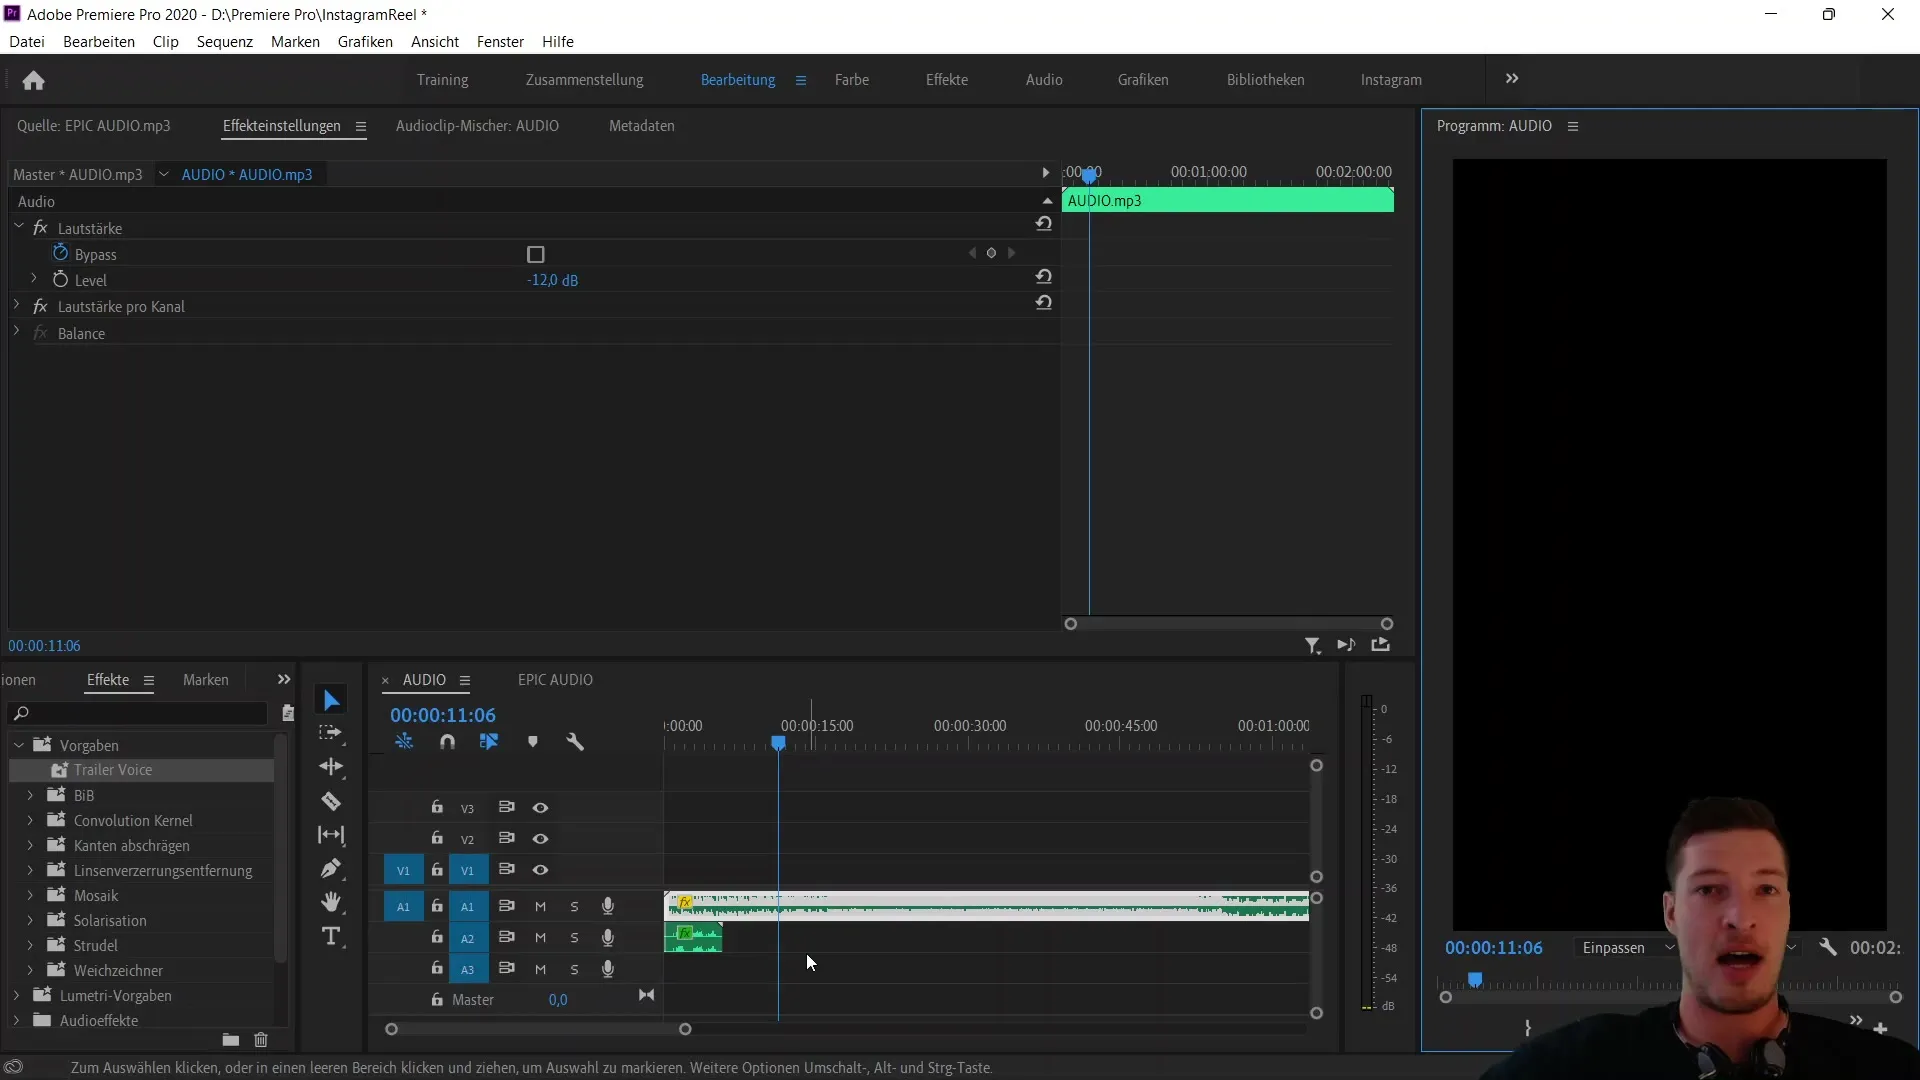
Now that we have adjusted our layout for vertical videos, you can save this layout for future projects. If you haven't already done so, choose "Window" from the menu and then click on "Workspaces" and "Save as New Workspace."
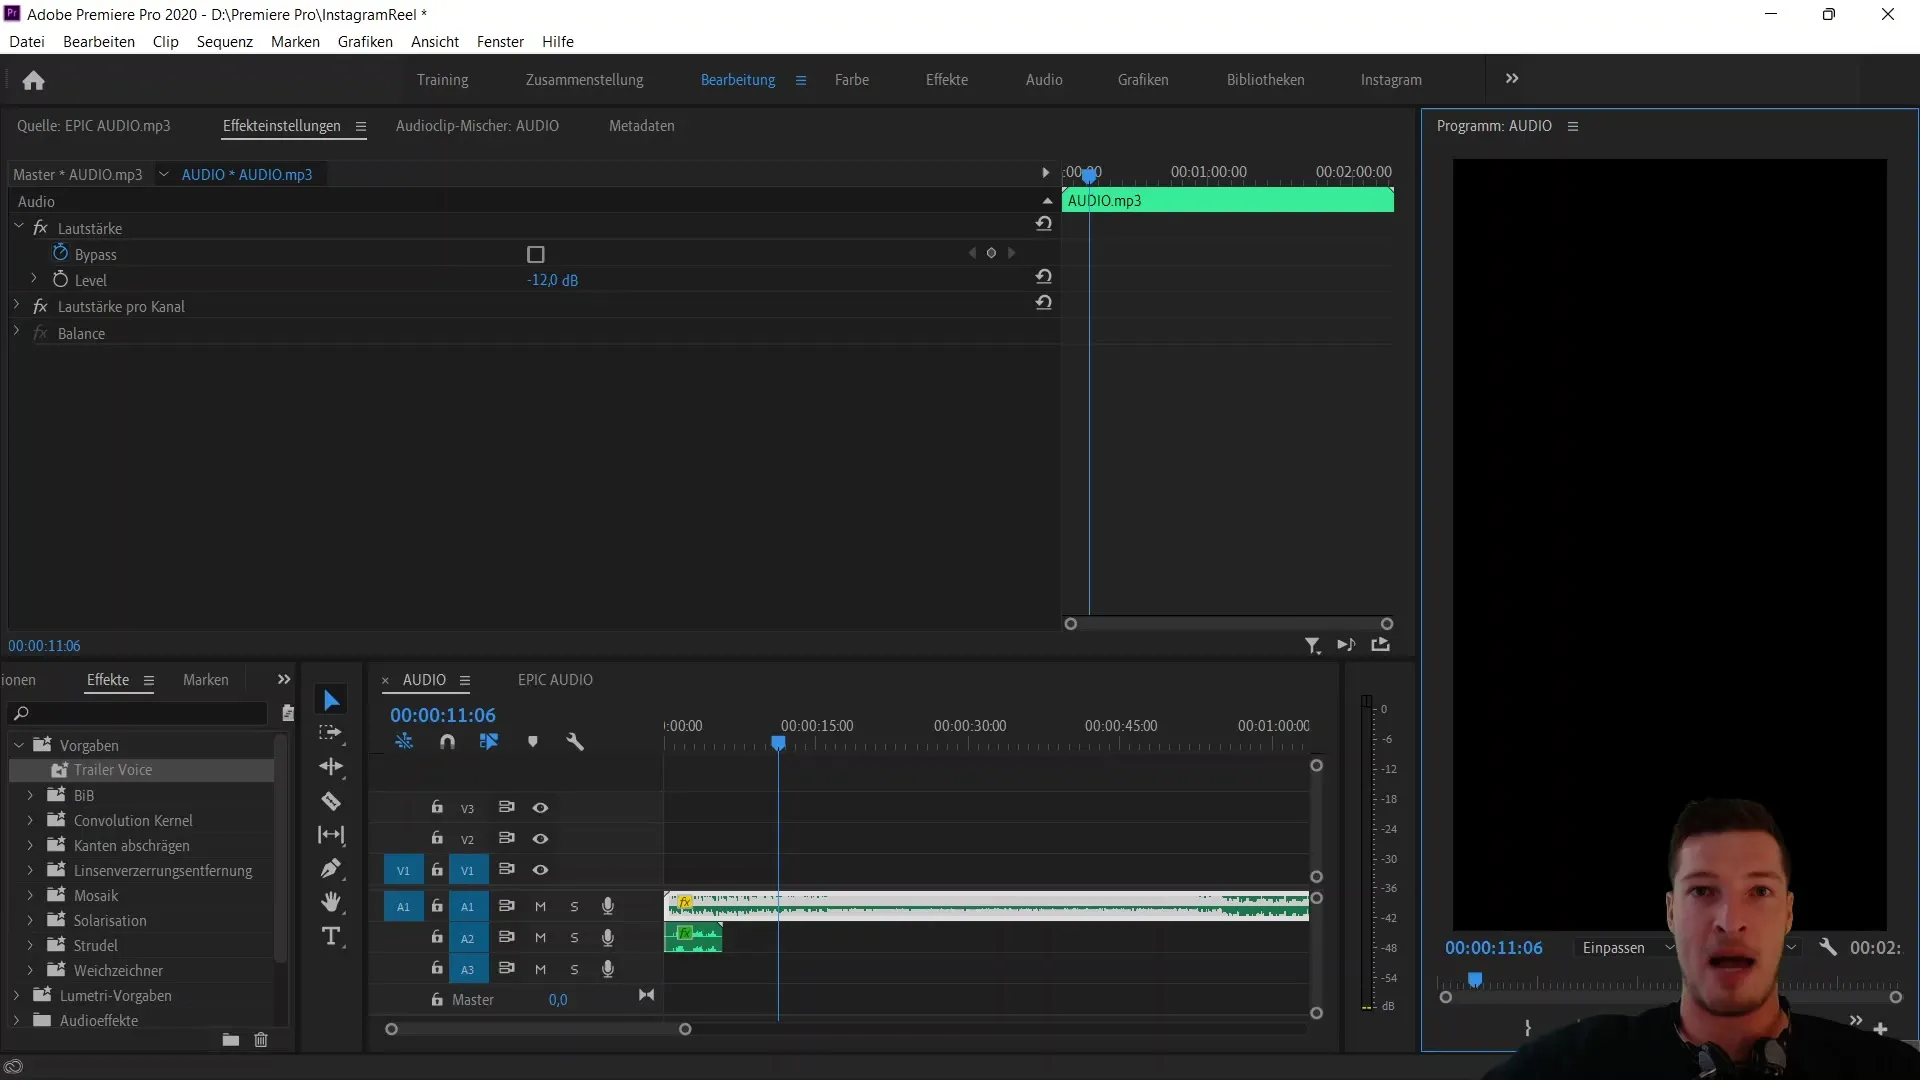
Give the new layout a meaningful name such as "Instagram" or a more general label like "Vertical."
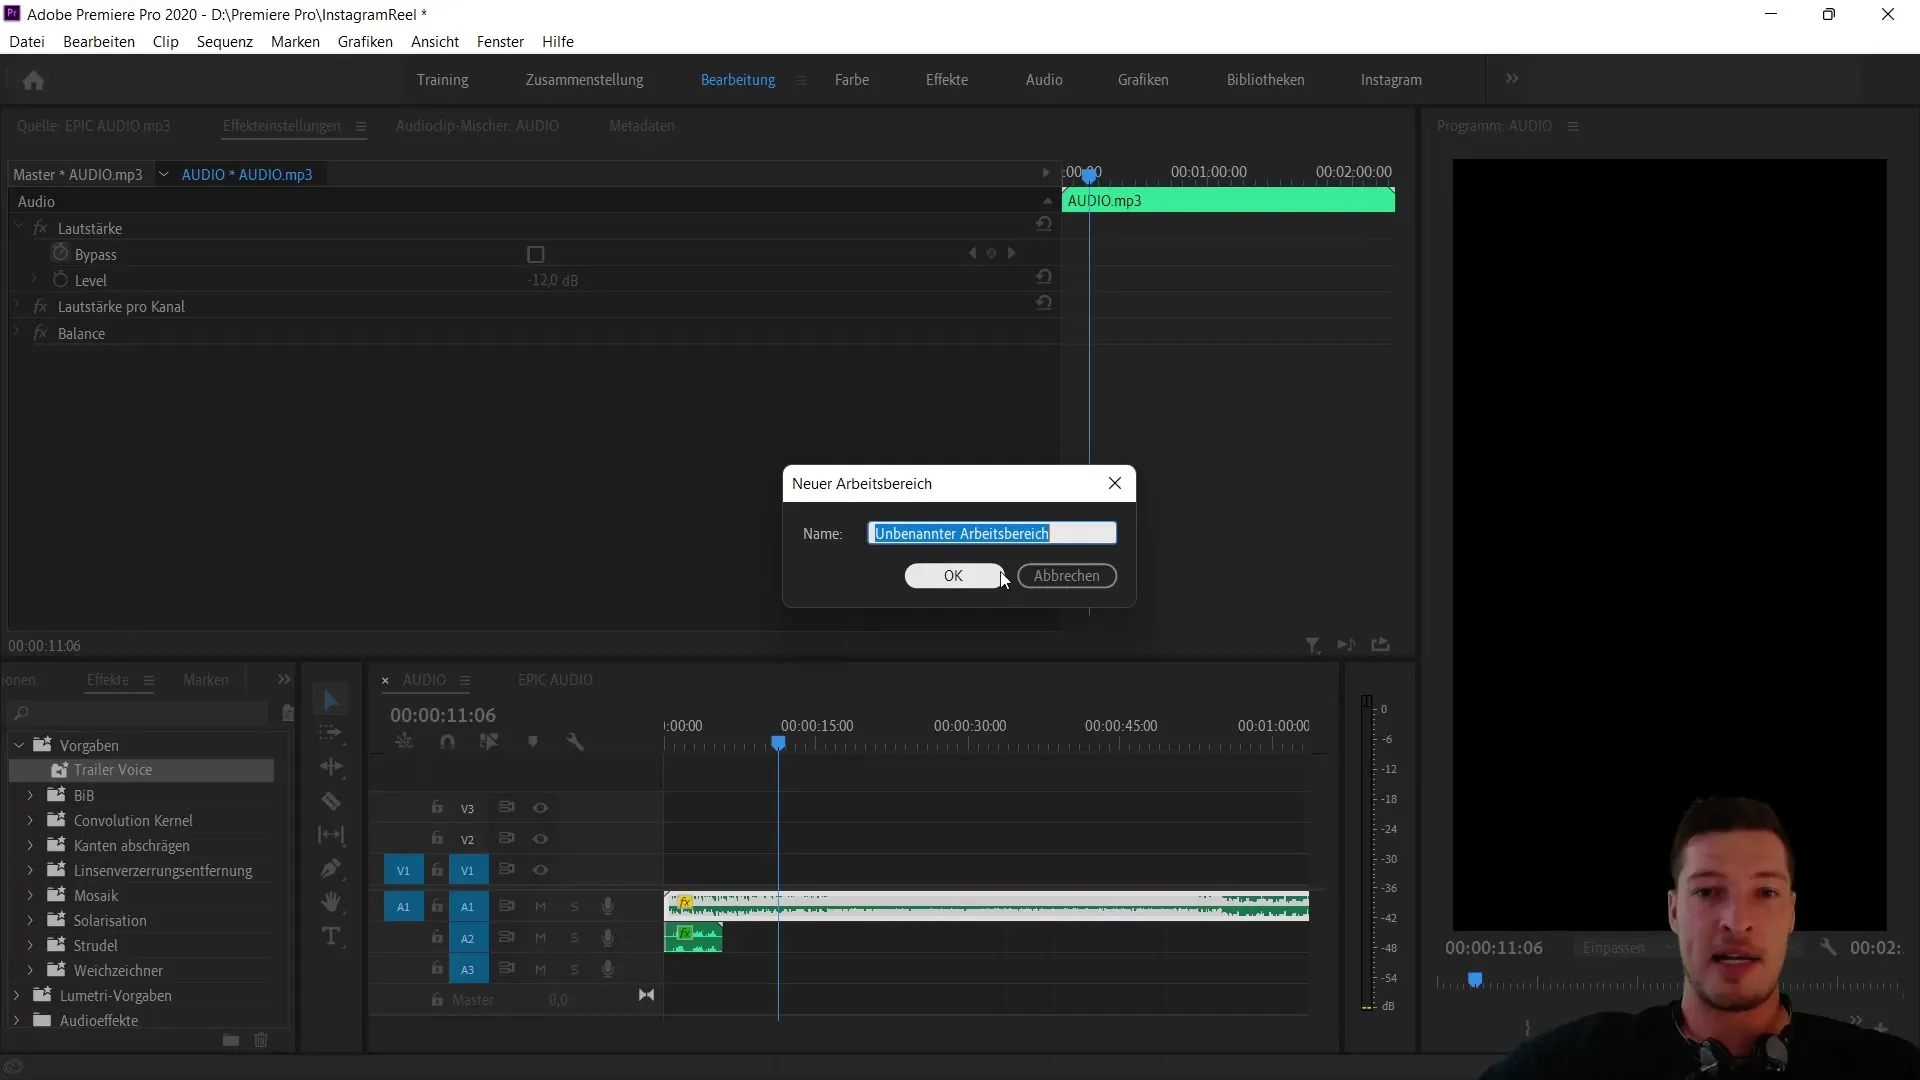
Clicking "OK" will save your workspace based on the current settings. If you want to reset this workspace, you can also choose "Window" and "Workspaces" and then select "Reset Saved Layout." This will revert the workspace to its original view.
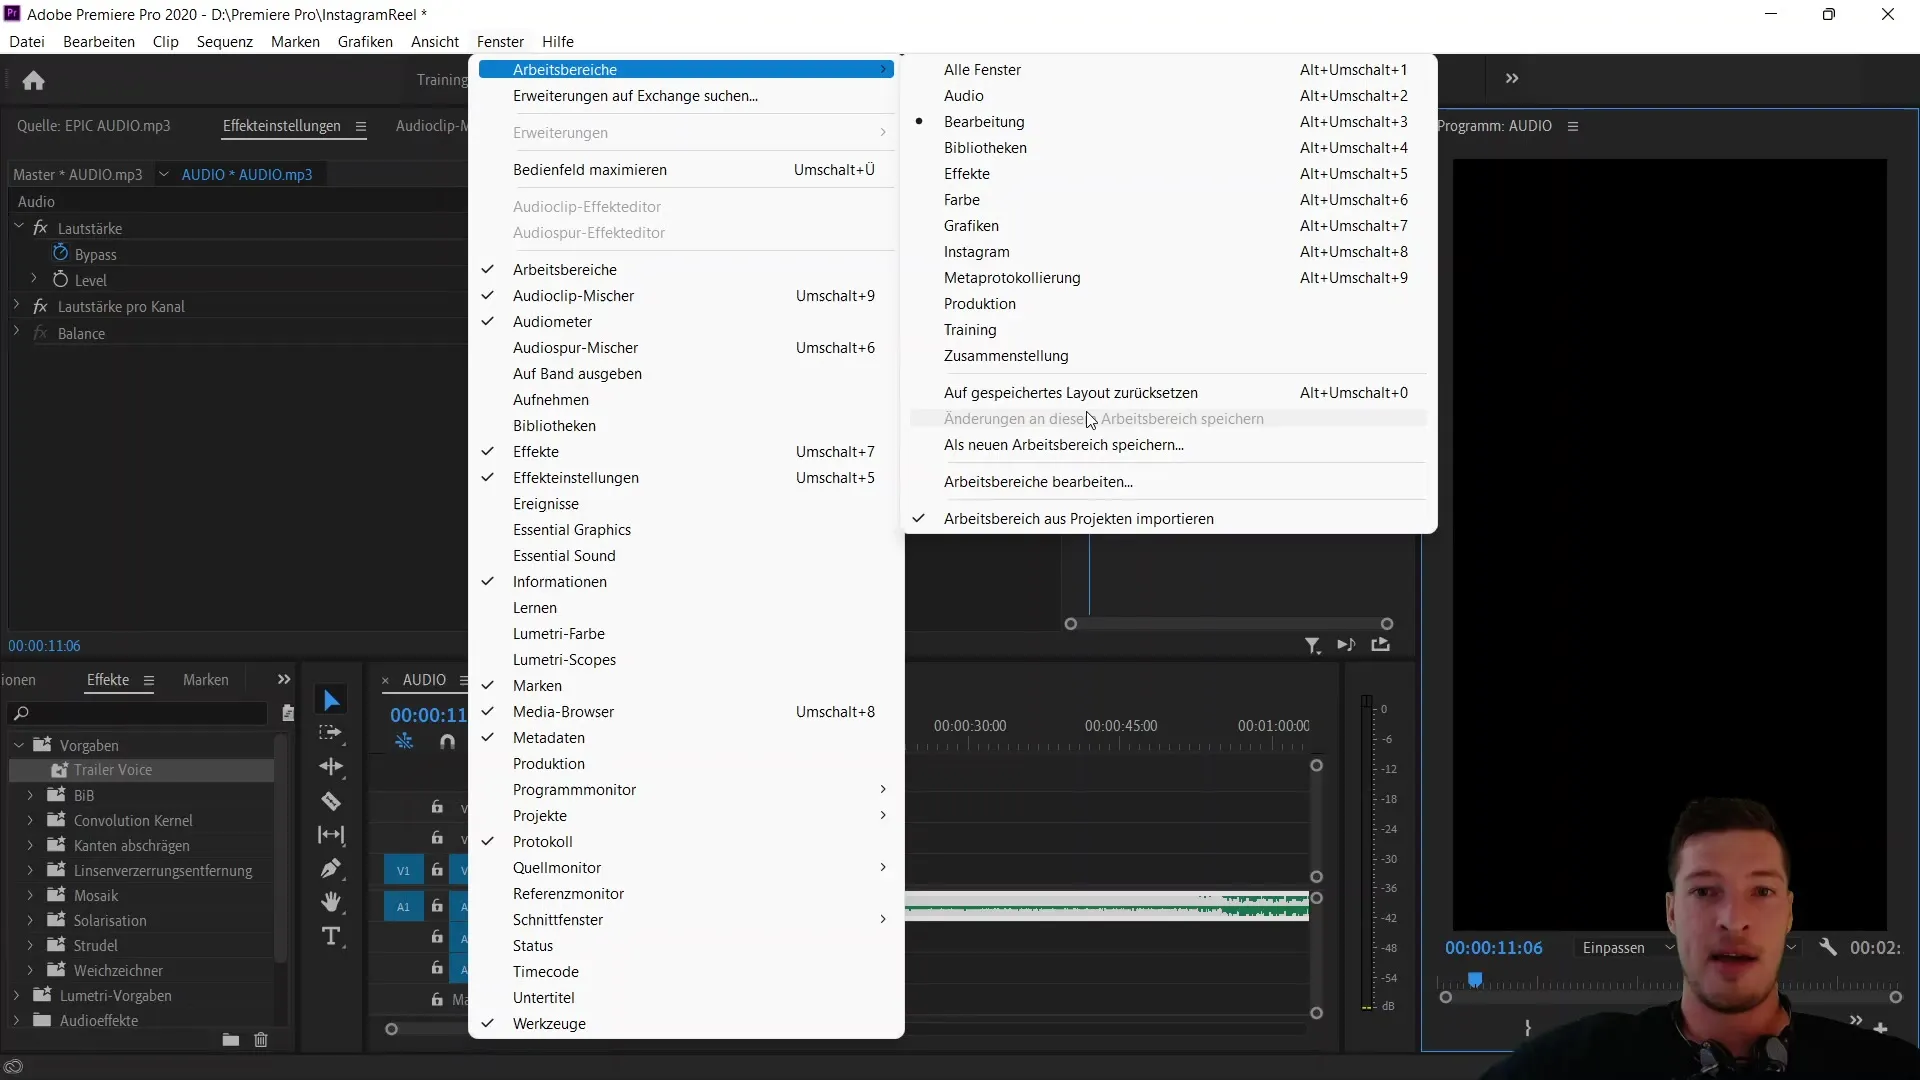
This saves time and greatly simplifies your editing. You now have the option to use the standard layout for your high-end Instagram tab.
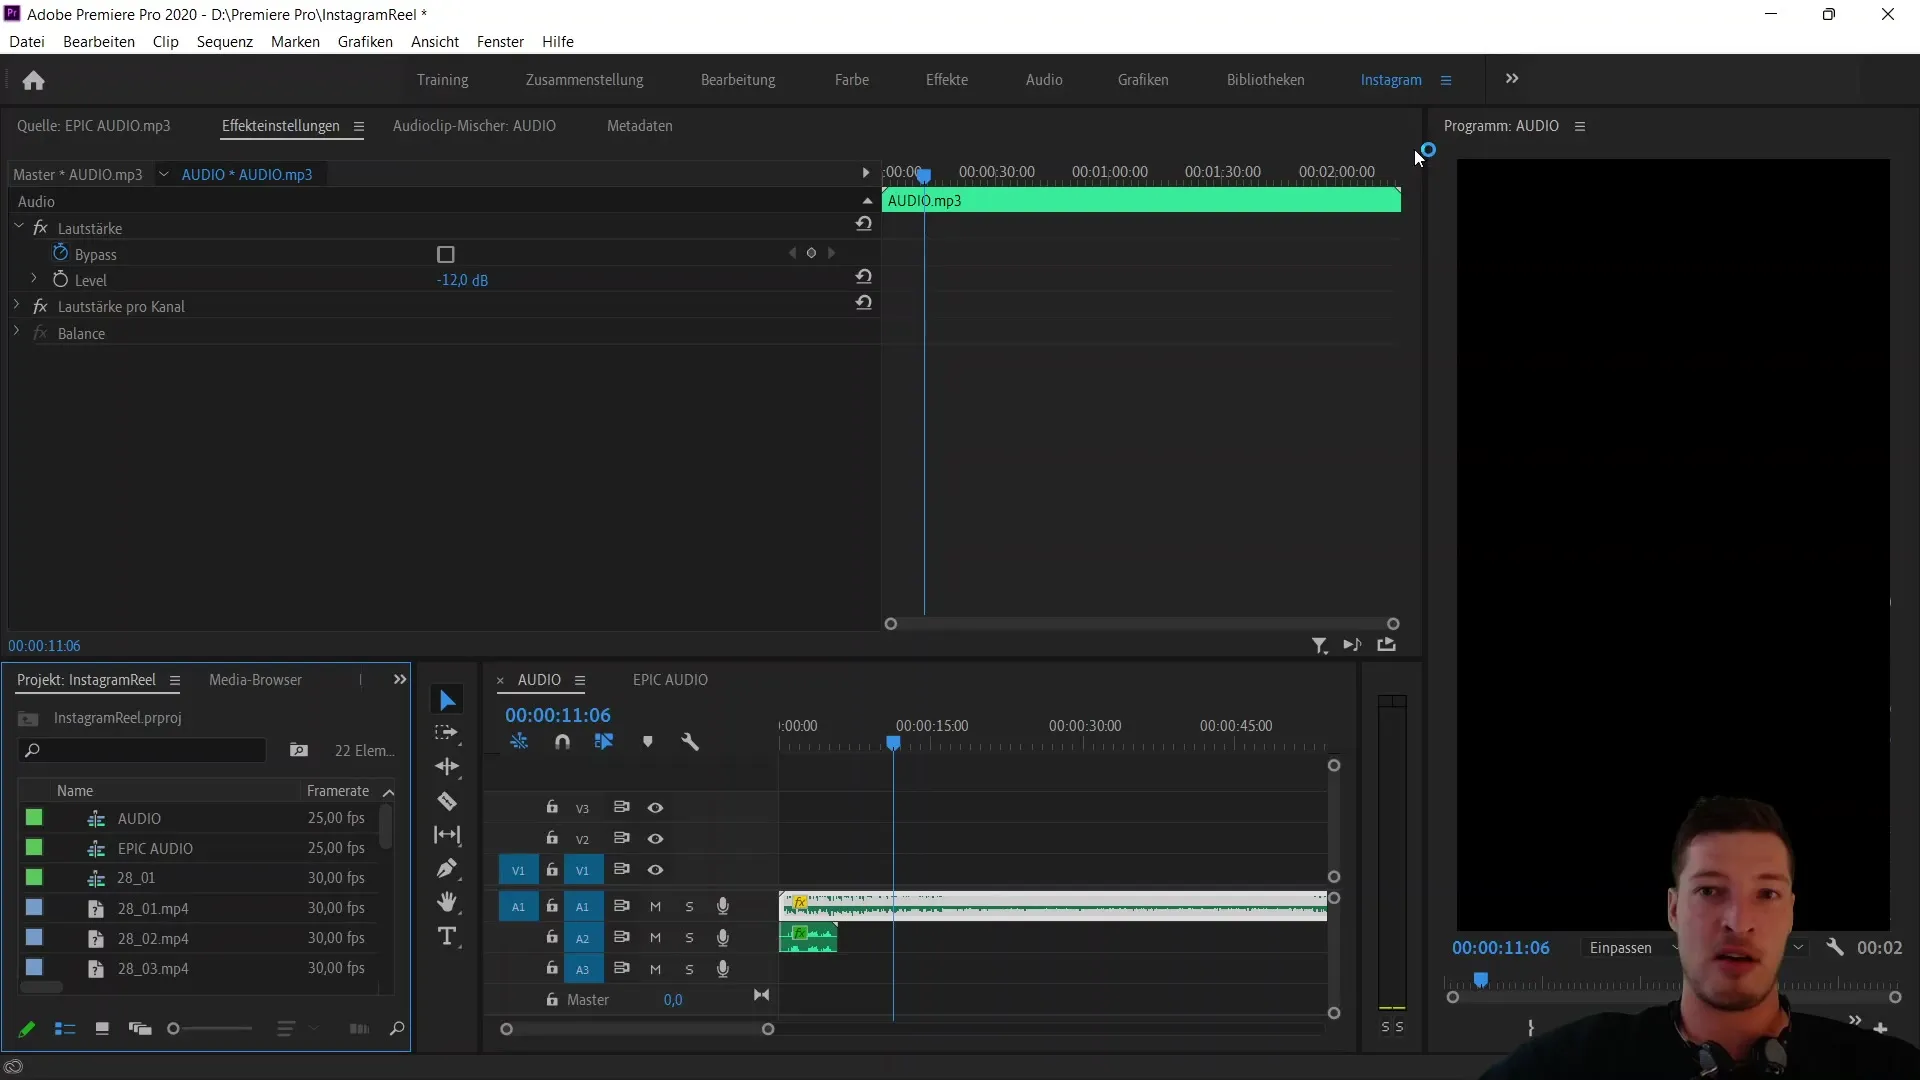
This optimized view greatly facilitates the subsequent editing of your vertical videos.
For your future projects in Premiere Pro, you can always work quickly and efficiently.
Summary
In this tutorial, you have learned how to adjust the workspace of Adobe Premiere Pro for vertical videos and how to save your layouts. With these adjustments, you significantly improve your workflows and always have the necessary space to edit creatively.
Frequently Asked Questions
How do I change the sequence settings for vertical videos?Go to sequence settings and set the frame size to 1080 x 1920 pixels.
Can I retrieve my layout at a later time?Yes, you can recall any saved workspace at any time.
What can I do if the layout does not look as desired?You can reset the workspace at any time to restore the standard view.


