In this guide, I will show you how to prepare your clips for an Instagram Reel optimally in Adobe Premiere by importing, adjusting, and editing them for the final product. We will focus on scaling and color corrections to make the clips look their best. You will learn step by step how to organize and prepare your material so that you can smoothly start editing your Reel afterwards.
Main Takeaways
- Organizing clips in folders facilitates editing.
- Scaling and X-positioning of clips are crucial for an appealing overall image.
- Color corrections contribute to visual consistency and mood.
Step-by-Step Guide
First, open Adobe Premiere Pro and create a new project for your Instagram Reel. Make sure to adjust the settings correctly so that your project can be output in portrait format.
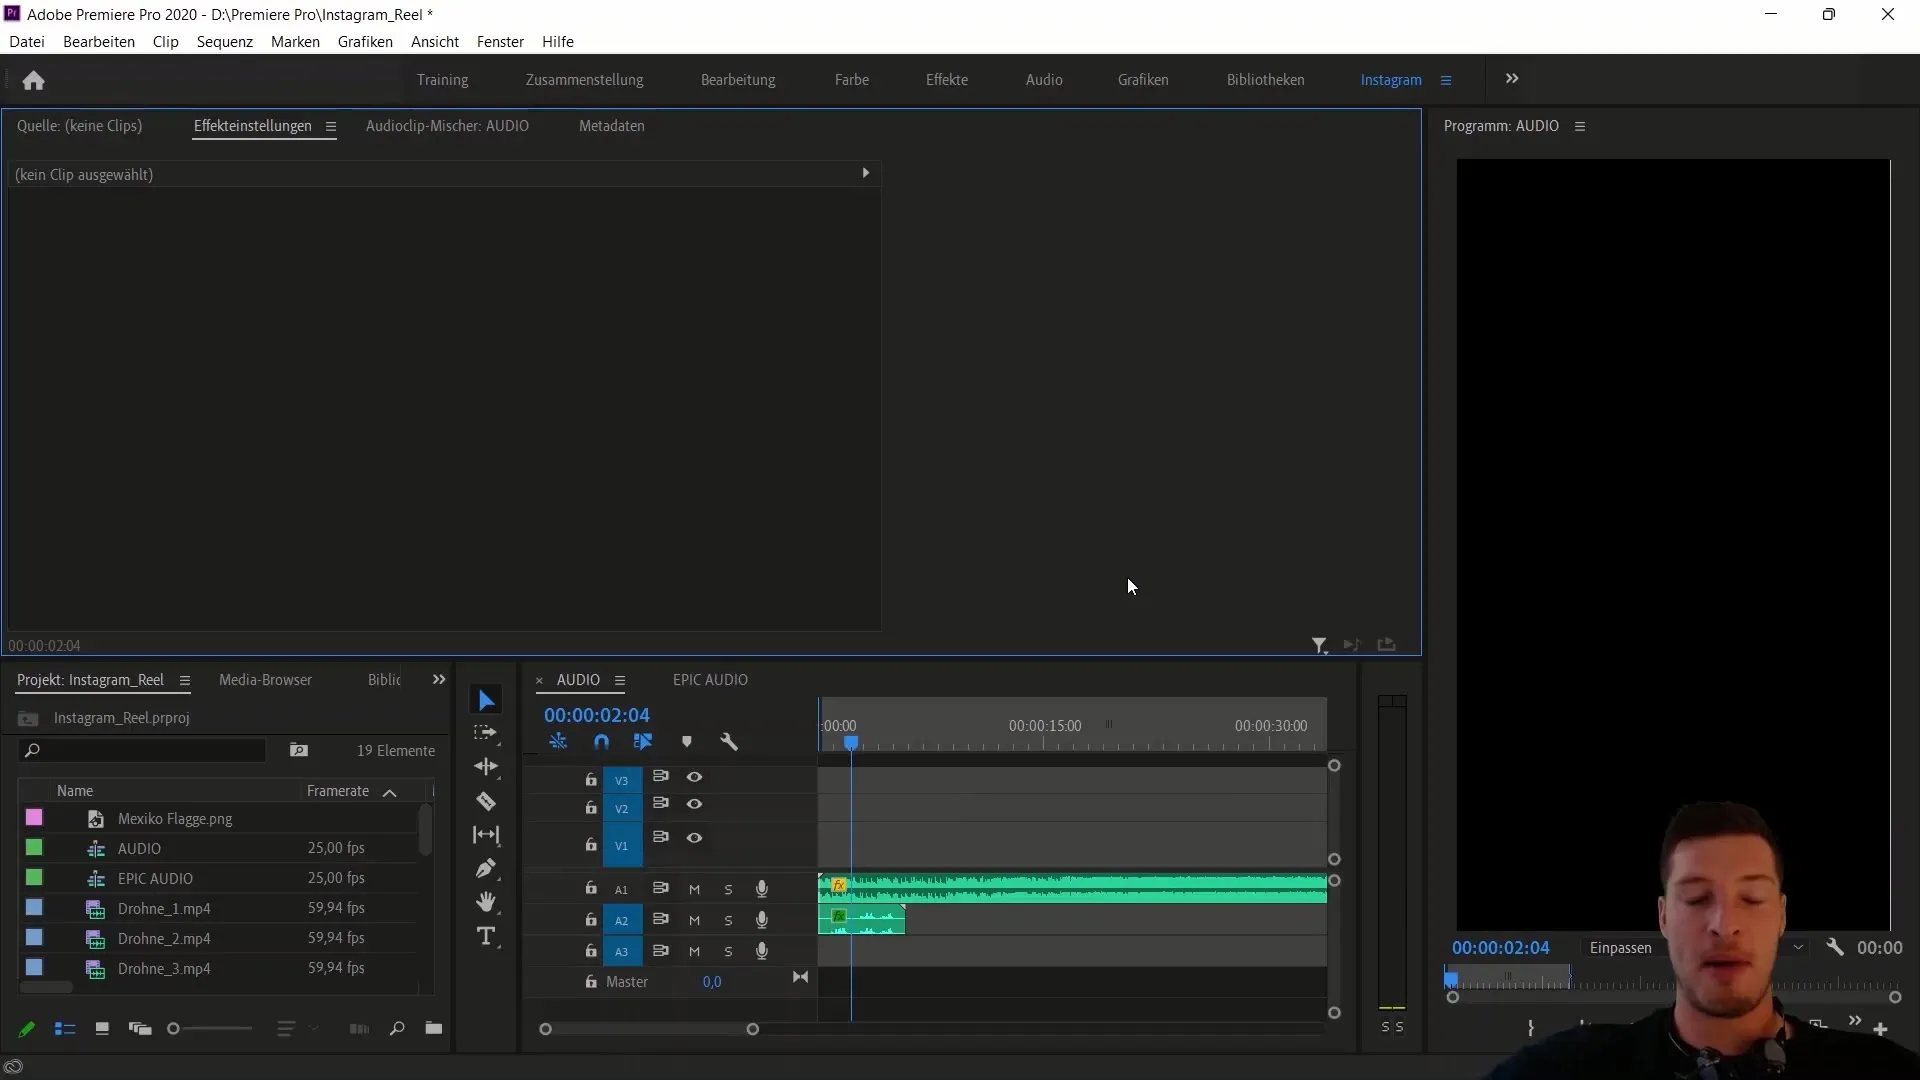
Once your project is created, import your clips into the sequence. It's important to arrange the clips in a way that allows you to access the musical elements at any time. Consider the order in which your clips should appear and make sure they are musically synchronized.
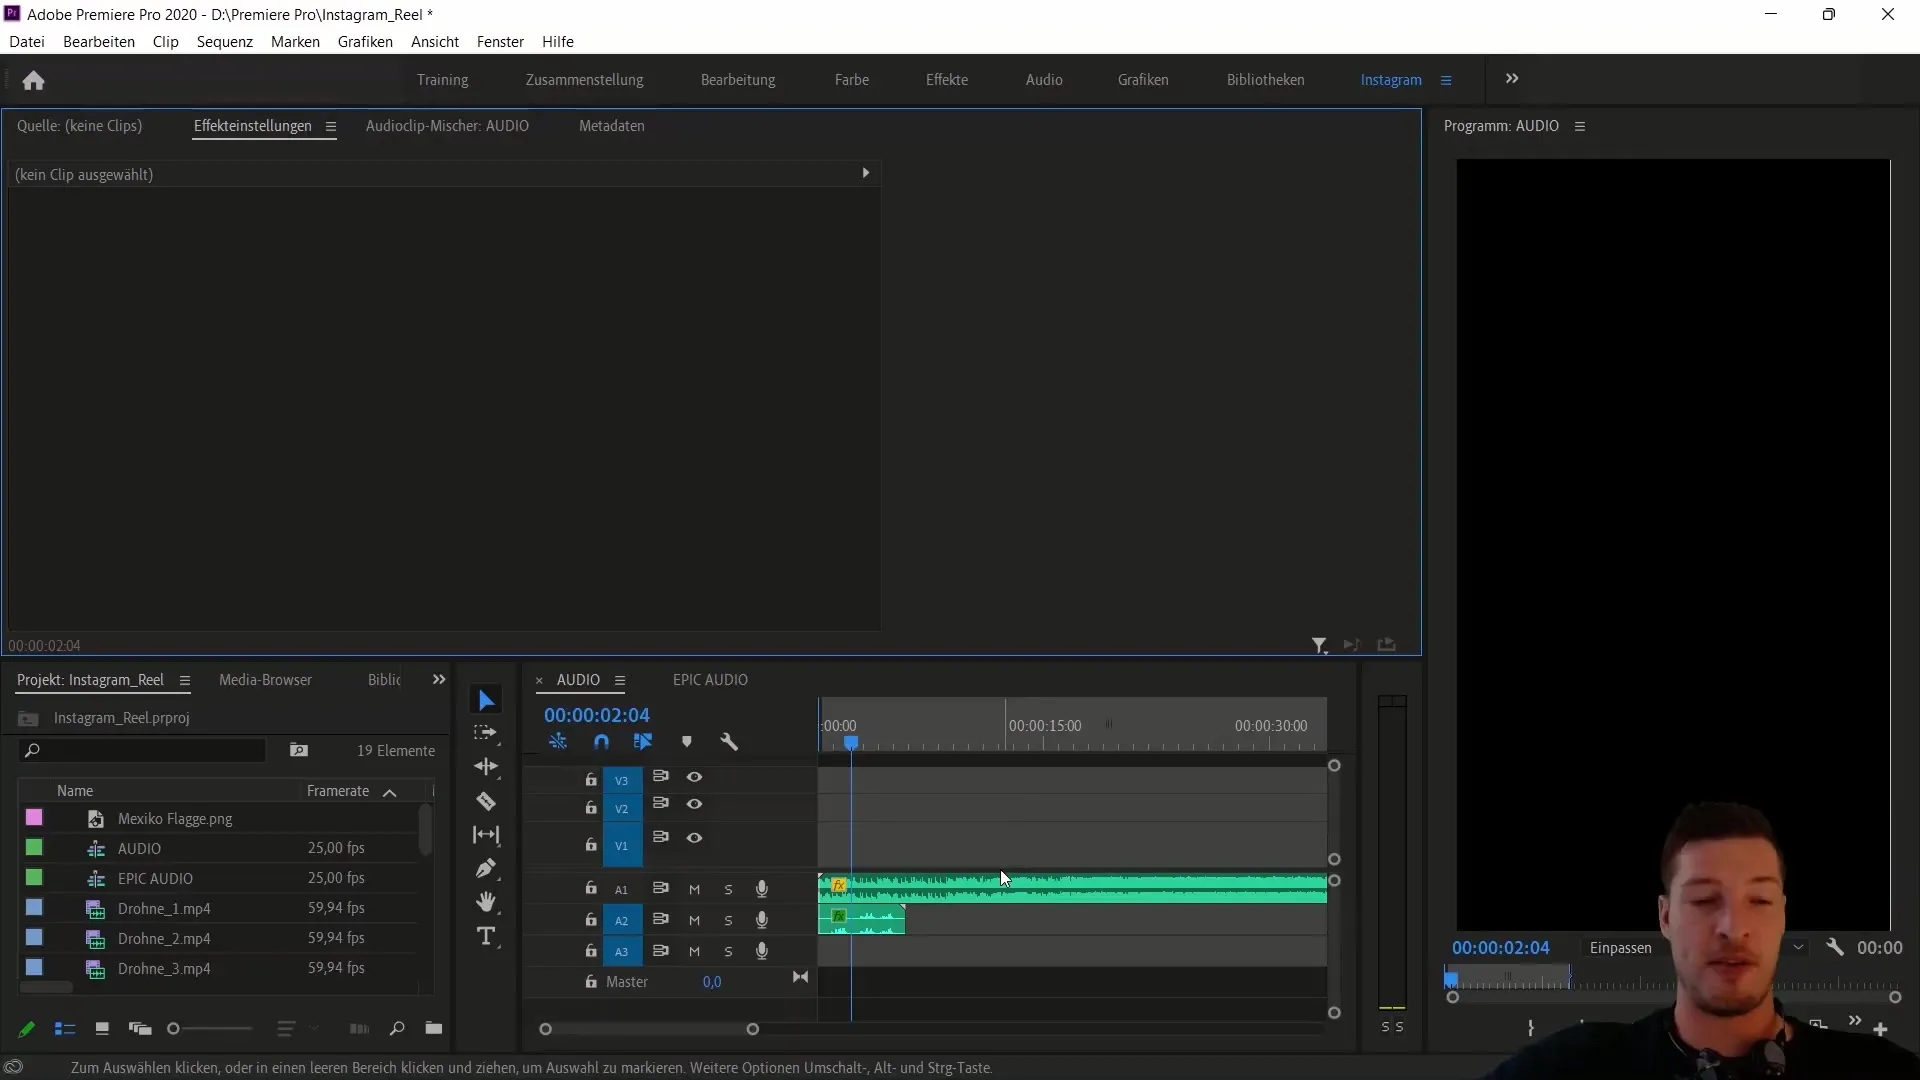
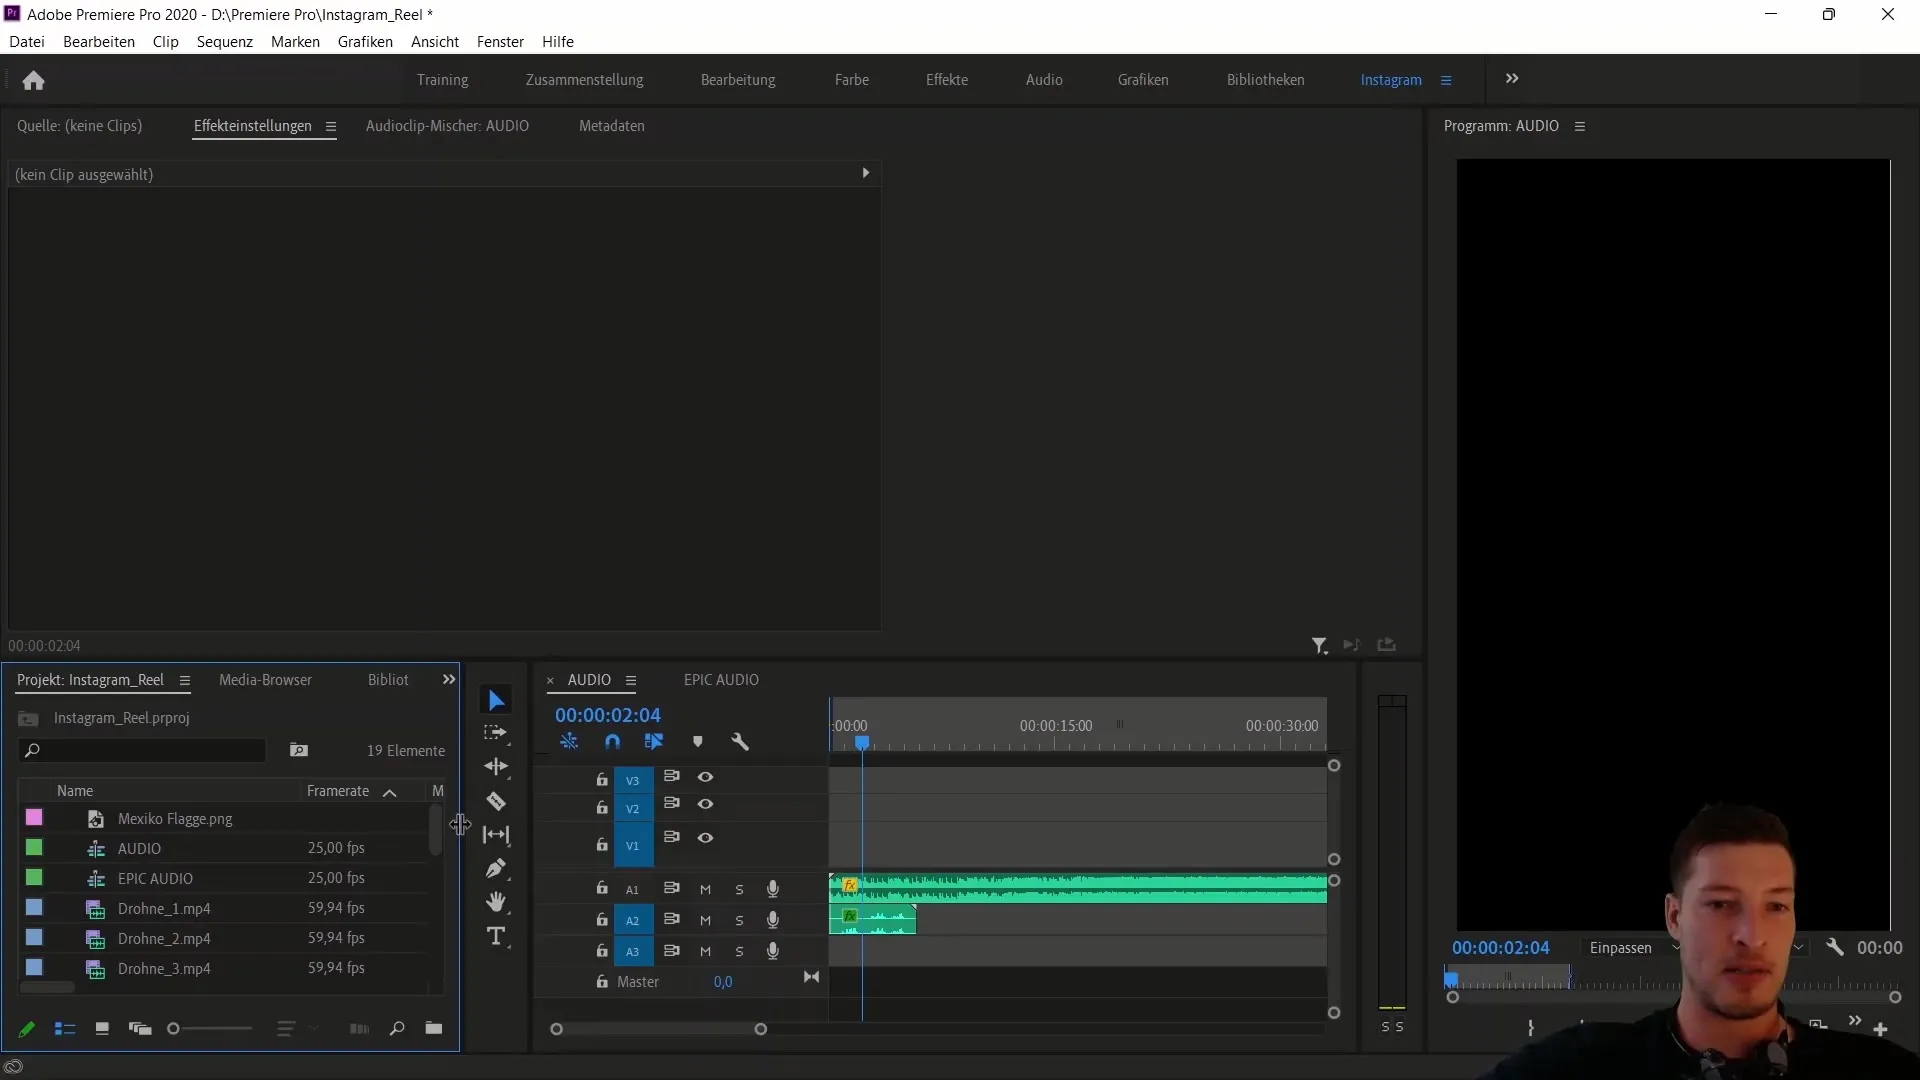
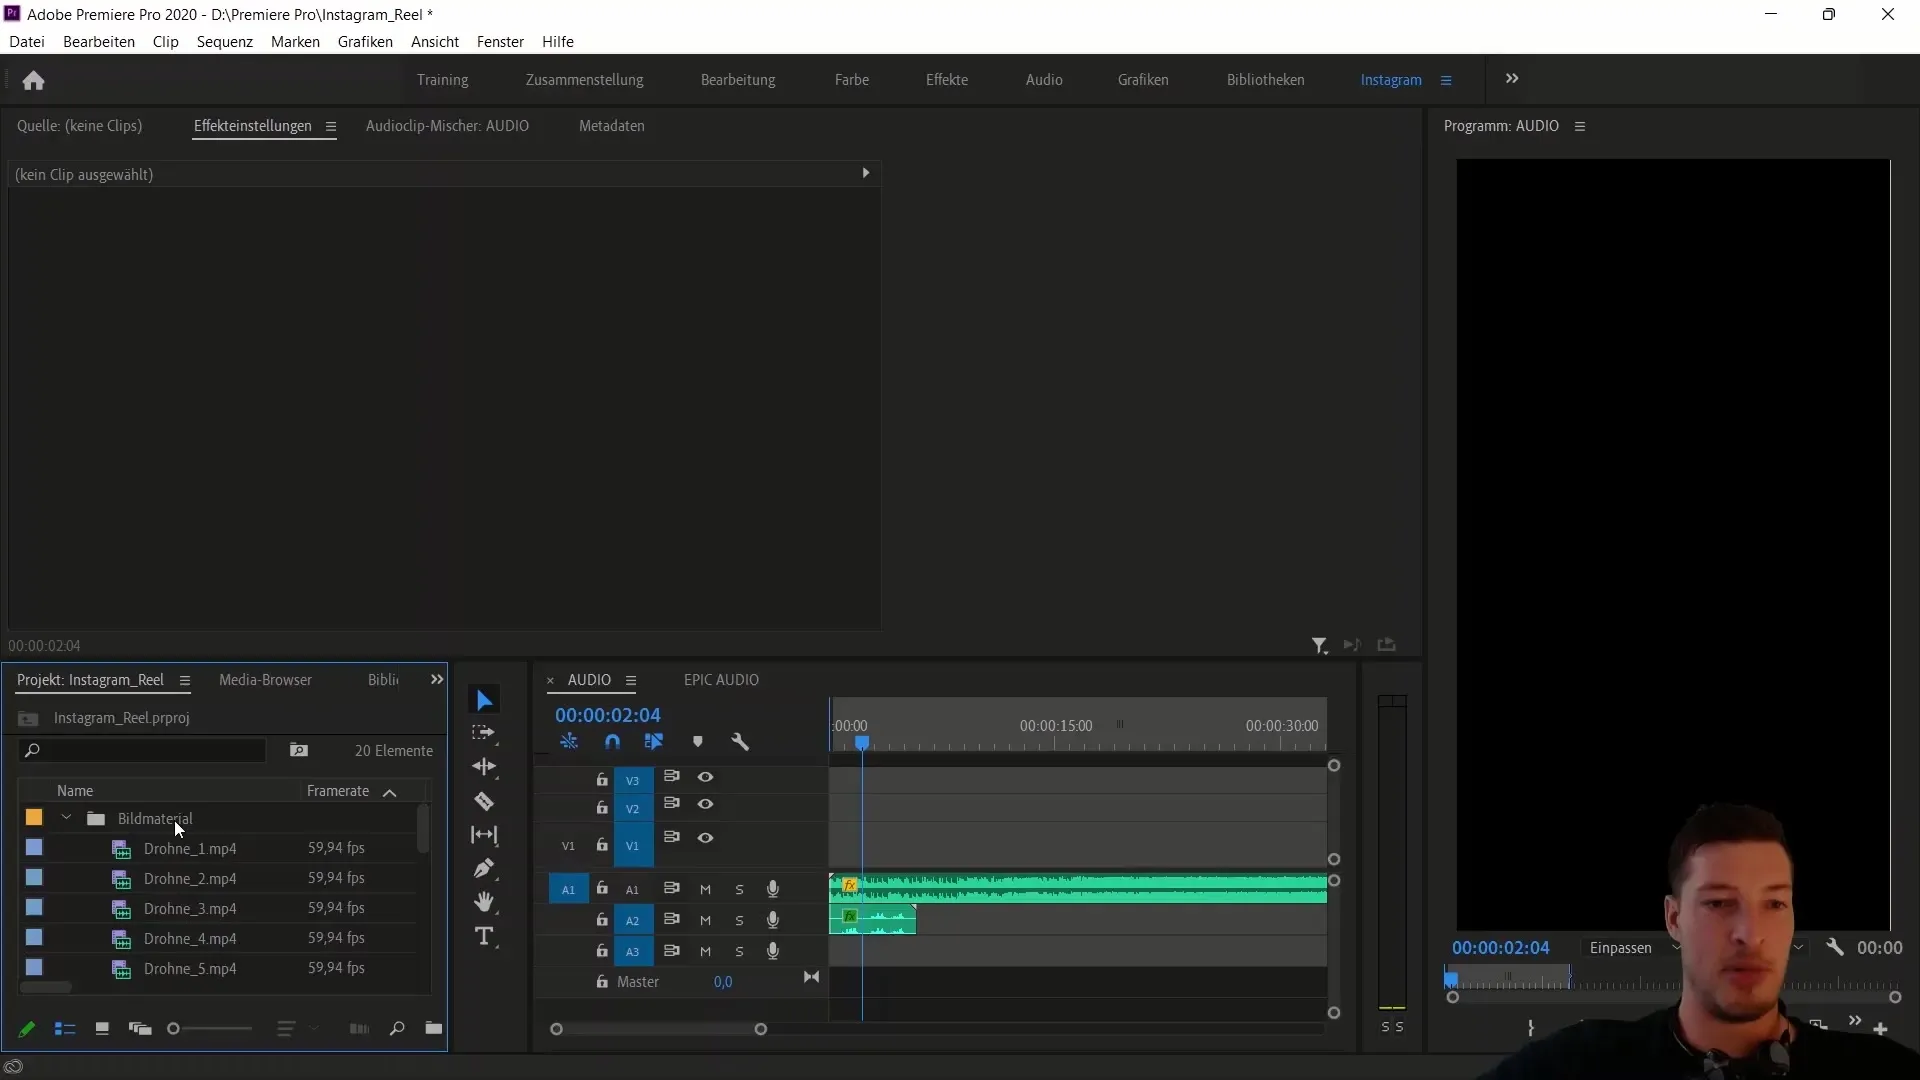
To bring more structure to your project, start by creating some new folders. Name one folder "Footage" and move all video clips from the library into this folder. This helps you keep a better overview and access the necessary clips more quickly.
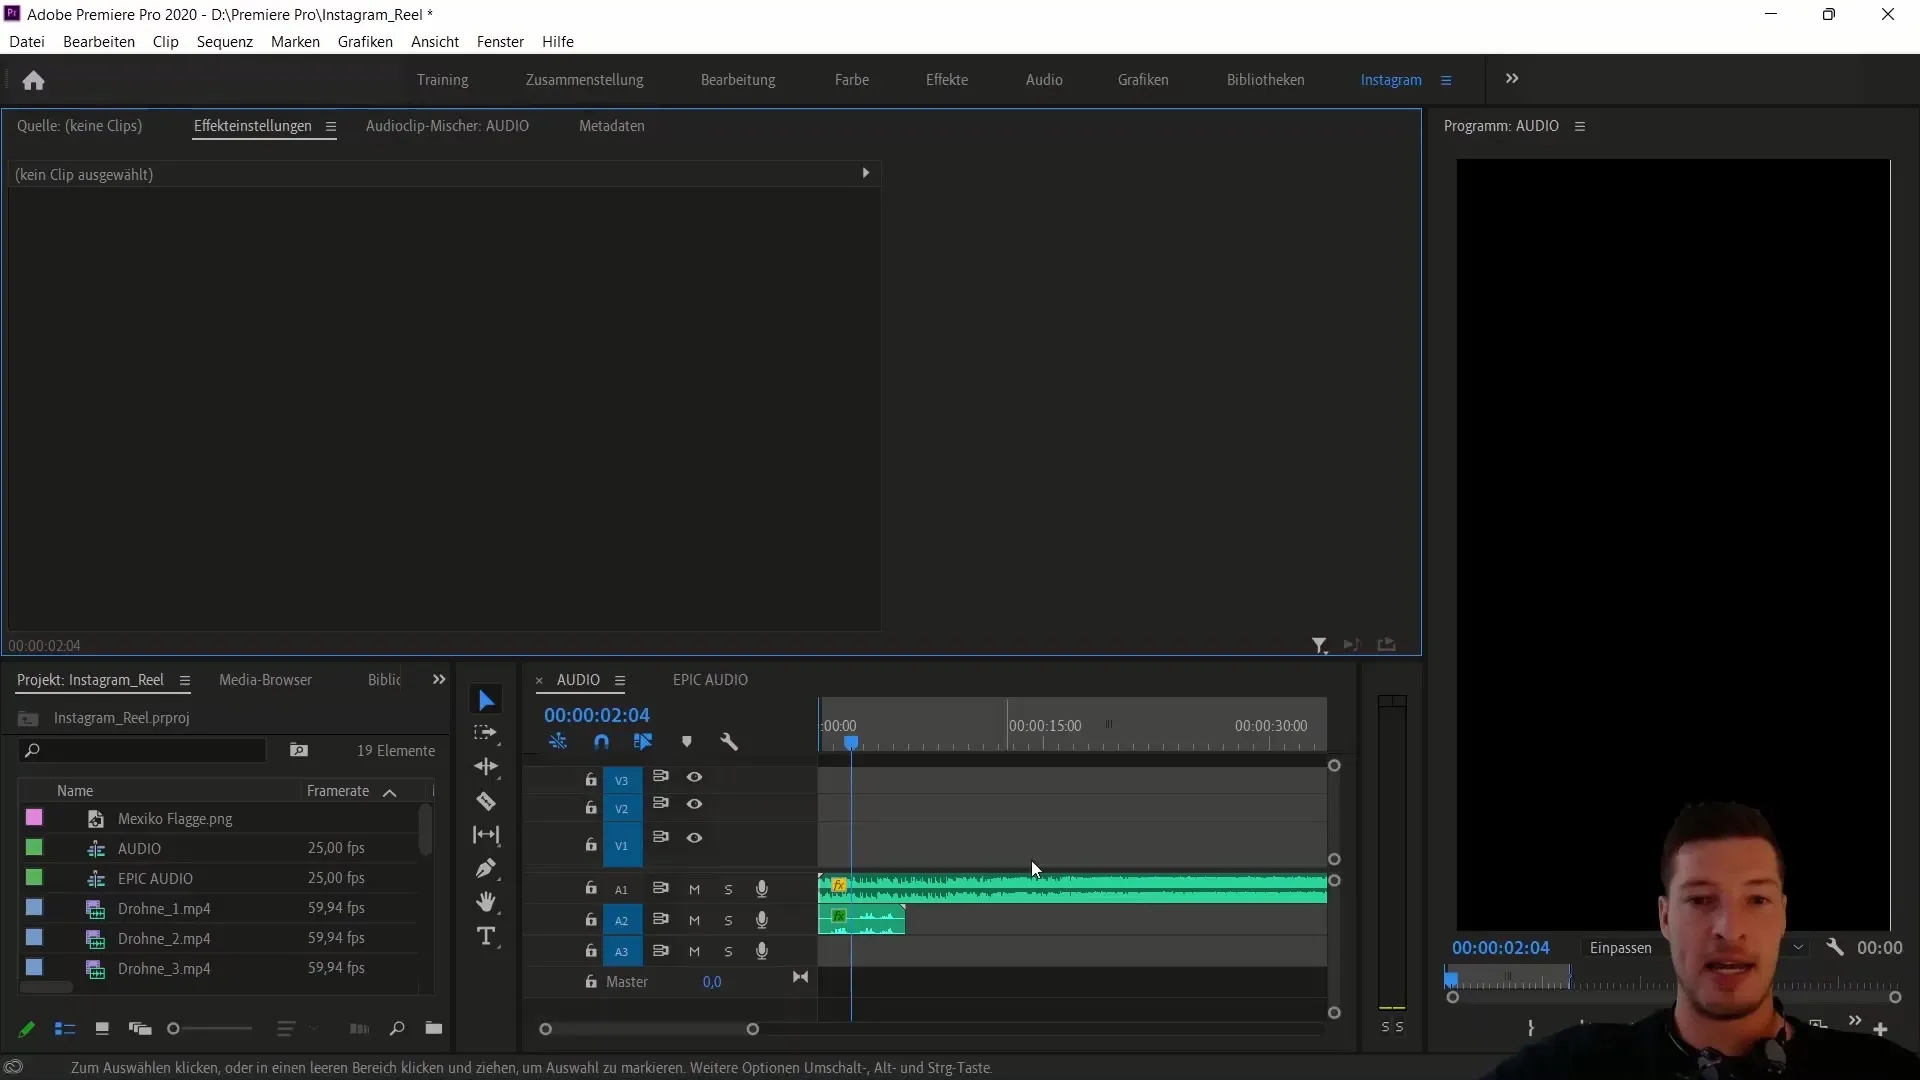
Next, create another folder for voice recordings and one for audio files. Again, it's important to organize the material neatly to make editing easier later on.
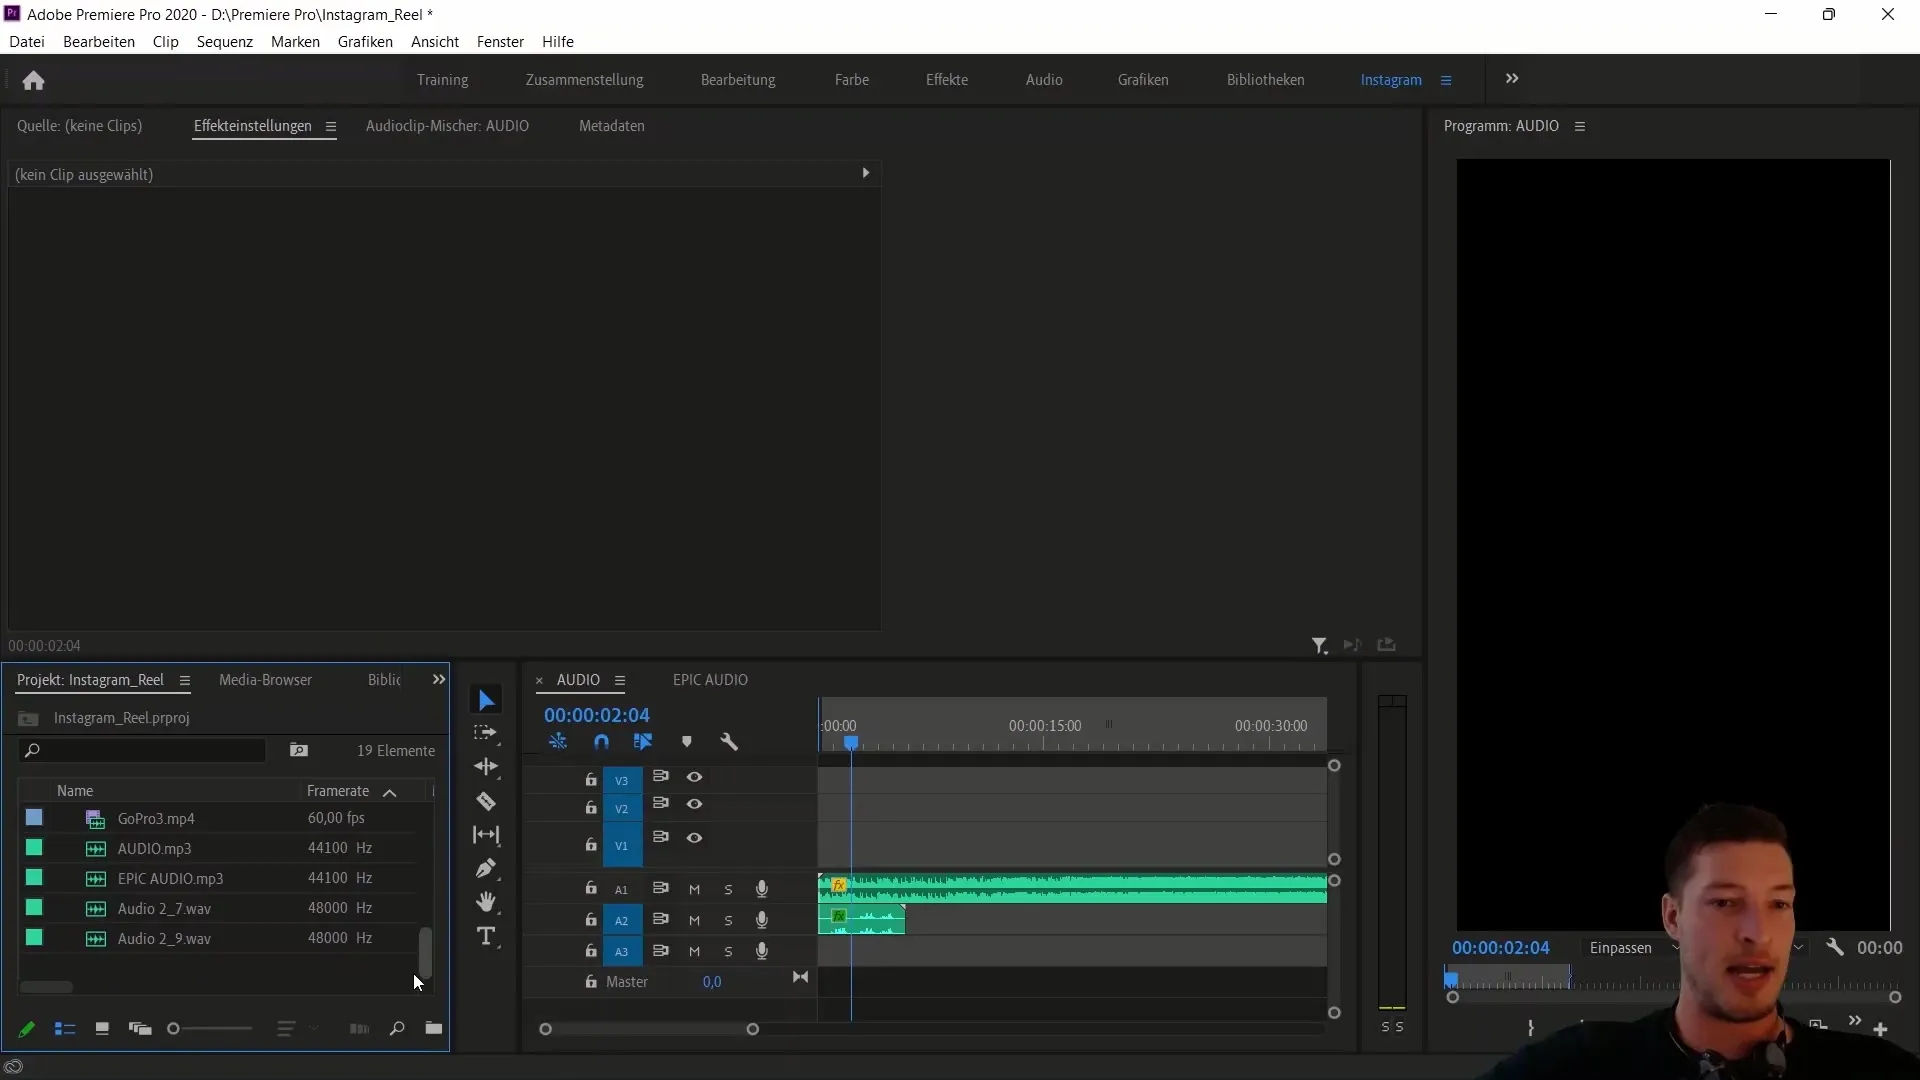
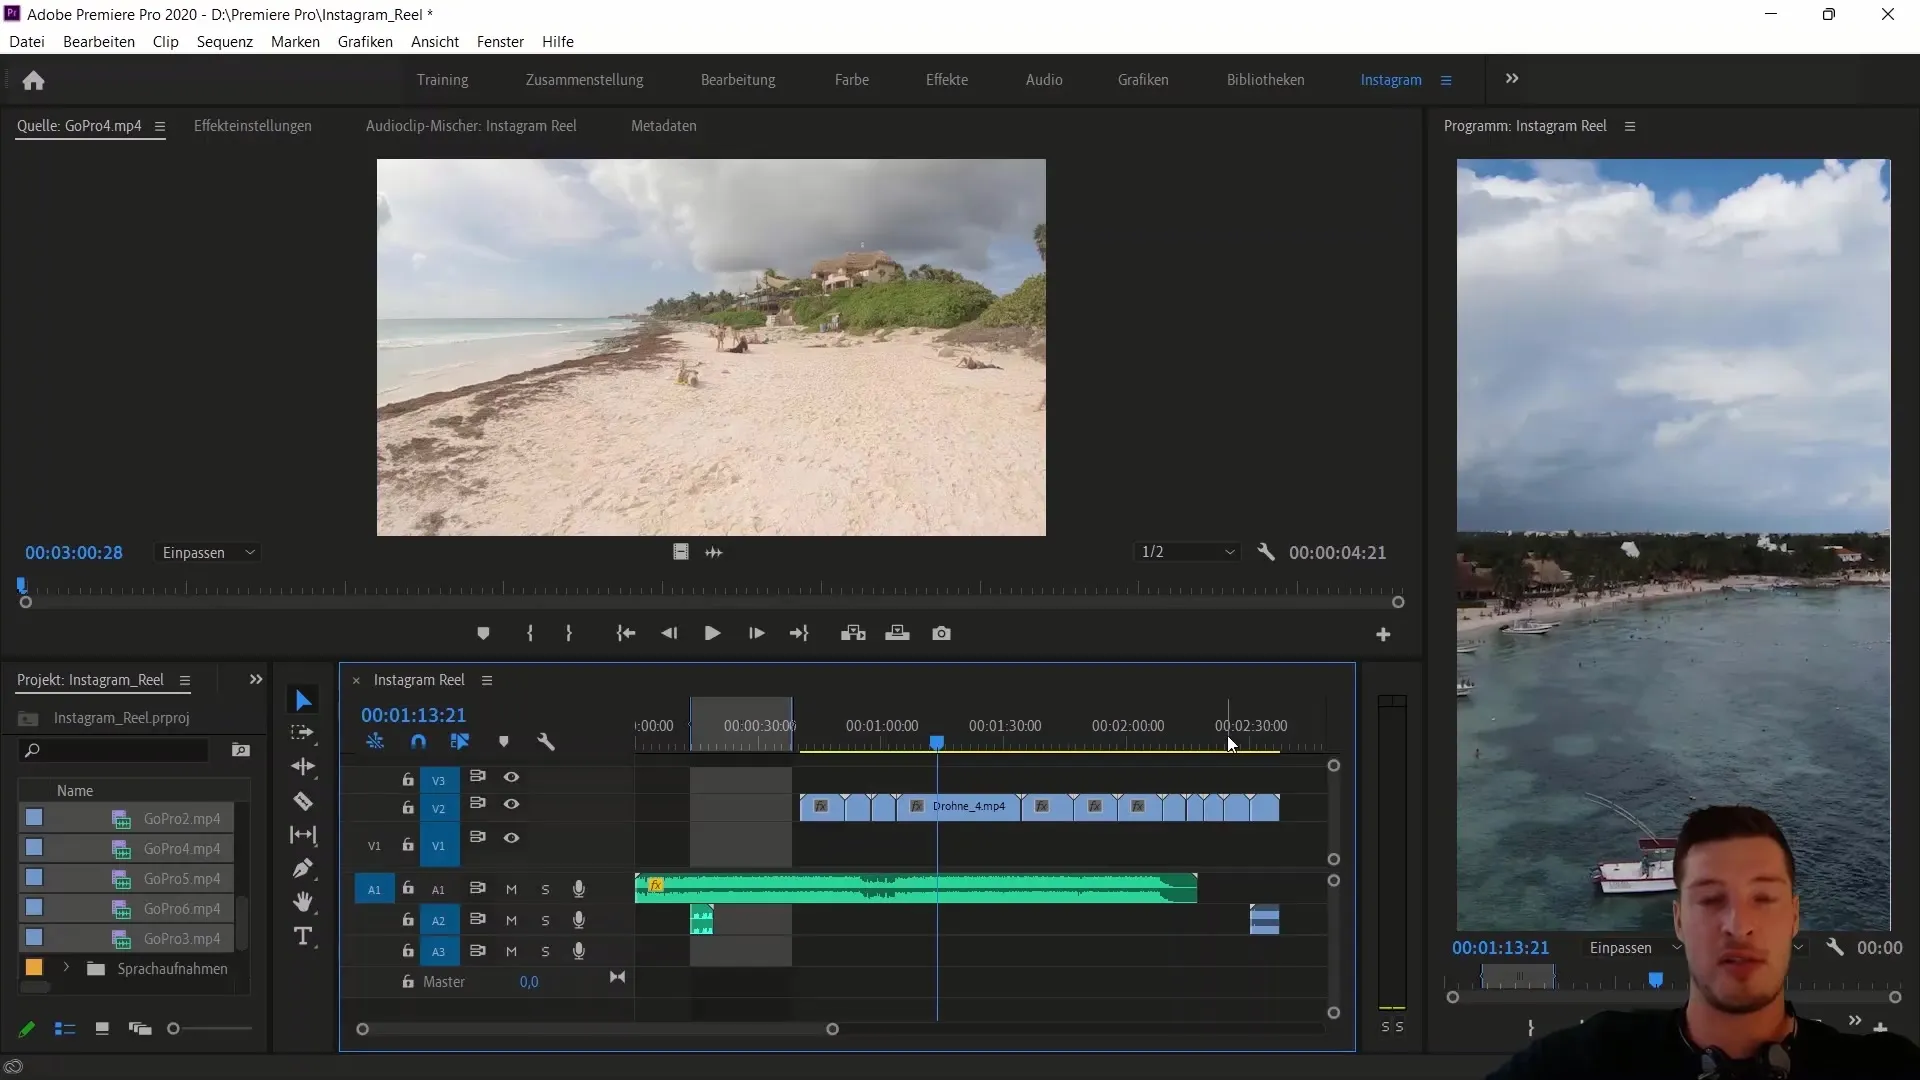
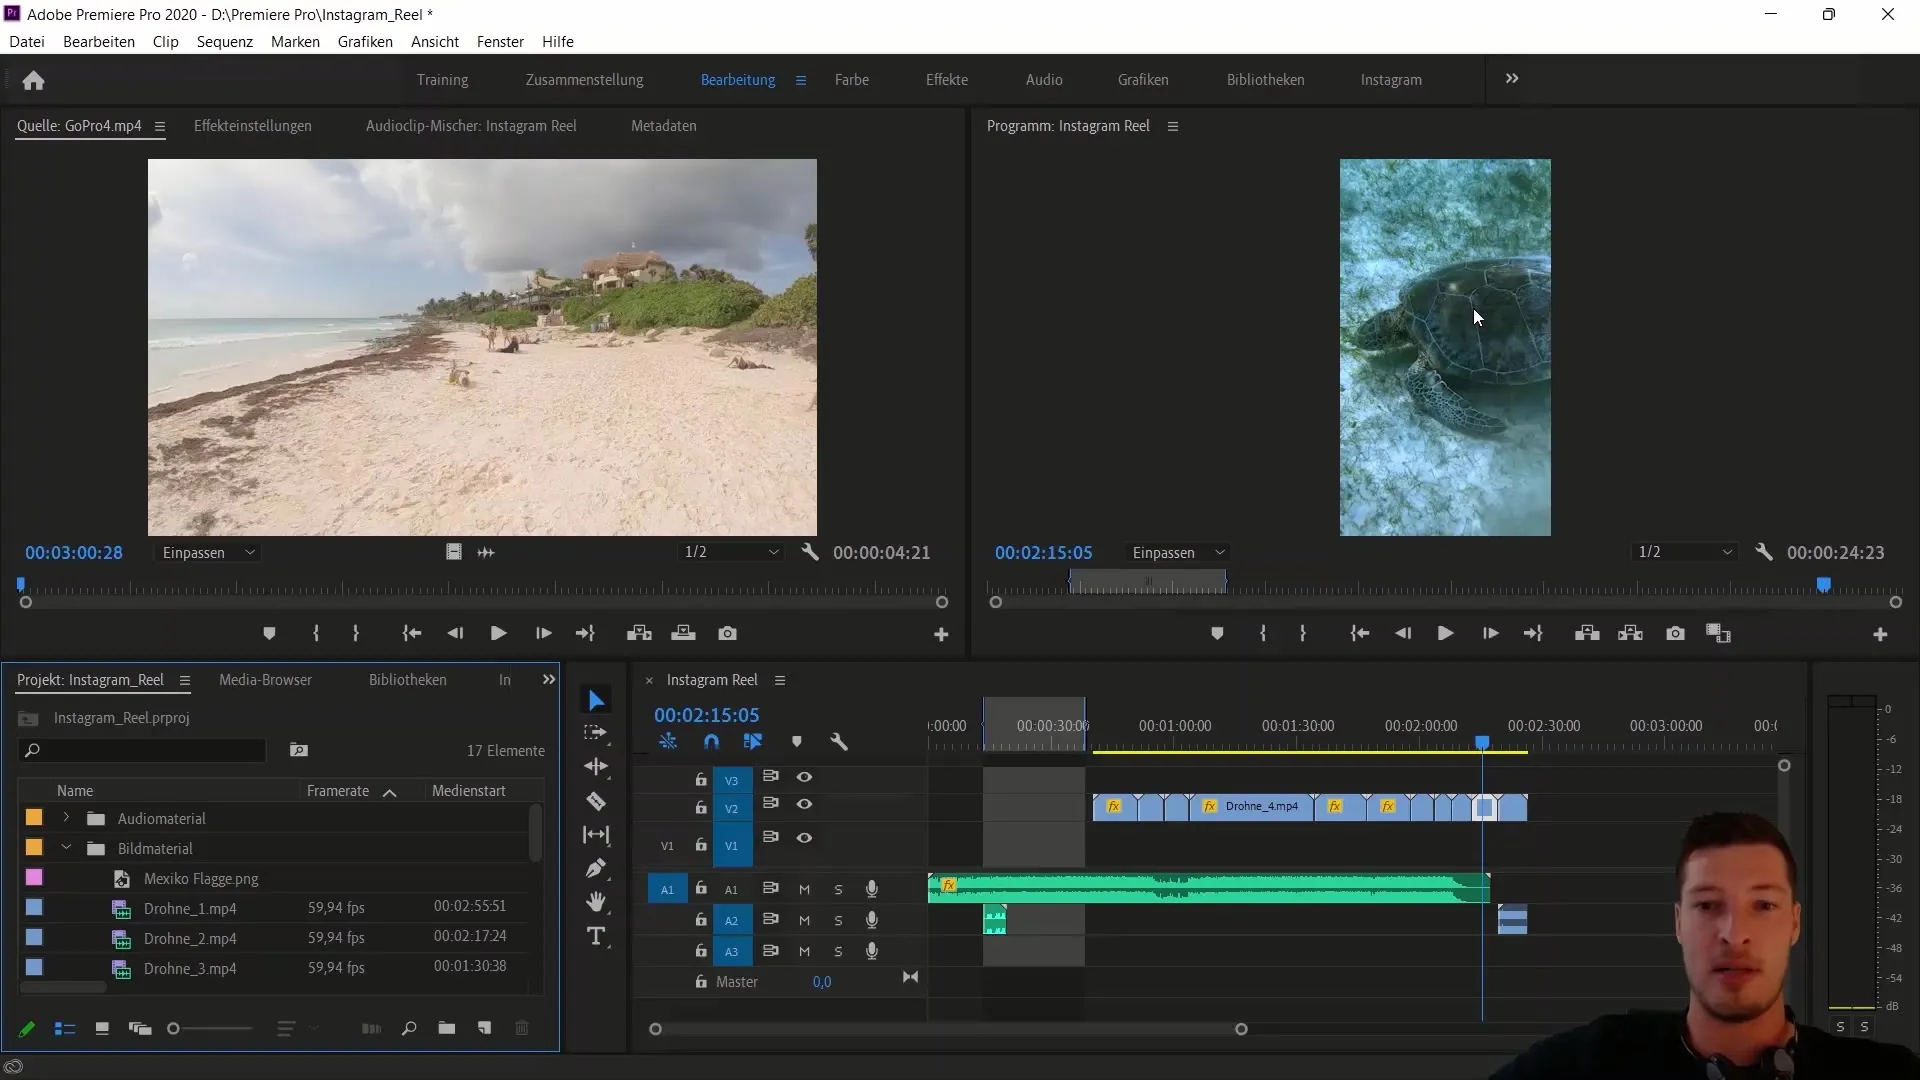
Once the folder structure is in place, you can import the clips into the sequence. To do this, select all relevant clips and drag them into the sequence. It's advisable to edit the clips that do not require audio tracks directly.
To delete the audio tracks you don't need, right-click on the selected tracks and choose "Unlink". This way, you can easily remove the audio tracks of individual clips.
Now comes the important part: scaling the clips. Select the first clip and go to the effects settings. Here, you can adjust the scaling. Start with a scaling of 90% and resize until you are satisfied with the result. This step is crucial to ensure that the clip looks correct in portrait mode.
After preparing this adjustment for all clips, focus on color correction. Open the Lumetri Color tab and start with the basic corrections. Particularly, check and adjust the temperature and contrast settings.
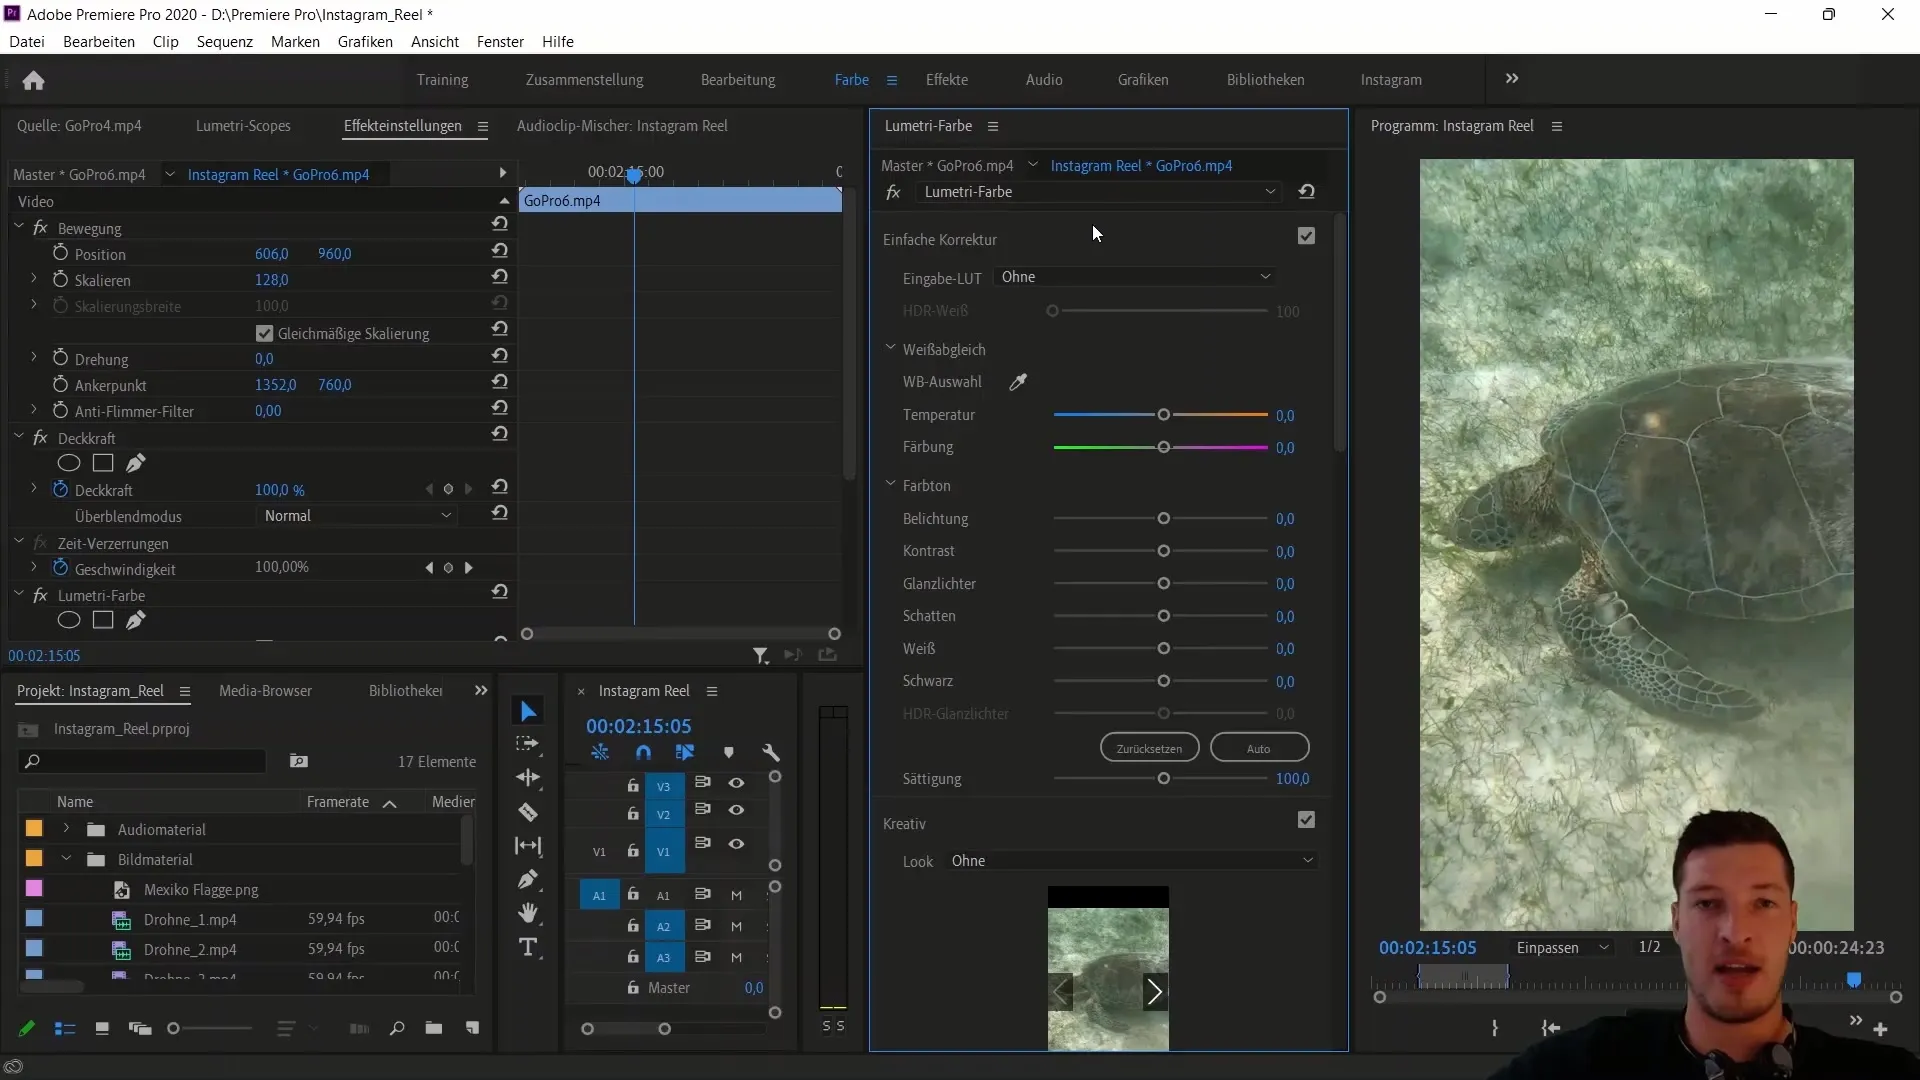
The goal is to have a consistent color scheme in your clips. Take your time to make these adjustments carefully for each clip. It may be useful to optimize the black levels and shadows as well to improve the quality of the clips.
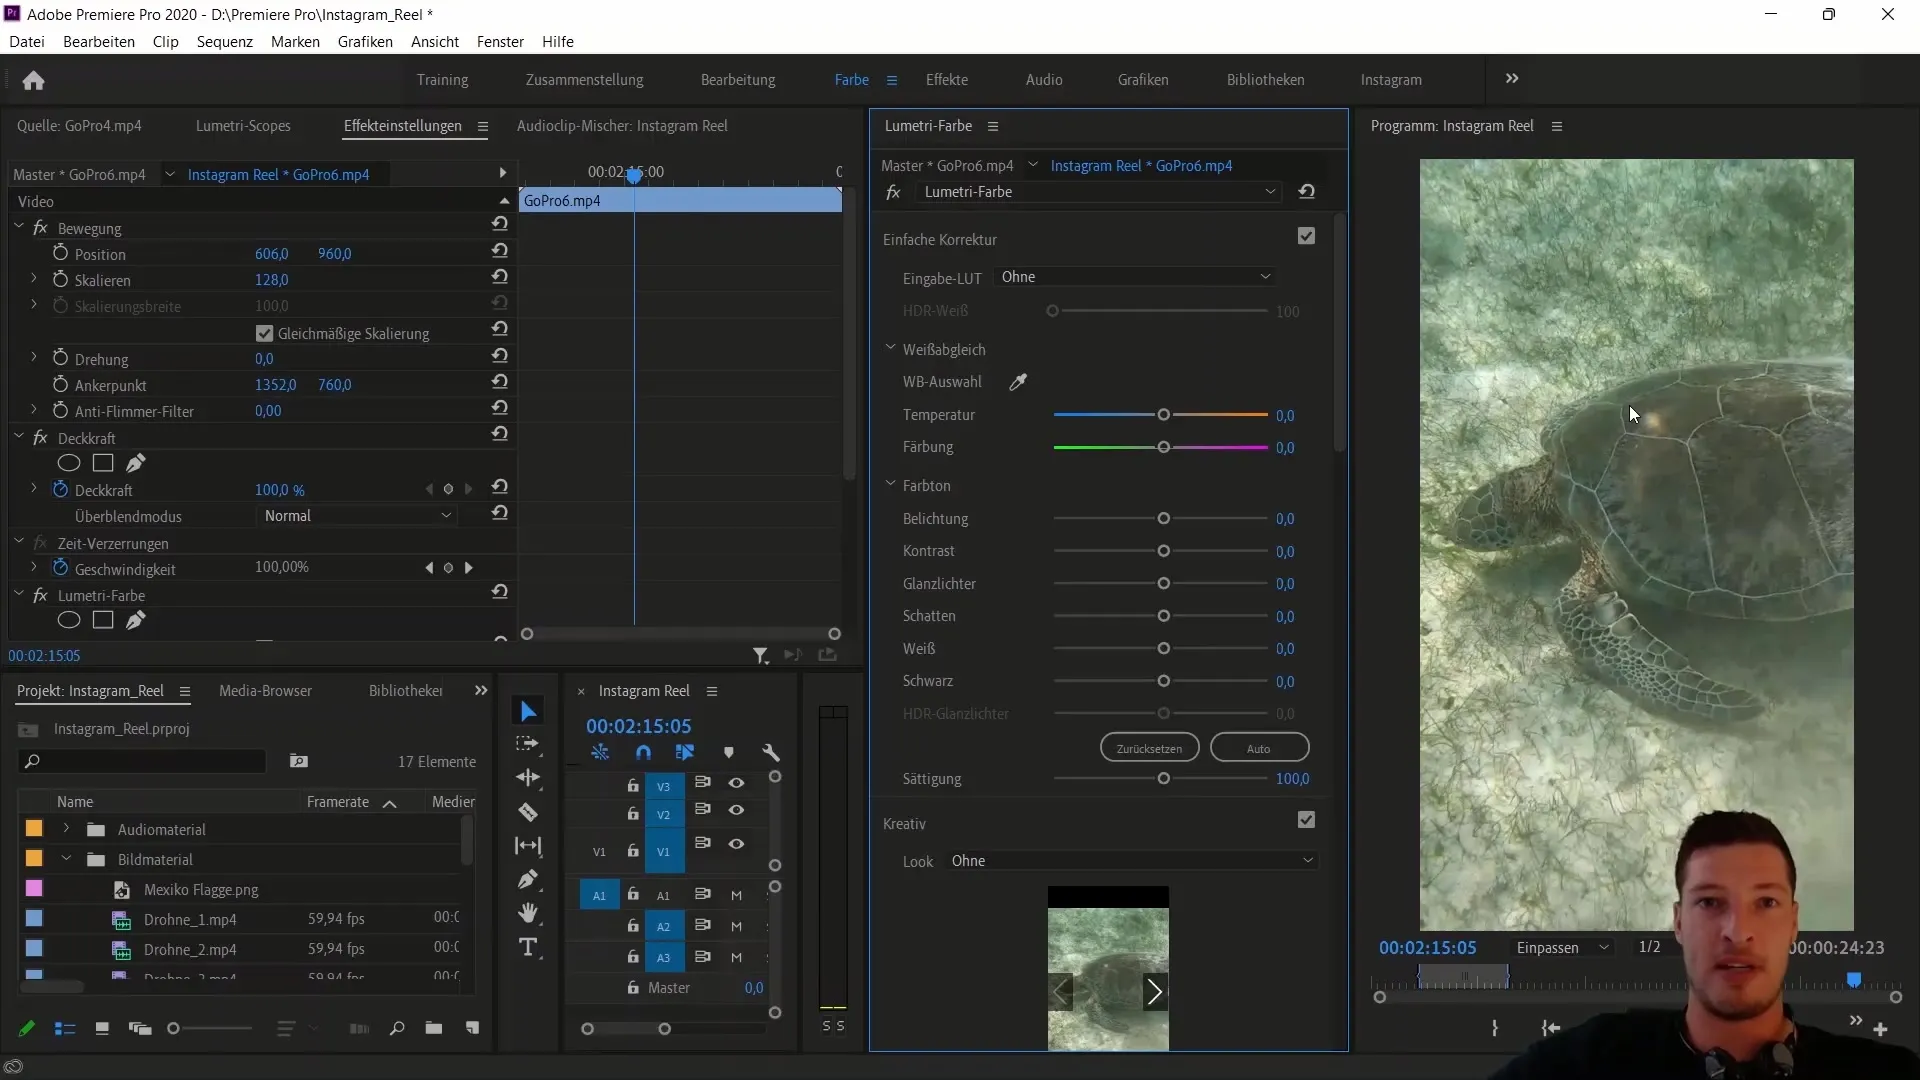
Once you have made the color corrections for all clips, check your project settings and adjust the X-positioning if necessary. This ensures that the main focus of your clips remains in the center and nothing important is cut out of the frame.
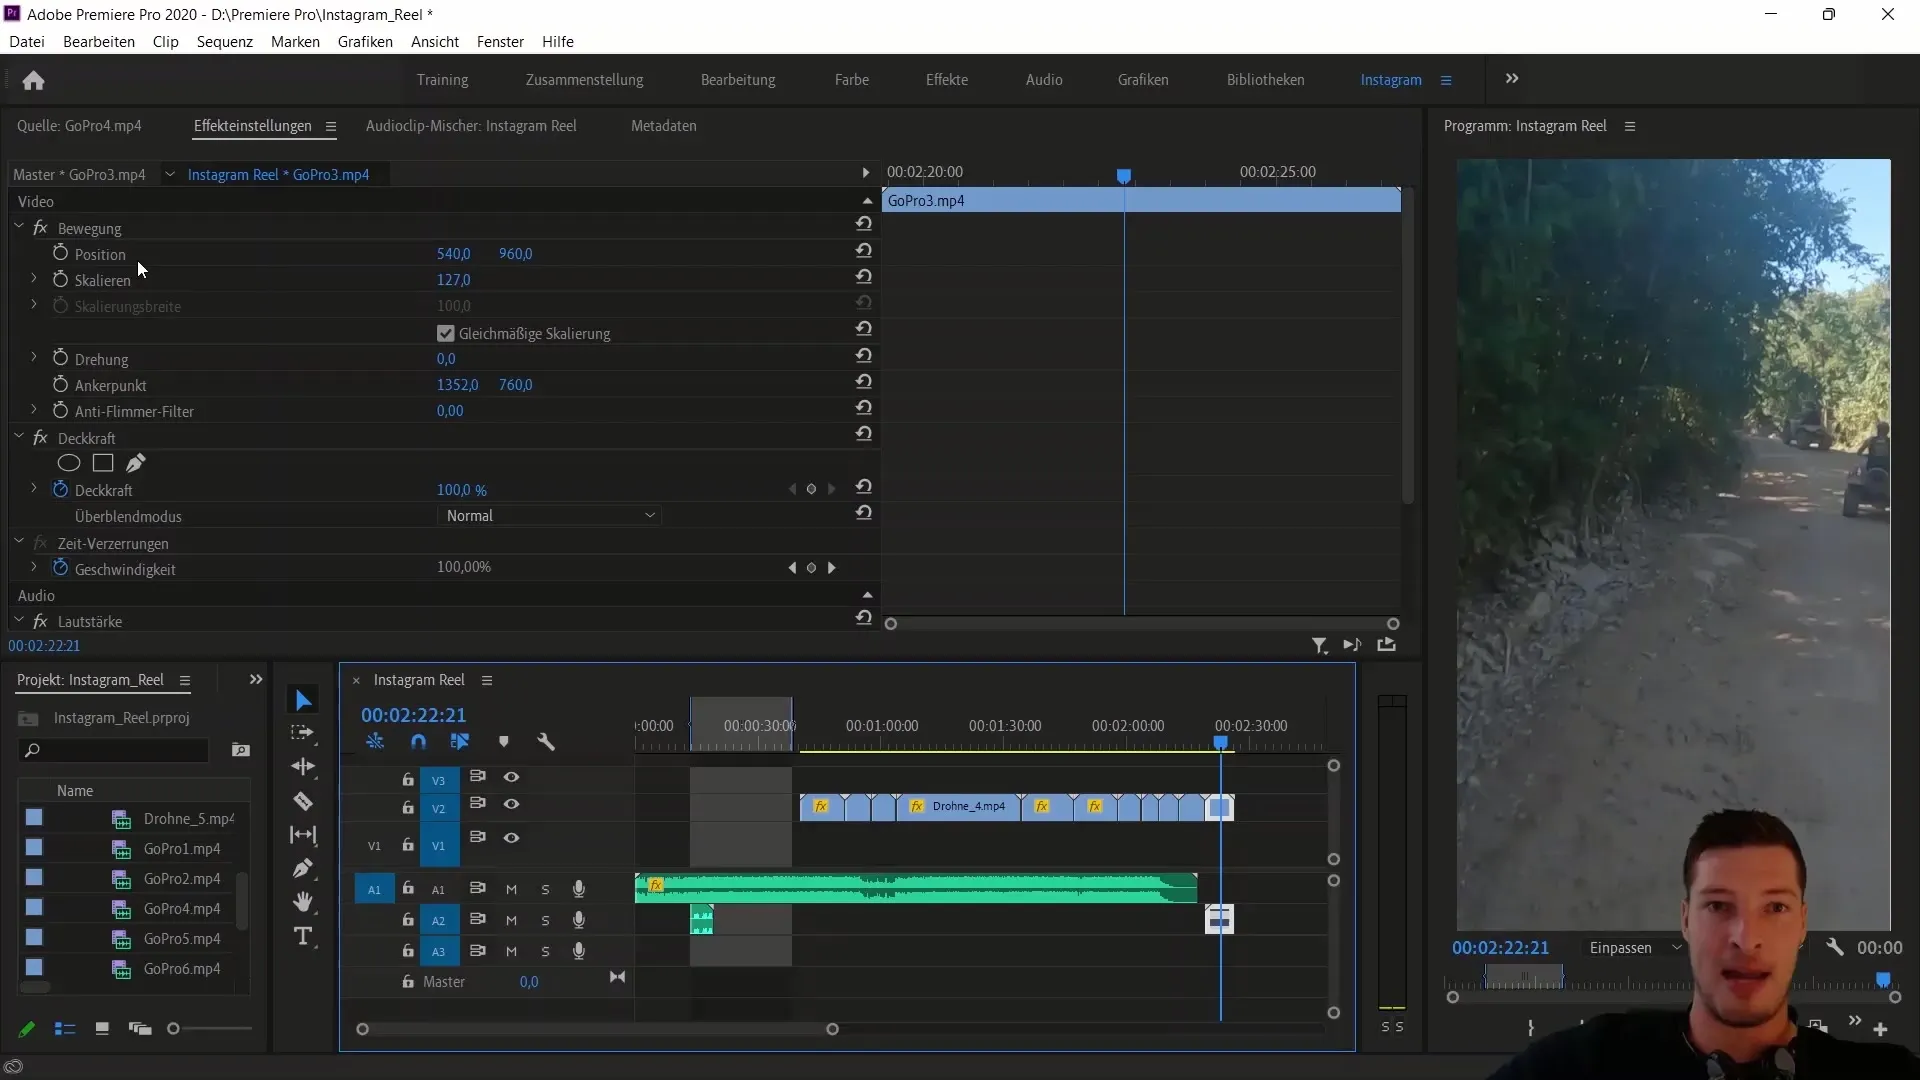
Finally, you check all the clips once again and make sure they are cleanly transitioned into the final sequence. Now all the preliminary work is done, and you can focus on the creative editing of your Instagram Reels.
Summary
In this guide, you have learned how to optimally prepare your video clips for Instagram Reels. You have learned how to import your clips, organize them into a structured folder hierarchy, and effectively implement scaling and color corrections to achieve the best possible result.
Frequently Asked Questions
What is the first step in importing my clips?The first step is to create a new project in Adobe Premiere Pro and import the clips into the sequence.
How important is color correction for Instagram Reels?Color correction is very important to achieve visual consistency and an appealing image.
How do I adjust the scaling of the clips?Select the clip, go to the Effects settings, and adjust the scaling there.
Can I import multiple clips at once?Yes, you can select multiple clips and drag them into the sequence.
What should I do if I don't need the audio tracks?You can simply select the audio tracks, right-click, and choose "Unlink" to delete them.


