Note : The "Sparks and frost" tutorial is a text version of the accompanying video training by Marco Kolditz. The texts may therefore have a colloquial style.
Here we go: Steps 1-10
Step 1
Now you let sparks fly from this beautiful fire, and at the same time you let them shiver a little on the woman's cheek, in the area of the man's hand and on this shoulder, because your ice block man is touching her at this point and is already getting dangerously close to her, and therefore she will shiver a little there.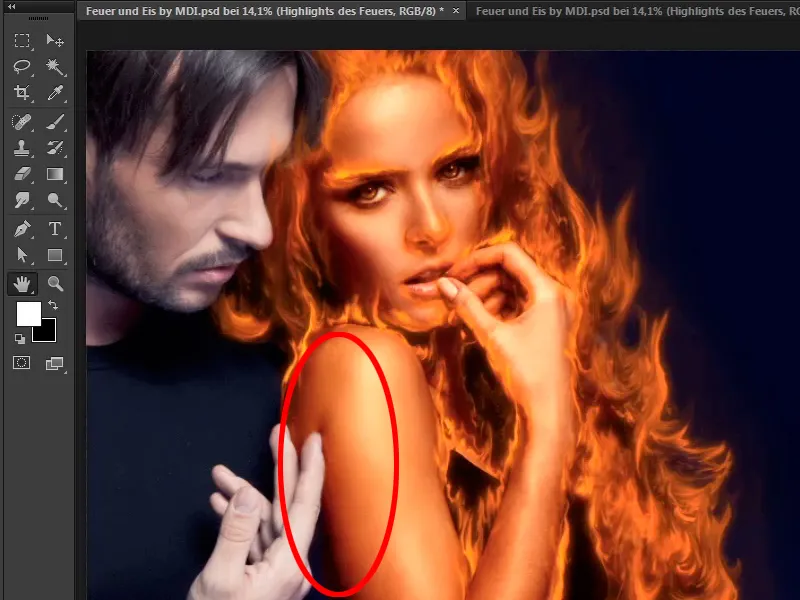
Step 2
First, take care of the sparks and have a look at the now extensive palette of levels. You will summarize it nicely at the end of the tutorial.
Go to the "Fire of the woman" folder by clicking on the arrow symbol.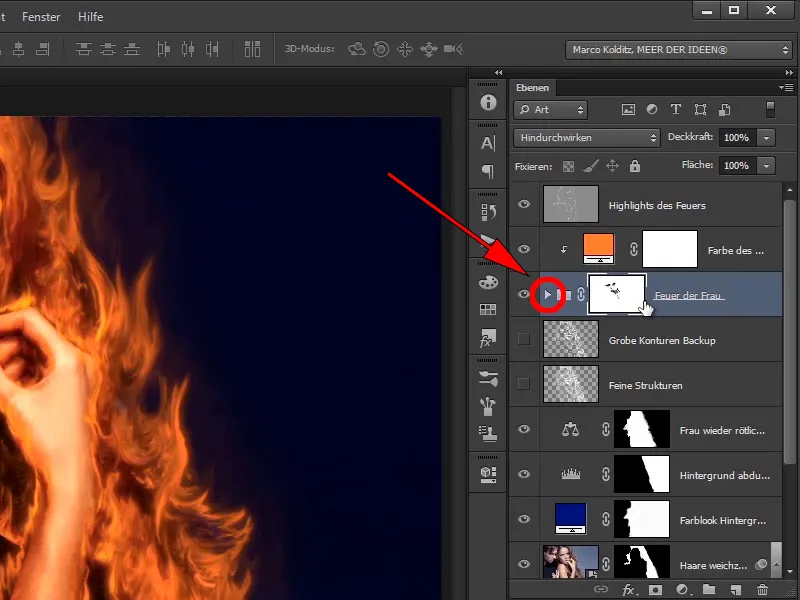
Step 3
Here you will now create a new layer below the "Rough outlines" layer, a completely normal layer, and call it "Sparks".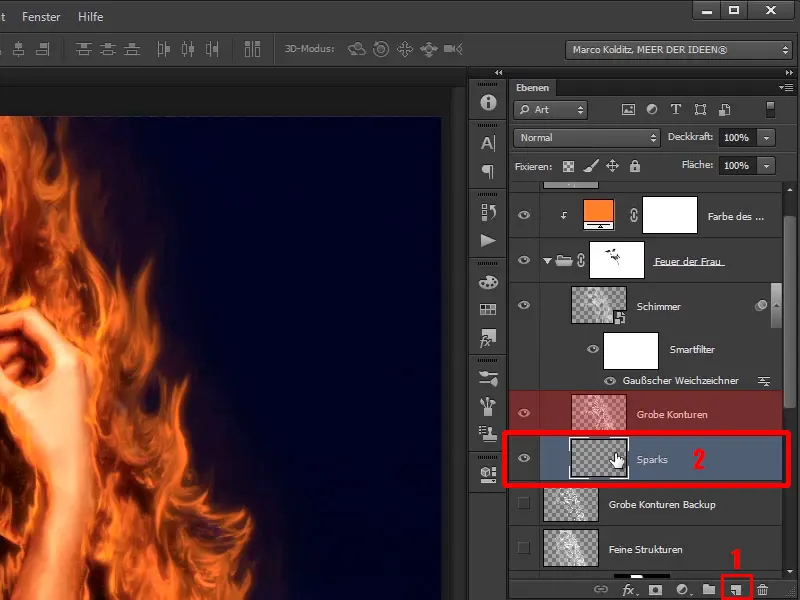
Step 4
On this layer you will multiply in Negative mode ...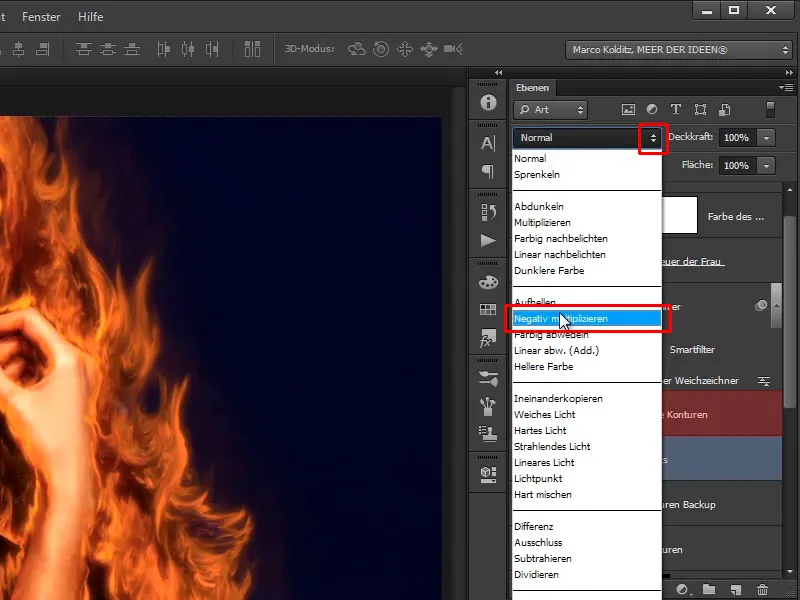
Step 5
... paint in sparks with a brush. In this case, choose relatively hard brush strokes.
- Hardness: 97%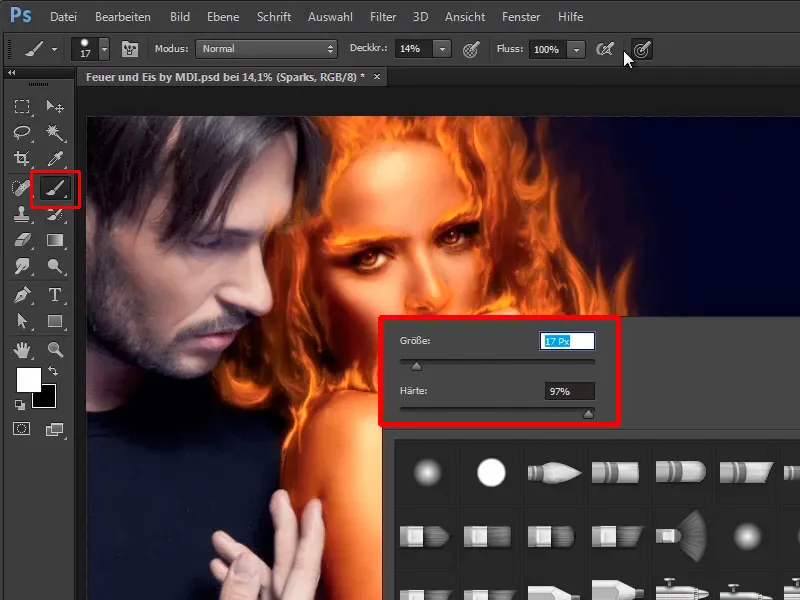
Step 6
This is something that takes some time. With full opacity of 100%, paint small dots into the picture. You can also drag a little or press more often and in this way you can now paint these sparks into the picture.
If you have a graphics tablet, it is of course very practical because you can then make thick and thin dots.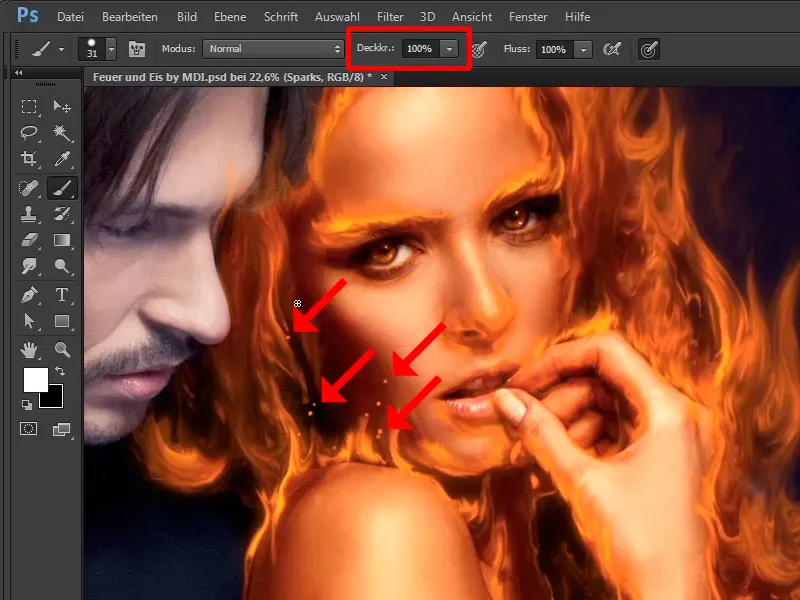
Step 7
In this case you first make dots with a size of 31 pixels.
- Size: 31 Px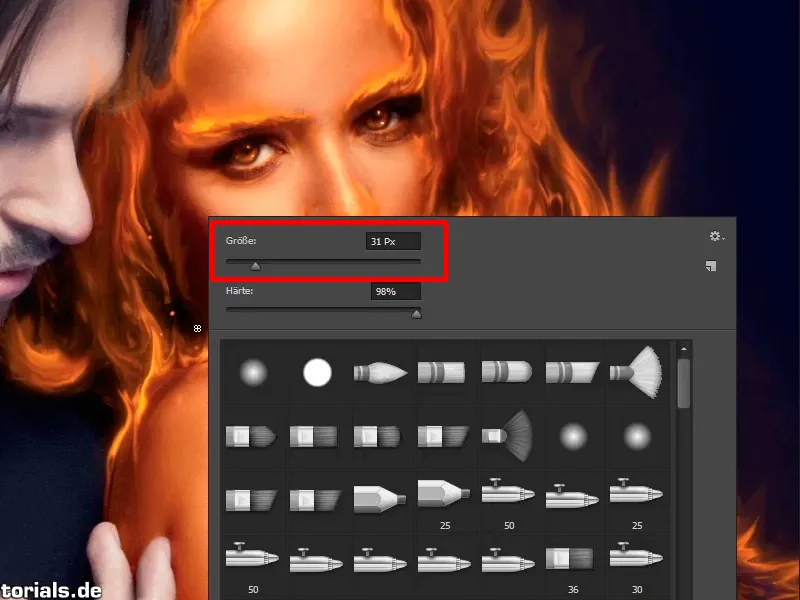
Step 8
You will correct this manually anyway, so that you have a more varied size of these sparks.
You can reduce the size of the brush again so that you have even smaller sparks, which should bring a bit more variety, and this way you can make a few sparks sparkle.
- Size: 19 Px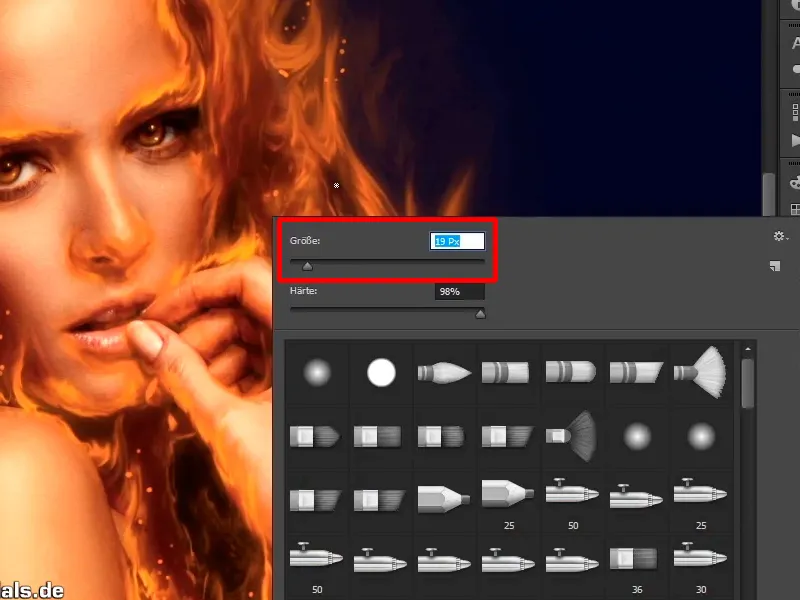
Step 9
It goes without saying that the smaller sparks are a little further away. The further you move away from the fire, the smaller the sparks become. This way you can now build in these little sparks.
Maybe you shouldn't overdo it too much, so don't add too much. Marco will now get back to work for you and optimize them as he thinks they fit best. In any case, just paint lots of little dots in different sizes on the Sparks layer. You can make them bigger or smaller, just start by drawing wildly. You can of course use a mask or the eraser brush to remove some of these sparks at any time.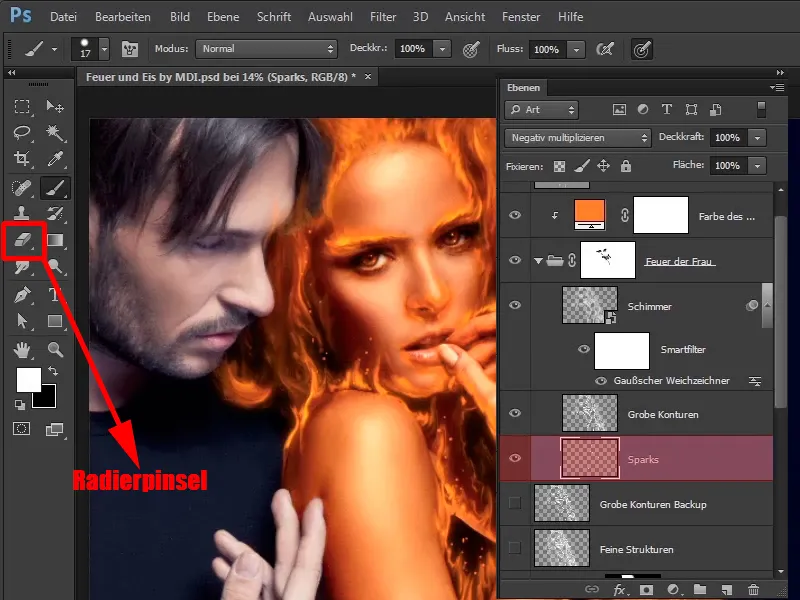
Step 10
As you can now see, the sparks have been optimized, they are now flying towards the middle of the corner of the picture, so you can say that they have been optimized a bit in terms of image structure.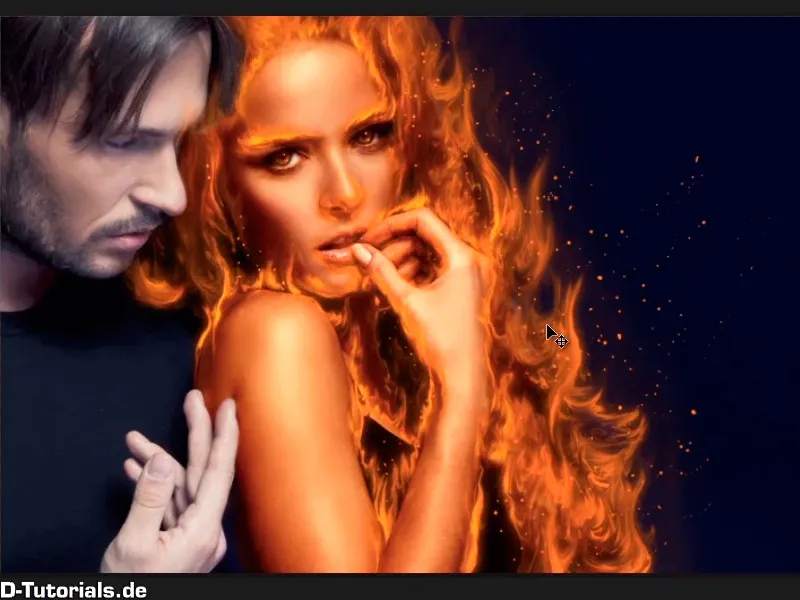
Just carry on: Steps 11-20
Step 11
Now let these sparks glow a little again, of course, in the same way as you let the fire glow earlier. Who remembers how you did it?
Right, you now take this "Sparks" layer, duplicate it again by holding down the Alt key and drag it underneath the "Sparks" layer. Name it "Sparks shimmer".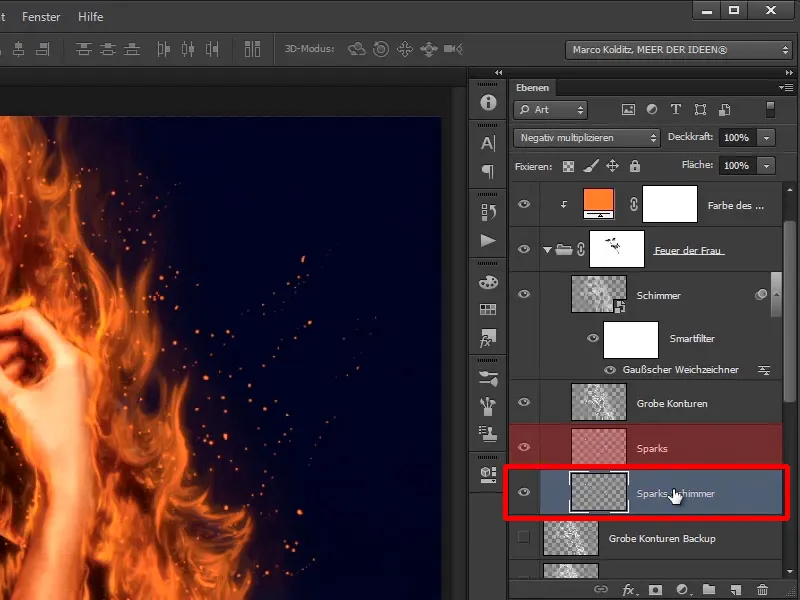
Step 12
What do you do with it? Exactly, you're going to make a Smart Object layerout of it again, unfortunately you haven't seen that now, but you know how to do it by now.
You will now edit this again with the filter, Filter>Blur Filter>GaussianBlur.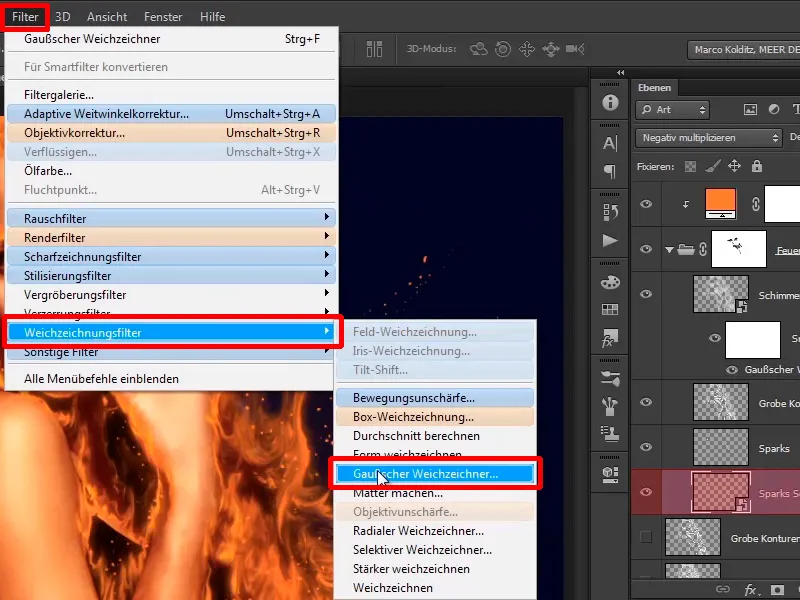
Step 13
With a radius of 6.6 pixels the sparks disappear and at 6.6 it looks really good.
- Radius : 6.6 pixels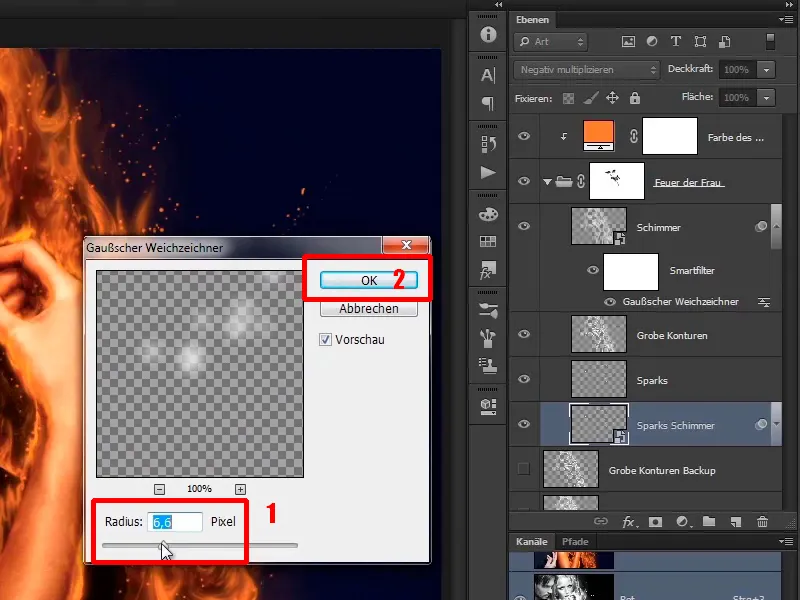
Step 14
If you zoom into the picture, you can already see what happens: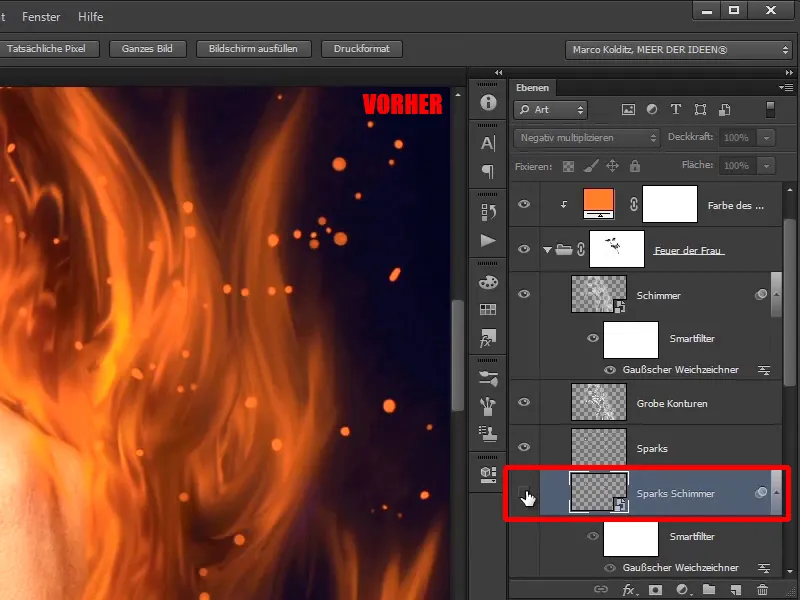
They start to glow.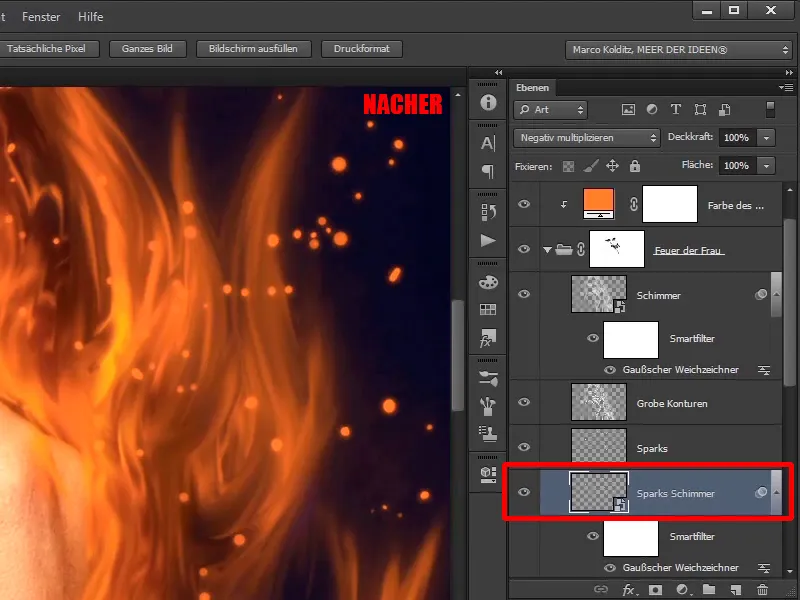
Step 15
Now how do you make your sparks glow? You will do this in the same way as you did before with your fire. In other words, create another empty layer or one filled with gray and then paint the highlights onto your sparks using the dodge tool.
To do this, first go outside your "Woman's fire" group, because you don't want to place everything inside the orange clipping mask, but at the top, i.e. above the "Highlights of the fire" layer, and click on the new layer symbolwhile holding down the Alt key.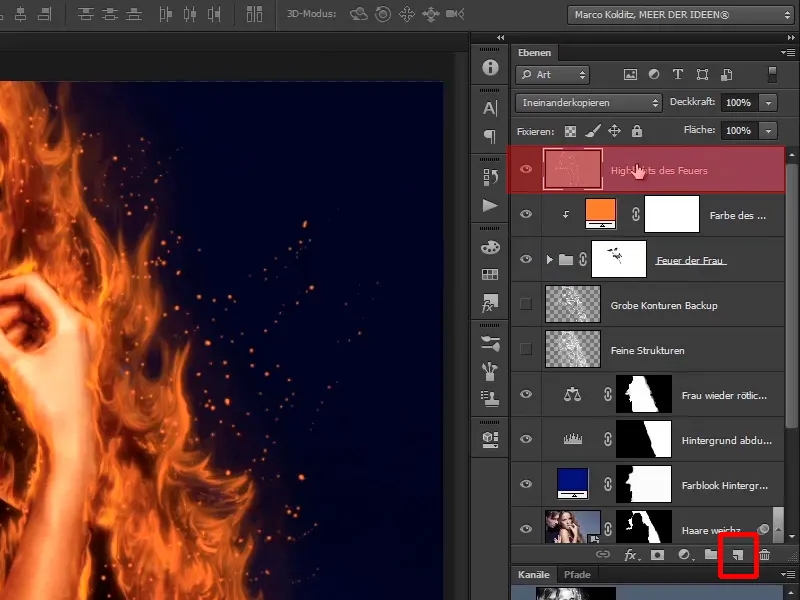
Step 16
Now your dialog box opens again and you simply name it "Spark's Highlights" and set everything to copy into each other mode. This creates contrast and you fill this layer with 50% grey, i.e. with a neutral color.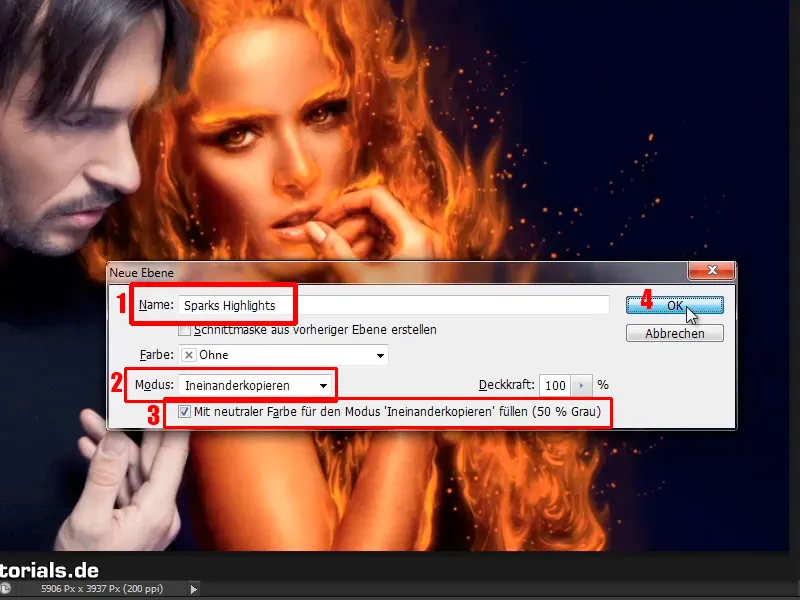
Step 17
Once again, nothing has changed. Our layer is gray, as I said, gray becomes transparent in the Interlace mode, and if you lighten it now, the image will become correspondingly lighter.
In other words, you paint over the woman and, as you can see, everything becomes lighter.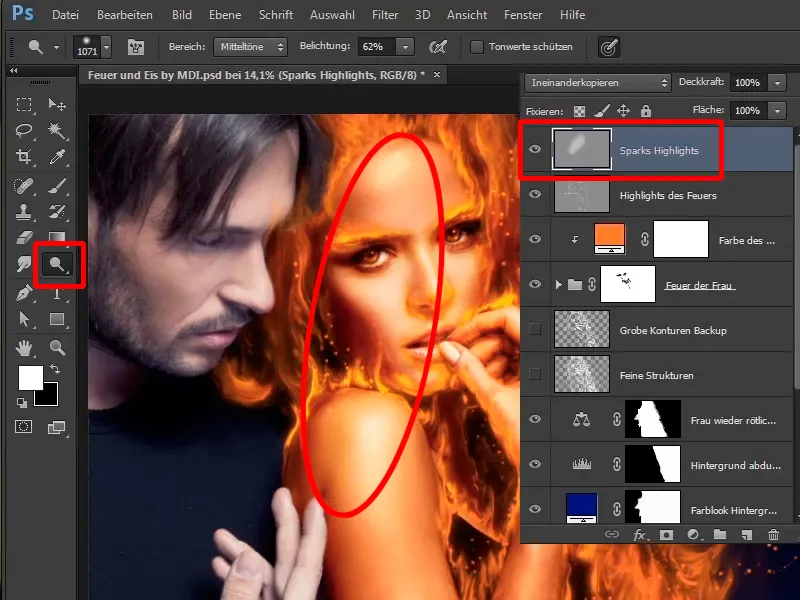
Step 18
But you don't want that at all, because you only want the brightening to affect the sparks. What's the quickest way to do this? Well, you have already created sparks in the "Woman's fire" group; just use them as a mask.
To do this, hold down the Ctrl key and press the "Sparks" layer ...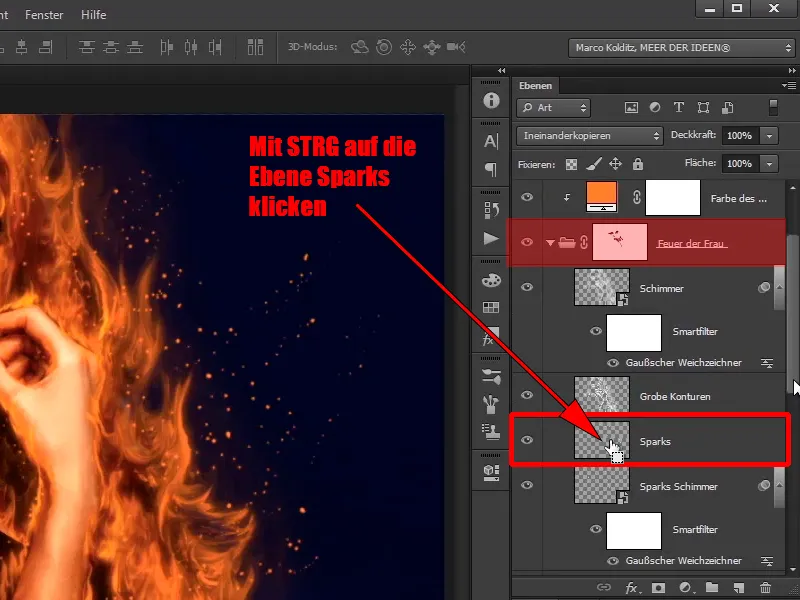
... and you have already created a selection of your sparks. They now look like glittering diamonds of fire.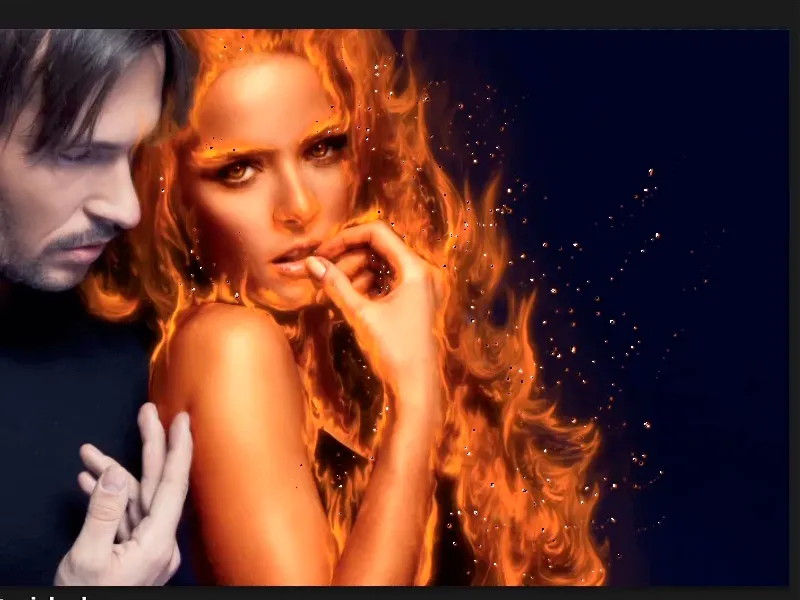
Step 19
You close the "Woman's fire" group again. Now you have selected the sparks and can create a mask from them. Click on your "Sparks Highlight" layer, on the mask symbol,...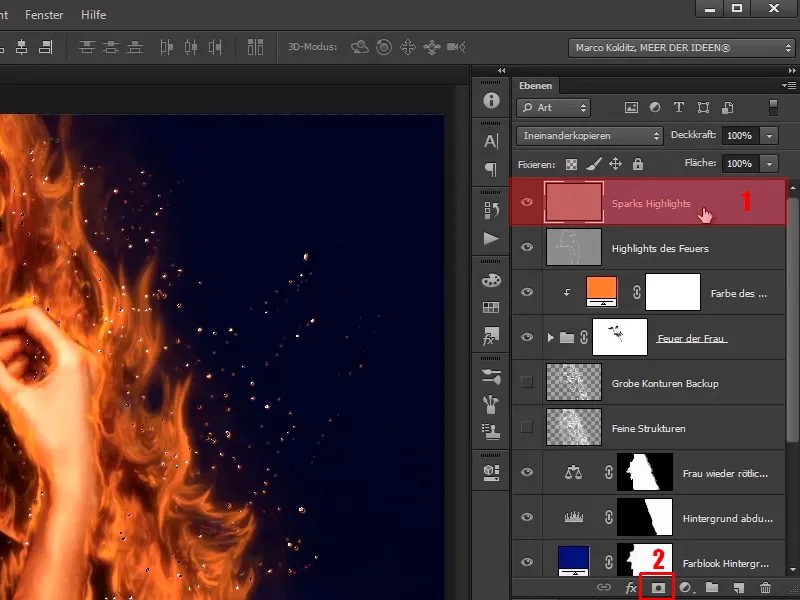
... and you have a black mask with white sparks.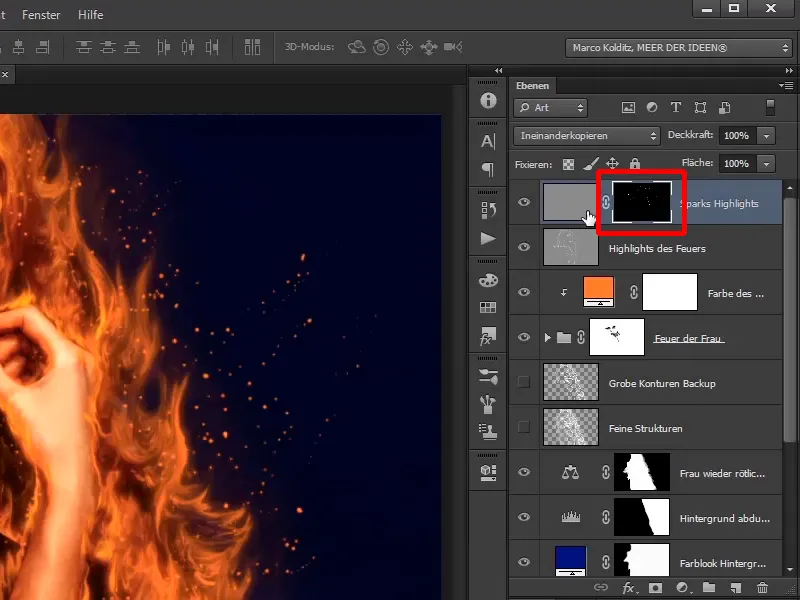
Step 20
If you Alt-click on the layer, you will only see the mask; ...
... if you click on it again with the Alt key, you will see the image again.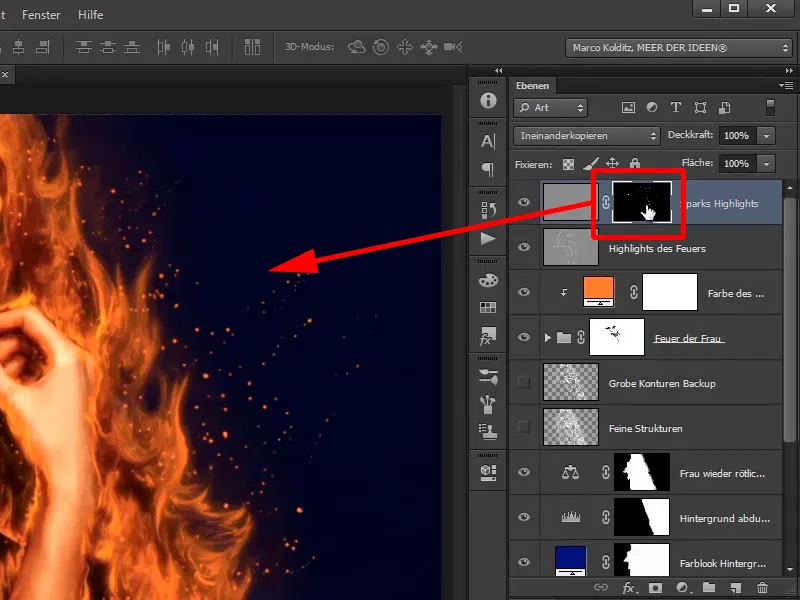
Continue: Steps 21-30
Step 21
This means that if you paint on the gray area, e.g. if you use white temporarily, this will only affect the sparks and that is what you want.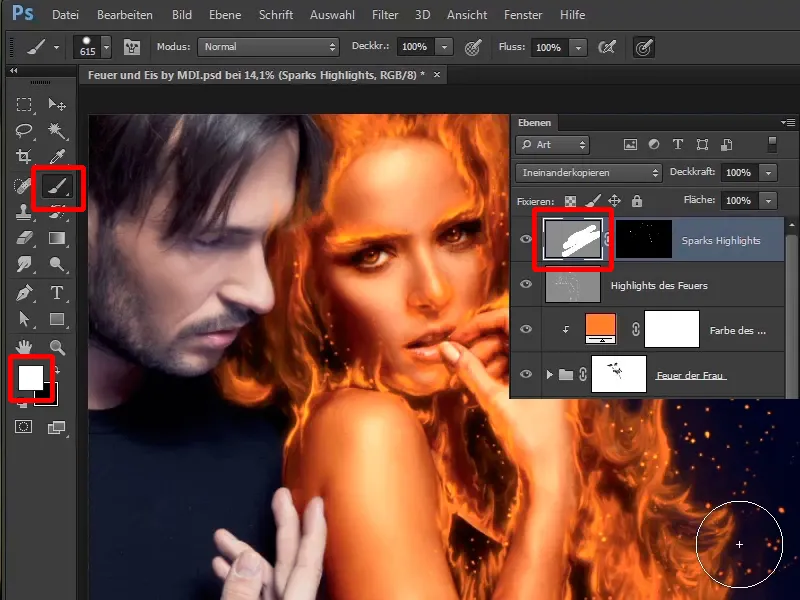
Step 22
This means you can now take your dodger again and paint across the picture. You have to make sure that the gray layer is active. This will make a few sparks glow. However, you don't have to go through all the sparks individually.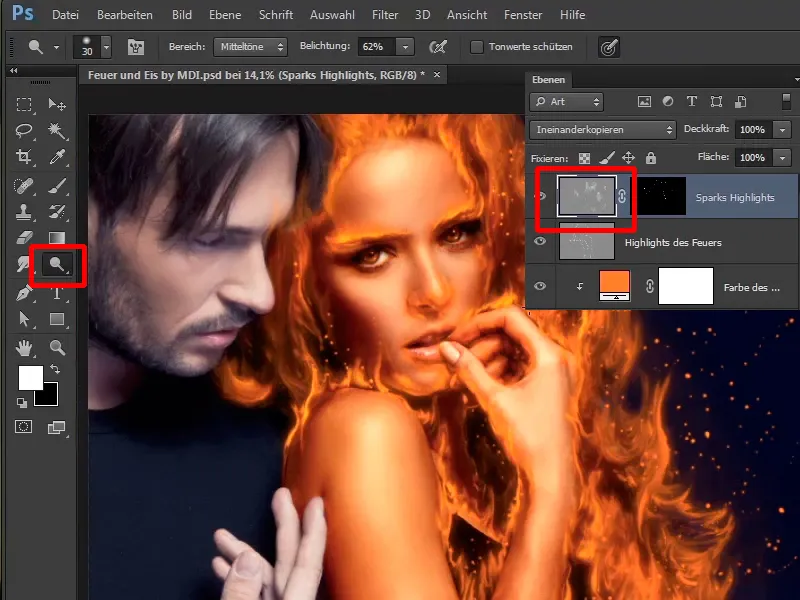
Step 23
Of course, you can also zoom in and say: I only want to make the right-hand side of this spark glow here, or only the bottom side of another one, or I want it to glow completely.
You're welcome to do this, but it takes a lot of time, so leave it at this point and just do it all over the picture. If you switch it on and off, ...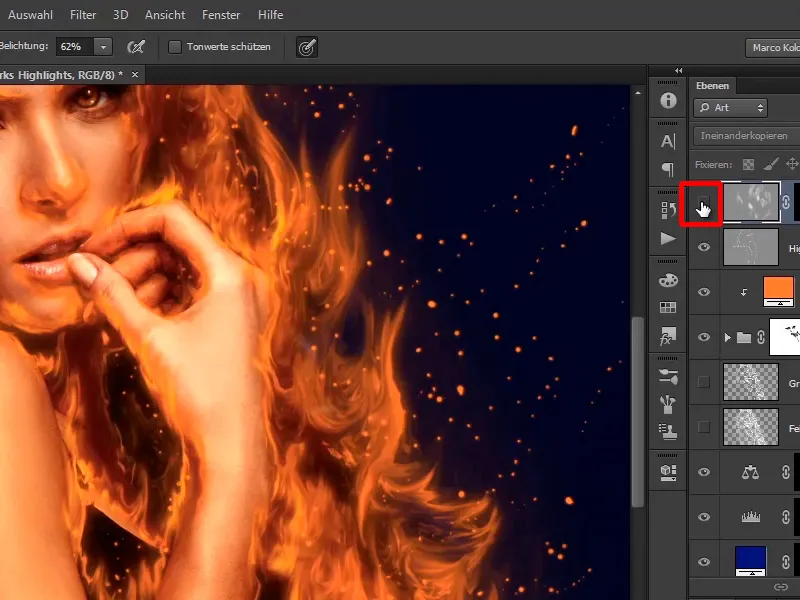
... you can see in some places how some sparks start to glow.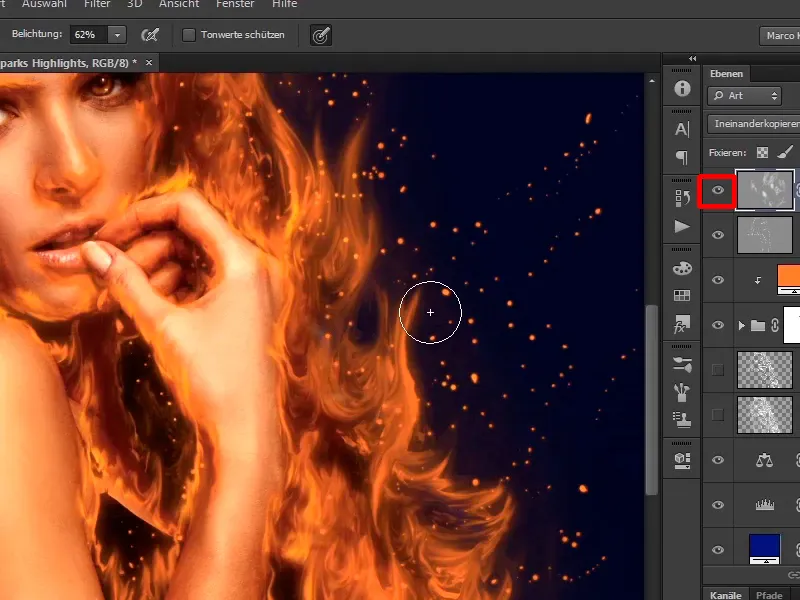
Step 24
As I said, you shouldn't do this too evenly so that it also brightens things up a bit. With the before and after effect, you can see very subtly how your sparks glow.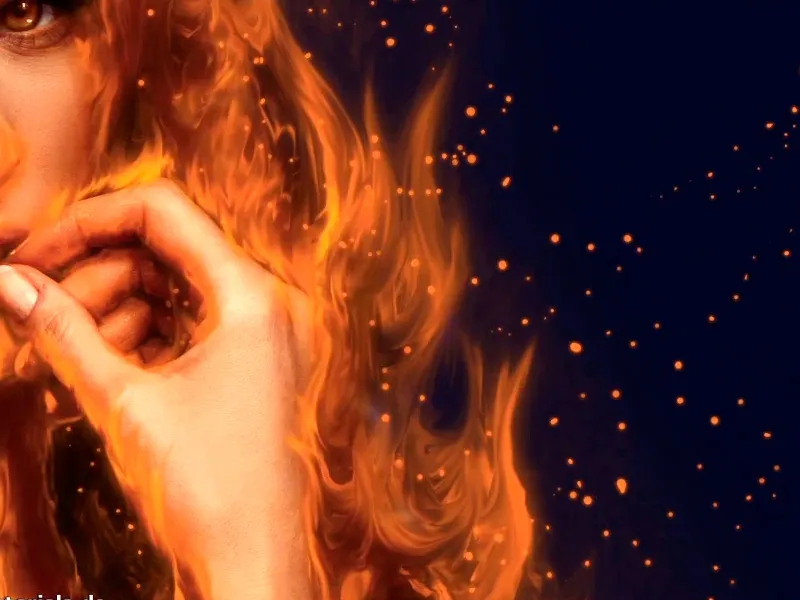
Step 25
Next, you'll take care of the exact opposite, namely frost. And how do you add a little frost to the picture?
You use the previously saved "Fine structures" layer. To do this, scroll down in your layers and you will see your "Rough contours backup" and "Fine structures" layers, which is exactly what you need now.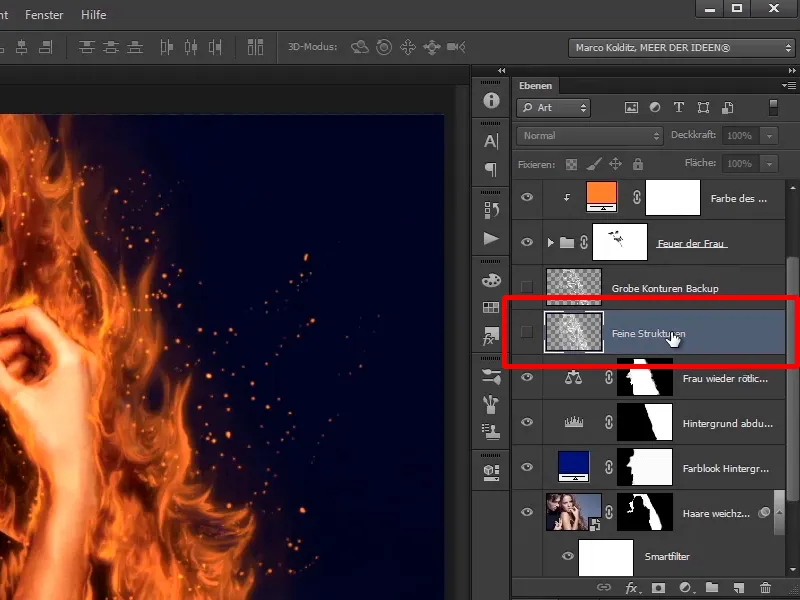
Step 26
Now put this layer back into a group. Select the "Fine textures" layer, press Ctrl+G and rename this group to "Fine textures", which is also the name of the layer.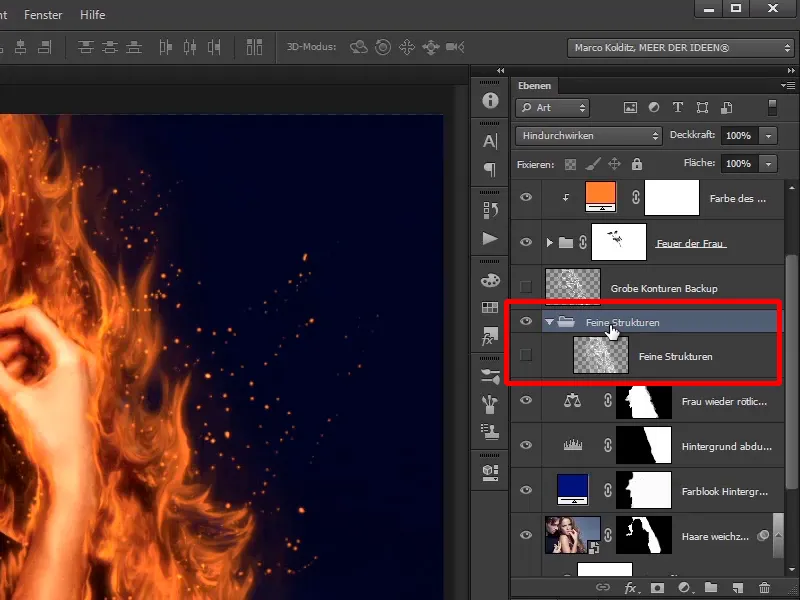
Step 27
You will duplicate the layer with itself again, then Blender this layer and now it looks totally broken.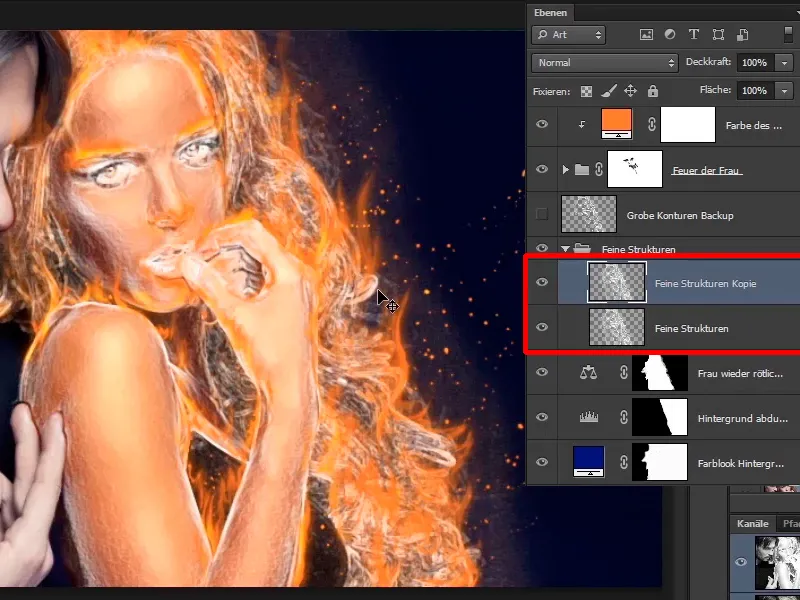
Step 28
But of course you undo this, because you only want the skin structure, i.e. you now apply a mask to this group. Hold down the Alt key and press on the mask so that you hide it completely (black mask).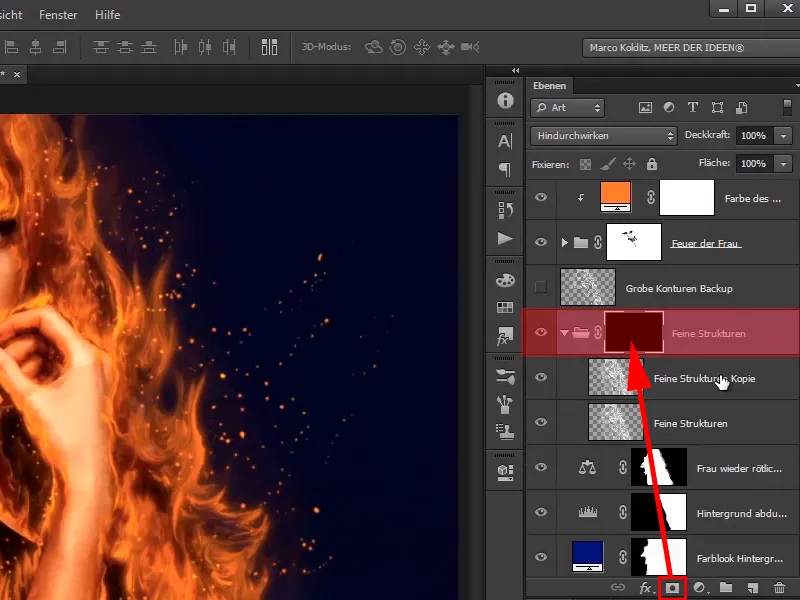
Step 29
If you now deactivate the mask, you will once again see the two layers underneath. Why should you duplicate the two layers? This multiplies the structures, making them even clearer and more visible.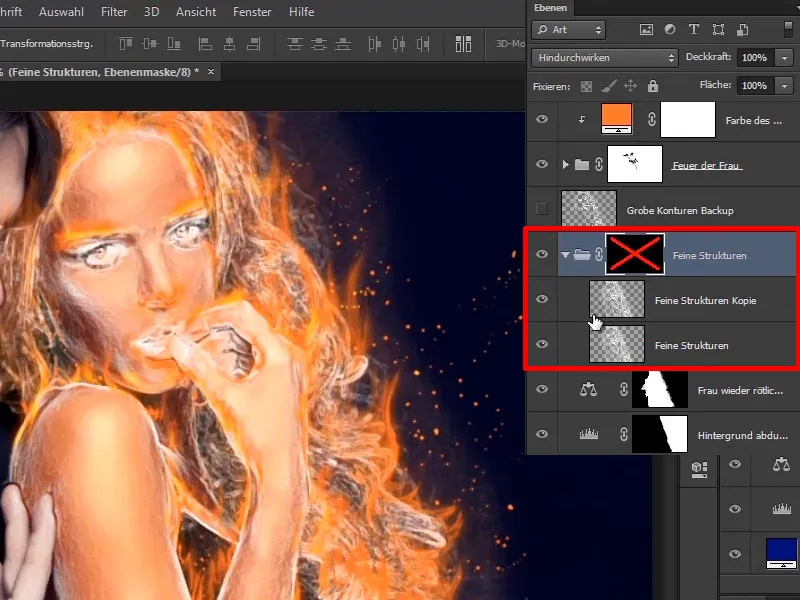
Step 30
Now you want to paint in the frost very specifically, and you do this again on the mask with a white foreground color and a relatively soft brush.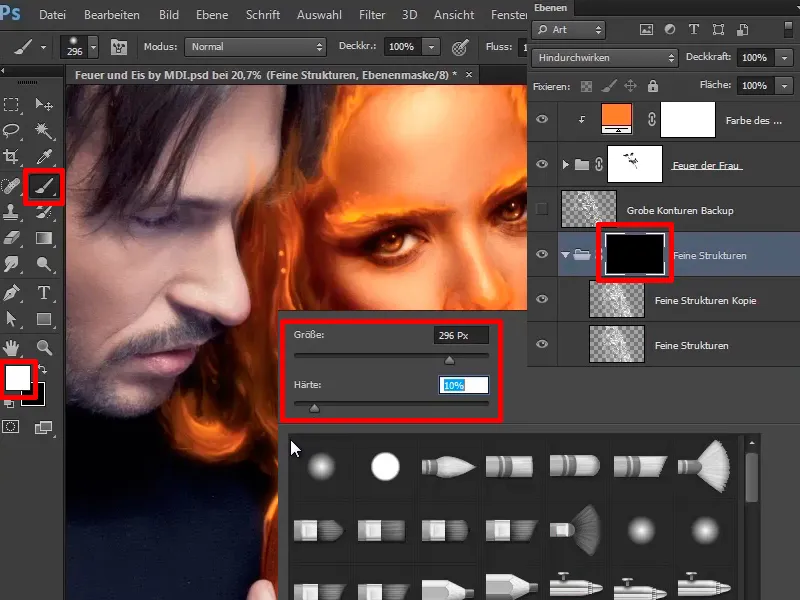
Keep at it! Steps 31-40
Step 31
Now you can paint in the frost in some areas.
Reduce the opacity to 21% and the hardness of the brush to 0% to make the transition smoother and paint a little frost onto the skin.
- Opacity : 21%
- Hardness: 0%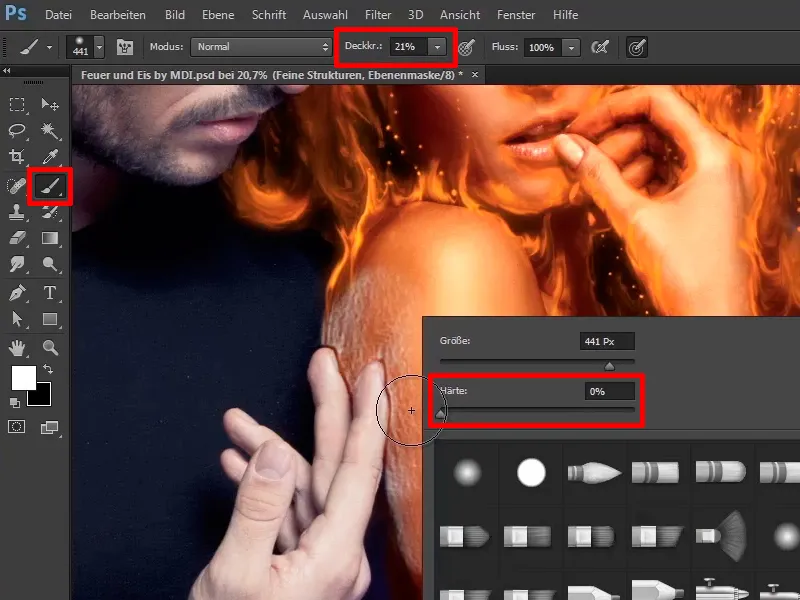
Step 32
The frost should mainly be applied to the man's hands, because it is exactly where the man made of ice touches the woman that it is cold. The same goes for the forehead, where he is already relatively close to her and she is already shivering a little. Again, take a little more time. Keep jumping back and forth with the X button, erase something, draw something in again.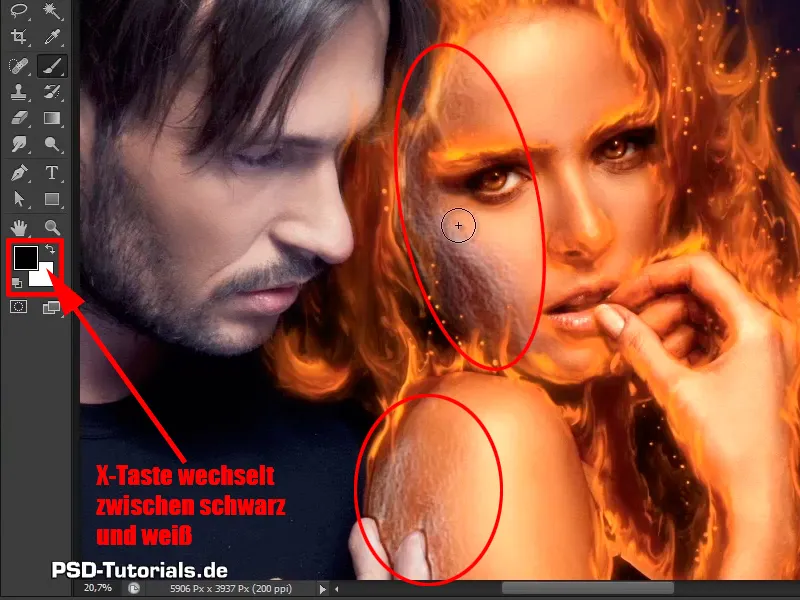
Step 33
For example, erase a little on the cheek and draw a little on the forehead. At the transitions, erase a little again, because you want fire to be visible. This way you have already painted a little frost into the picture.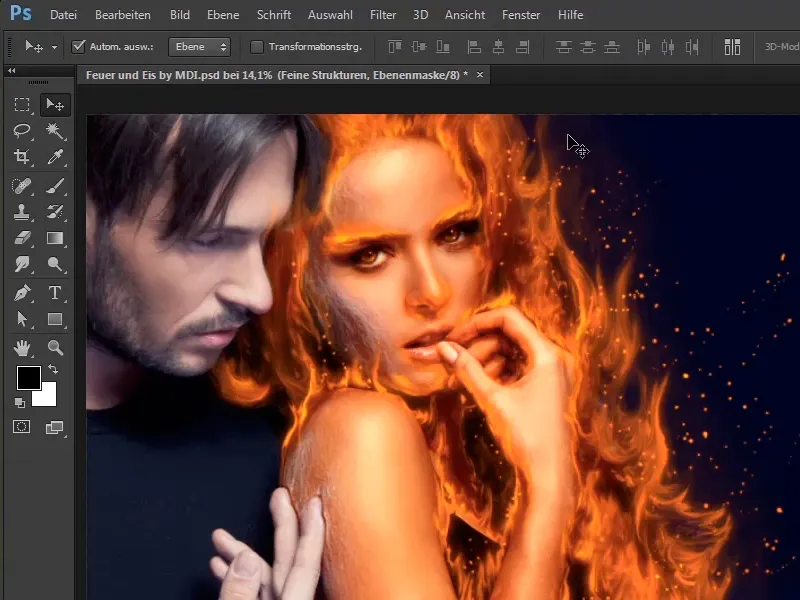
Step 34
To further enhance the impression of frost, close the "Fine structures" group, scroll up, close the "Fire of the woman group" and click on the top layer, your "Sparks highlights" group.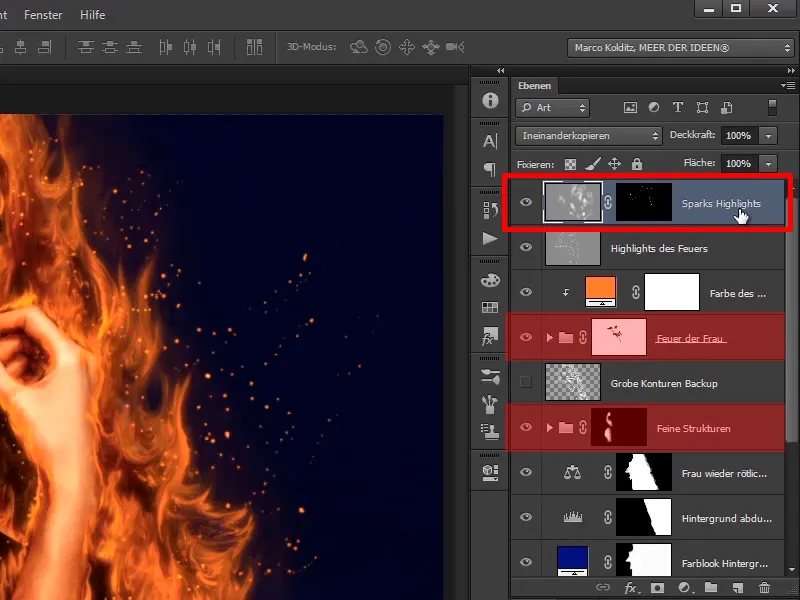
Step 35
Now create a normal empty layer, twice. Name the bottom one "Frost" and the top one "Frost Cheek".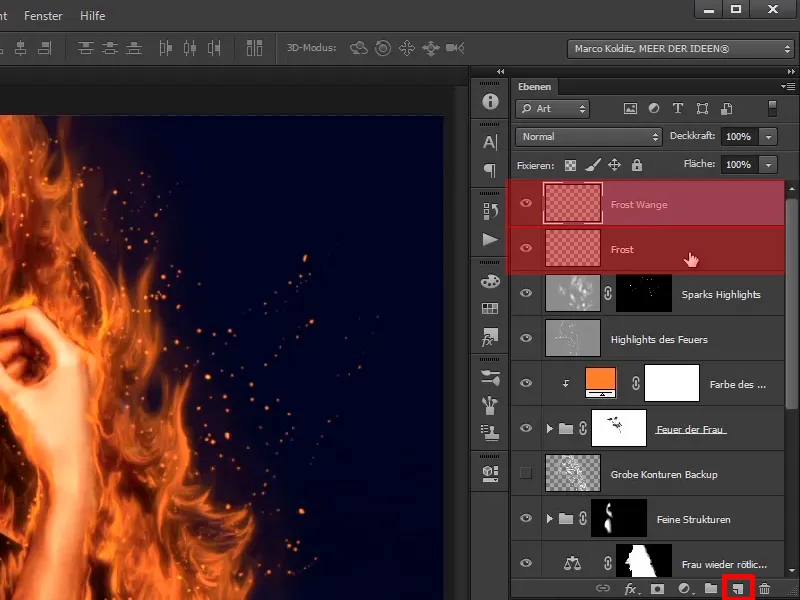
Step 36
First, click on the "Frost" layer, zoom in a little on the image and take care of the shoulder area first. Now click on the brush tool and right-click to open your brush group and select a brush that looks frayed, in this case brush 1244.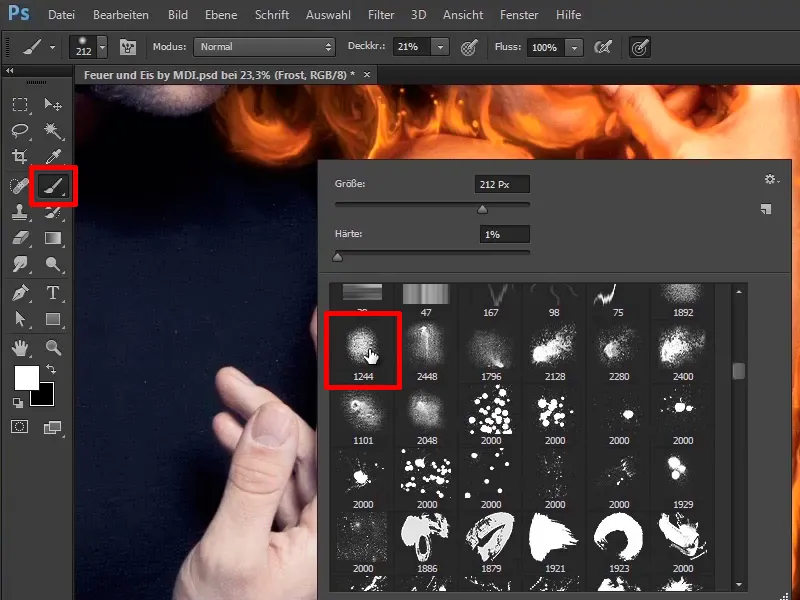
Step 37
Such brushes are either available on the Internet for free, for a fee or you can create one yourself. Marco made this brush himself, he also made a video training course on how to create texture brushes in Photoshop.
Now take one of these frayed brushes, make it a little larger and simply click on it with a white foreground color,...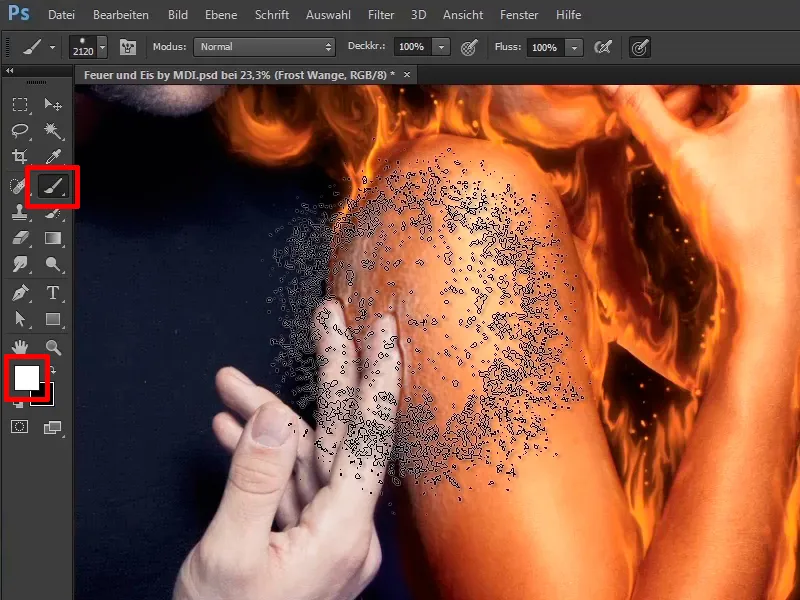
... preferably with an opacity of 100%.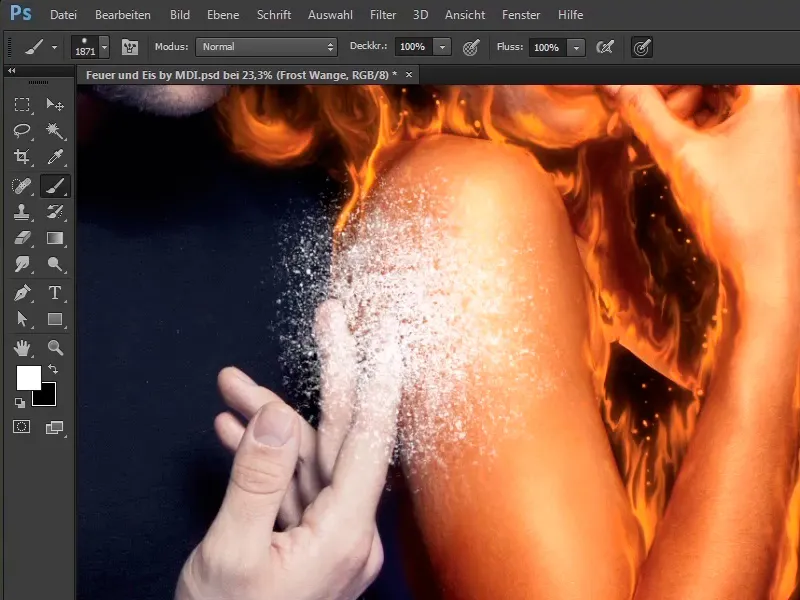
Step 38
On the "Frost cheek" layer, do the same thing again a little smaller.
Step 39
So far, this still looks very unspectacular, you first hide the "frost cheek". Now take care of the area of the "Frost" layer. You want to deform the area a little, i.e. transform it, and so that you don't work destructively, you will convert this layer into a Smart Object. Right-click on the "Frost" layer and select Convert to Smart Object.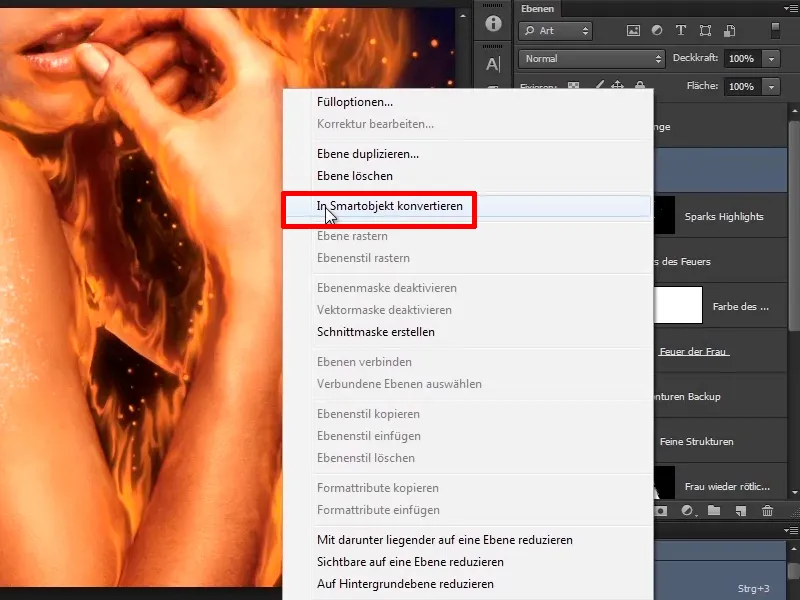
Step 40
Now you can scale until you turn blue and you won't lose any image details. You can always go back to the original.
Now click on Edit>Transform>Deform.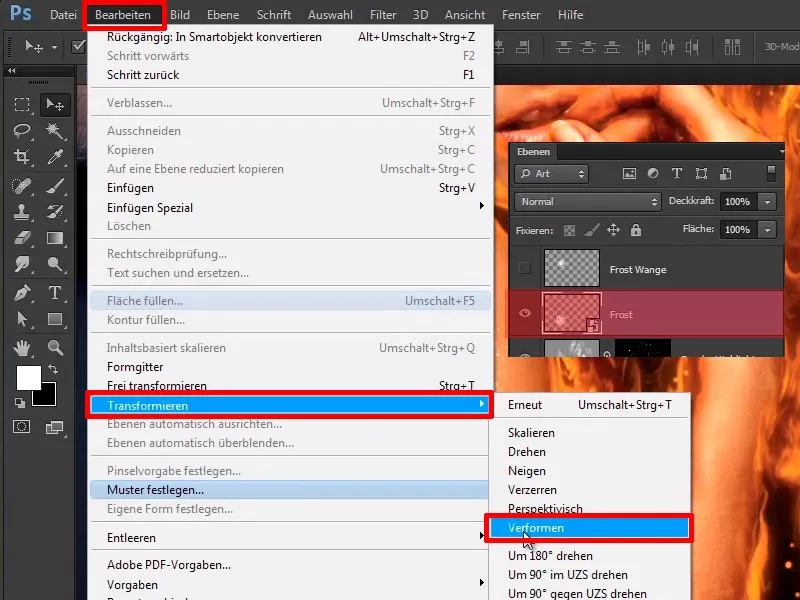
Steps 41-50
Step 41
Now you can simply click in these rectangles or on the handles to intuitively deform everything so that it really looks as if it is now on the skin. Adjust the whole thing to the shape of the shoulder and here too you can take your time and adjust everything as you like and then confirm with Enter.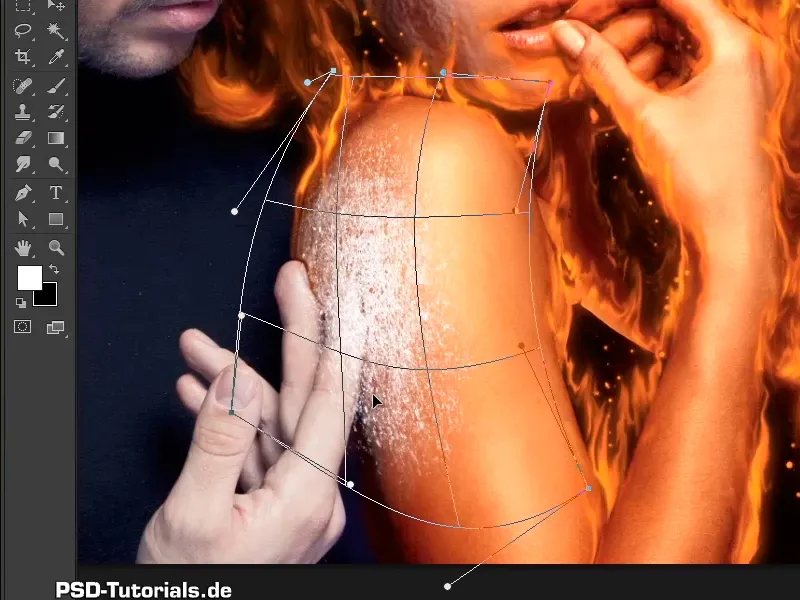
Step 42
Now you are almost finished. Double-click on the "Frost" layer so that it adapts a little to the skin structure. Here you are in the so-called layer styles.
Very important: You have to click to the right of the layer name, not on the layer name, because then you rename the layers, but on the right on a free area, ...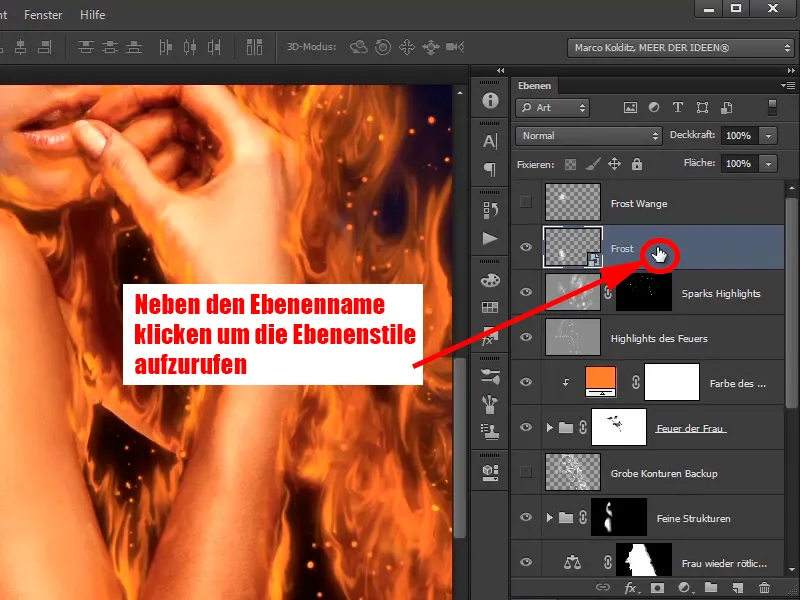
... and then you are in the layer style dialog box.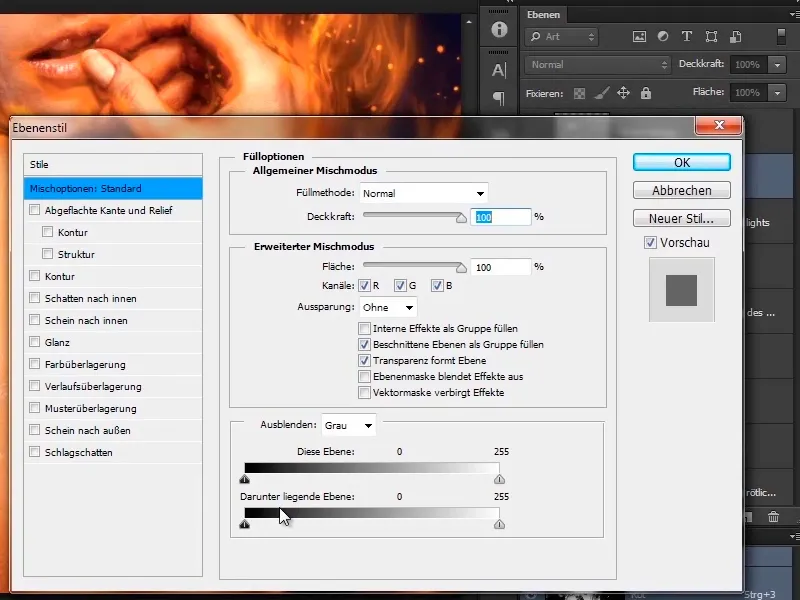
Step 43
There you will see two handles at the bottom; Marco will not explain all the settings of the layer styles, because they are not relevant for this tutorial, but the bottom handles are important, namely the layer below slider.
This means that if you drag this area to the right with this slider, you can bring out all the dark areas of the layers below your current layer. The same applies to the light areas.
This means that if you drag the black slider to the right, the shadows of the skin should slowly reappear and the same with the light areas. In other words, here it moves from right to left and thus you fade in the light and dark areas of the layer below your "Frost" layer again.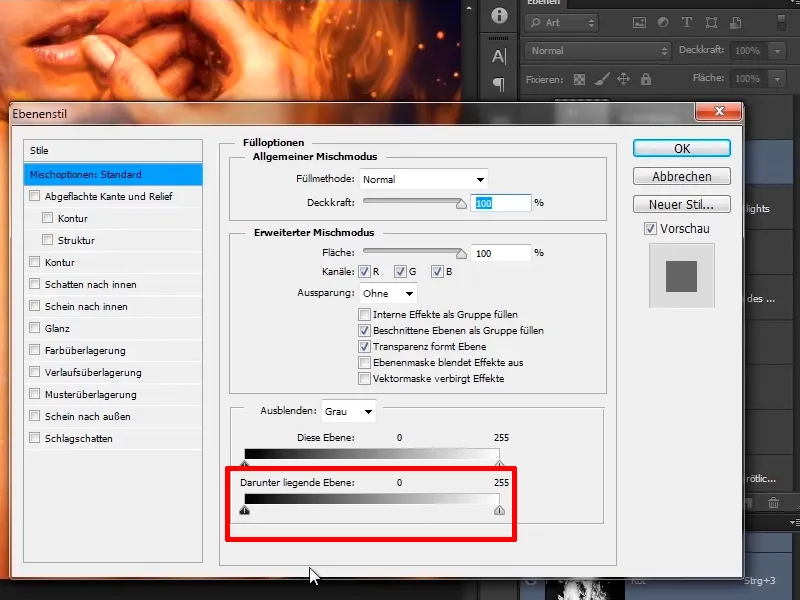
Step 44
Now do this and drag the black slider to the right and, as you can see from the shoulder, relatively hard contours are created there.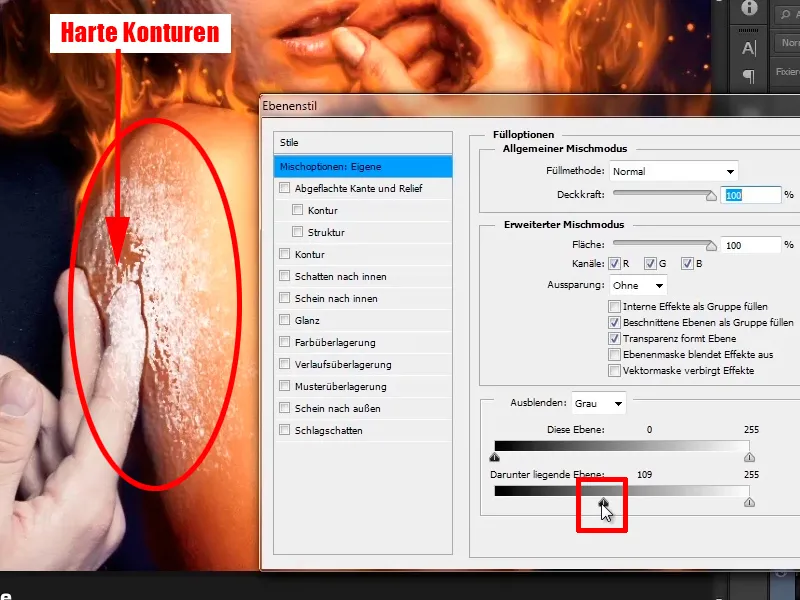
Step 45
You can change this by taking the arrow, which strangely has a white line in the middle, and then holding down the Alt key and clicking on it again and dragging it to the left, and you can see how a smooth transition is created. Take advantage of this and see how it looks best. 65 / 128.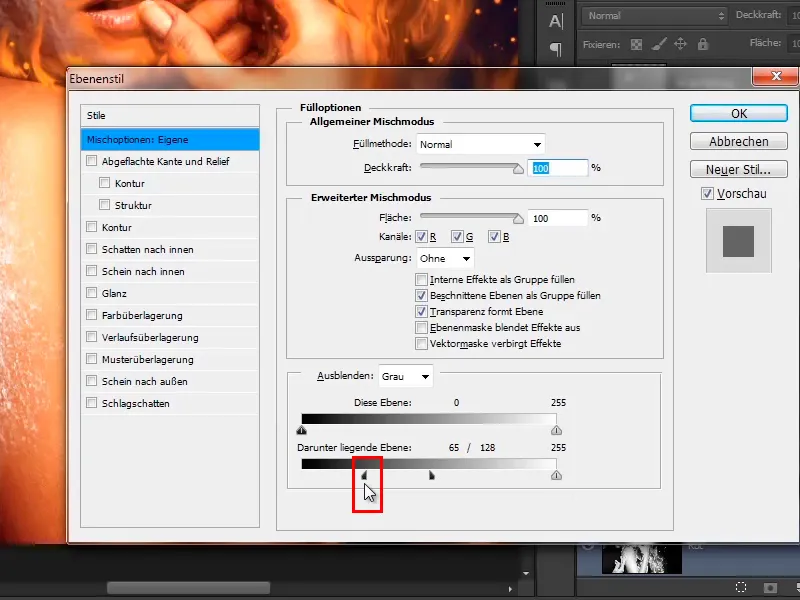
Step 46
And be a bit more careful with the white, here too you split it to about 177 / 245, so it looks good.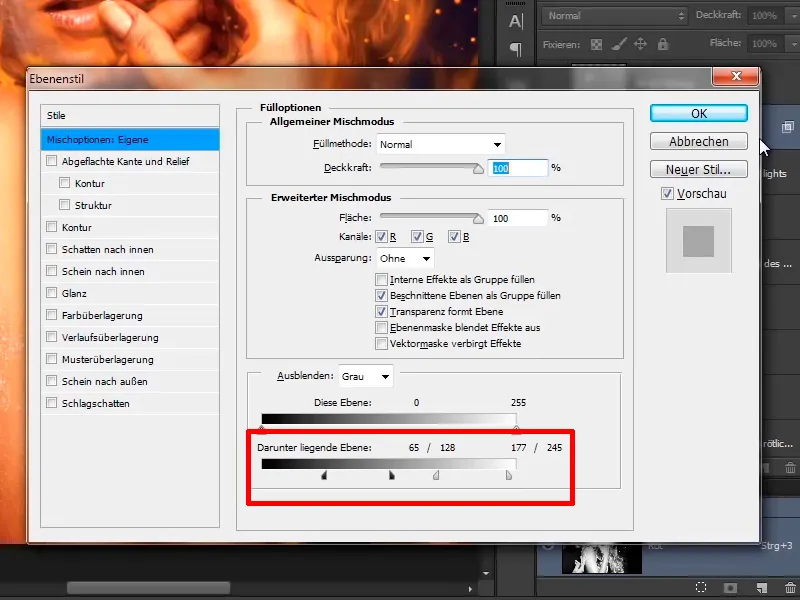
Step 47
Take a look at the result with the preview ...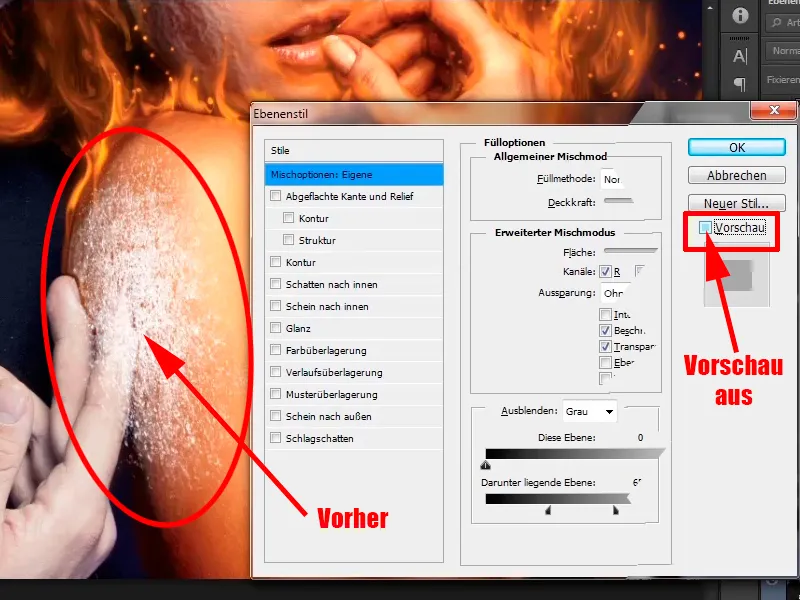
... and it all looks great.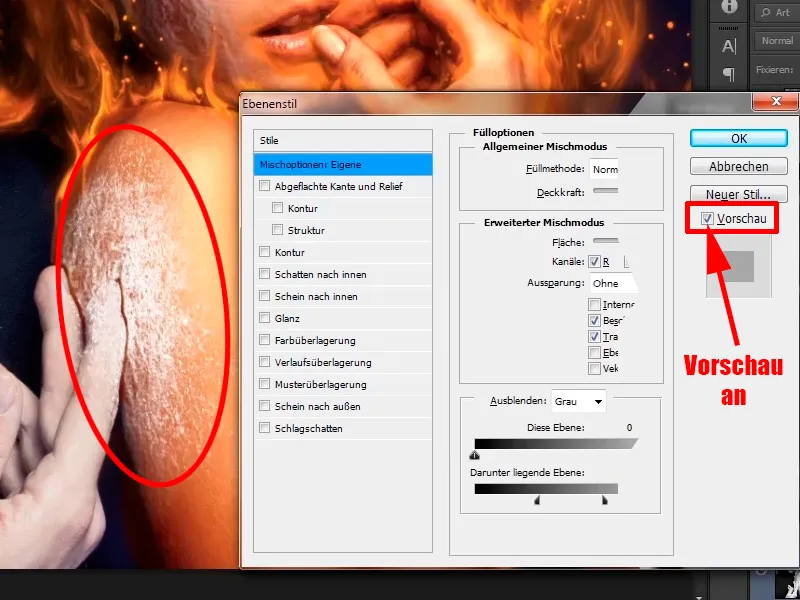
Step 48
By the way: You can reduce the opacity of the "Frost" layer a little to 95%.
- Opacity: 95%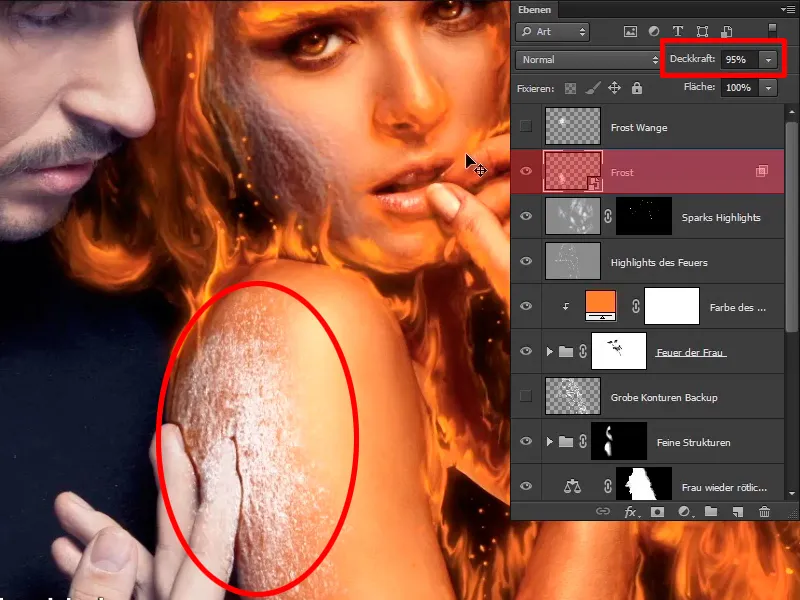
Step 49
Now do the same with the cheek, i.e. convert the layer into a Smart Object here too.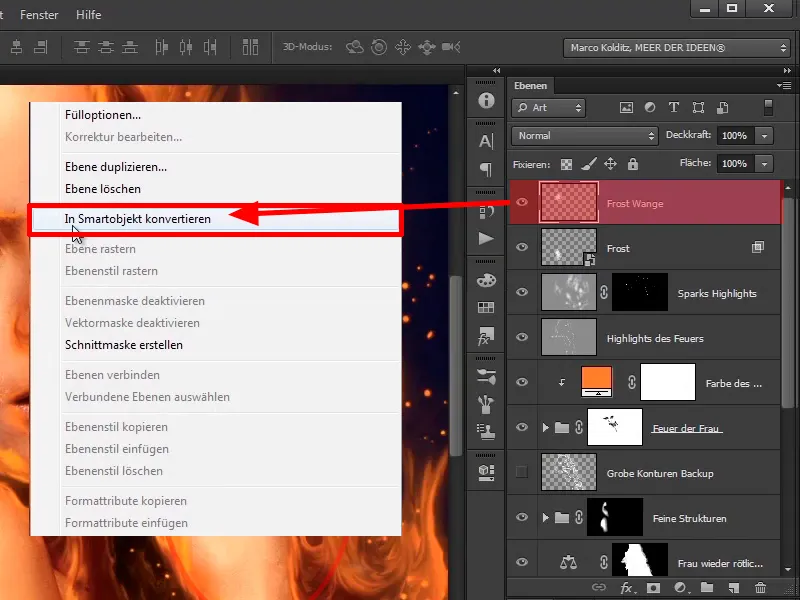
Step 50
Then click on Edit>Transform>Deform.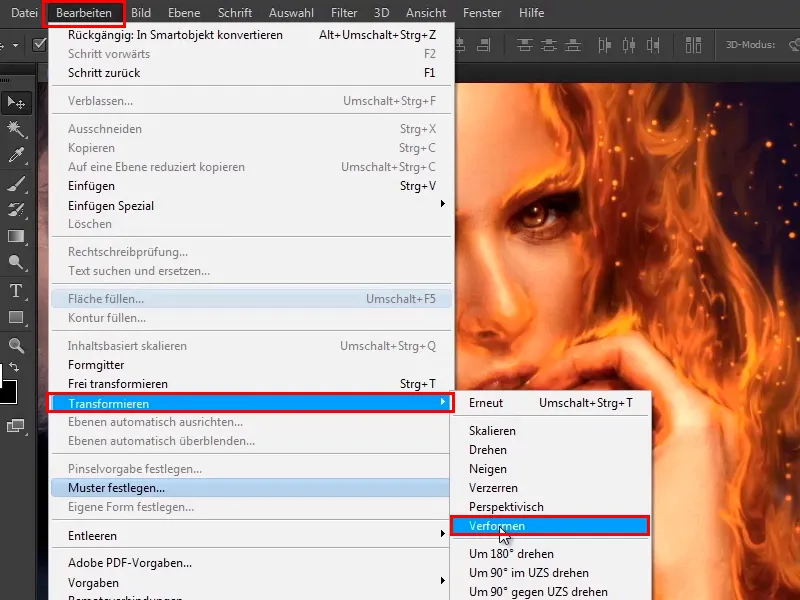
The last steps
Step 51
Now comes the fun part again, i.e. you pull, squeeze and press, which many people tend to do in beauty retouching, and also place the frost on the cheek in the picture.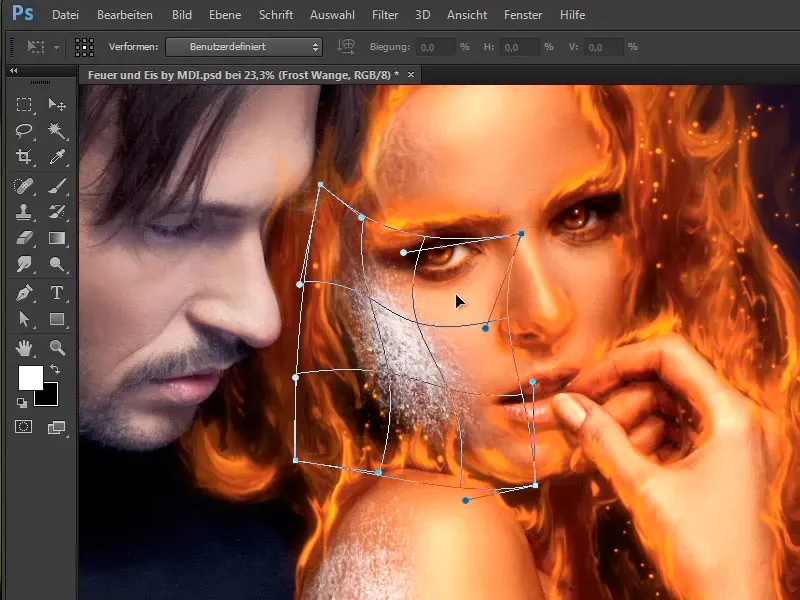
Step 52
Here, too, you will switch back to the layer styles and can start the same game all over again. Here you split it up and bring back some of the skin structure.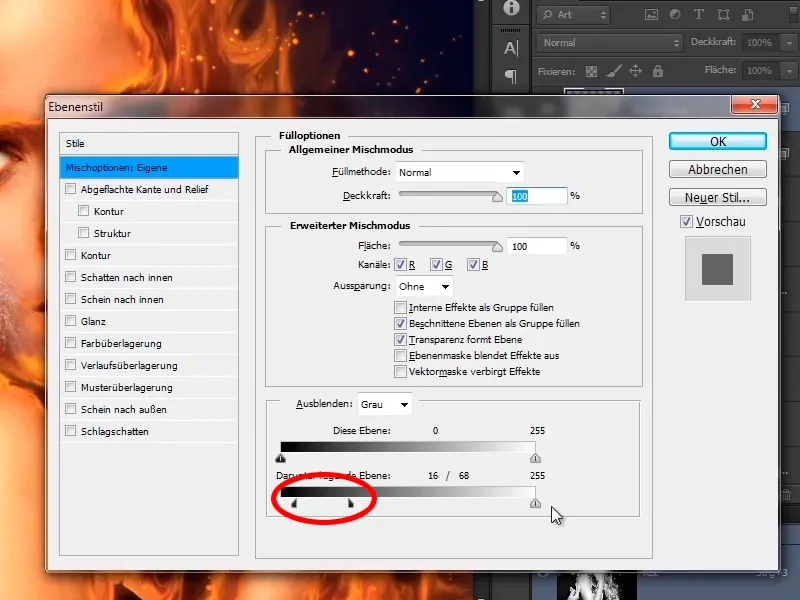
Step 53
The same with the highlights, as I said, you can take your time here too, look and try a little until everything really fits.
- Black: 14 / 57
- White: 152 / 246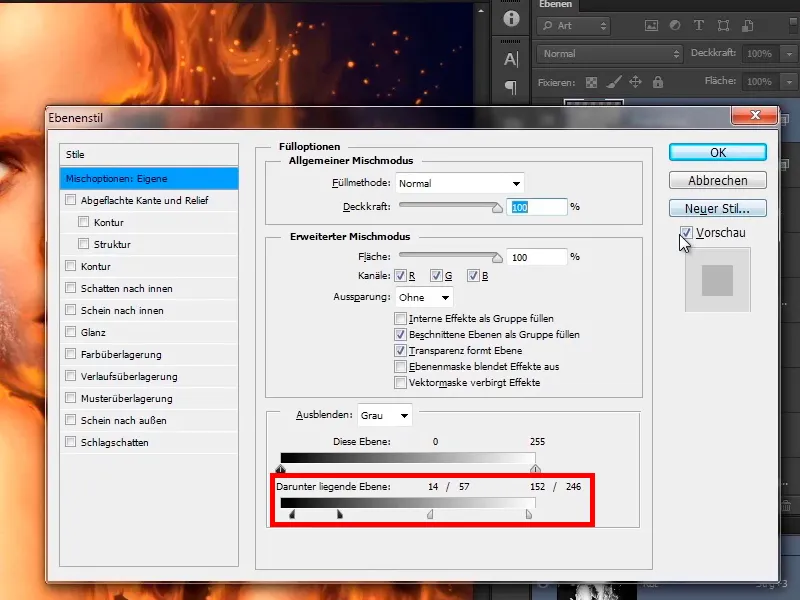
Step 54
Of course, you can also work with masks, i.e. you will create another mask for both.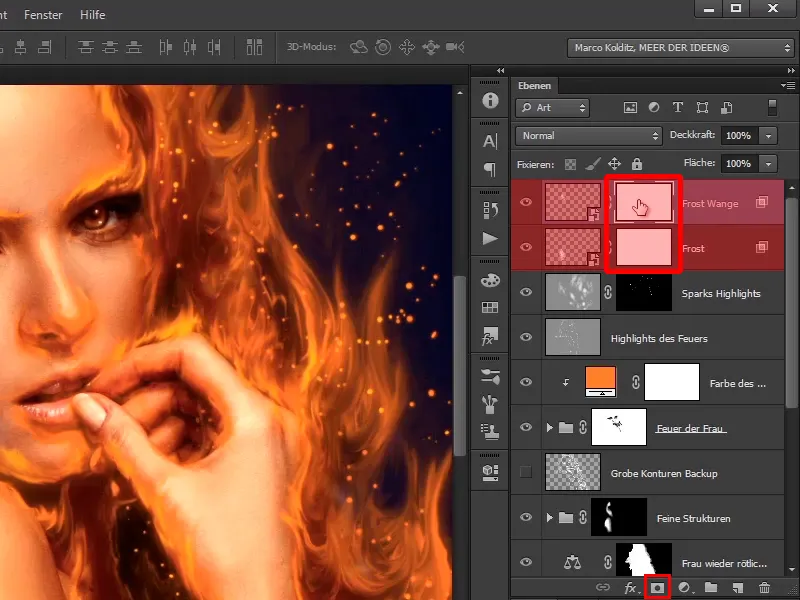
Step 55
On the cheek, take the brush and still the texture brush you just used, with a lower opacity of 48%, and click a little on the edge area.
- Opacity: 48%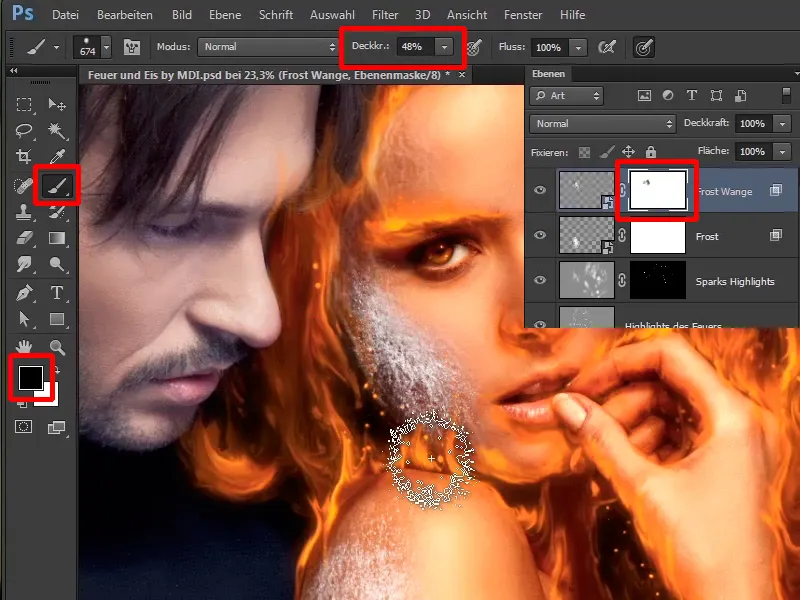
Step 56
If you were to use a soft brush now, the transitions here would be too soft and wouldn't look great. Make yours a little harder and set the opacity to 74%.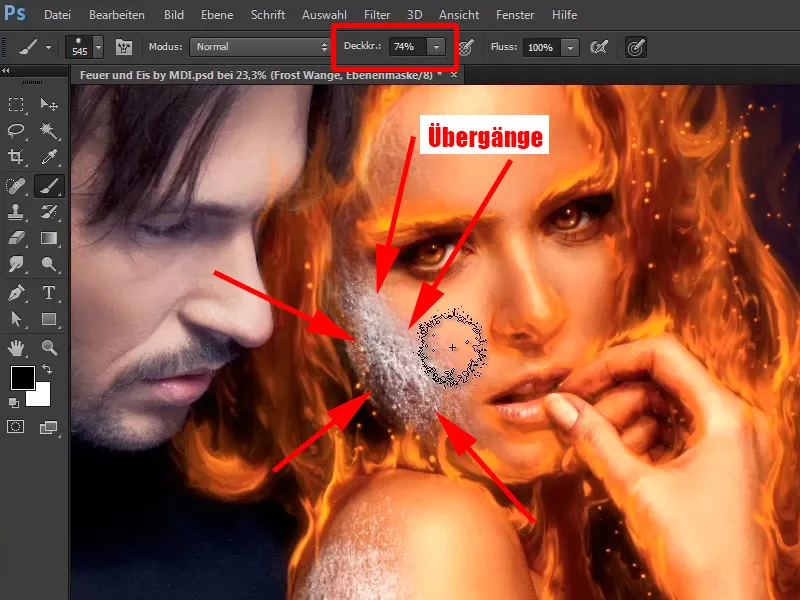
Step 57
Do the same with the "frost" layer; as I said, you can also take more time here and, of course, reduce the change from the man's finger.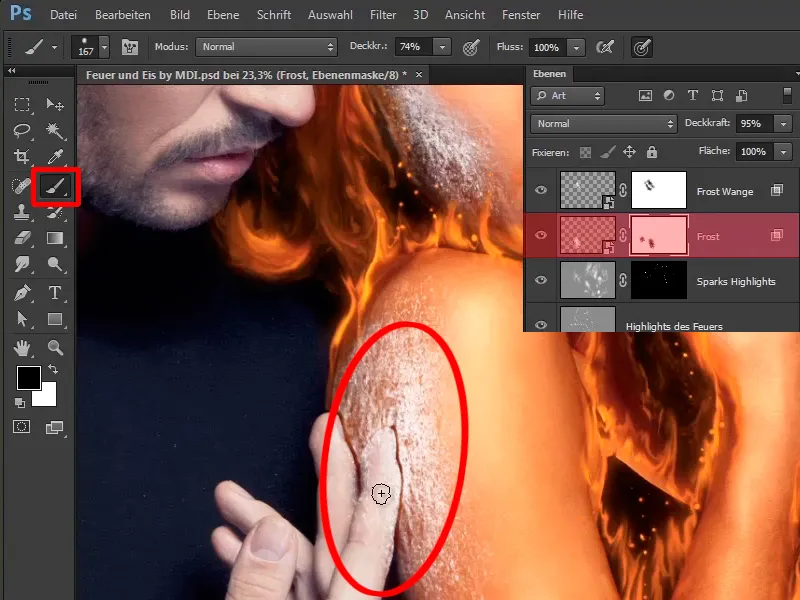
Step 58
So, Marco has now adjusted the frost areas, using the masks or layer styles, as he has already shown you: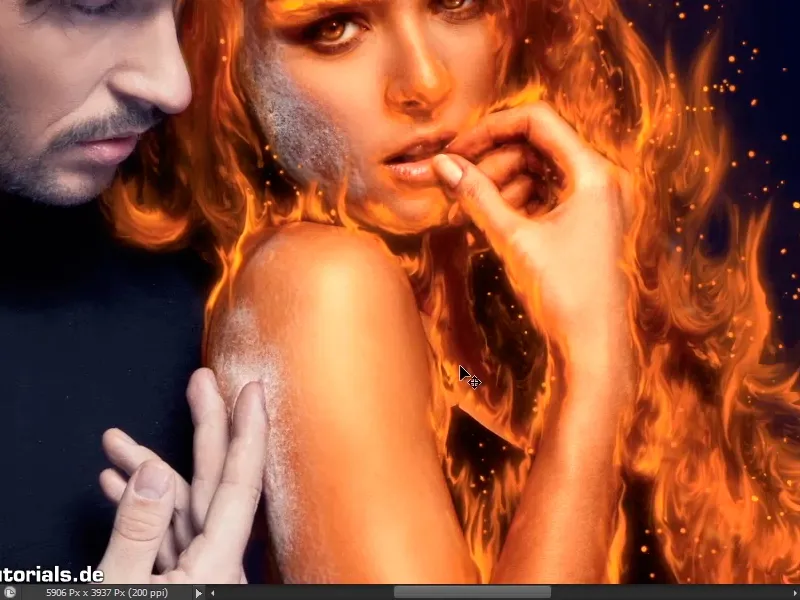
Step 59
For the sake of clarity, in preparation for the next tutorial, you will group the woman's layers together by clicking on the top layer and scrolling to the last layer that you want to group together, pressing the Shift key and clicking on the bottom layer.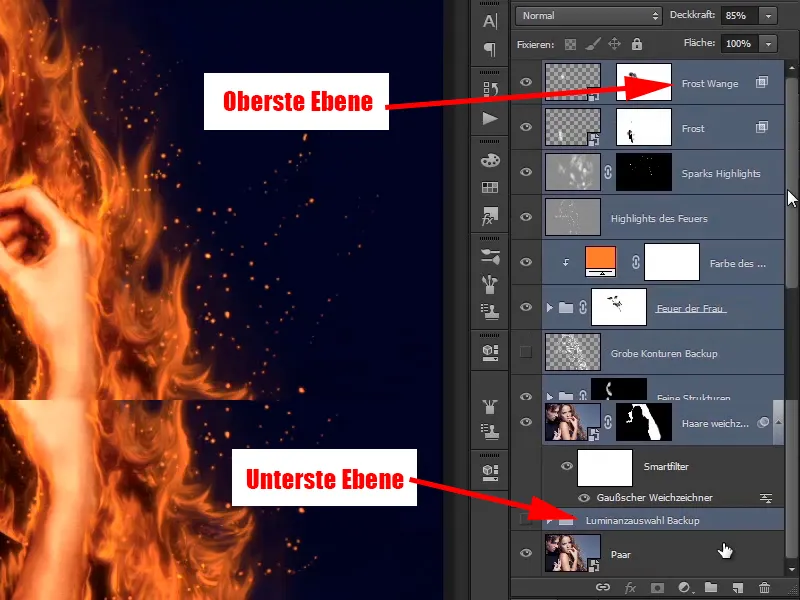
This will select the top layer, the bottom layer and all the layers in between and now simply press Ctrl+G and name this layer "Woman's fire, combined".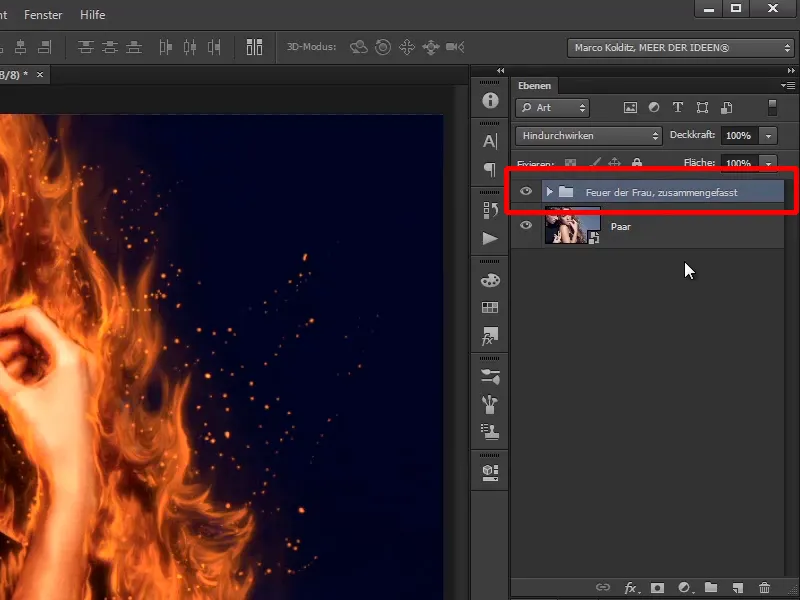
Step 60
The layer palette is now much clearer. If you hide this now, you will see your original image, ...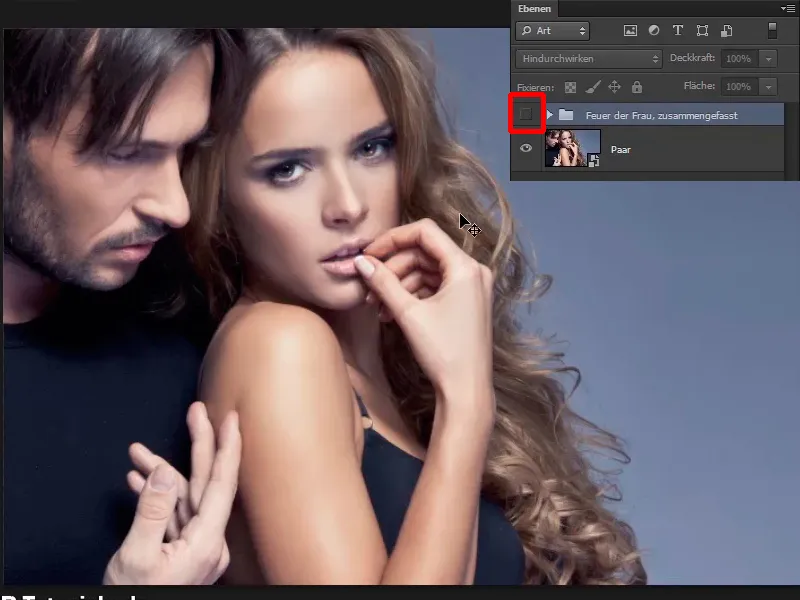
... and when you show the layer palette again, you can see the current state of things. This is the image you have edited so far.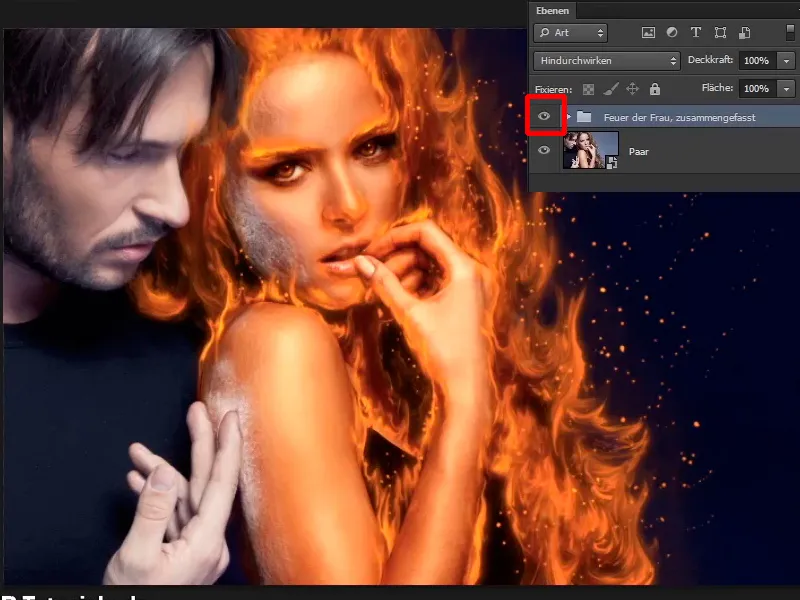
In the next tutorial you will now calculate real fire into the image; stay tuned.
