In this tutorial, you will learn how to apply Time Remapping to clips from Instagram Reels using Adobe Premiere Pro CC. Time Remapping is a technique that allows you to change the speed of video clips to achieve impressive transitions between different scenes. This seamlessly connects clips, allowing you to play with playback speed and create creative effects in your video.
Main Insights
- Time Remapping allows adjusting the speed of clips.
- The transition between two clips can be effectively designed by smoothly fading in and out the speed.
- By creating keyframes, you can have precise control over the speed changes in your clips.
Step-by-Step Guide
Step 1: Selecting and Arranging Clips
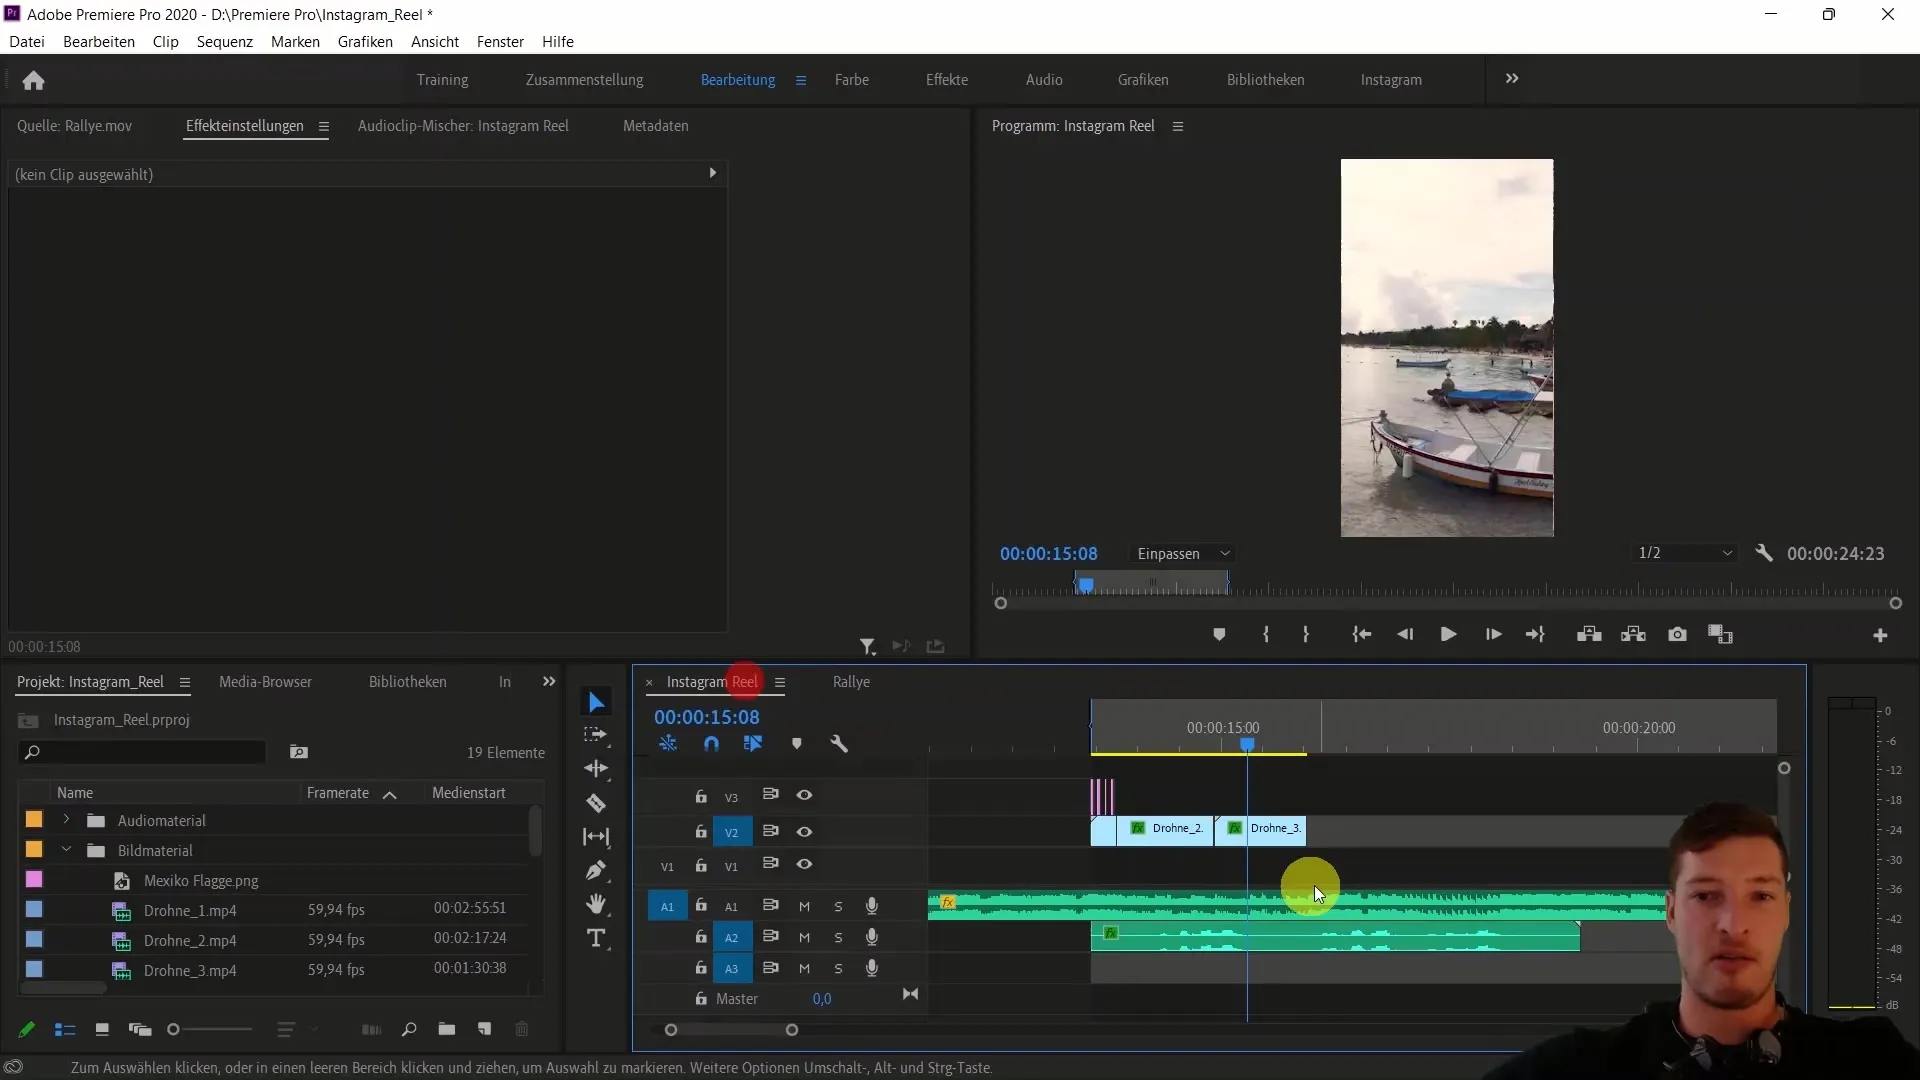
Before you start Time Remapping, you need to select the clips you want to use. Switch to the Instagram view and open your media library. Look for suitable clips that are suitable for Time Remapping. In this example, we select Drone Clip 4 and Drone Clip 5.
Step 2: Arranging Clips in the Timeline
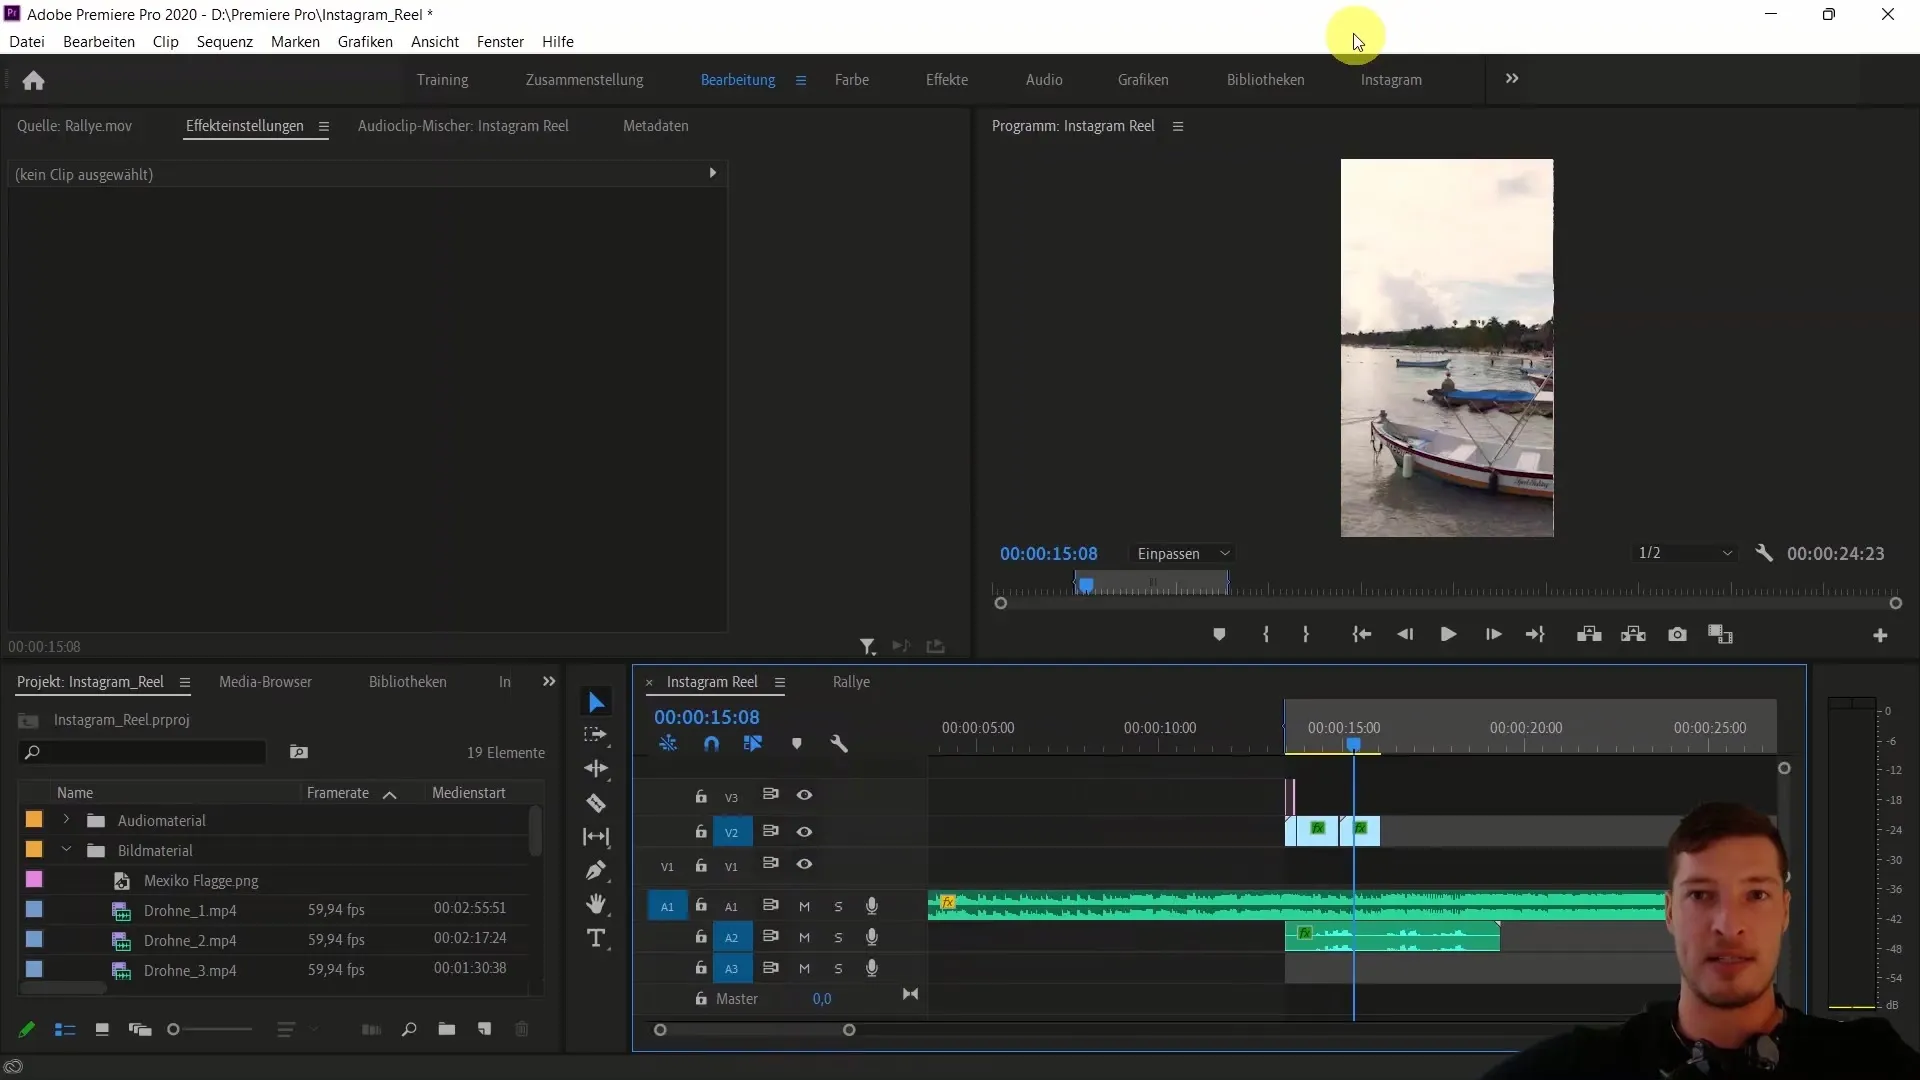
First, drag Drone Clip 5 into the timeline by sliding this clip to the end of your already created Instagram Reels. Consider at which point in the music you want to create the transition between the clips. In this case, we choose approximately 17 seconds as the transition point.
Step 3: Adjusting the Clip
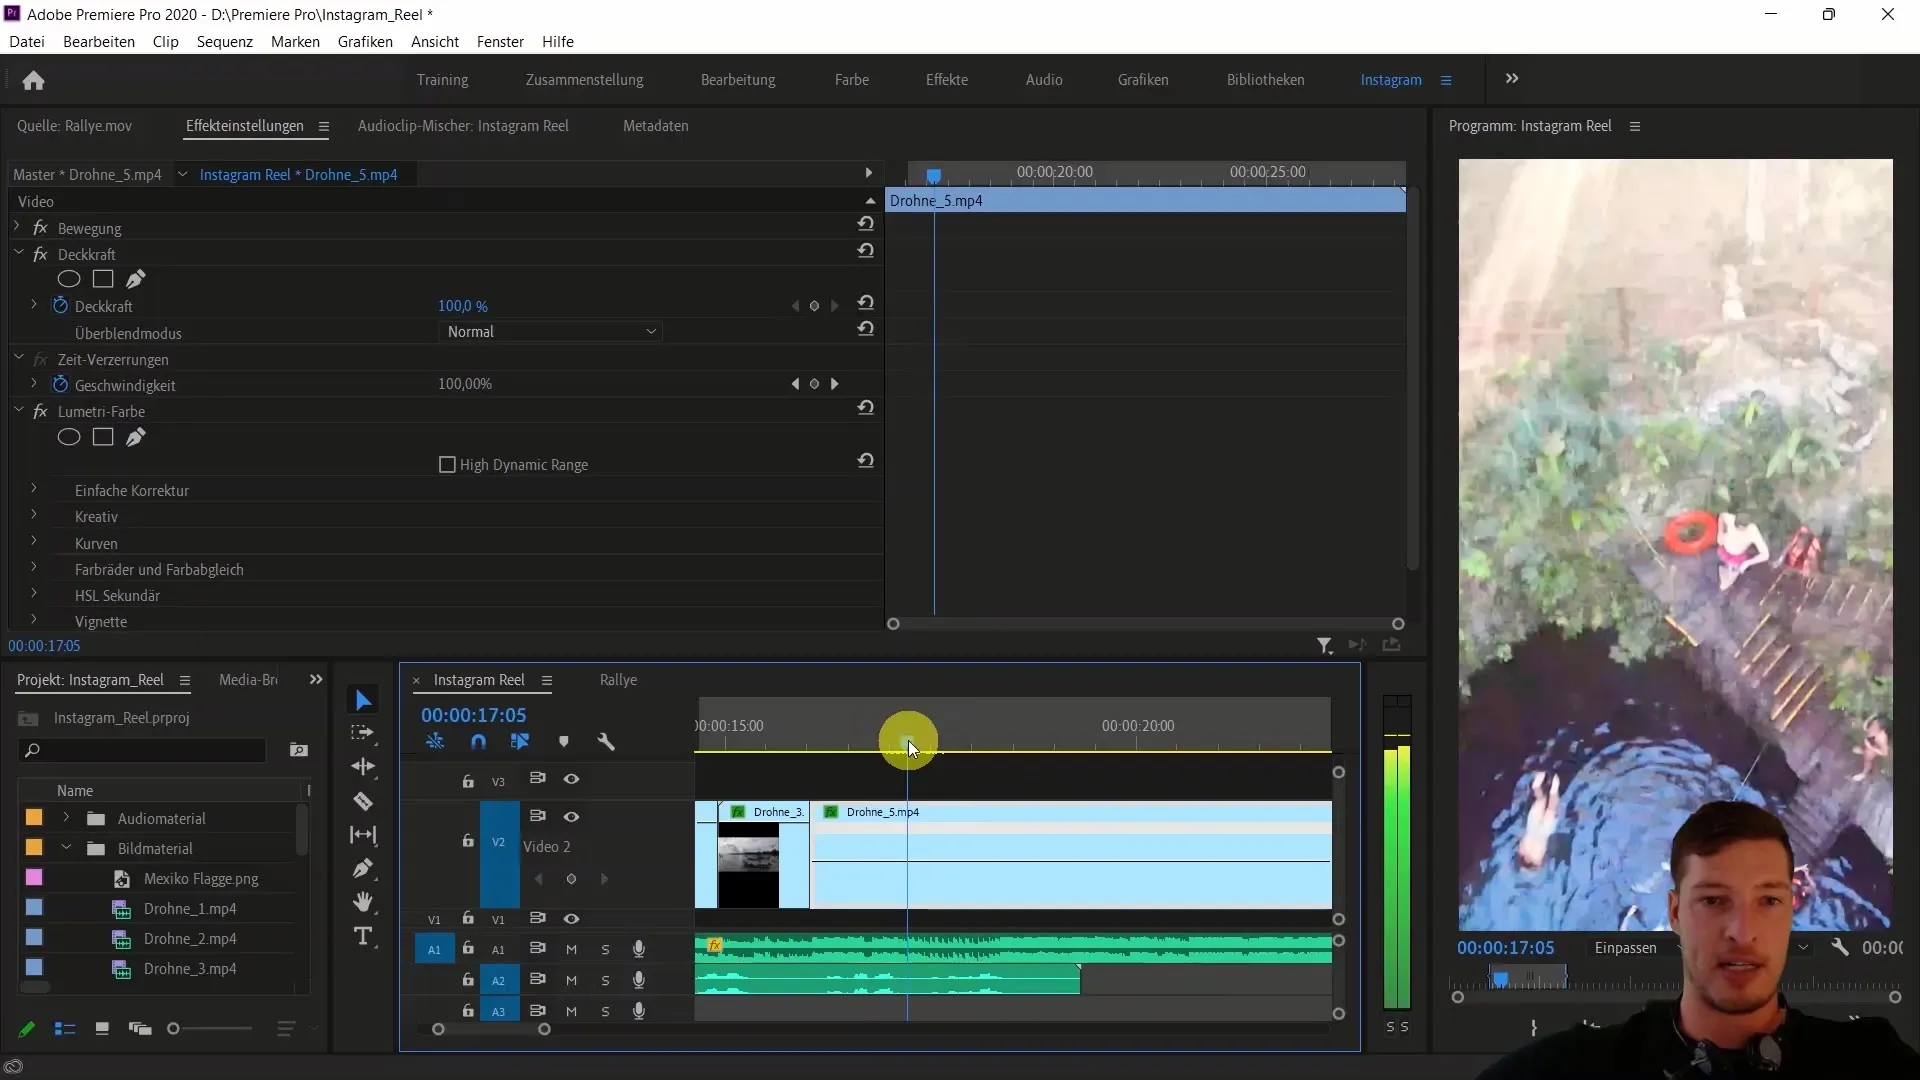
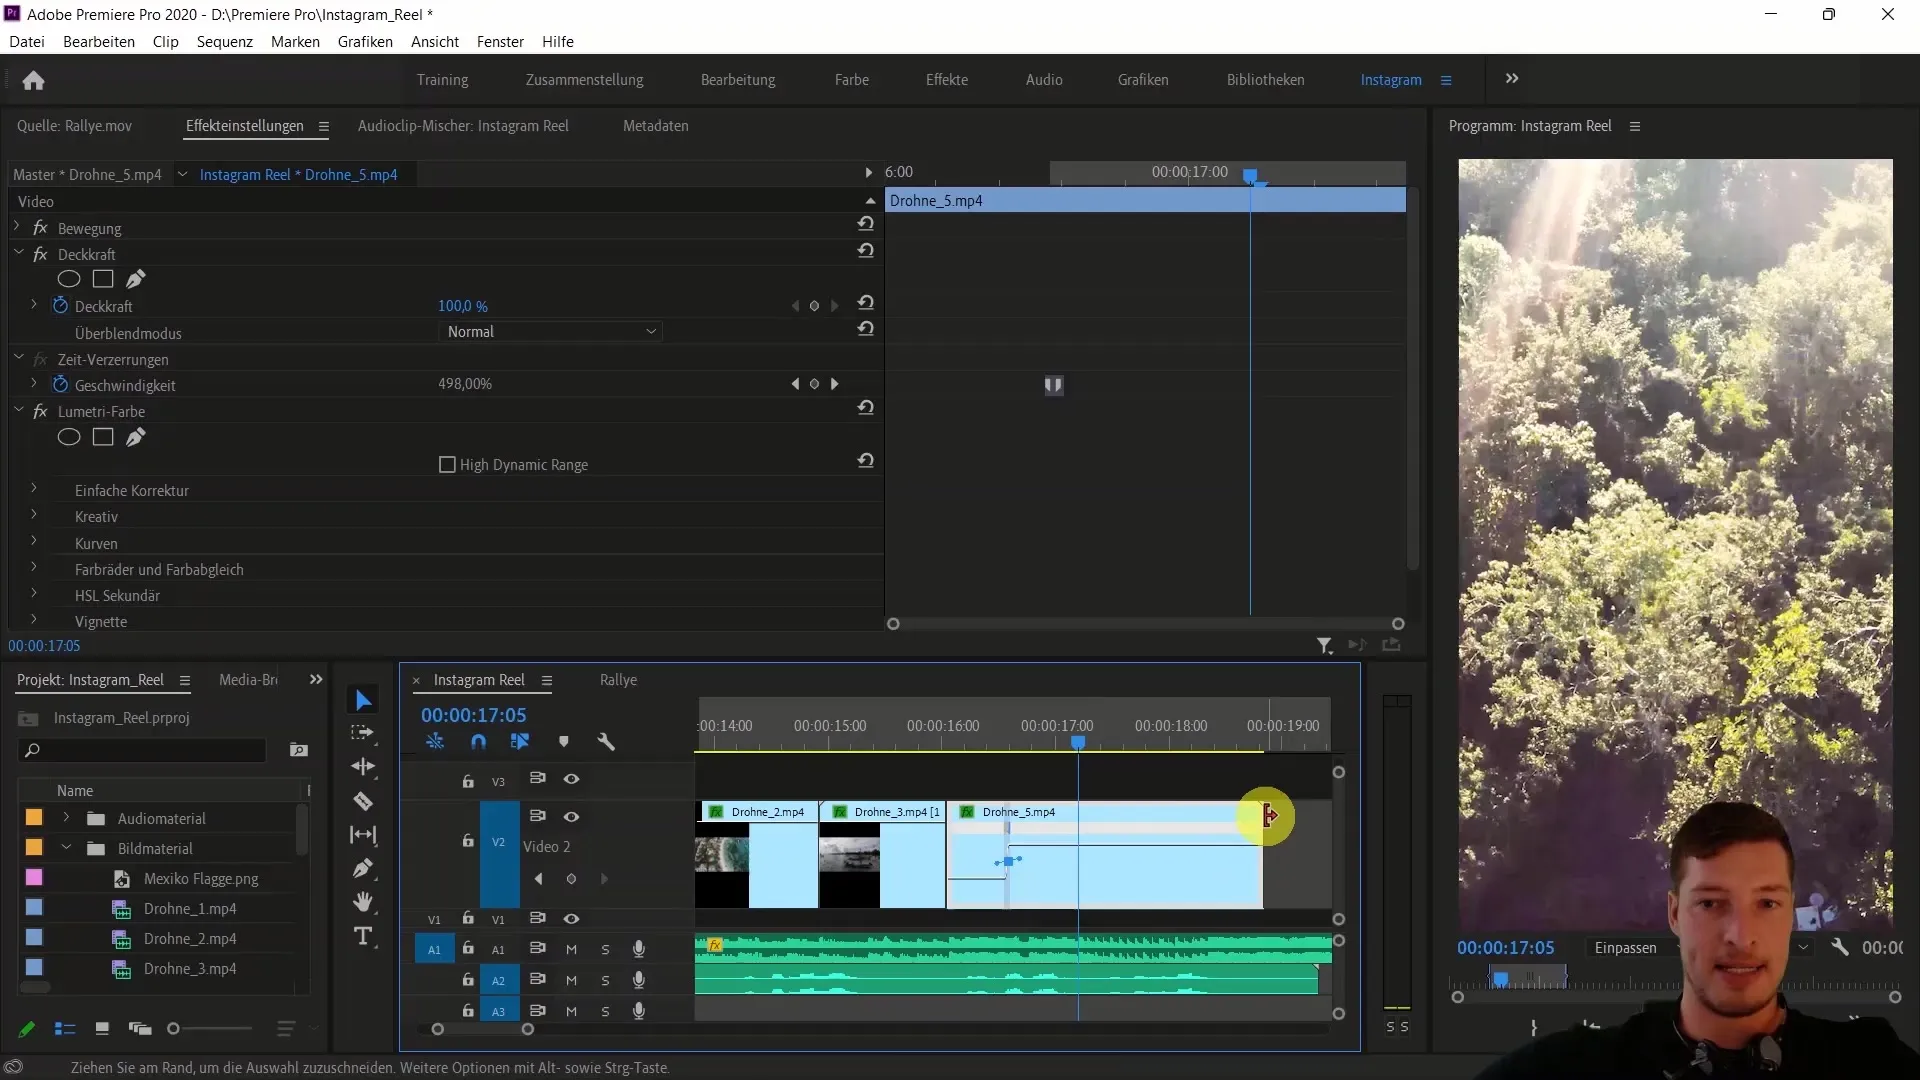
Trim the clip at the desired location to facilitate the transition. Start about 10 to 12 frames before Drone Clip 5 ends and right-click to make the clip keyframes and time distortion visible.
Step 4: Creating Keyframe and Adjusting Speed
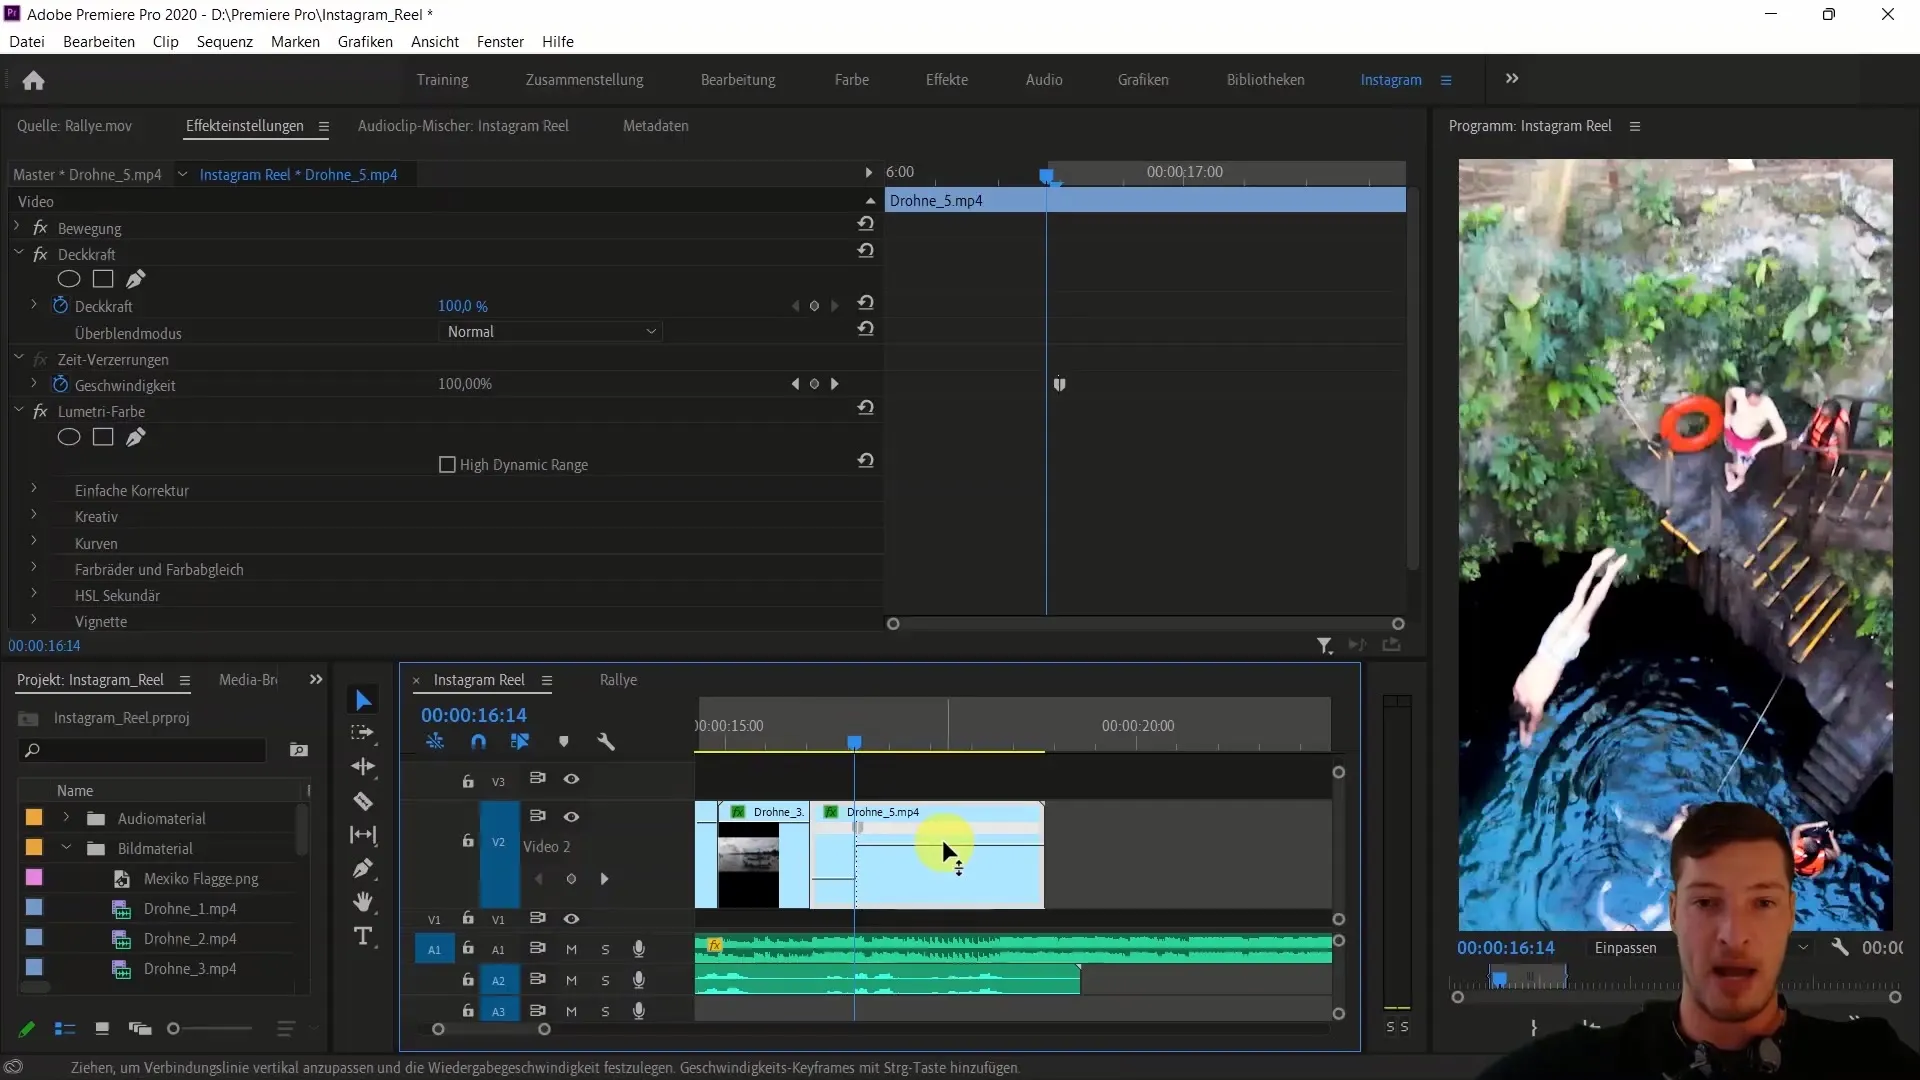
Now you create the first keyframe for the clip. Holding down the control key, click on the clip. Then you can drag the area you want to speed up to reach, for example, a speed of 500%.
Step 5: Making the Transition Smooth
To make the transition smooth, click in the transition area and create a curve there. Then close Drone Clip 5 at 17 seconds and make sure the clip ends smoothly and fluidly.
Step 6: Adding the Second Clip
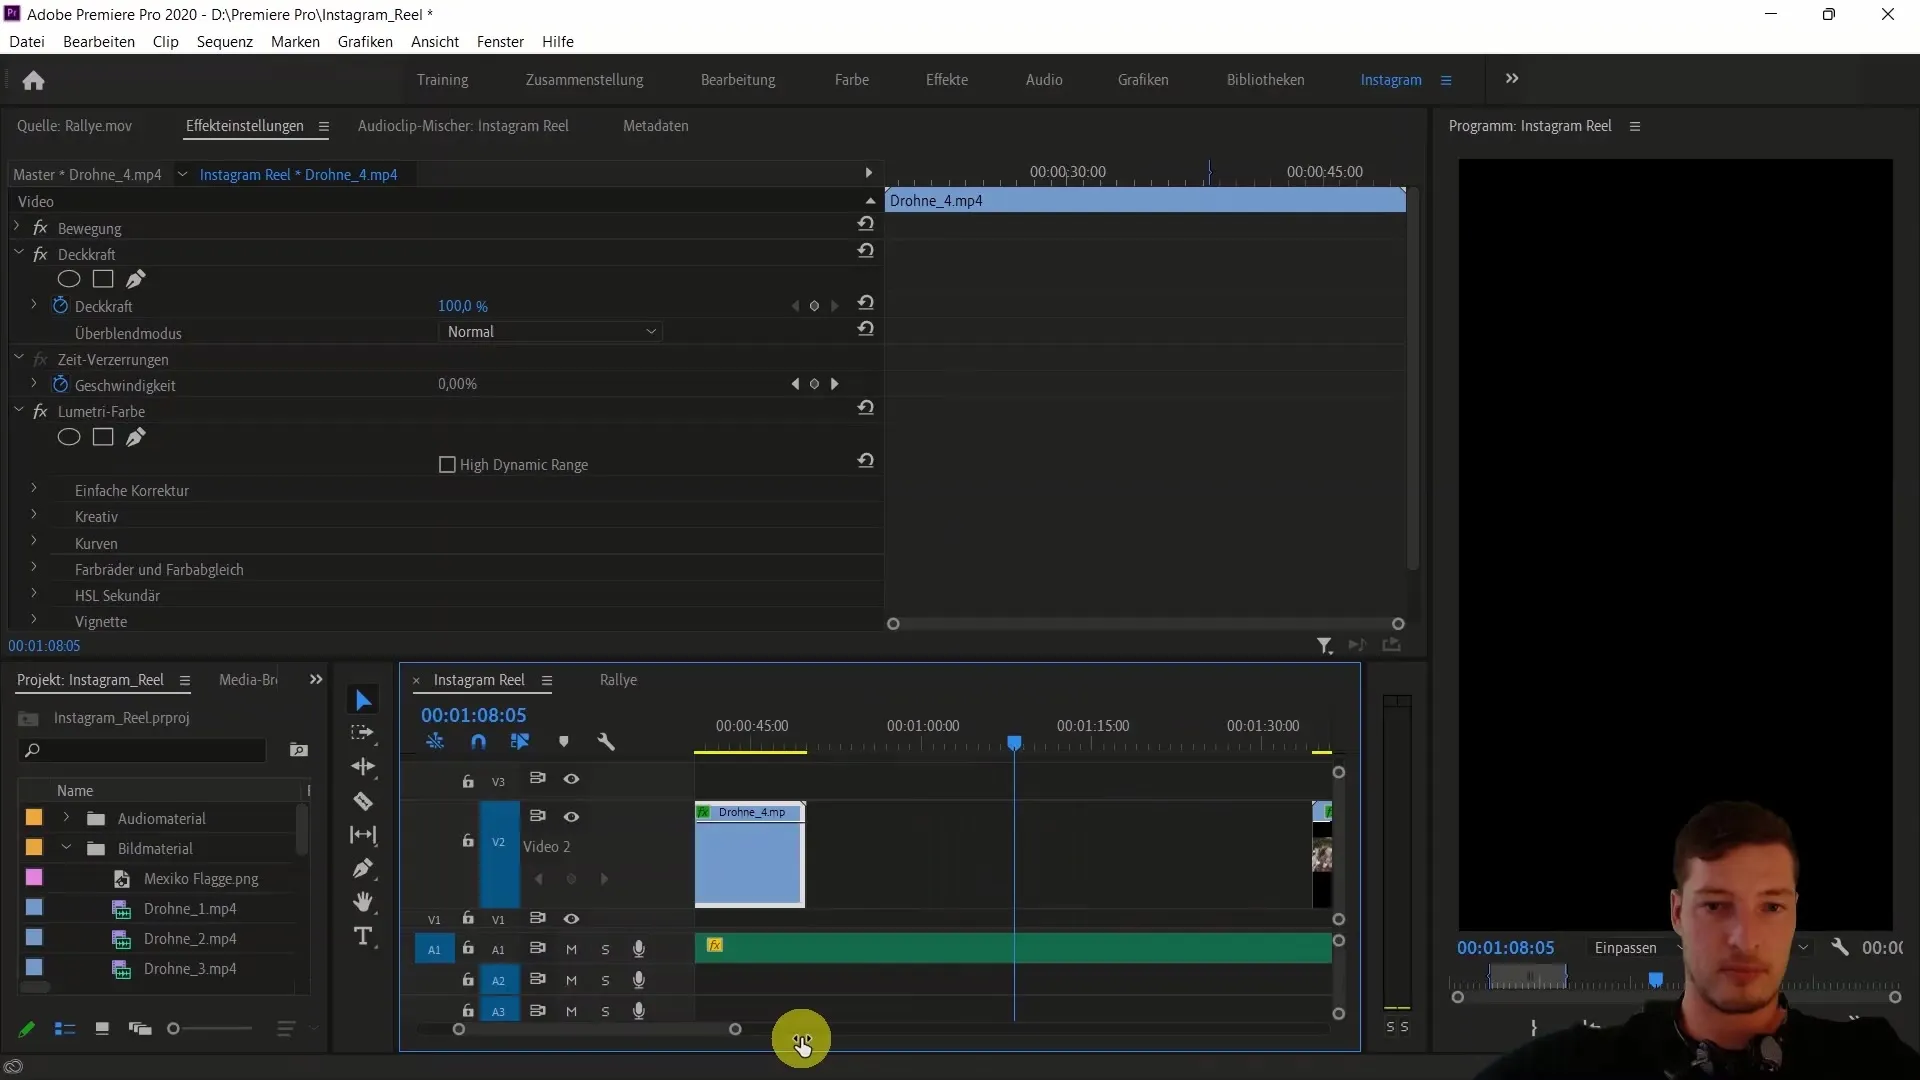
Now drag Drone Clip 4 to your timeline and place it right after the first clip. This clip should be long enough so that you can adjust the speed again. Consider where you want to restore normal speed to create a smooth transition.
Step 7: Setting the Second Keyframe and Adjusting Speed
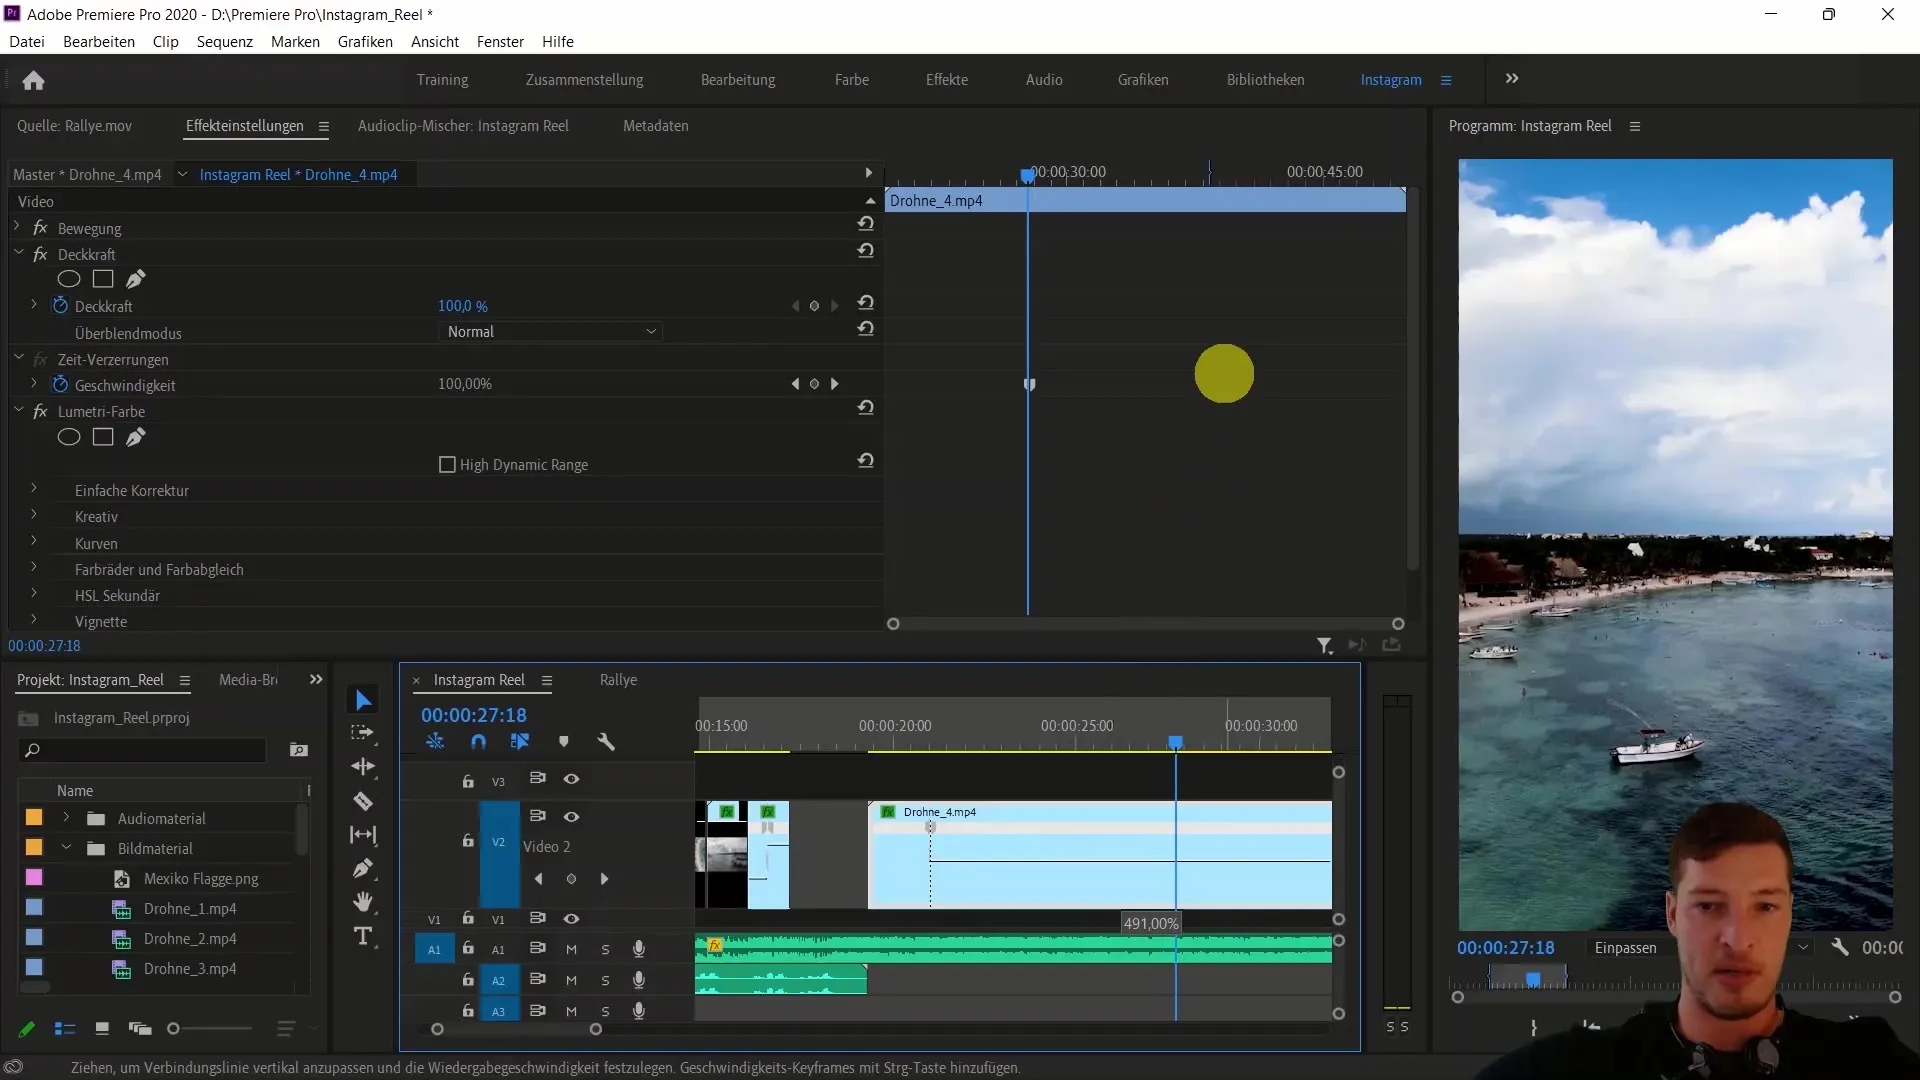
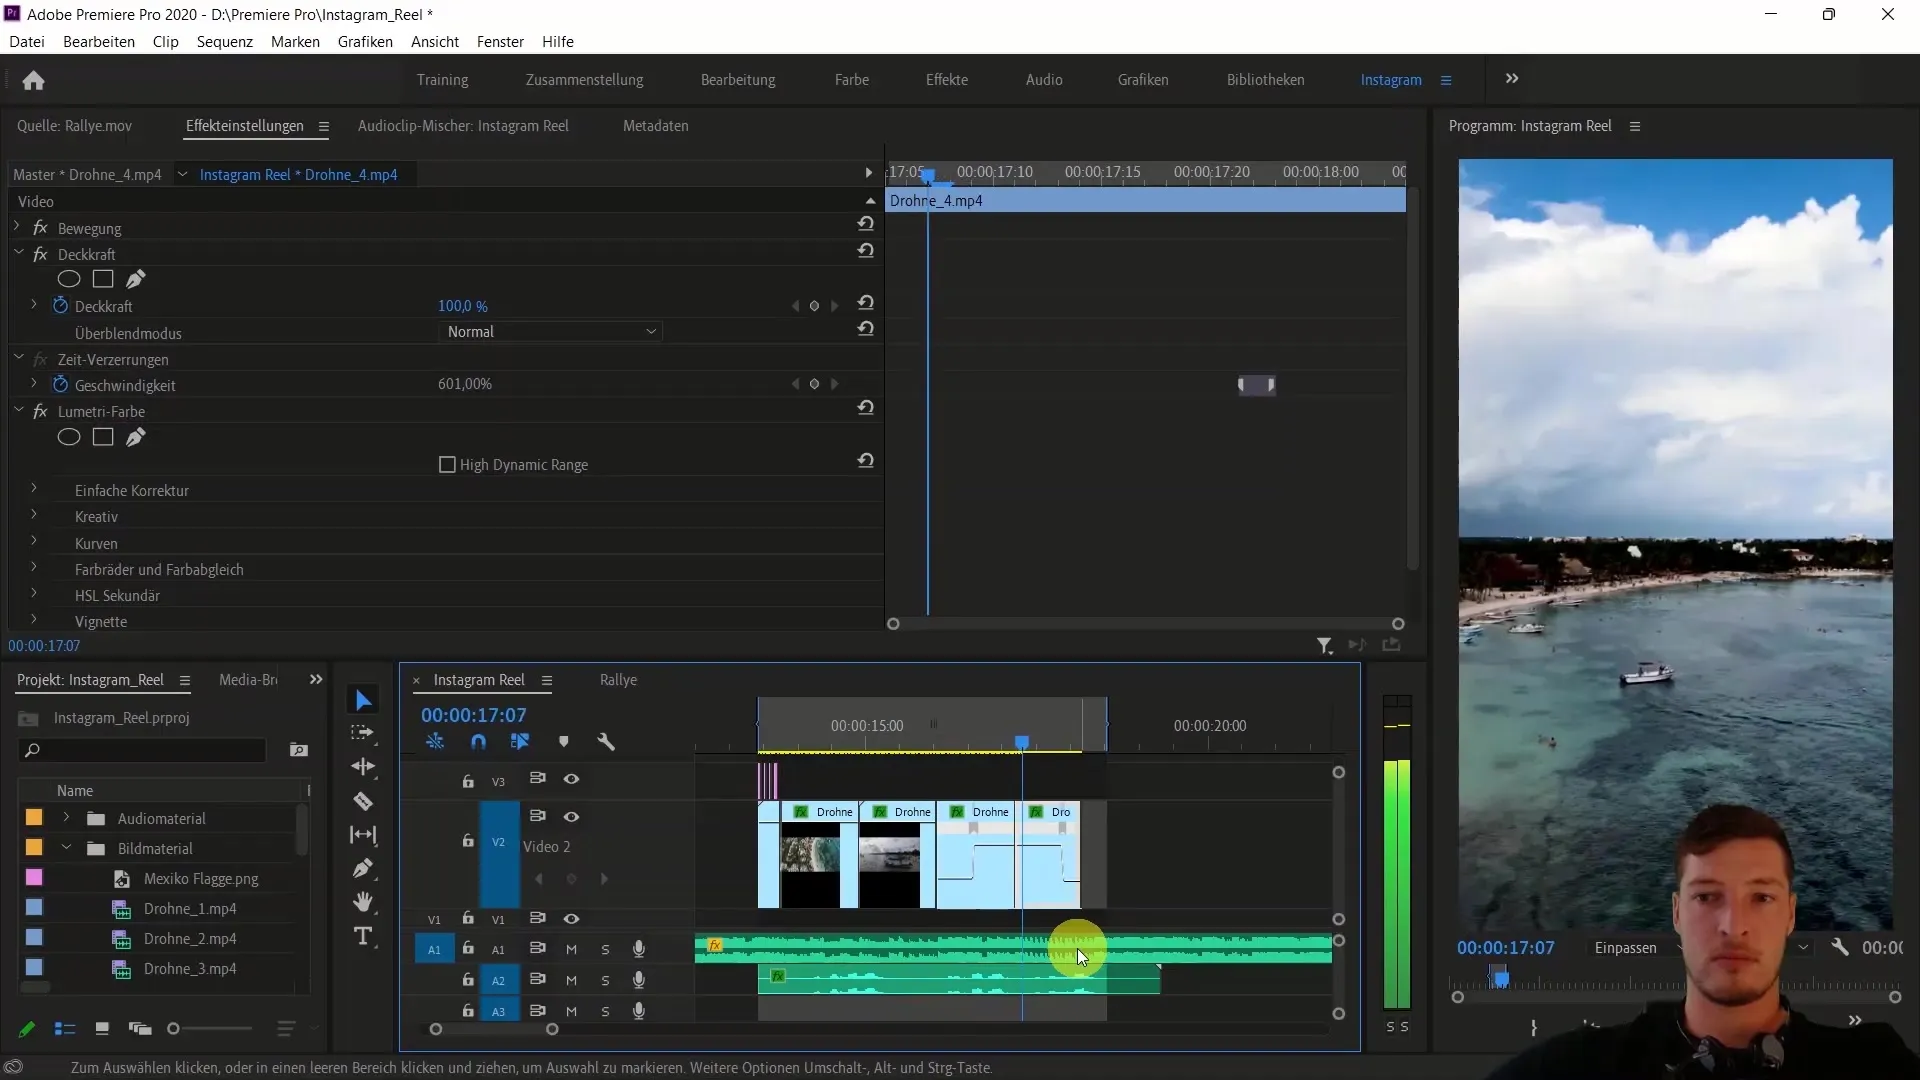
Create a keyframe in the second clip and increase the speed to about 600%. Ensure that the speed aligns with the time when the boat is clearly focused.
Step 8: Trimming Clips and Creating Transition
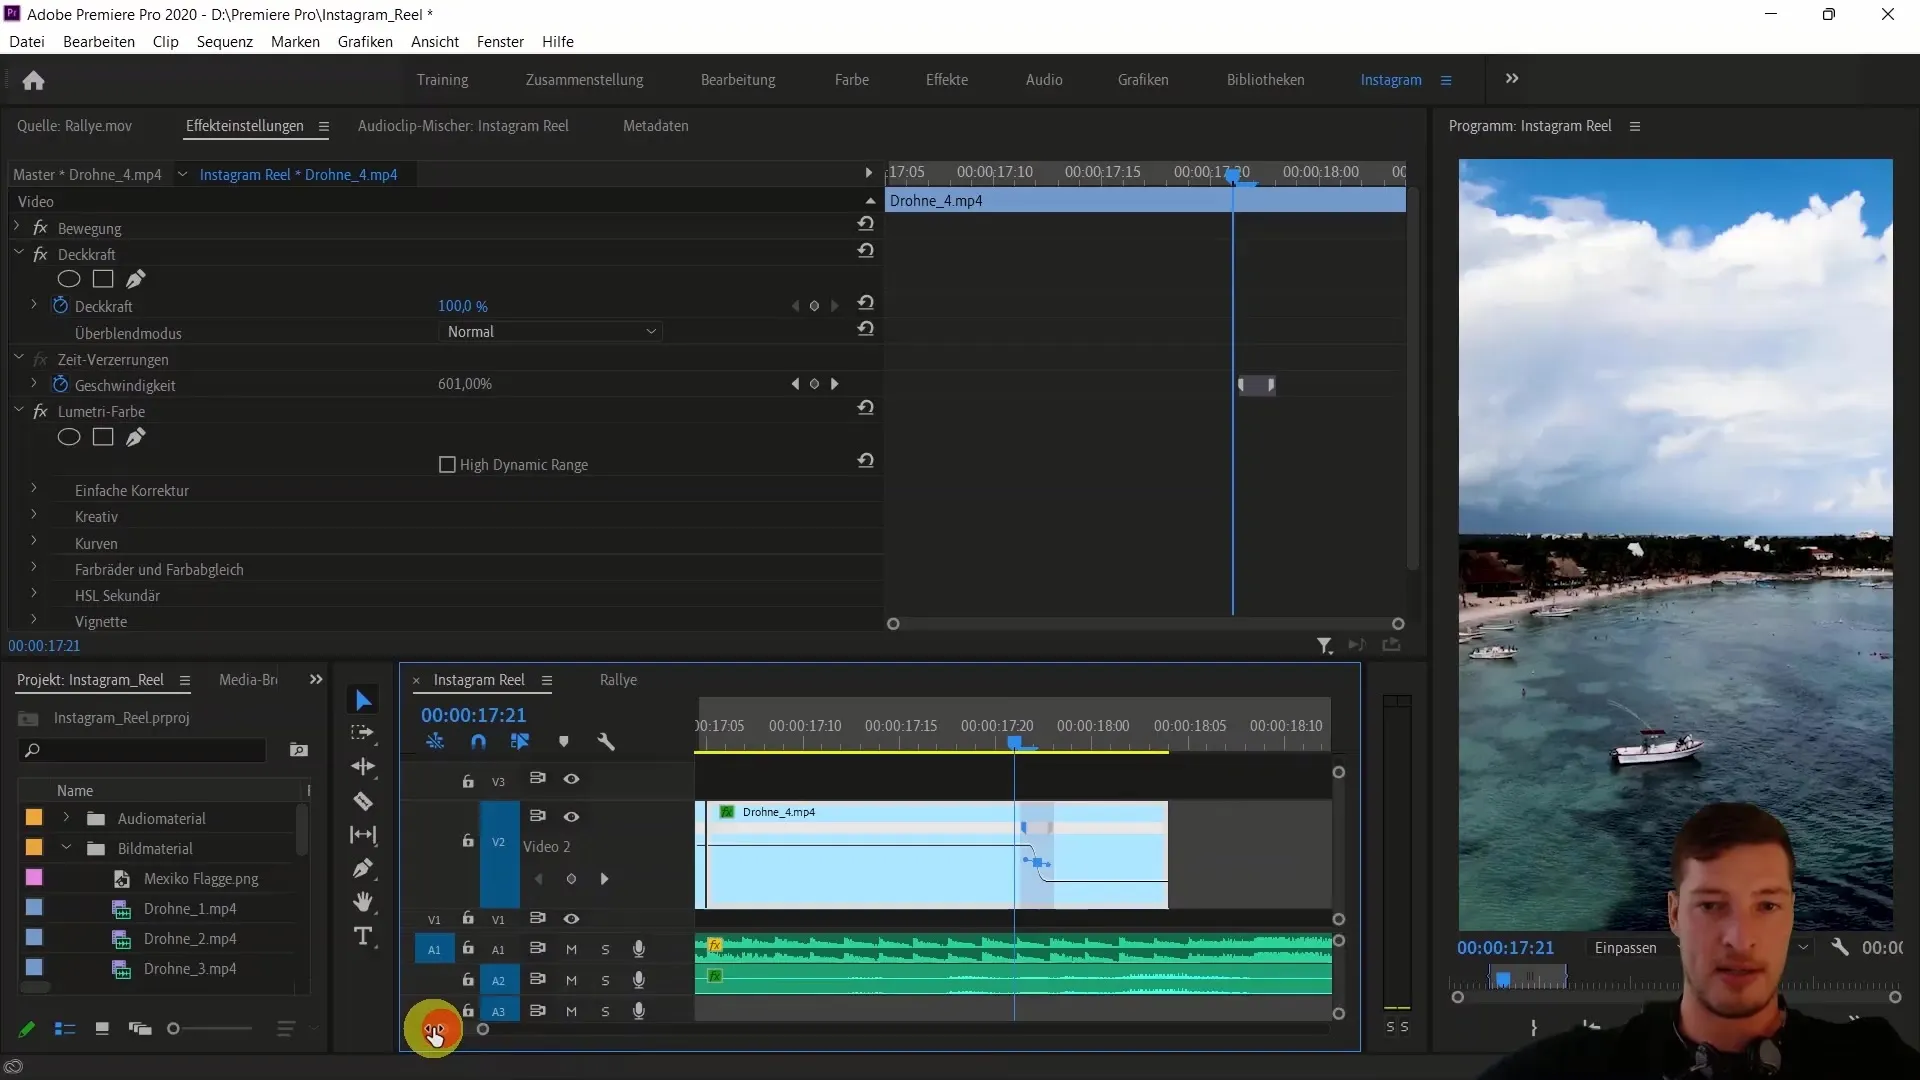
Now trim the excess of the second clip to match it with the previous clip. You can use the crossfade effect again to make the speed change more dynamic. Click again in the transition area and create a linear transition for a smooth appearance.
Step 9: Checking the Final Video
To ensure that everything looks and sounds good, render the In-Out area. Press Enter to pre-render the effects and see the final result. You should now see an impressive transition between the two clips with Time Remapping.
Summary
In this tutorial, you learned how to create impressive transitions in your Instagram Reel by adjusting clip speeds using Time Remapping. By applying keyframes and smooth transitions, you can make your videos more engaging and dynamic.
Frequently Asked Questions
What is Time Remapping?Time Remapping is a technique that allows you to adjust the speed of a video to achieve creative effects.
How do I insert a clip into my timeline?You drag the desired clip from your media library directly into the timeline.
How do I create a keyframe in Premiere Pro?Hold down the control key and click on the clip to create a keyframe.
How can I adjust the speed of a clip?Select the clip, right-click on the clip keyframes, and adjust the time distortion.
What should I consider when trimming clips?Make sure the cut is made at the right place to ensure a smooth transition.


