In this tutorial, you will learn how to selectively change the colors of certain areas of your videos in Adobe Premiere Pro CC. Our focus will be on color editing the sky in a clip while leaving the rest of the image unaffected. This technique is particularly useful for enhancing the visual aesthetics of your videos and conveying specific emotions through color design.
Main Insights
- With Adobe Premiere Pro, you can edit colors selectively in specific areas of a clip.
- By creating masks, you can make precise adjustments without altering other areas of the clip.
- Color editing can significantly contribute to enhancing the mood and atmosphere of a video.
Step-by-Step Guide
First, you need to decide on the material you want to use. Start by selecting your clip.
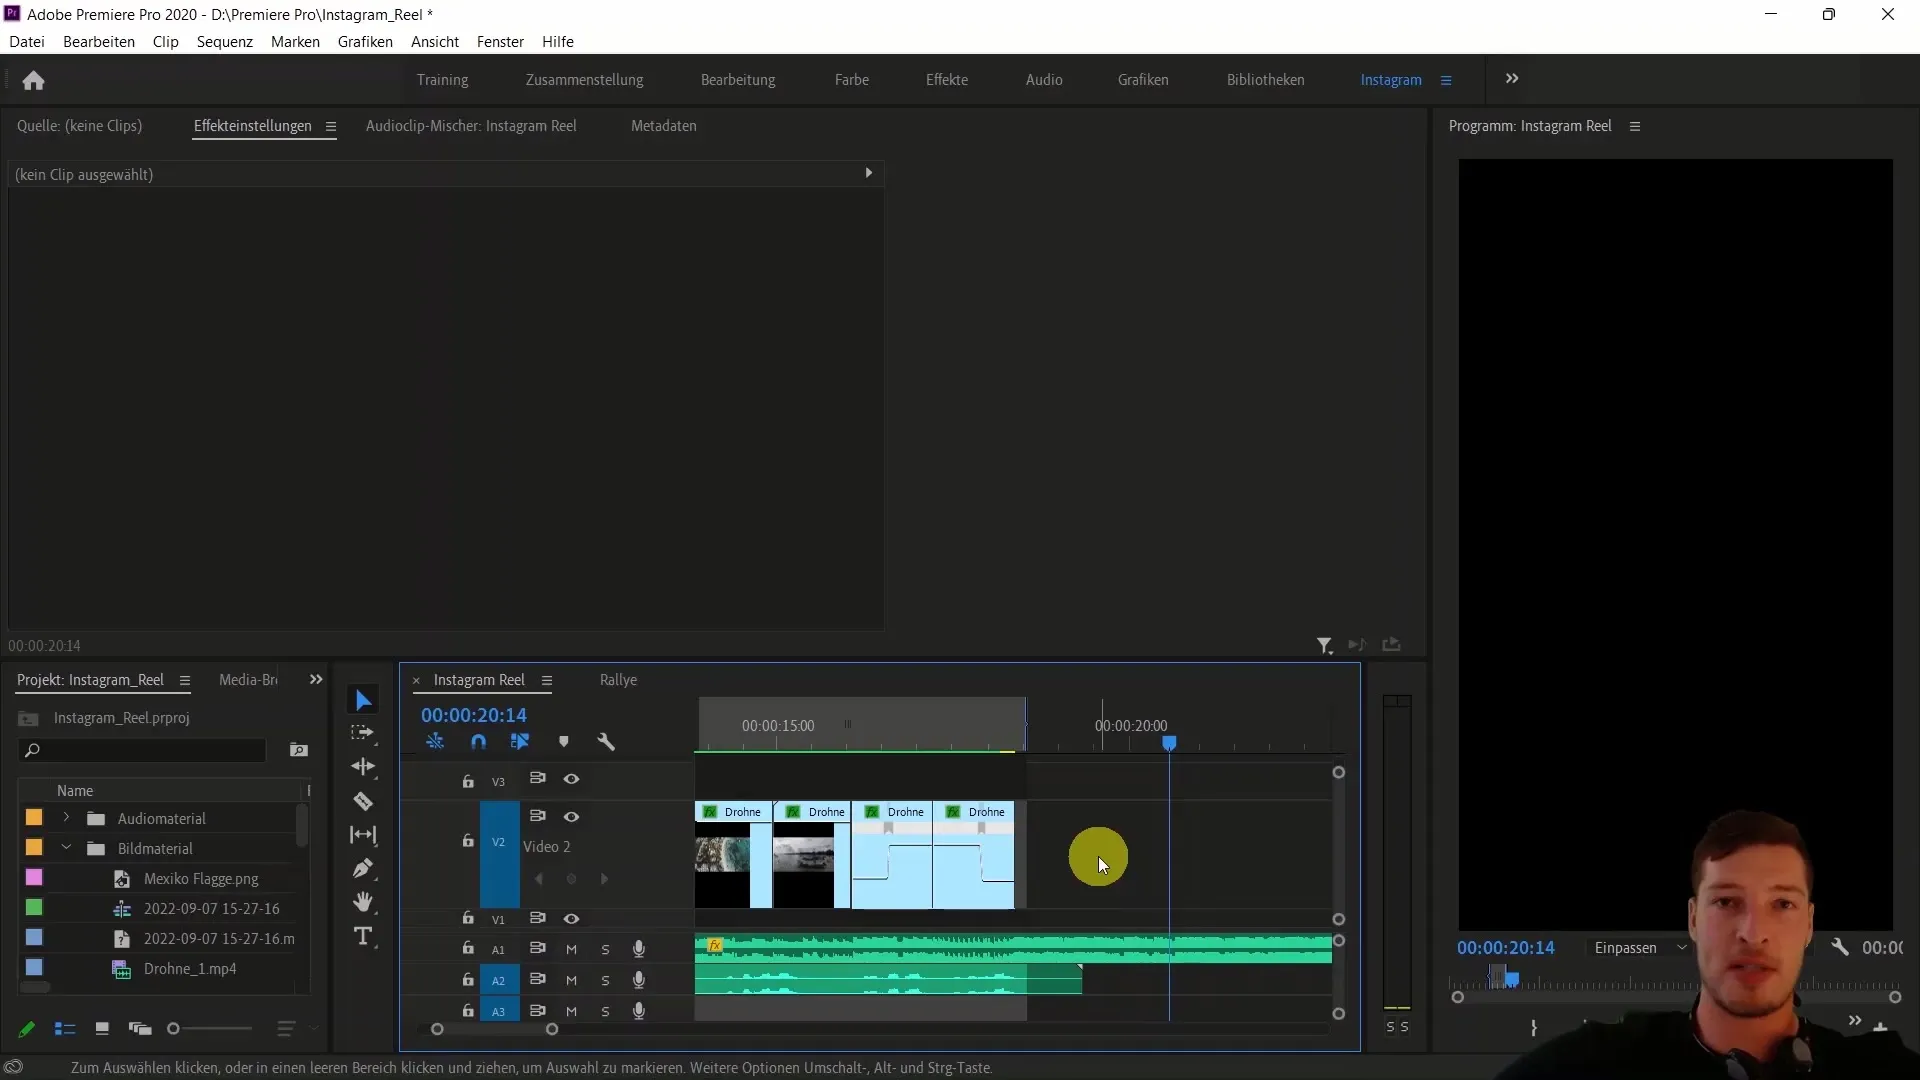
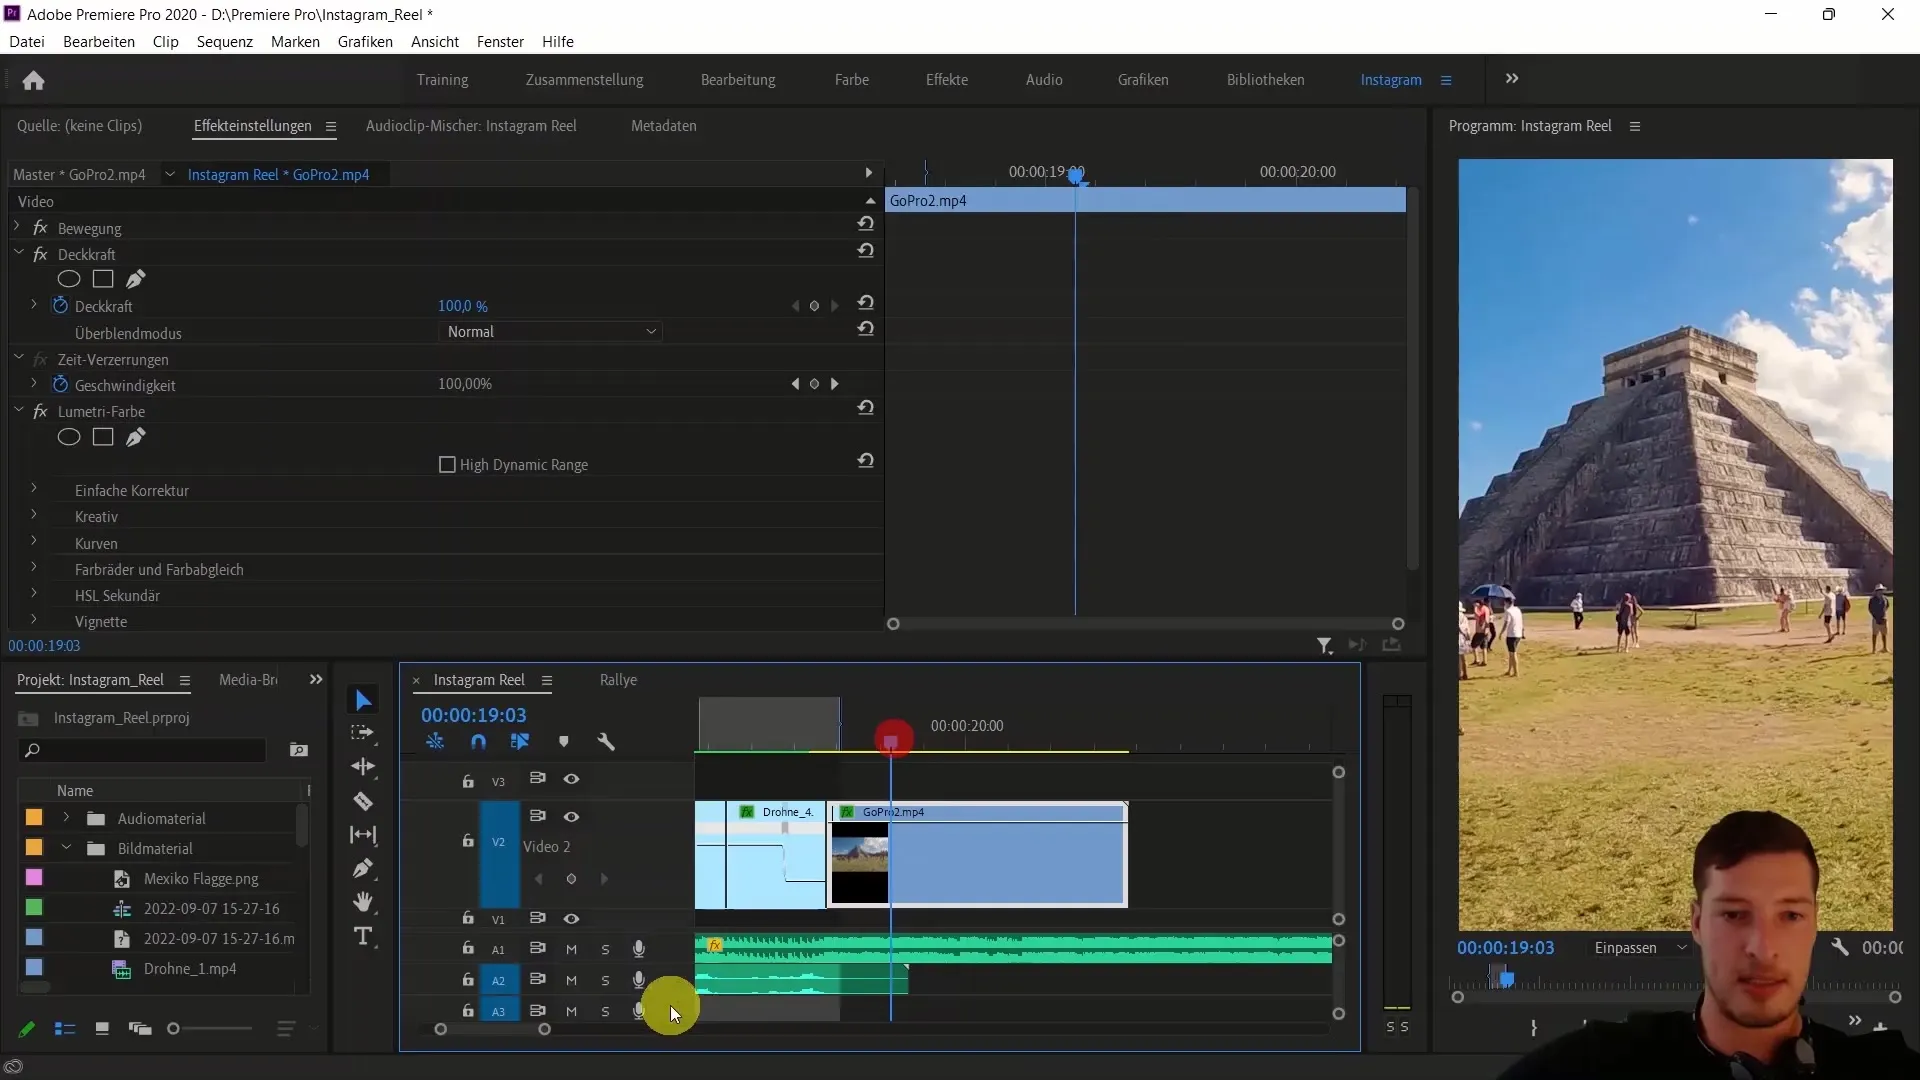
Play the clip and listen to the music to get a sense of the perfect timing for a meaningful cut. At this point, we are looking for the suitable scene, like the impressive Chichen Itza, to place our clips.
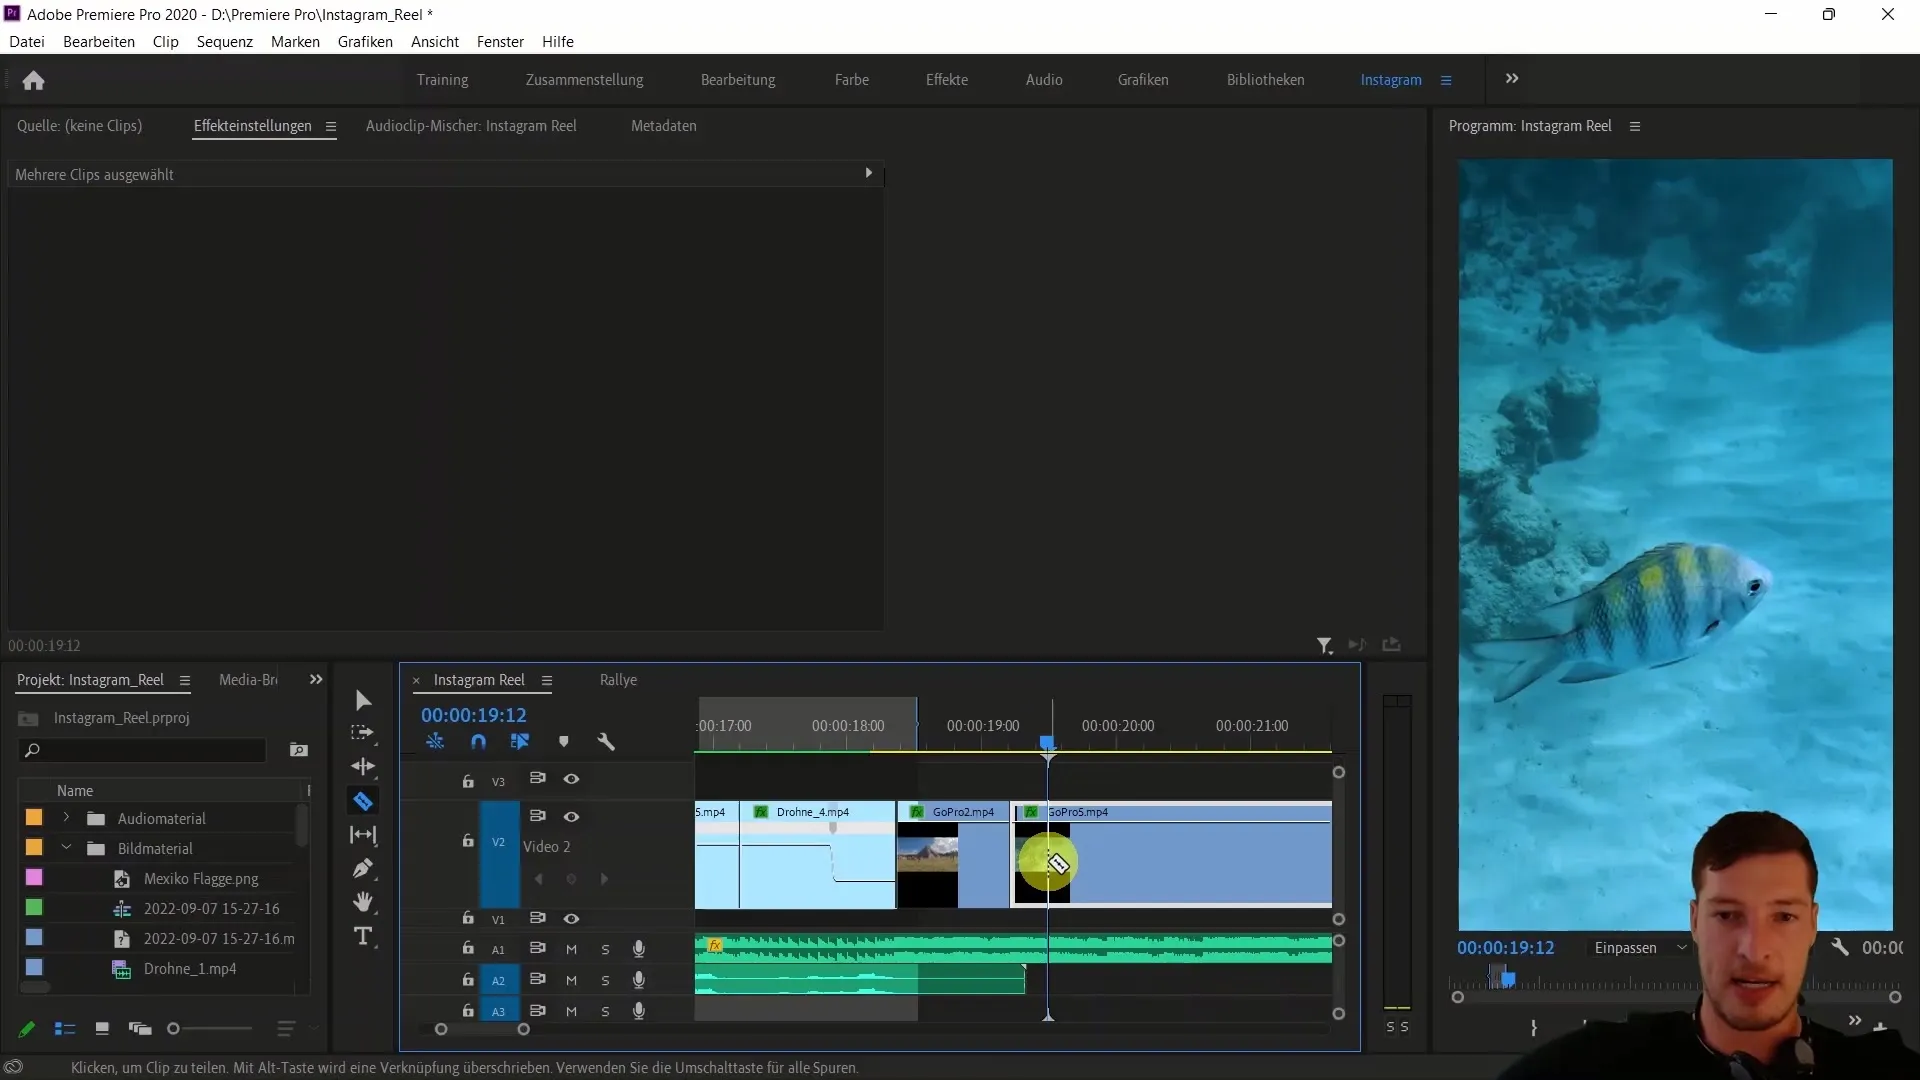
Once you have made the cut at the right place, place the two underwater clips directly behind the main material. This ensures a harmonious transition between the scenes.
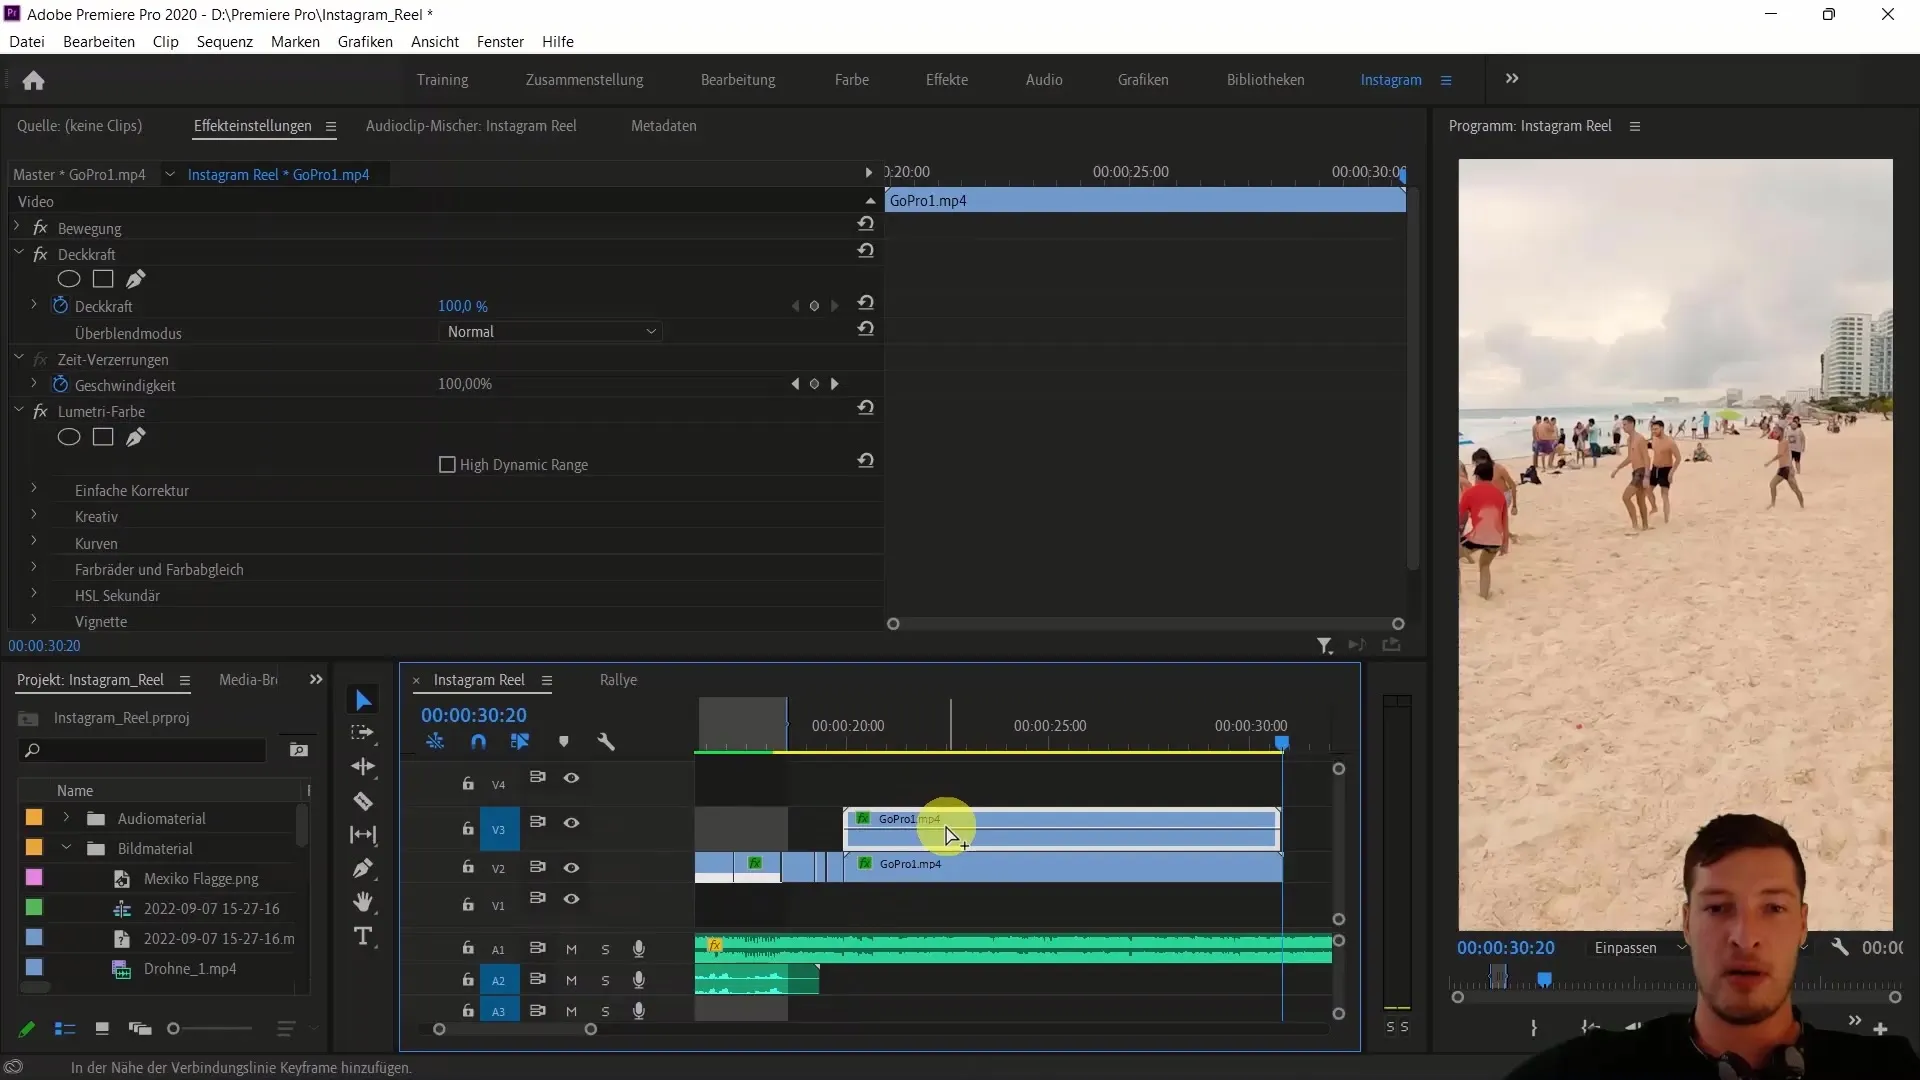
Now you have the clips ready for your practical editing. However, we now want to focus on color editing. To do this, duplicate the layer of the clip where you want to do the color editing.
Select the duplicated layer and use the freehand tool to create a rough mask around the sky area. Make sure not to make the mask too perfect; it's enough if it roughly surrounds the desired area.
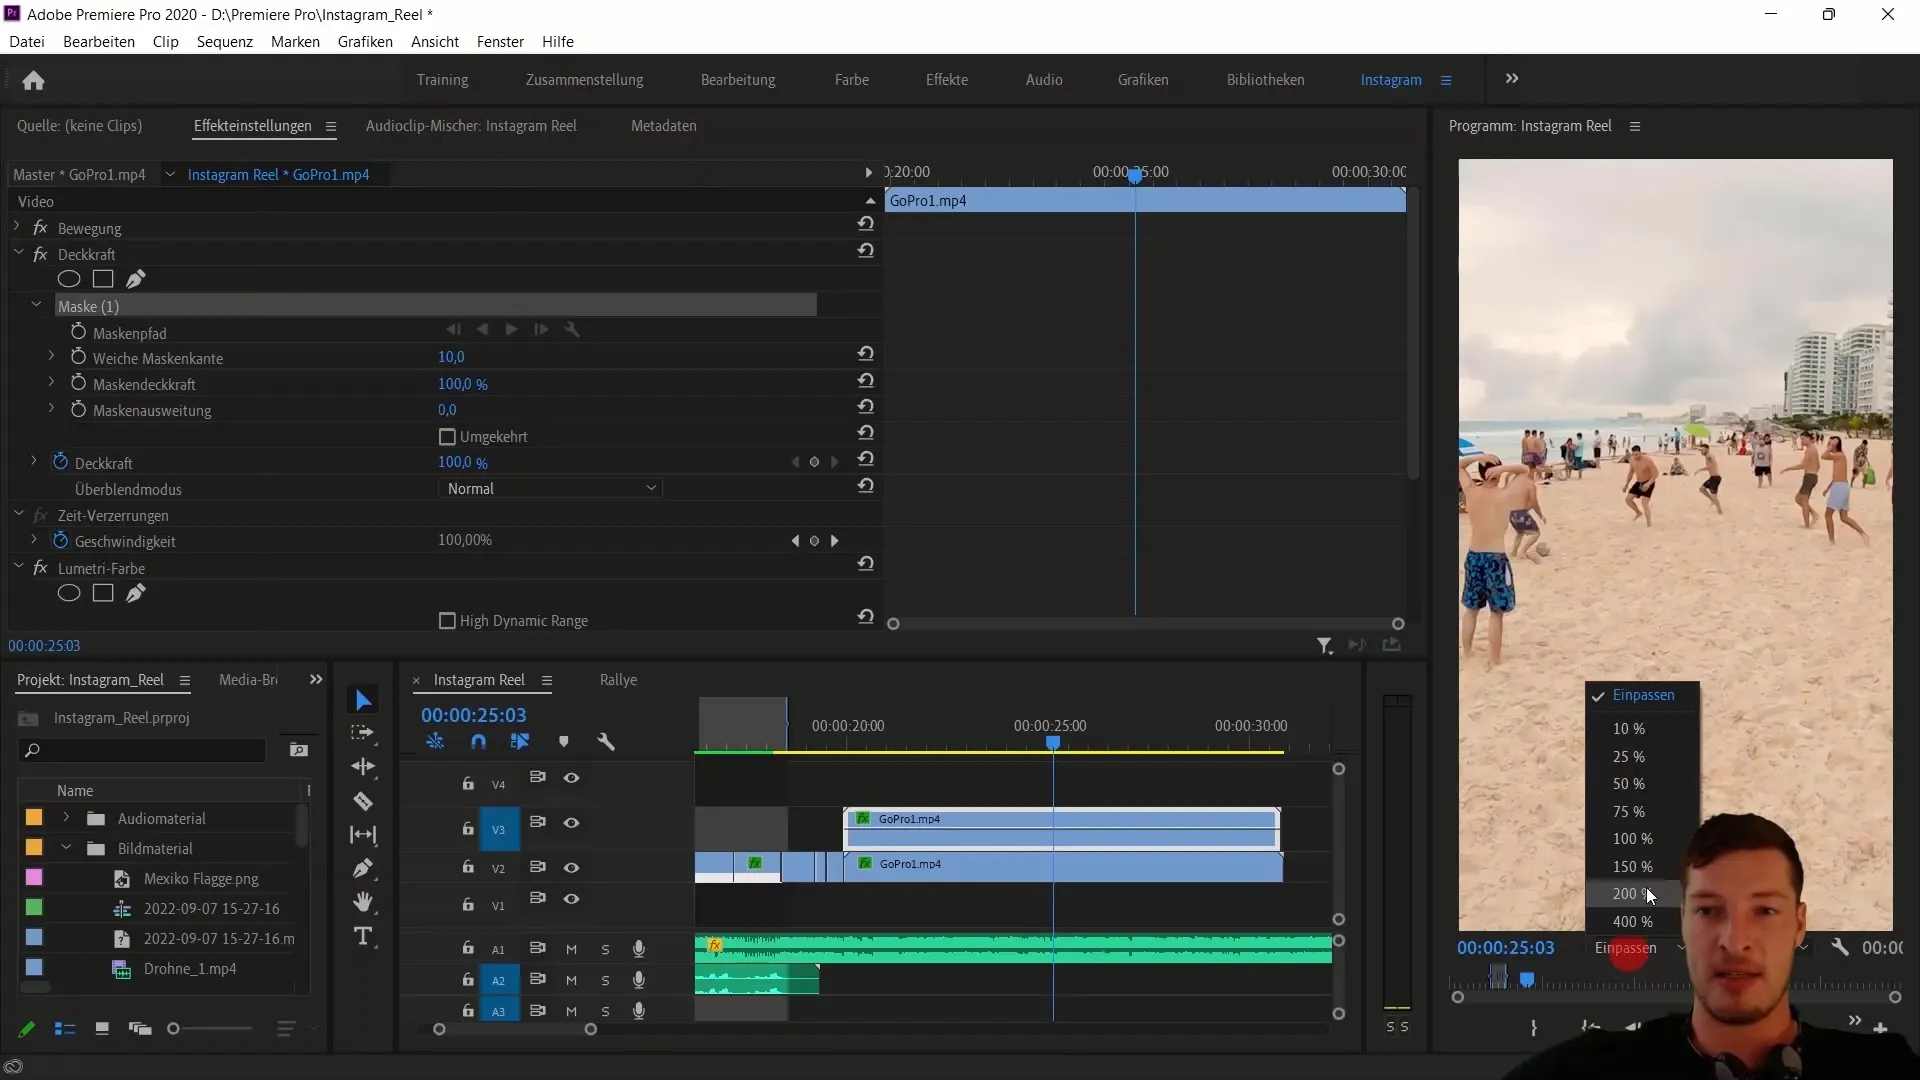
Now you can reset the zoom factor to see better how your adjustments look. At this point, you can start adjusting the hue by modifying the color options of the top layer.
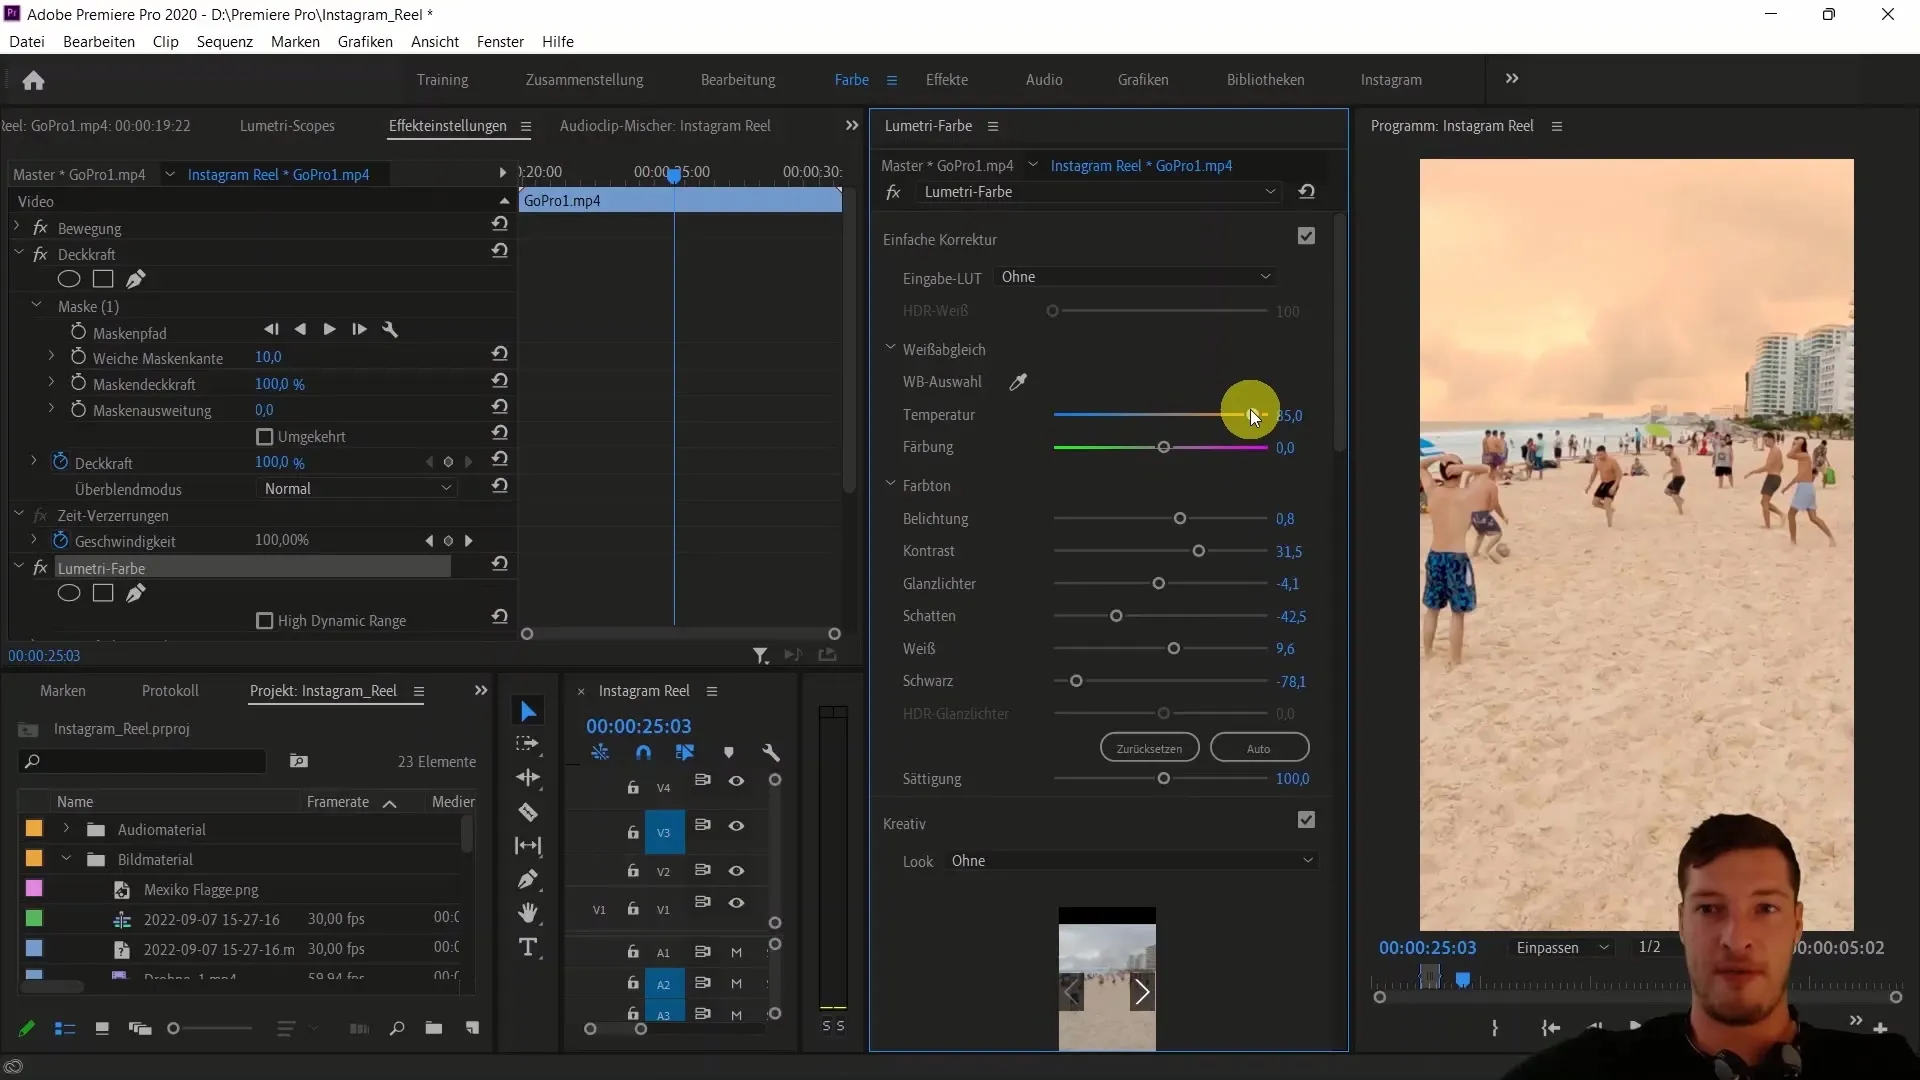
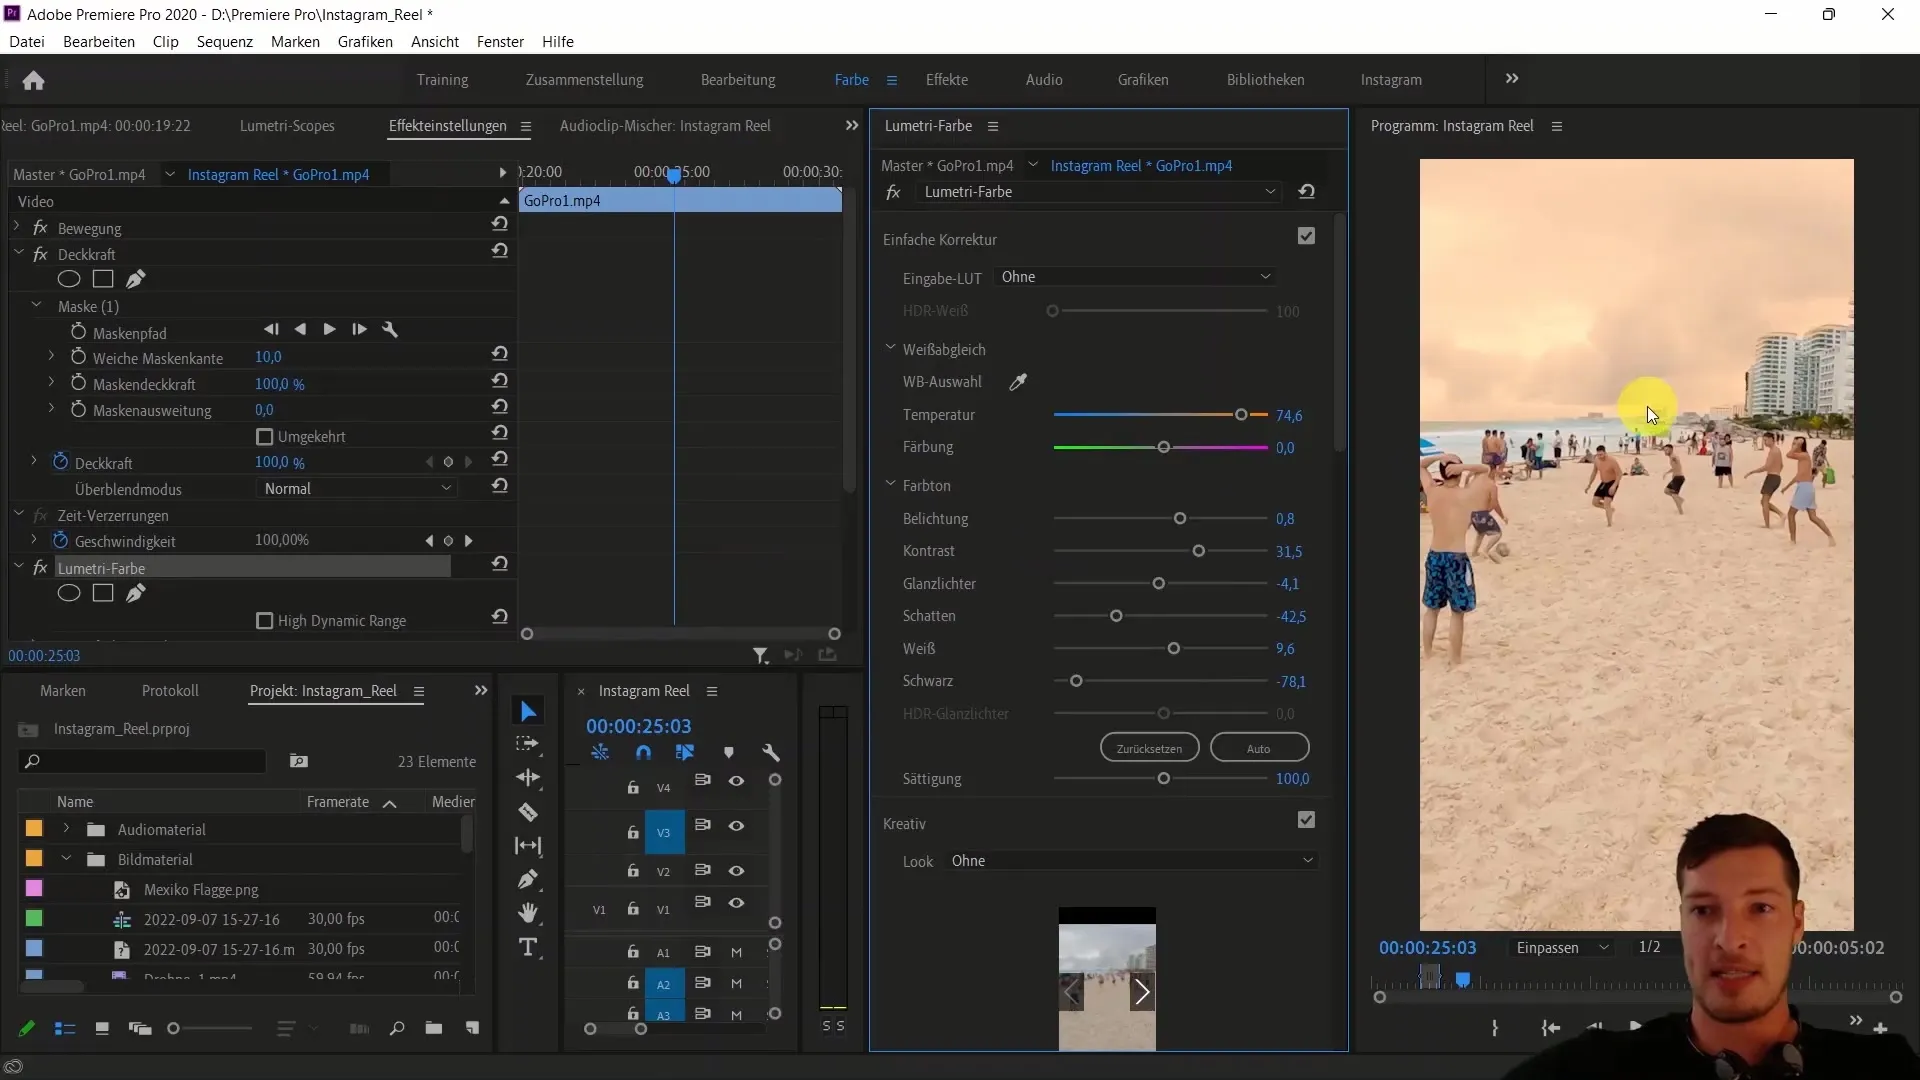
Observe how these adjustments affect only the sky area. By increasing the clip's temperature, you can create a warm atmosphere reminiscent of a sunset. This can dramatically make a difference in the mood of the clip.
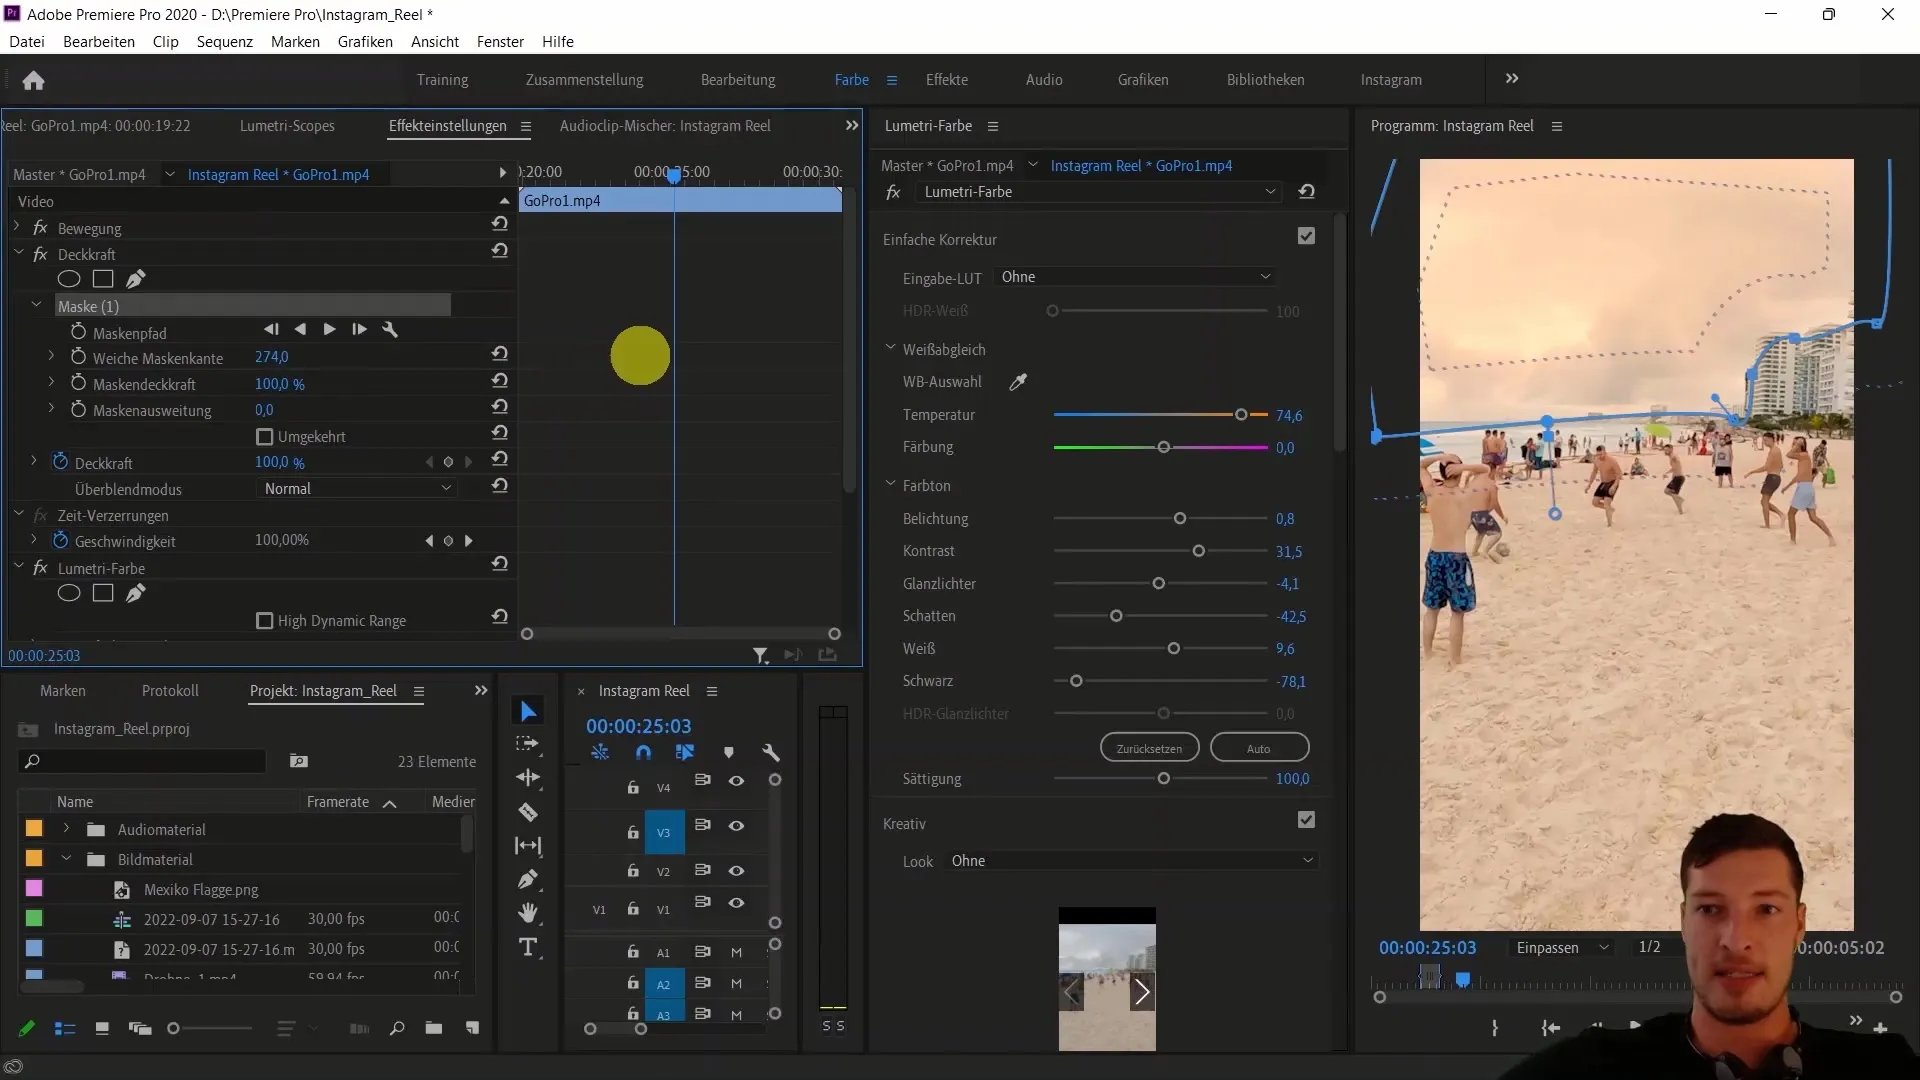
To ensure that the transition between the edited and untouched image area is not too harsh, you can increase the softness level of the mask edge. This provides a smooth transition that brings more naturalness to the edited area.
Furthermore, experiment with the variety of colors. You can use the hues as desired to create different moods - from gloomy to neutral to vibrant. In our example, a slightly greenish hue could almost appear apocalyptic, while a strong sunset conveys a positive, warm radiance.
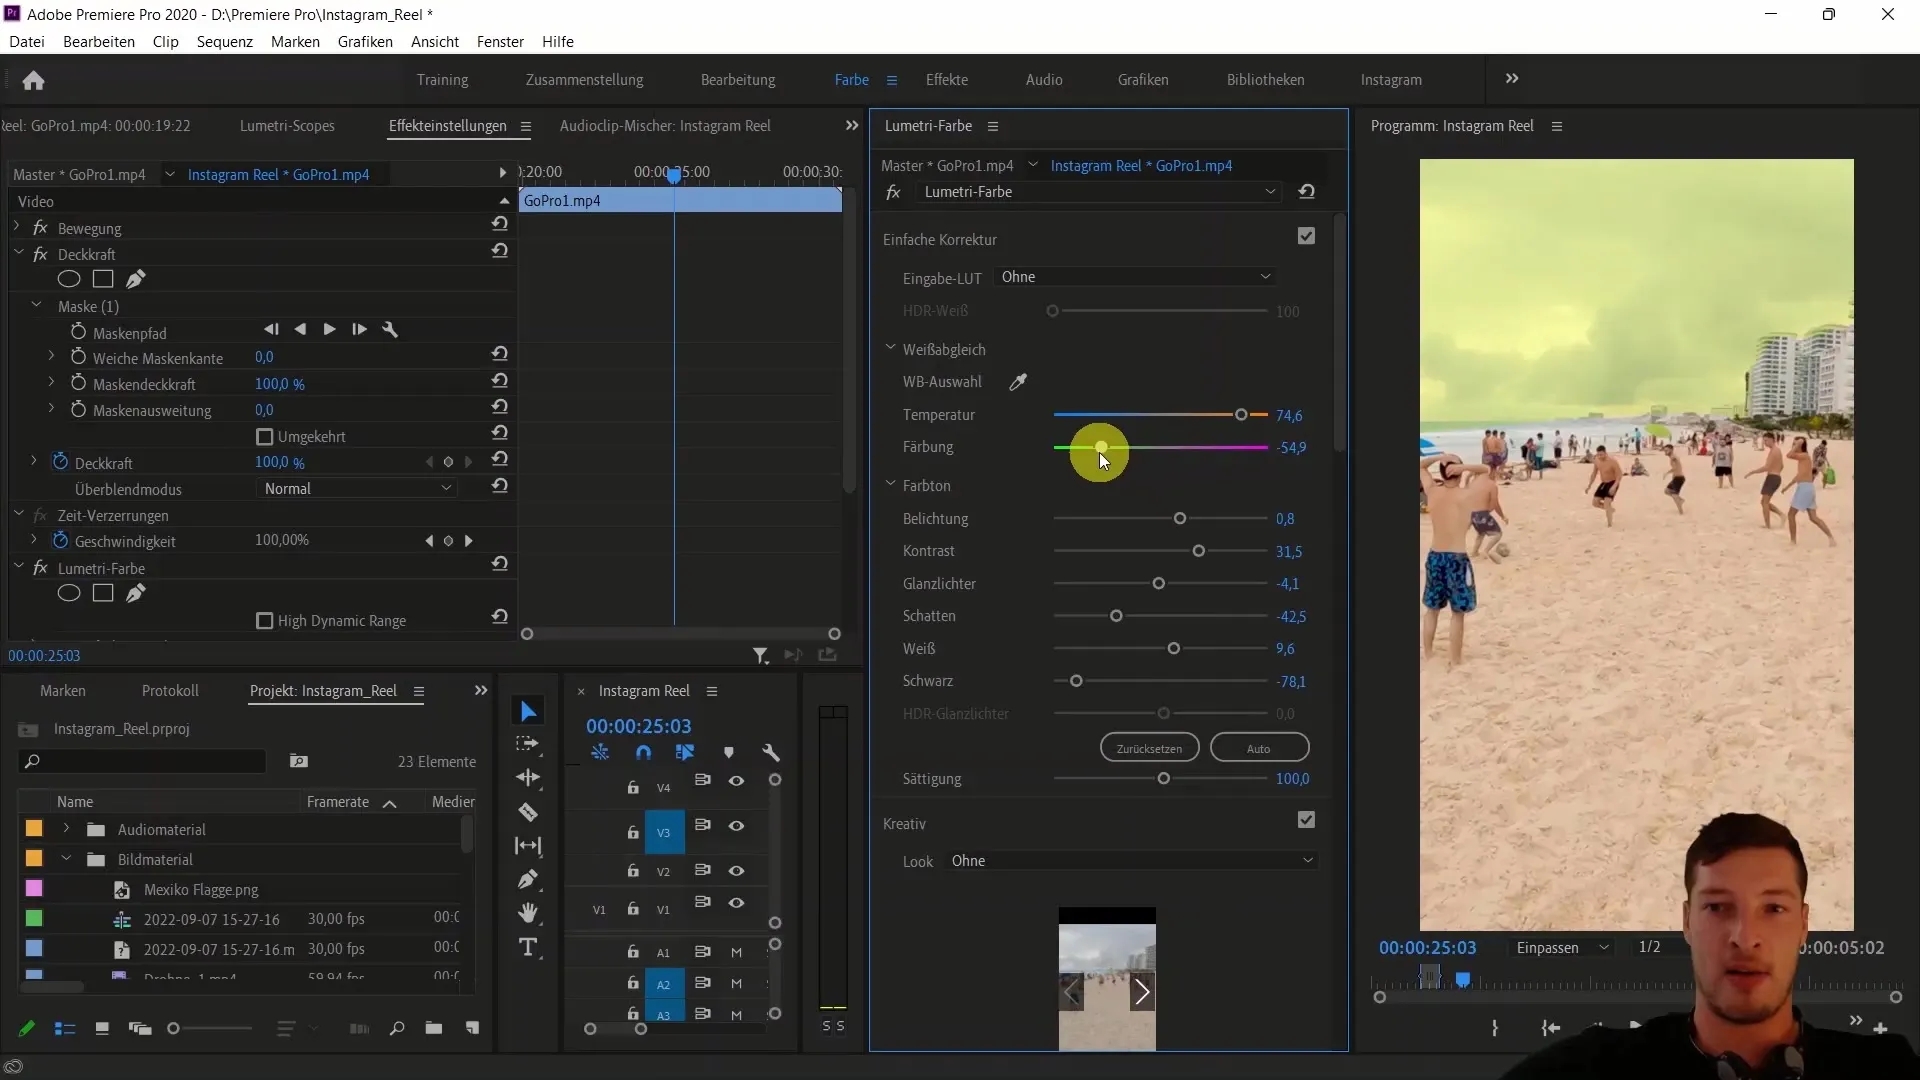
If you want, you can also create additional copies of the layer to adjust different colors in other cliff areas. This can help you visually represent specific regional emotions.
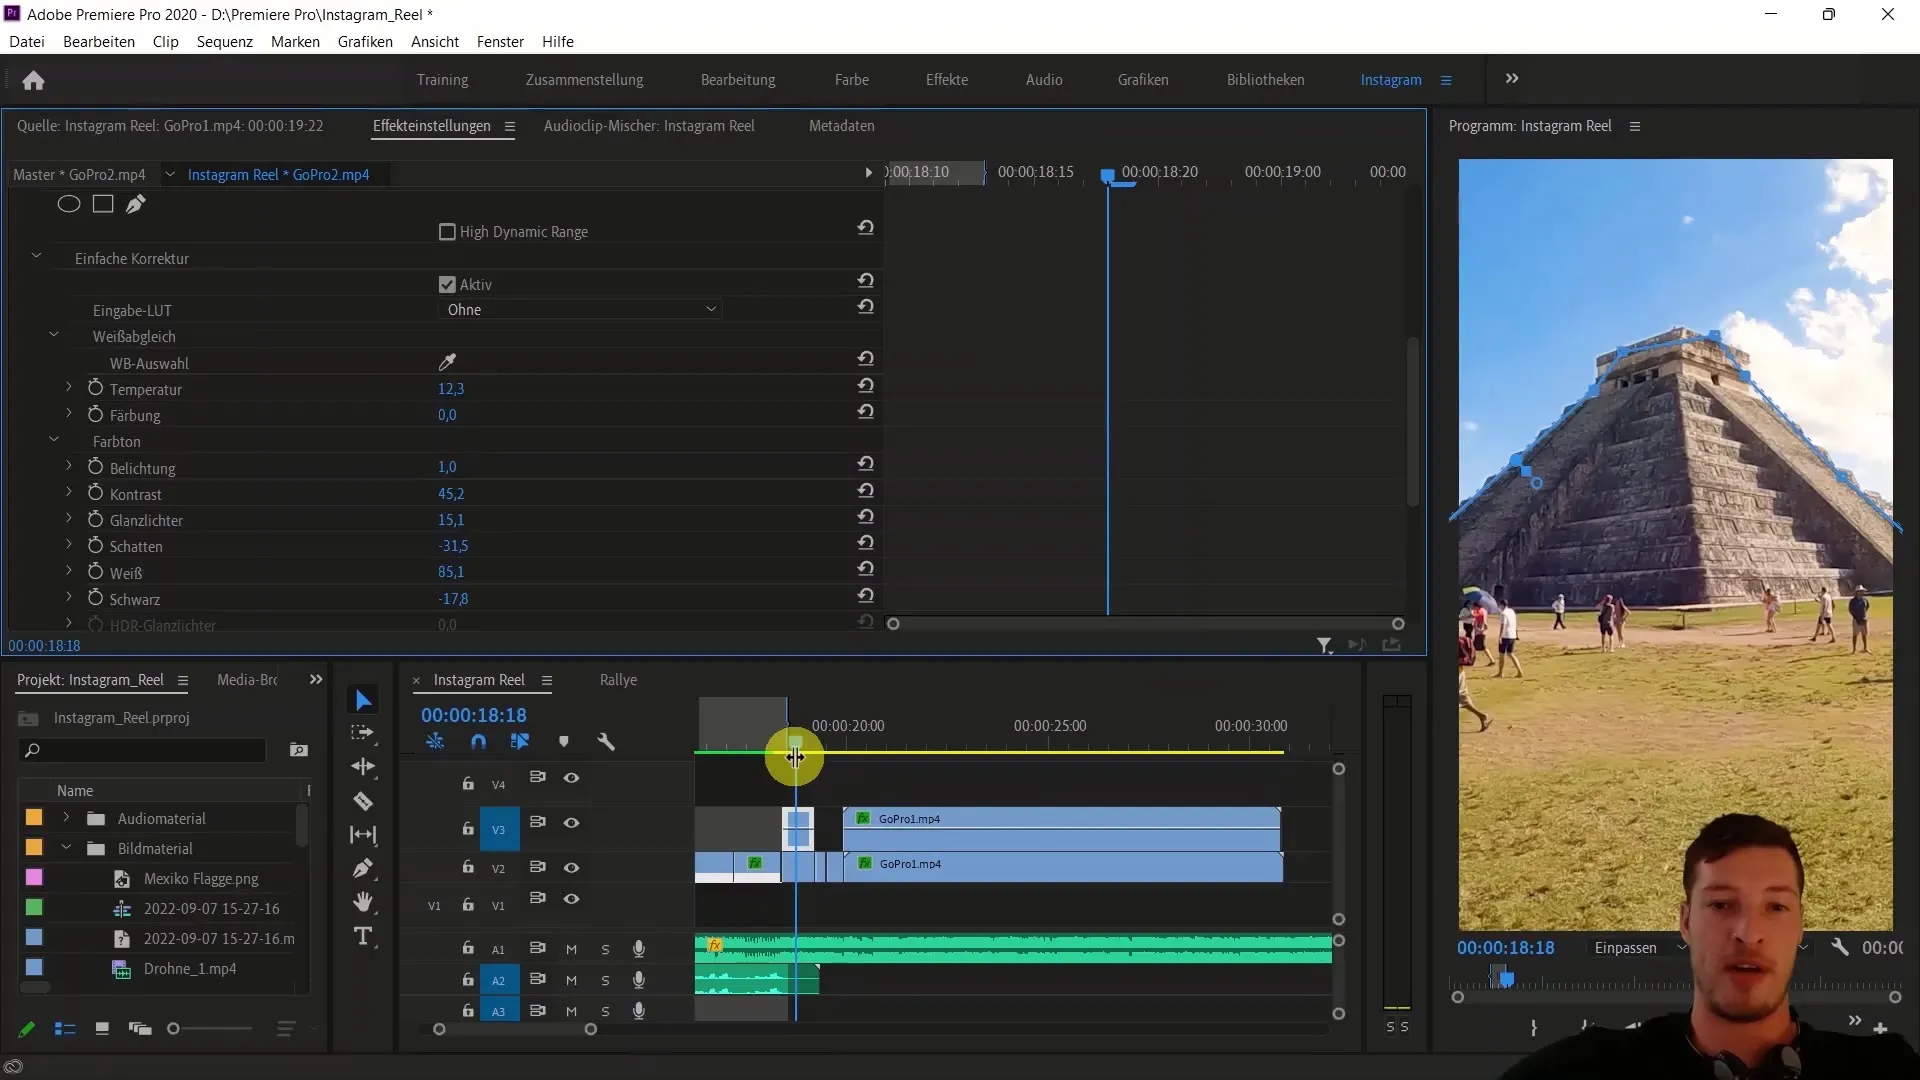
With this, you have now learned how to enhance your material emotionally with masks and targeted color adjustments in Adobe Premiere Pro CC, creating an even more impressive end product.
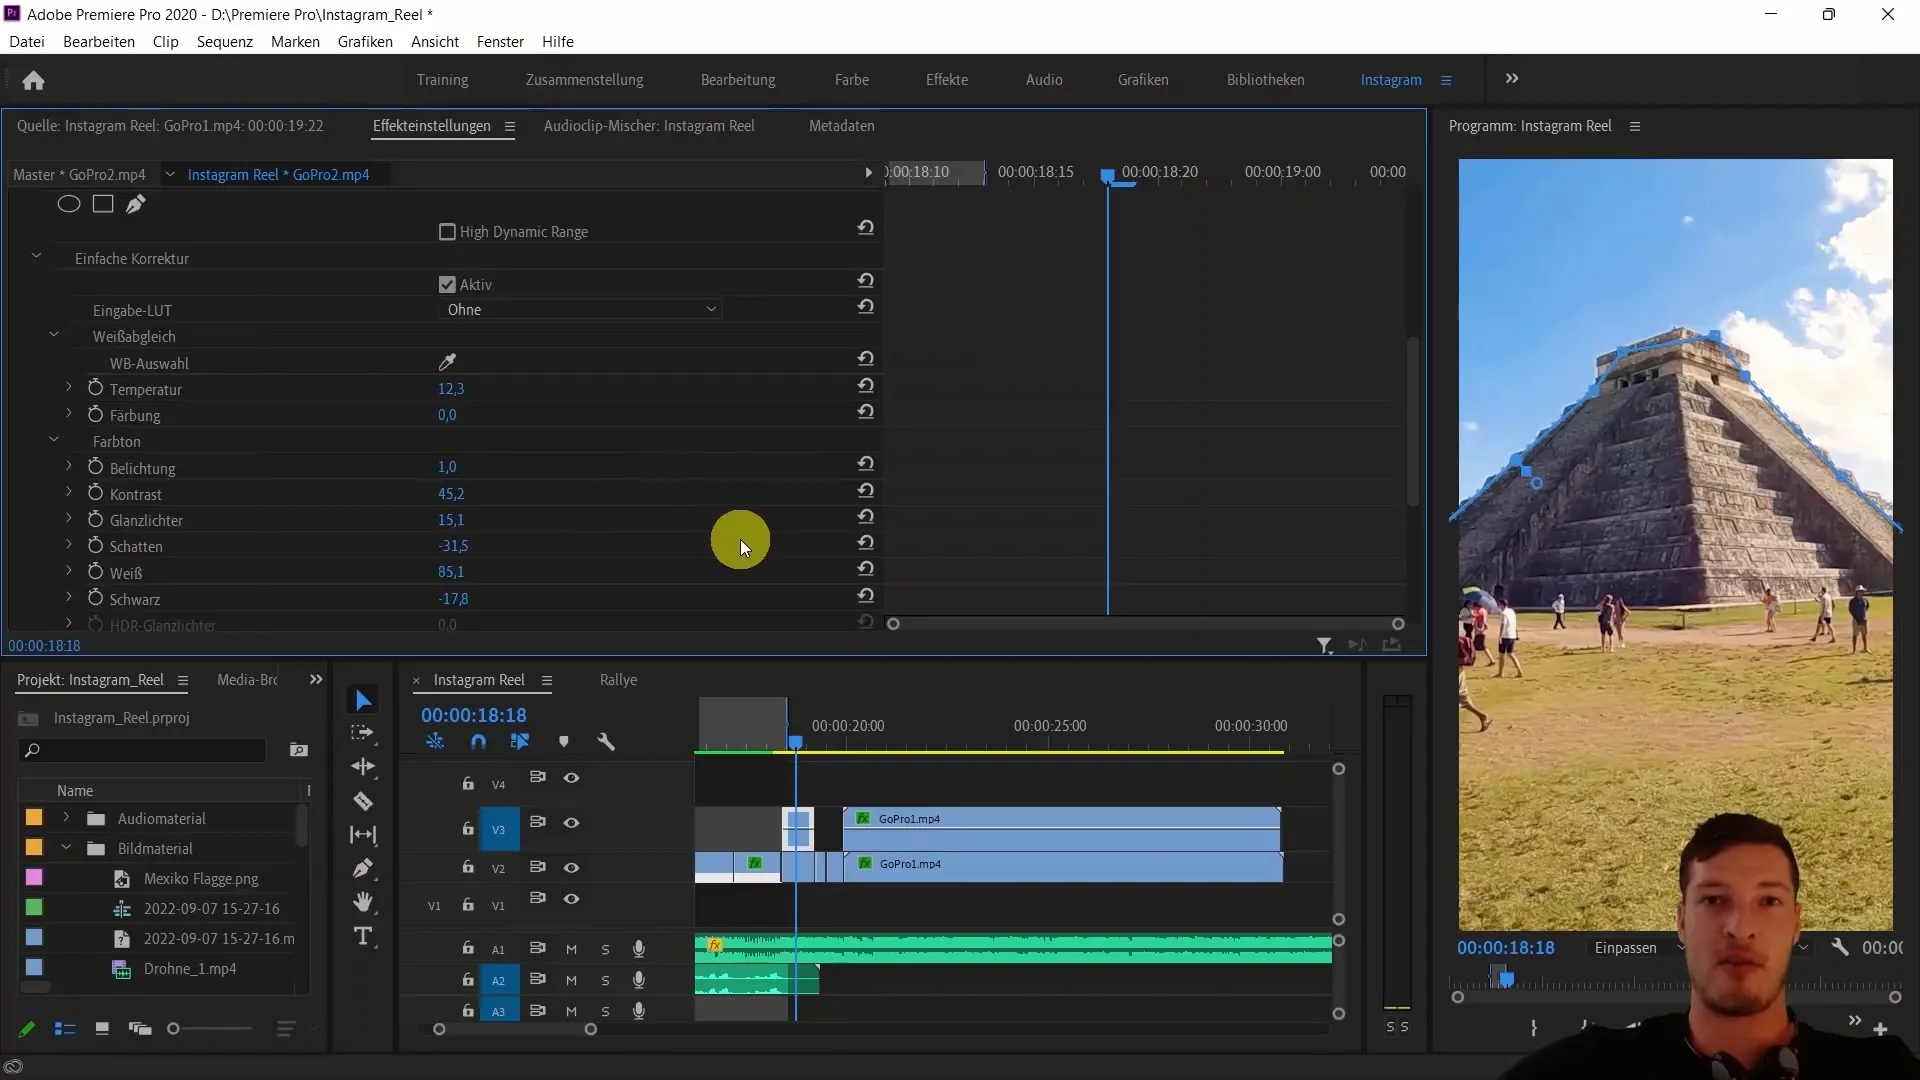
Summary
In this tutorial, you have learned how to enhance the emotional and aesthetic value of your videos by selectively editing colors in specific areas in Adobe Premiere Pro. Using the techniques described, you can significantly increase the visual appeal of your clips.
Frequently Asked Questions
How do I create a mask in Adobe Premiere Pro?You can create a mask by selecting the freehand drawing tool on the upper layer and then drawing around the desired area.
Can I change the mask at any time?Yes, the mask can be adjusted and edited at any time to achieve the desired results.
How can I ensure that the color editing only affects a specific area?By duplicating the layer and creating a mask, you can limit the color adjustments to a specific area.


