In modern video editing, efficient organization of your clip materials is essential. When using Adobe Premiere Pro CC, you have various methods available to neatly store your clips and thus optimize the workflow. In this tutorial, I will show you how to create custom bins for your clips to better manage them before integrating them into the final sequence and to navigate more easily.
Main Takeaways
- By creating a special bin for your clips, you can improve visibility.
- Using "Copy and Paste" facilitates transferring clips to the sequence.
- A well-organized workflow saves time and ensures smooth operation.
Step-by-Step Guide
Start by identifying your project media. By default, you will find these on the left side of the Adobe Premiere Pro screen. These media belong to your current project and may include different formats. It is important to review the clips first before starting the binning process.
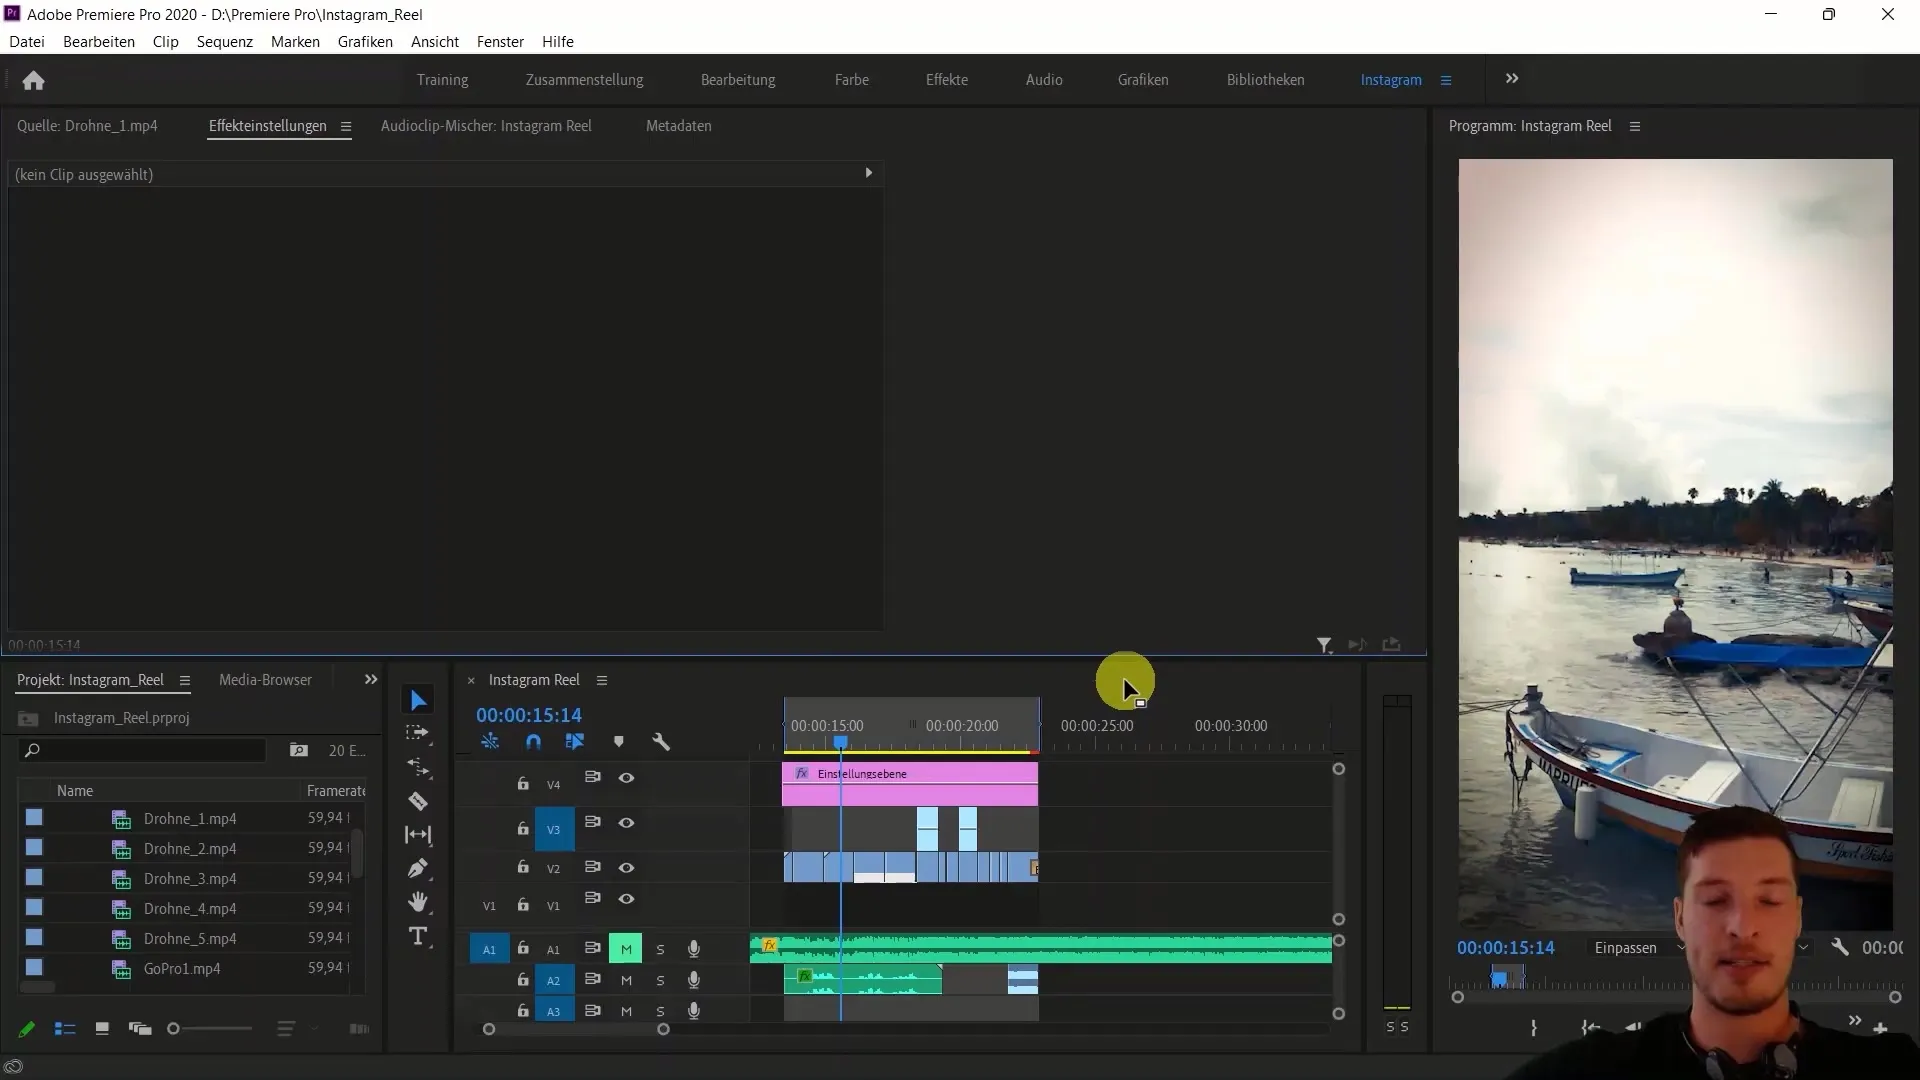
Once you have selected the clips you want to save in a new bin, the next step is to mark the clips. You can select each clip individually or mark multiple clips at once as needed. This allows you to process multiple clips at once and move them to the bin.

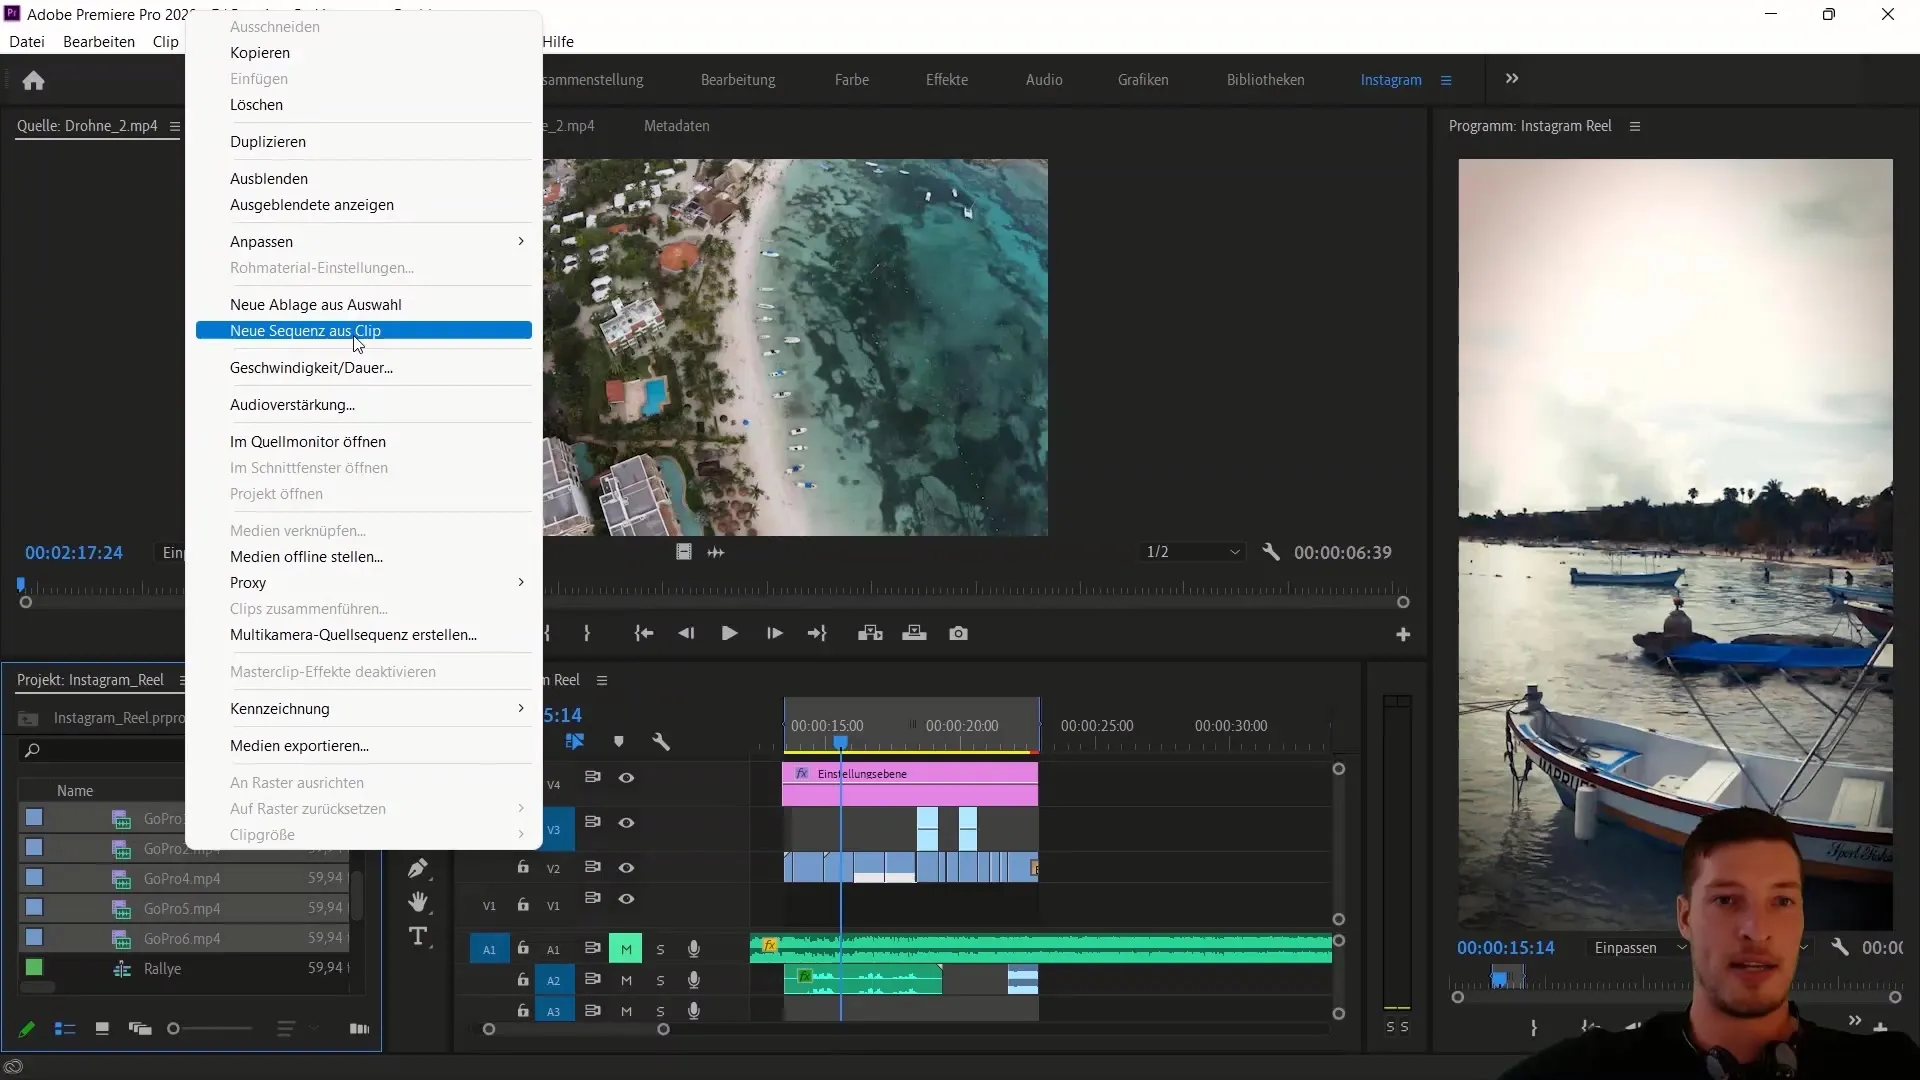
To create a new sequence, right-click on the marked clips and select the "New Sequence from Clip" option. This function creates a new sequence containing the clips you have chosen. It is advisable to give this new sequence a meaningful name, such as "Bin".
This method gives you a dedicated area for your clips. This makes it easier to navigate through the material since you no longer have to search through the entire media list. Instead, you can selectively choose all relevant clips in a separate tab.
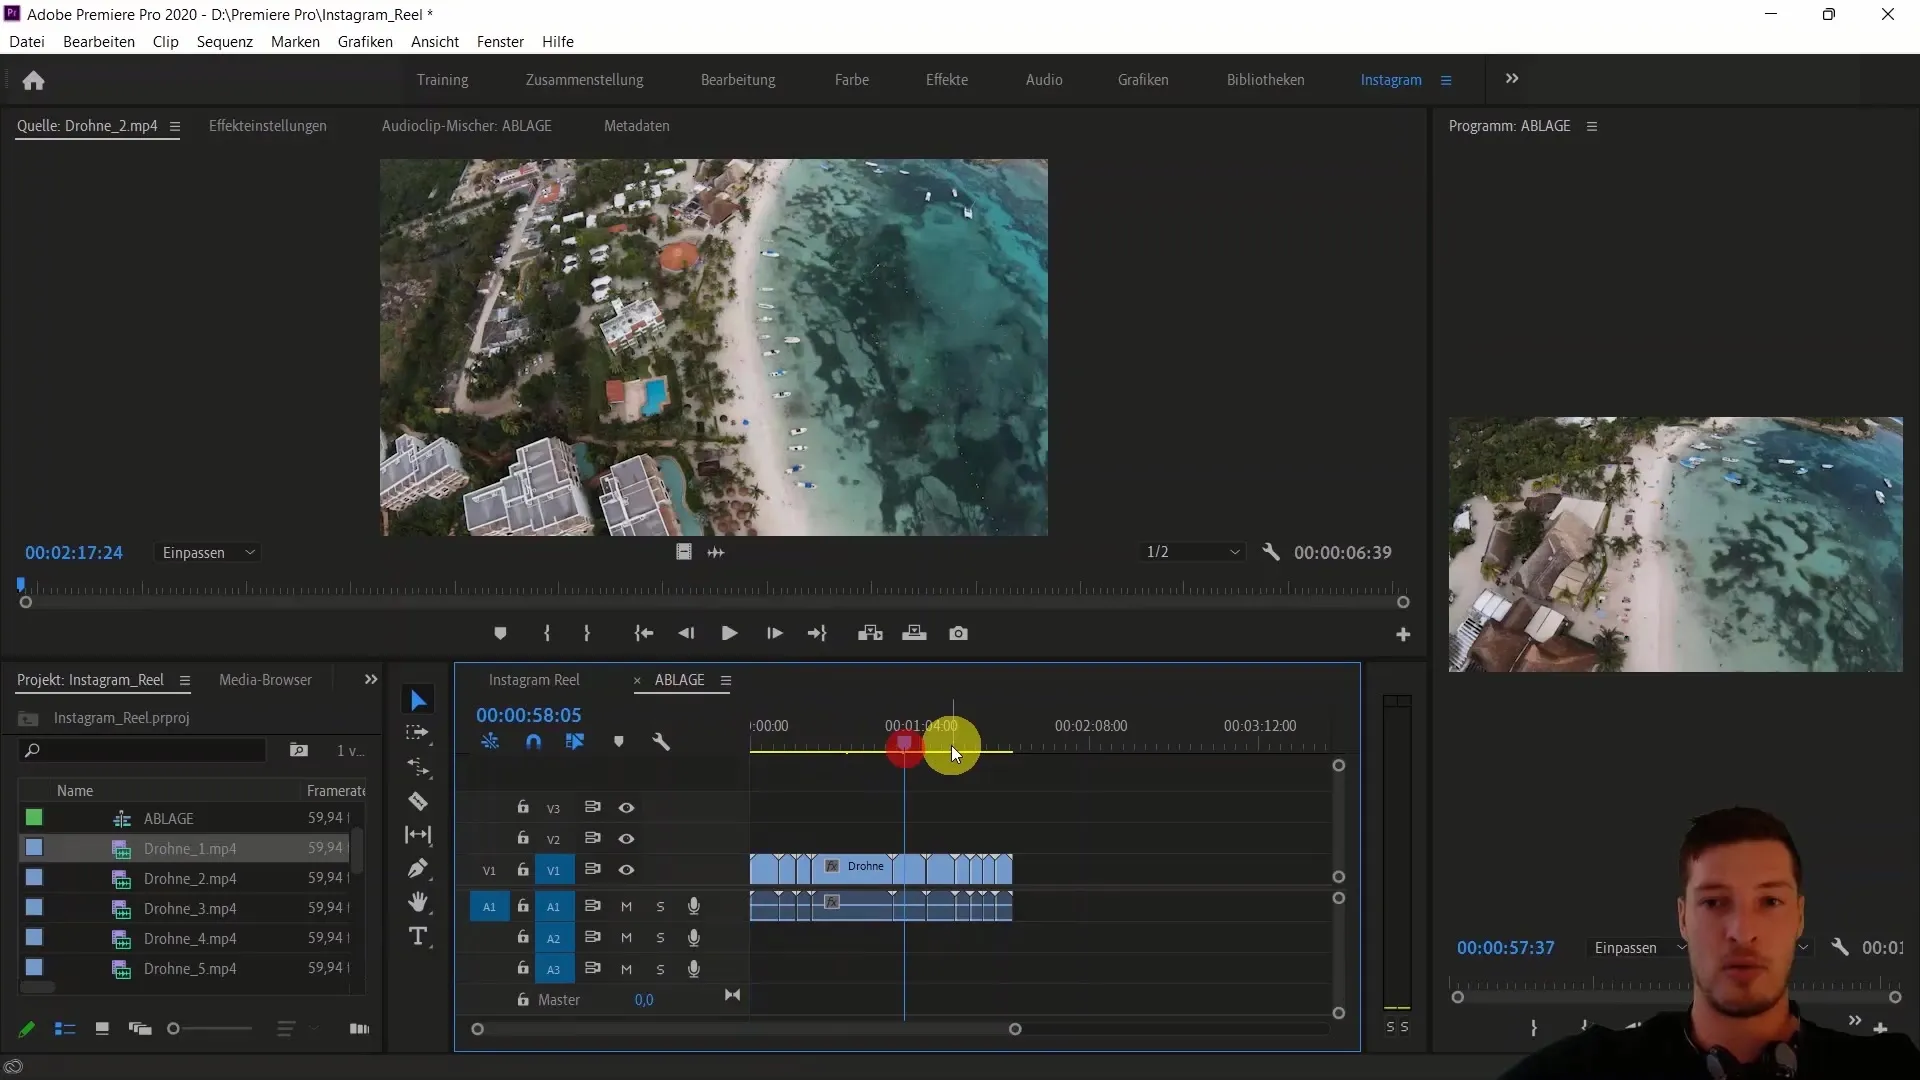
If you now want to transfer a clip from your bin to the "Instagram Reel" sequence, you can do so easily by copying and pasting. Highlight the desired clip in your bin and press Ctrl + C (or Cmd + C on Mac) to copy it.
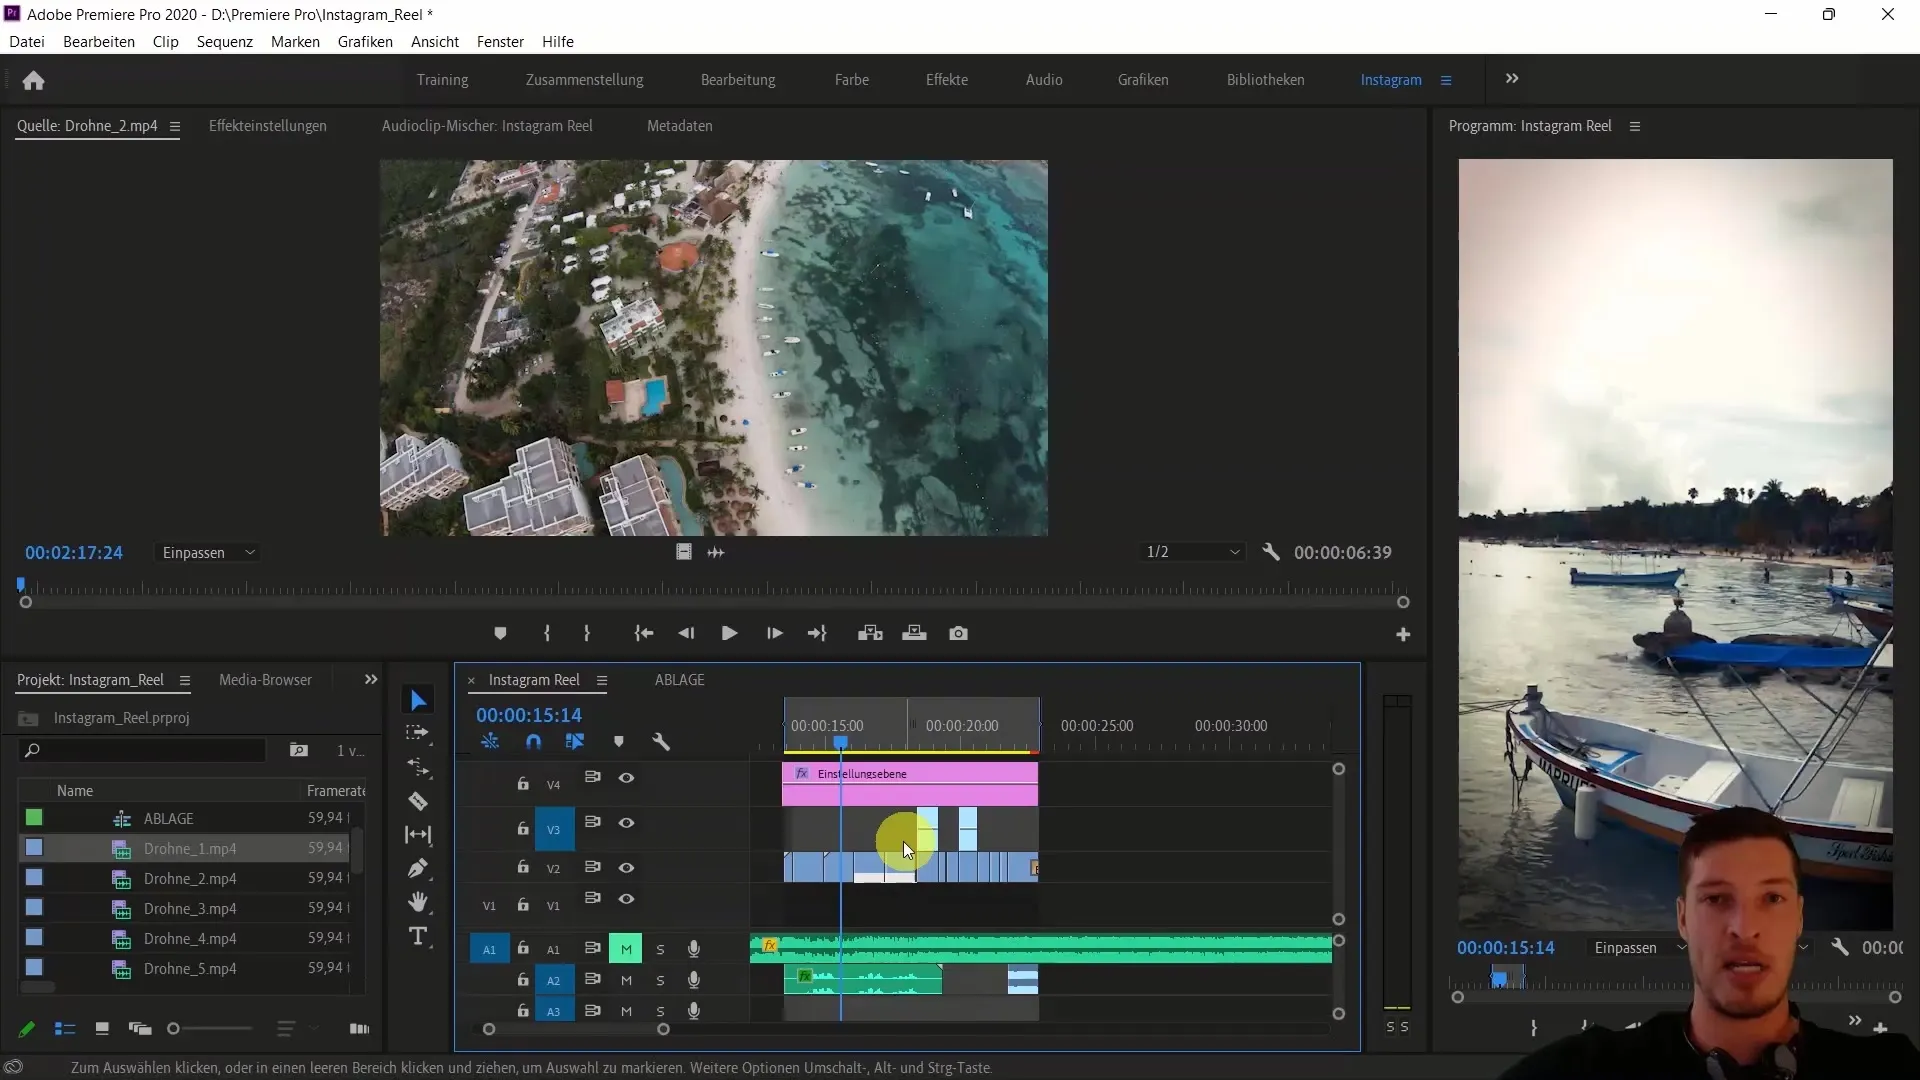
Then navigate to your "Instagram Reel" sequence, place the playhead at the desired position, and paste the clip there by pressing Ctrl + V (or Cmd + V). Make sure you have selected the correct video track to ensure the clip is correctly placed within the sequence.
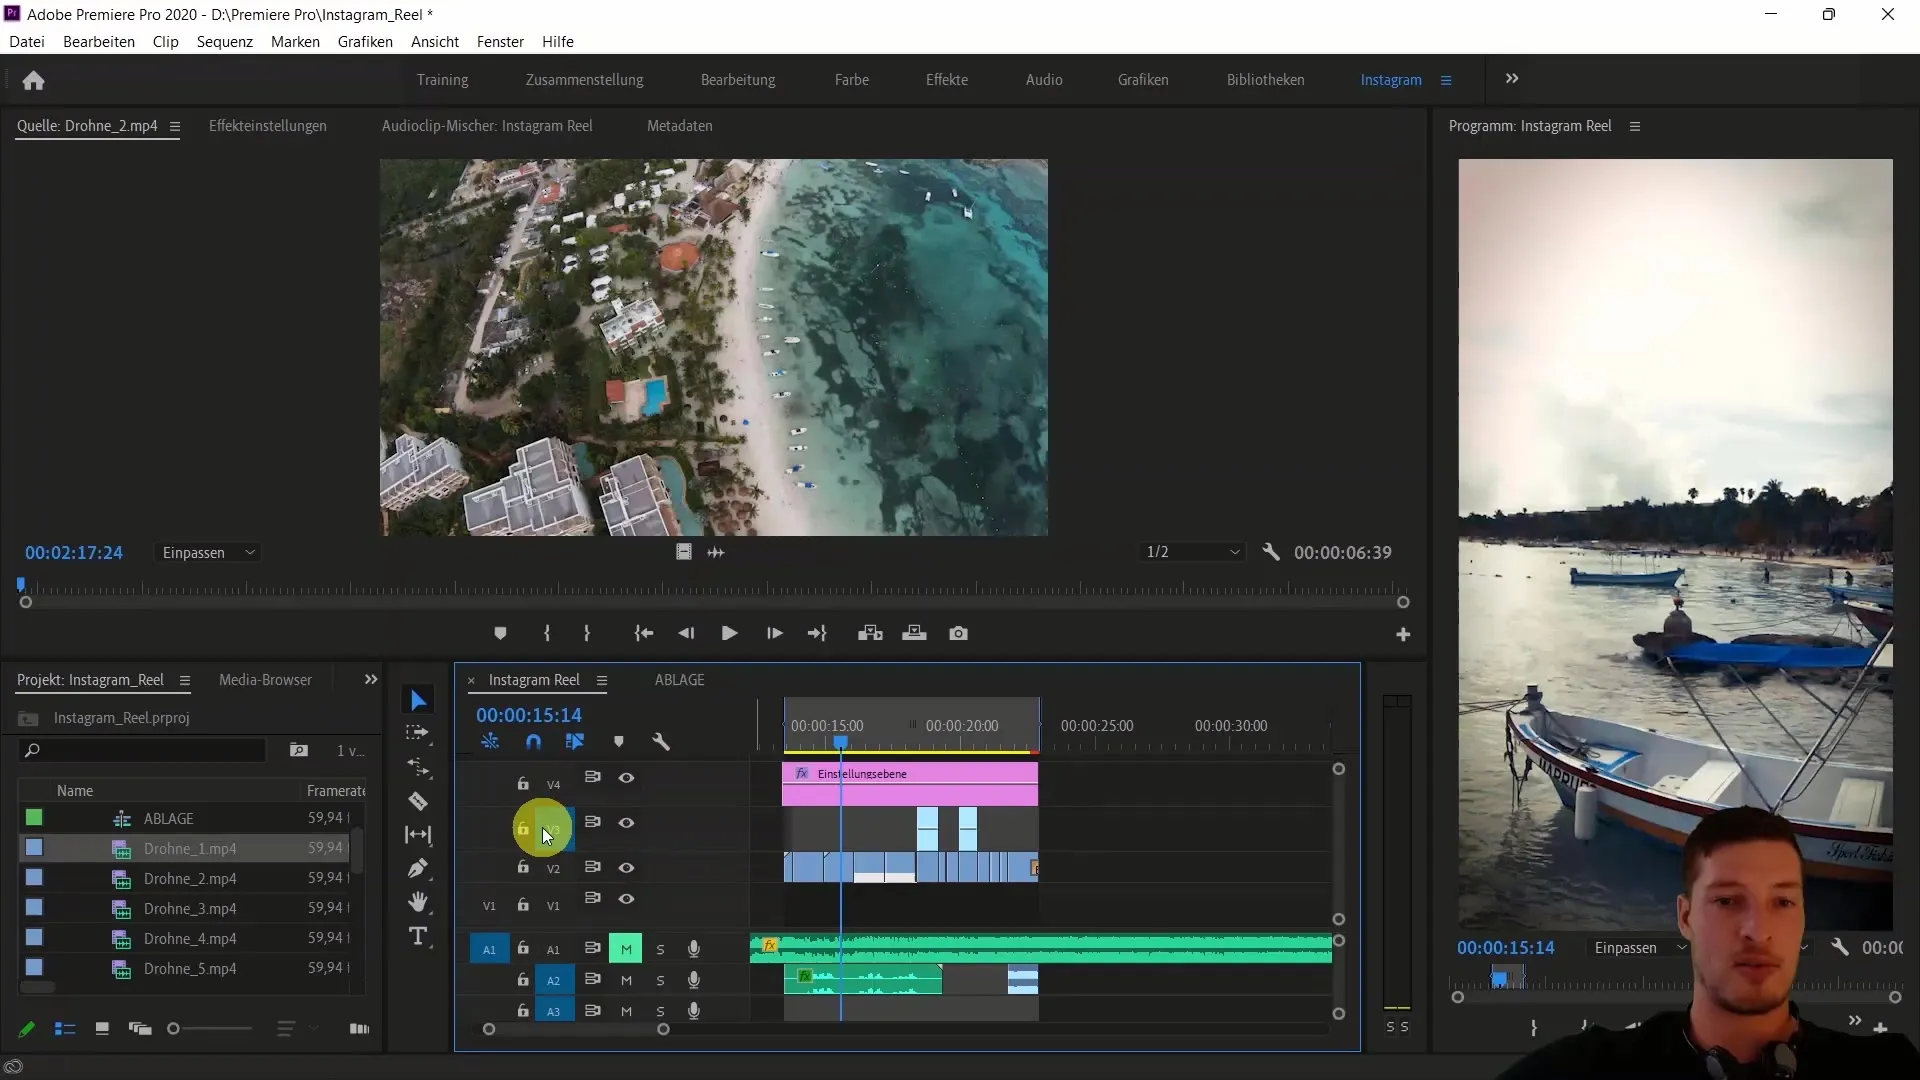
By using this method of binning and simple copying, you can quickly navigate through your clips and ensure everything remains neat and structured. At the end of the process, you should have a clear and organized arrangement of your clips that will be very helpful in future projects.
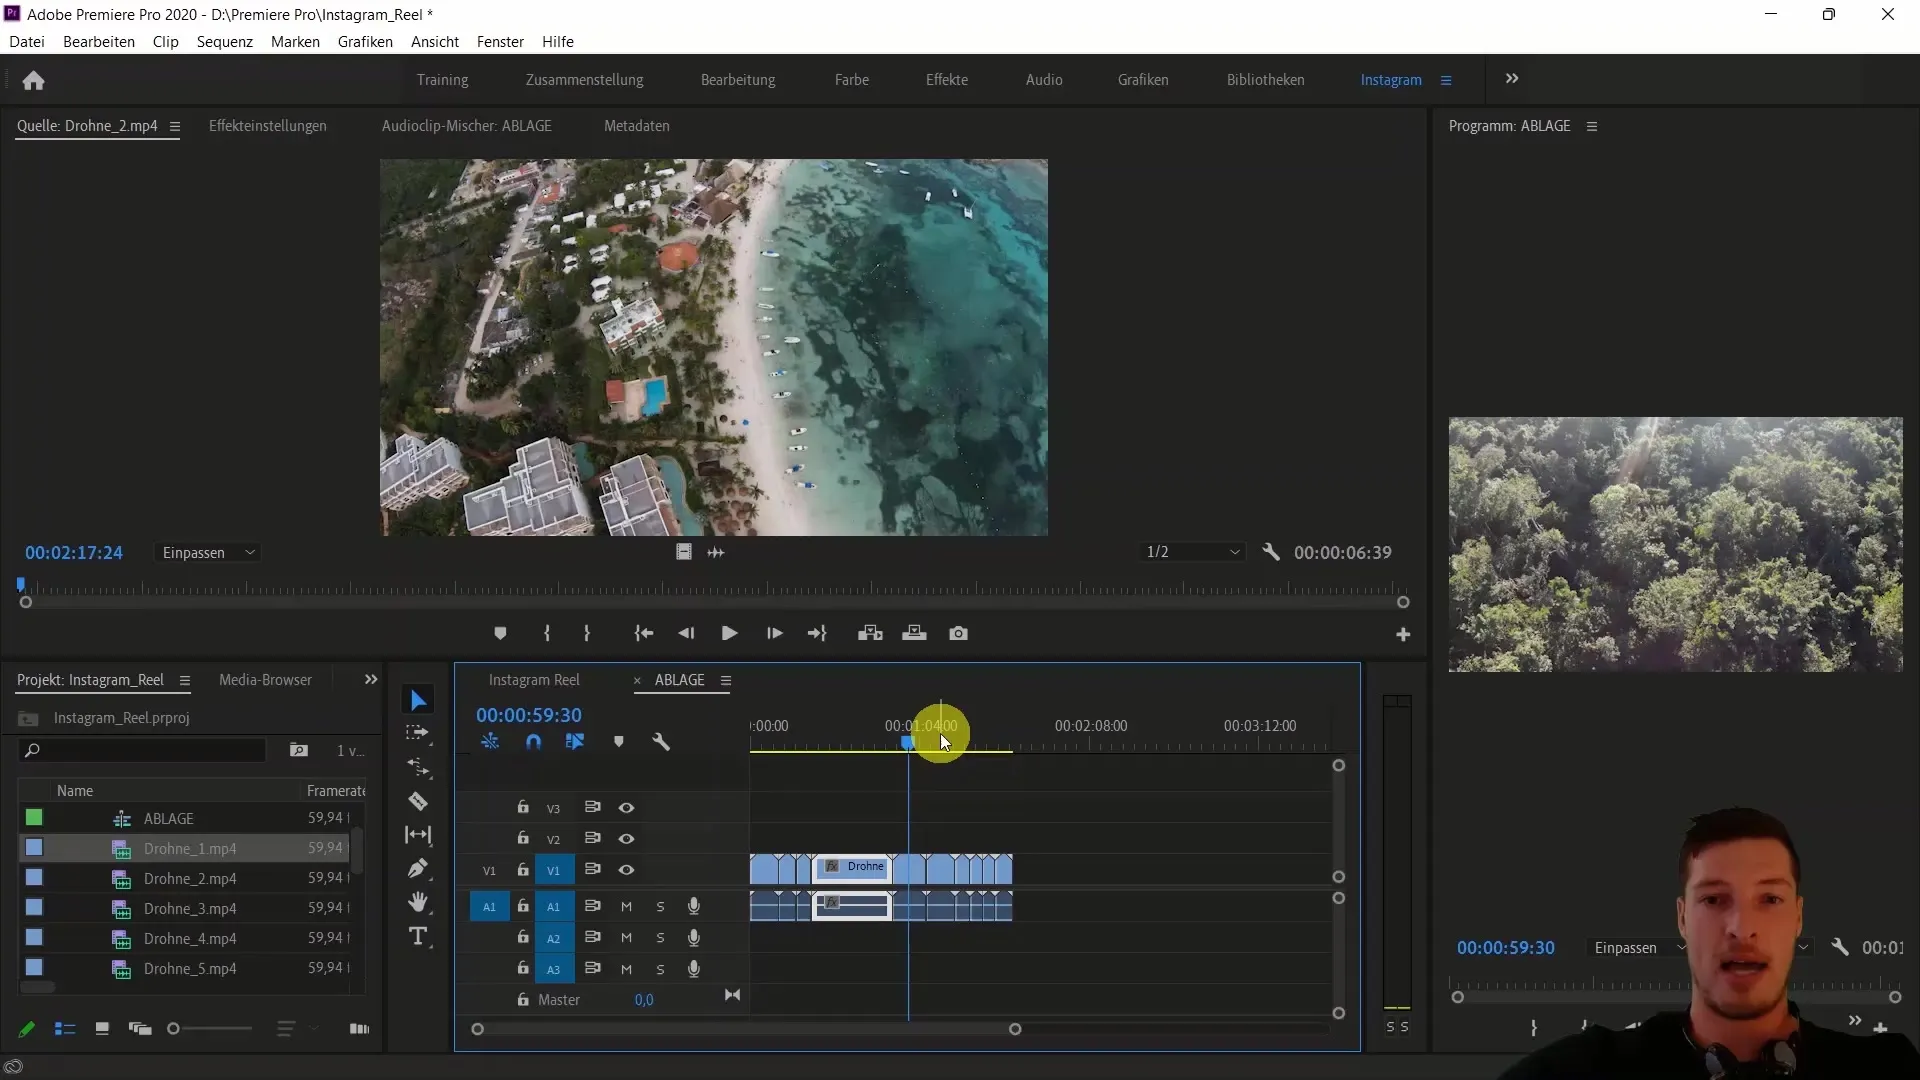
Summary
In this tutorial, you have learned how to create custom bins for video clips in Adobe Premiere Pro CC. This method allows you to organize your clips more efficiently and quickly transfer them to the final sequence. By taking targeted steps such as creating sequences and using copy and paste, you can optimize your workflow.
Frequently Asked Questions
How do I create a bin for my clips in Adobe Premiere Pro?You can create a bin by generating a new sequence from your marked clips and naming this sequence appropriately.
How do I navigate through my bin?After creating a special bin, you have a separate tab that allows easy navigation to your clips.
How do I insert clips from my bin into the final sequence?You can copy and paste clips by pressing Ctrl + C and Ctrl + V after selecting the desired video track.
What are the advantages of a clip bin?A bin increases visibility, saves time, and enables a more efficient workflow.


