In video editing, synchronizing video clips with a music track can be a time-consuming task. In this tutorial, I will show you how you can quickly and efficiently synchronize your video clips to a music piece using Adobe Premiere Pro CC. We will use markers and the automatic alignment of these markers to make editing easier and faster. This way, you can create an impressive edit in just a few minutes.
Key takeaways
- Use markers in the timeline to mark important points in the music track.
- Create a new sequence from the audio track to have a clear starting point for your cuts.
- Efficiently determine the order and in-points of your video clips for smooth synchronization.
- Use the function to automatically insert the clips to align them with the set markers.
Step-by-step guide
To optimize the synchronization of your video clips, here are the individual steps you can take in Adobe Premiere Pro CC.
First, import your music track and video clips. Open your project folder, drag the audio file and video clips into the program. Now you have everything ready for the next steps.
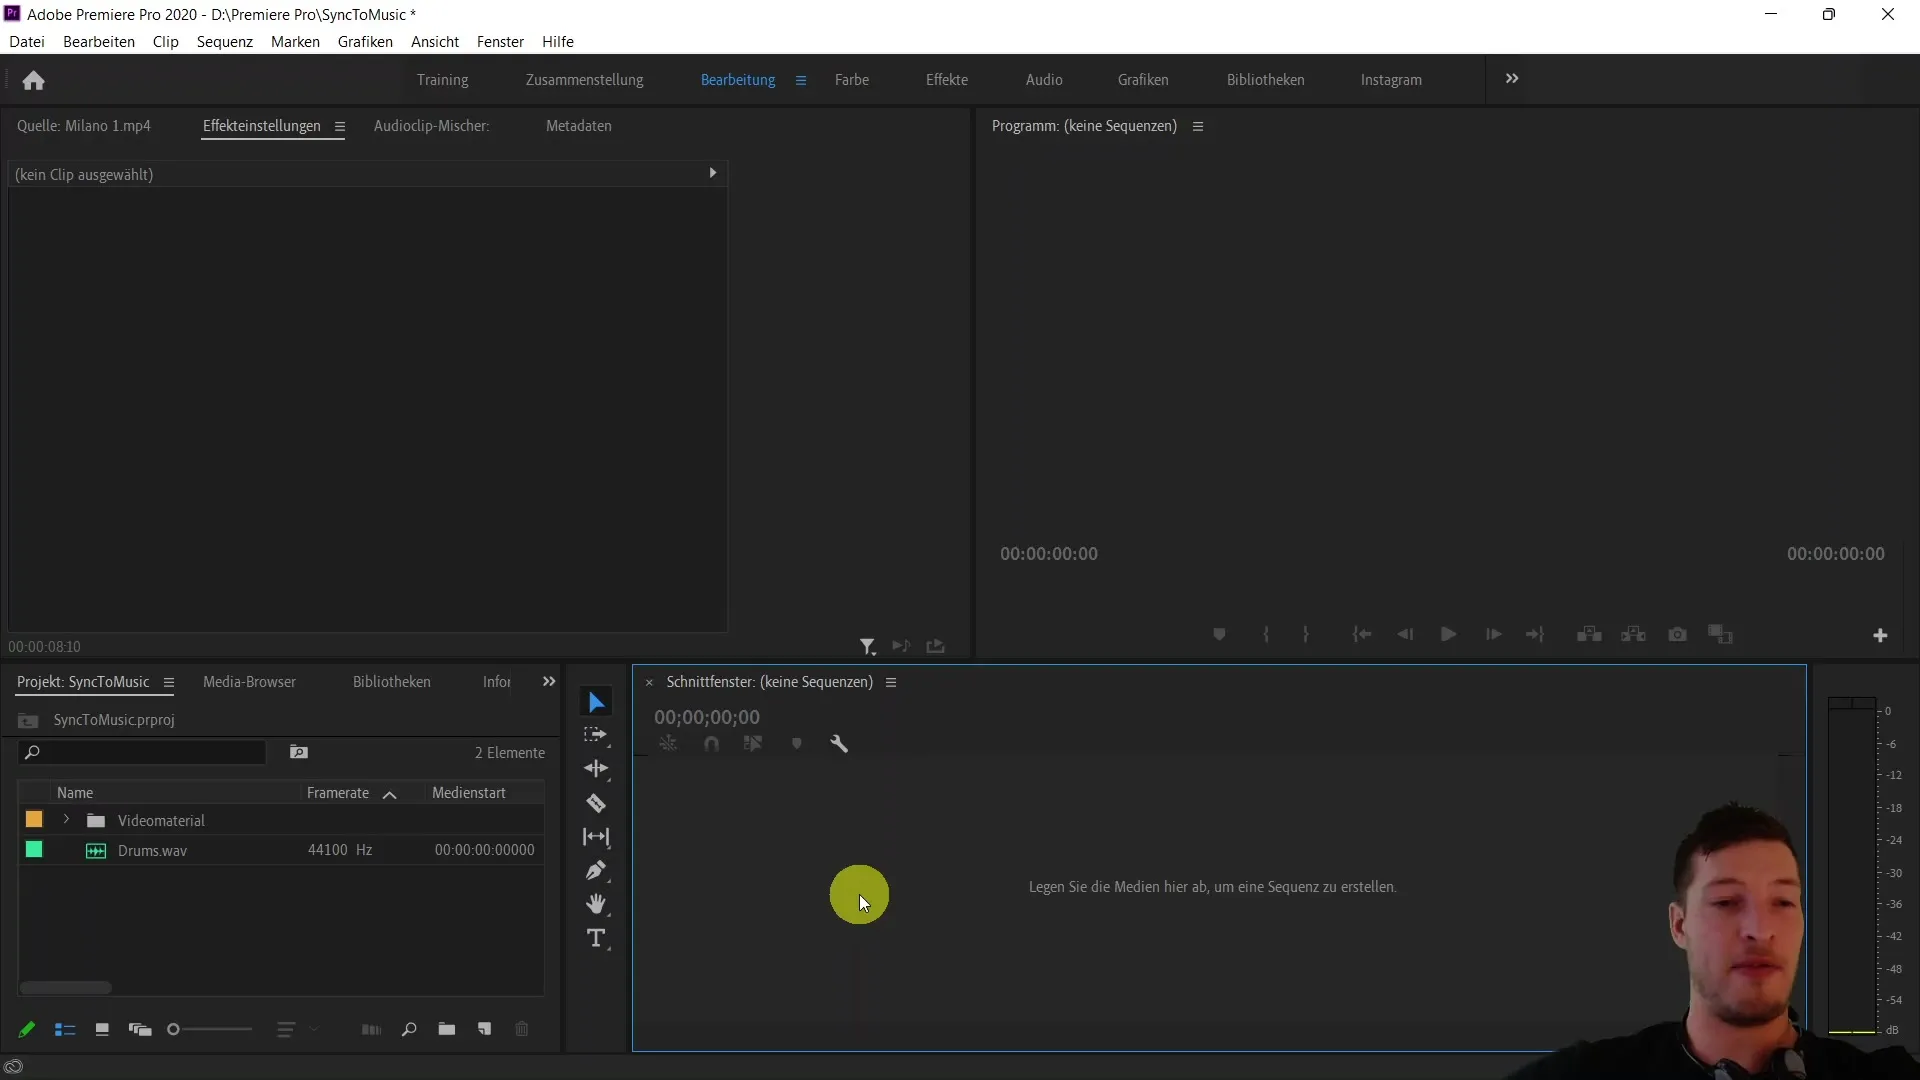
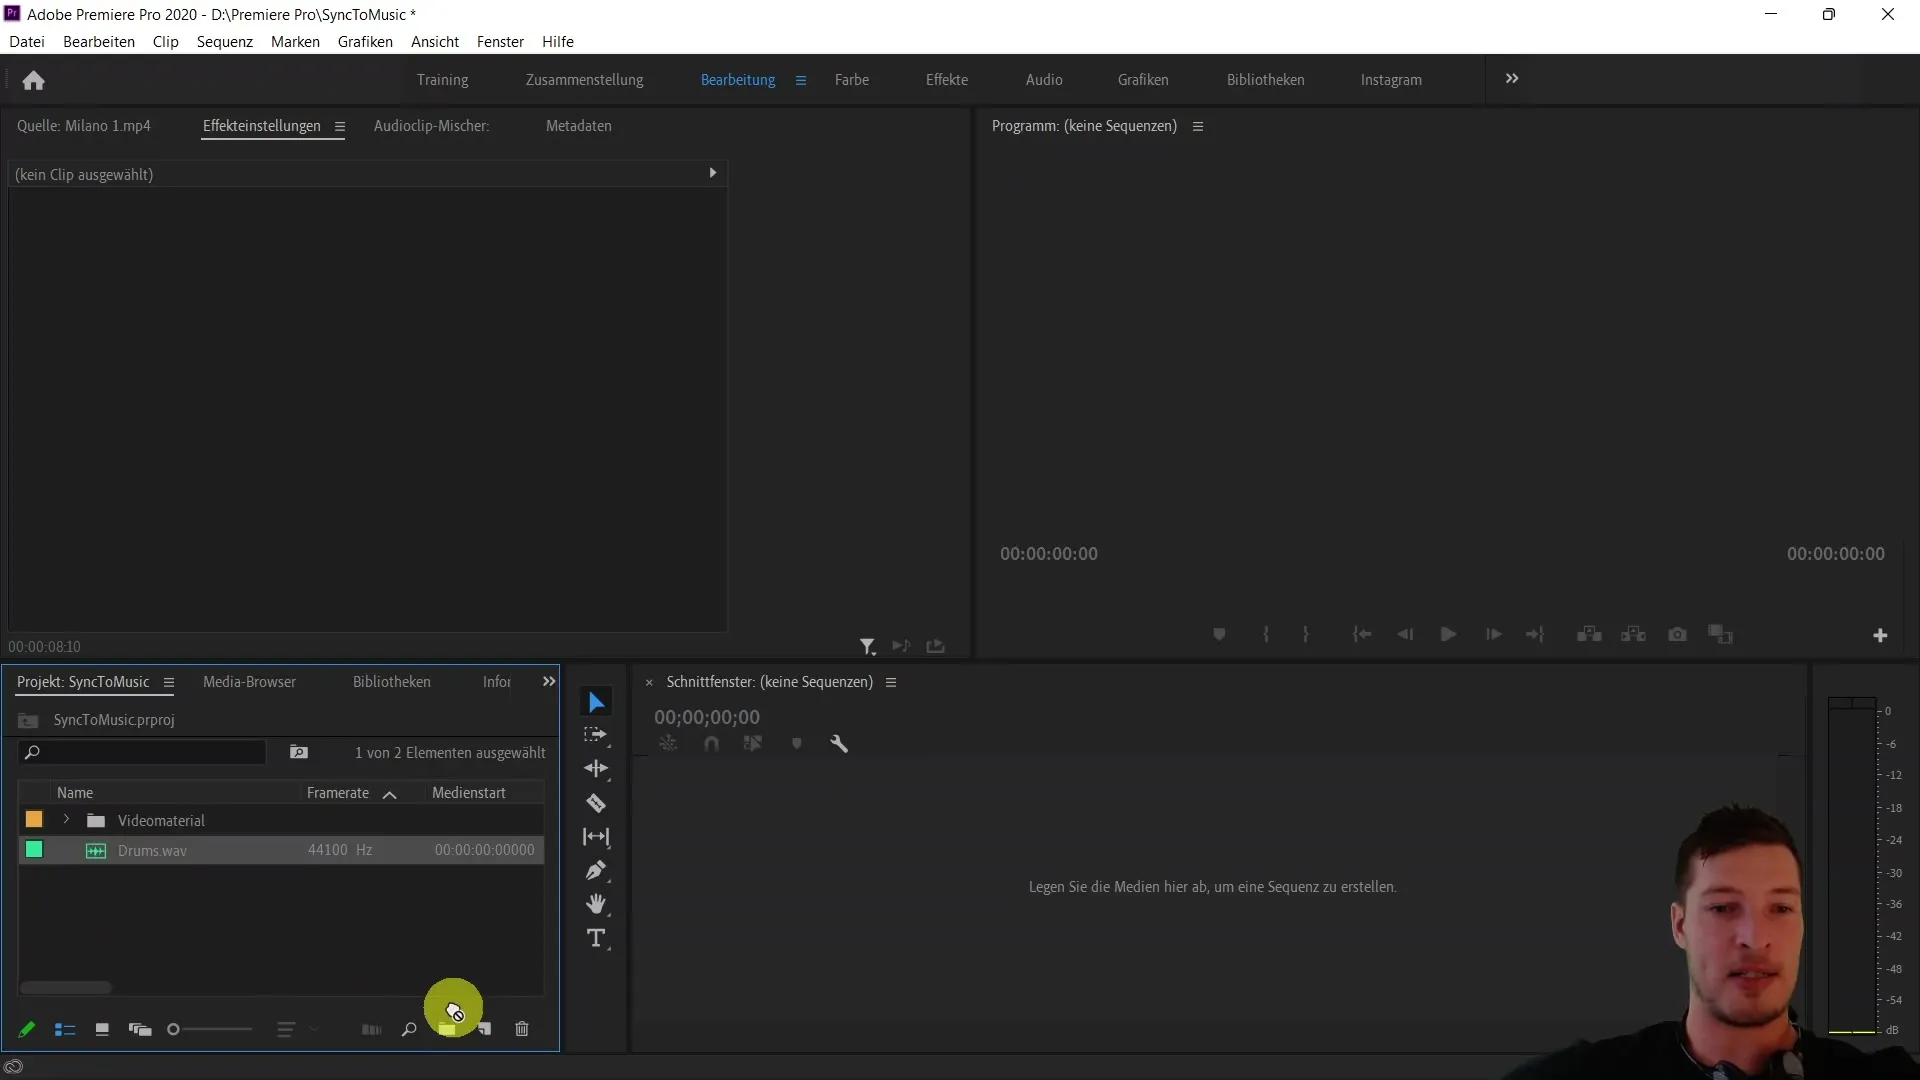
The first step is to select your audio track and create a new sequence from it. Click on the "New Sequence" button in the program interface. It is advisable to take a brief look at the audio track beforehand to check the volume level. If the volume is too high, reduce it to about -10 decibels.
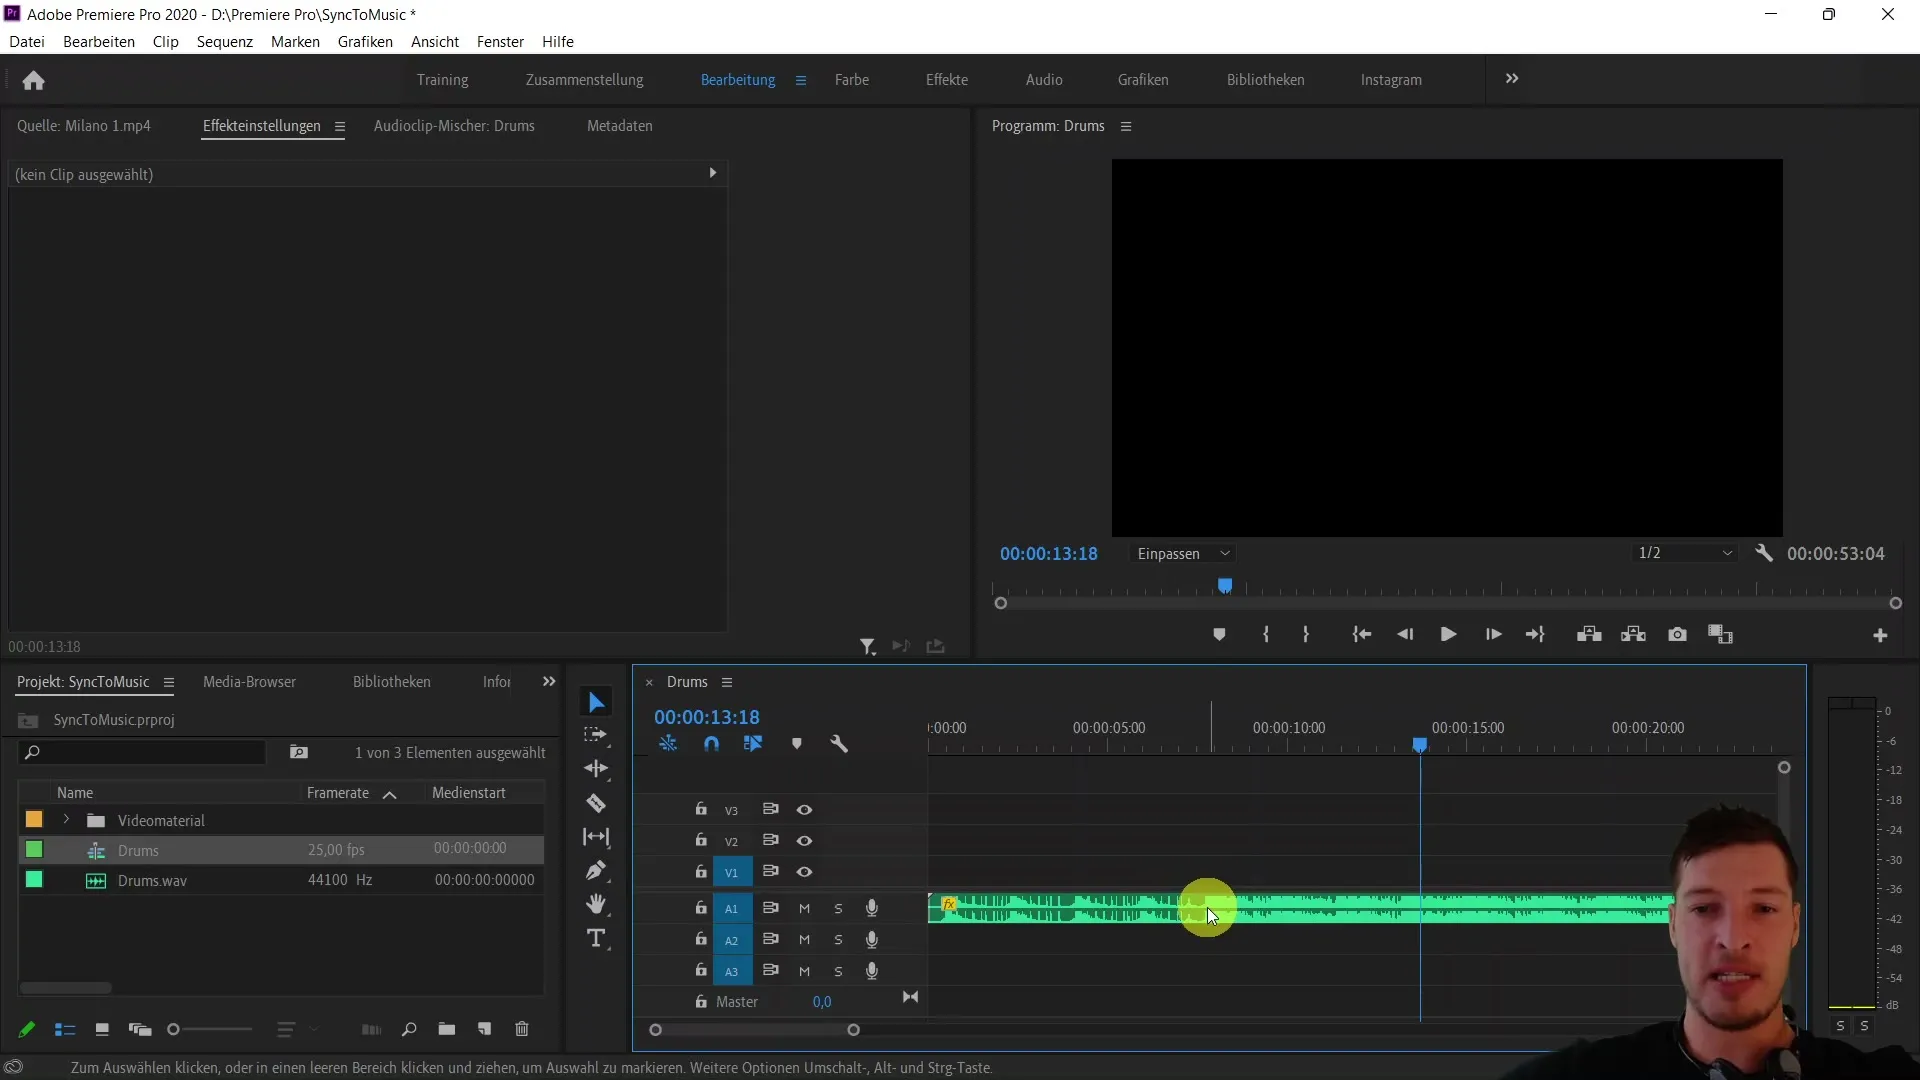
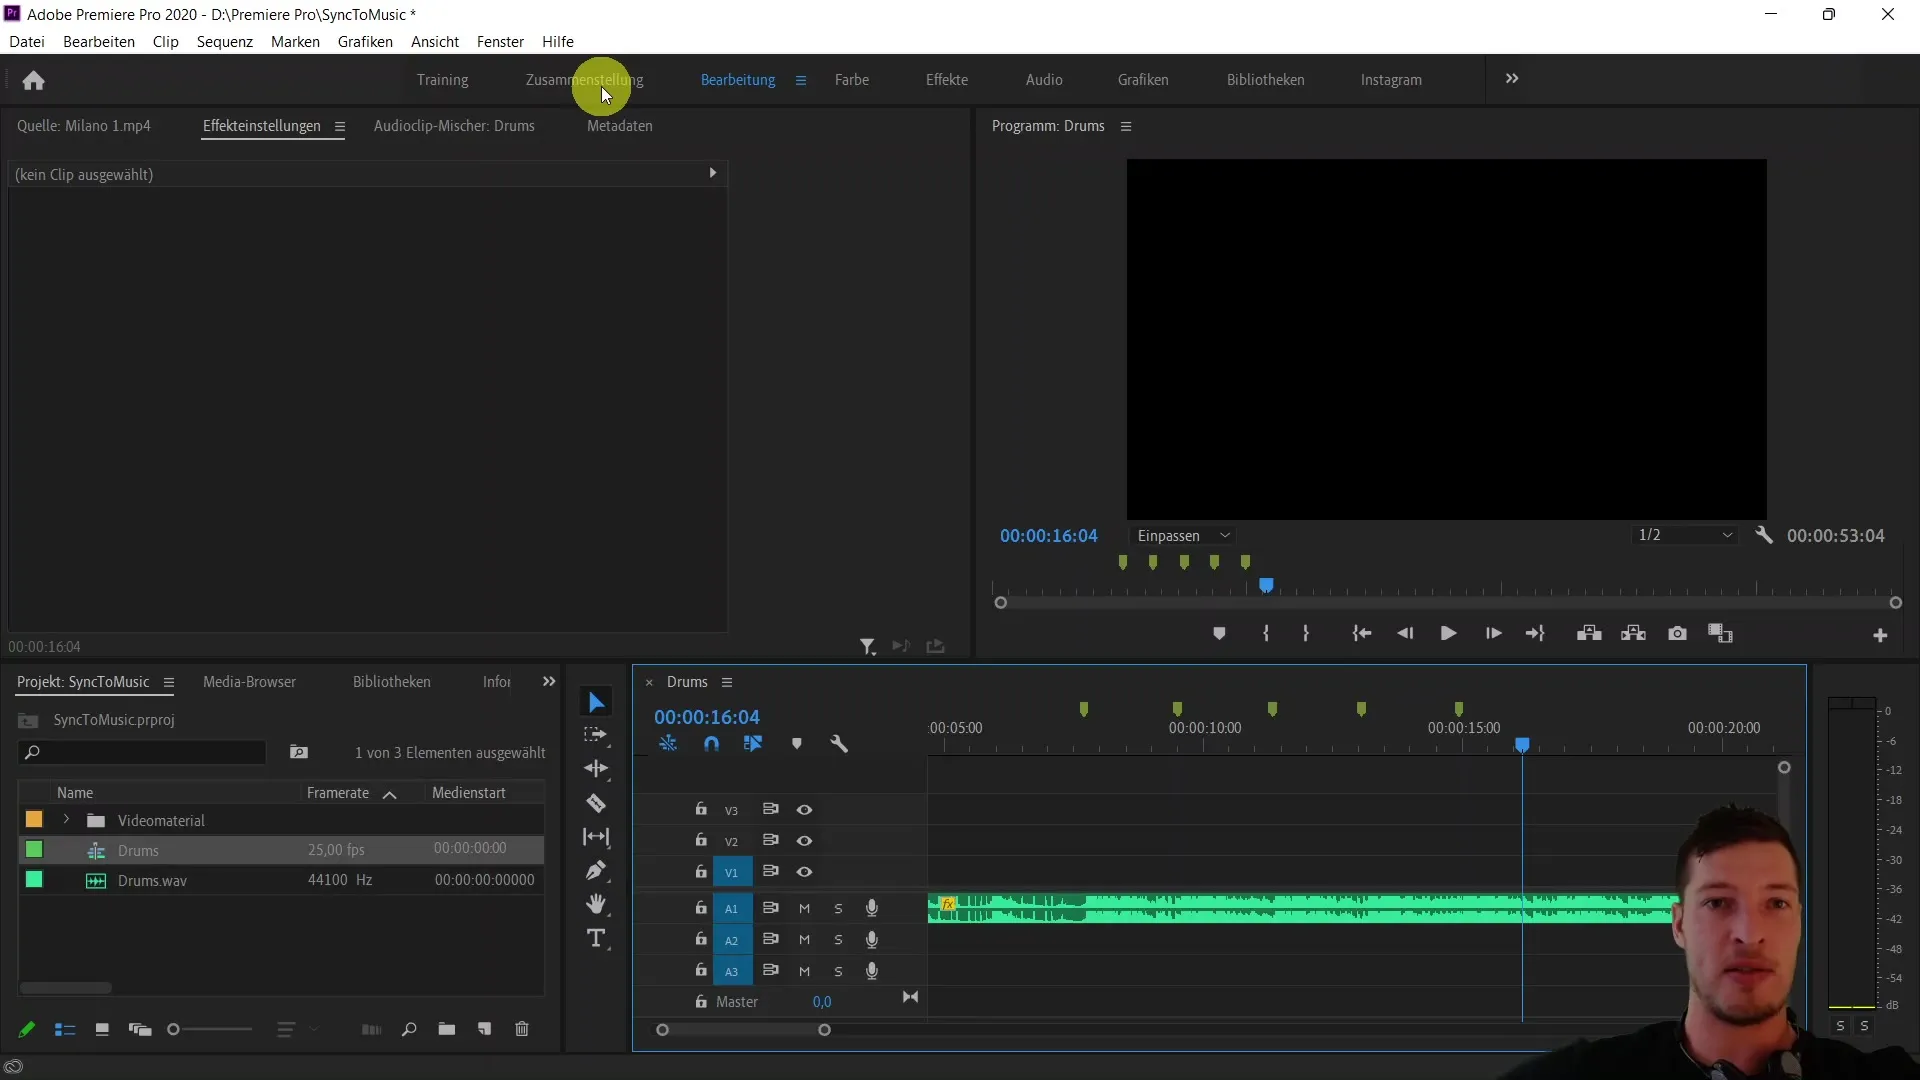
Now you can play the audio track and set markers while playing. These markers serve as visual aids to determine the best transitions for the clips. Use the shortcut "M" to place markers at the important points while the music is playing. For example, every time a strong beat or a significant moment in the music occurs.
After setting the markers, it's time to prepare your video clips. Go to the assembly tab of your project and switch to the symbolic view to better keep track of the clips. Now determine the order of the clips by renaming them according to their intended placement, e.g., "Clip 1," "Clip 2," and so on.
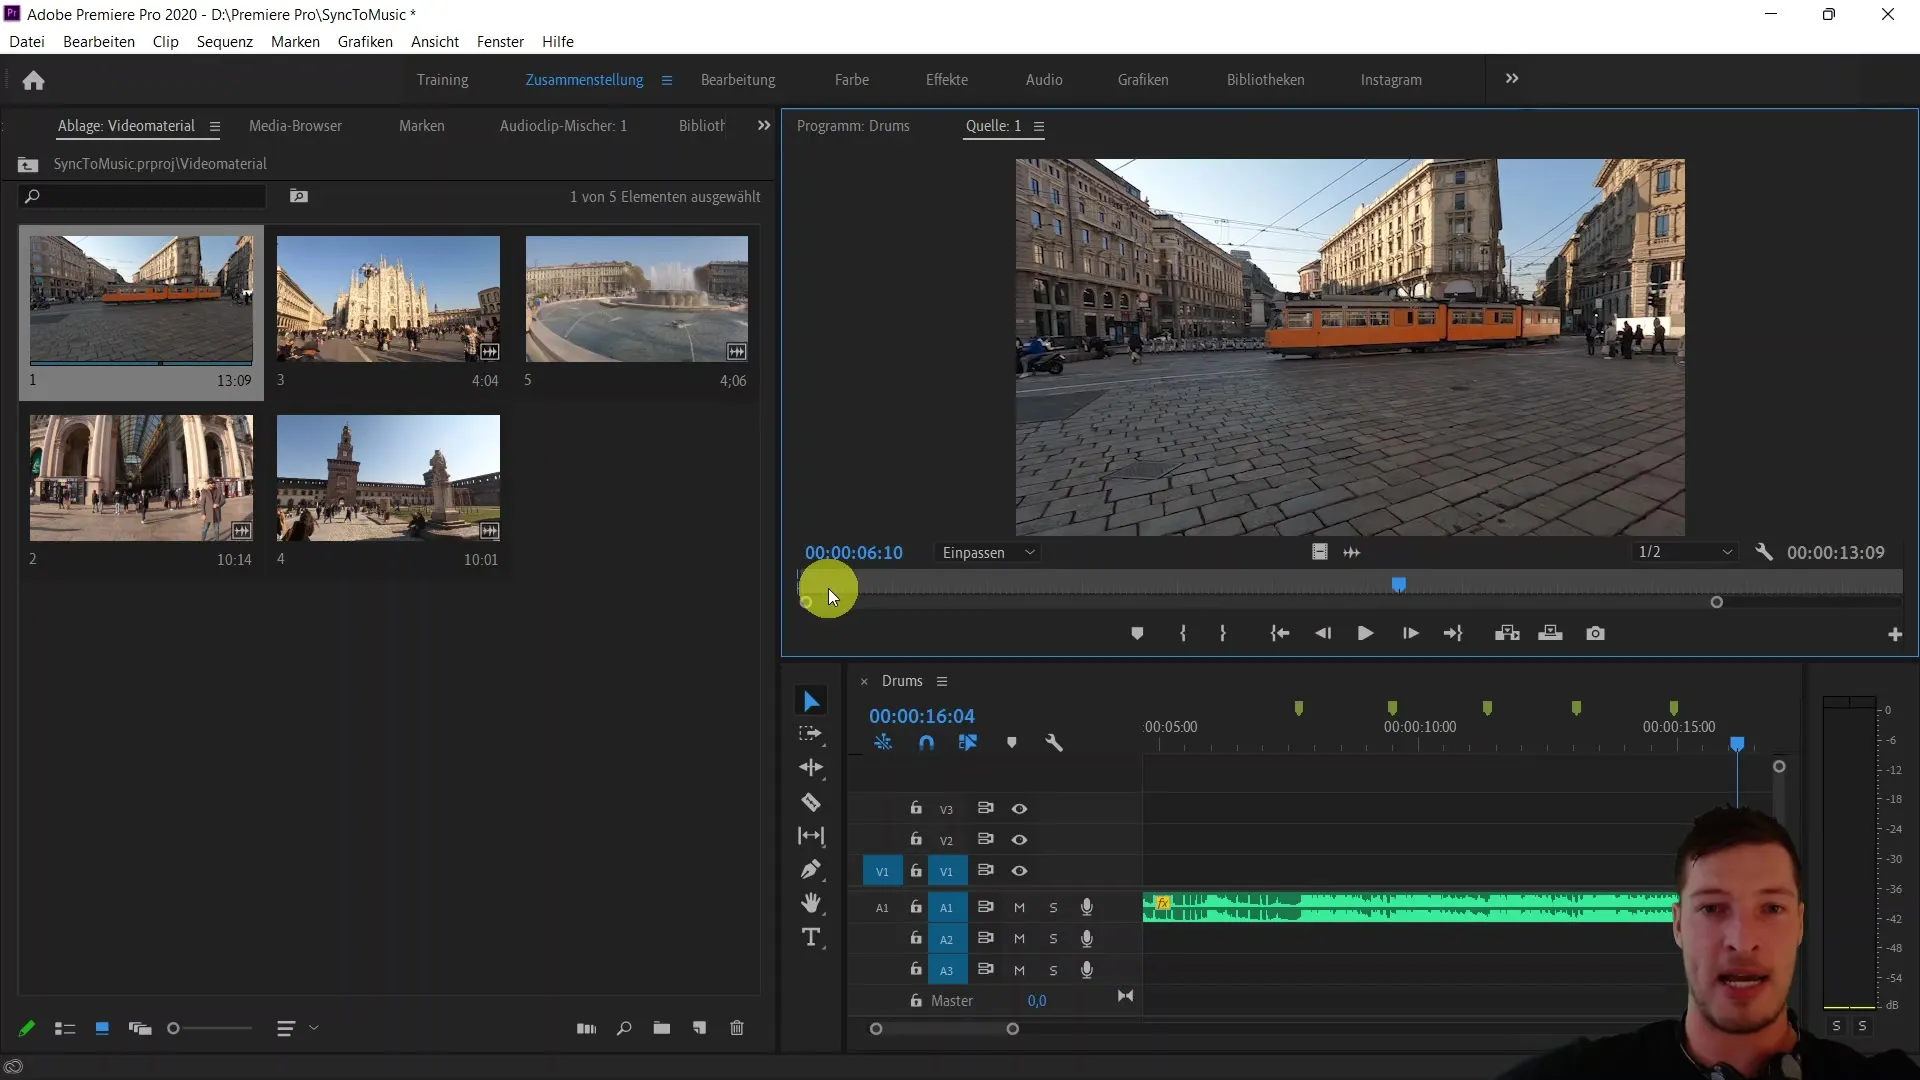
Next, you need to set an in-point for each clip to determine when it will start playing in the video. Open each clip by double-clicking on it and set an in-point at the desired location using the shortcut "I." This ensures that the clip starts at the right moment, such as when a road becomes visible or an important element comes into view.
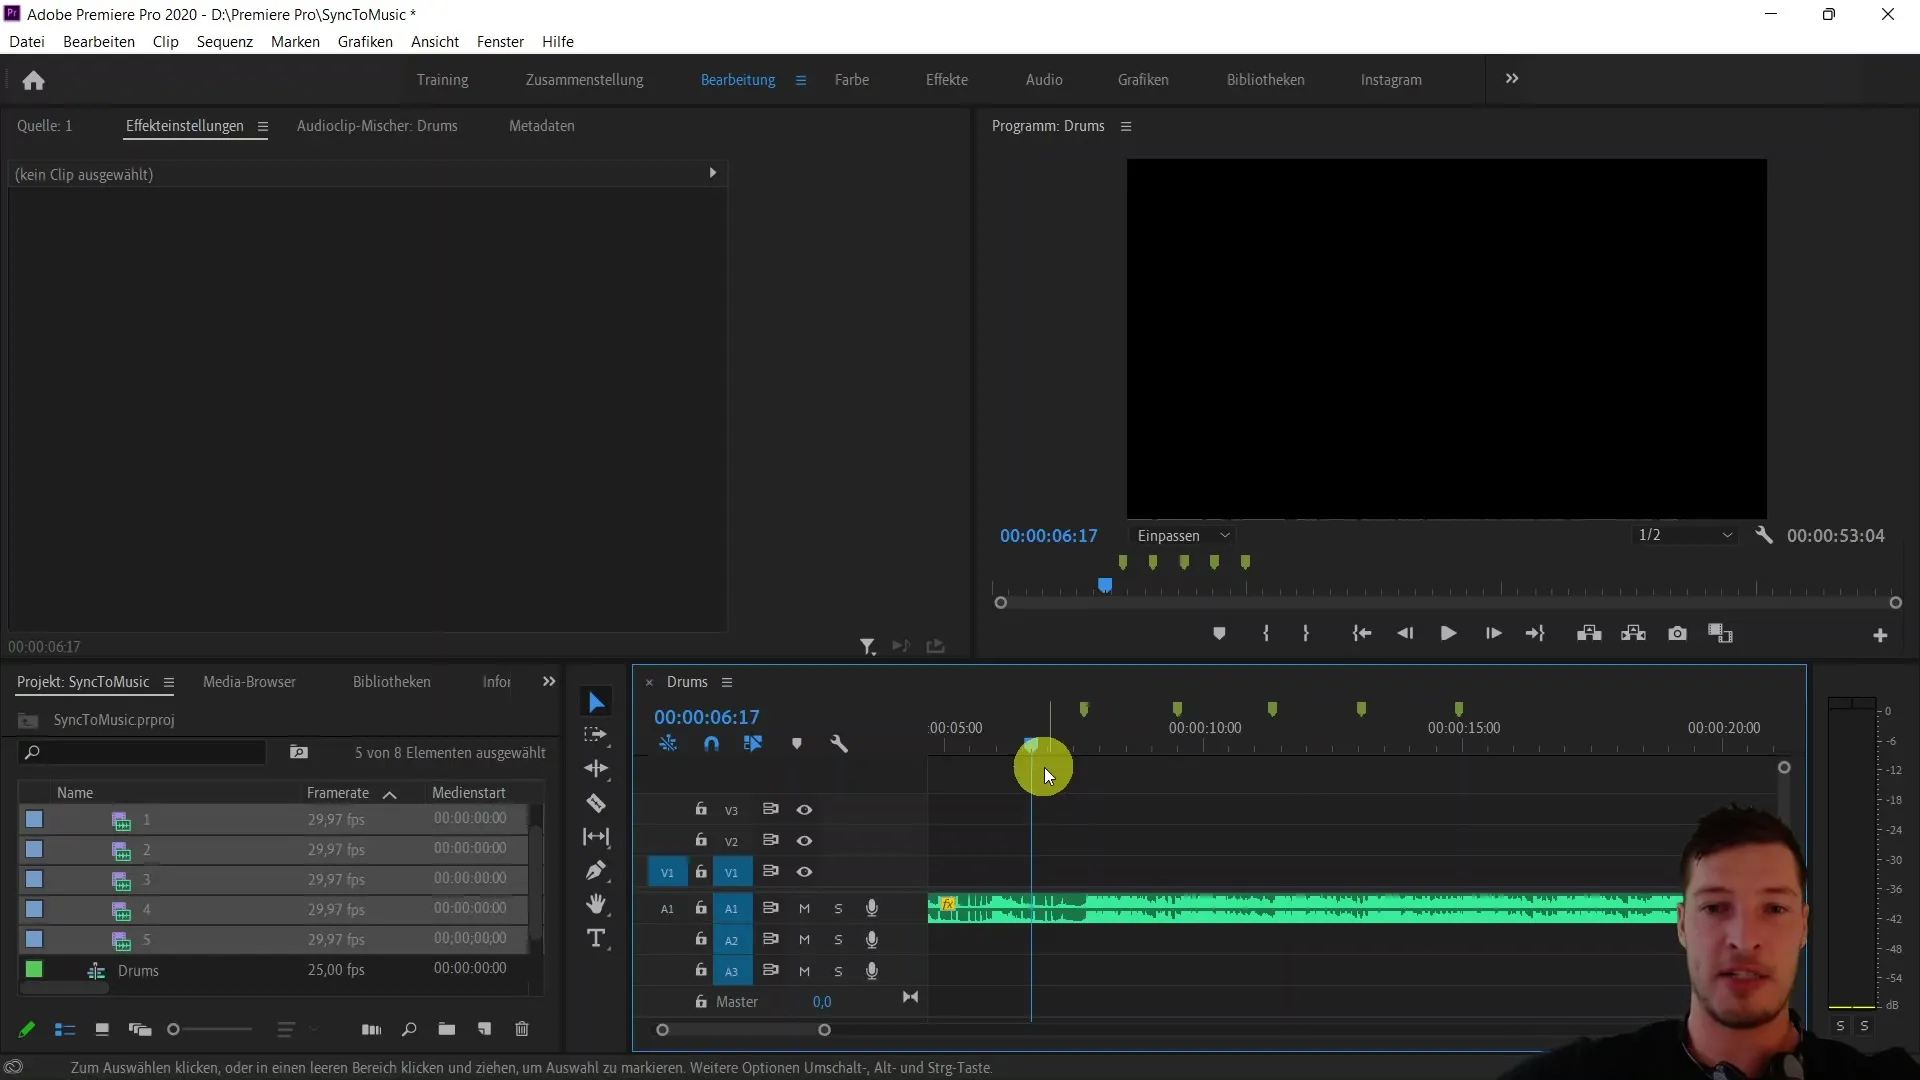
Once the in-points are set, return to the editing tab. Make sure the cursor is positioned before your first marker. Select all the clips you want to add to the sequence and then click on the "Add Selection to Sequence" option. Make sure to arrange them according to the designated names to keep the clips in the correct order.
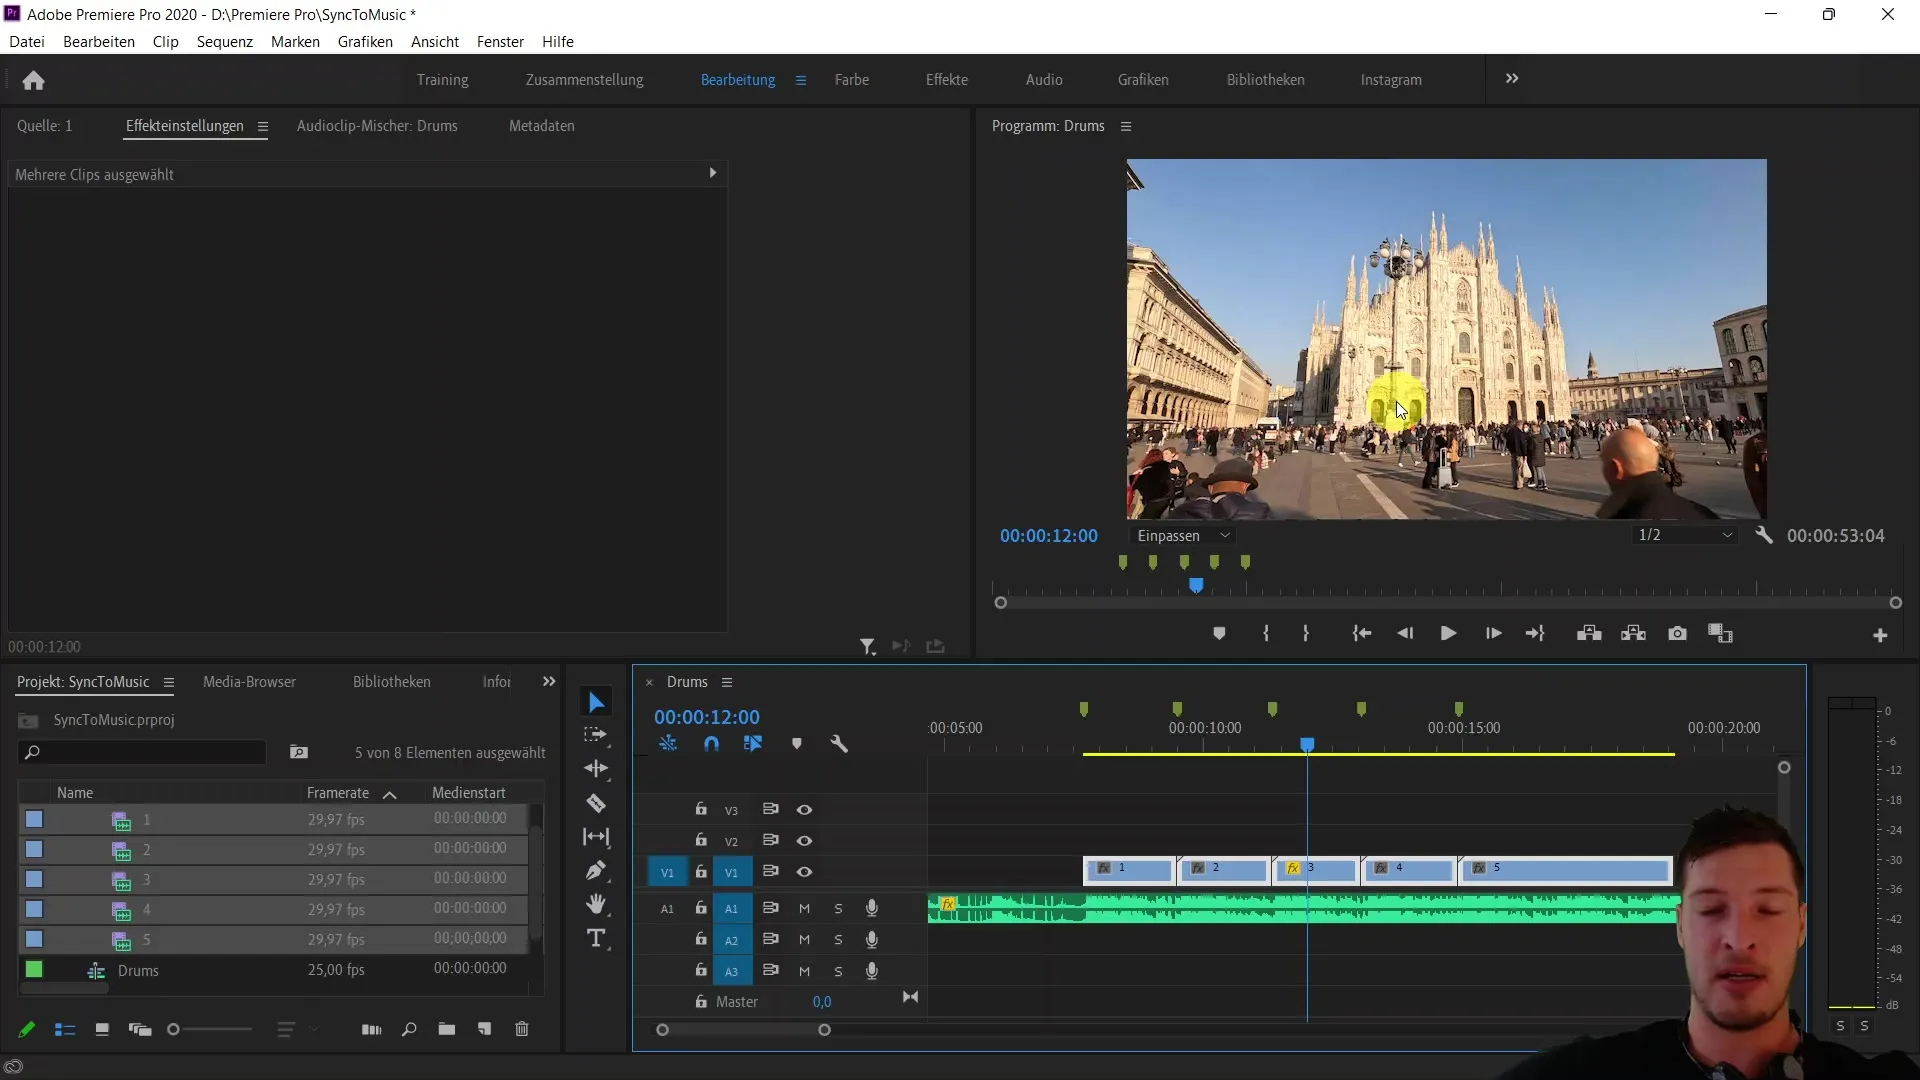
Once you have embedded the clips into the sequence, check if they are correctly aligned with the set markers and if the in-points have been considered. You'll often want to ensure that 4K clips are correctly scaled. Right-click on the clips to adjust the frame size to prevent images from being over-zoomed.
Now it's time to view the finished result. Play the entire clip and make sure that everything is dynamically synchronized to the music. You will quickly see how fast-sync editing ensures that the clips change precisely to the beat, making your video more lively and engaging as a result.
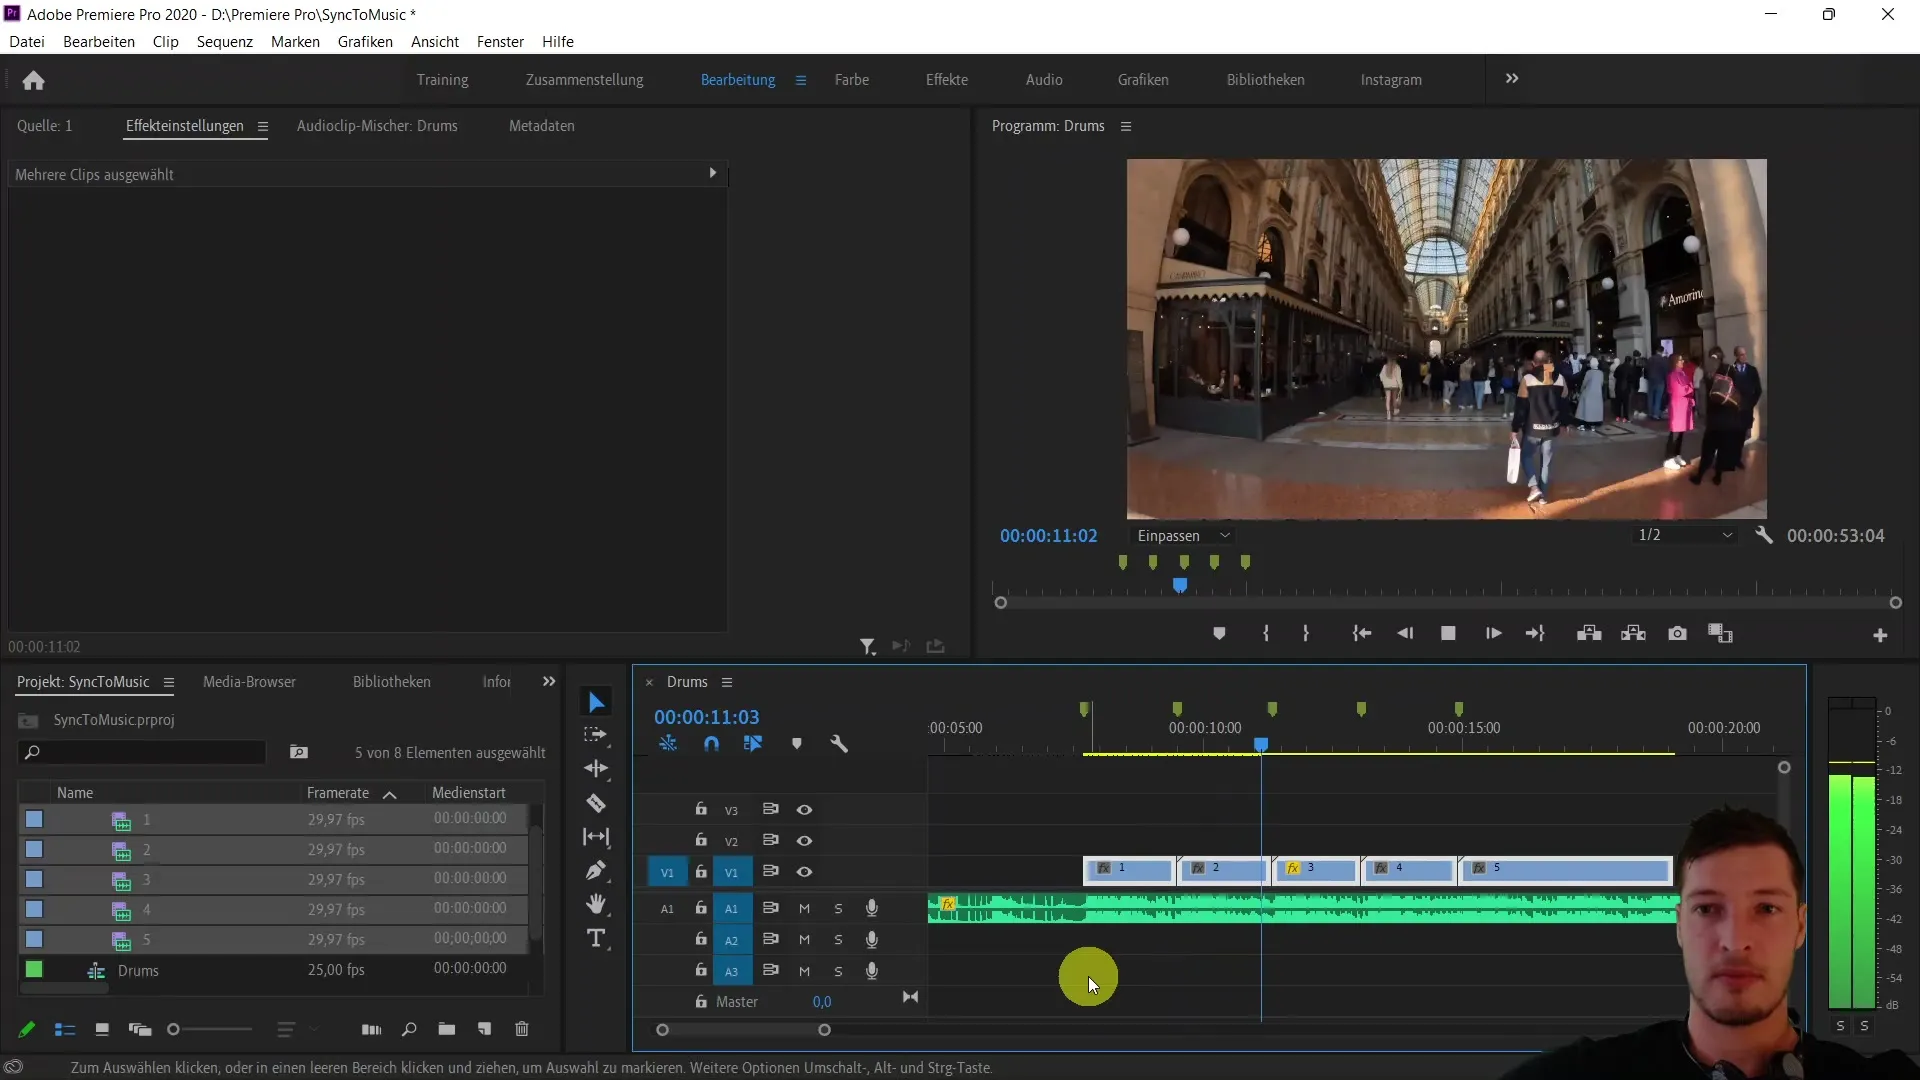
At the end of this short lesson, you will have synchronized the individual video clips to the music within a few seconds. You have learned to switch perfectly between the clips depending on the markers and the in-points.
Summary
In this tutorial, you have learned how to efficiently synchronize video clips to a music track using Adobe Premiere Pro CC. With the help of markers and a structured approach, you will achieve impressive results in less time.
Frequently Asked Questions
How do I set markers in Adobe Premiere Pro?You can set markers by using the shortcut "M" while playing the audio track.
What volume should I set for my audio file?It is recommended to reduce the volume to about -10 decibels to ensure pleasant audio quality.
How do I determine the order of my video clips?You can determine the order by renaming the clips according to their names, for example, "Clip 1", "Clip 2", etc.
What should I do if my 4K clips zoom in too closely?By right-clicking on the clips, you can adjust the frame size and ensure that the view is correct.
How do I add my clips to the sequence?Select all your clips, place the cursor before the marker, and click on the option "Add Selection to Sequence".


