In video production, it often happens that footage is shaky due to unstable camera movements. These shaky shots can be stabilized using appropriate tools and effects. In this tutorial, I will show you how to use the built-in stabilization tool of Adobe Premiere Pro CC to improve even the shakiest drone video. I will guide you step by step on how to handle shaky footage, use the image stabilization, and provide some additional tips on applying the effects.
Key Takeaways
- Shaky video footage can be effectively stabilized using the "warp stabilizer" effect in Adobe Premiere Pro CC.
- Stabilization usually requires a zoom factor to make the image clean and fluid.
- There are various adjustment options available in the Effects panel that can be customized to achieve the desired result.
Step-by-Step Guide
Starting with importing the shaky footage, we begin with applying the stabilization effect.
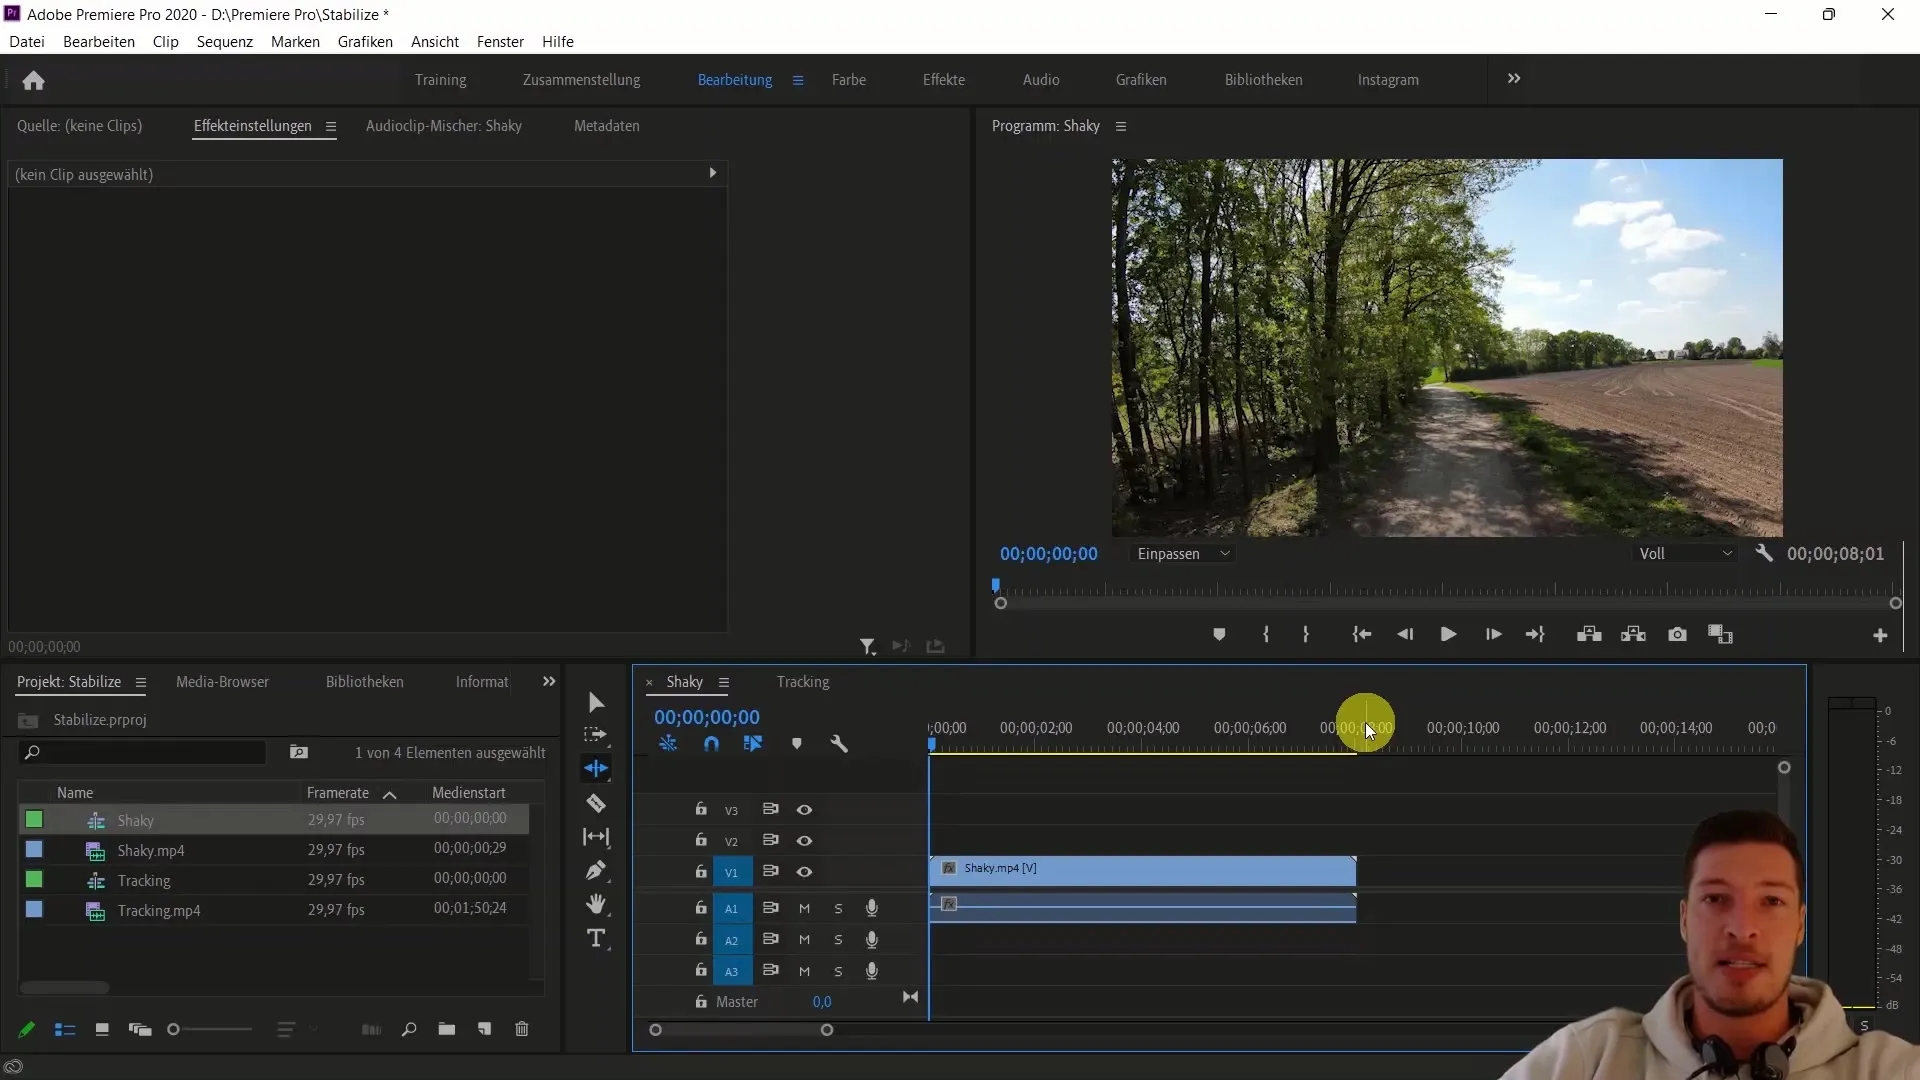
First, open your project and import the shaky video into the media library. In this case, we are using a video recording named shaky.mp4, which is already included in the course materials.
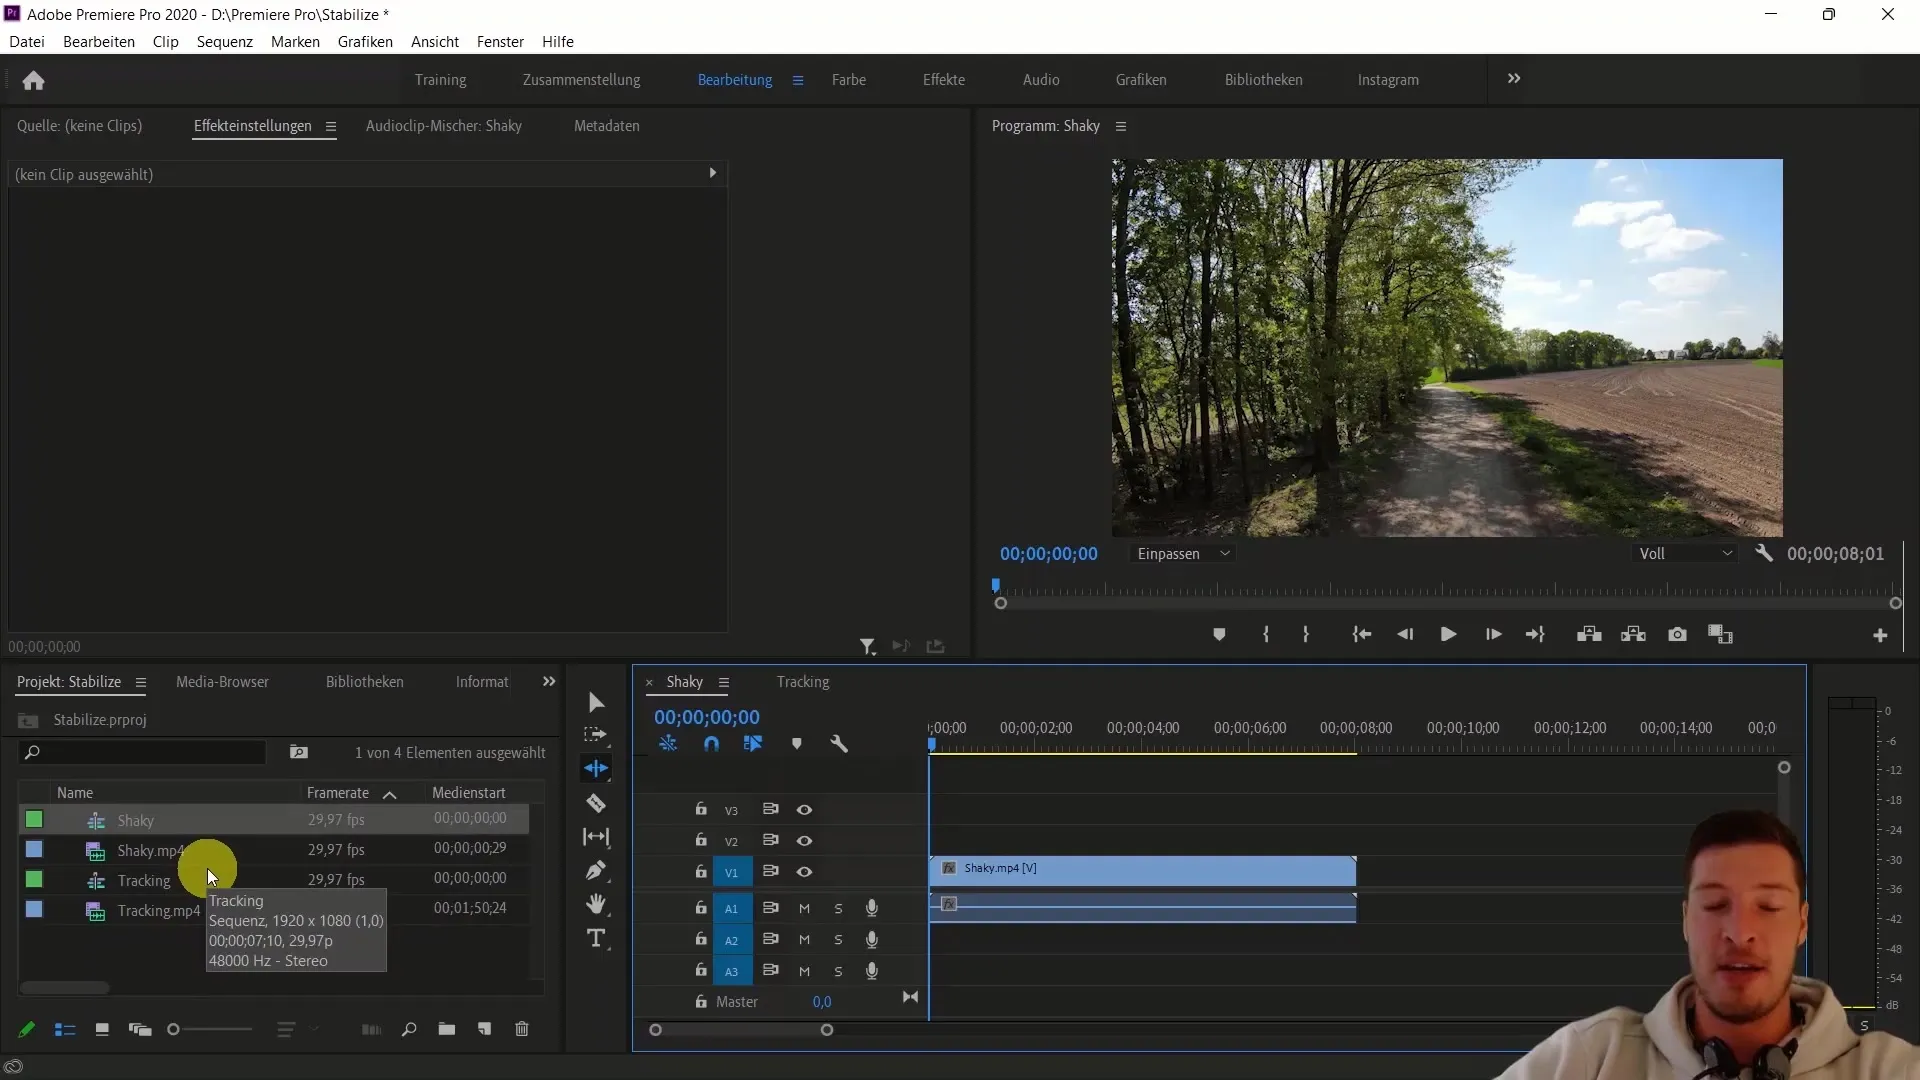
Once your video is imported, drag it into the timeline to prepare it for the application of the effect. Make sure to also have your Effects view open. You usually find it at the bottom left of the screen.
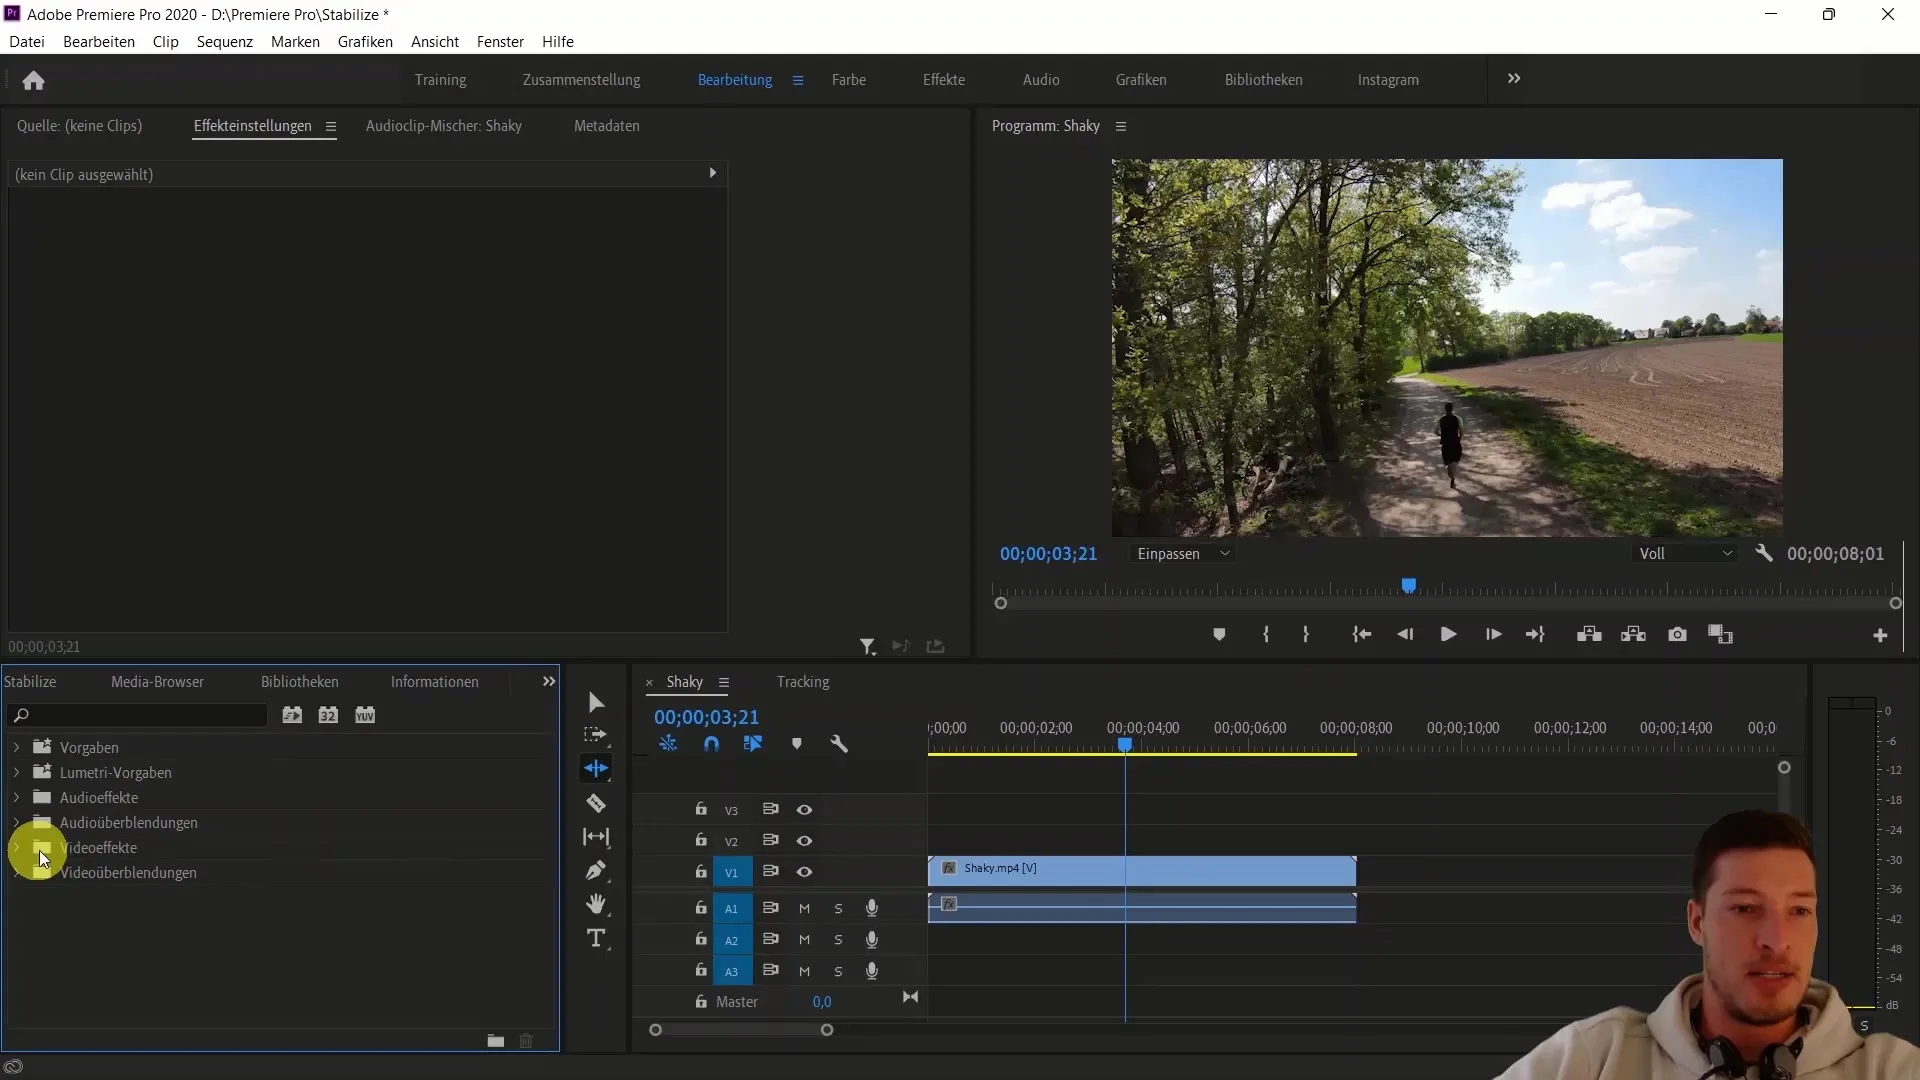
Now navigate to the Effects view and search for the "warp stabilizer" effect. You can find this under Video Effects in the "Distortion" category. Once you find it, drag the effect onto your shaky video in the timeline.
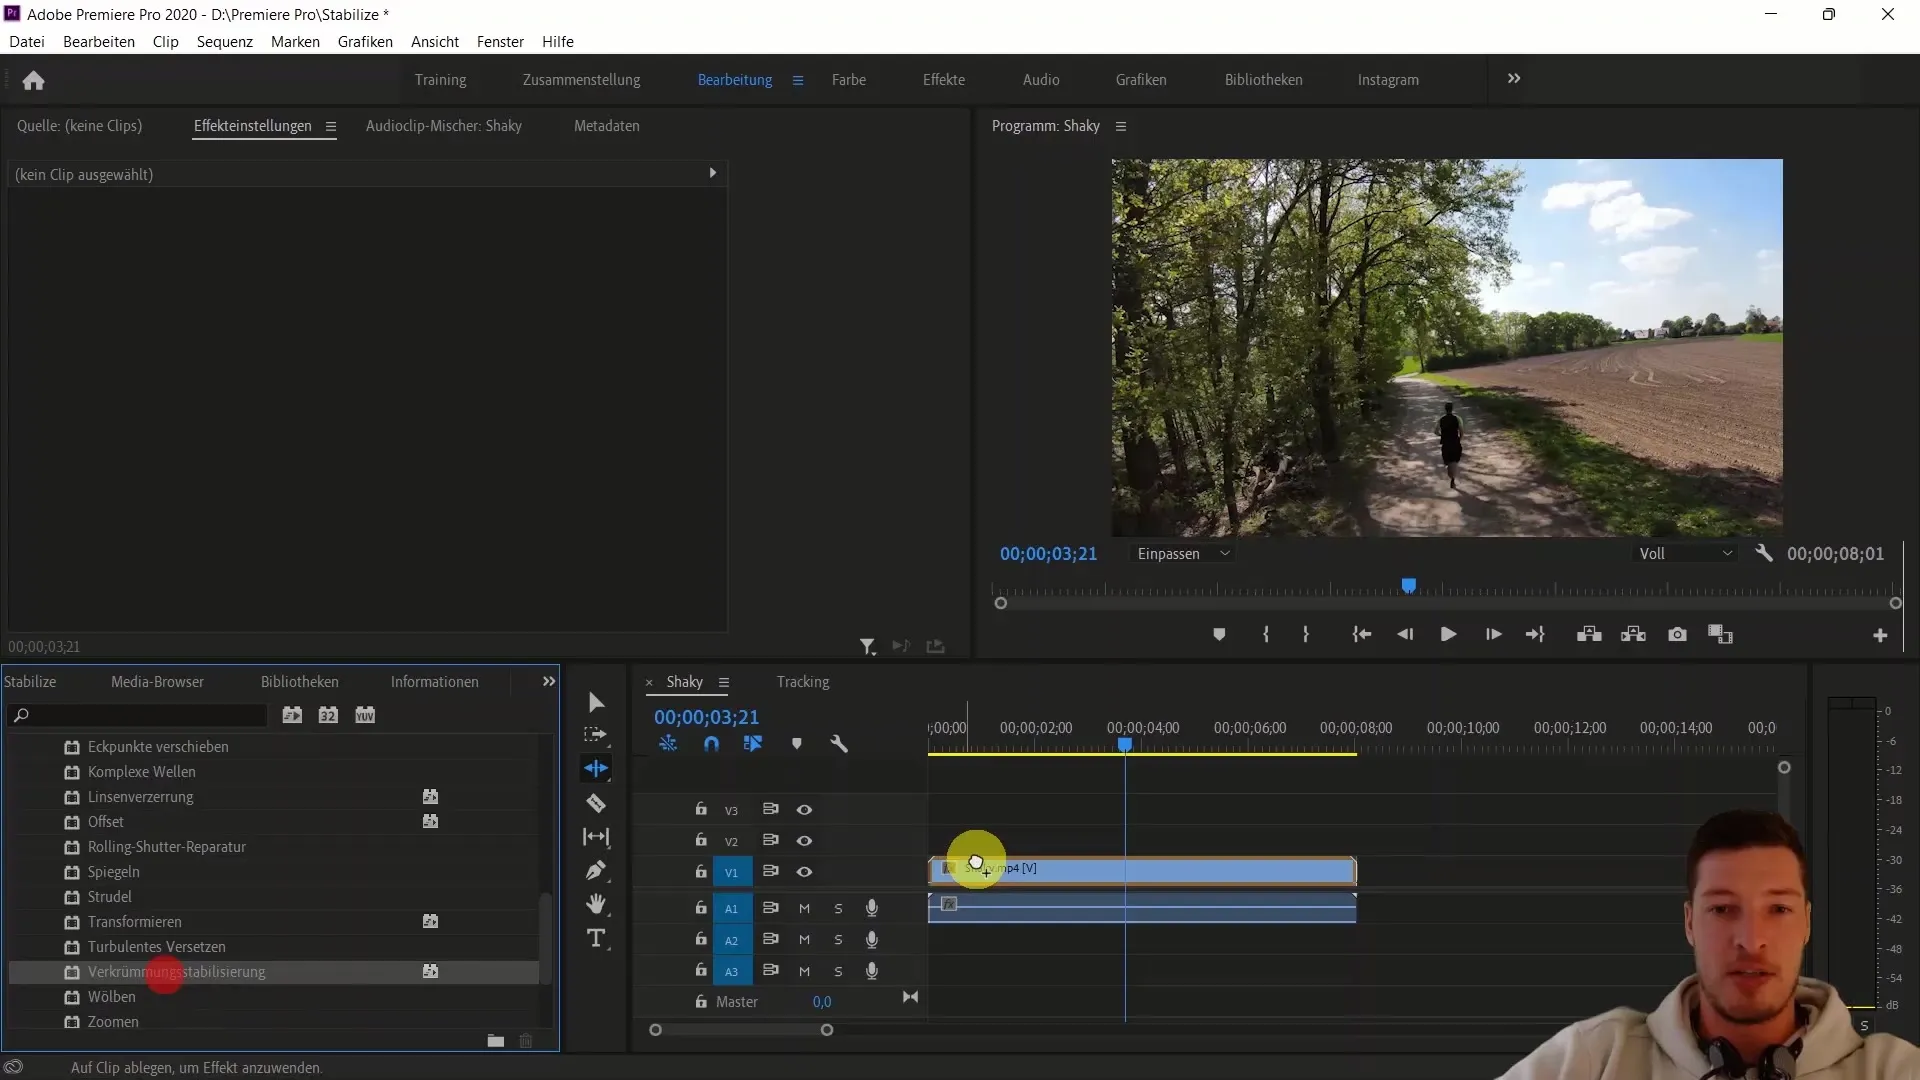
After adding the effect, Premiere Pro will automatically start analyzing your video. This process consists of two steps: first, the image is analyzed, and then the frame-by-frame stabilization takes place. You will see in the progress window how many frames are left to be analyzed.
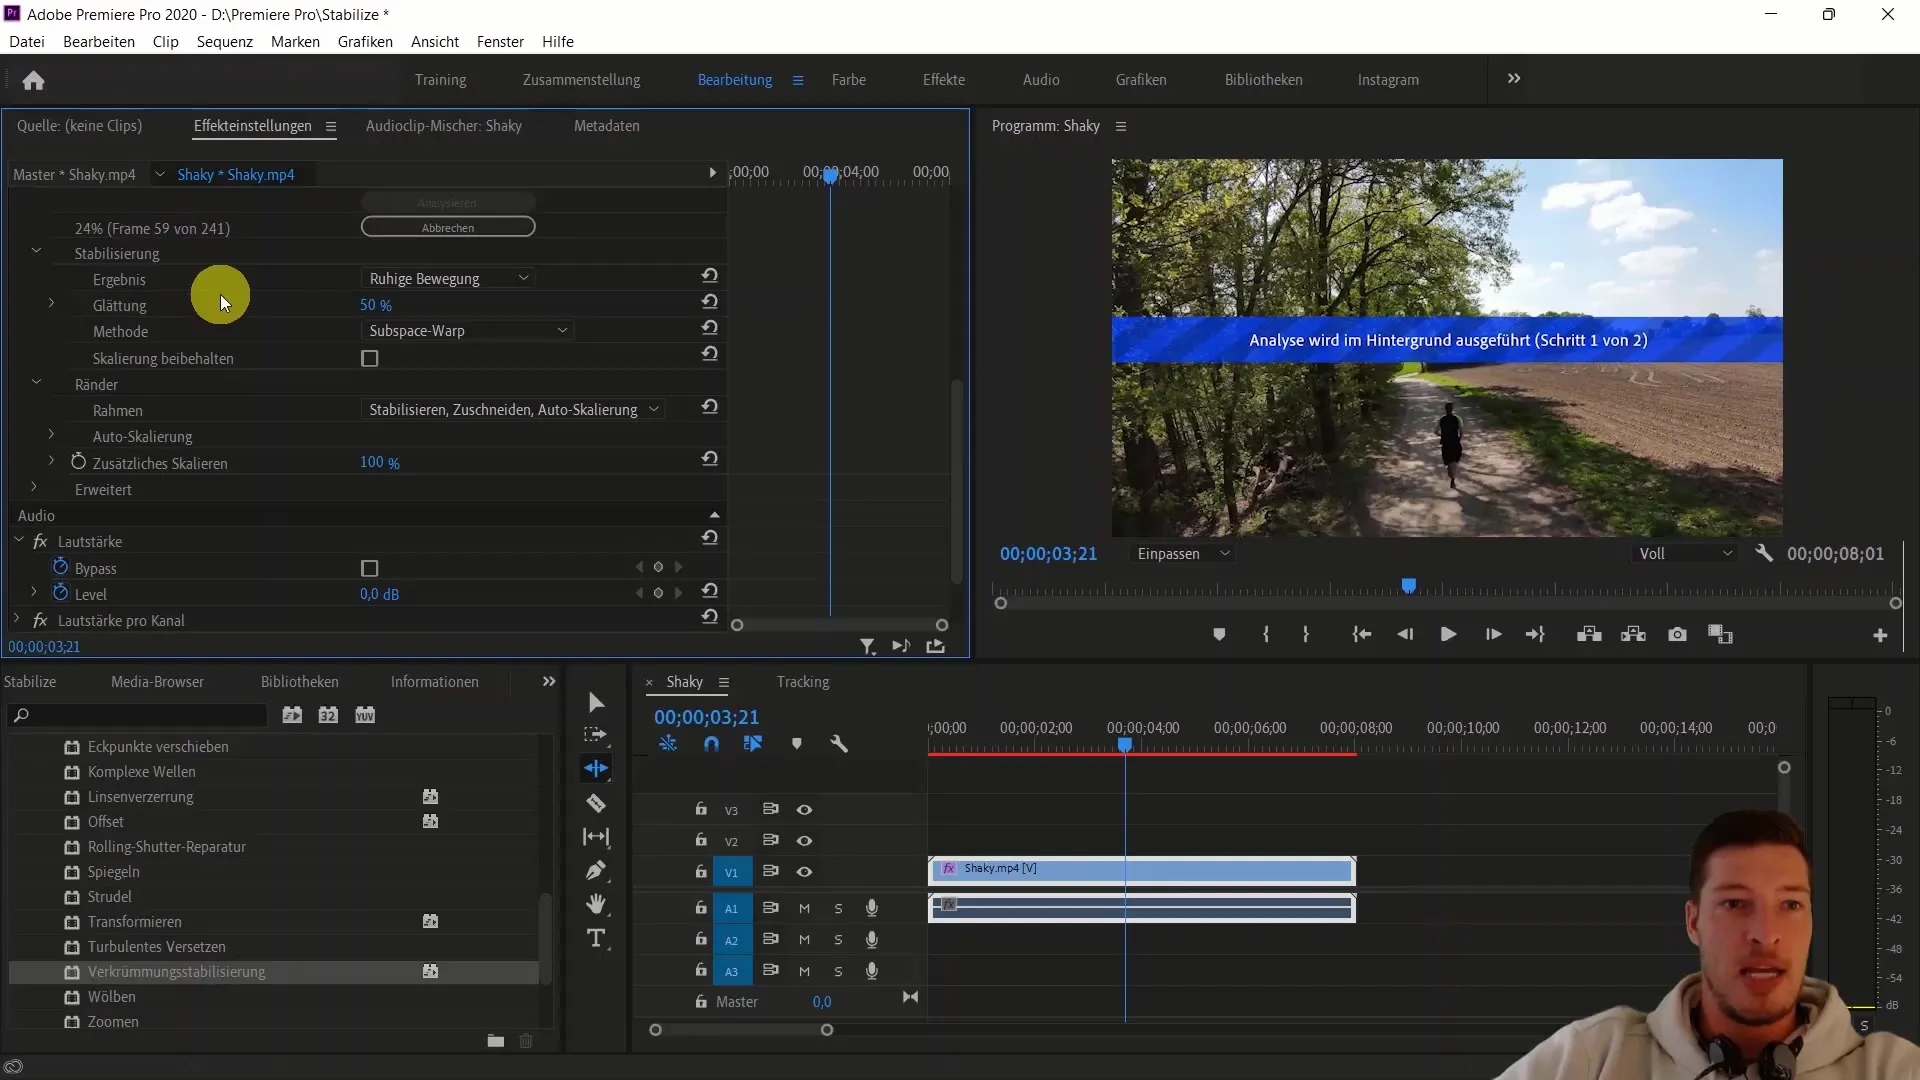
The analysis may take some time, especially with longer videos. It is important to be patient while Premiere Pro is working. Your video is divided into multiple frames for stabilization, allowing for precise editing.
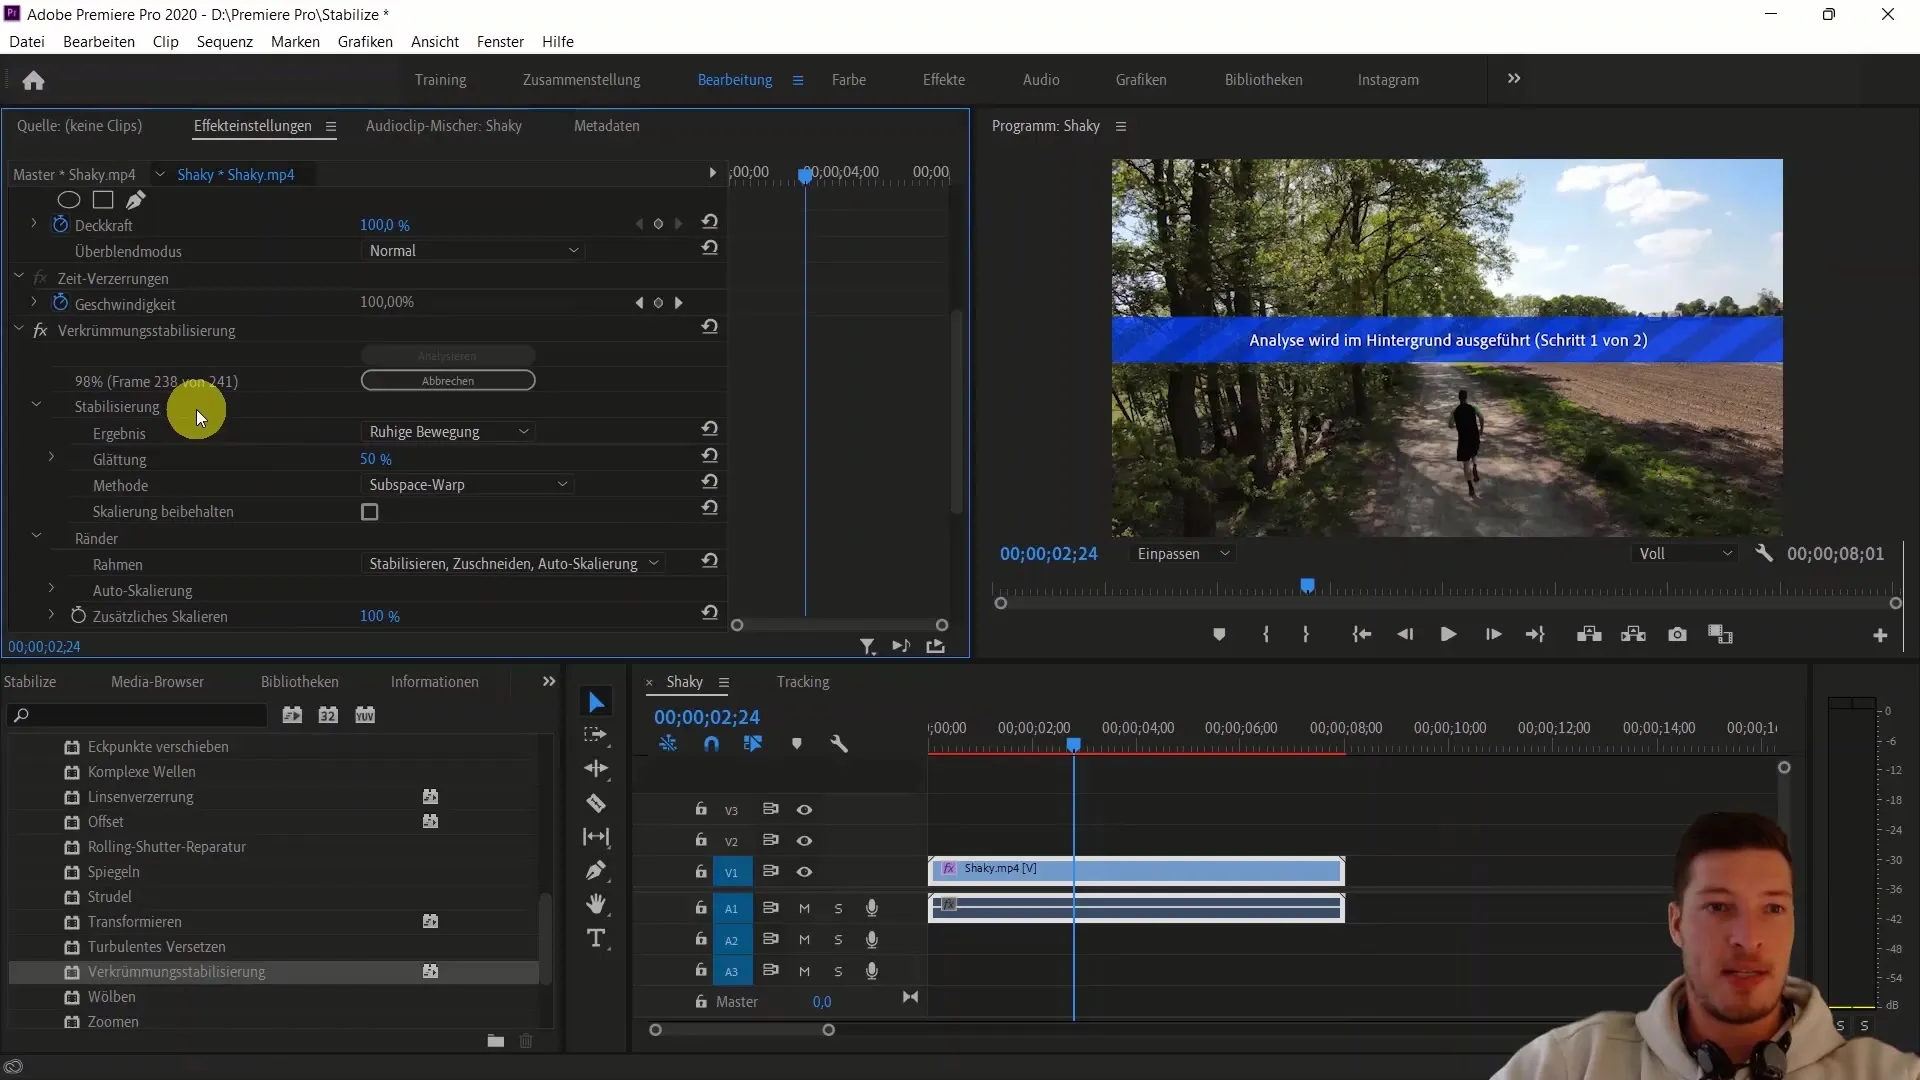
Once the analysis is complete, Premiere Pro will proceed with stabilizing the images. This also happens automatically, and you can view the result once the editing is done. To see the differences, you can use the preview function.
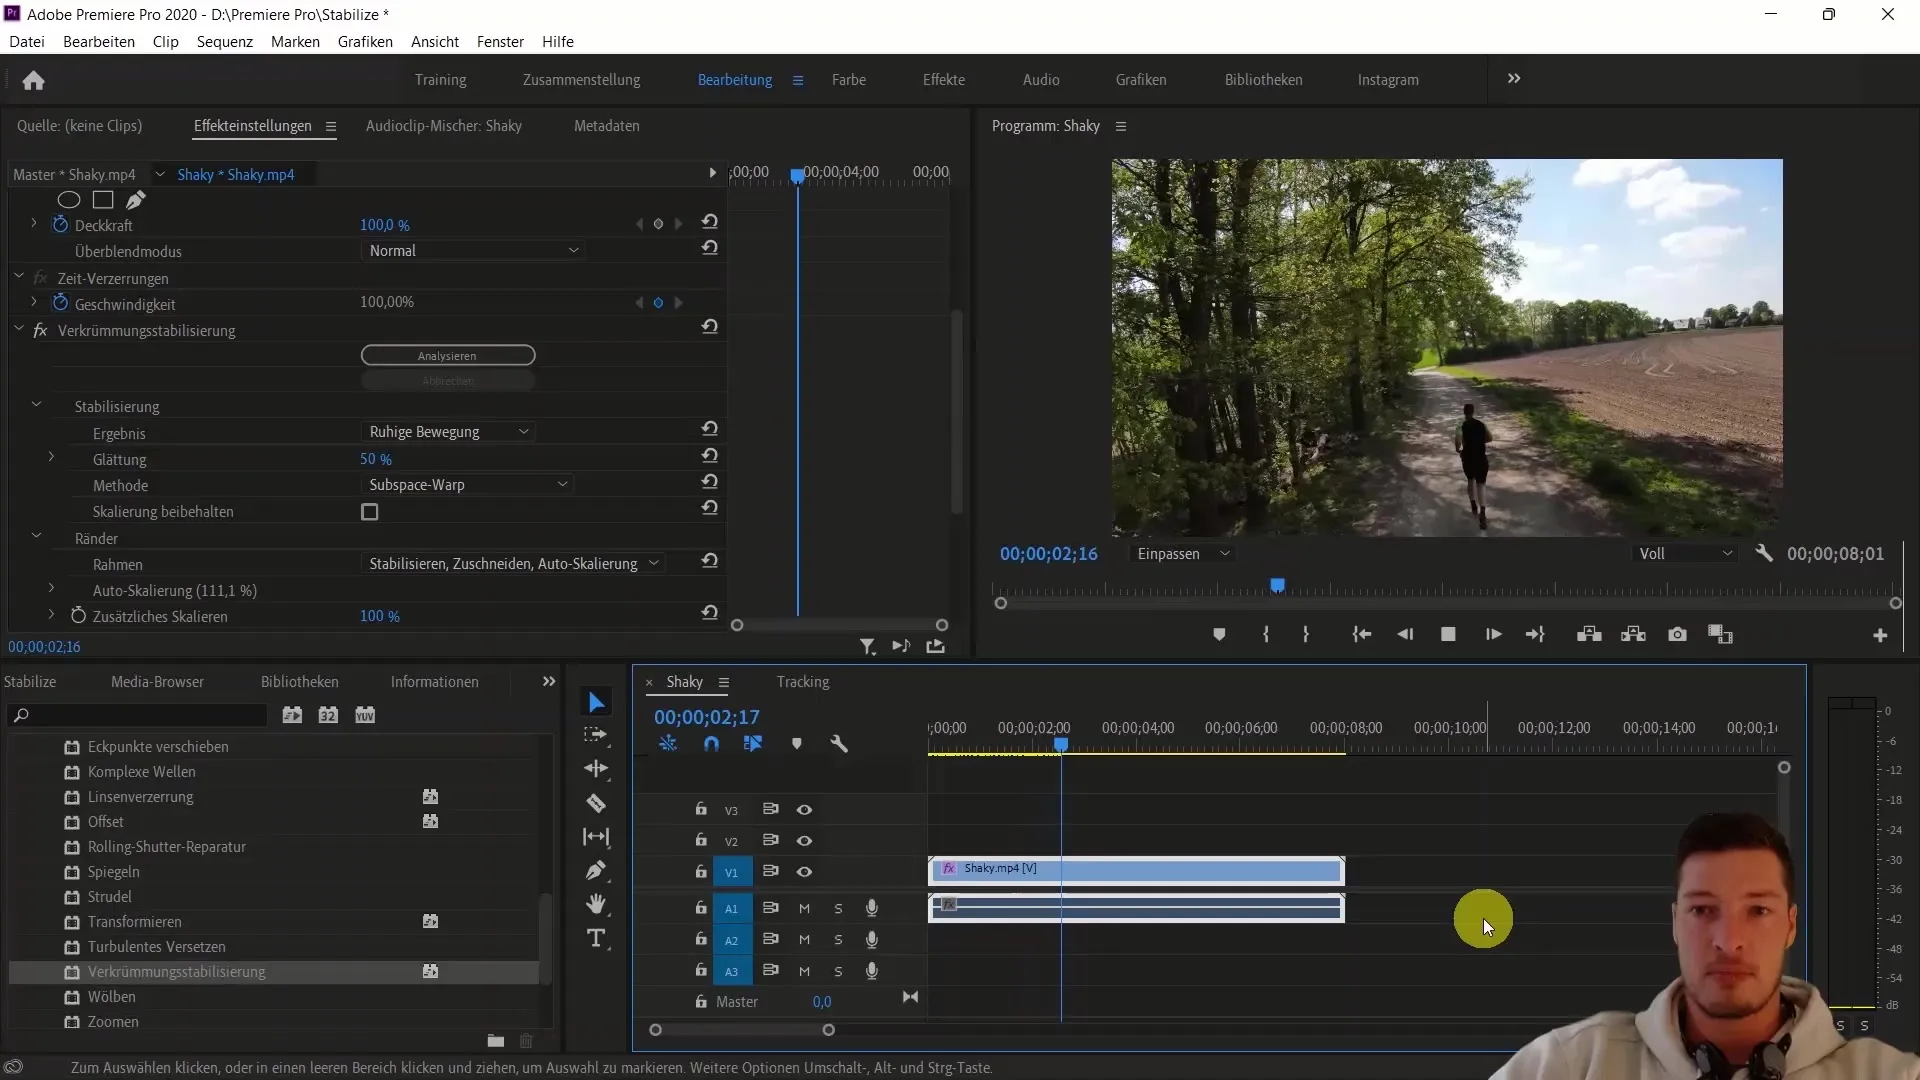
At this point, it's always useful to do a before-and-after comparison. Create a copy of your video track by pressing Ctrl+C and then Ctrl+V. Then disable the stabilization effect by clicking on the FX button.
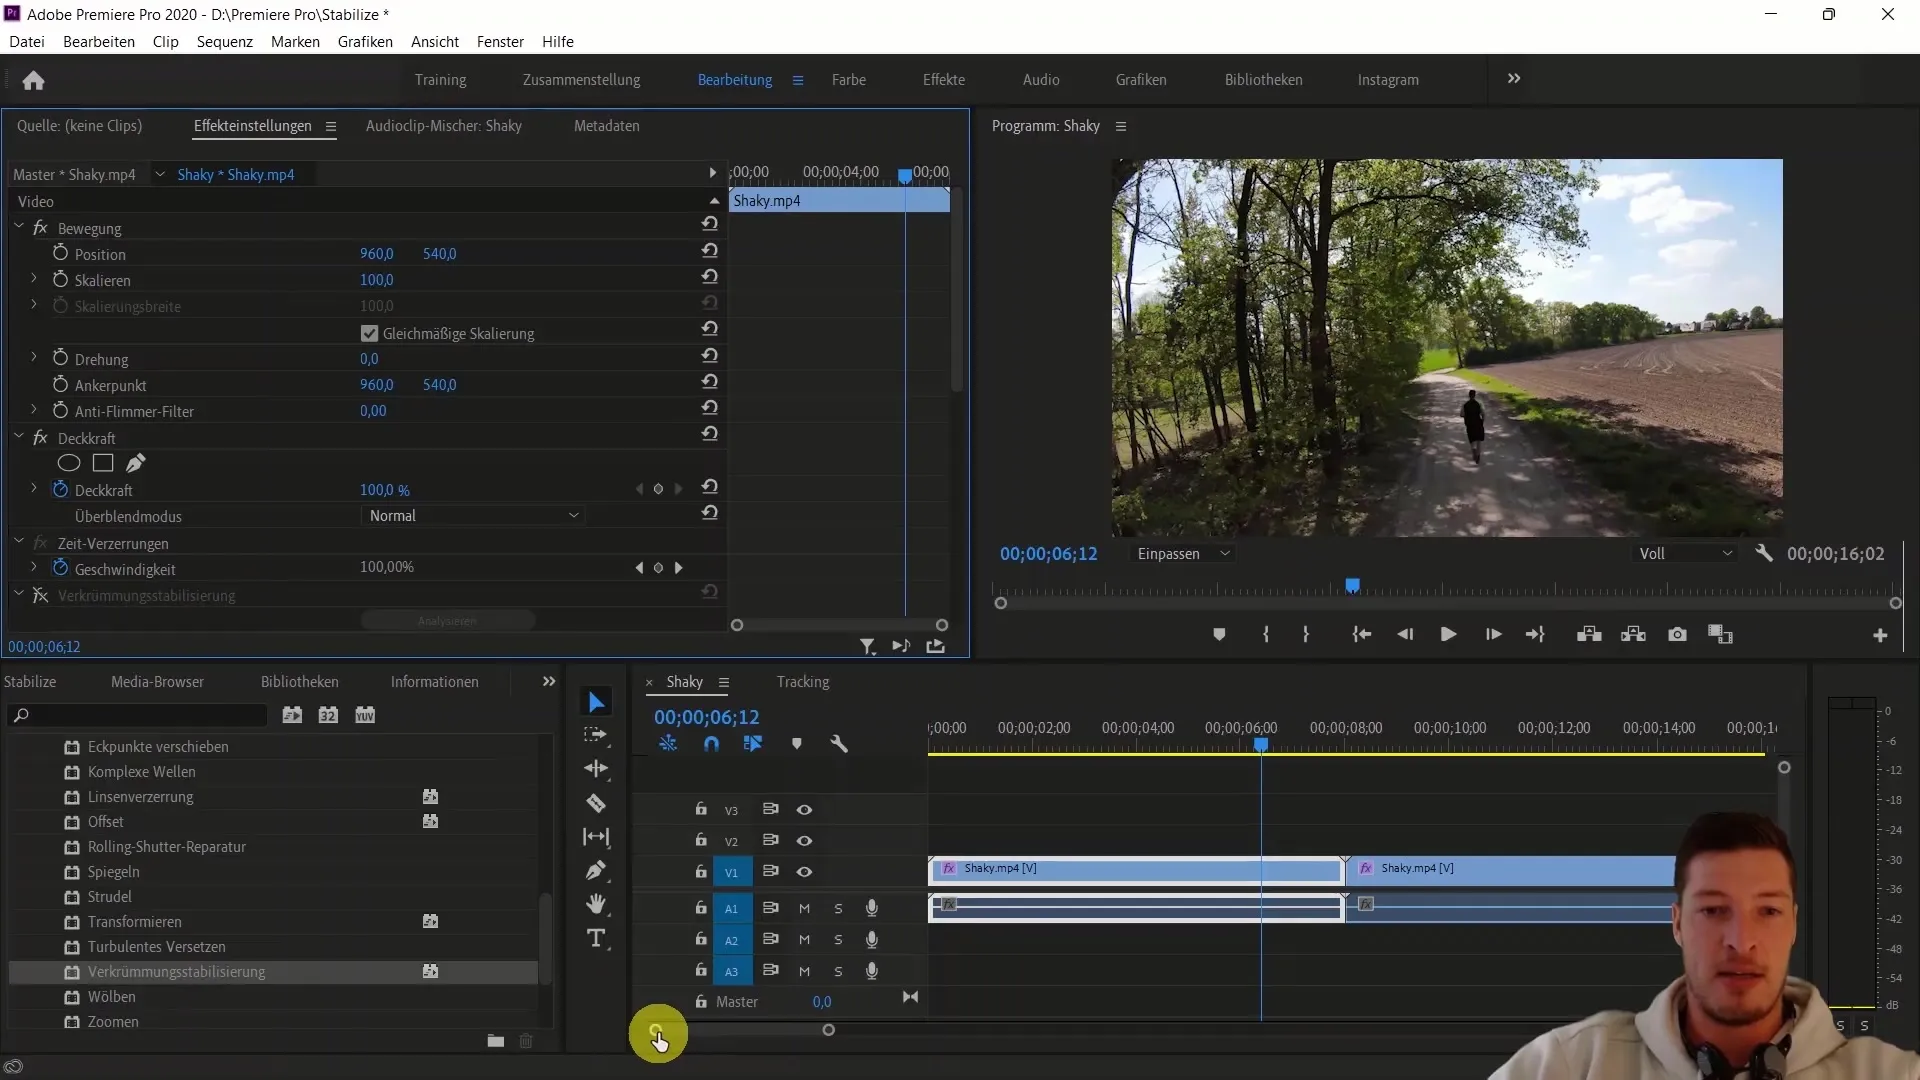
Now you can play both versions of your video one after the other. First the original video, followed by the stabilized video. You will surely notice a significant difference in the stability of the shots.
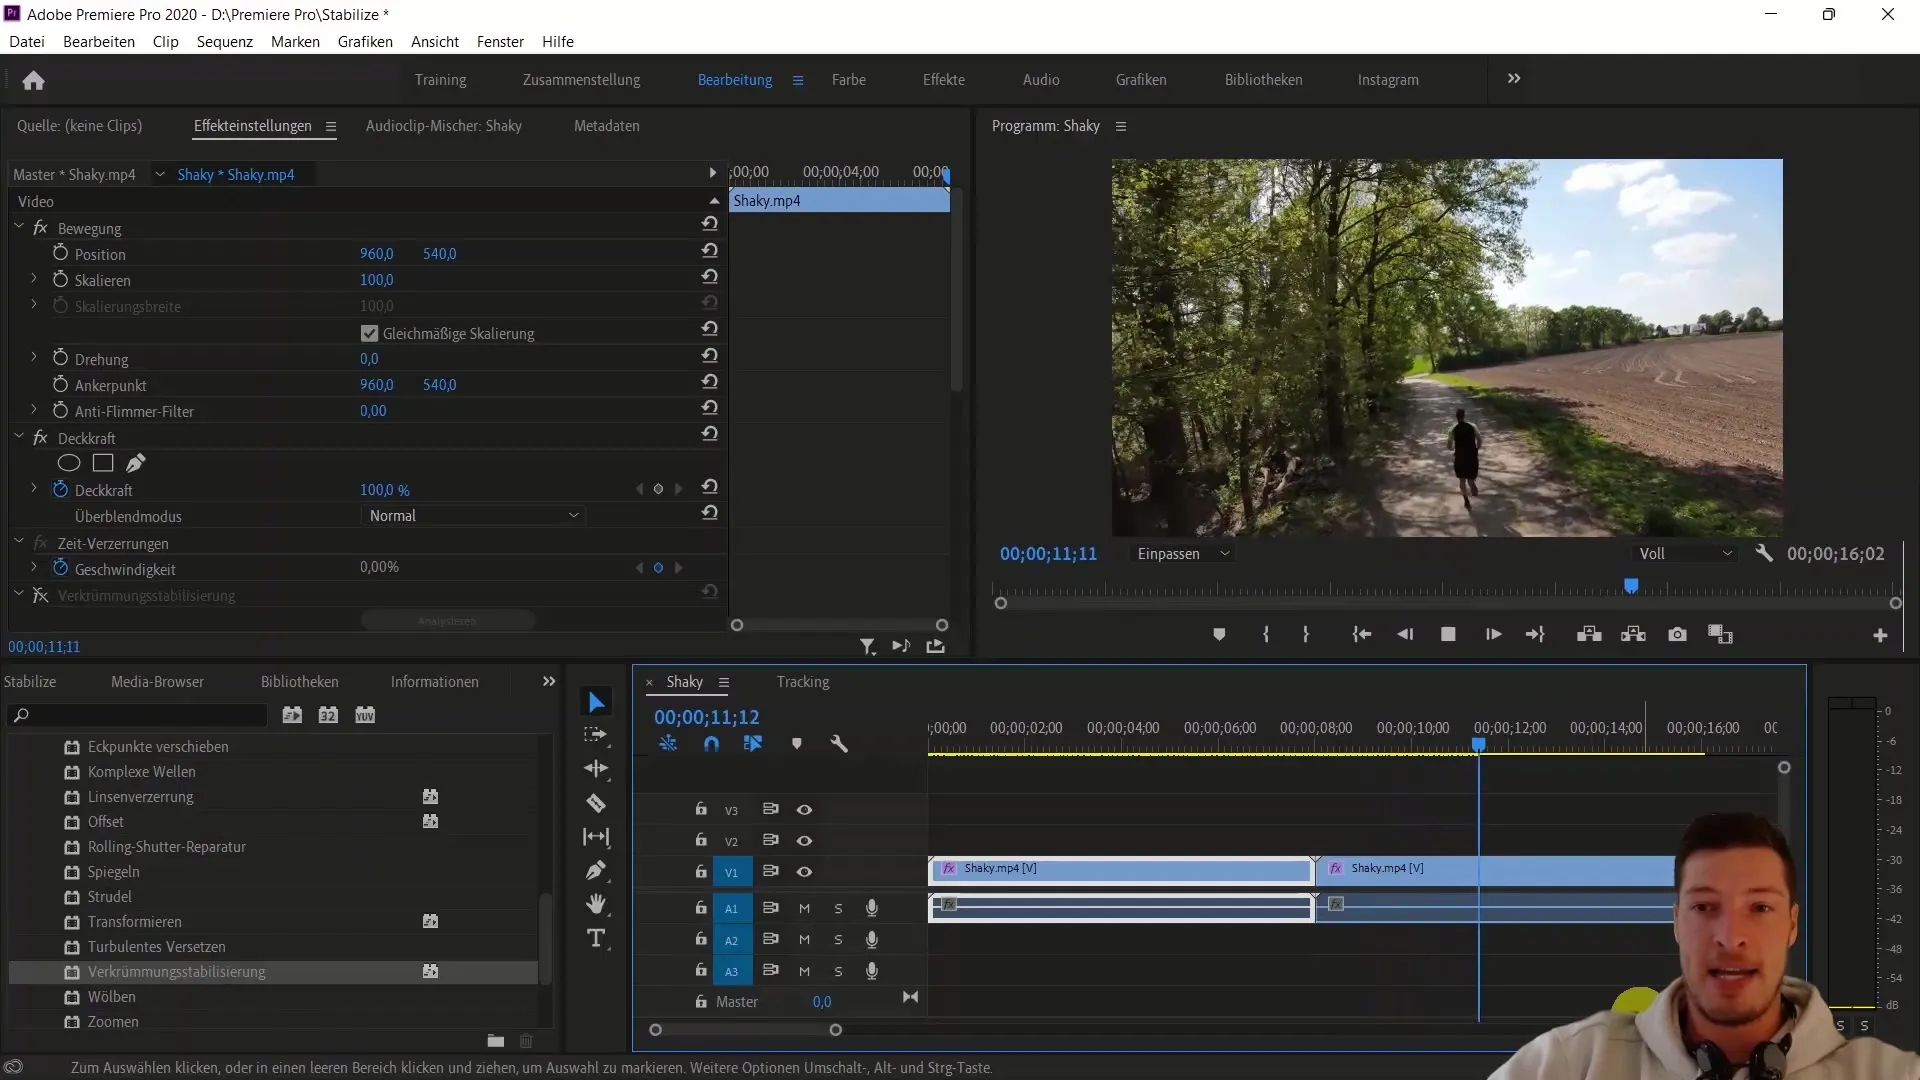
The results are usually impressive and demonstrate how effective Premiere Pro's stabilization tool can be. However, in most cases, you may need to sacrifice some image material at the edges for stabilization, meaning that the outer areas of your video may be cropped.
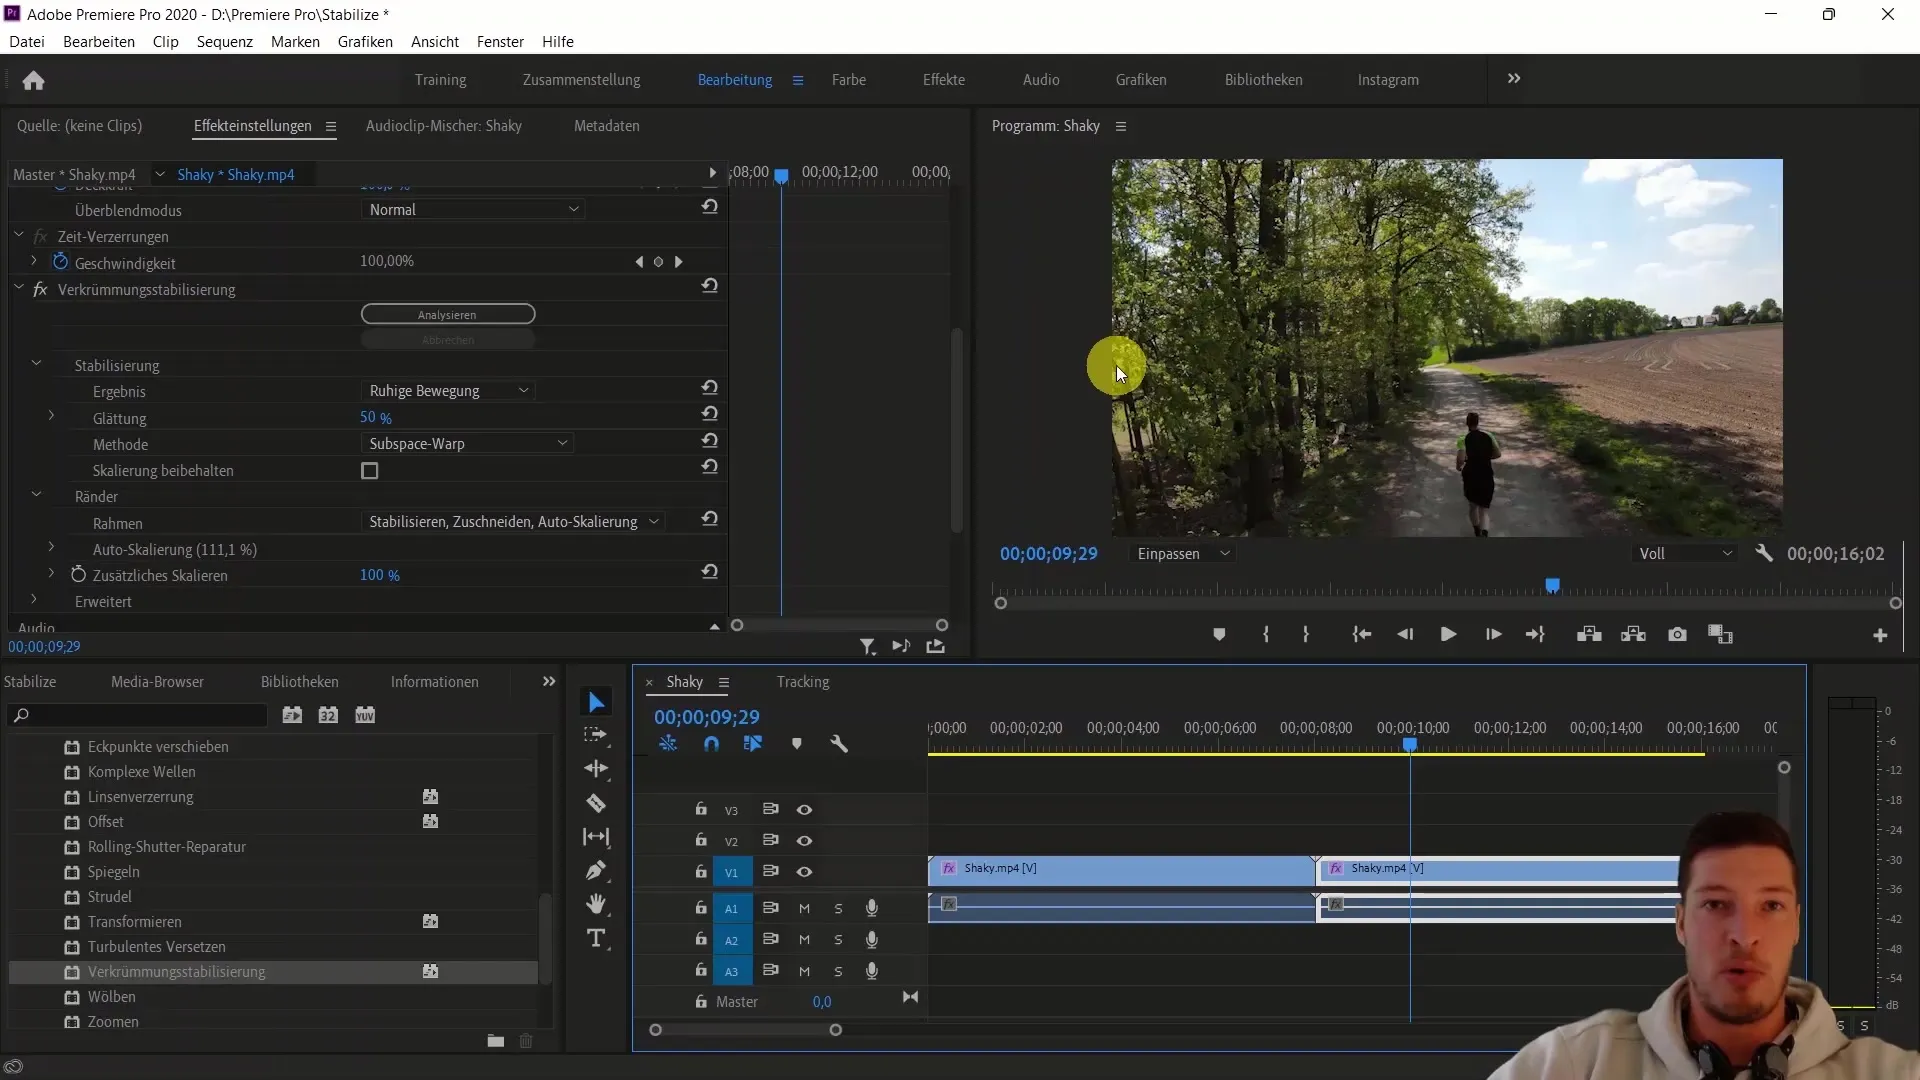
There are also some adjustments that can be made in the effect options. You can choose between different stabilization methods, such as "smooth motion" or "no motion", depending on your desired style. These options allow you to further refine the stabilization.
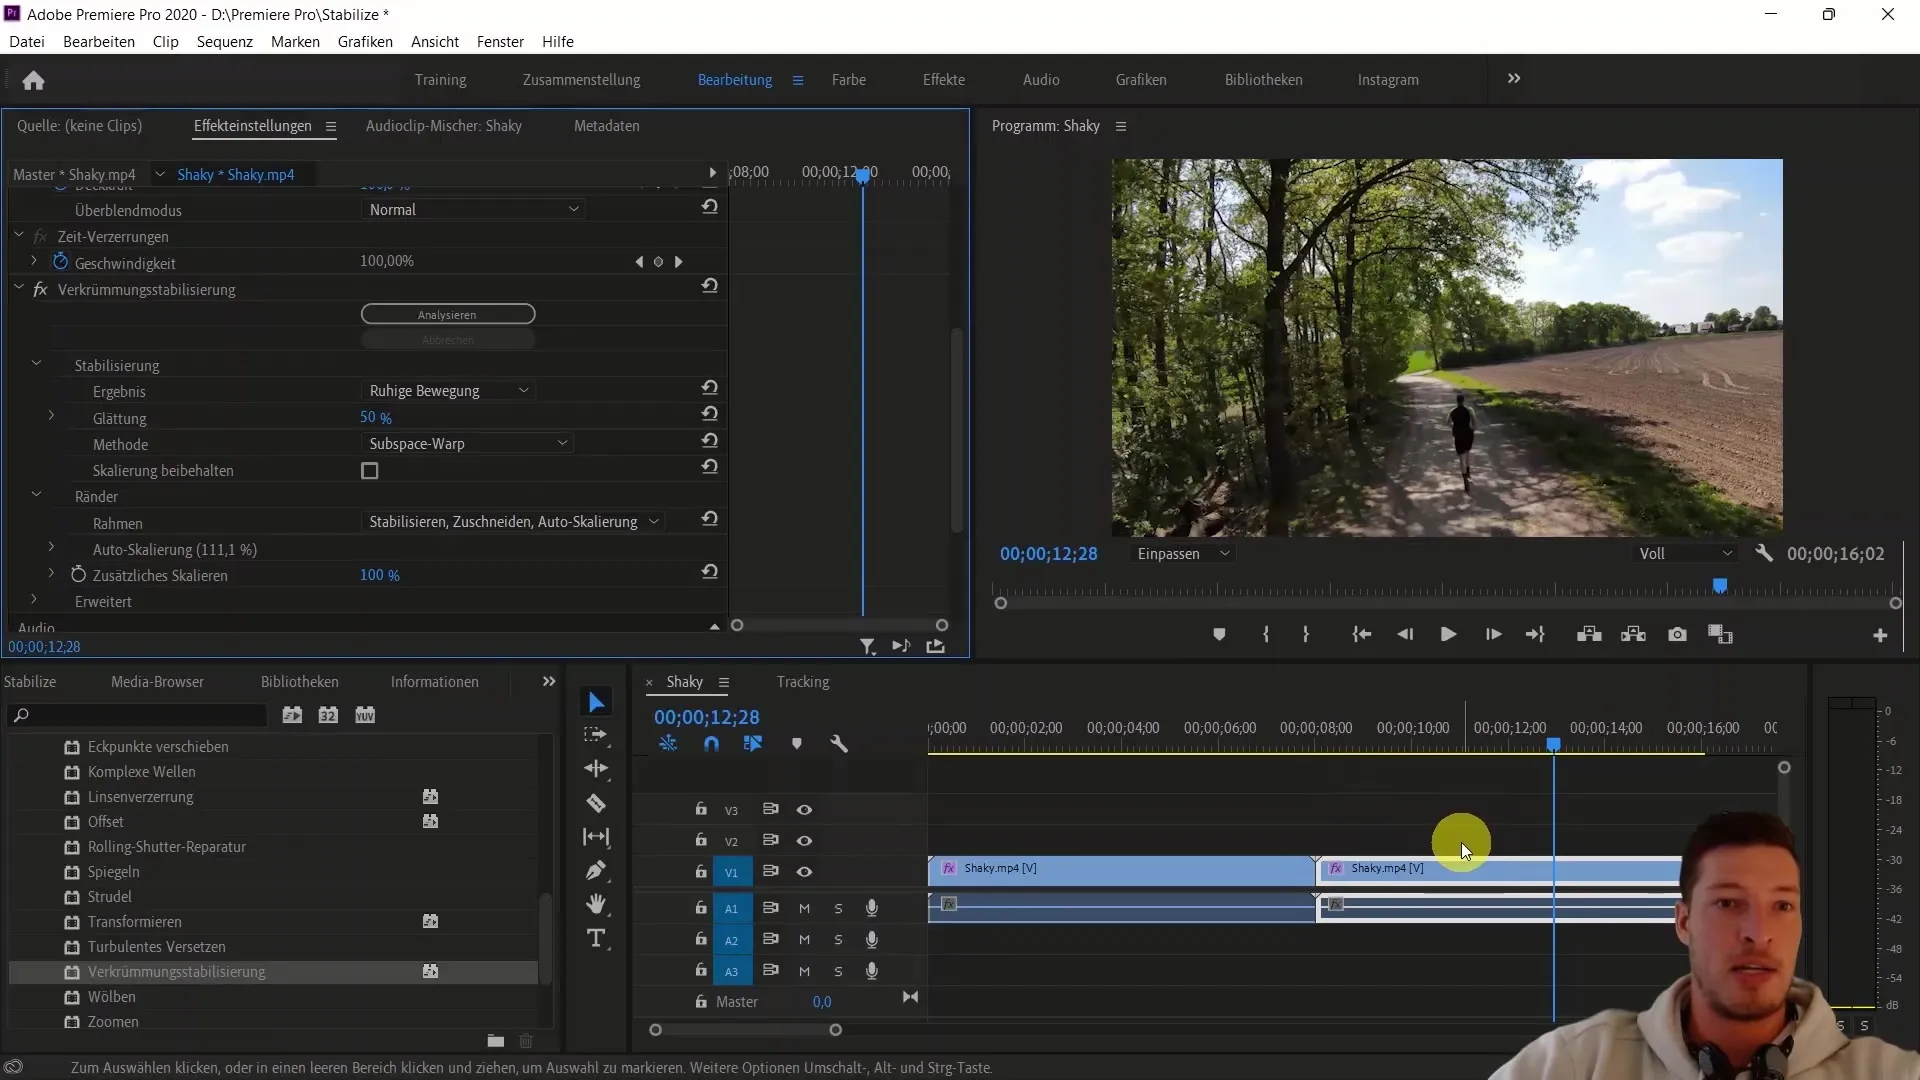
The default settings of the effect already provide excellent results in most cases, so you often don't have to play around with the basic settings much. Keep in mind that every stabilization effect loses some image material, so be aware of this when aiming for the best quality.
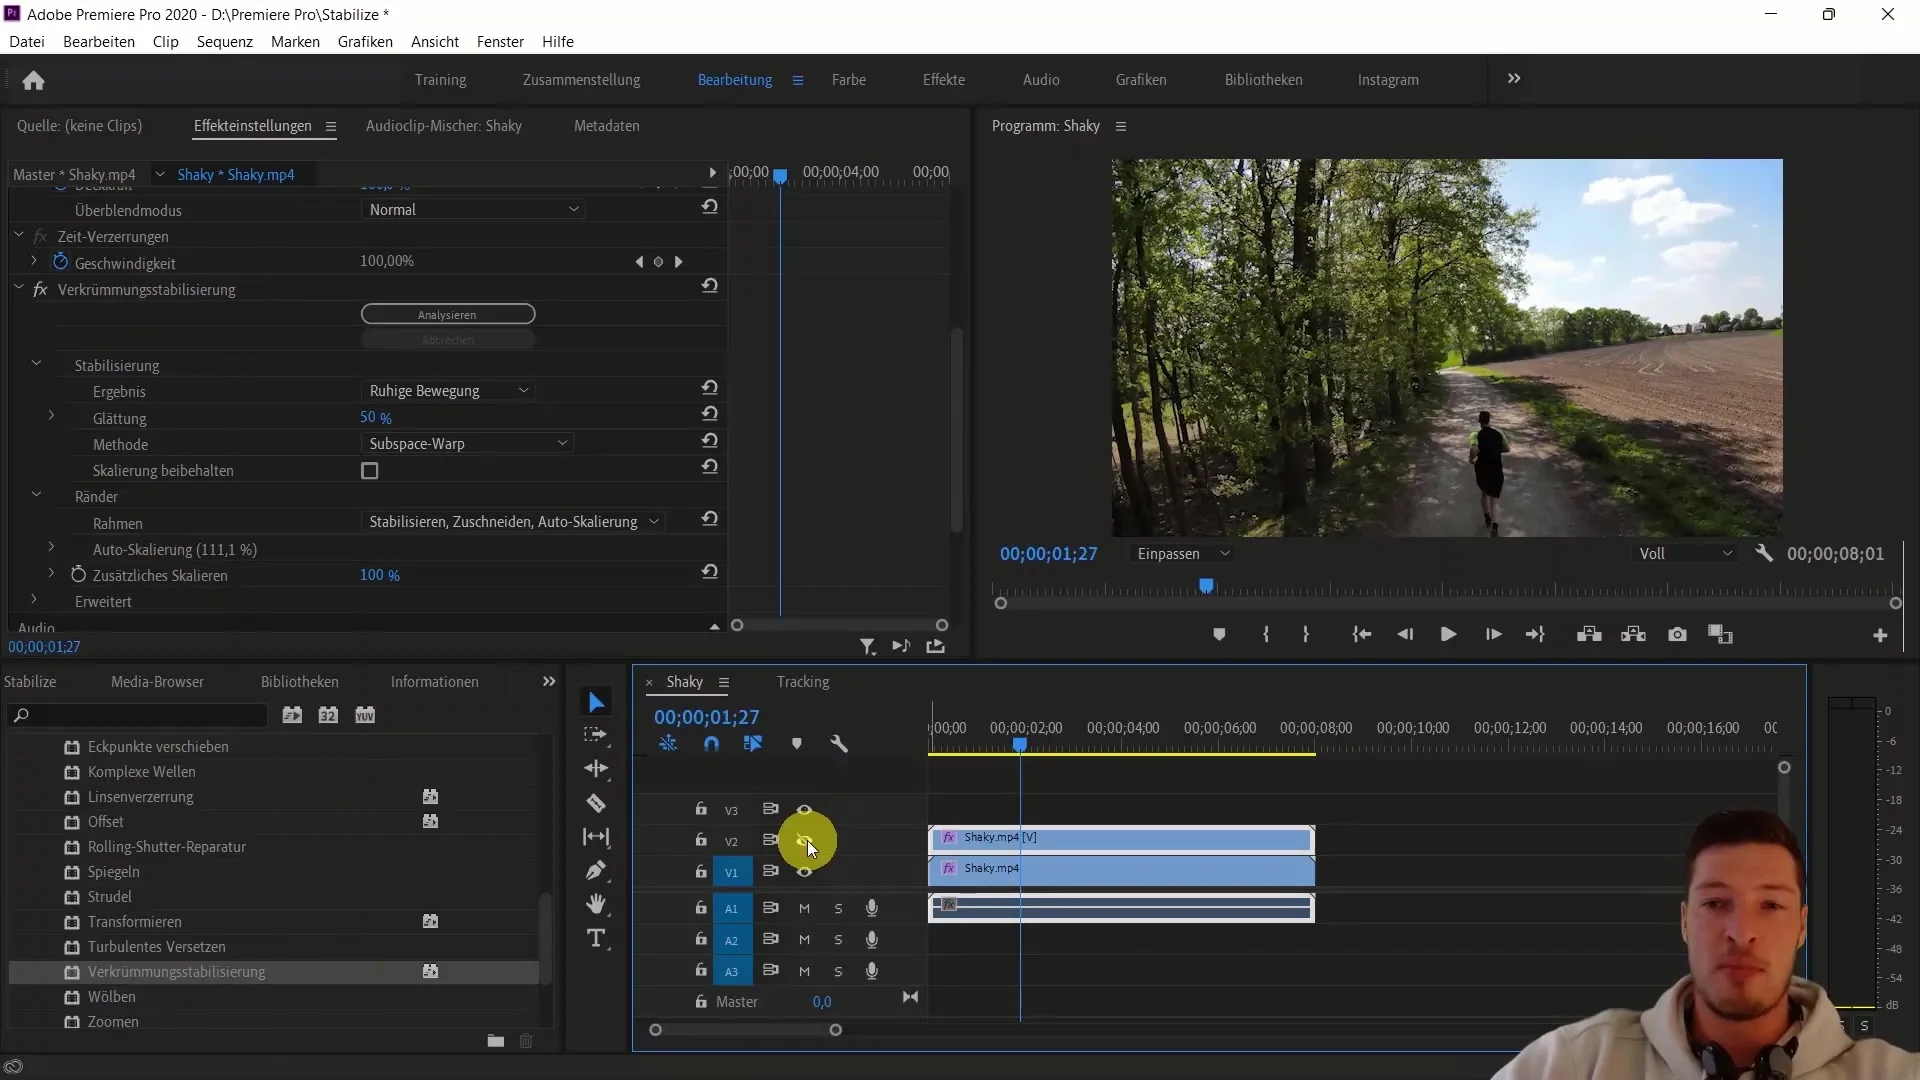
When you overlay the created track on the original video, it becomes clear how much image material we have lost to achieve stabilization. However, this 11% is a small price for such a significant improvement.
Summary
In this tutorial, you have learned how to stabilize downloaded footage in Adobe Premiere Pro CC. You now know how important it is to apply the "Warp Stabilizer" effect and how to incorporate it into your workflow. With the techniques described, you could significantly enhance the quality of your videos. Also, experiment with different settings for better results.
Frequently Asked Questions
What is the Warp Stabilizer in Adobe Premiere Pro?The Warp Stabilizer is an effect used to stabilize shaky video footage and create a smoother recording.
Do I lose image material when using stabilization?Yes, stabilization often cuts off a small area at the corners of the image to smooth out the overall picture.
Can I apply stabilization to other types of videos?Yes, the stabilization effect can be applied to any video showing fluctuating movements.
How long does the stabilization analysis take?The duration of the analysis depends on the length and complexity of the video. It can take a few minutes.
Are there tips to improve stabilization?Yes, it can be helpful to use a higher resolution when filming to minimize the loss of image material during stabilization.


