In this guide, I will show you how to simulate object tracking in Adobe Premiere Pro CC, even though the program does not offer a classic motion tracking feature. Instead, we will use keyframes and masks to track the movement of a text element or another object in the video. These techniques allow you to achieve creative effects and make your videos more dynamic. Let's start directly with the step-by-step guide.
Key Takeaways
- Premiere Pro does not support classic motion tracking, but it can be simulated.
- Using keyframes allows you to animate text and graphic elements along a motion path.
- The masking function allows for some automation of tracking but is limited.
Step-by-Step Guide
To start with object tracking in Premiere Pro, please follow the steps below.
1. Create a new sequence
First, you need to create a new sequence. Click on "File," then "New," and choose "Sequence." Alternatively, you can use the shortcut "Ctrl + N." Select the "HDV 1080p 30" preset and name the sequence, for example, "Text element." Click "OK" to create the sequence.
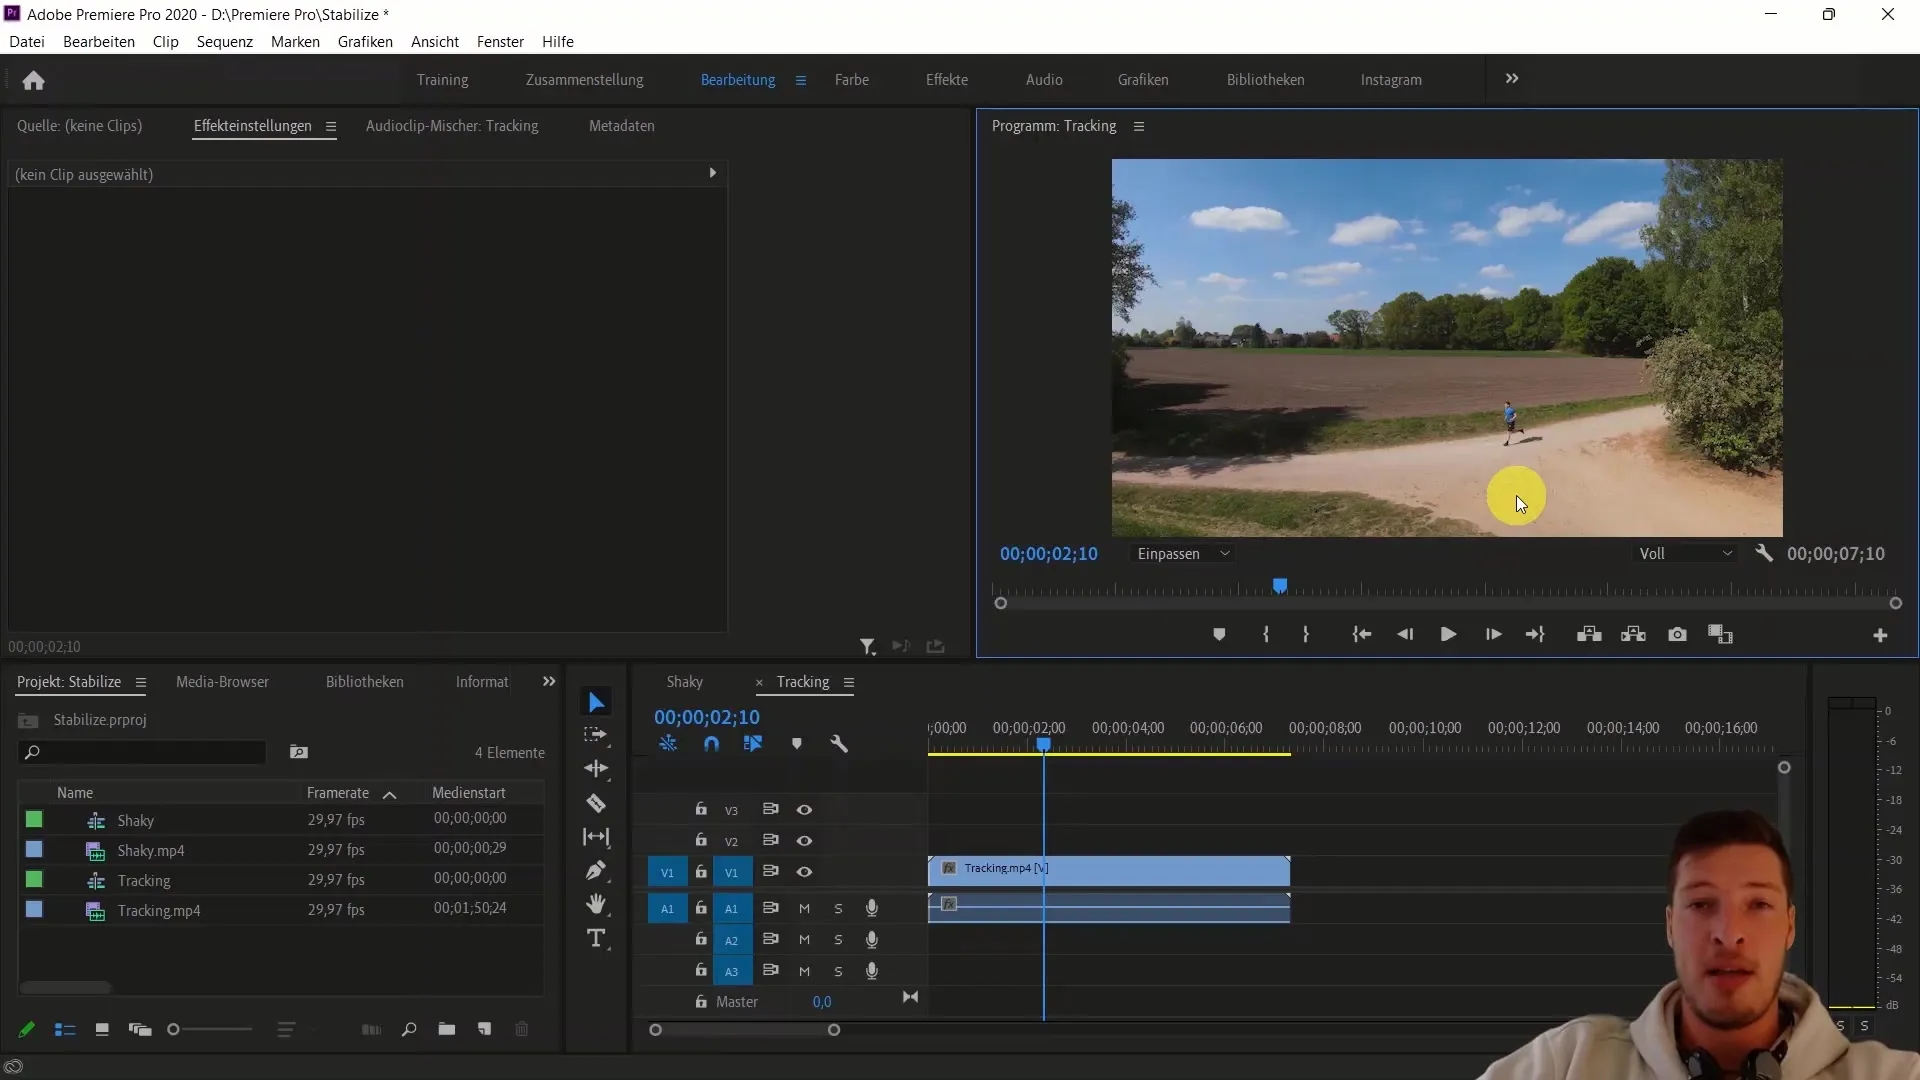
2. Add a text element
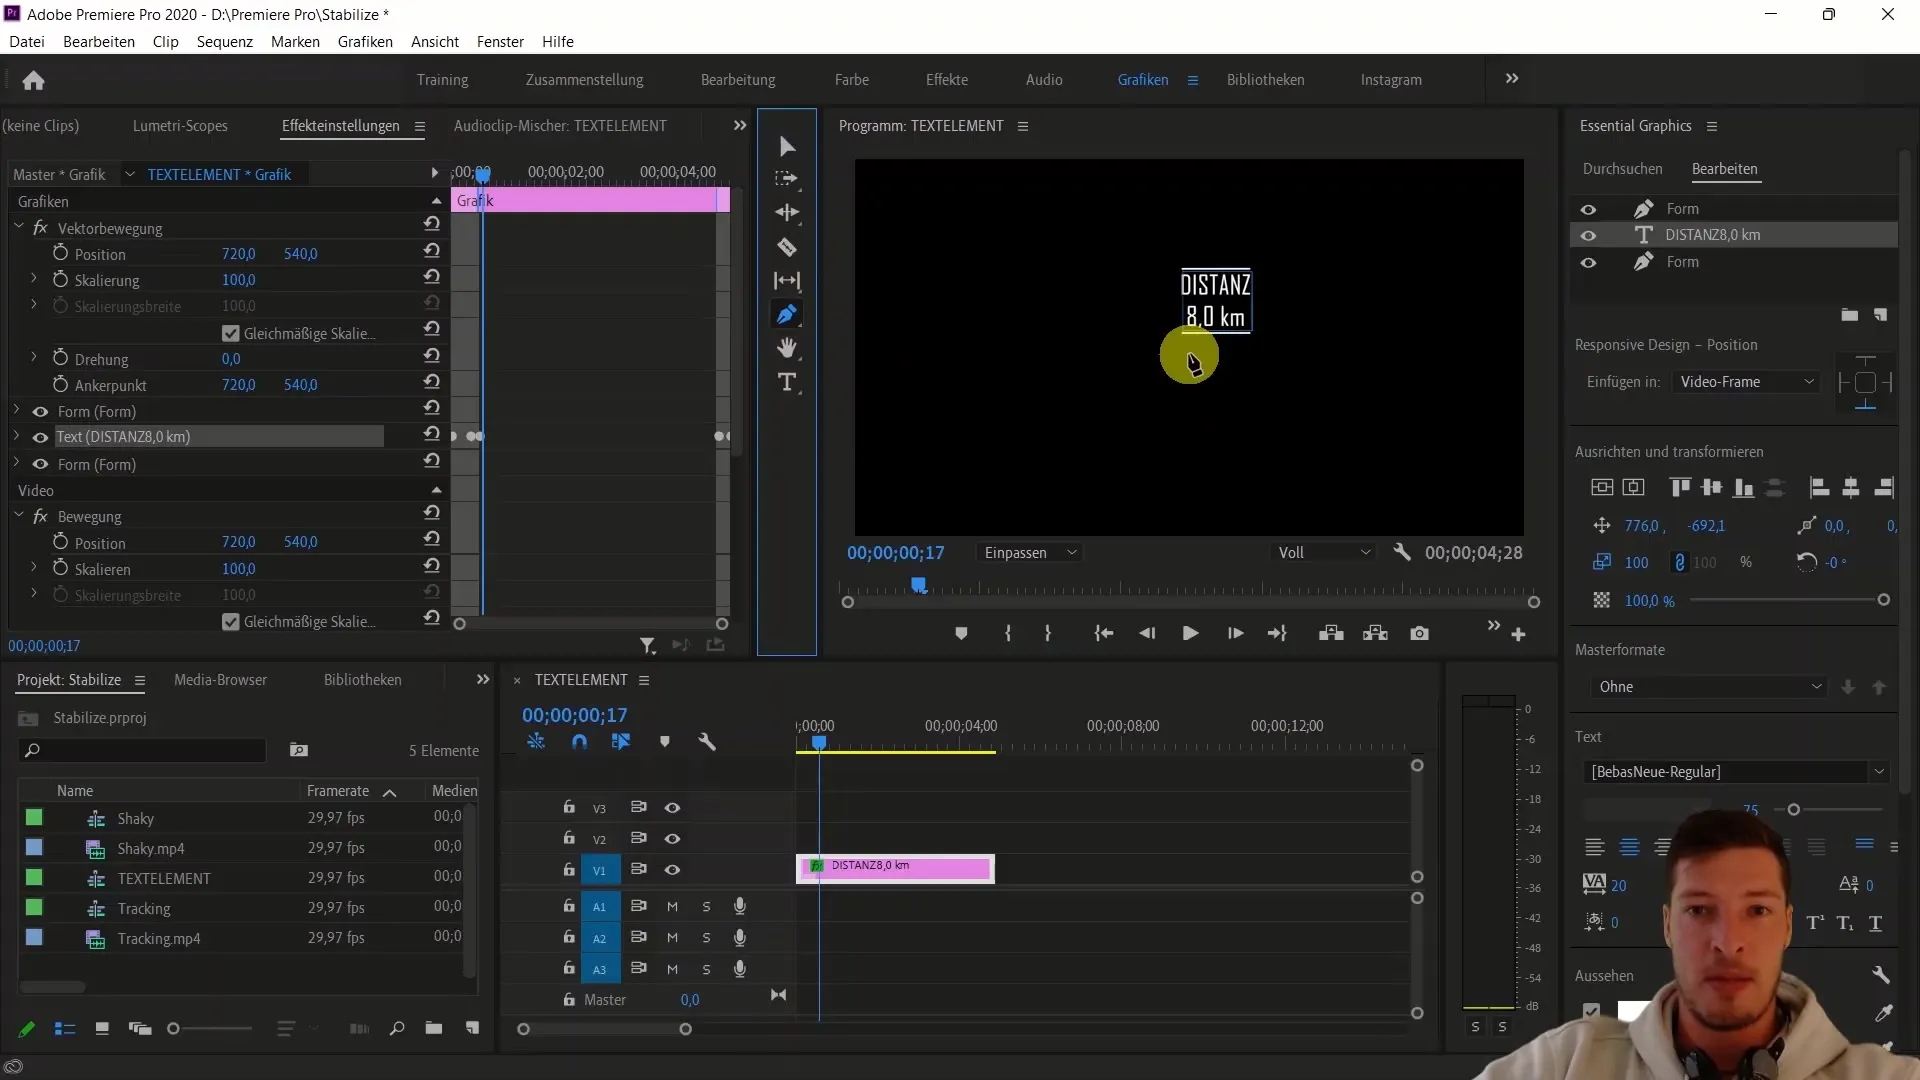
Now, add a text element to the sequence. Go to the Graphics tab and select the lower third. Import it into your sequence. Double-click on the text content and change it to "Distance: 8.0 km." Position the text in the center of the frame.
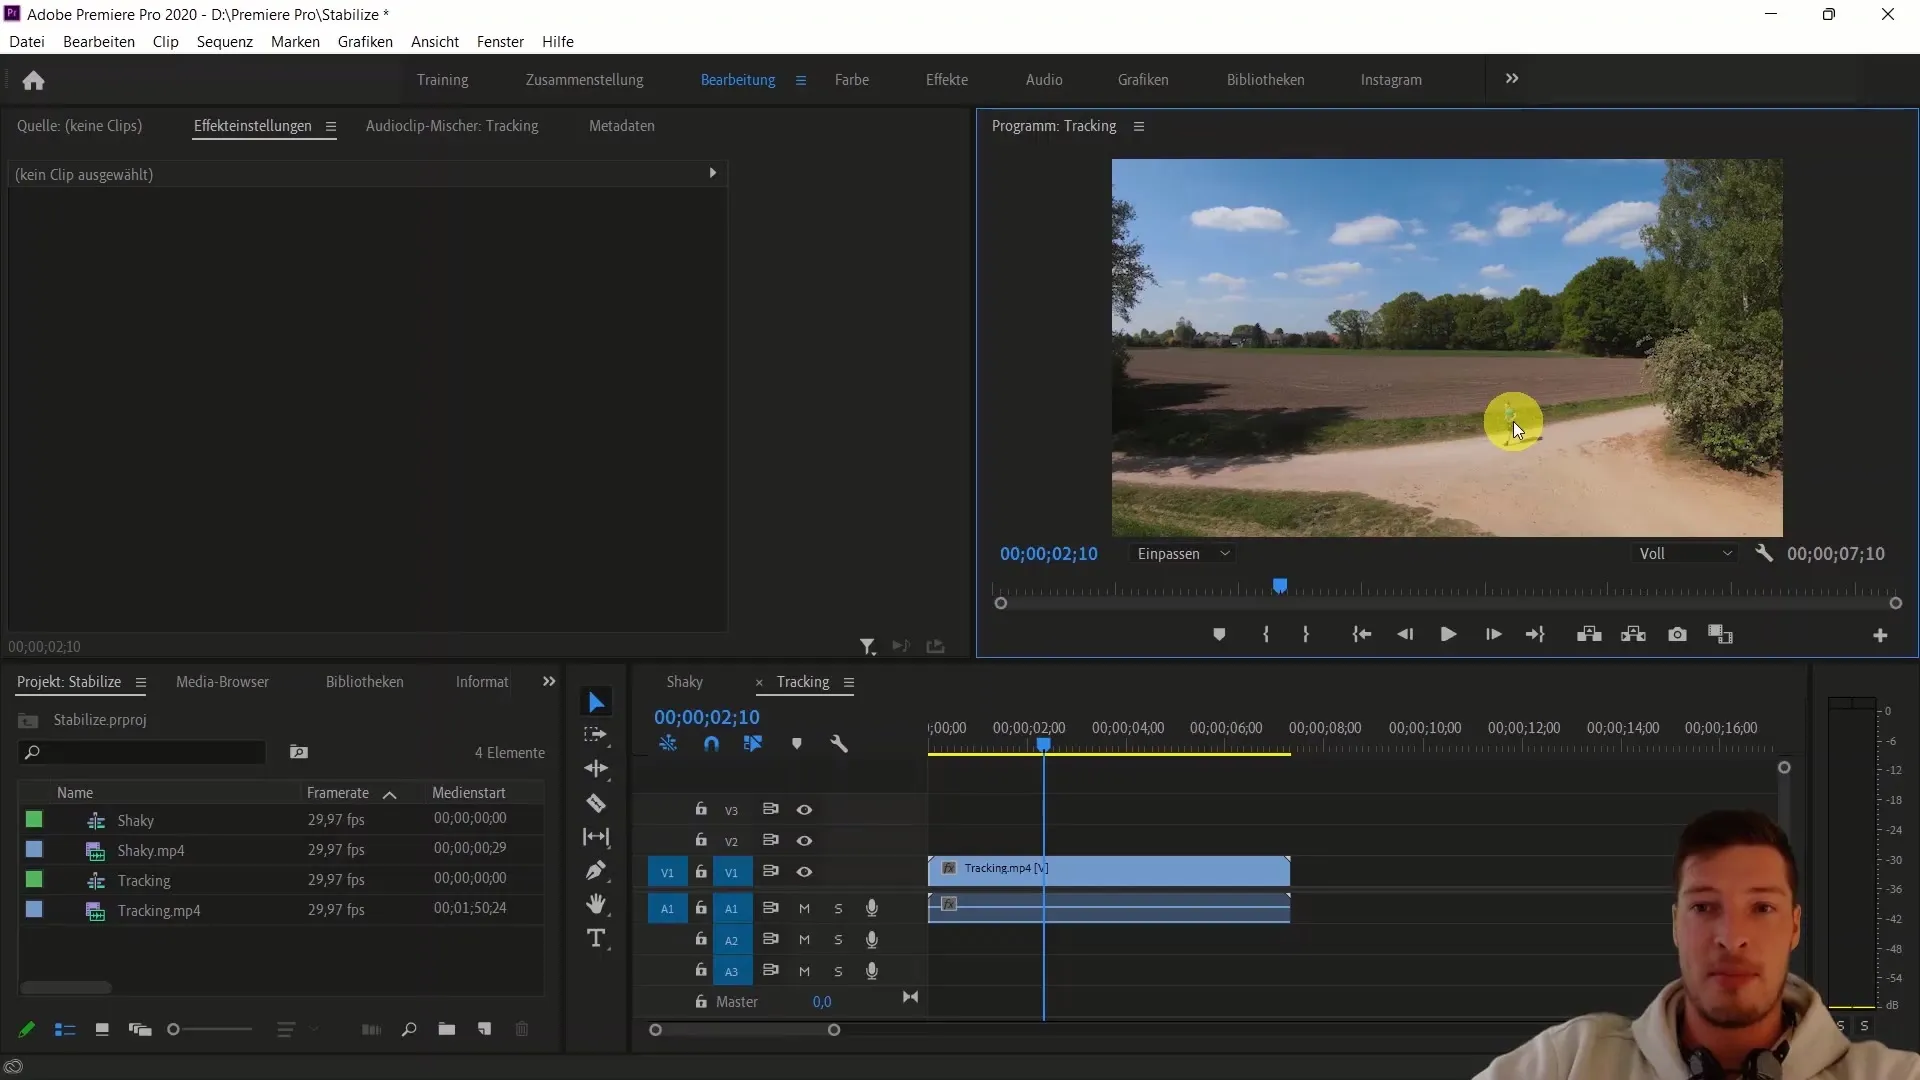
3. Create a line for animation
To add an additional line for animation, select the pen tool and draw a line from the center downwards to the left. Disable the fill and adjust the stroke weight to around 6 pt. Additionally, you can add a simple entrance animation by animating the scale.
4. Import the text element into the tracking sequence
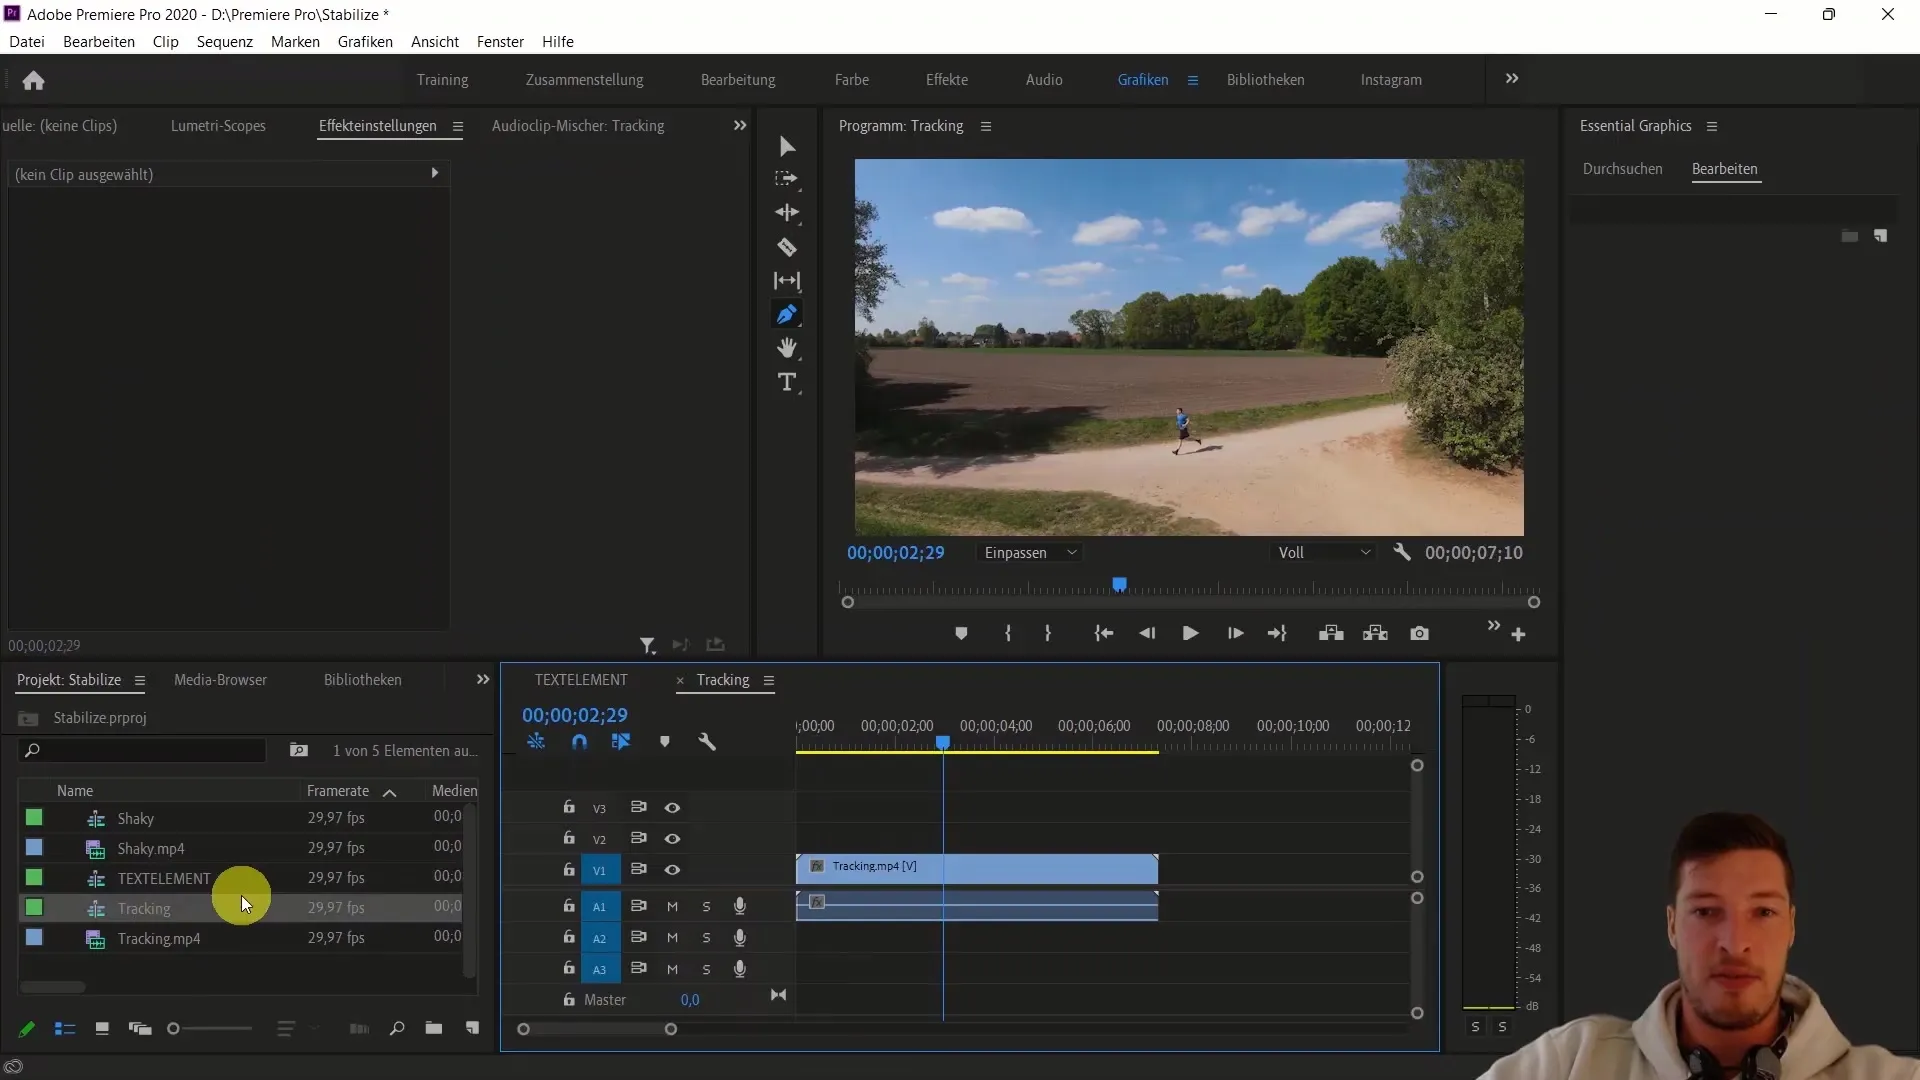
Now, open the tracking sequence by double-clicking on it. Drag your text element into it. You need to extend both the video data and the sequence to make everything work properly.
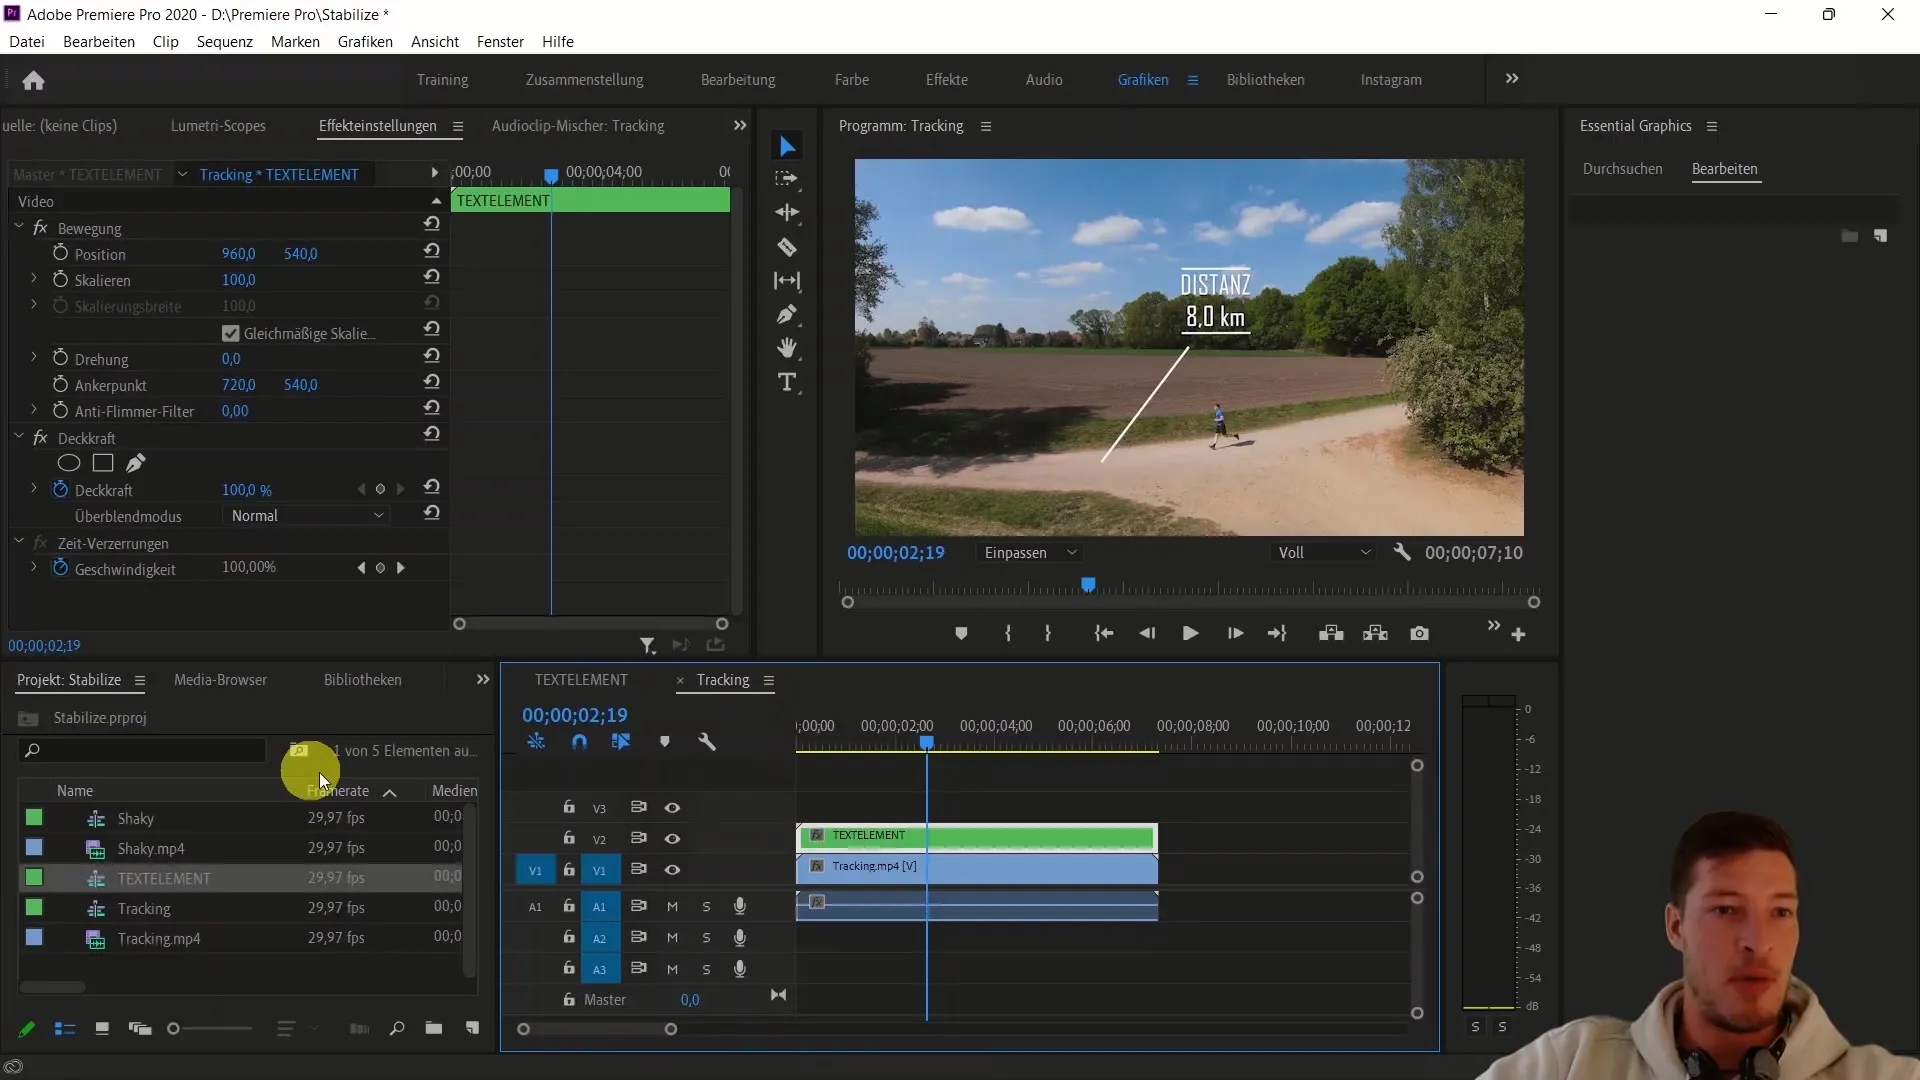
5. Animate the text element
To track the text element along the person's movement, click on the element's position and set a keyframe by clicking on the stopwatch. Select the element and move it within the frame, so it stays next to the person at all times.
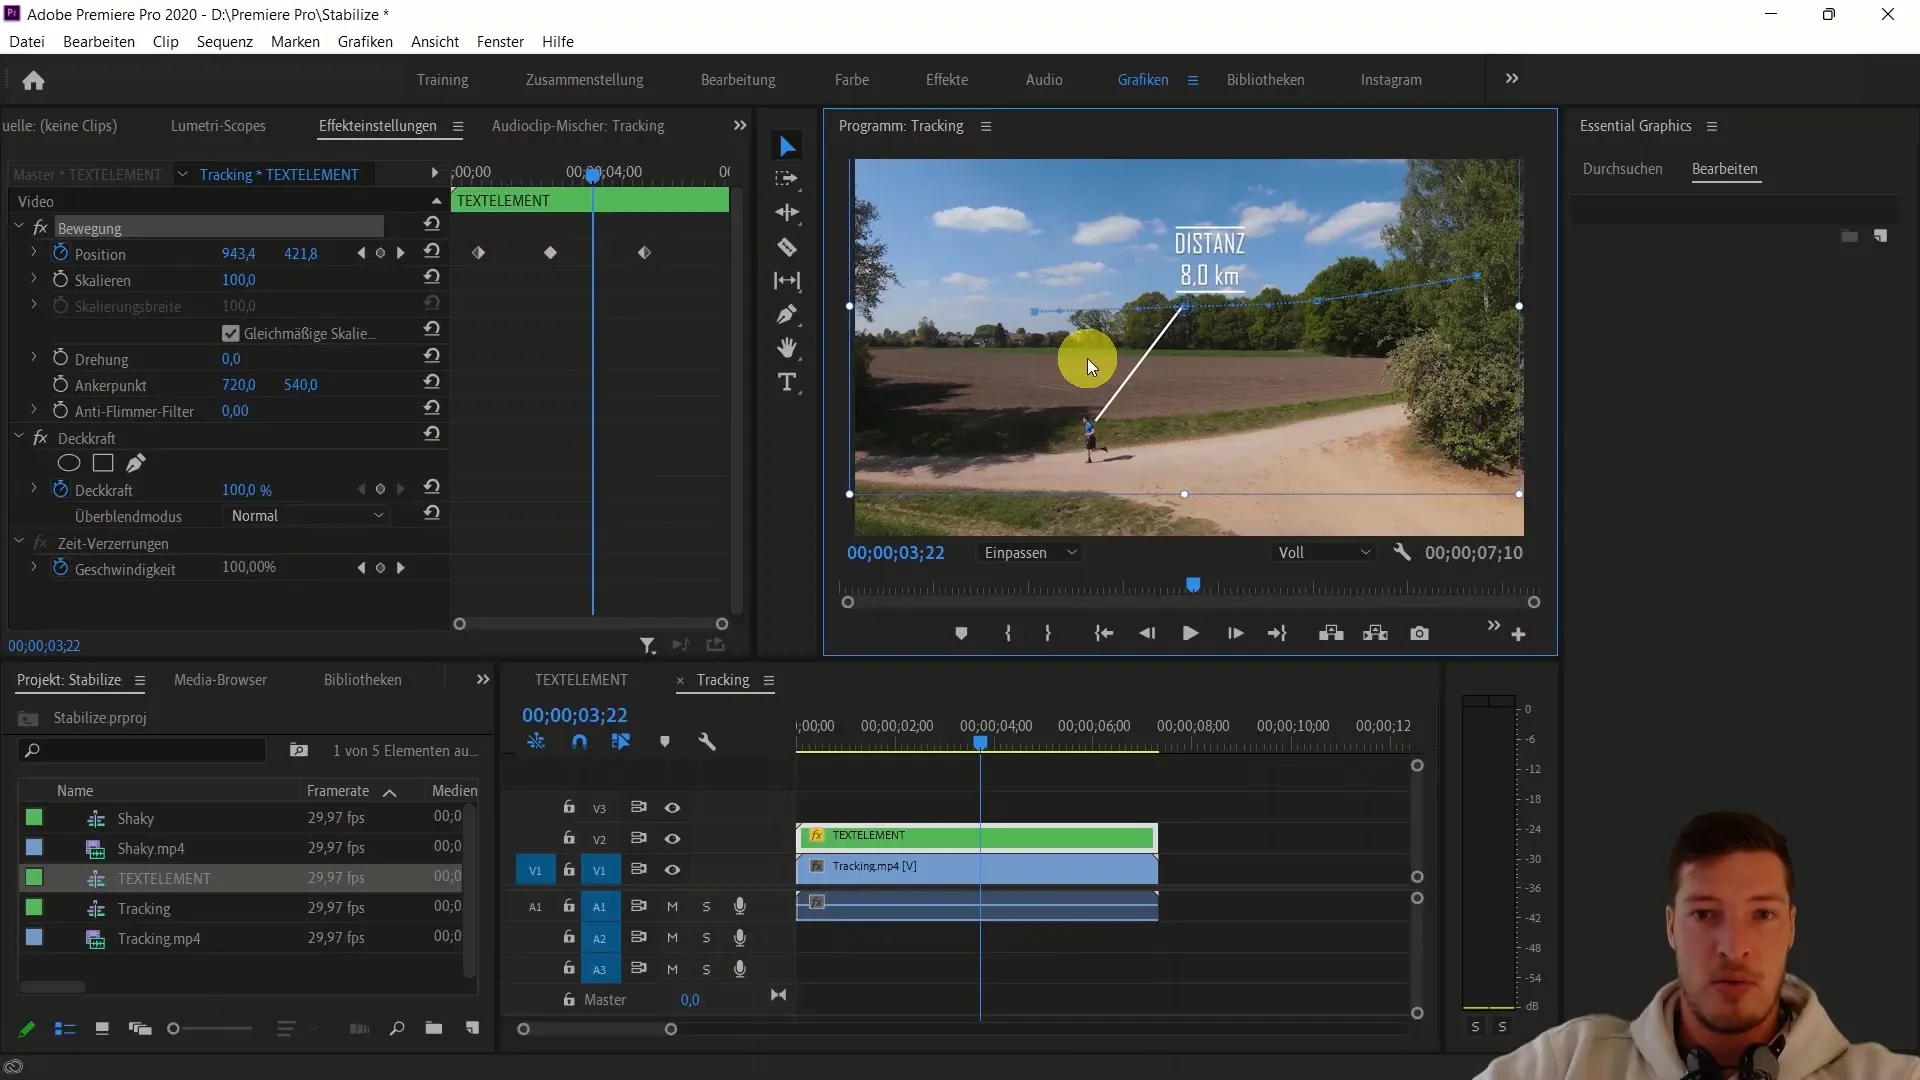
6. Refine the animation
Make sure the text element moves correctly throughout the sequence. Add additional keyframes to secure the position of the text element at different moments in the sequence.
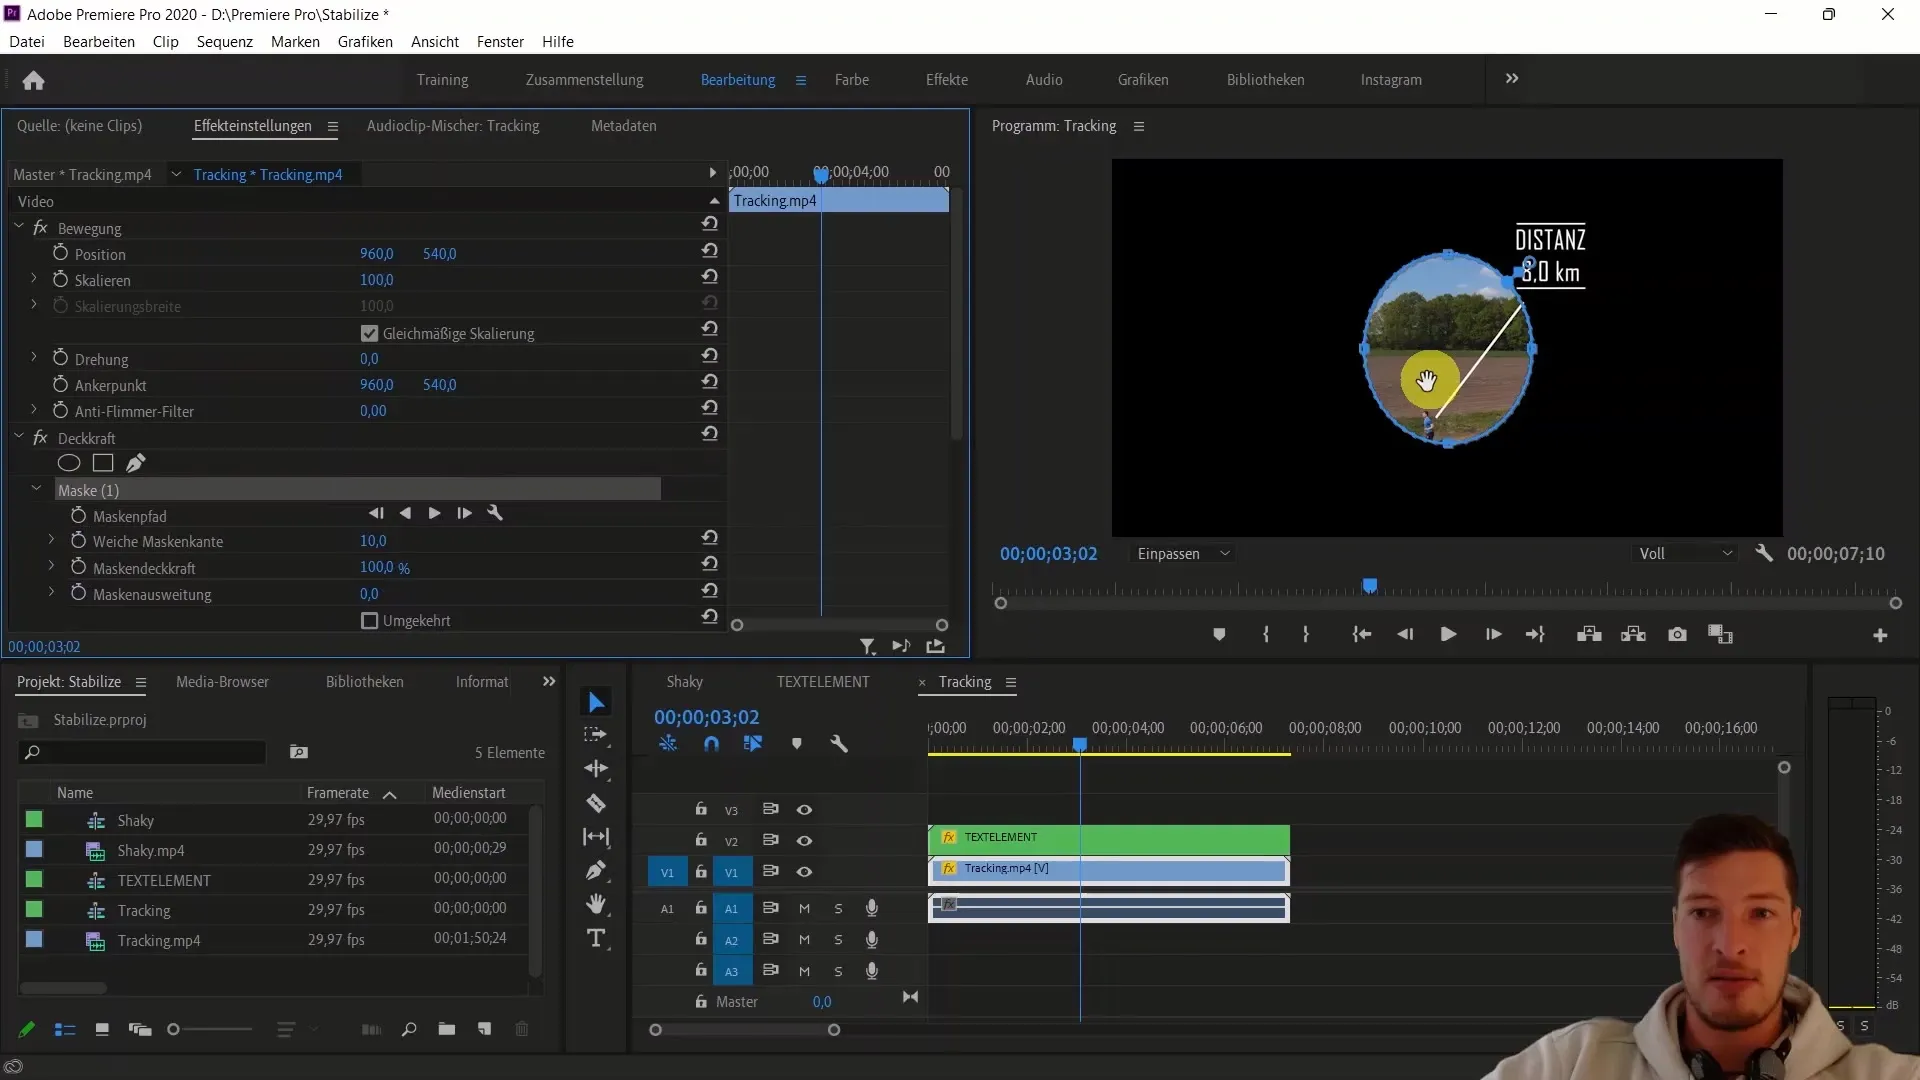
7. Use automated masking
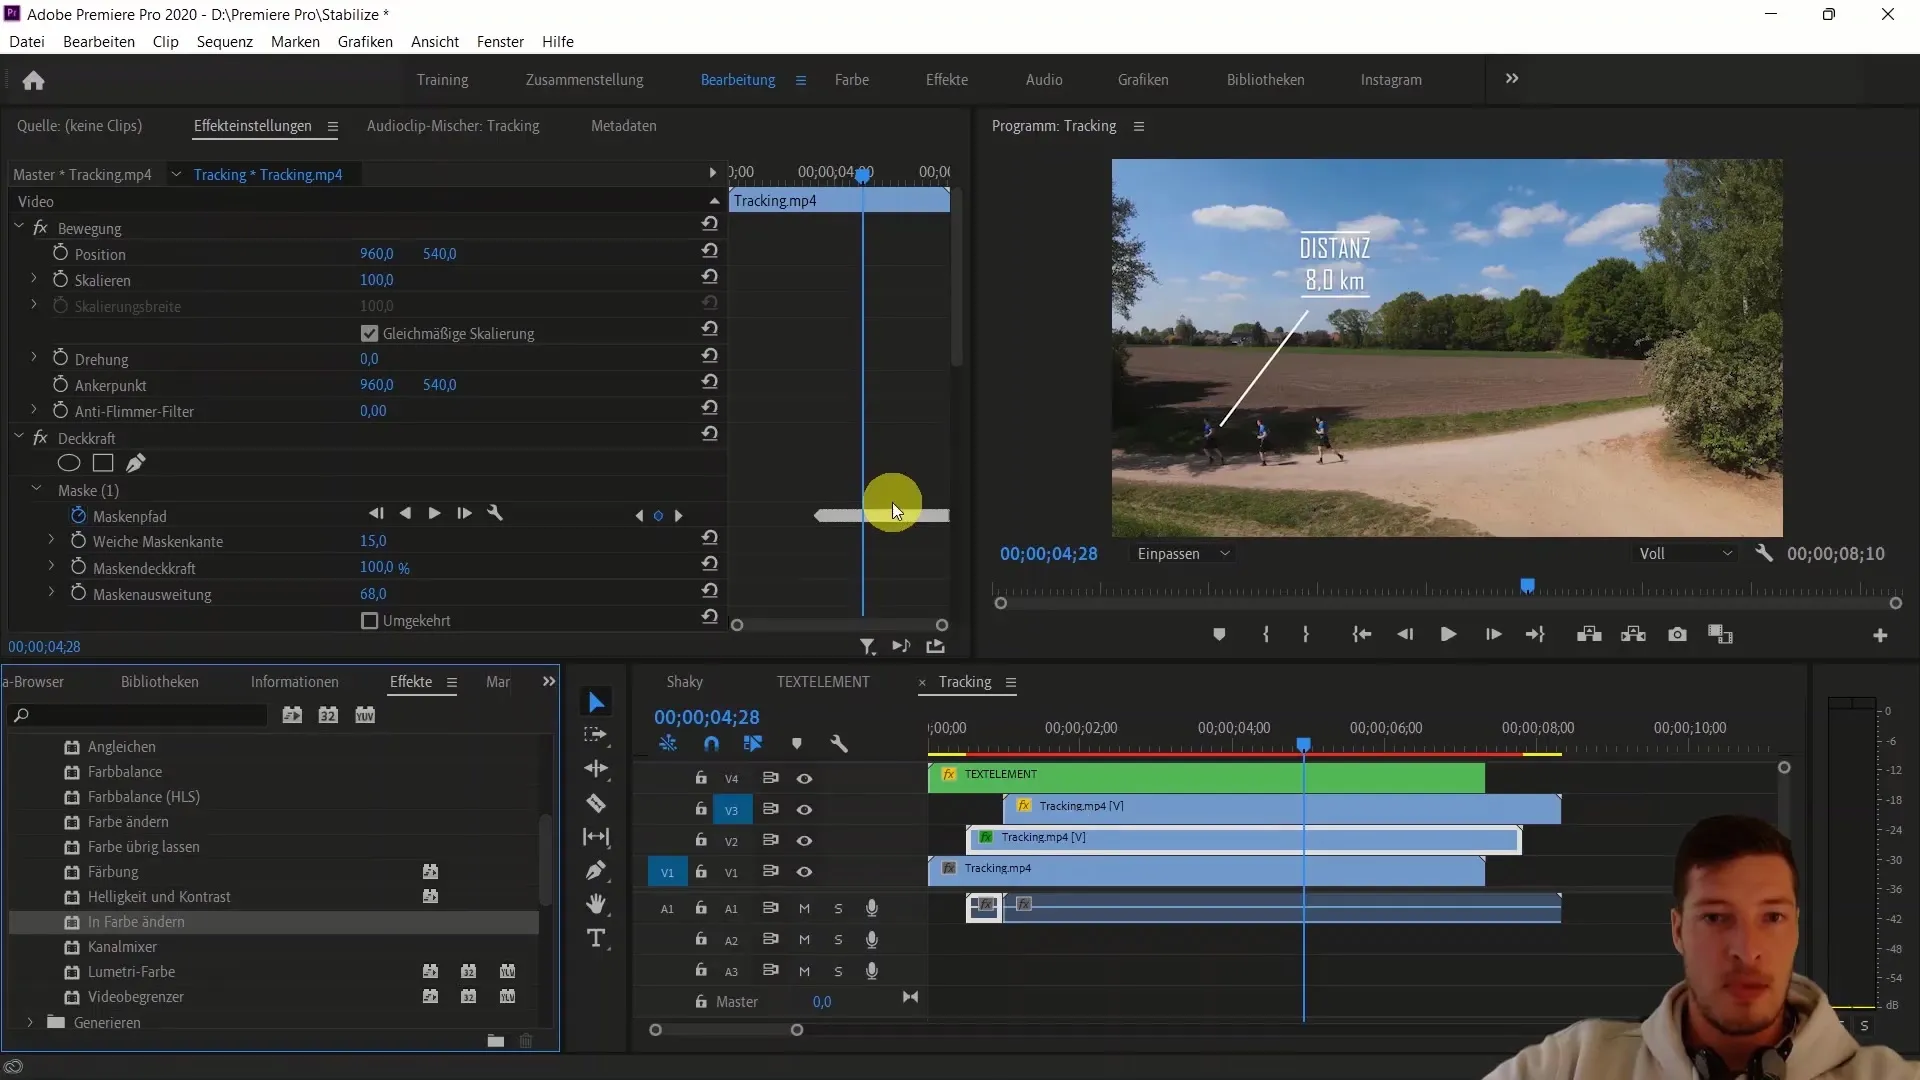
Now, switch to the masking function. Select your MP4 video, highlight it, and create a mask around your body. This mask will automatically follow the movement when you press "Play."
8. Adjust and expand the mask
After creating the mask and having it follow automatically, you can adjust and expand it to cover the entire person. Increase the mask feather to around 15 to create a smoother edge.
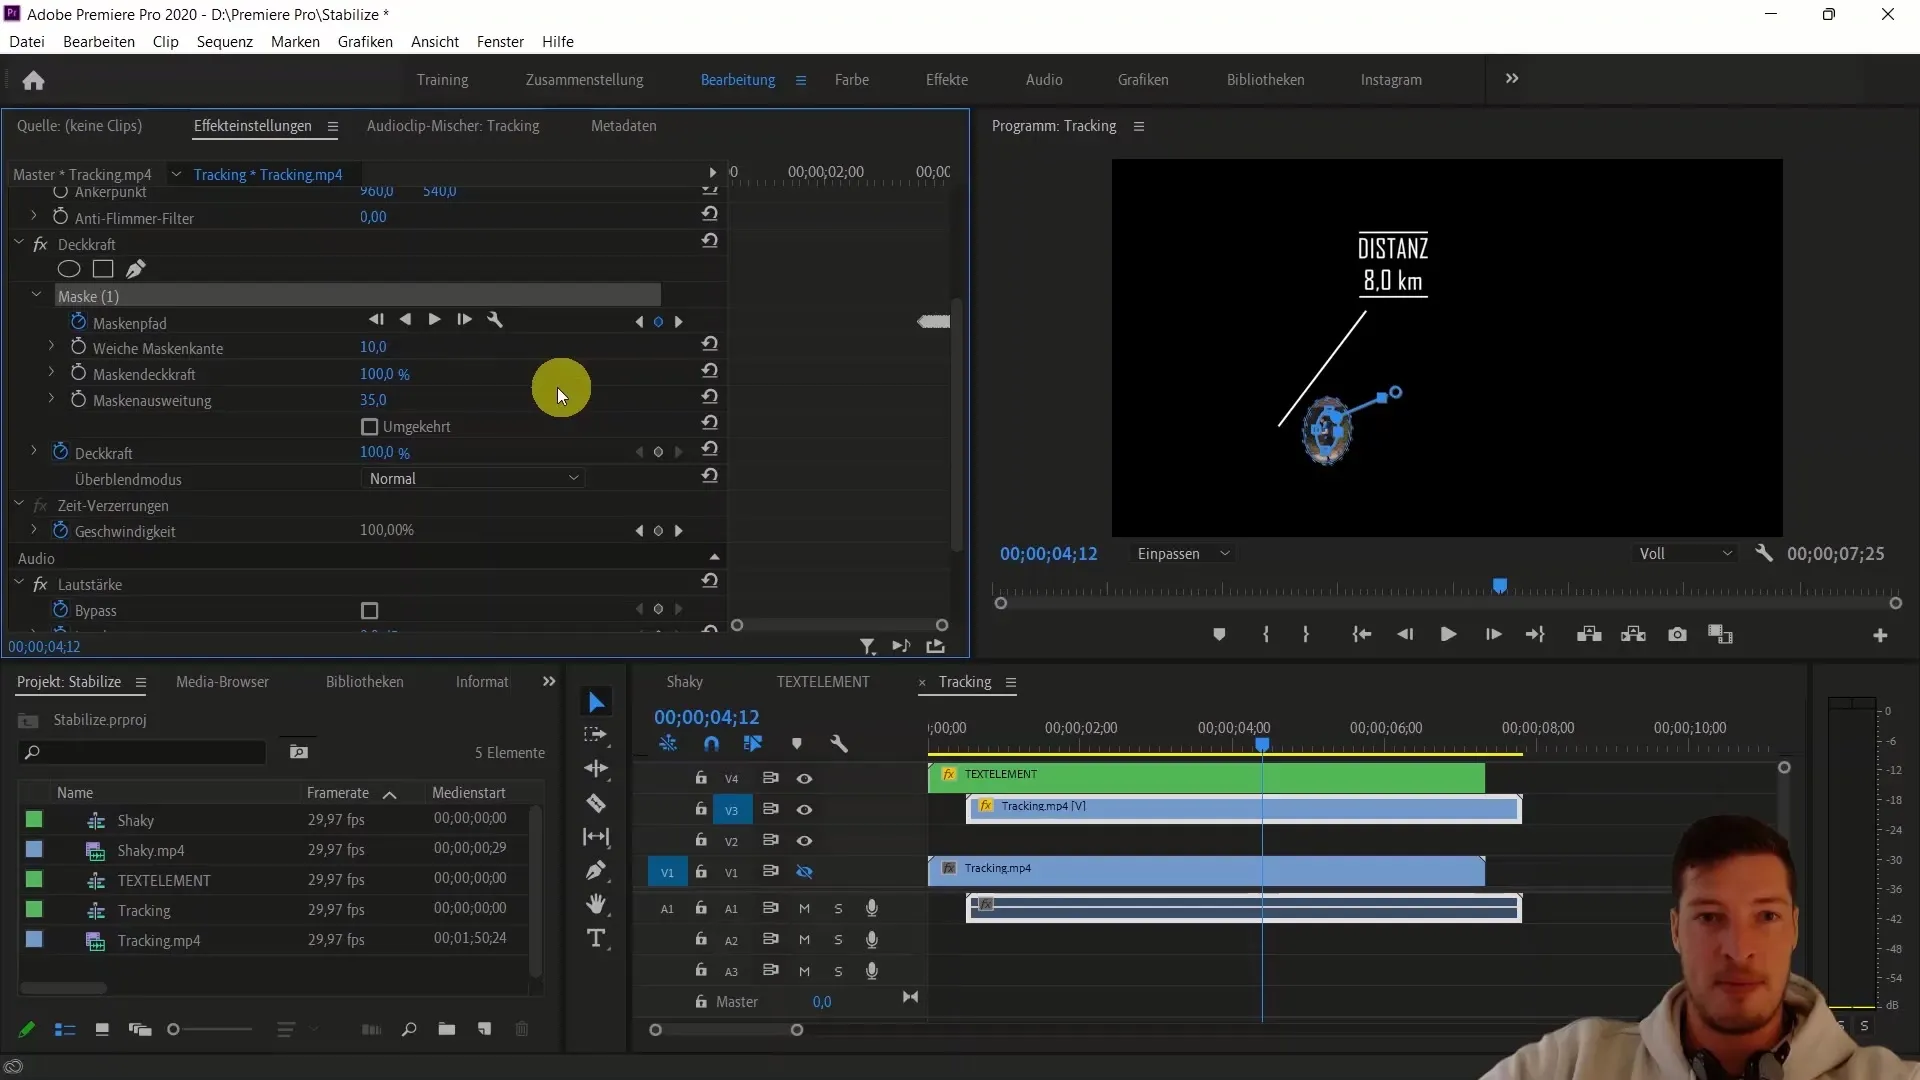
9. Create copies and change colors
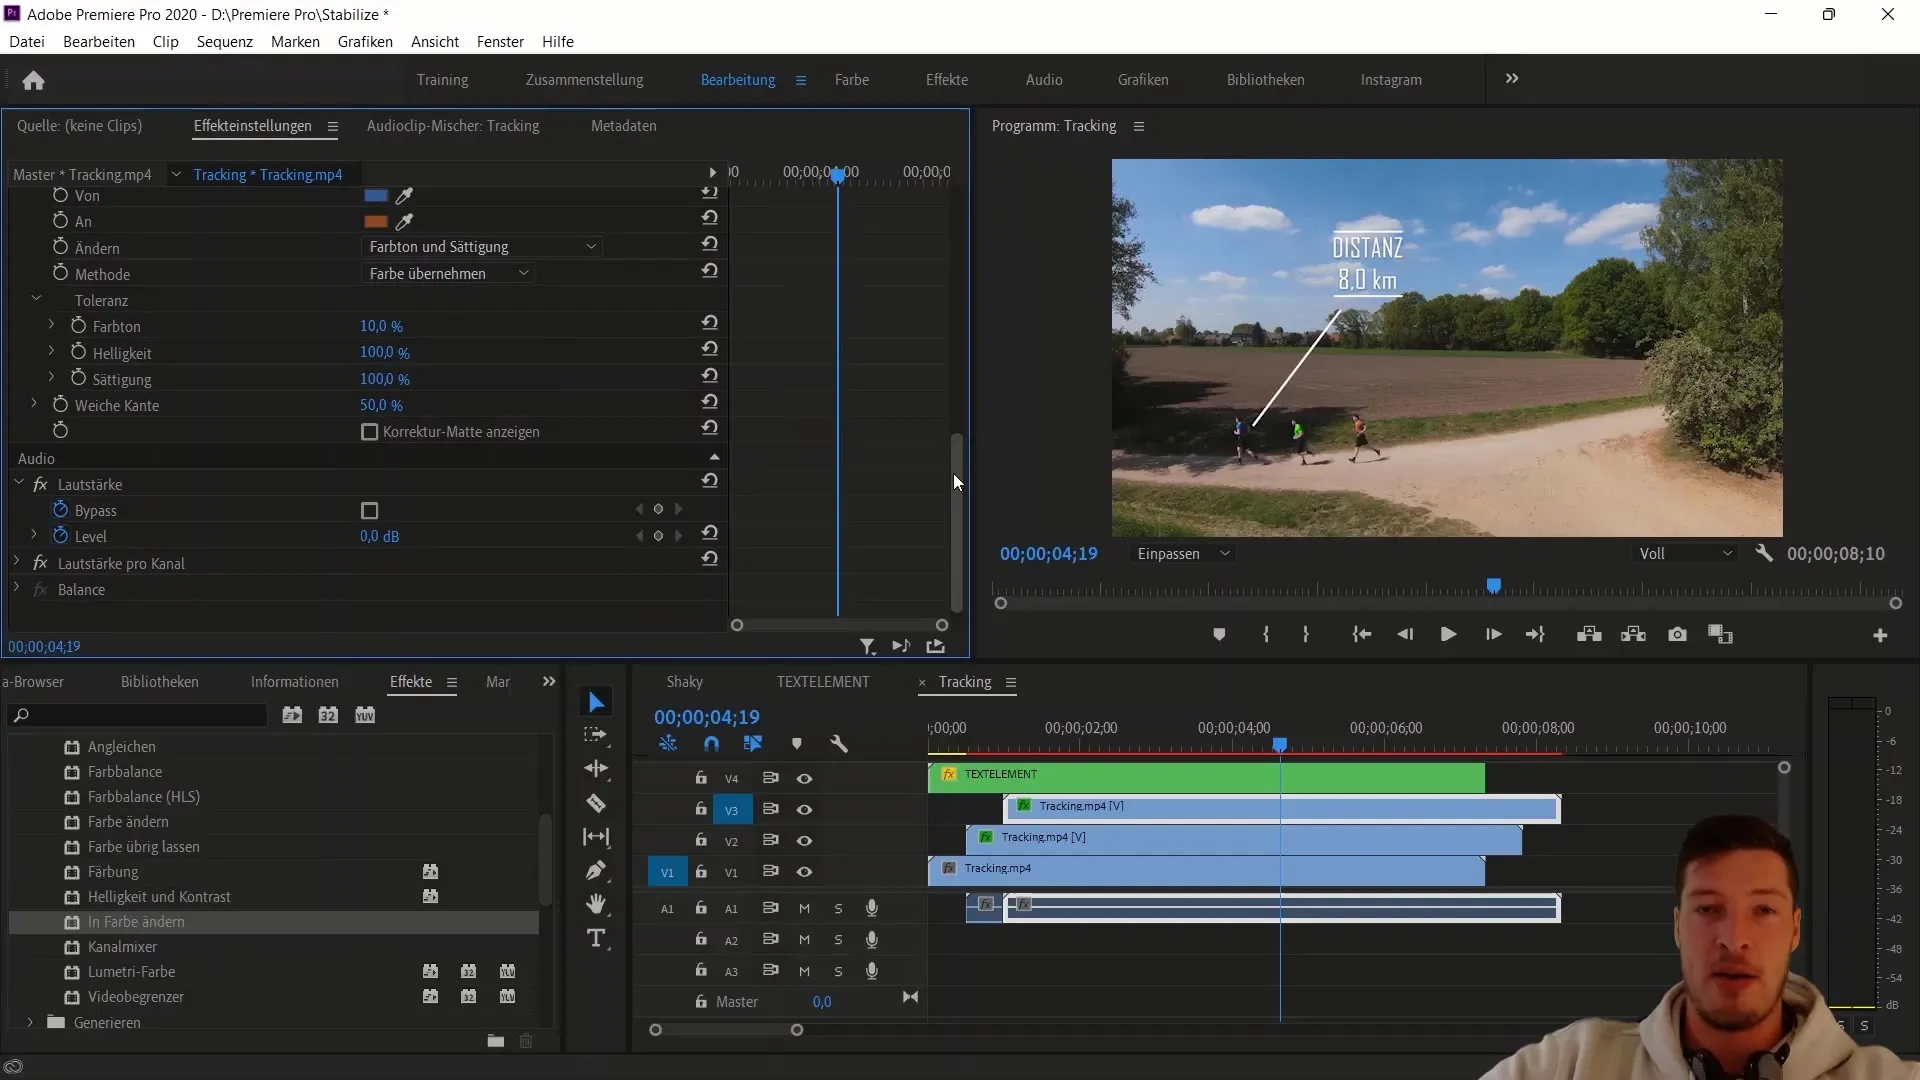
To enhance the effect, create several copies of the original video and change the colors so that different "persons" appear in different colors in the image.
10. Preview and Finishing Touches
Now you can preview your project to ensure that all animations look good. Adjust the positions as needed and make the final touches.
Summary
In this tutorial, you have learned how to simulate the movement of objects using Adobe Premiere Pro CC by using keyframes for the positions of text elements and masks. You have learned how to use these techniques to achieve creative and dynamic effects in your video projects.
Frequently Asked Questions
How do I create a new sequence?Click on "File", then "New", and select "Sequence" or use the shortcut "Ctrl + N".
How do I add a text element?Go to the Graphics tab, select the caption, and adjust the text content.
Can I use automated masking for other objects?The masking function is limited and works best for simpler objects.
Is there a way to automatically generate keyframes?Currently, Premiere Pro does not offer an automated keyframe function for text elements.
Could I make use of better tracking features in After Effects?Yes, After Effects offers more advanced tracking and animation features than Premiere Pro.


