In this tutorial I will show you how nesting works in Adobe Premiere Pro CC. Nesting is an excellent way to organize your clips and keep track of complex projects. This technique not only helps you stay organized but also makes editing more efficient. I will guide you step by step to create a sample project that demonstrates the benefits and uses of nesting.
Main Insights
- Nesting allows you to combine multiple clips into a parent sequence.
- Changes made to the nested sequence affect all instantiated clips, significantly simplifying editing.
- The concept of nesting provides you with flexibility to effectively manage more complex projects with many elements.
Step-by-Step Guide
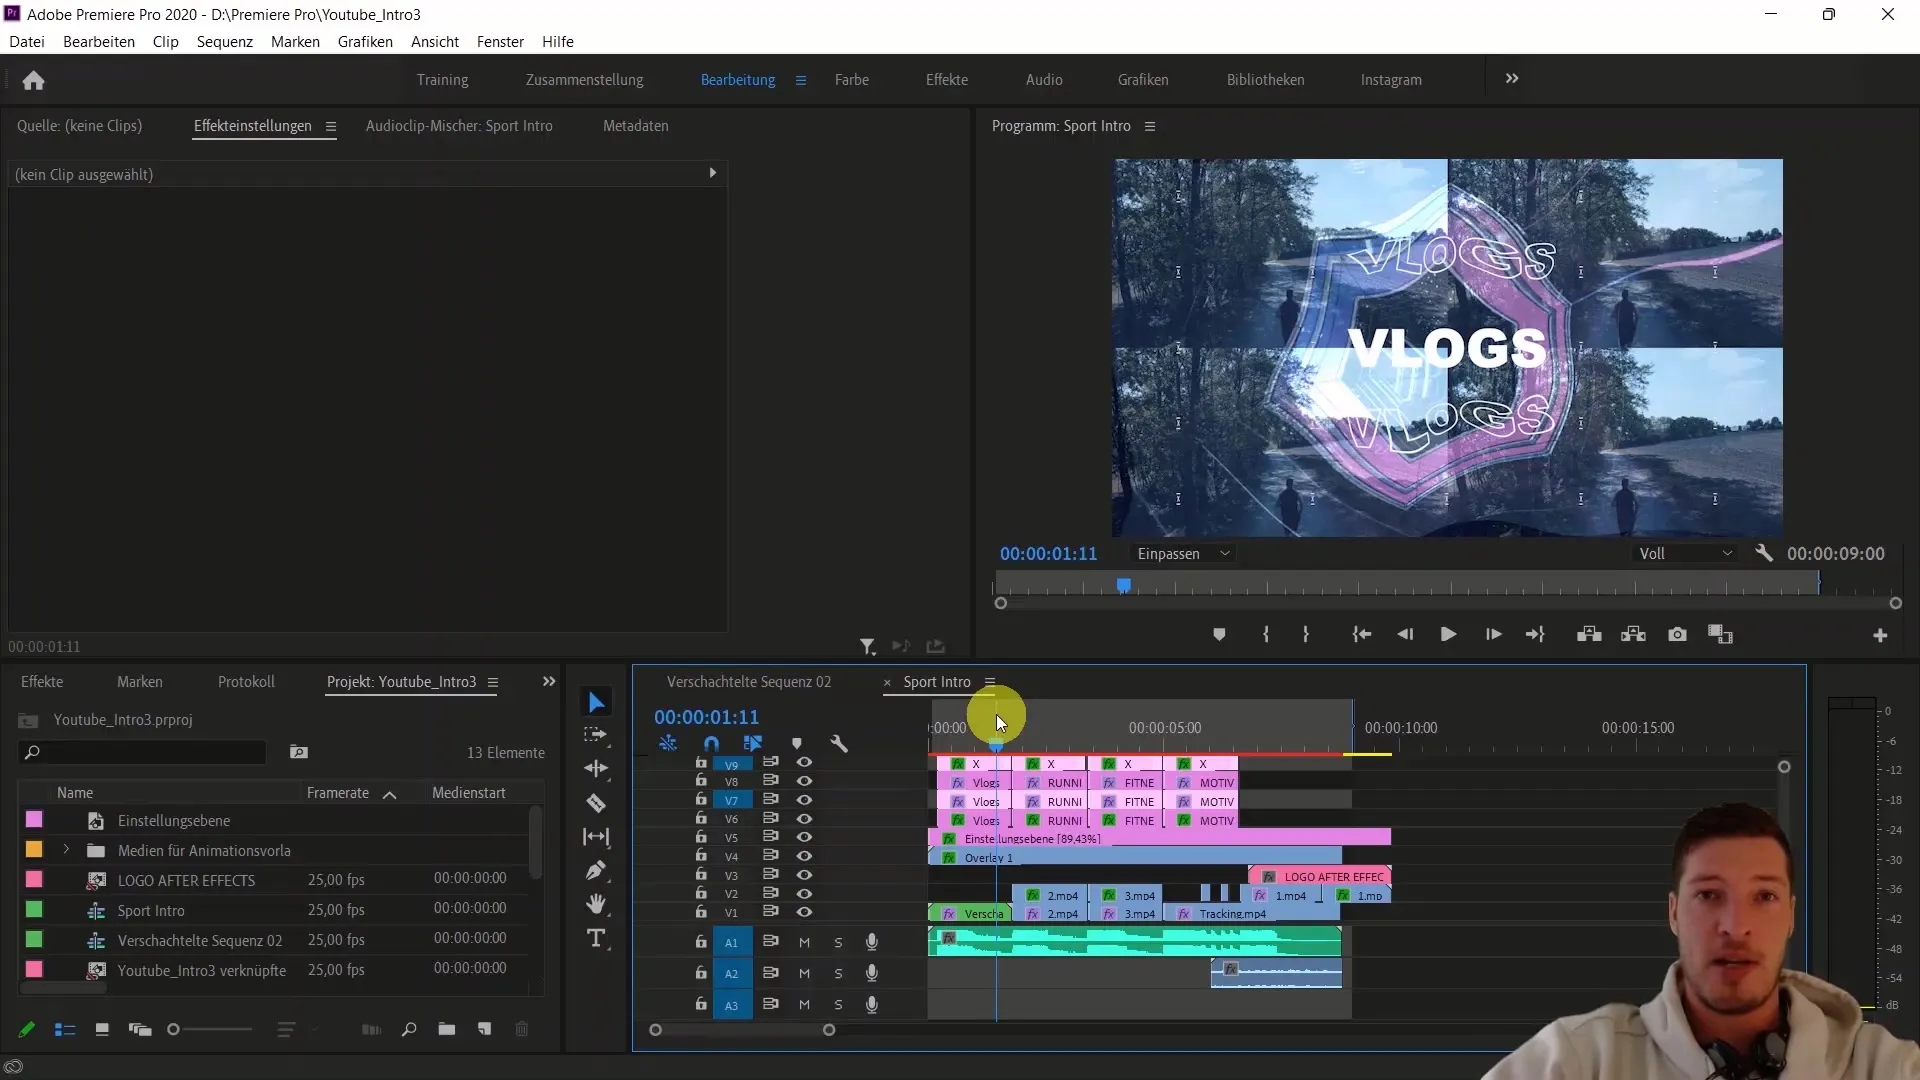
First, we open Adobe Premiere Pro and create a new project.
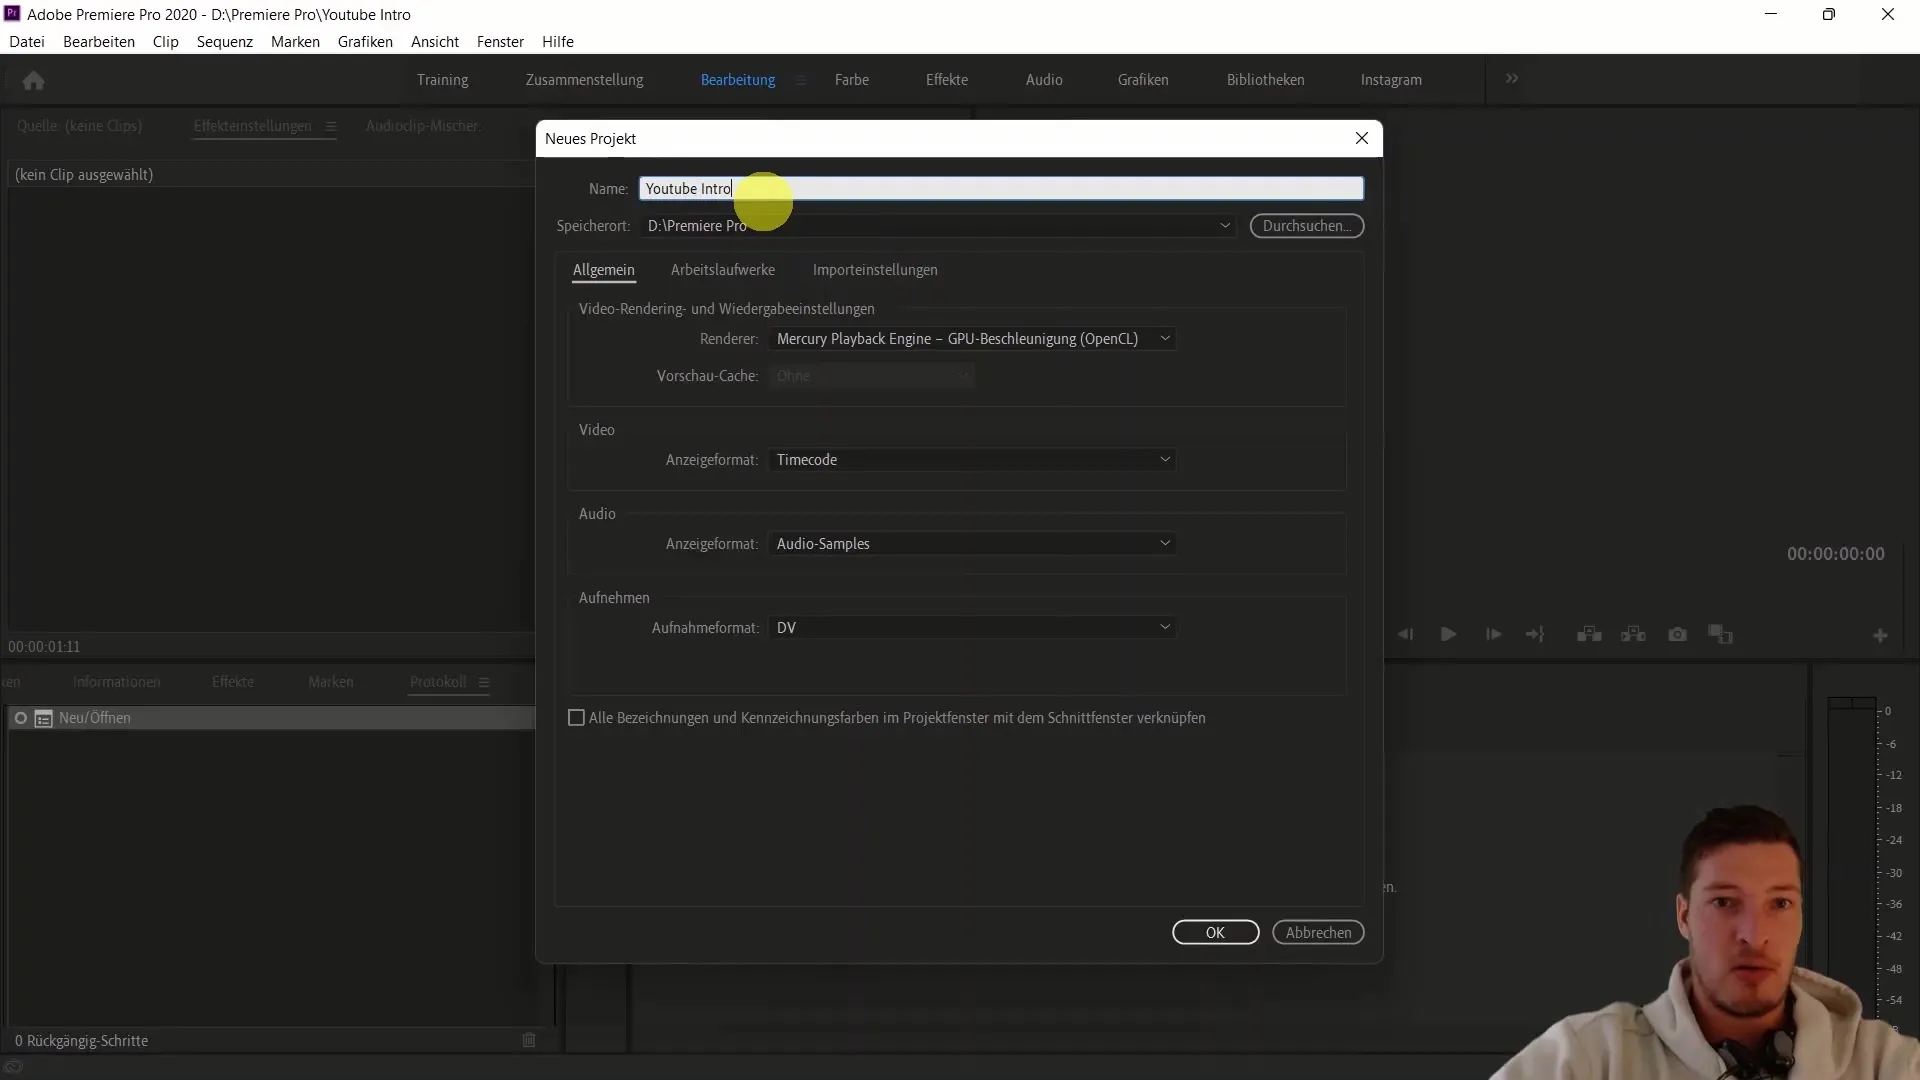
Select "File" and then "New Project". Give your project an appropriate name, in our case "Youtube Intro", and choose the corresponding storage location.
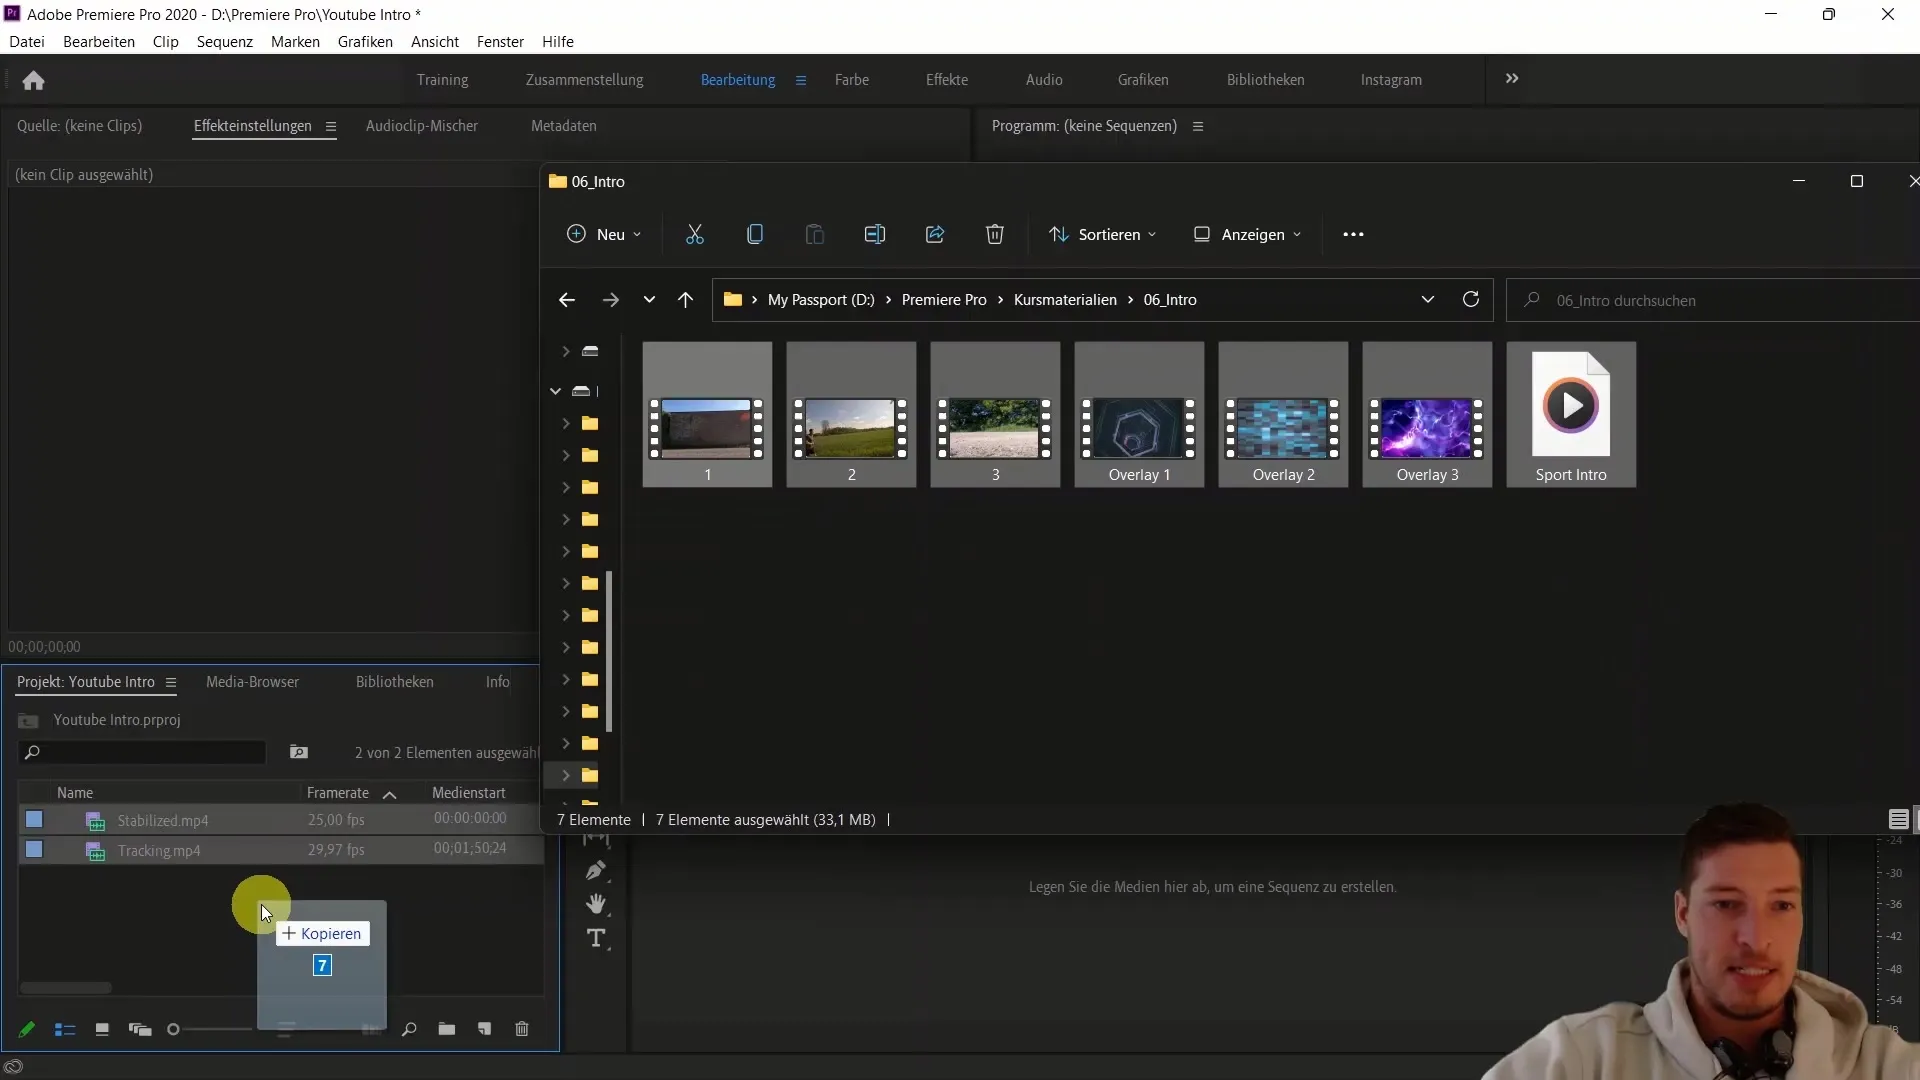
Now we import our course materials. Click on "Import Media" and select the necessary clips. In this example, we import the stabilized video as well as the required audio and overlay files.
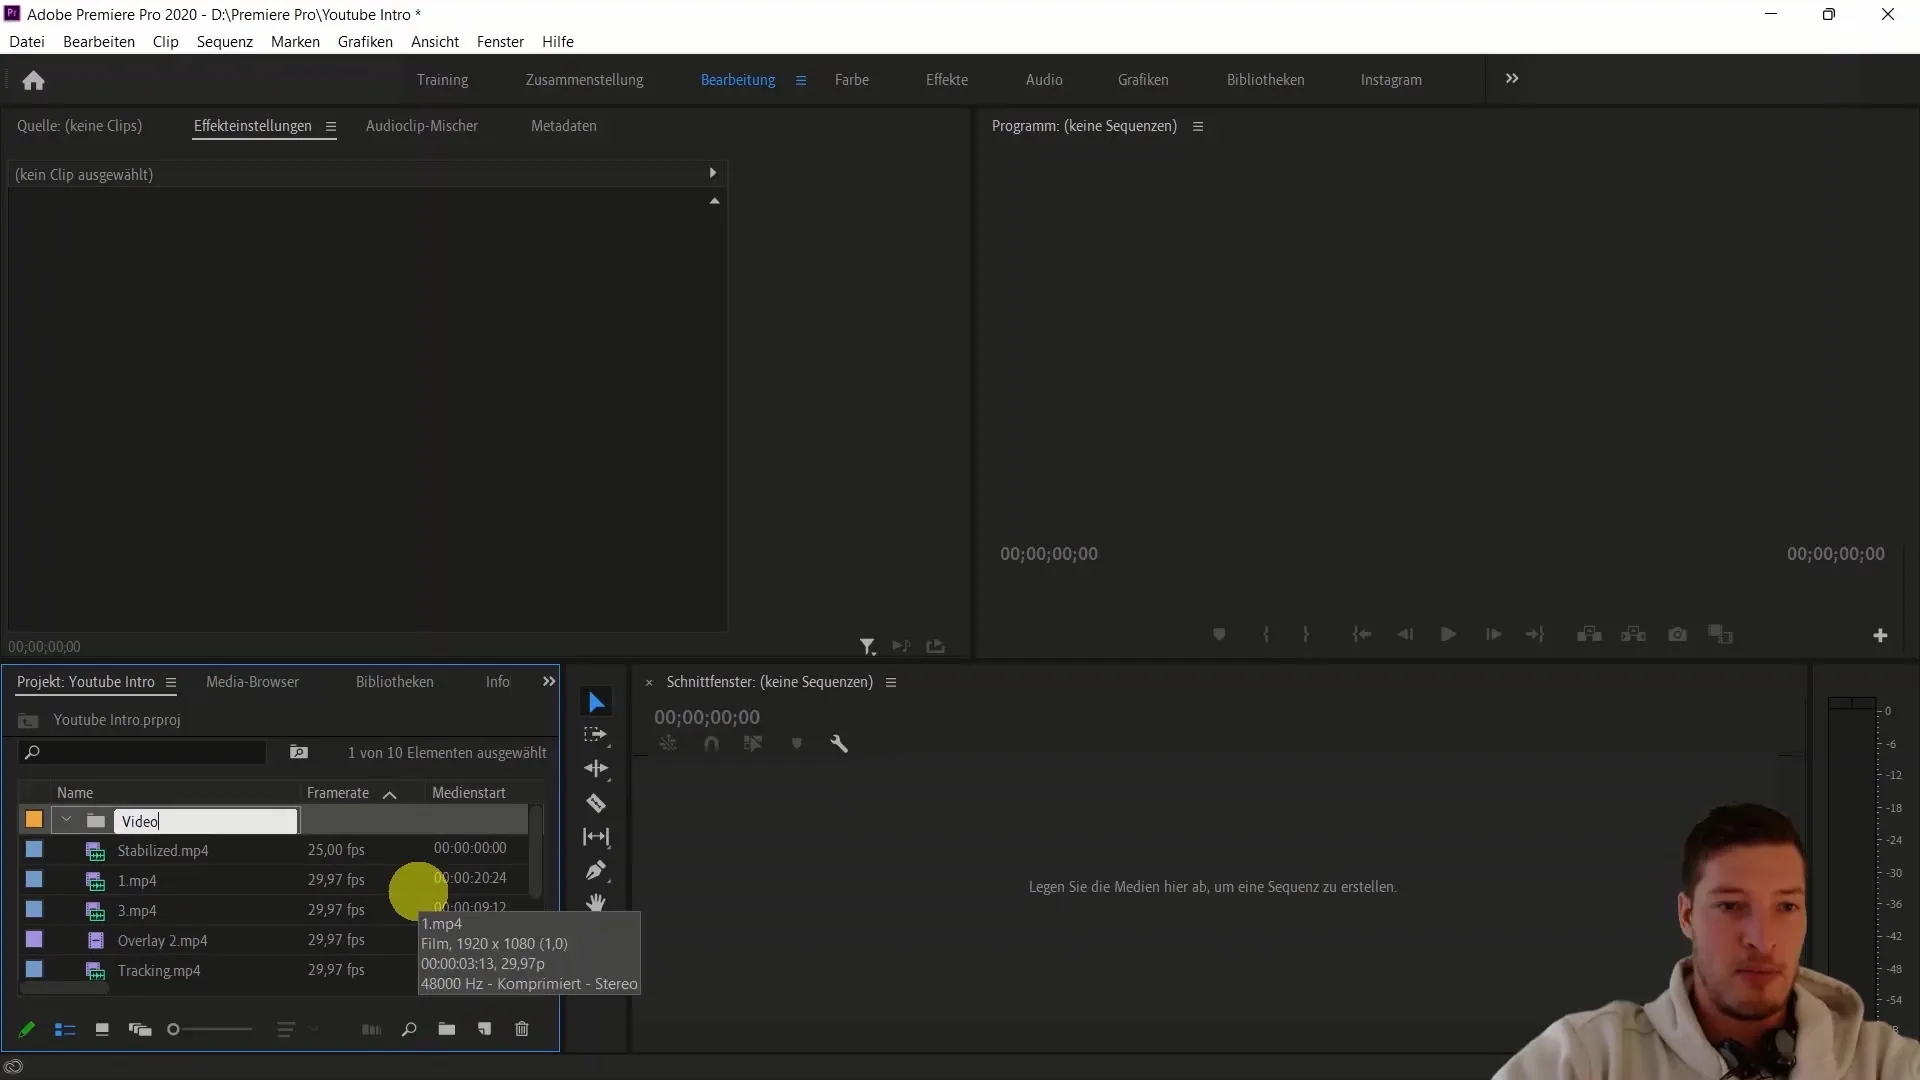
Now create a new folder named "Video Material" and move all individual videos into it to keep things organized.
Repeat the process for the overlay files and audio content. This will help you maintain a neat and organized workspace.
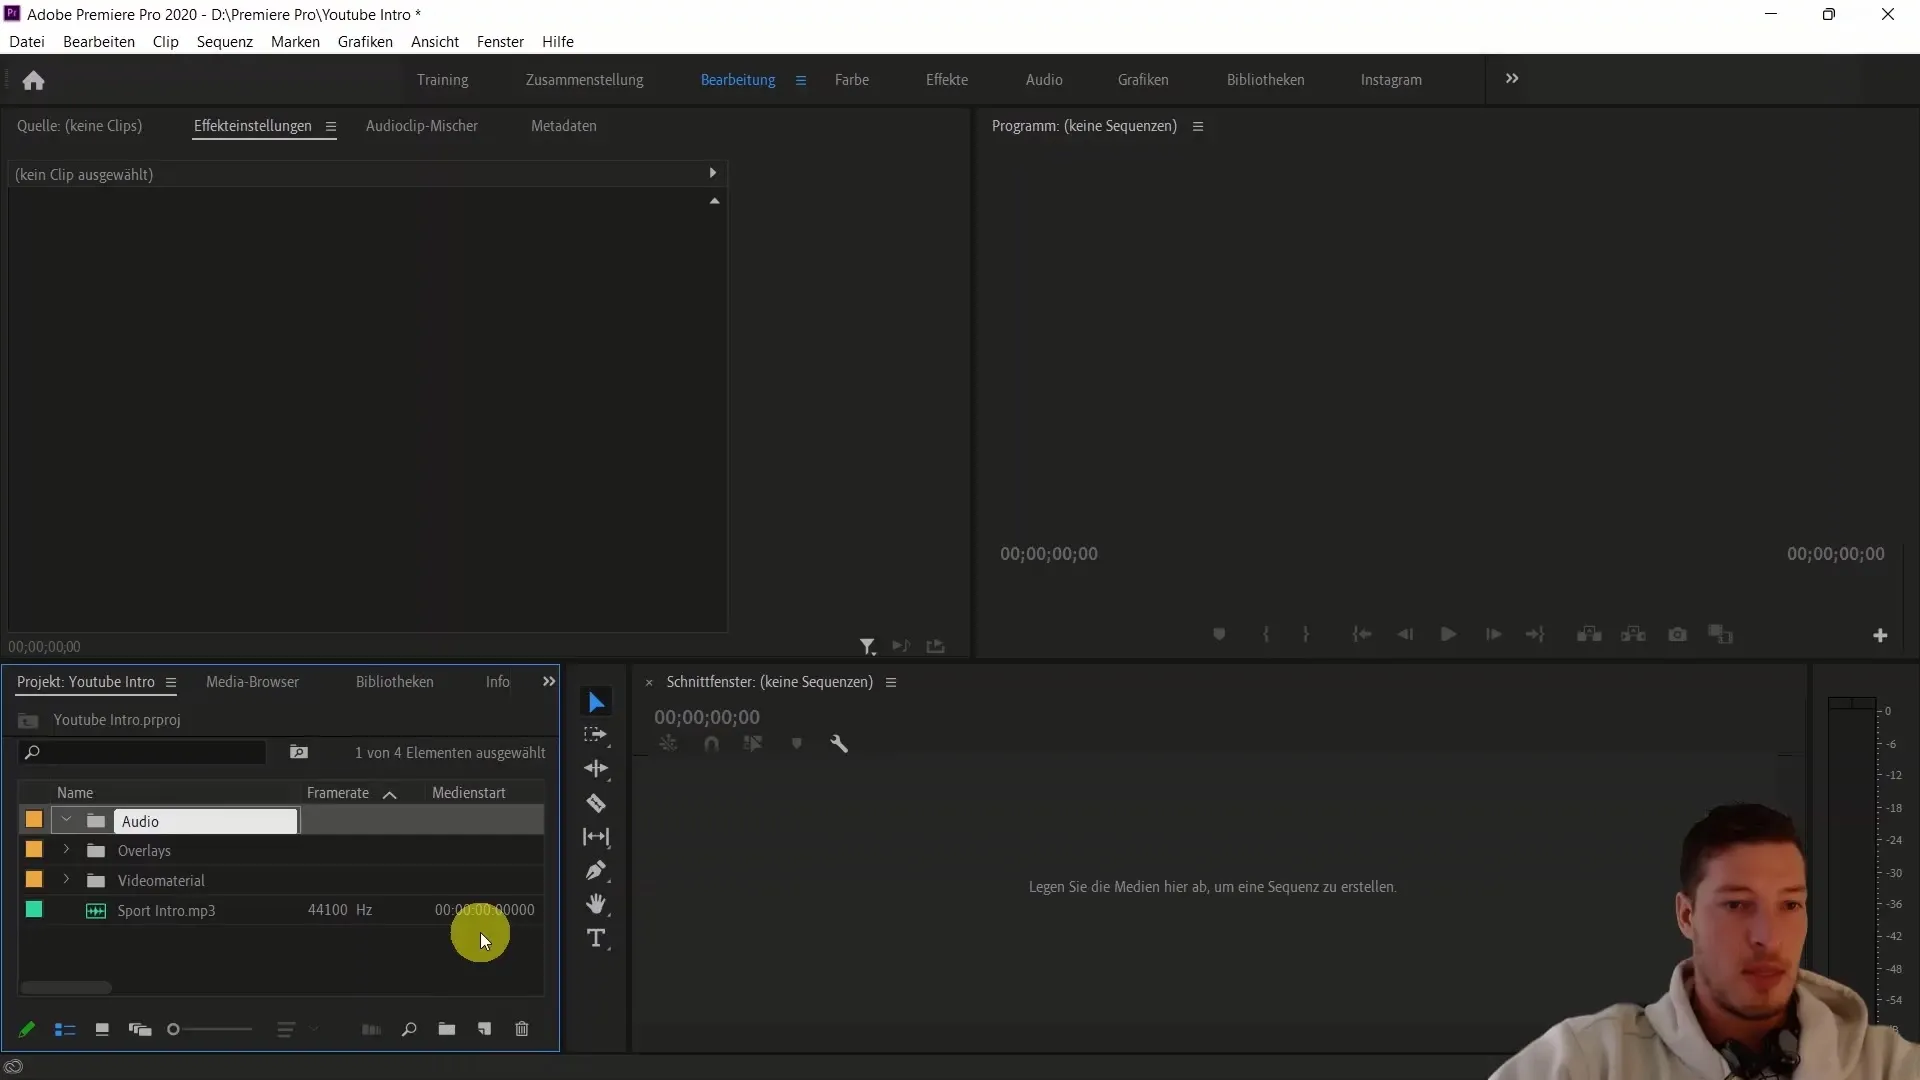
Now grab the audio file and drag it onto the timeline to create a new sequence. Make sure to align your video clips to the beat of the music.
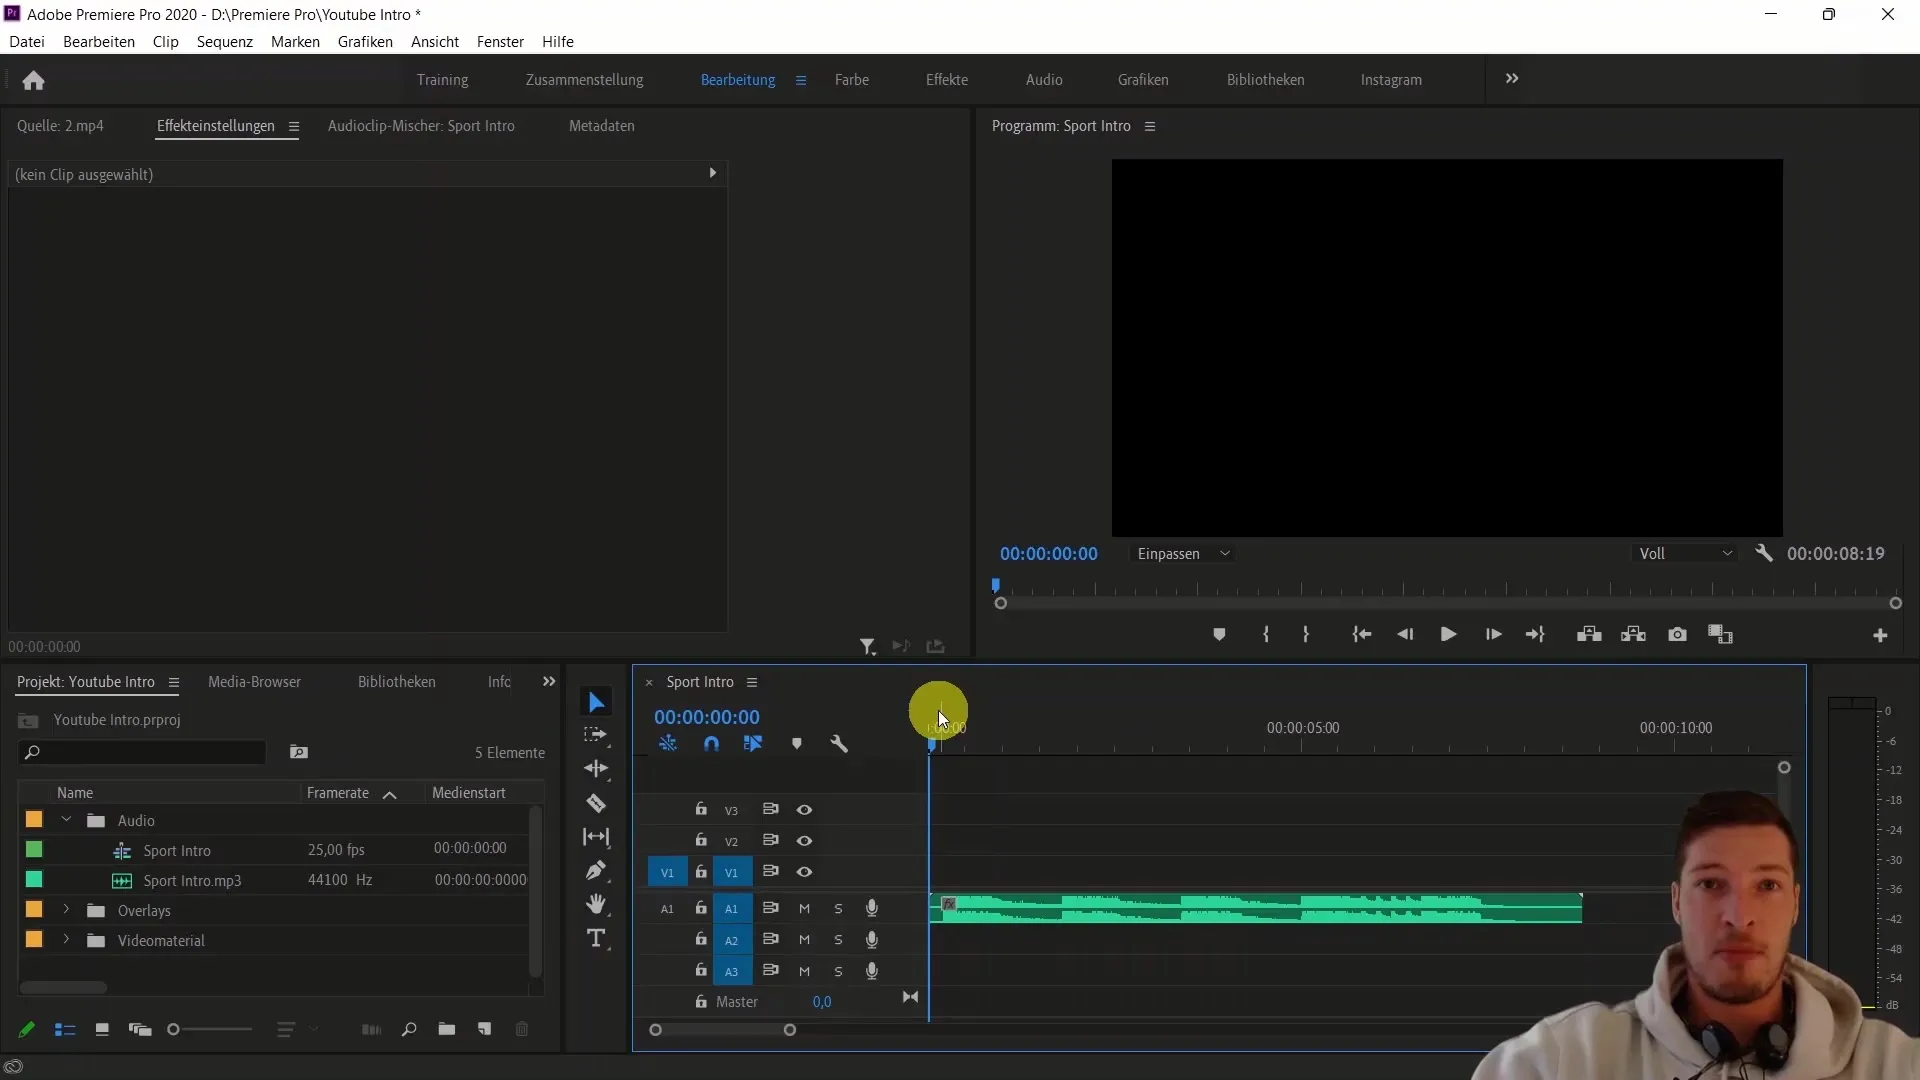
Ensure you cut the videos at the right moment in the music. Use the Cut key (C) and the Selection key (V) to remove parts you don't need.
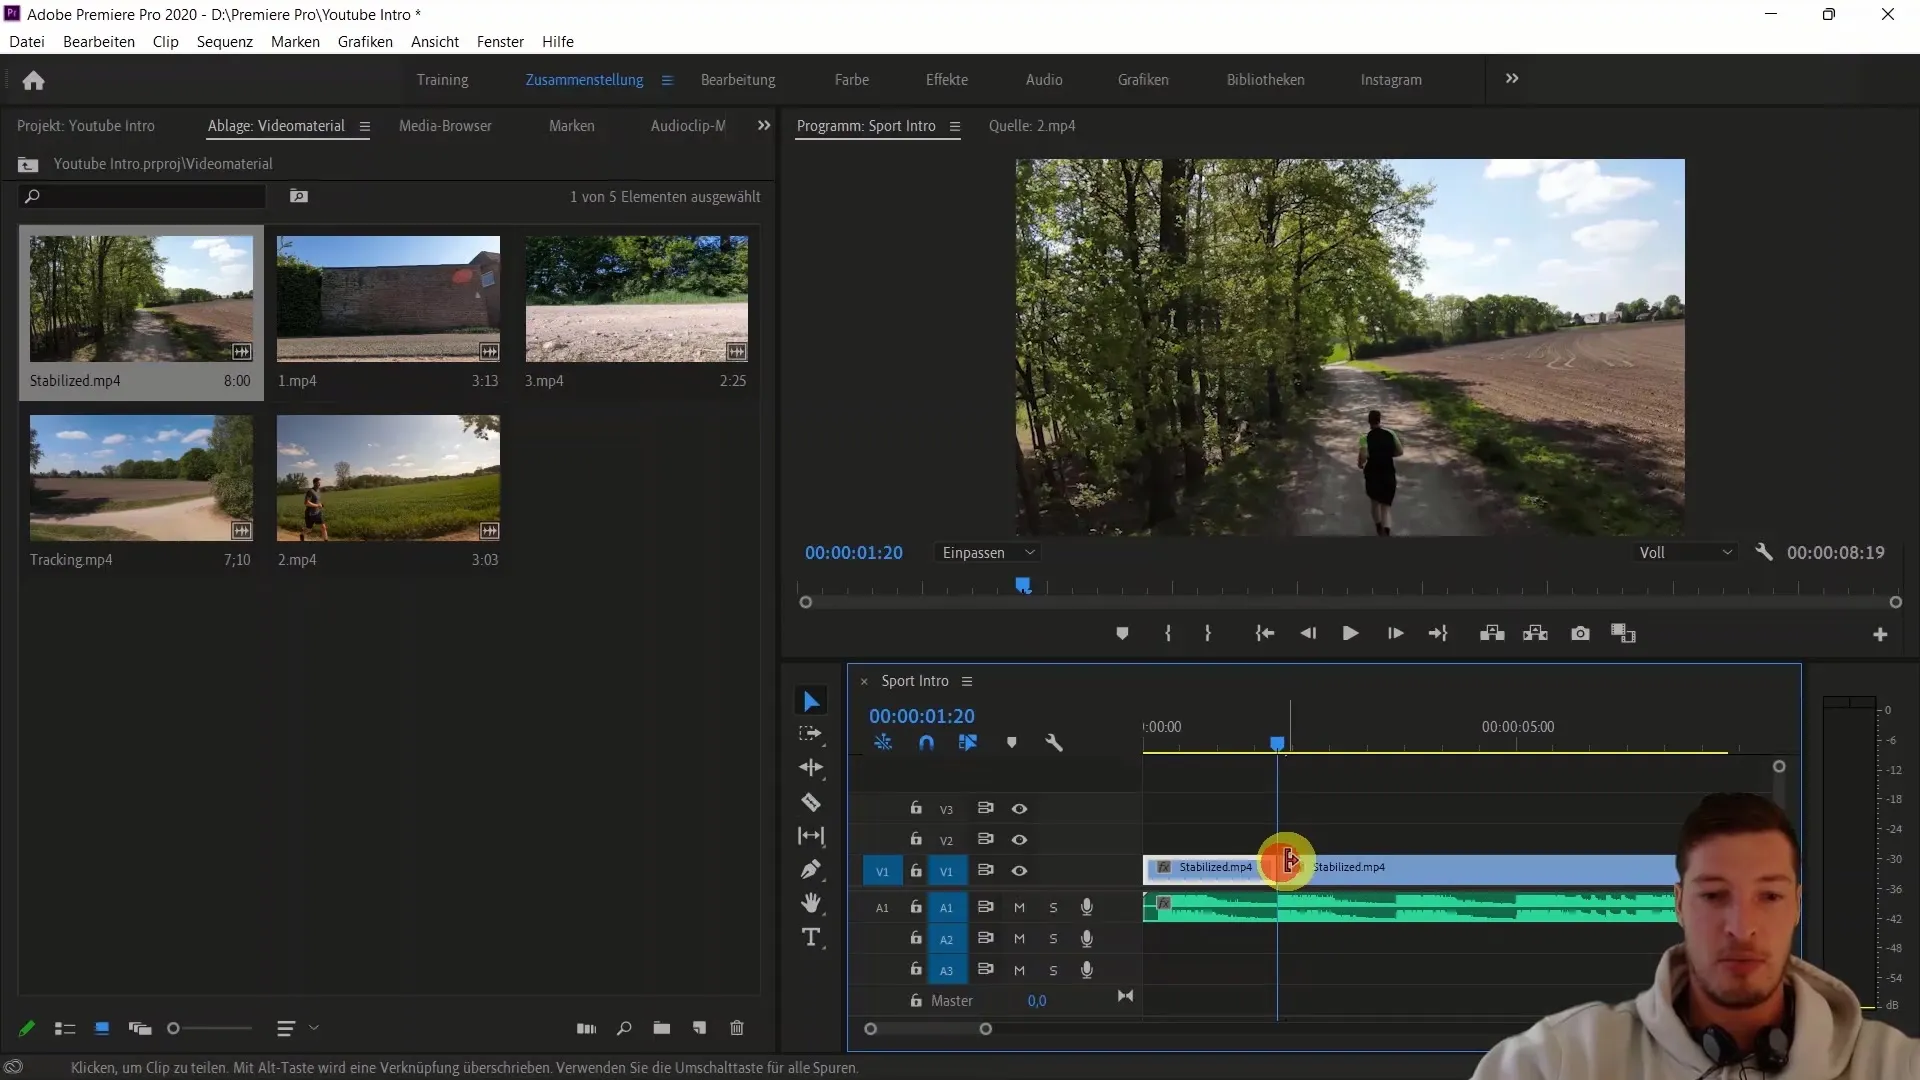
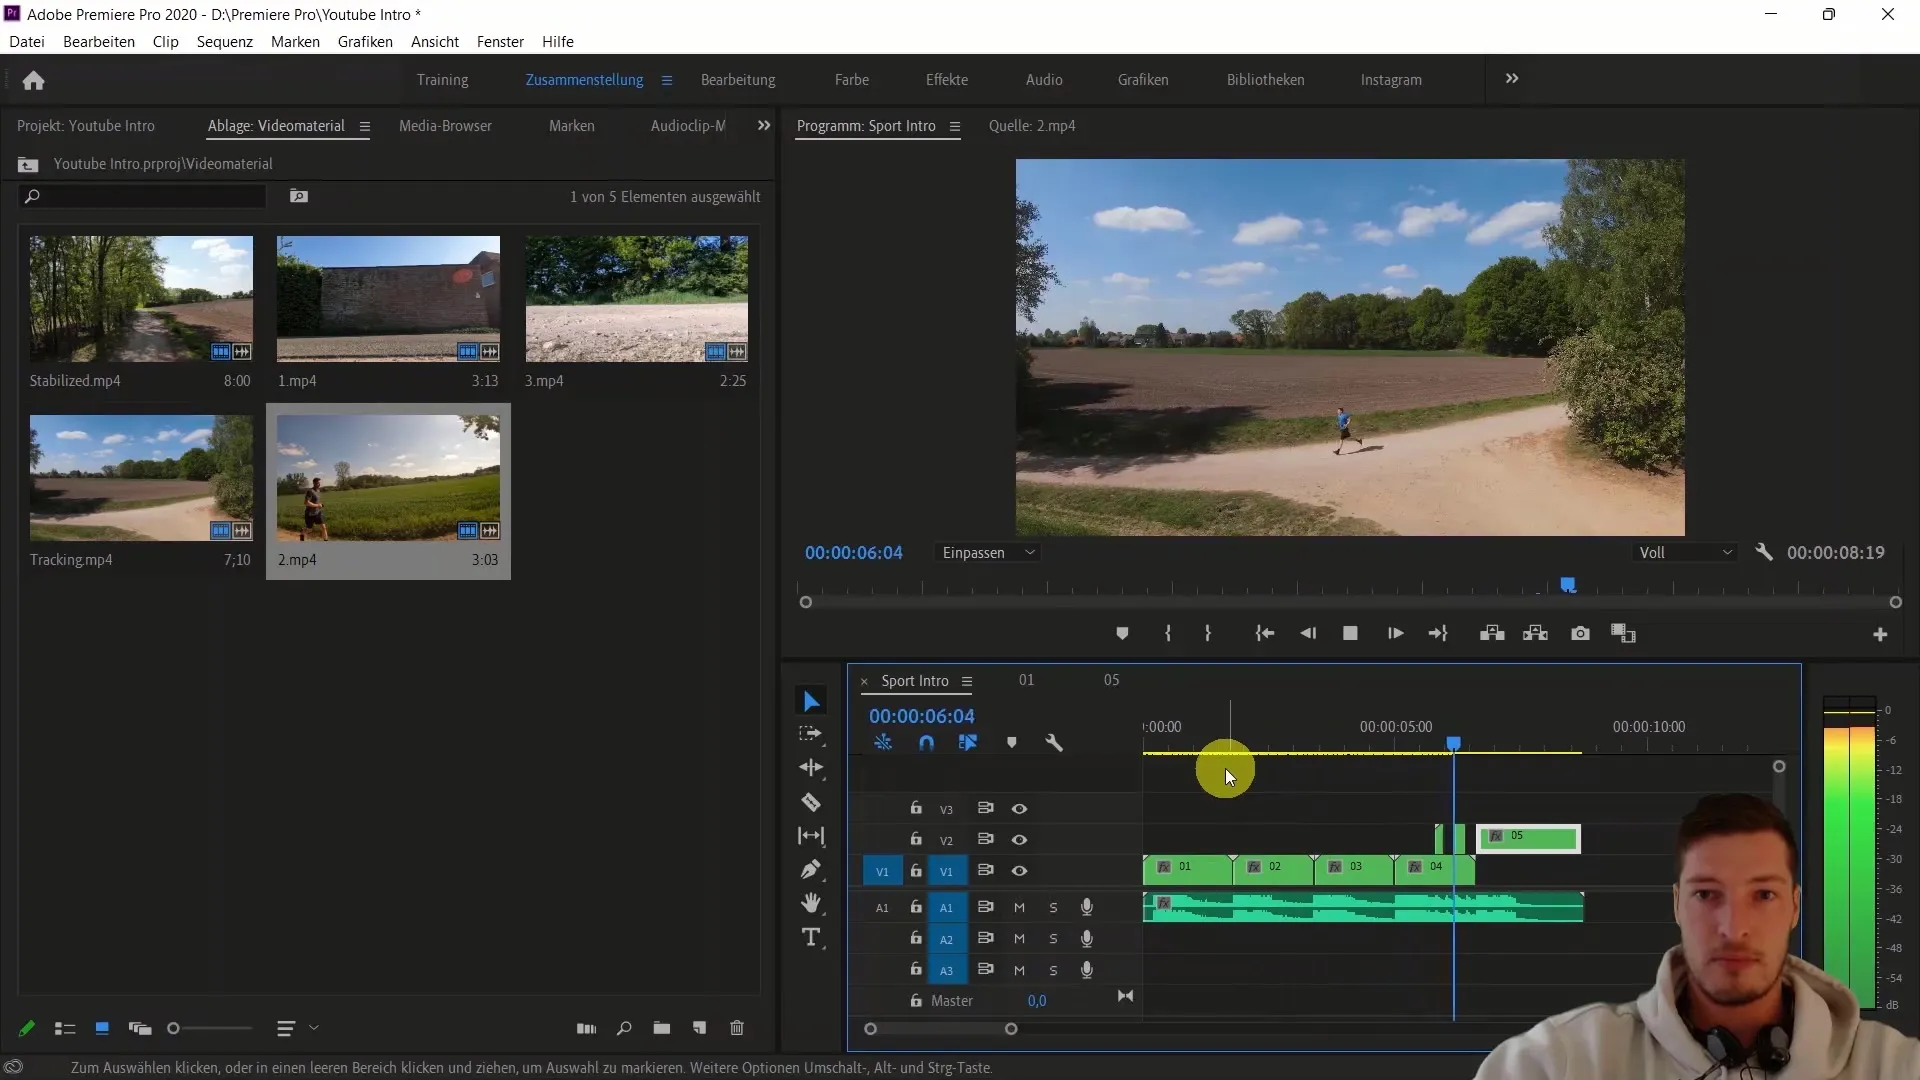
Next, you'll want to create a sub-sequence for the first clip. Right-click on the video and choose "Nest" from the context menu.
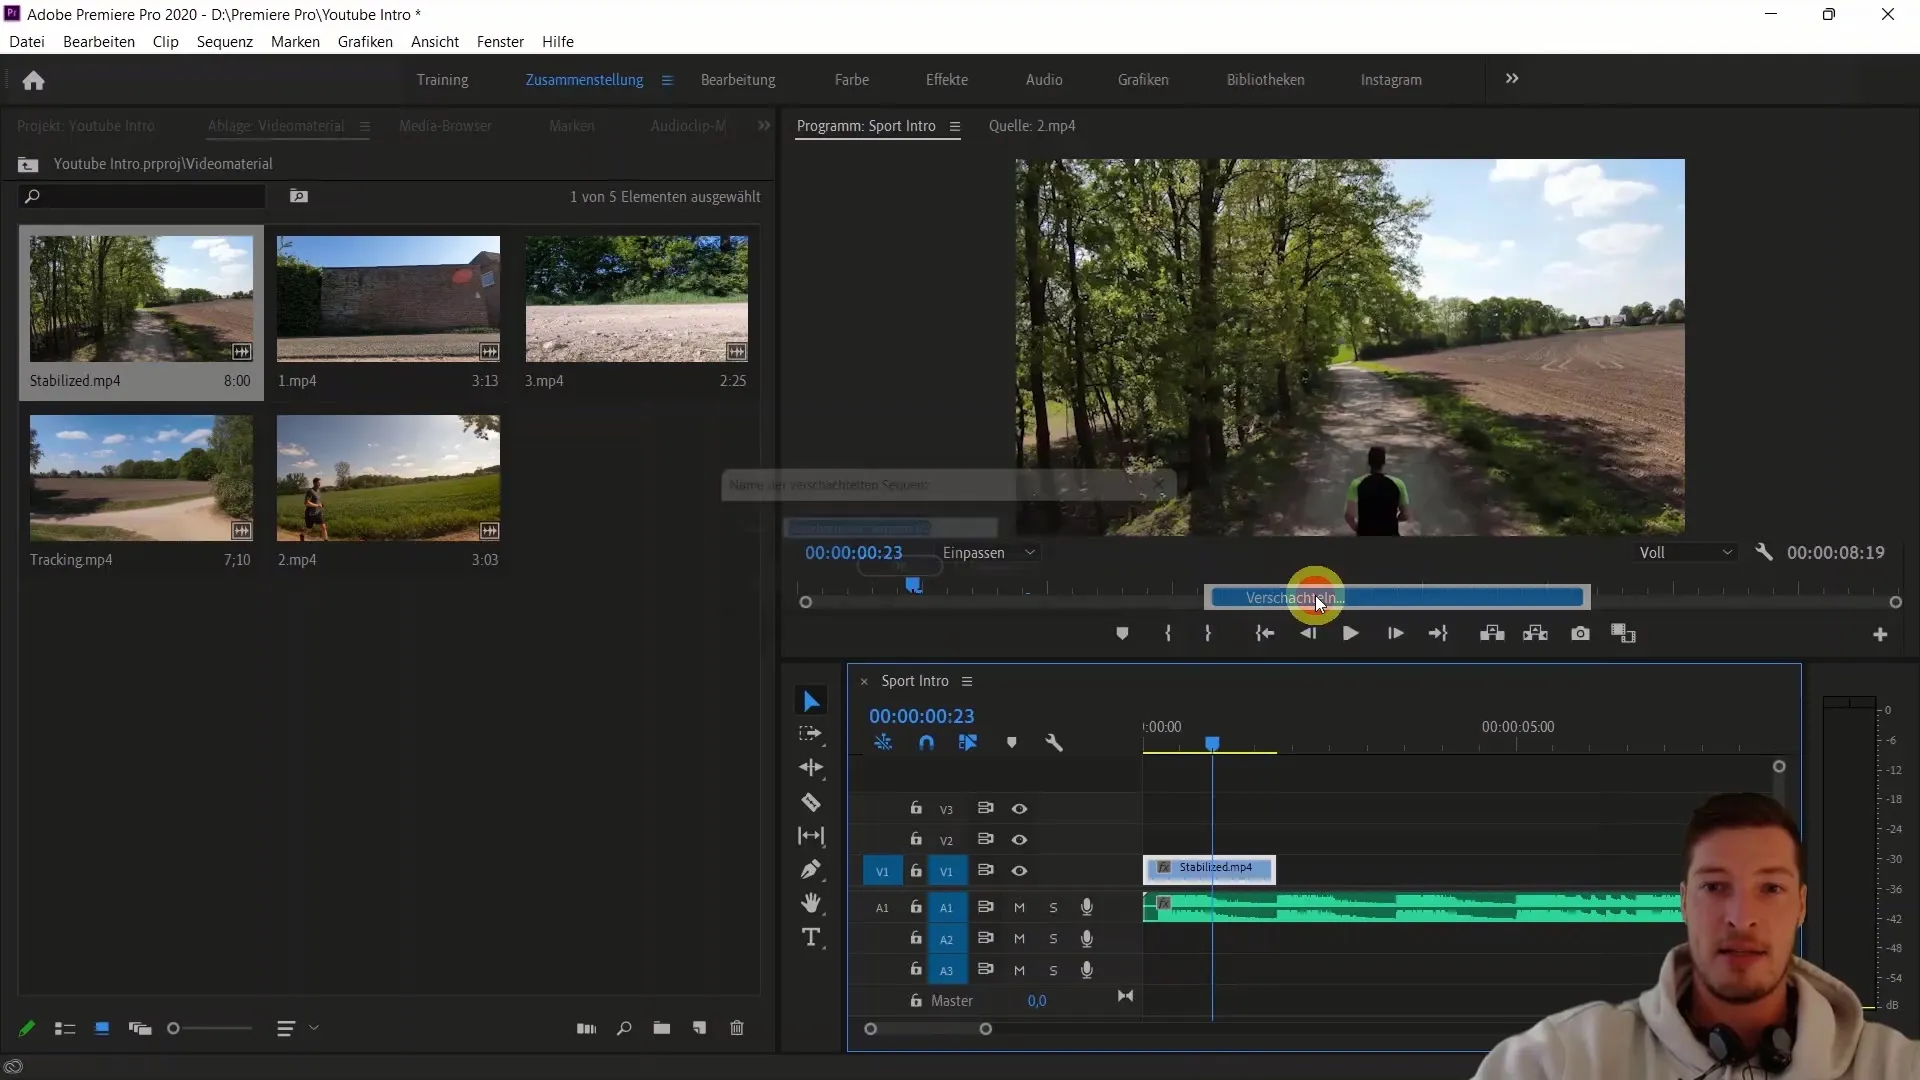
Give the new sequence created by nesting a name like "01". Now your clip is no longer directly in the main sequence but is available as a child sequence.
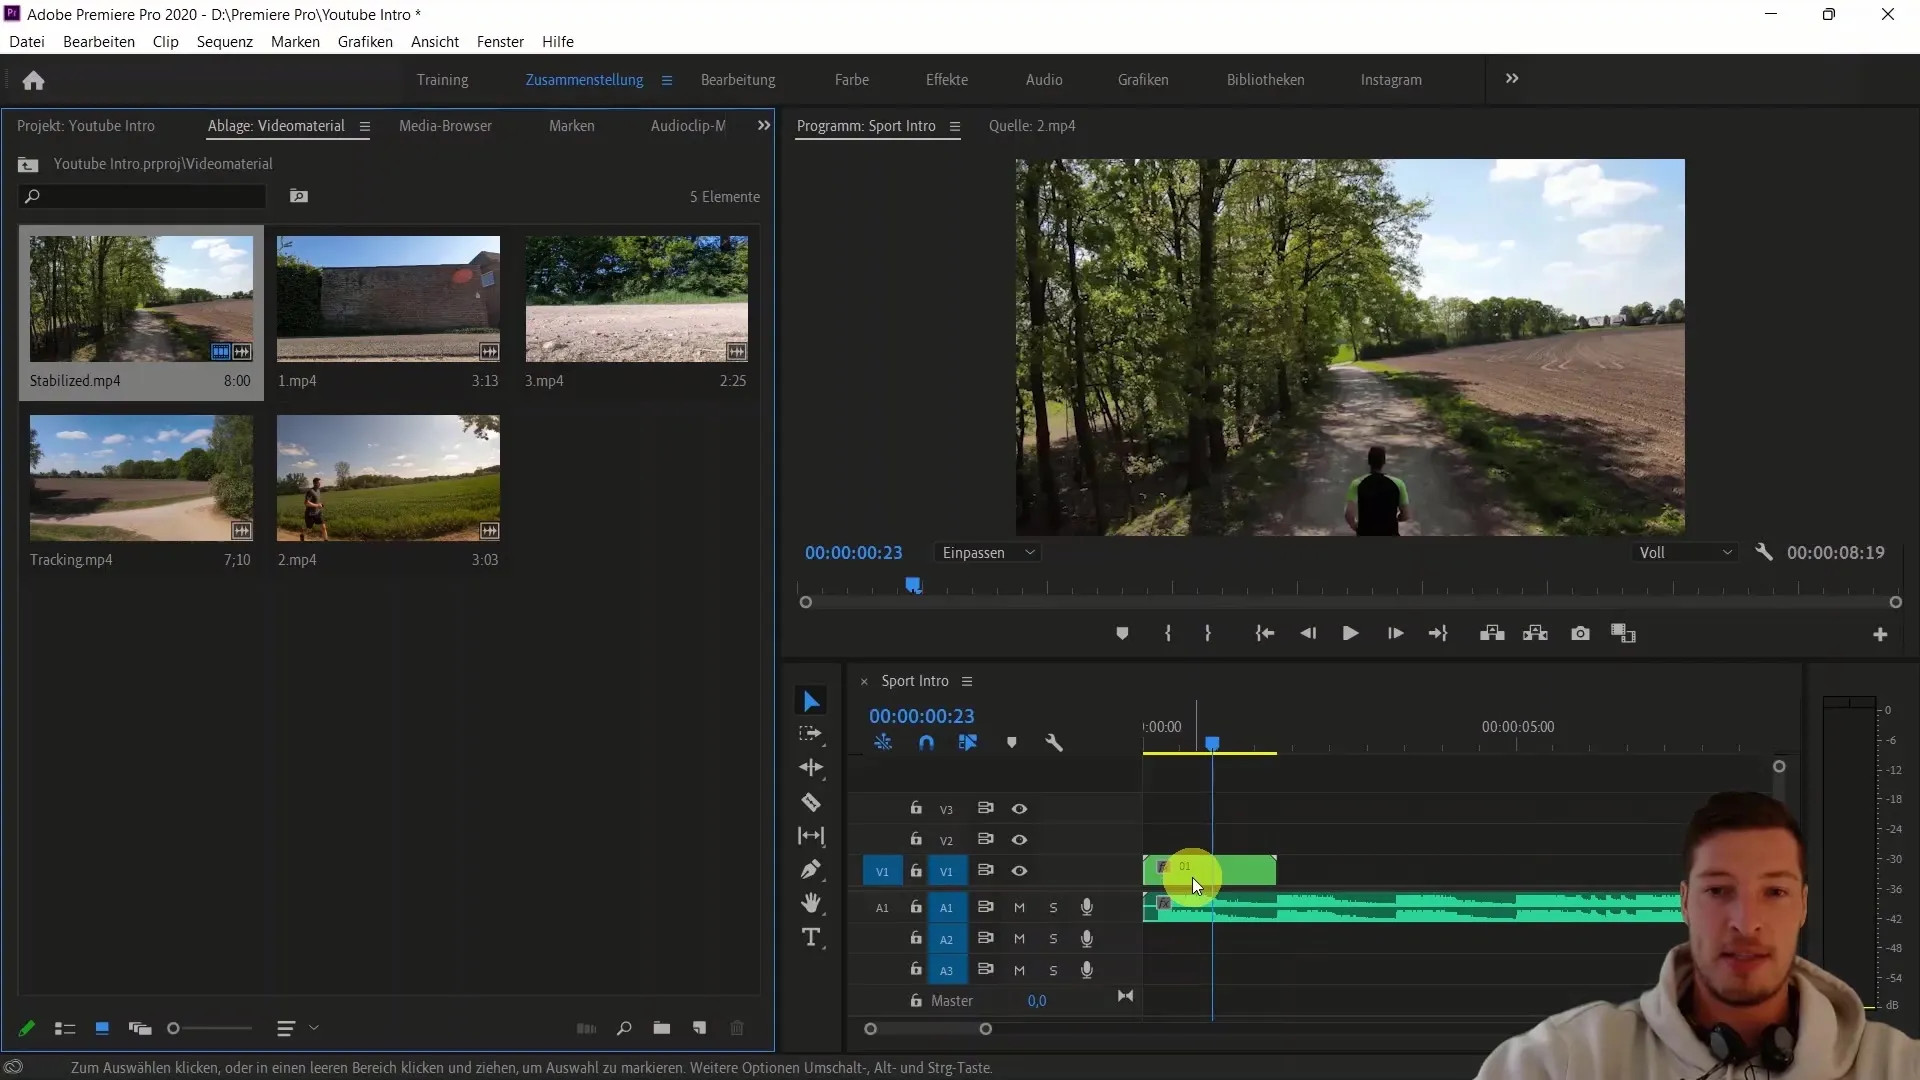
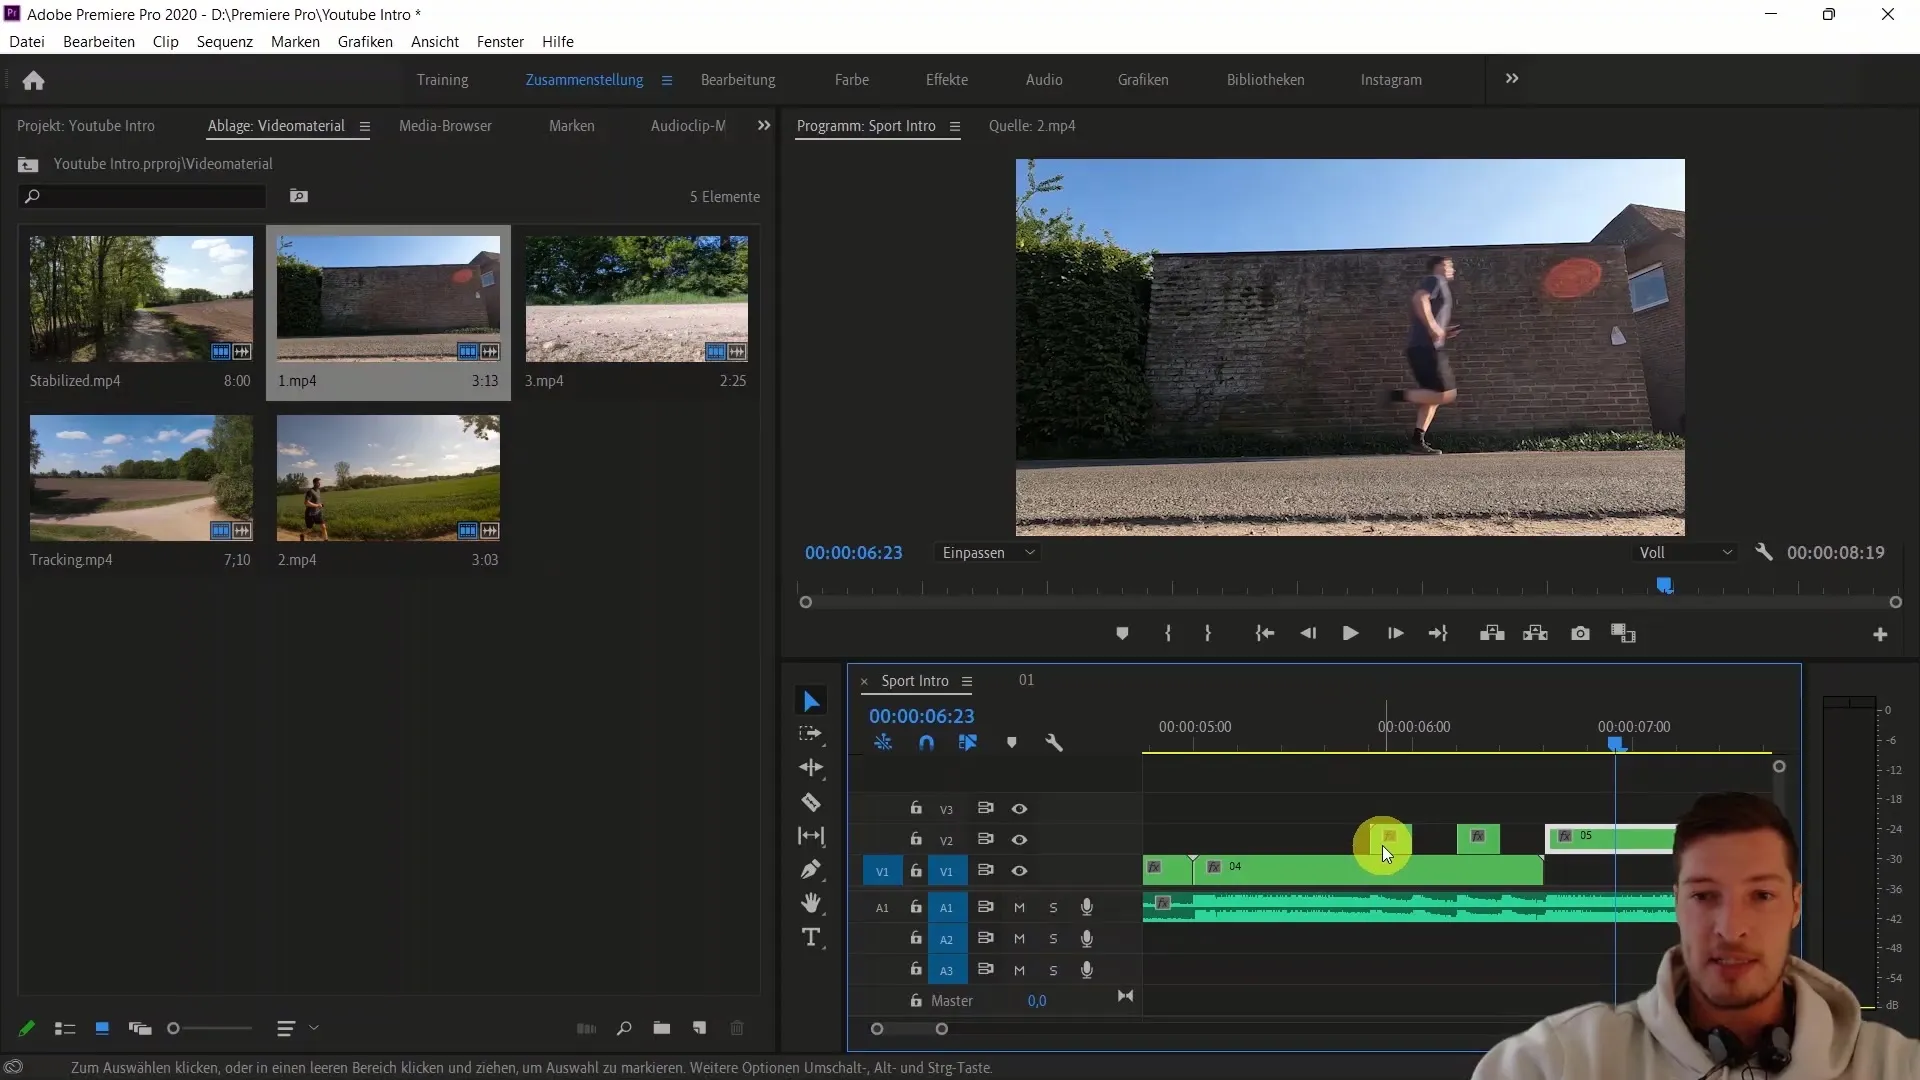
Repeat the process for the other clips, naming them accordingly as "02", "03", "04", and so on. This allows you to edit your clips separately while still being linked in the main sequence.
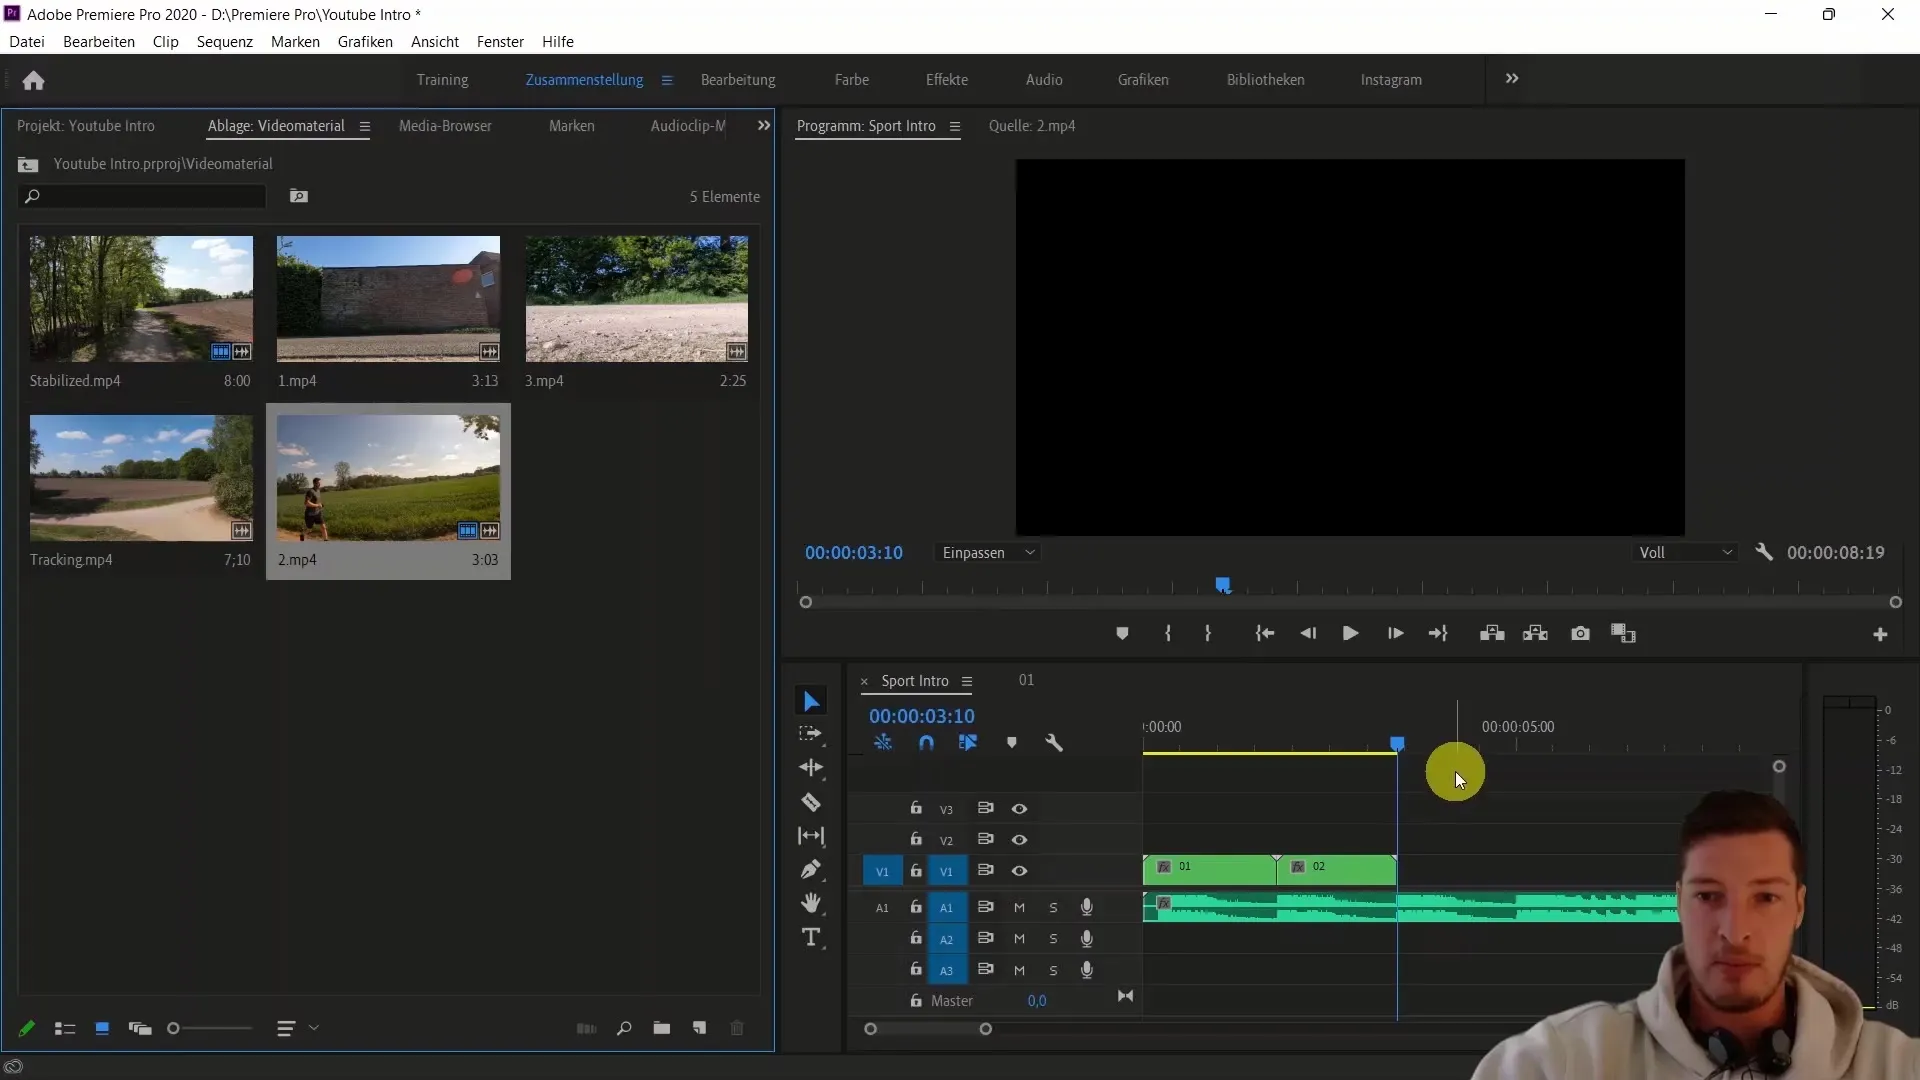
Especially in larger projects, it's important to be able to adapt to changes flexibly. You can edit the nested clips at any time, and the changes will immediately affect the main sequence.
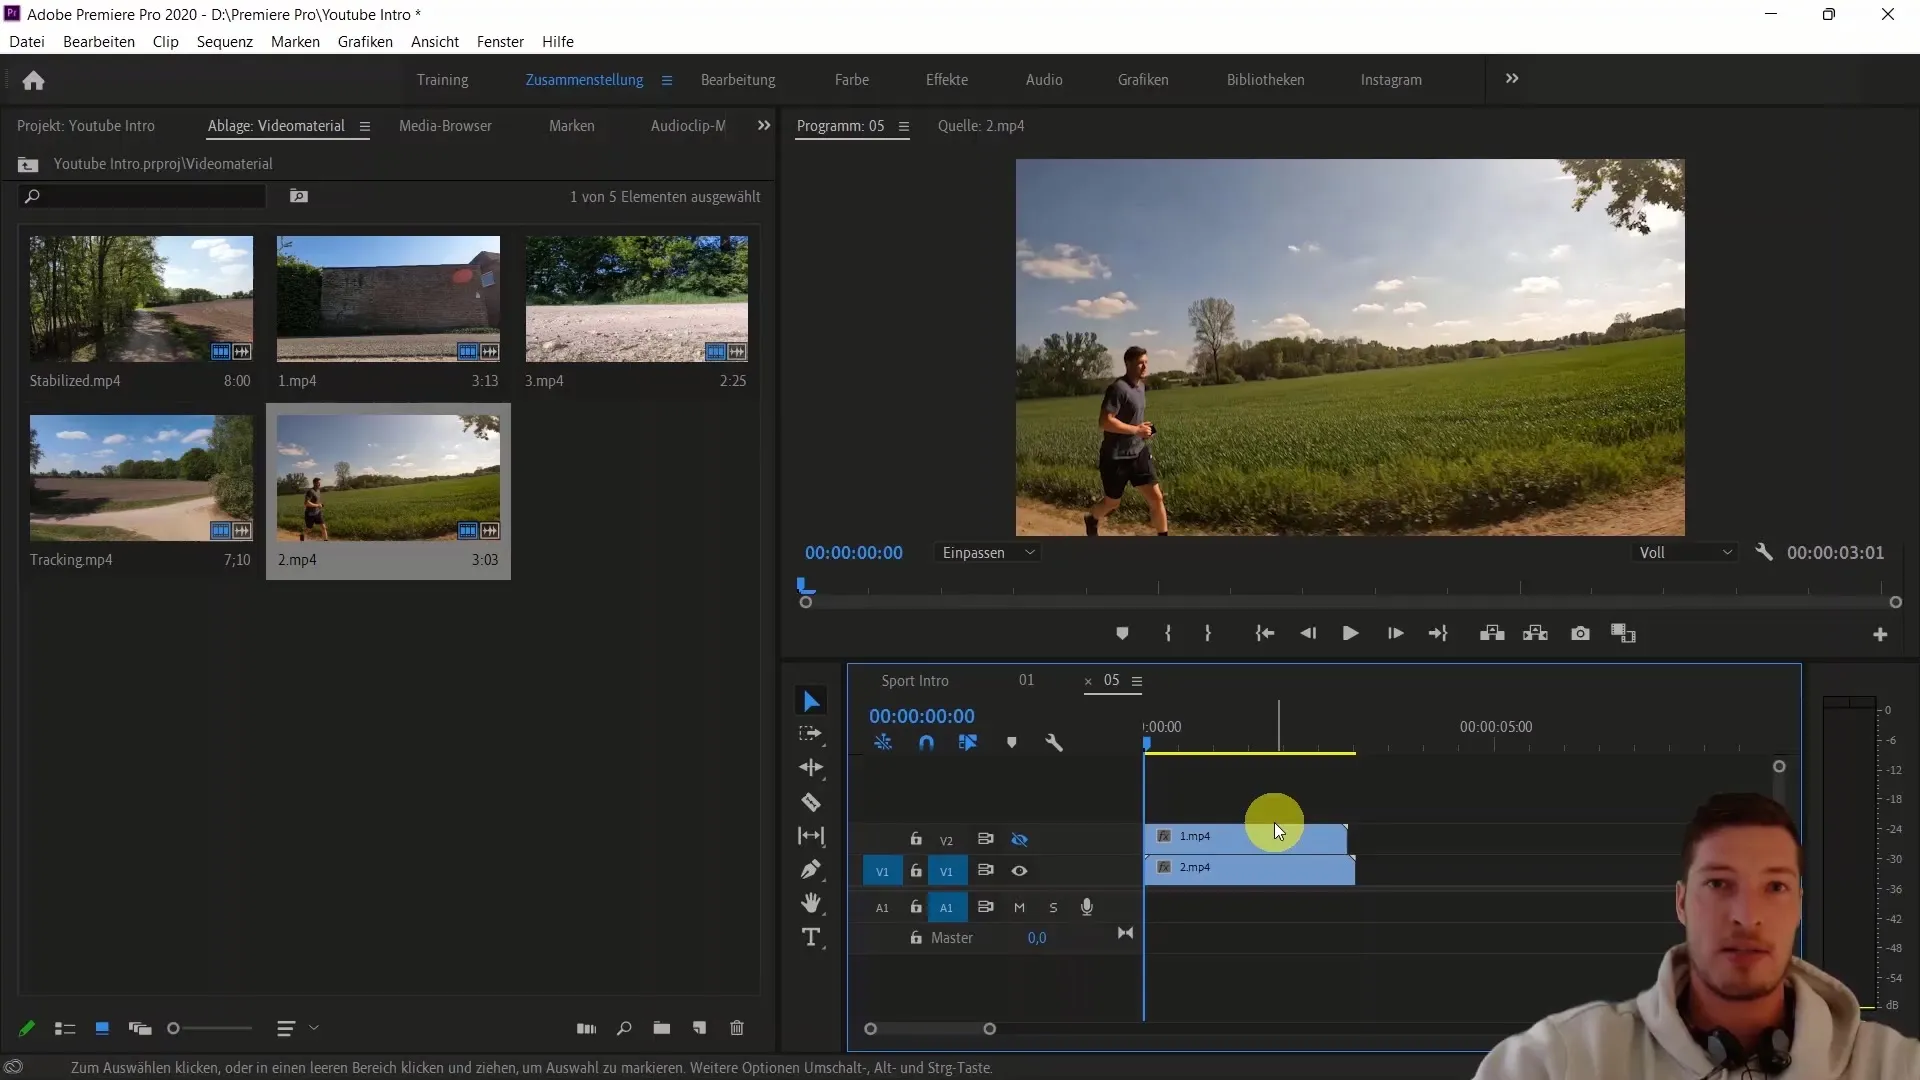
If you need to change the original video in one of the nested clips, simply access the nested sequence, replace your new video, and the main sequence remains unchanged.
Manage your clips efficiently through these nested structures and ensure that the entire editing process runs smoothly. This way, you have the opportunity to work with many effects and elements in a clear framework.
Summary
Within this step-by-step guide, you have learned how to organize and edit your videos more efficiently through the use of nesting in Adobe Premiere Pro CC. The technique of nesting is particularly useful for keeping an overview and saving time when making changes in the clips, including effects and other adjustments.
Frequently Asked Questions
How do I create a nest in Adobe Premiere Pro CC?Right-click on the clip you want to nest and select "Nest".
What are the benefits of nesting?Nesting helps you maintain an overview in complex projects and manage changes to the clips centrally.
Can I edit multiple clips simultaneously in a nested sequence?Yes, changes to the nested sequence will affect all instances in the main sequence.
Will I lose the quality of my clips through nesting?No, the quality remains intact as the original material is not altered.
How can I return to the main sequence?Simply double-click on the main sequence in the project overview to return.


