In today's tutorial, I will show you how to use Adobe Premiere Pro CC overlays for your intro and video effects. This technique will help you add more dynamism and professionalism to your video. You will learn how to integrate different overlay videos into your project, customize them, and create creative effects. Let's get started!
Key Takeaways
- Overlays can enhance the visual dynamism of your videos.
- You can achieve creative effects with blending modes.
- Adjusting scaling and opacity is crucial to harmoniously incorporate the overlay.
Step-by-Step Guide
To effectively use your overlays, follow these steps precisely:
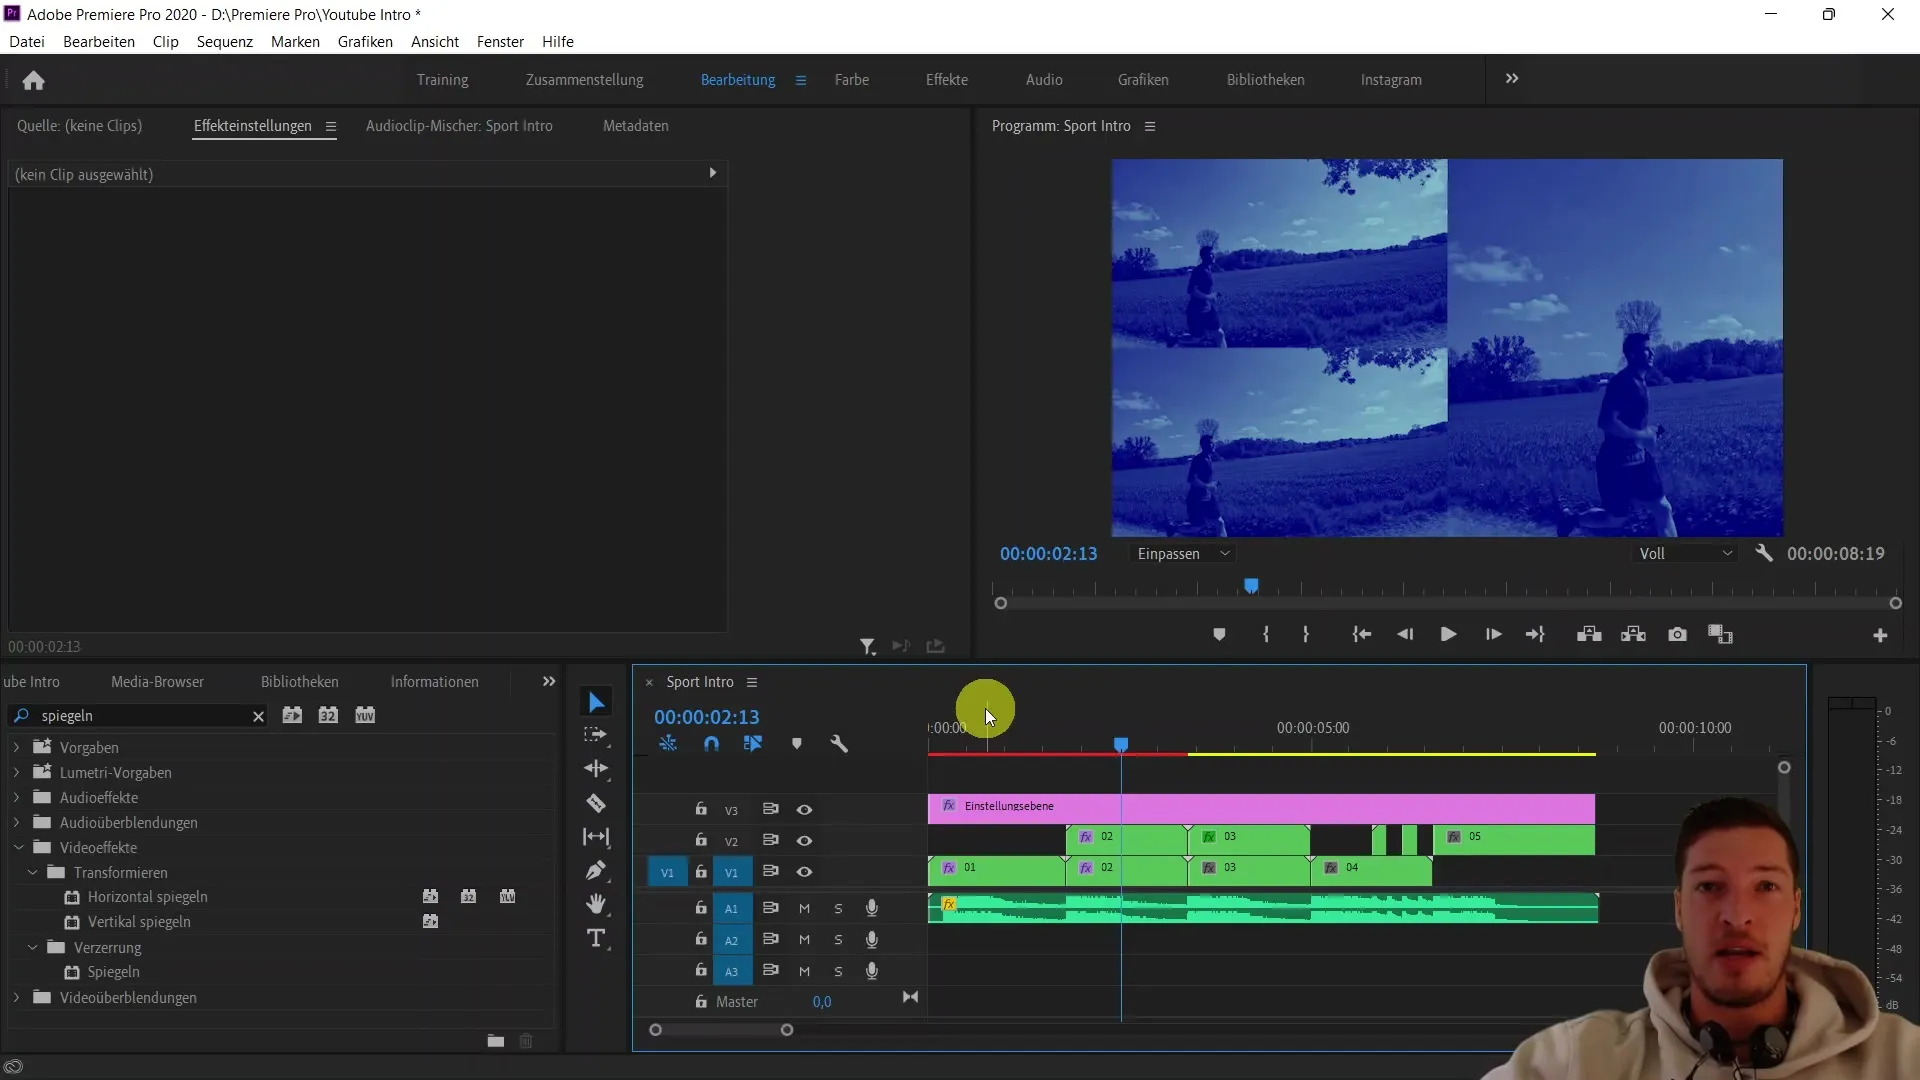
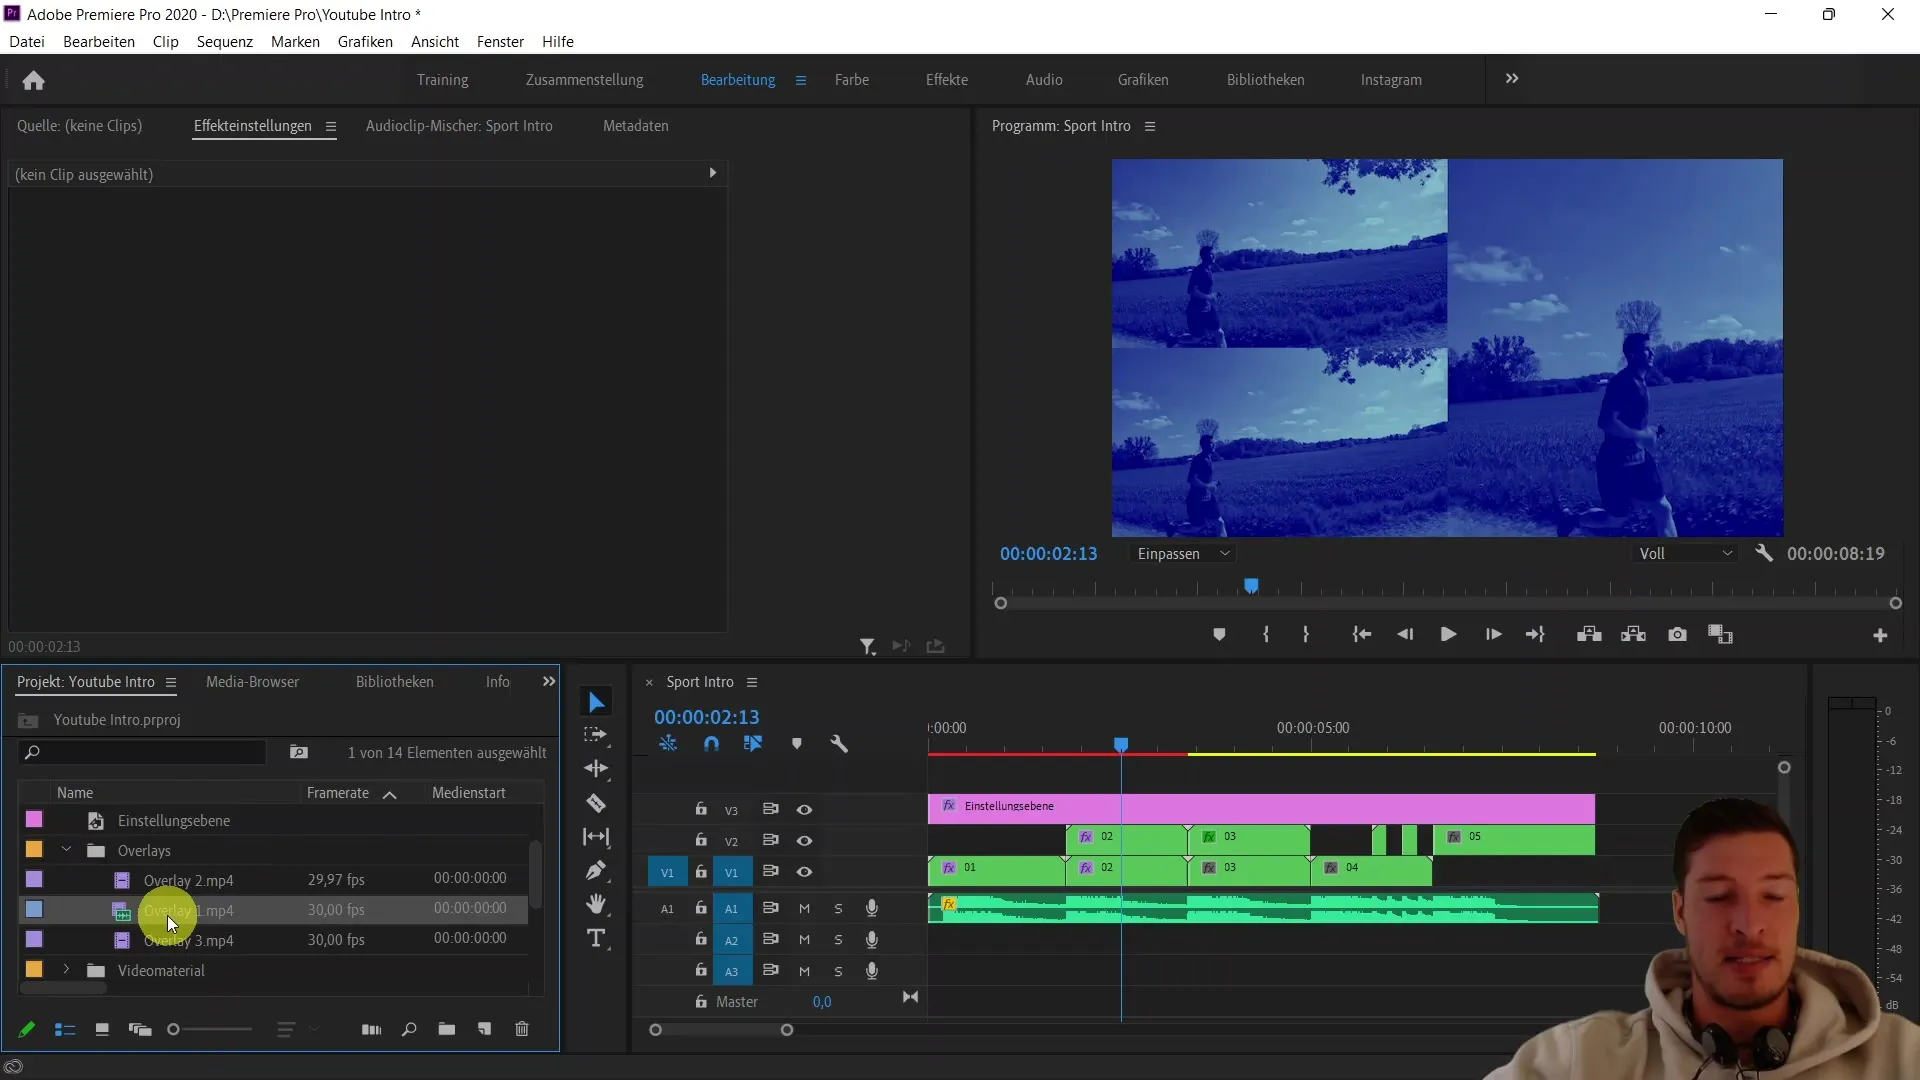
First, open the project media in Adobe Premiere Pro. There you will find the provided overlay videos. I have provided you with three different videos that you can use. Choose the first overlay and drag it into your sequence. It's best to add it to the very end of your sequence to get an immediate impression of how it will look.
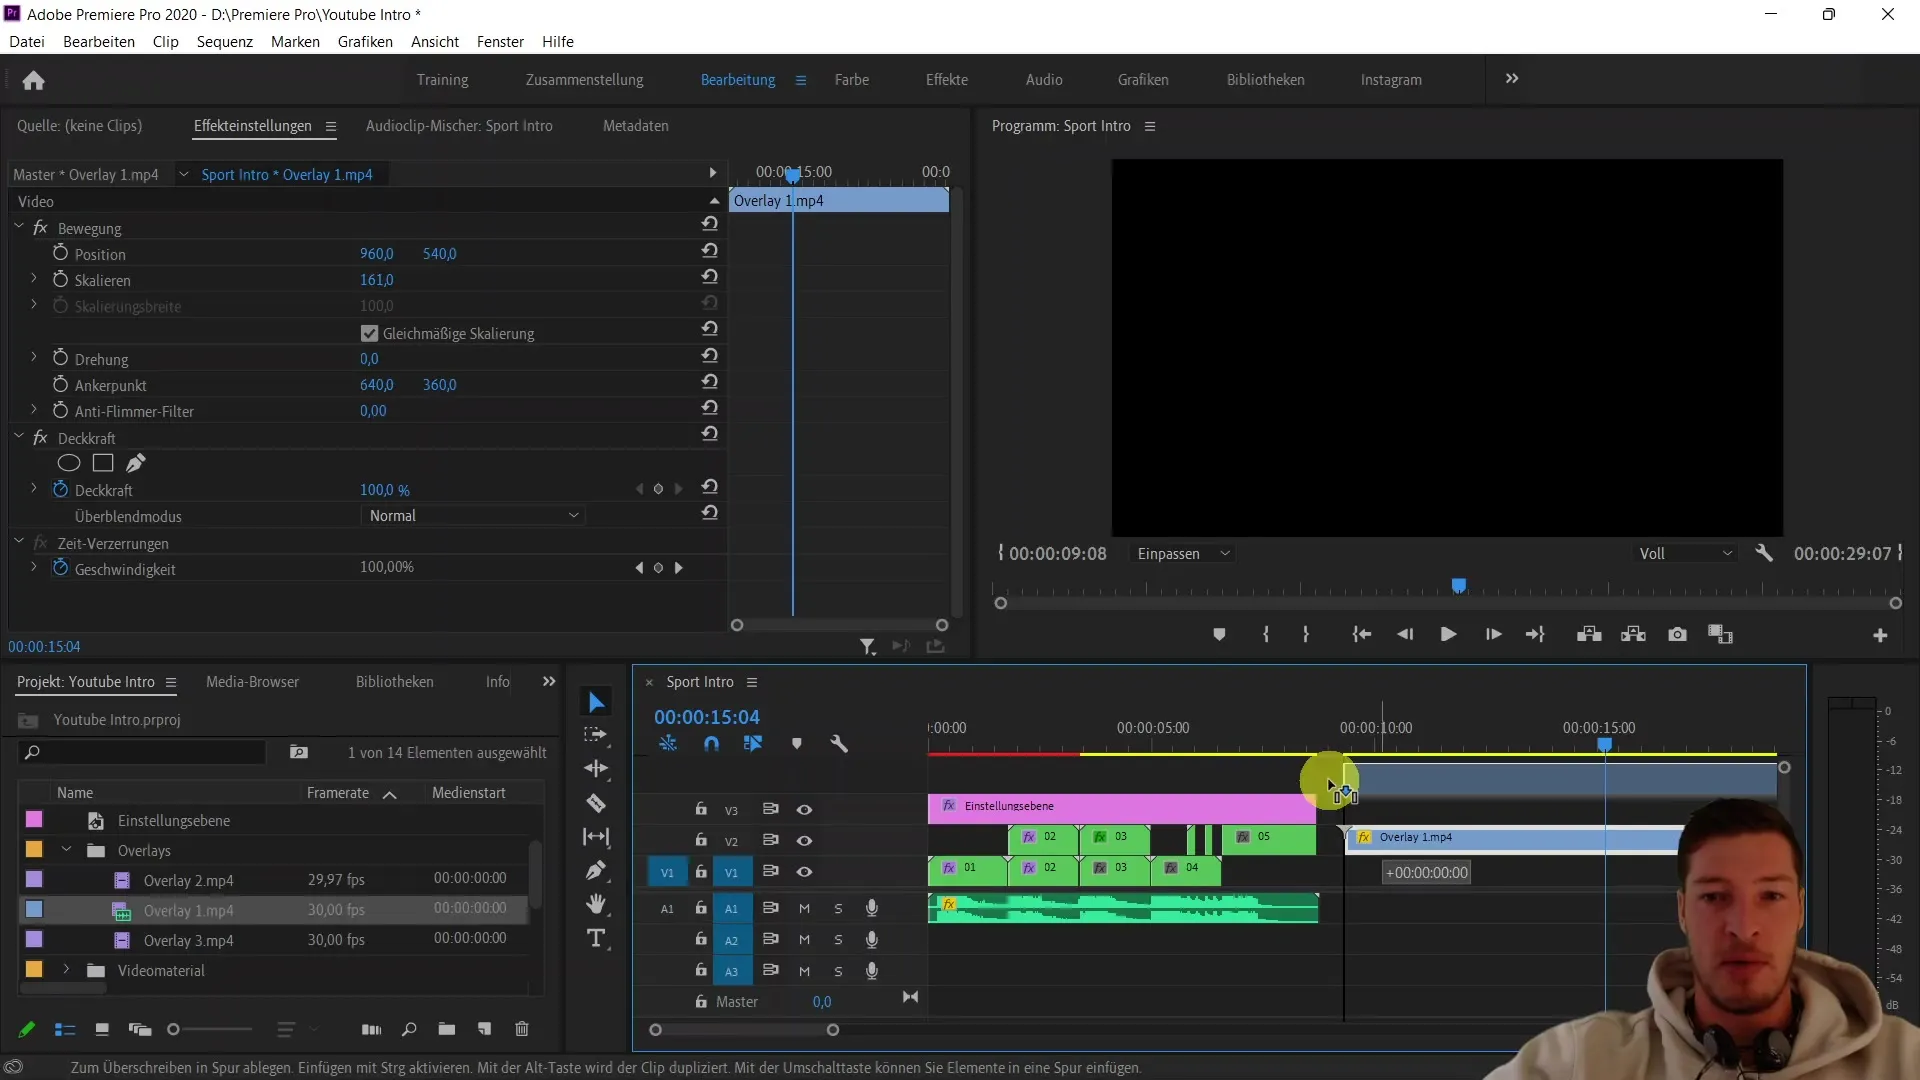
The first overlay we are inserting looks like a tunnel system. While the overlay itself may initially seem unspectacular, we will soon see how we can lay it over the entire intro. Make sure the overlay spans the entire image area. To do this, open the scaling option and increase the scale to at least 150%. Scaling slightly more is okay.
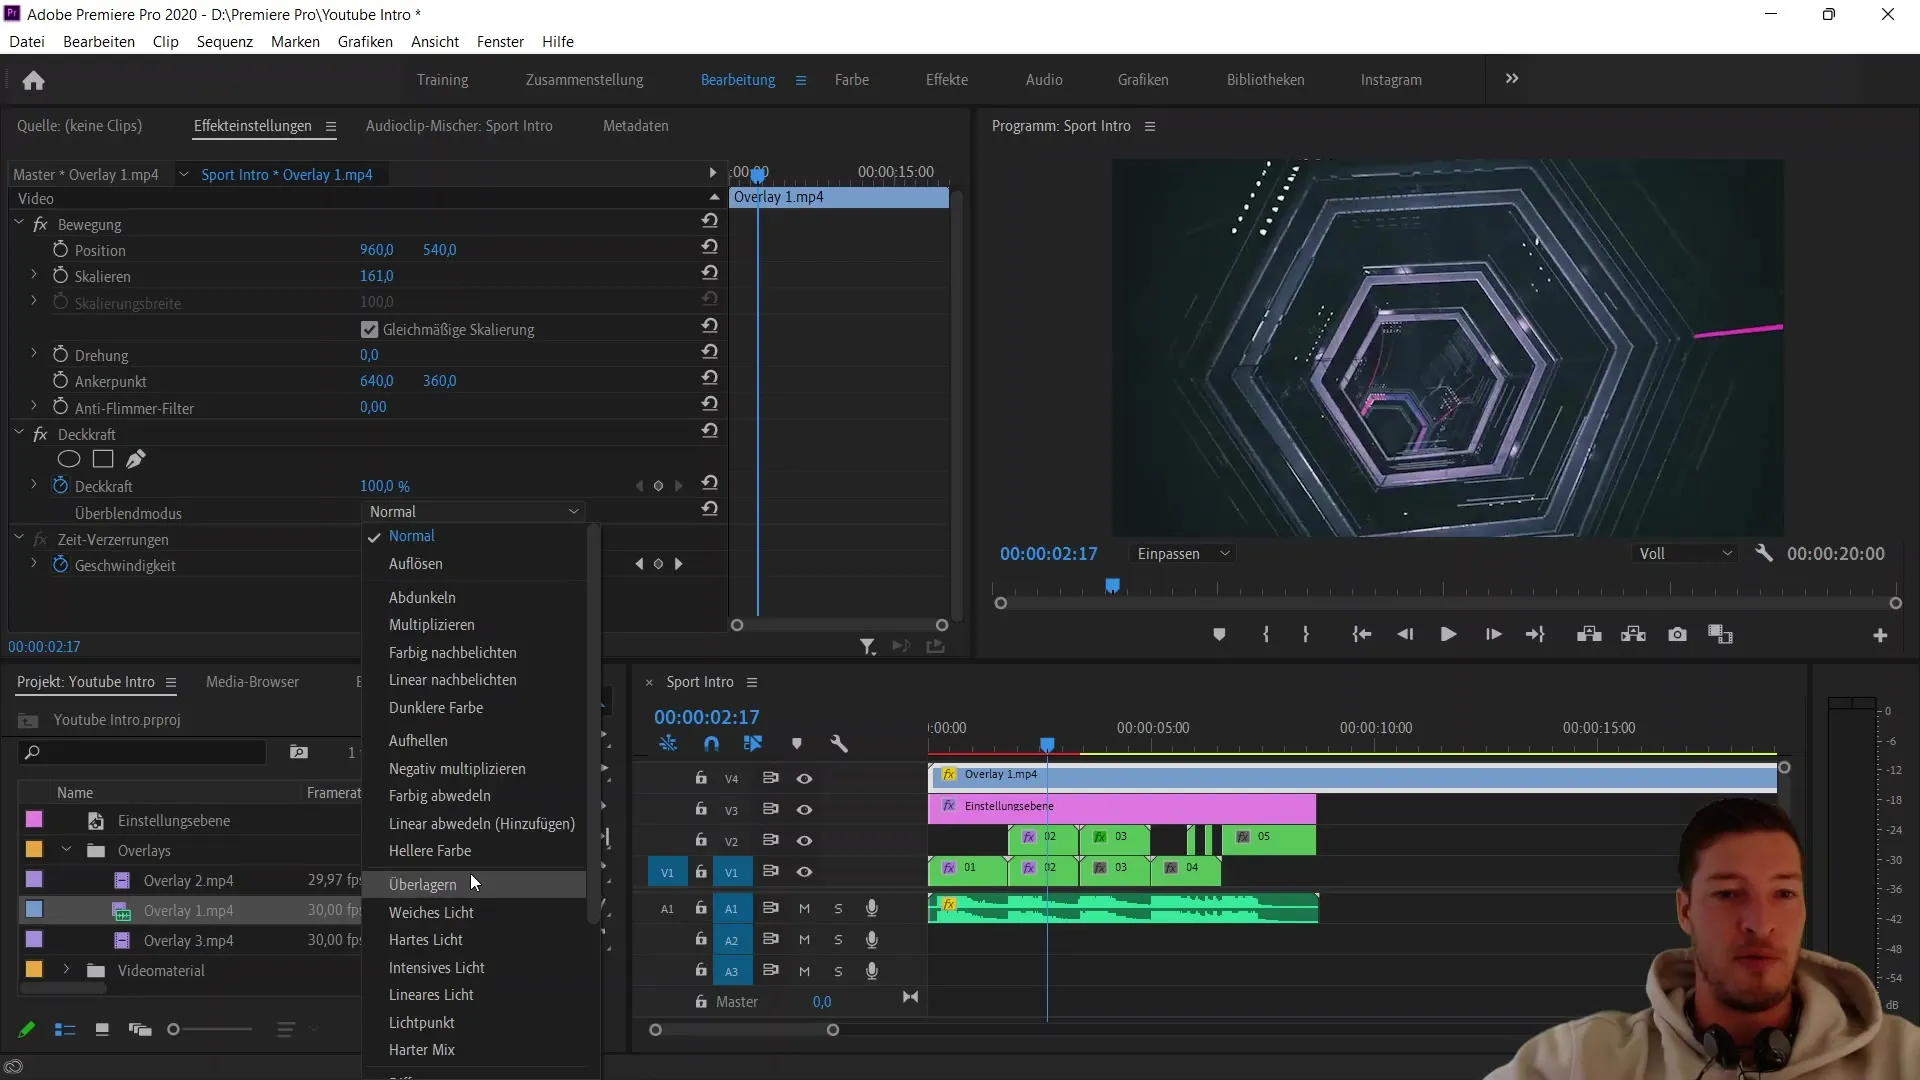
After adjusting the scaling, drag the overlay to the fourth video layer and move it forward. This ensures that the overlay covers the entire intro. However, by default, the overlay has an opacity of 100%, completely covering all underlying layers. To see the underlying videos, we need to adjust the blending mode.
Change the blending mode to "Overlay." You will immediately notice that the underlying video shines through, creating an interesting texture. Here, you can get creative and experiment with which blending mode you like best. Try different options to achieve the desired effect. For example, you could choose "Saturation," which visualizes the color values in the overlay.
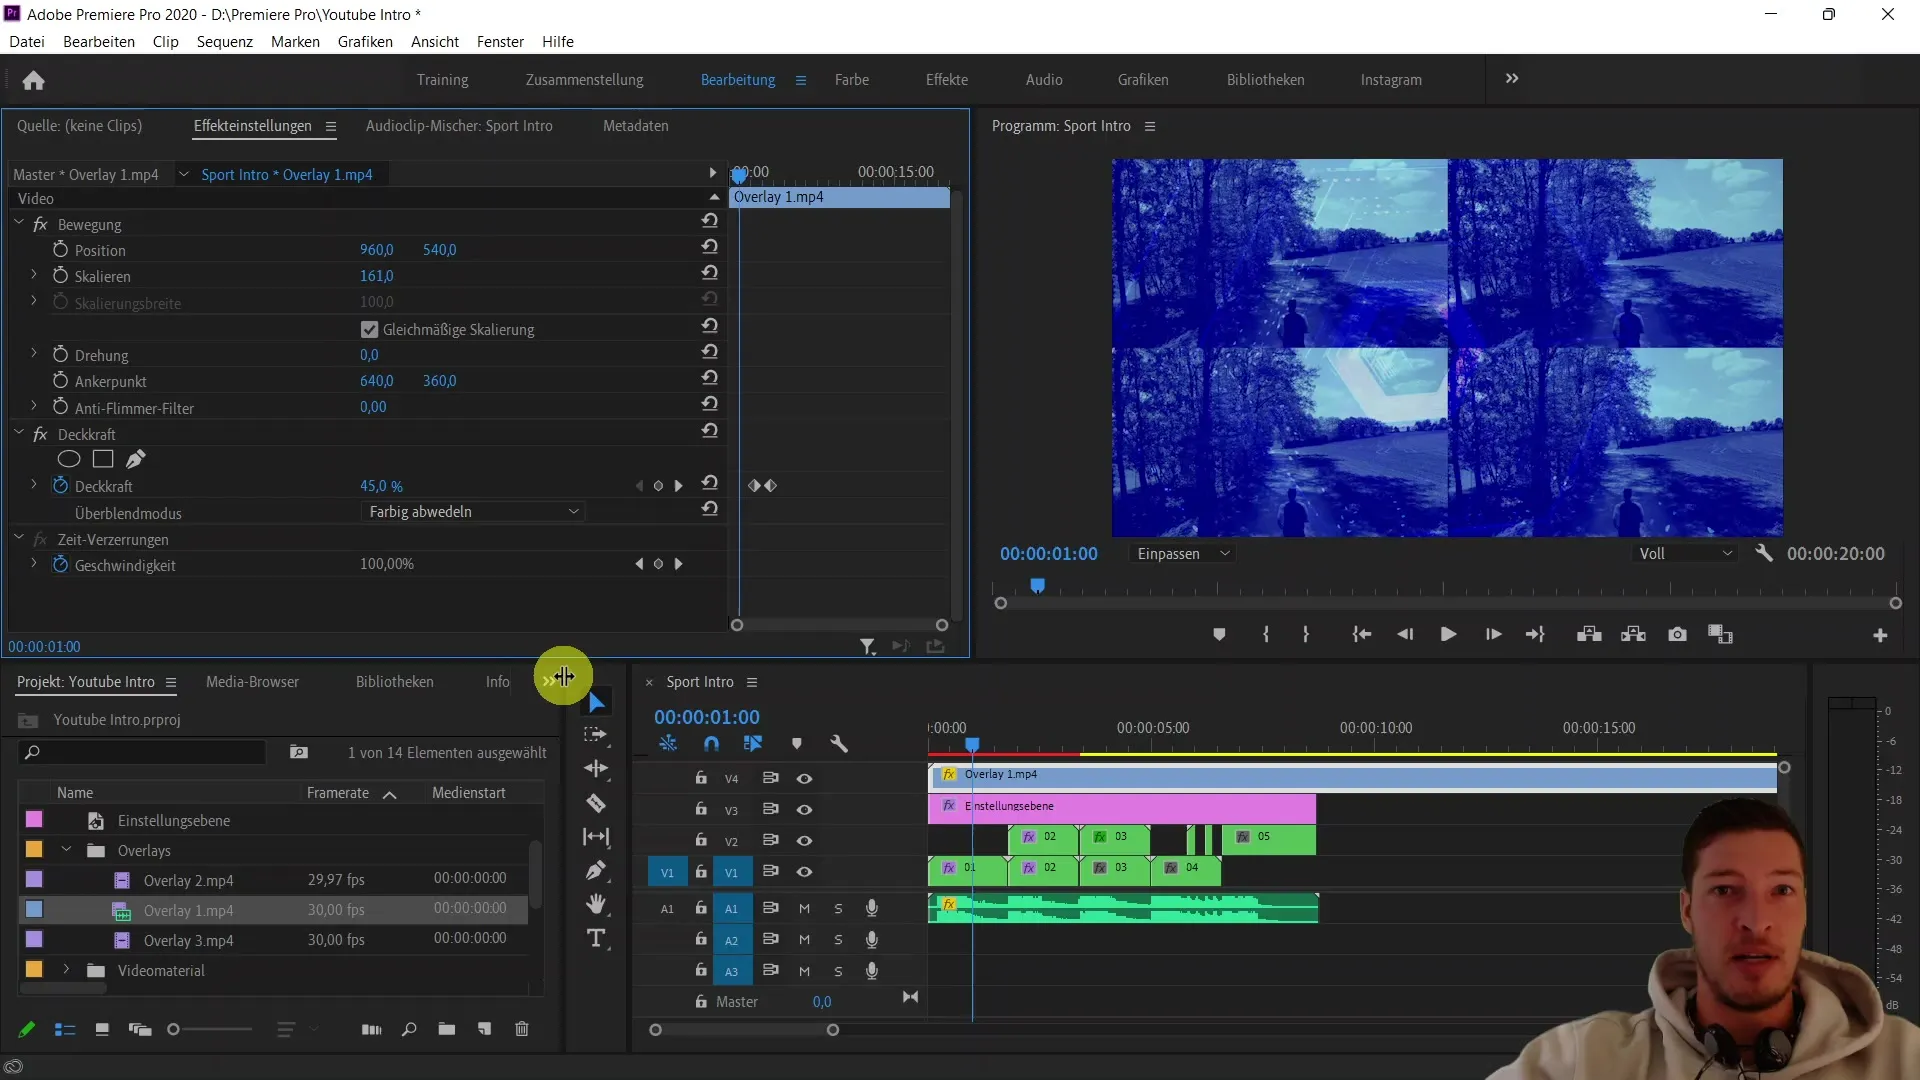
In this example, I will use "Color Dodge" and reduce the overlay's opacity to about 35%. This will integrate the overlay more subtly into the image and prevent it from being too dominant. Let's play the sequence now to see how it looks.
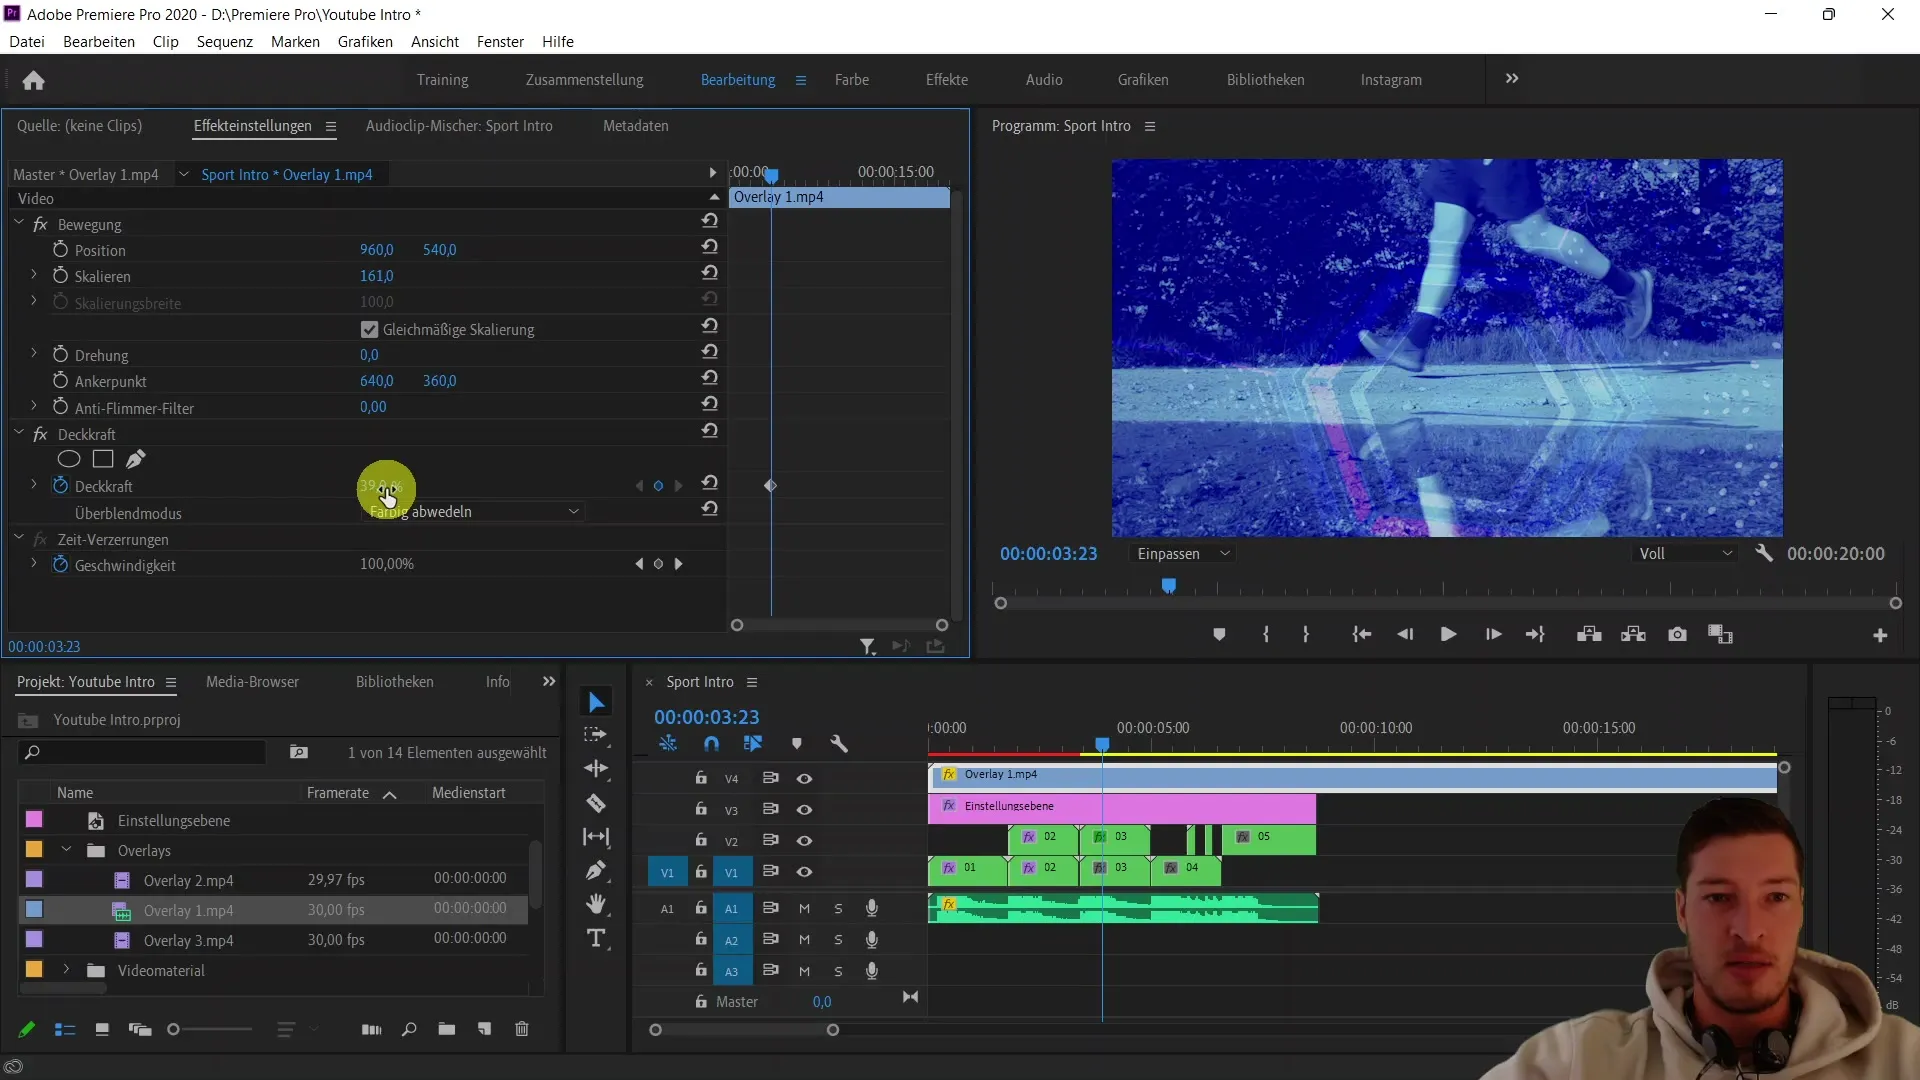
The result should already look pretty good. I recommend continuing to experiment with the blending modes. If you don't like something, go back and adjust it. At this point, I want to show you another effect I often use: the "turbulent displace" from the video effects. With this effect, you can further modify the overlay you just inserted and create more dynamism.
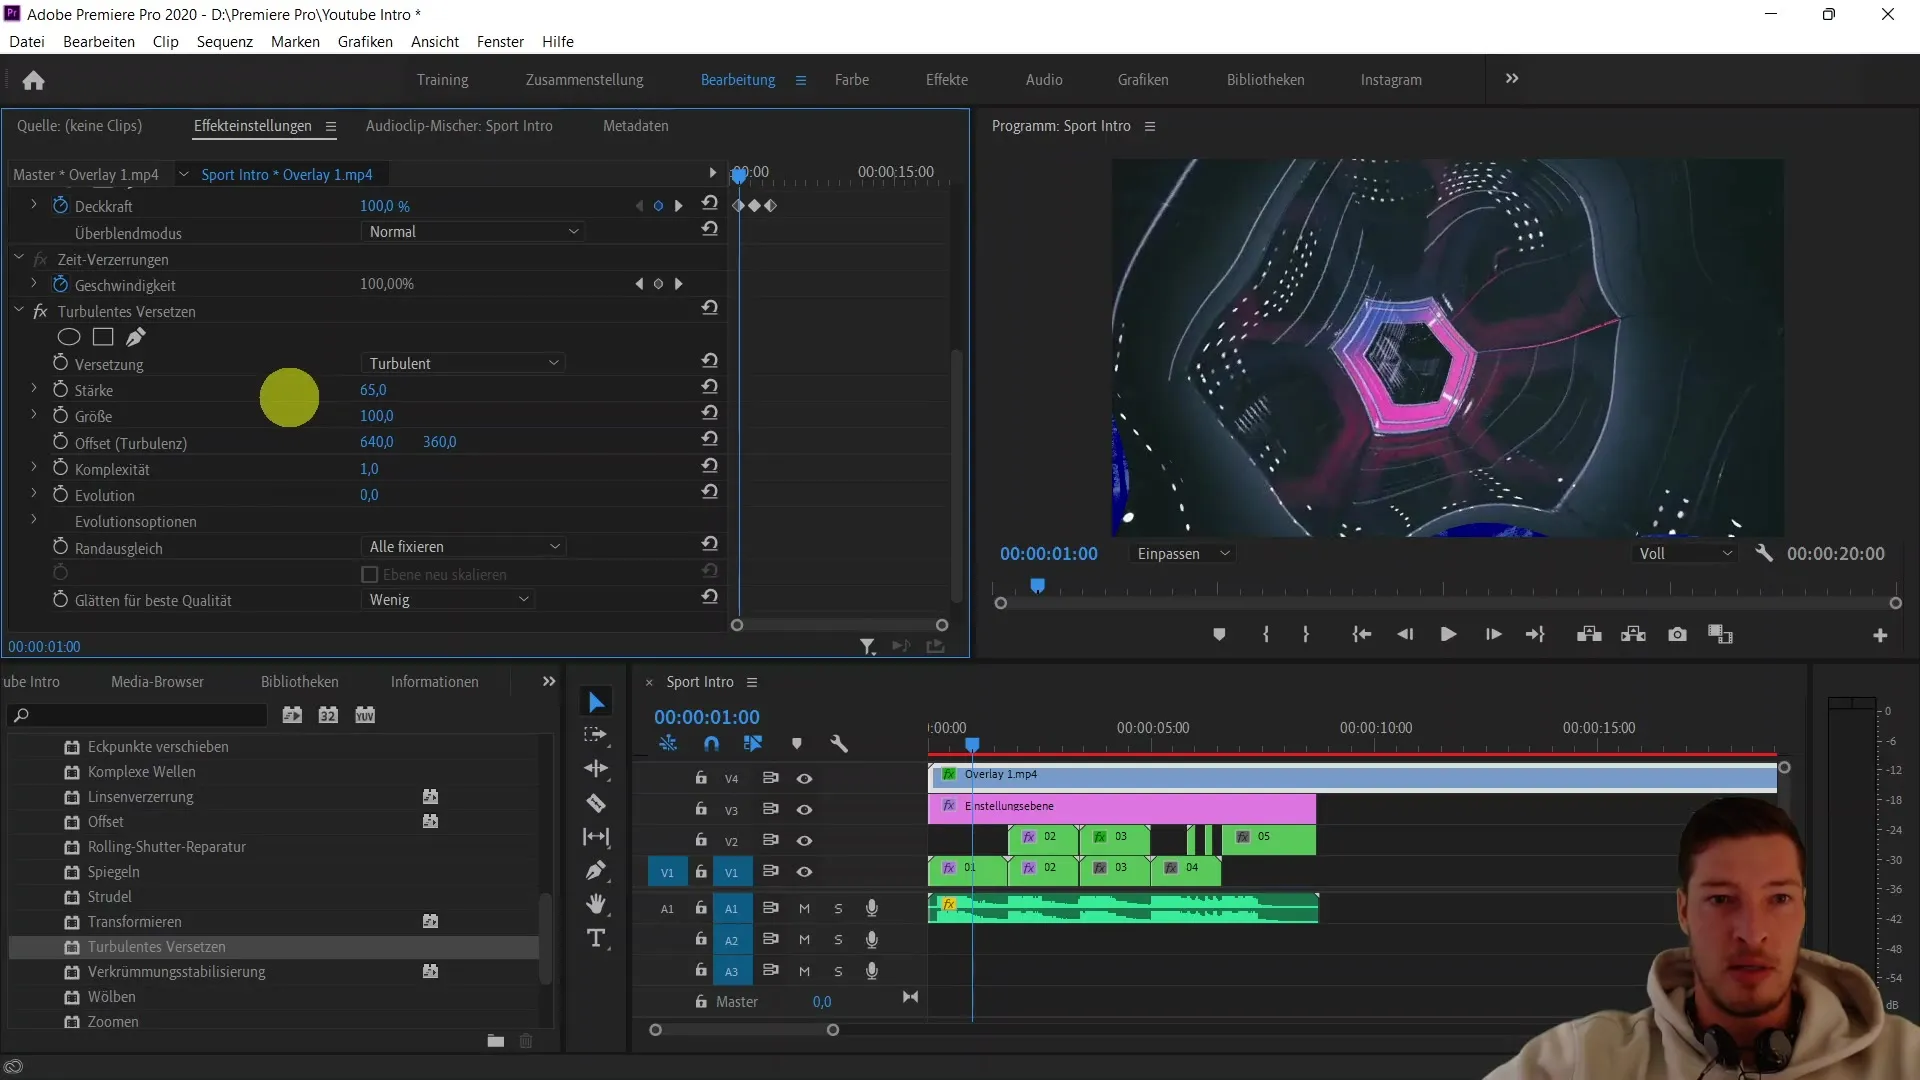
Add the "turbulent displace" effect. To make the adjustments easier, first set the opacity back to 100% and observe the changes. The effect causes the overlay to have a curved and distorted representation. You can adjust the strength of the effect here. I will leave it at about 65% and see how the overlay stands out.
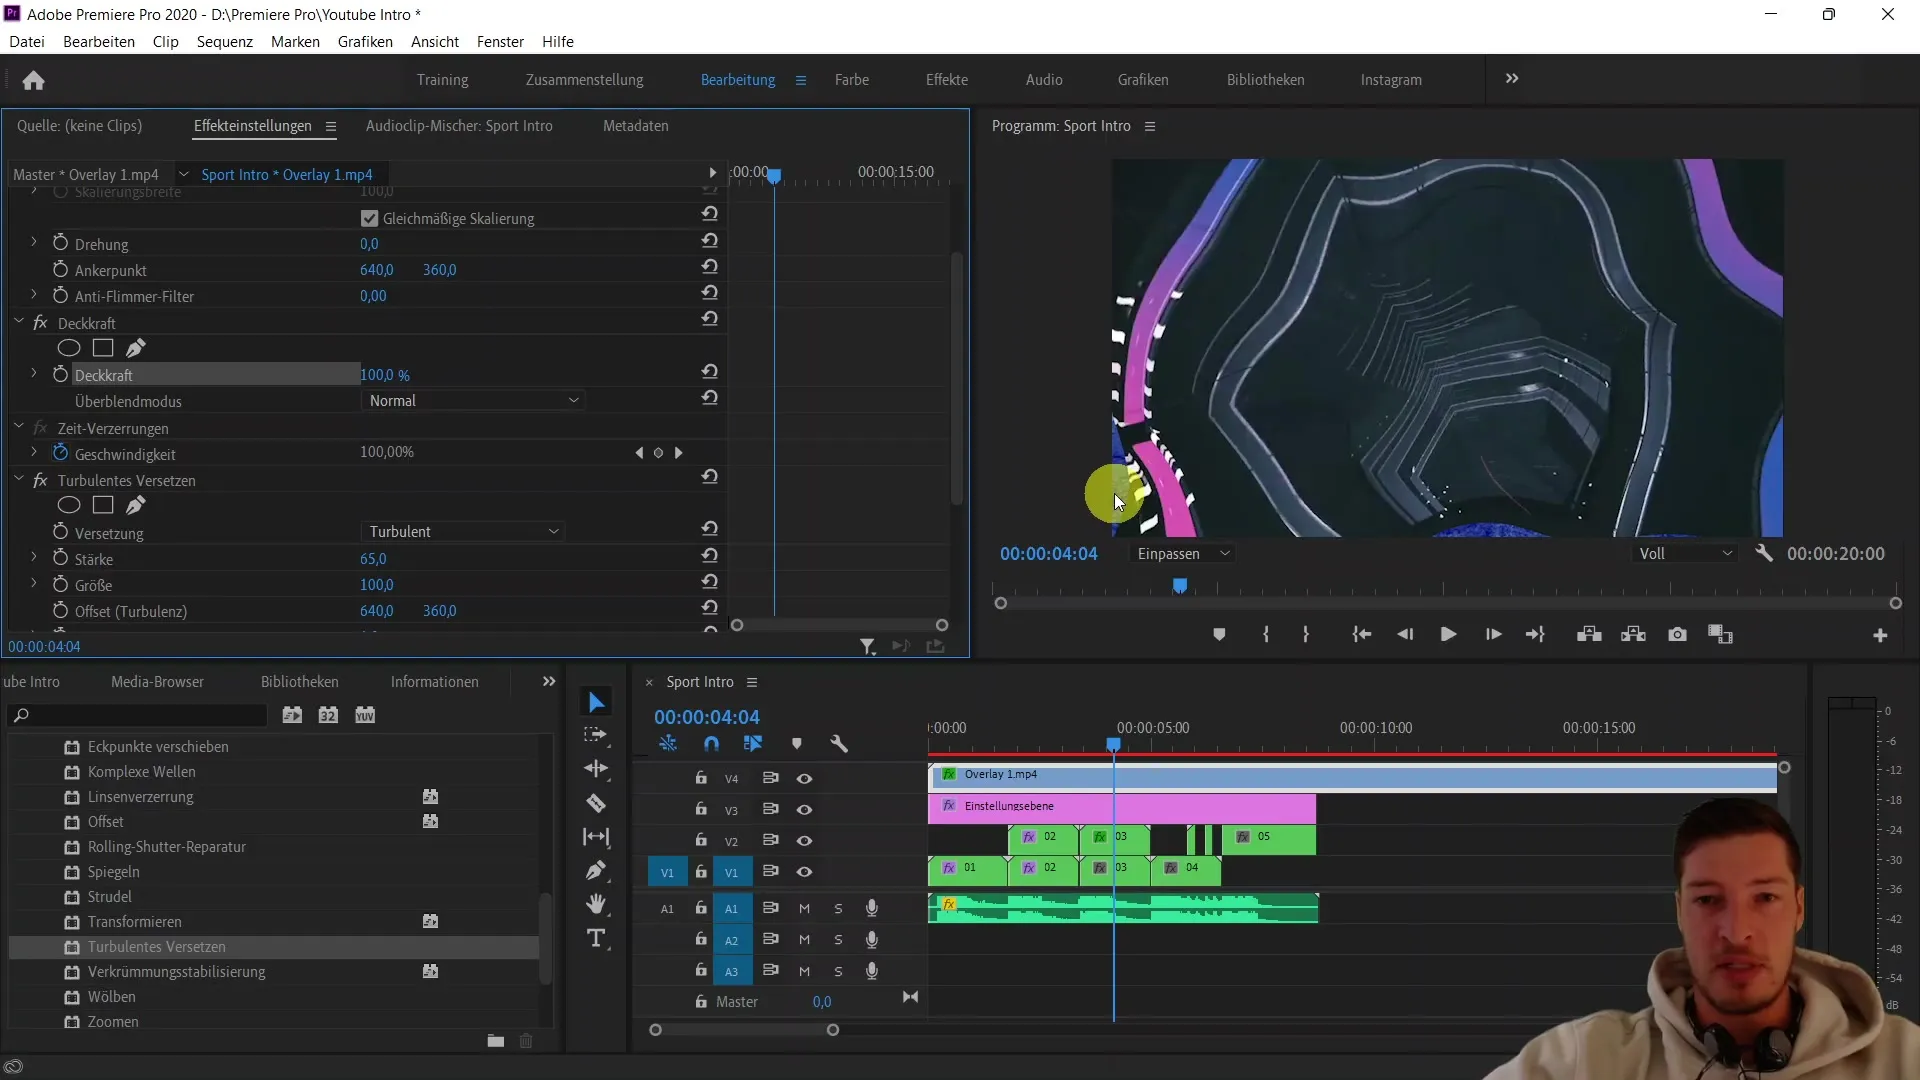
Before I continue, I want to remove any keyframes that may have been set in the opacity to have a clear view. Next, you can crop the overlay again and re-add the "Color Dodge" effect. Once again, reduce the opacity to achieve the final look.
Now, this should help you create a dynamic and attractive intro. Experiment with the effects until you feel that the overlay fits perfectly with your video. Think about how you want to use the overlay, perhaps one of the other available videos catches your eye. The second overlay could well help create a different textured effect.
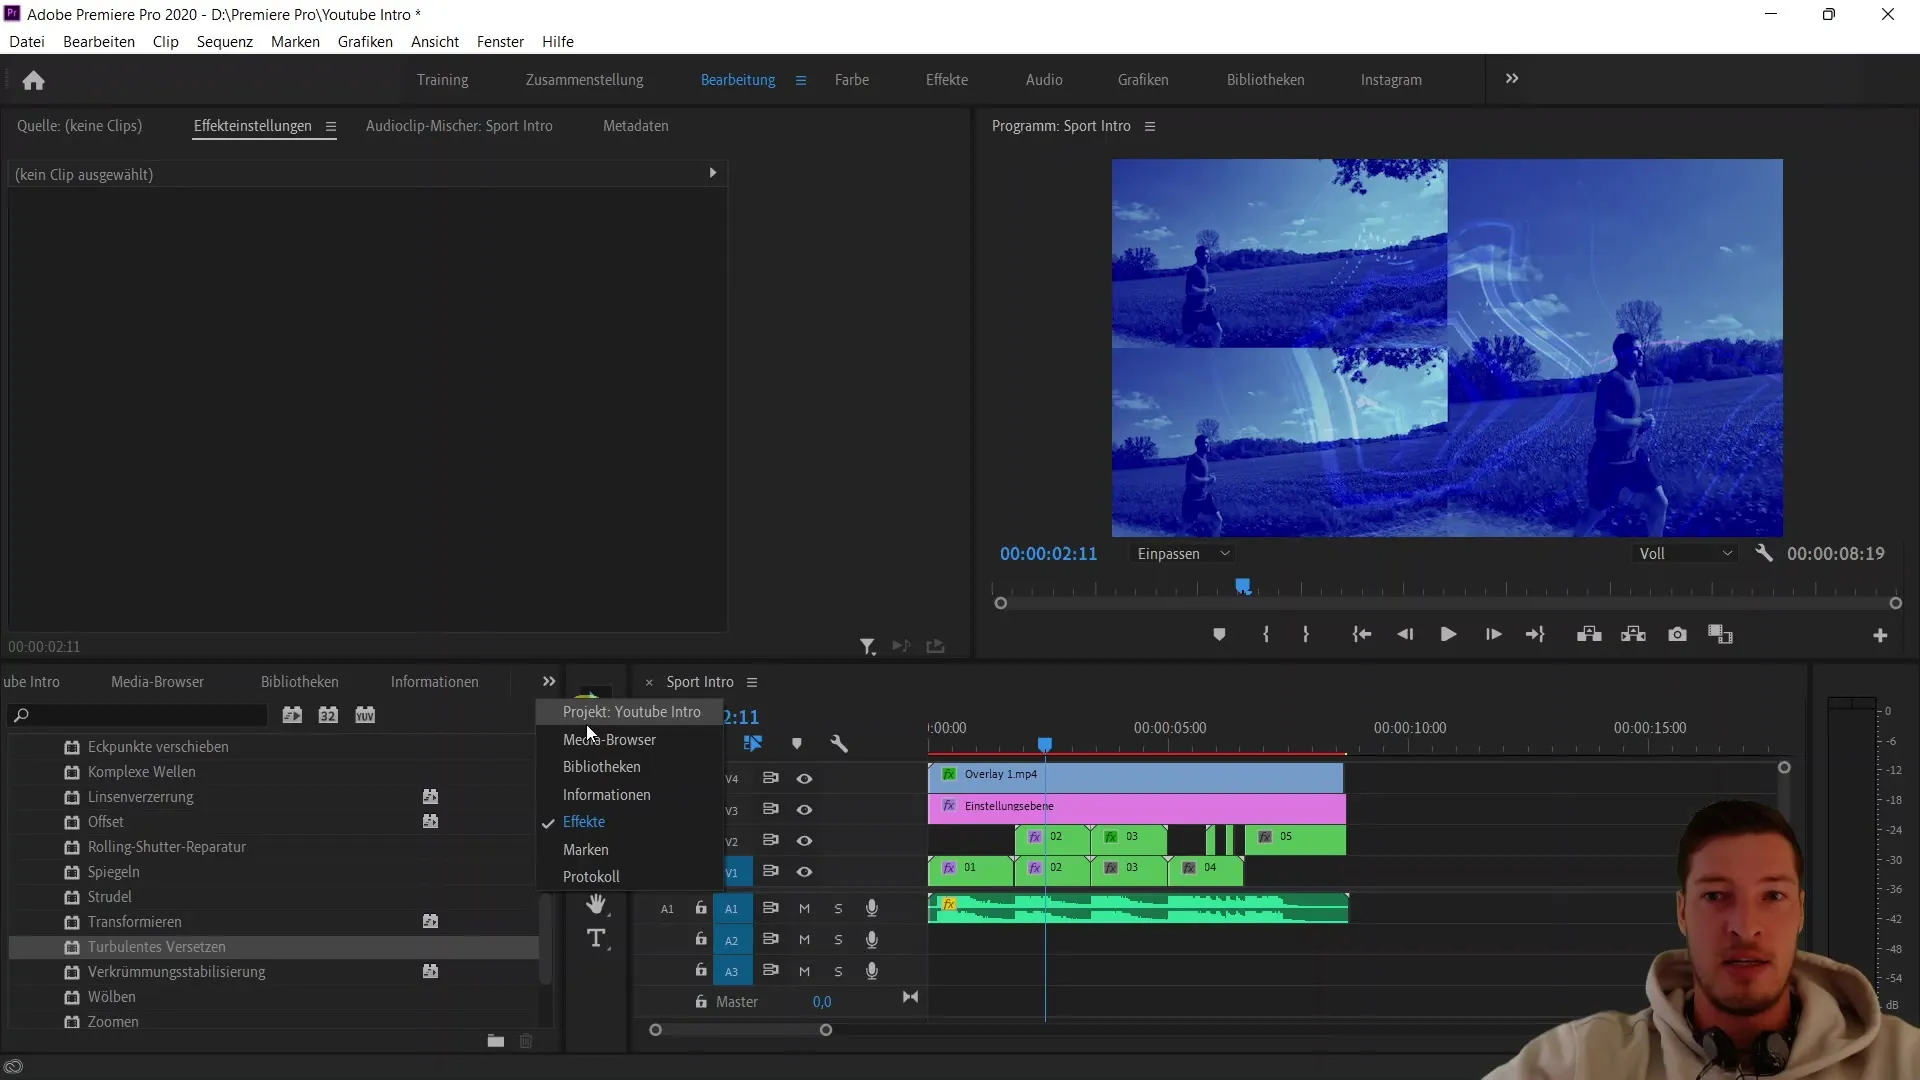
Replace the first overlay with the second one and play around with the blending modes again. An effective mode could be "Linear Dodge," where you can also adjust the opacity. It's great fun to see how different overlays give your videos a new look.
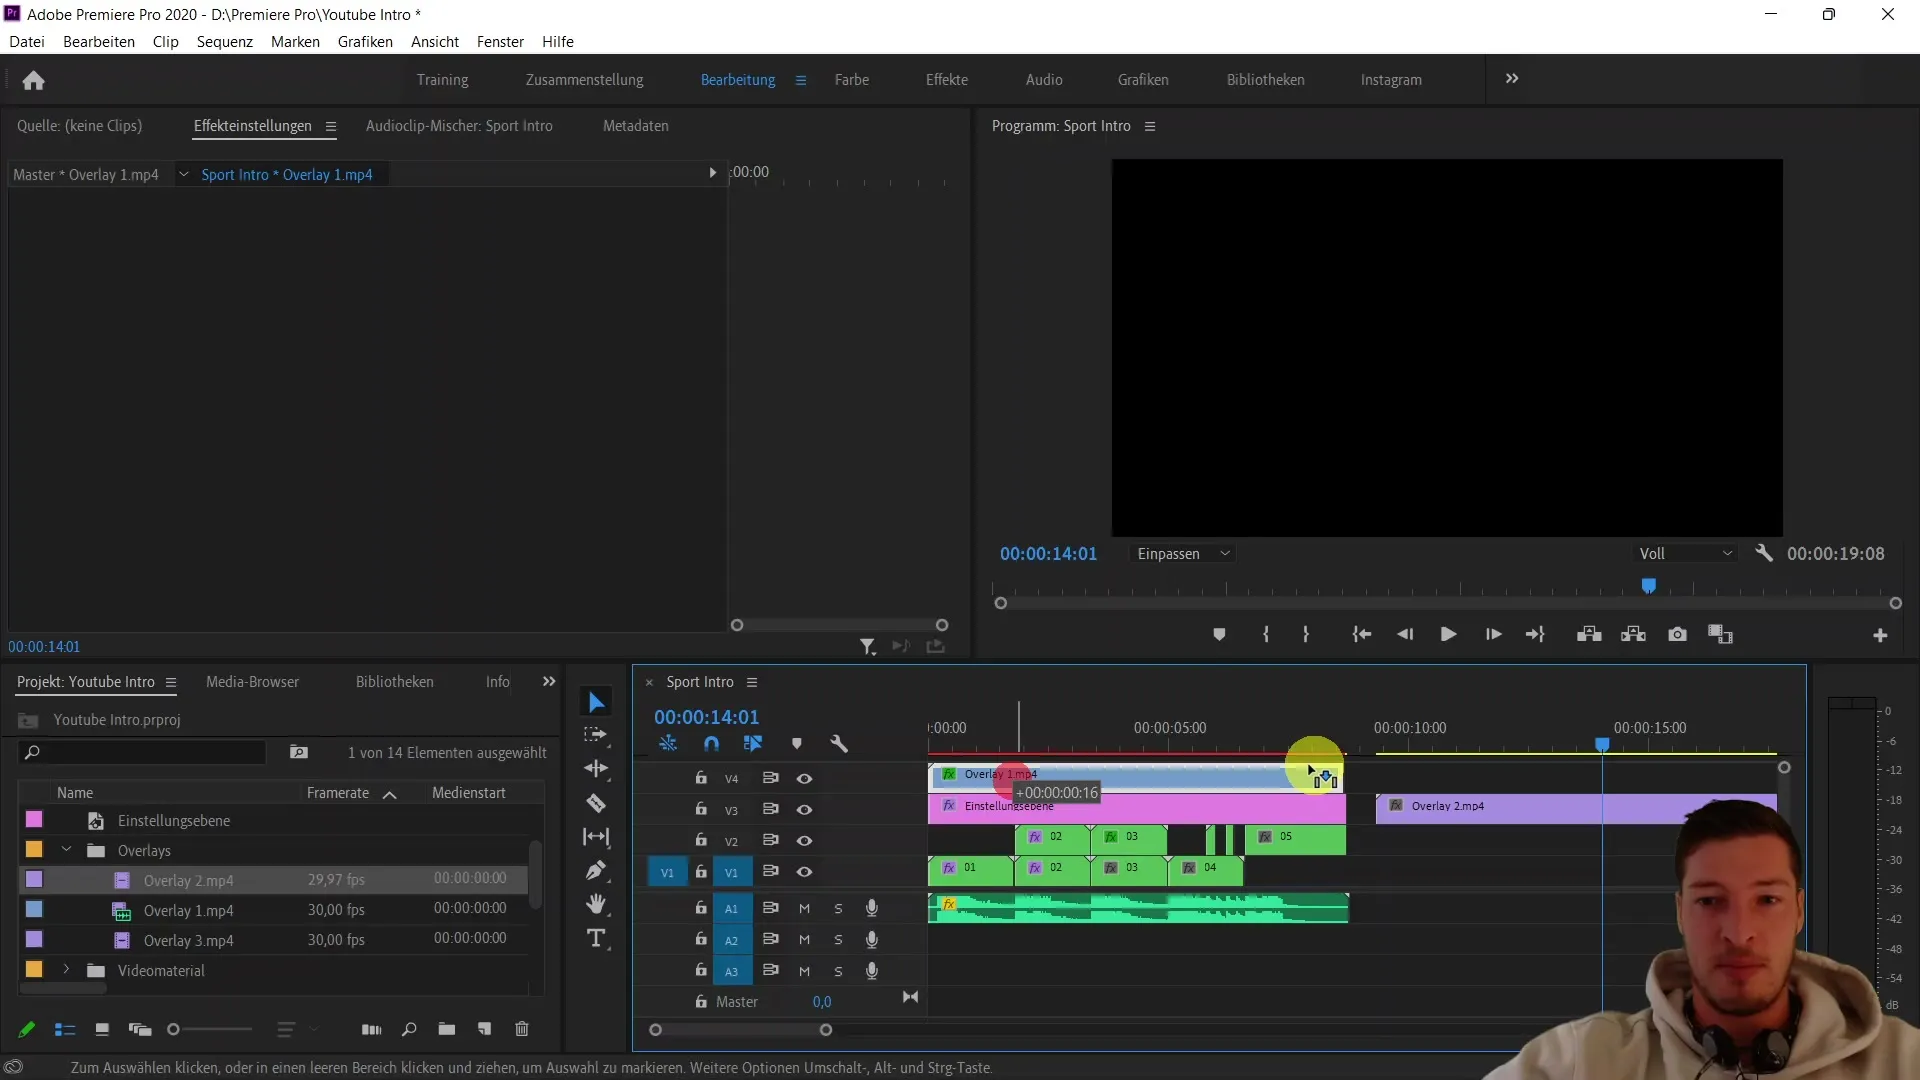
Once you are done with the second overlay, try out the third overlay in a similar way. You can also add your own overlays to unleash your creativity. Think about how you can combine these overlays to bring even more visual excitement to your intro.
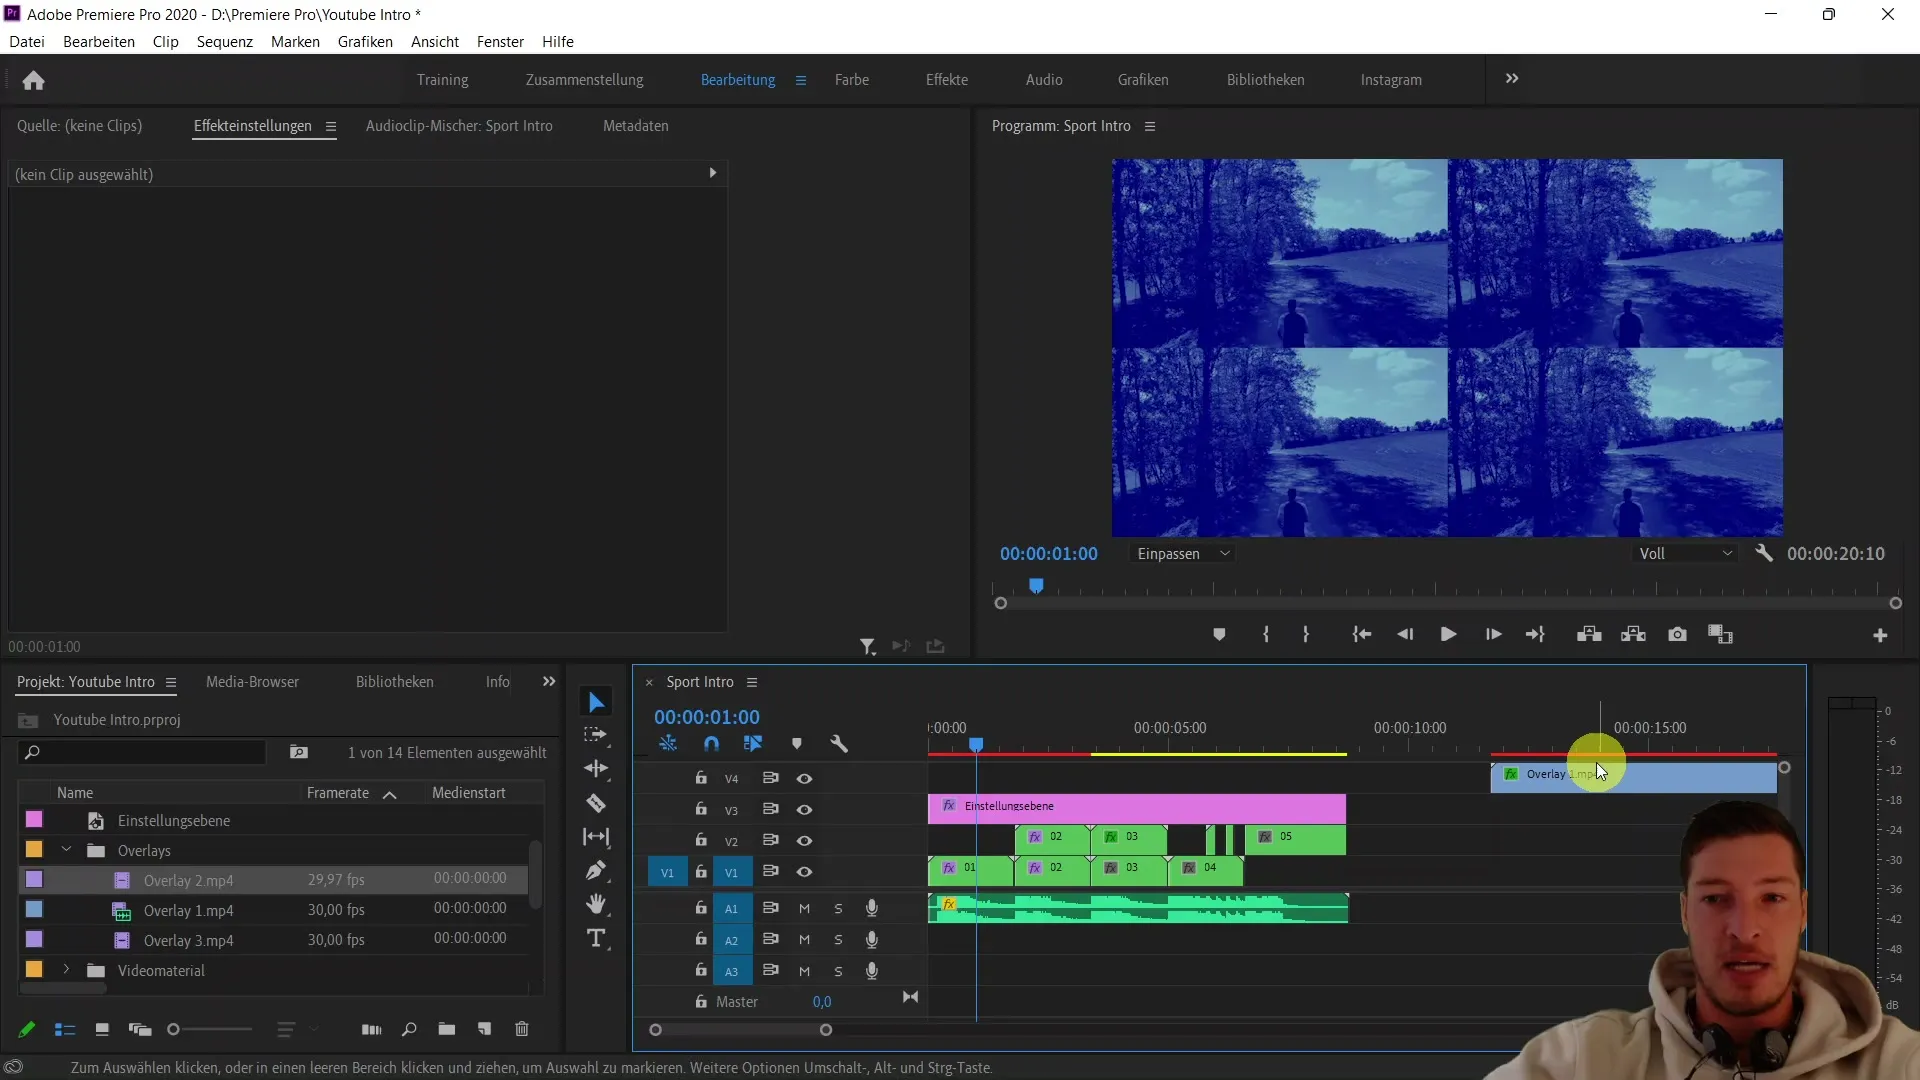
Now that you have learned the basics of working with overlays in Adobe Premiere Pro CC, your audience will be thrilled if you create an engaging intro using these techniques!
Summary
In this tutorial, you have learned how to use overlays in Adobe Premiere Pro CC to add dynamic effects to your video.
Frequently Asked Questions
How can I add an overlay?You can import an overlay into the project media and place it in your sequence.
Can I stack multiple overlays?Yes, you can use multiple overlays and adjust their blending modes and opacity.
Which blending modes are most suitable?Experiment with different blending modes like "Overlay," "Color Dodge," and "Saturation" to achieve the desired effect.


