In this tutorial, you will learn how to create an exciting text effect for your YouTube intro in Adobe Premiere Pro CC. We will use various effects such as Offset, Echo, and Turbulent Displace to give your animation more dynamism and visual clarity. By the end, you will be able to utilize these techniques for your own projects and craft creative text animations.
Main Takeaways
With Adobe Premiere Pro, you can create impressive text effects. By cleverly combining effects such as Offset and Echo, you not only give your texts movement but also depth and dynamism. It's important to experiment with keyframes and various effect parameters to achieve the desired visual result.
Step-by-Step Guide
Step 1: Creating the Text Layer
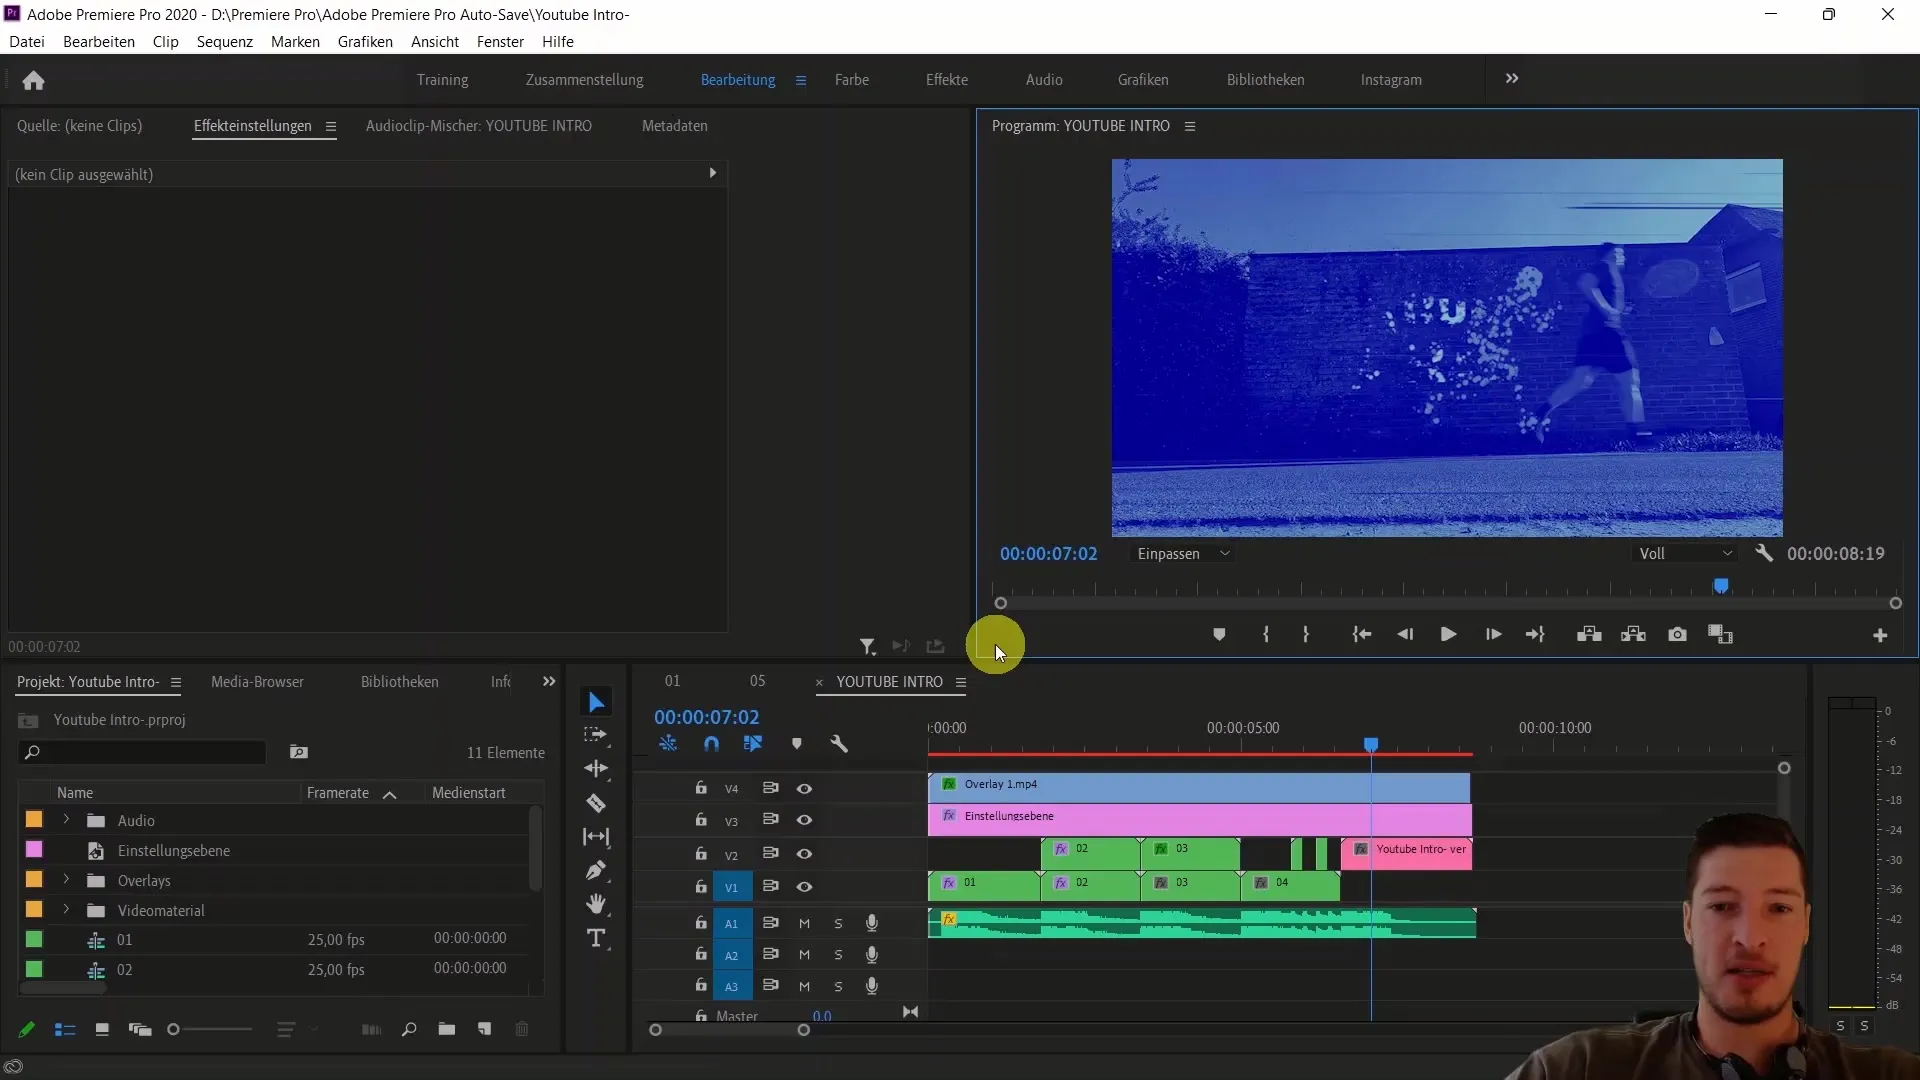
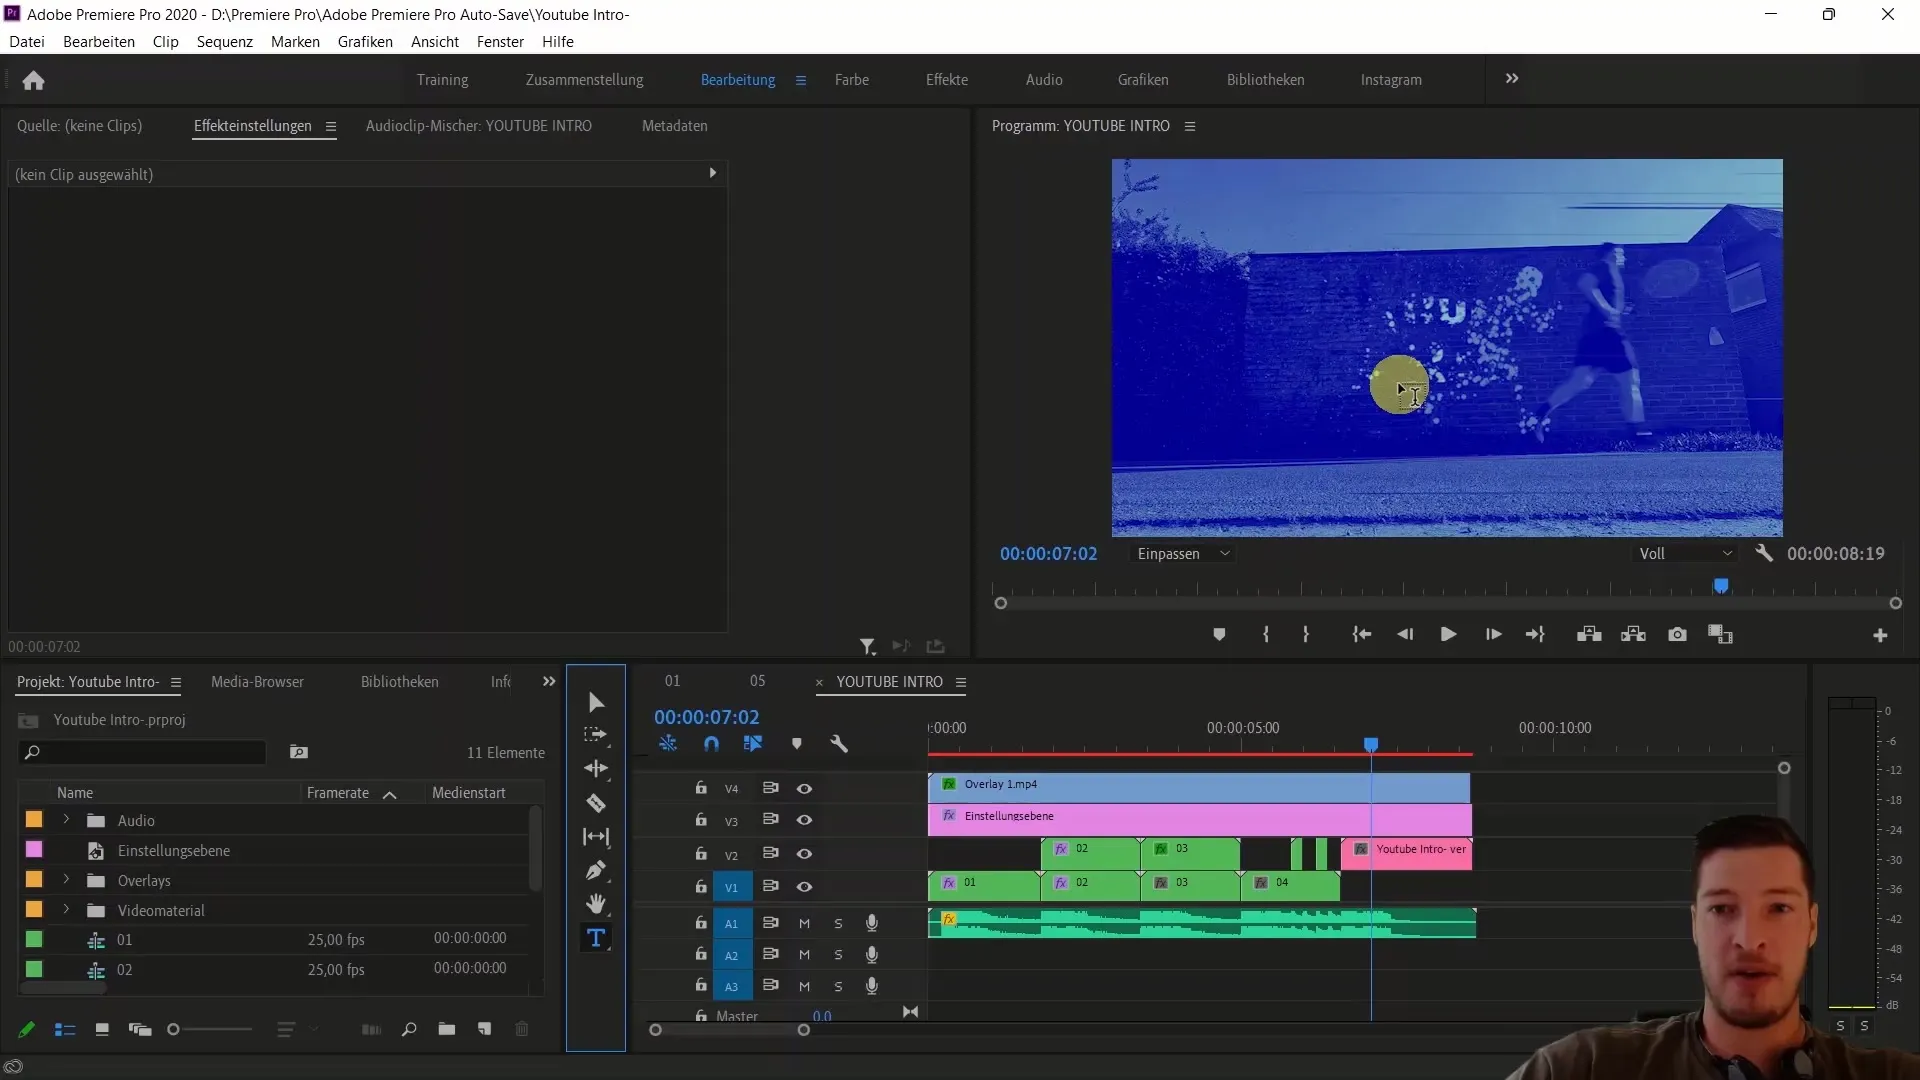
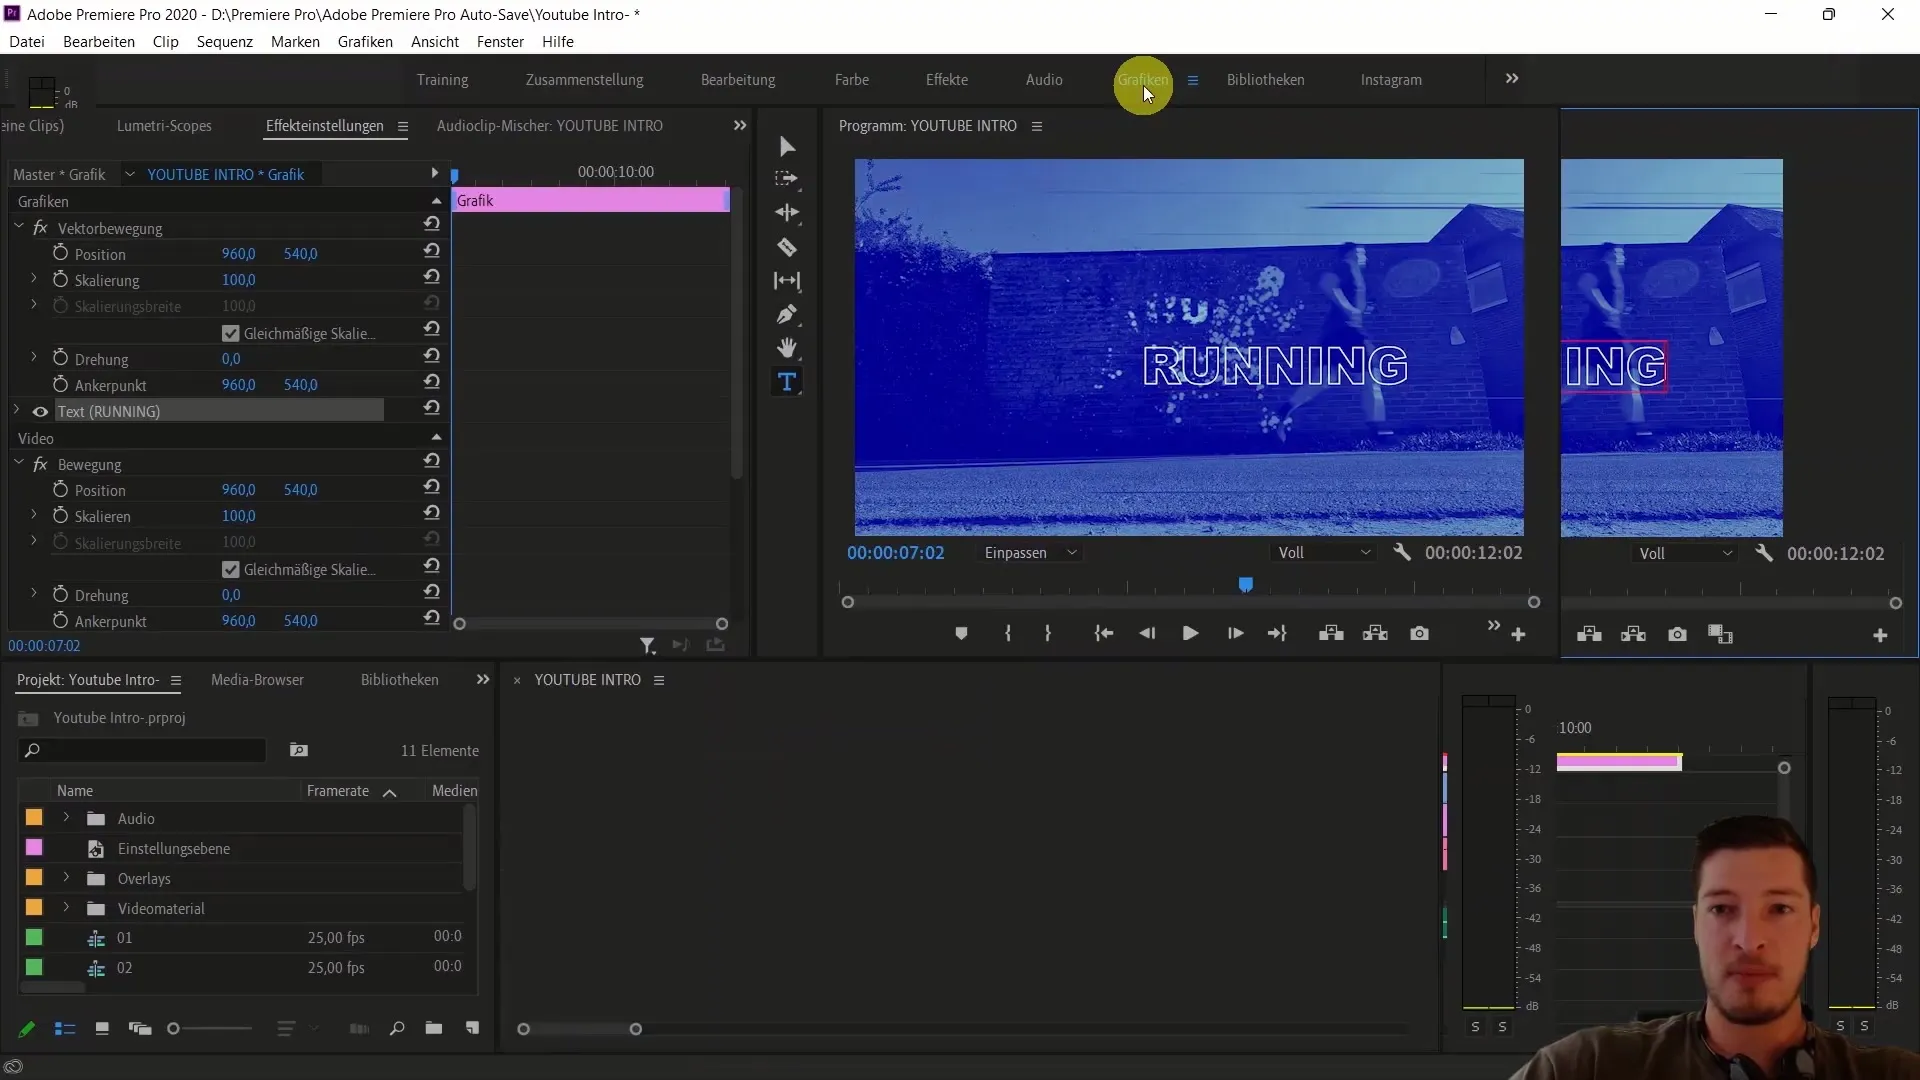
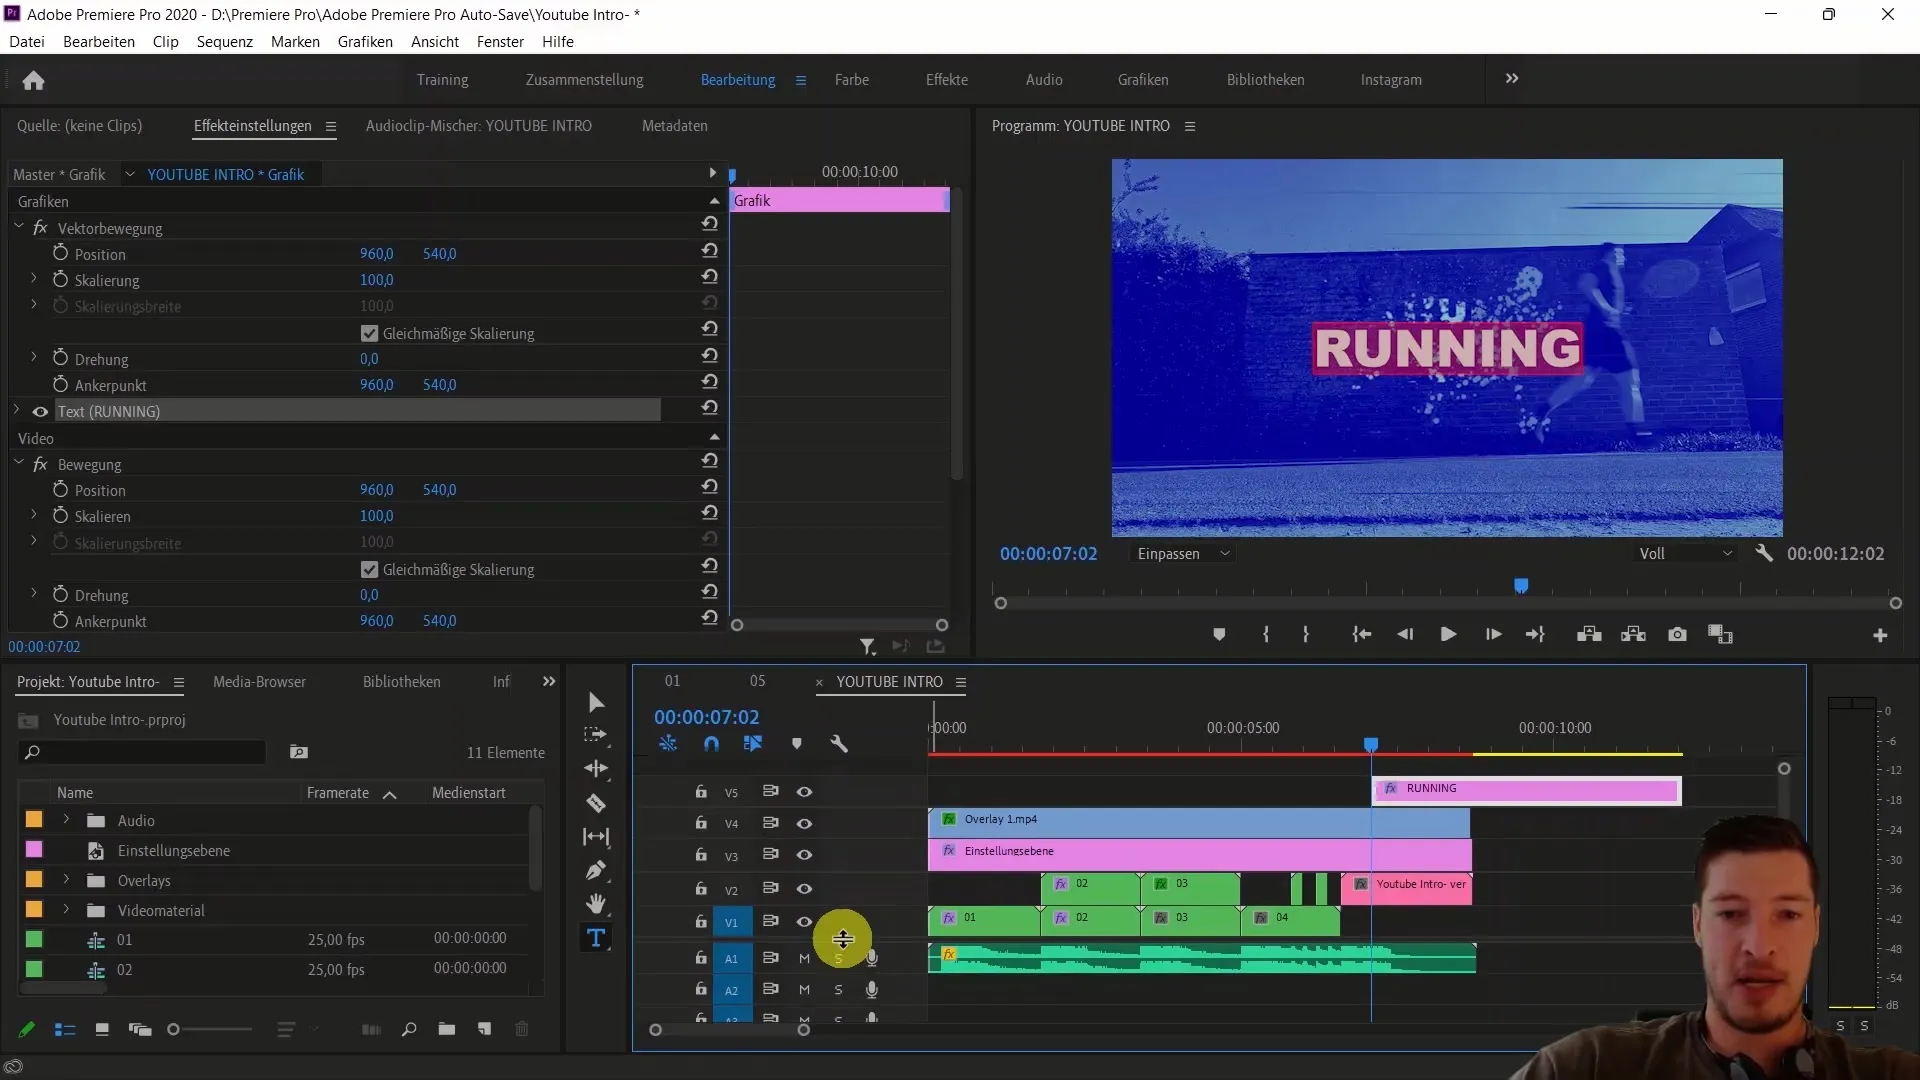
First, open your project and select the sequence where you want to insert the text effect. You want to use four keywords in your intro. For the example, we will use "Running" as the keyword. Choose the text tool and click on the preview window to enter your text.
Step 2: Adjusting the Text Layer
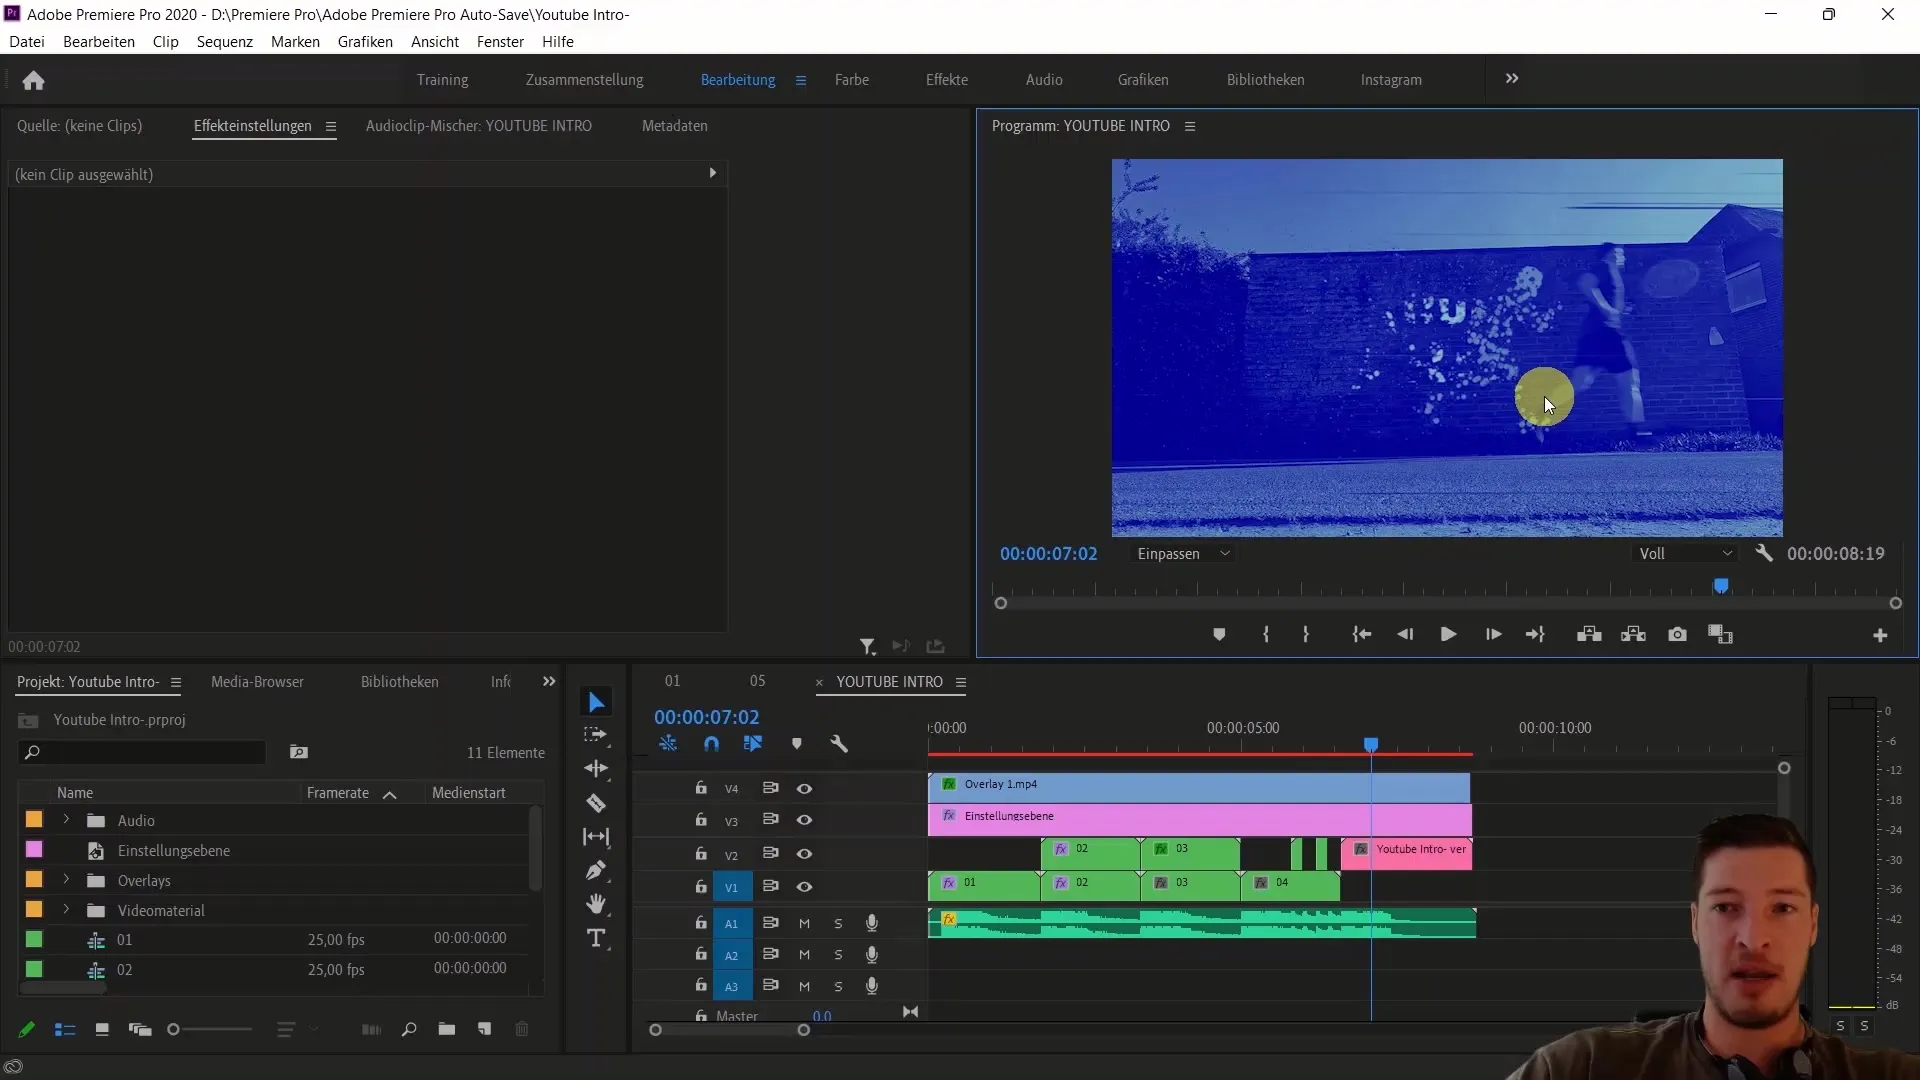
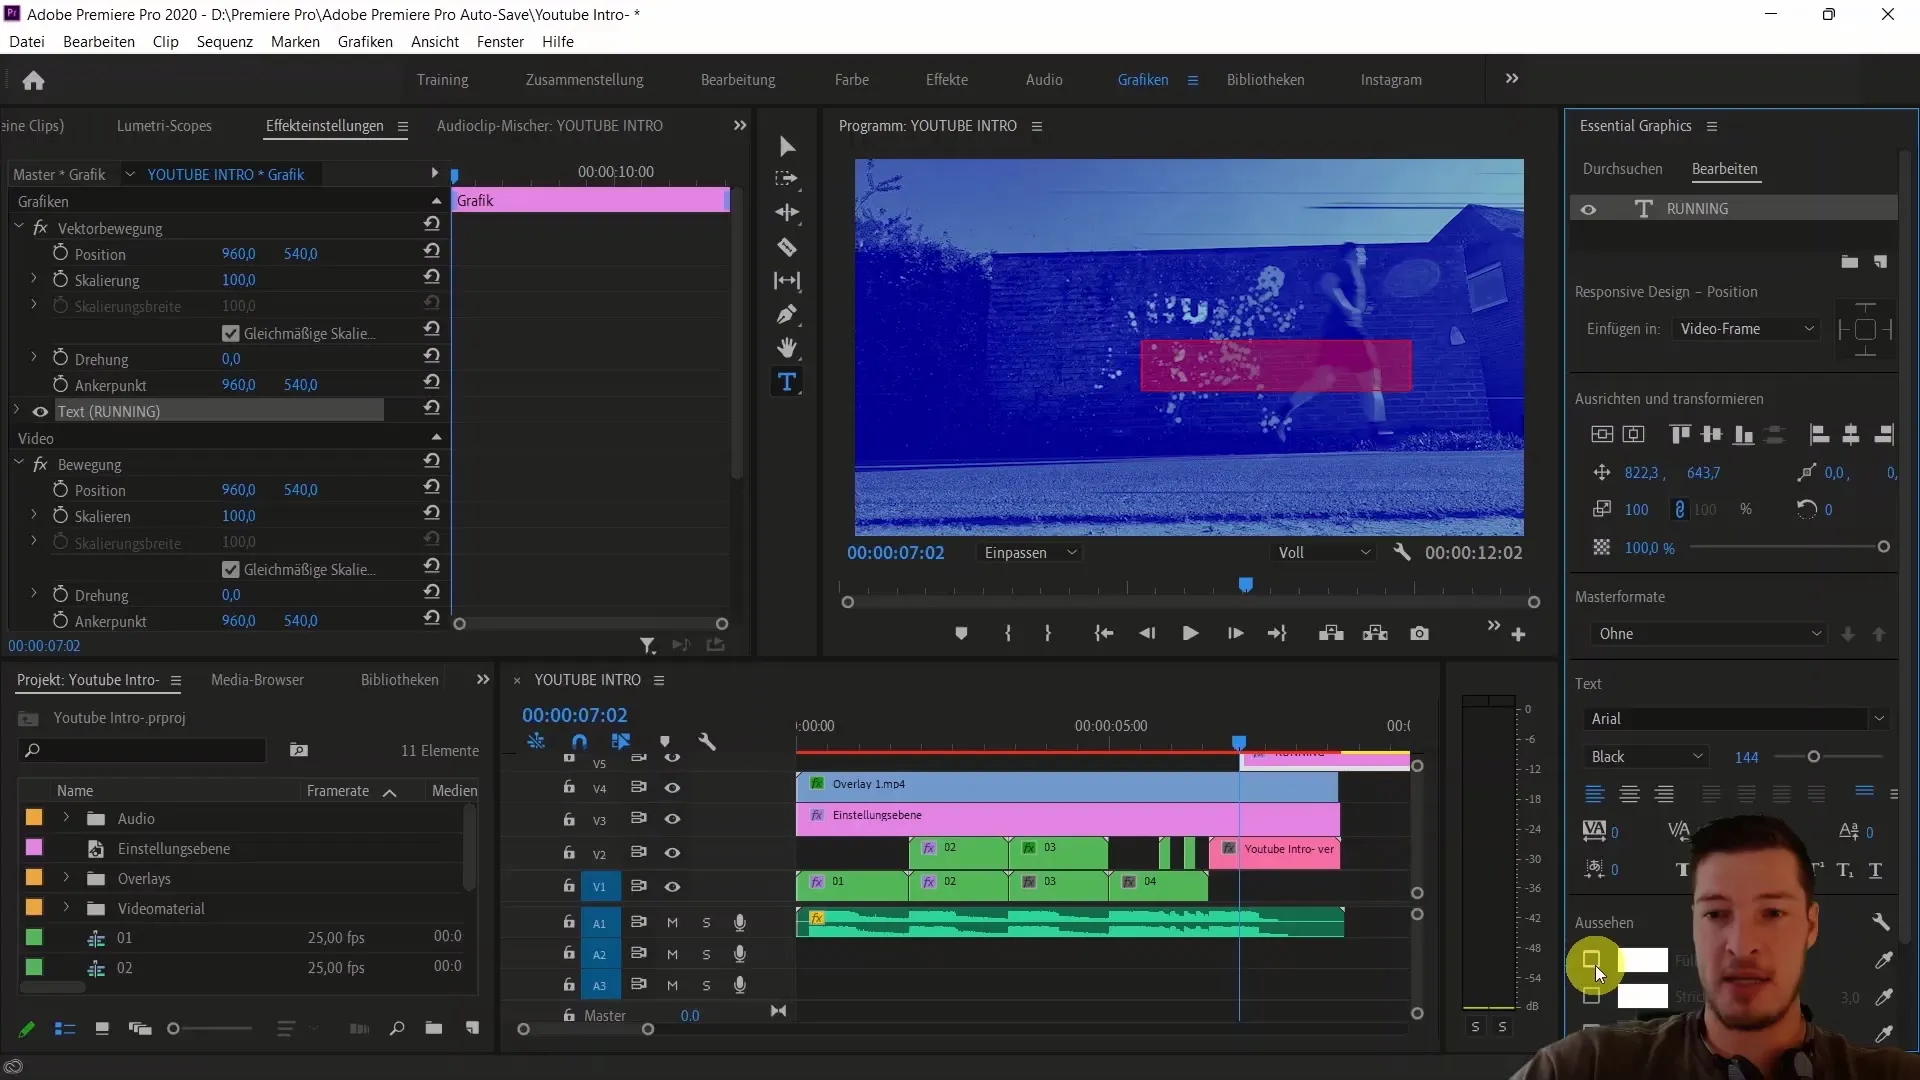
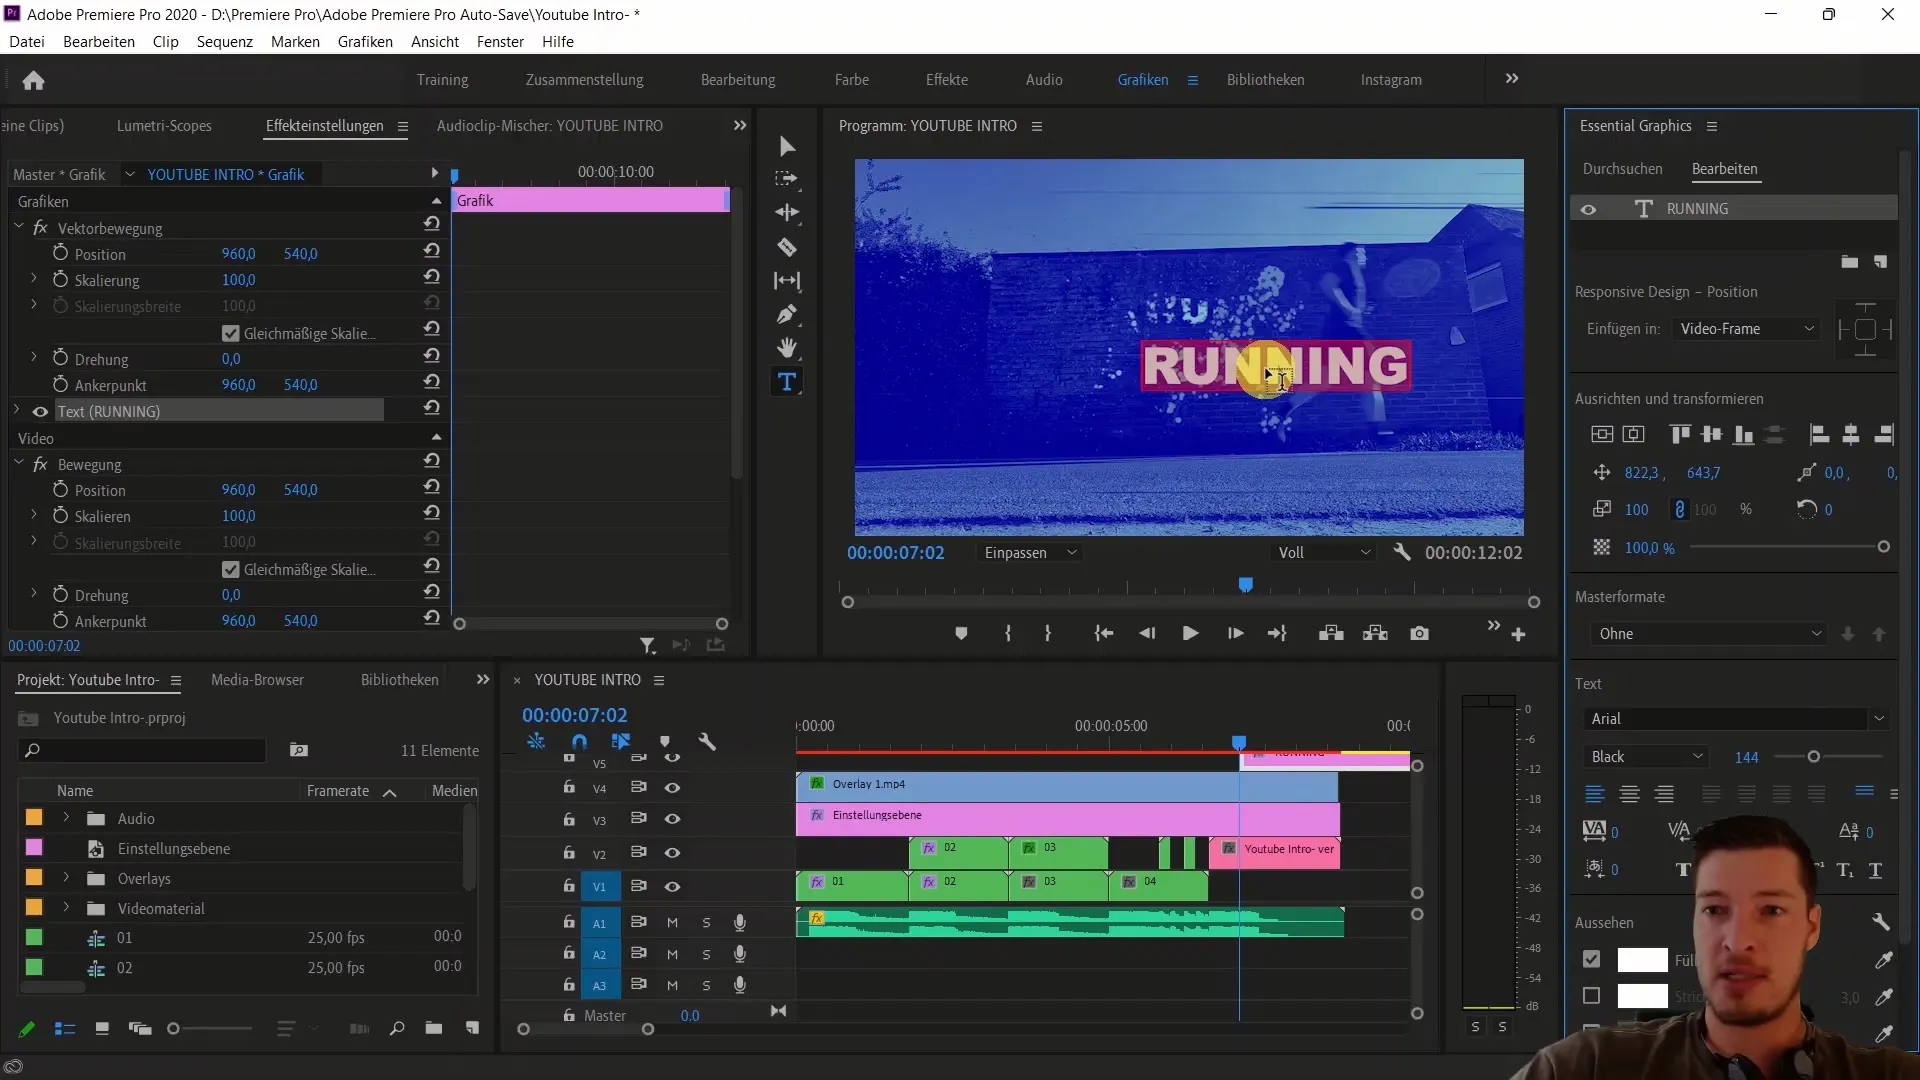
In the Graphics tab, you can adjust the fill and stroke. Make sure the fill is disabled and the stroke is enabled. Here, you can set the font to Arial Black and the font size to 144. These adjustments will give your text an appealing look.
Step 3: Centering the Text
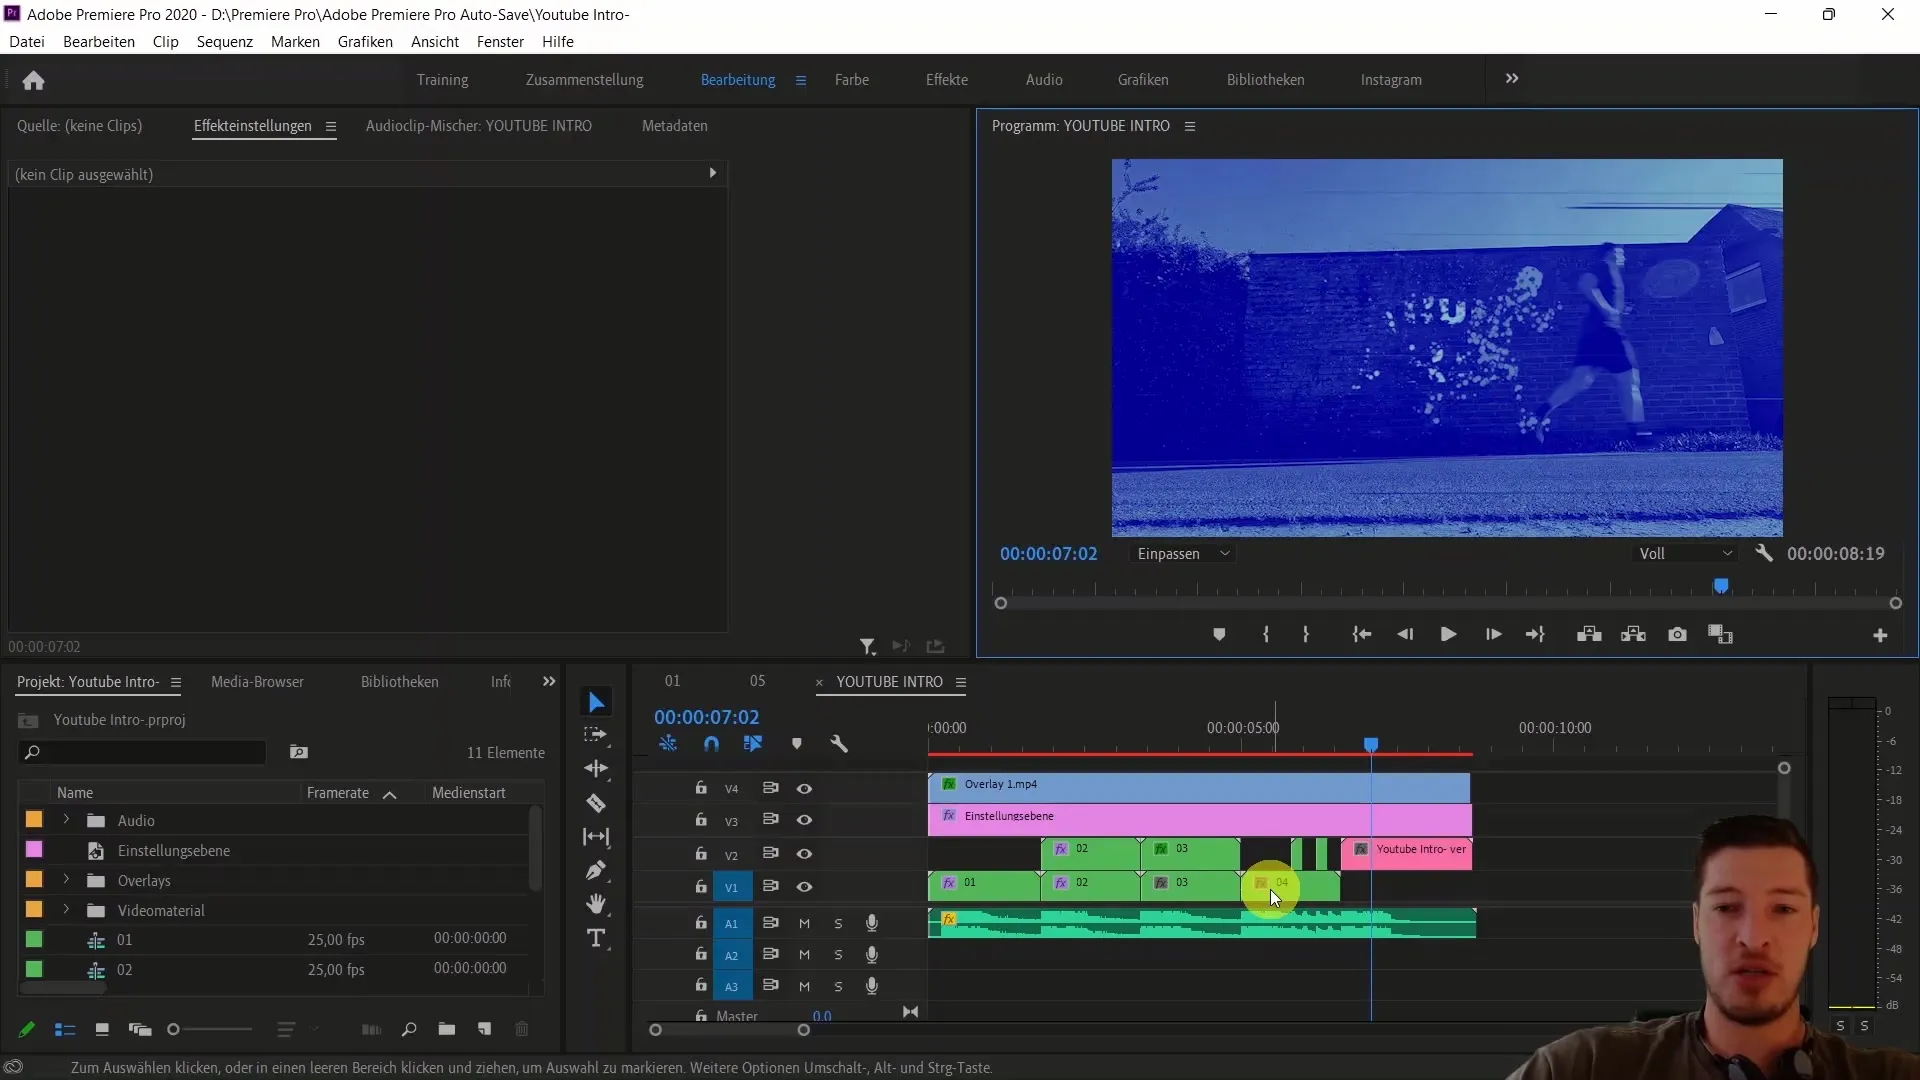
Now, center the text both vertically and horizontally in the preview window. This is important to ensure a balanced placement of the text in your animation.
Step 4: Creating Copies of the Text
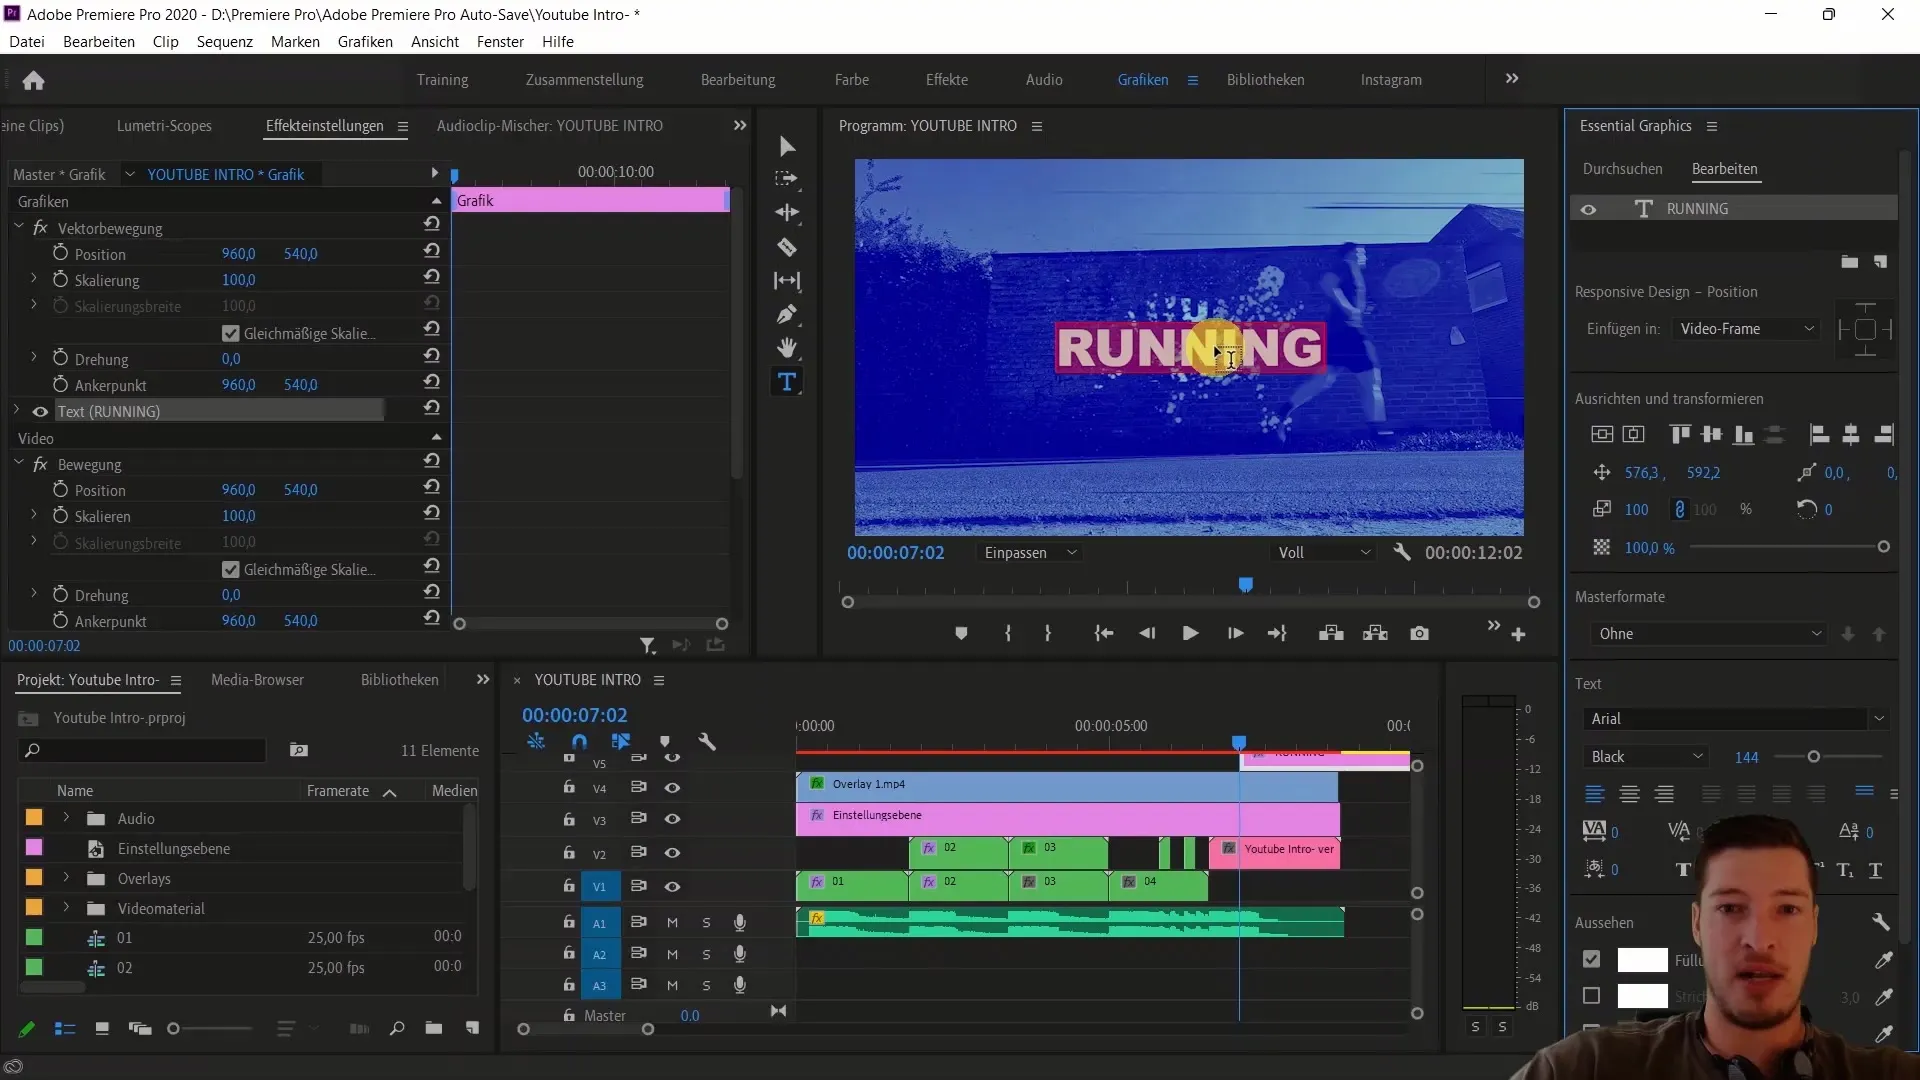
To achieve the desired effect, you need multiple copies of the text layer. Hold down the Alt key and drag the text downward to create two copies of the original text. These copies will be used for the animations soon.
Step 5: Animating the First Text with Offset
Select the bottom text layer and add the Offset effect. You can find this effect in the "Distort" folder. After adding the effect, you can animate a downward movement via the Y position. Set the starting point at 540 and animate the movement up to 800, using keyframes to control the motion.
Step 6: Fine-Tuning the Animation
To make the movement more dynamic, right-click on the keyframe and choose "Ease In." This will make the movement smoother and more fluid. You can also adjust the bezier curve to give the animation more expression.
Step 7: Adding the Echo Effect
Now, we will add the Echo effect to give the text some repetition and distortion. Set the number of echoes to six and adjust the distance between the echoes. This will add more depth to your text.
Step 8: Adding Turbulent Displace Effect
Go back to the bottom text layer and add the "Turbulent Displace" effect. Here, you can adjust the strength of the distortion. Position the effect to enhance the intensity from zero to 75.
Step 9: Duplicating the Text Elements
To create the same effect for the upper text layers, duplicate the lower layer and modify the Y position in the Offset effect. Set the Y position to move 520 pixels upward. This will achieve a symmetrical effect.
Step 10: Finalizing and Adjusting the Animation
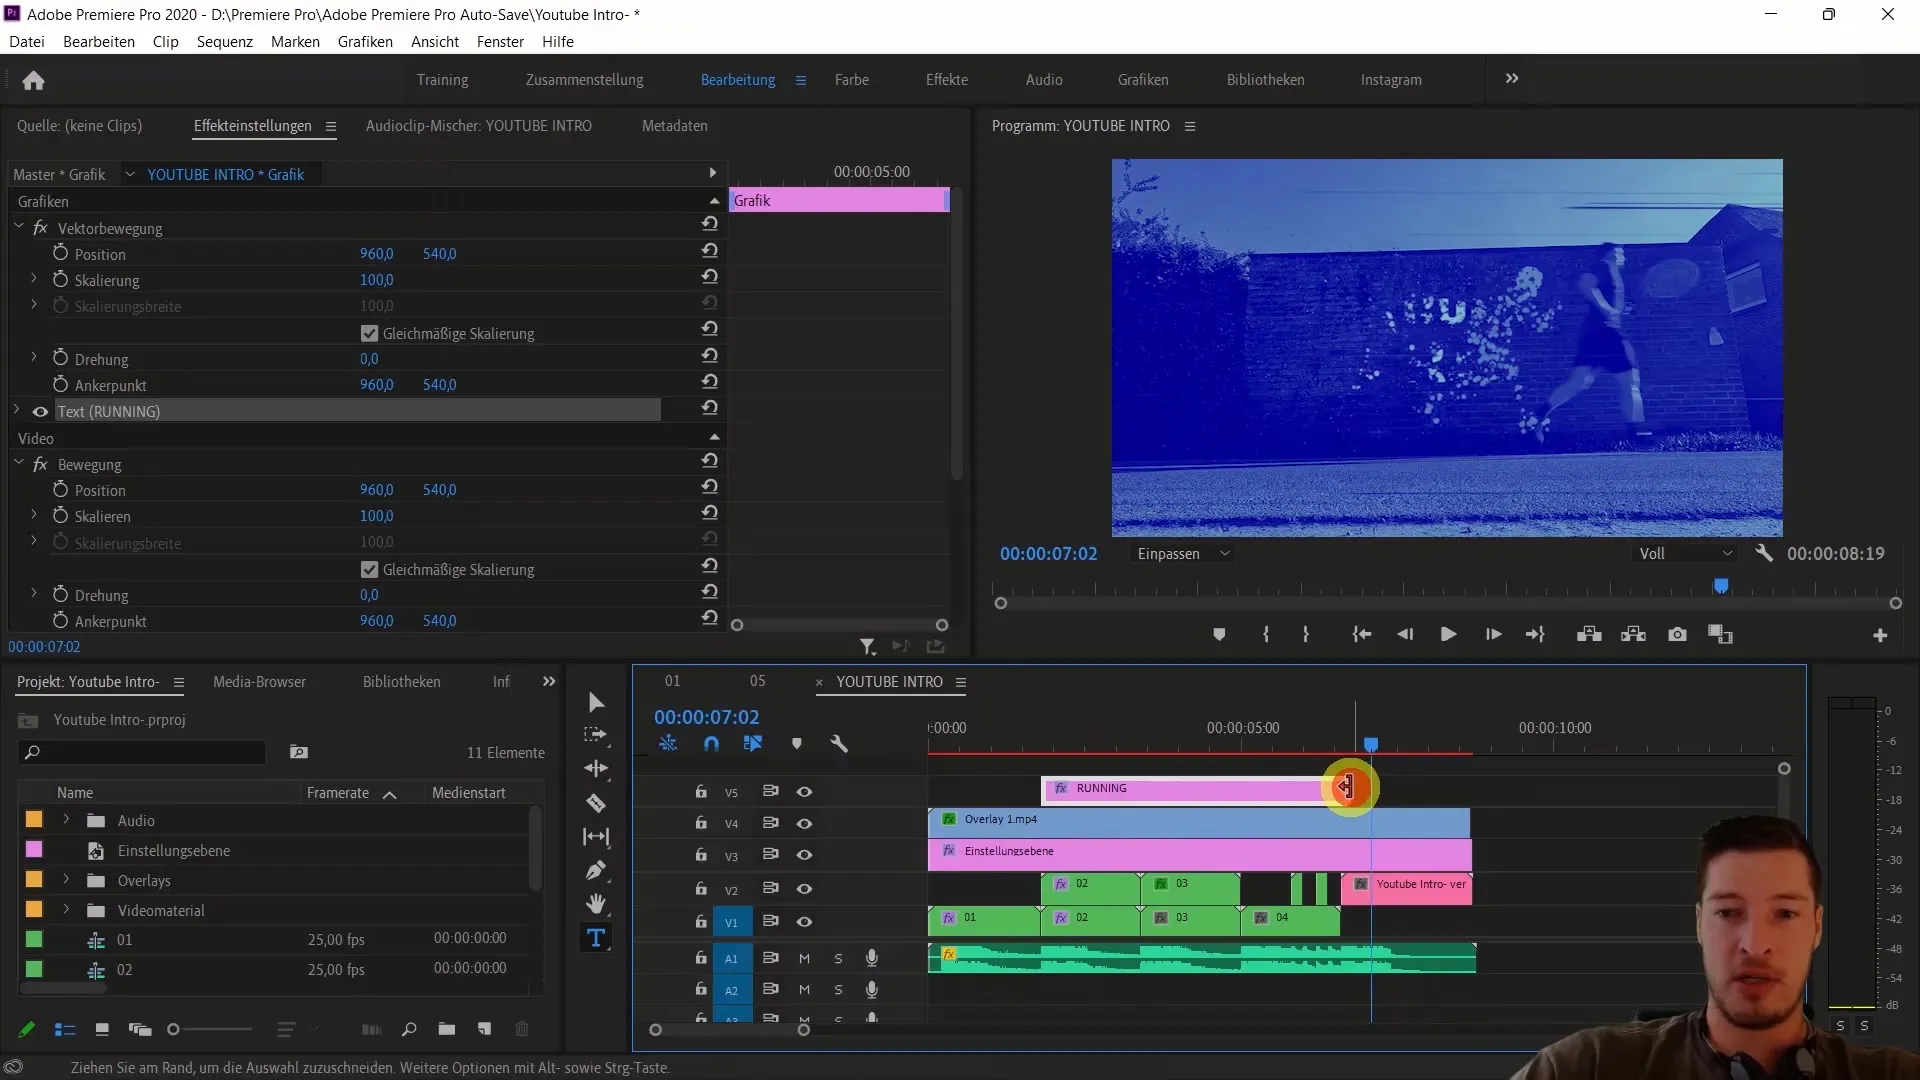
Now you can adjust the opacity of the top text layer to ensure that it only appears as an outline. Set the opacity to 0% at the beginning and then increase it to 100%. This will smoothly fade in the text.
Summary
You have now learned how to create a creative text effect in Adobe Premiere Pro CC that gives your YouTube intro more dynamism. From using the text tool to adjusting effects and animating text layers, you have learned the basic steps to create impressive text effects.


