Note: This tutorial is a text version of the accompanying video training by Marco Kolditz. The texts may therefore also have a colloquial style.
The mask is now created from this face - at least it is cut out so that it looks like a mask.
Step 1
With the "Mask" layer active, select the Pen tool and zoom in a little on the image. The mask could now be cut round, jagged or - as will be done here - along the corners of the receding hairline. As the rest of the face has already been cropped, the contours on the cheeks and chin are no longer of interest. In a moment, it will only be a matter of using the path to cut out the shape of the receding hairline. Marco points out that you could also do this with a normal mask. However, the area of the receding hairline is a little tricky in terms of perspective, which is why he recommends correcting it later with a path.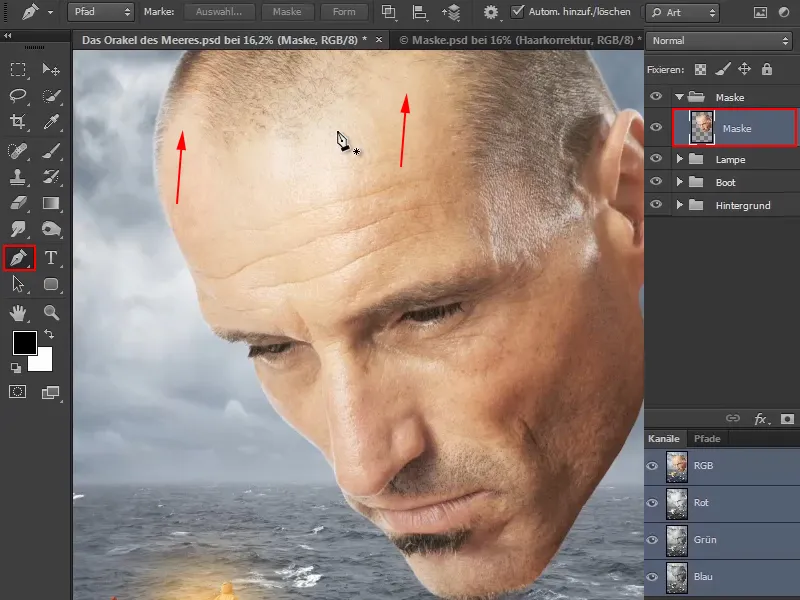
Step 2
Marco first explains the general use of the pen tool:
If you click once into the image with it, you will get a normal point (1).
For the second point, think about where you want the mask to start and select a point on the edge of the forehead. Click there to set the point - but keep the mouse button pressed and drag a little. This allows you to create or influence the Bézier curve so that it is exactly the way you want it.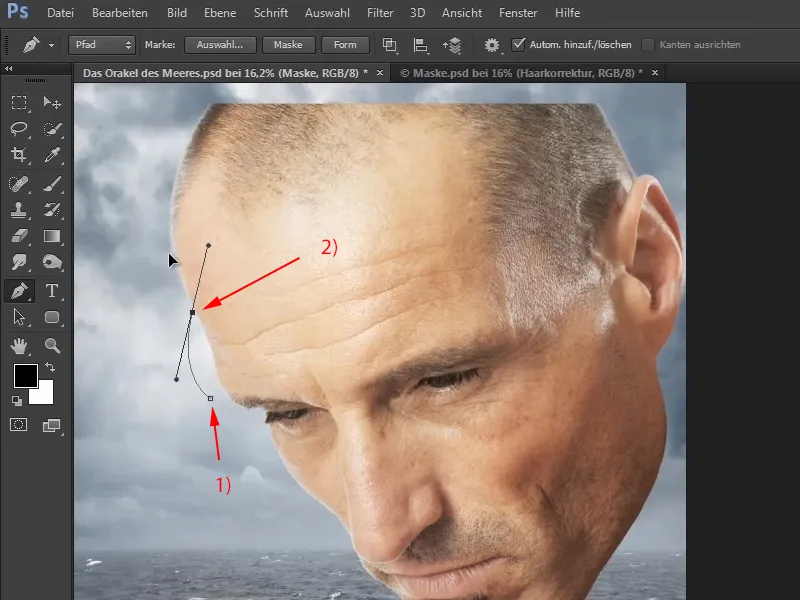
Step 3
Now create the curve along the corners of the receding hairline in this way.
Hold down the Ctrl keyto turn the cursor into the white arrow and use it to move points that have already been set.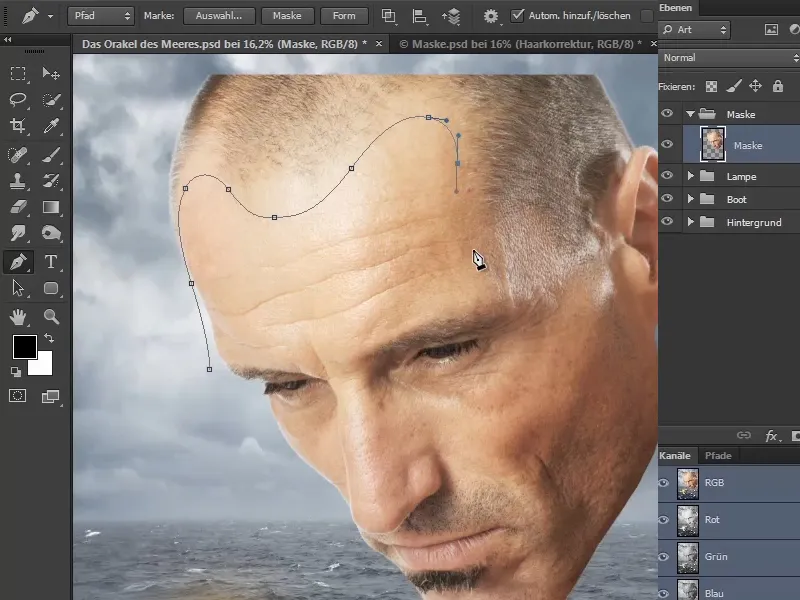
Step 4
Include the cheekbone and let the edge of the mask run nicely along it.
You can quickly and generously place the remaining points around the head until you reach the starting point again.
Close the path mask by clicking on the starting point.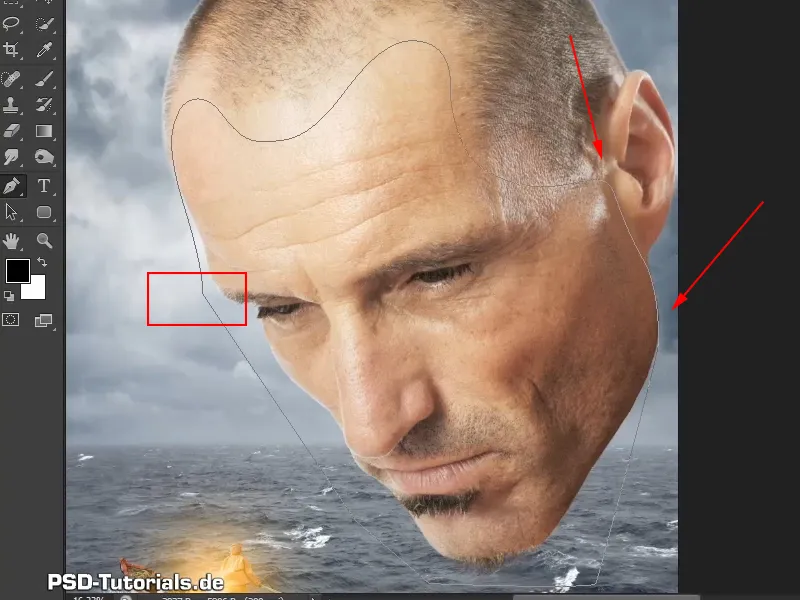
Step 5
Now click once on the mask symbol and create a mask (1).
If you now click on the mask symbol a second time, a path mask is created (2).
This almost looks like the mask you want to create.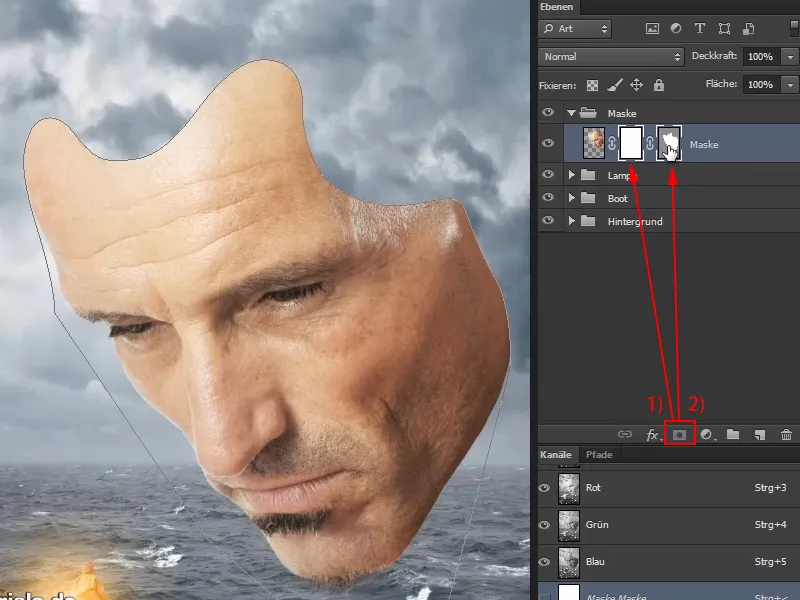
Step 6
However, some areas still need to be optimized so that the perspective fits better.
To do this, click on the path mask and select the direct selection tool with the white arrow from the bar.
If you click on the image with this tool, you can correct individual areas. This allows you to adjust the mask until it is exactly how you want it. And you should also take your time with this step ...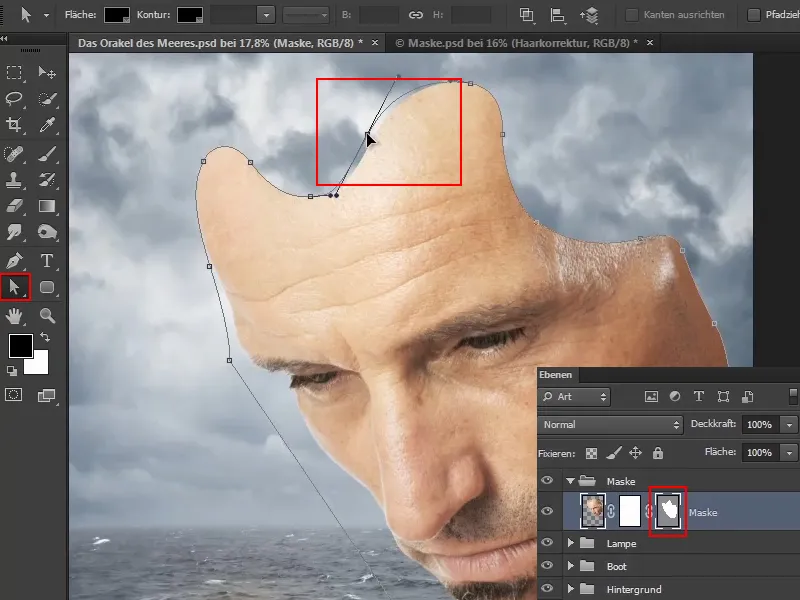
At this point in the video training, Marco jumps back in time and shows the result of his editing.
If you want to make further corrections later, you can edit the path mask at any time using the direct selection tool. Of course, it must be activated for this.
There are two ways to activate the path mask: Either you can access it via the layers, where it is highlighted in gray (a), or you can show the Paths tab via Window>Paths (b)..webp?tutkfid=59437)
Marco has also set the head a little lower overall so that the view is really focused on the bosun.
Step 7
It's already cropped here, but with such a smooth outline, it's not quite right yet. If you zoom in a little closer to the mask, you can see that the edge line is a little too perfect. It would look more realistic if the edges were a little more crumbled.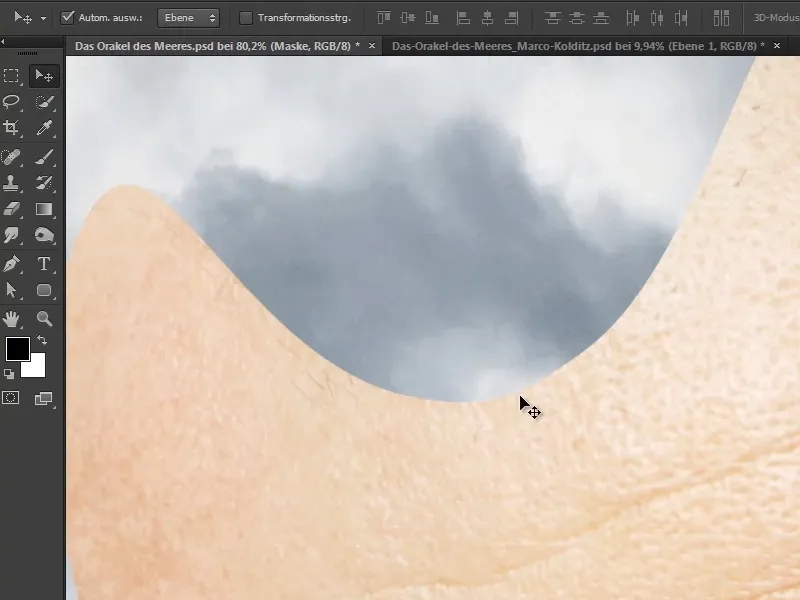
That's why the edges are now being edited...
Activate the normal layer mask, select a brush and set the foreground color to black.
Now run it along the edges and break up the smooth line. This step takes quite a while, of course, but take your time. This also has something to do with illustration, leisure and patience. For those who always want to do everything quickly, this is of course a bit tiring.
But when you see the finished picture later, you discover such subtleties when you zoom into the picture. It's not an art to make small pictures look good - on the Internet with 1000 pixels. It's different with pictures that you can zoom into and look at closely, where you can look for and find beautiful details.
That's why Marco likes to make such details and emphasizes that it's not always about working perfectly. Because perfect is not always the best.
Nevertheless, you shouldn't add overly large and angular indentations, but rather use the pores as a guide and use more rounded and light wavy lines..webp?tutkfid=59439)
Step 8
Marco makes another time jump in the video training and now shows the finished contours.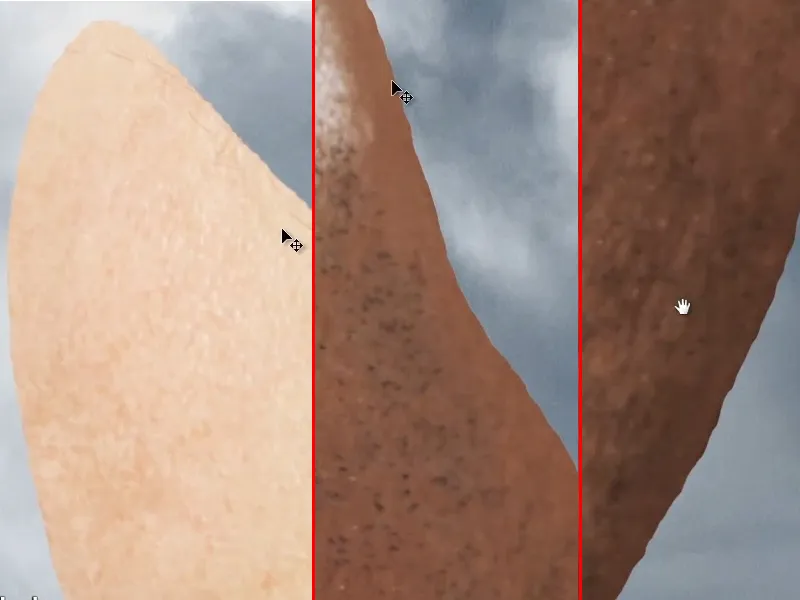
He mentions that he has also corrected the whiskers on the chin a little: He darkened the light areas in the Shadows (a) and Midtones (b) sections using the post-exposure tool.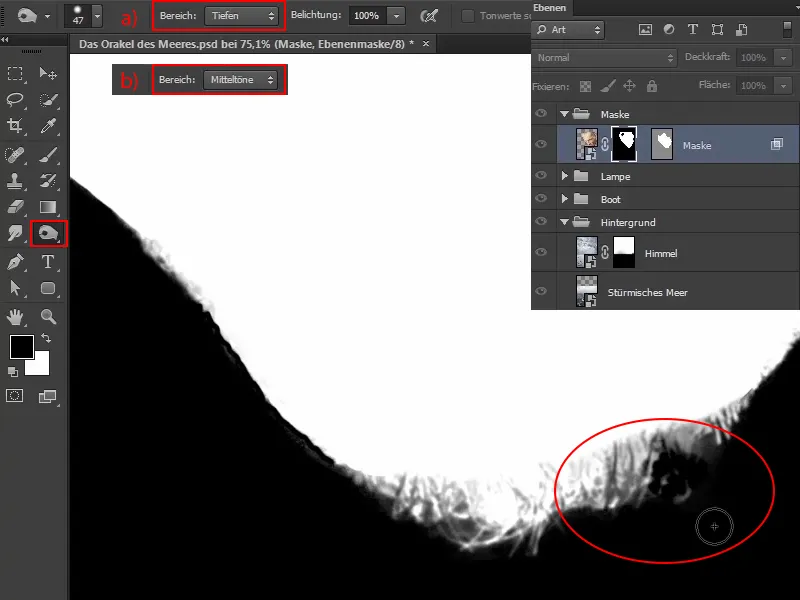
This made the hair stand out even better. Compared to before, the stubble now looks like this: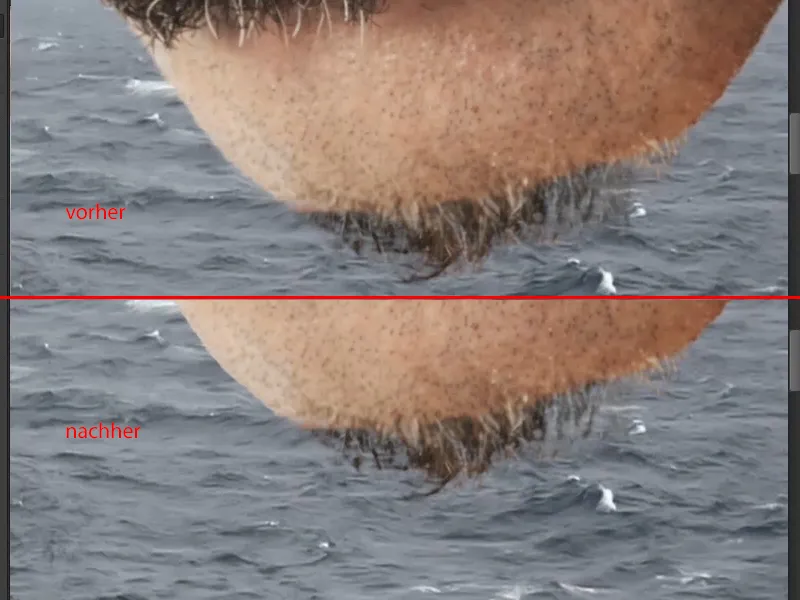
If you want to switch back and forth between the image and the mask and possibly also correct it, you can do this simply by holding down the Alt keyand clicking on the mask..webp?tutkfid=59443)
The edges are now broken up and the step towards a more realistic mask is complete.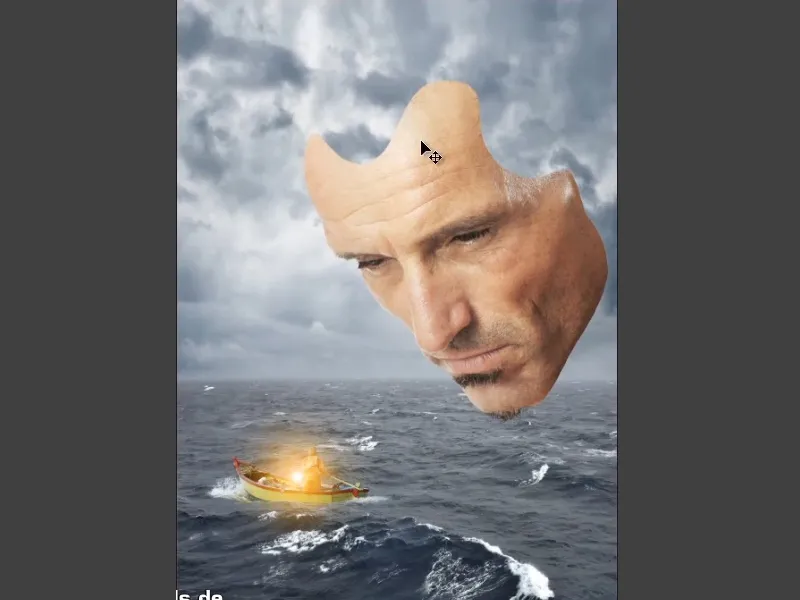
In the next part of the tutorial series, the mask will be given a little more depth so that you can really see that it is a mask.


