In video editing, careful planning and preparation are the keys to success. In this tutorial, we will learn about the so-called preprocessing area in Adobe Premiere Pro CC. This area allows you to cut your videos before the final import into the sequence and make important adjustments. Below you will learn how to effectively utilize this area to optimize your workflows and create high-quality videos.
Key Takeaways
- The preprocessing area is a useful tool to trim clips before importing them into the sequence.
- Using shortcuts (i, o, m) makes it easier to mark in and out points as well as add markers.
- You can selectively import both audio and video tracks into the sequence.
Step-by-Step Guide
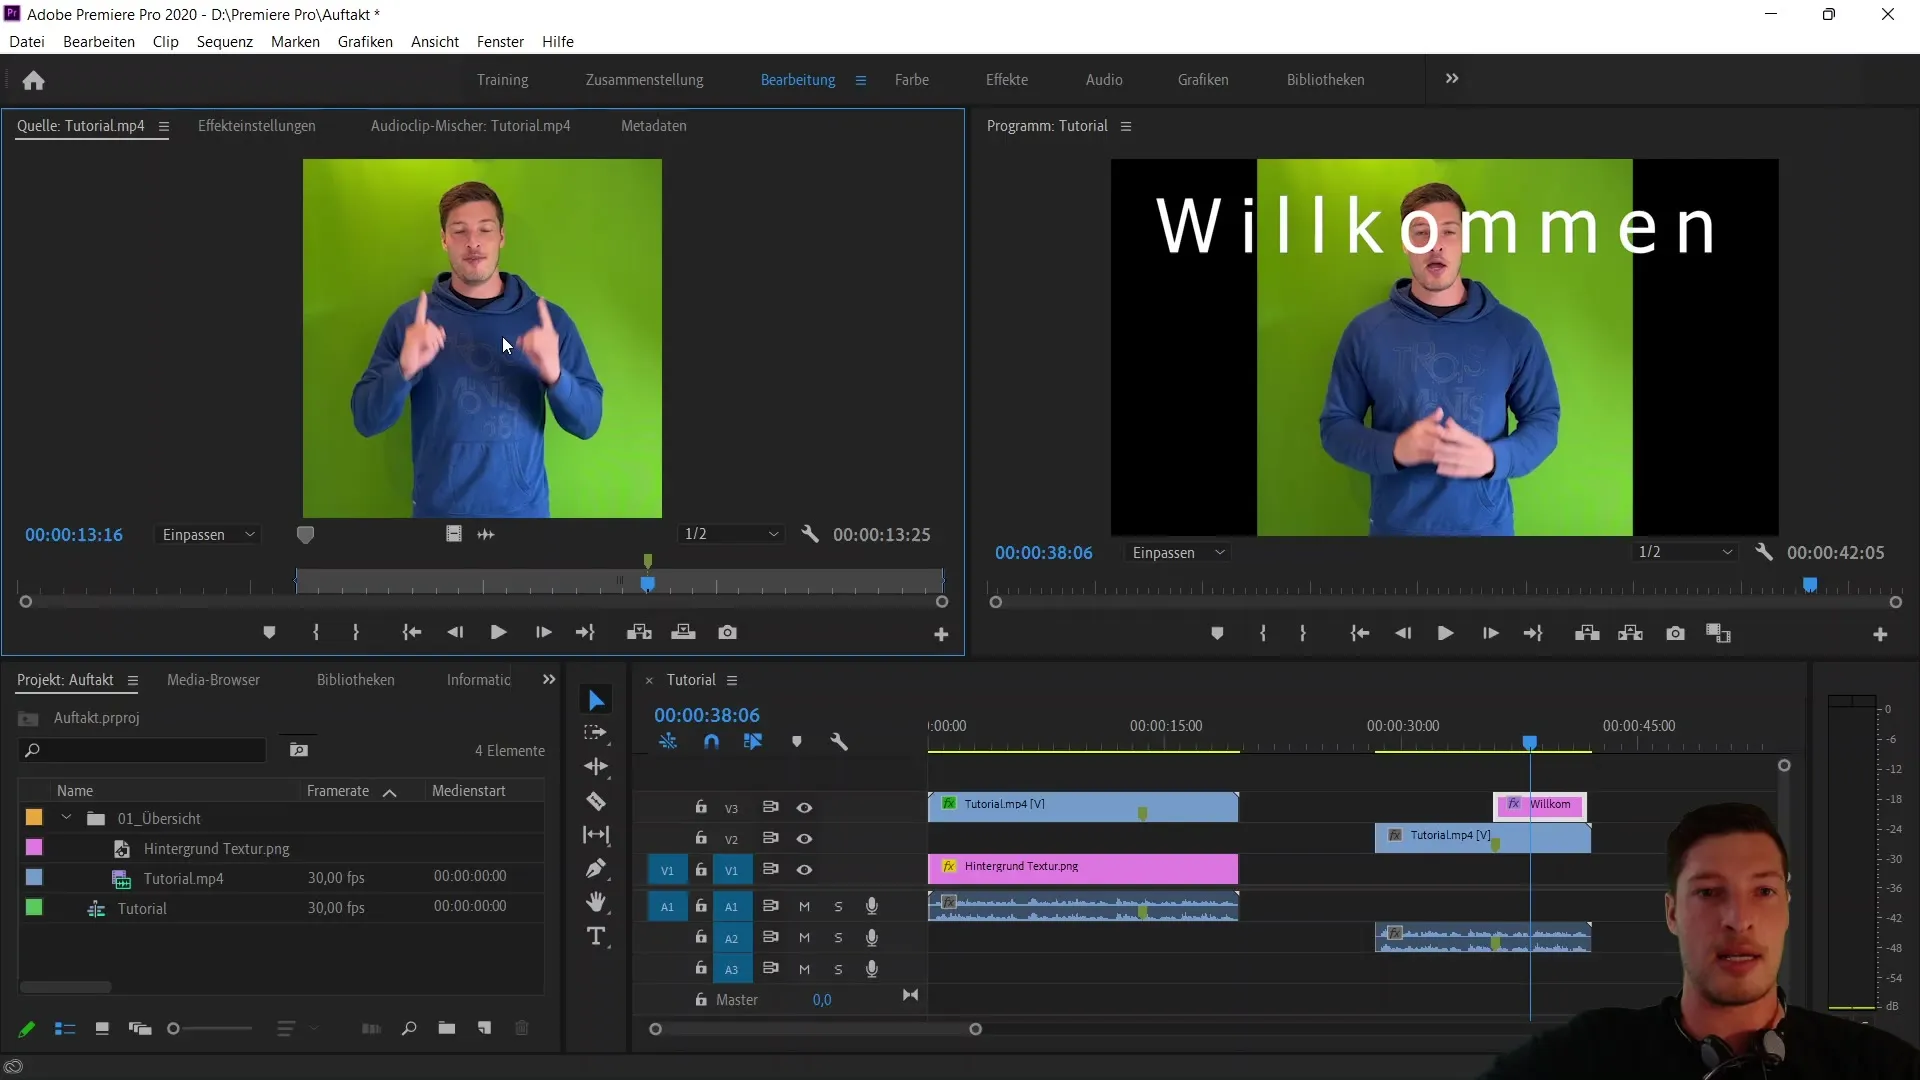
Let's start with an overview of the preprocessing area, which you can find on the left side of the program. This area is often activated via the editing tab under "Source," but can also be accessed through the Effects tab. I prefer working from the editing window as it gives me more space and allows me to view the details better.
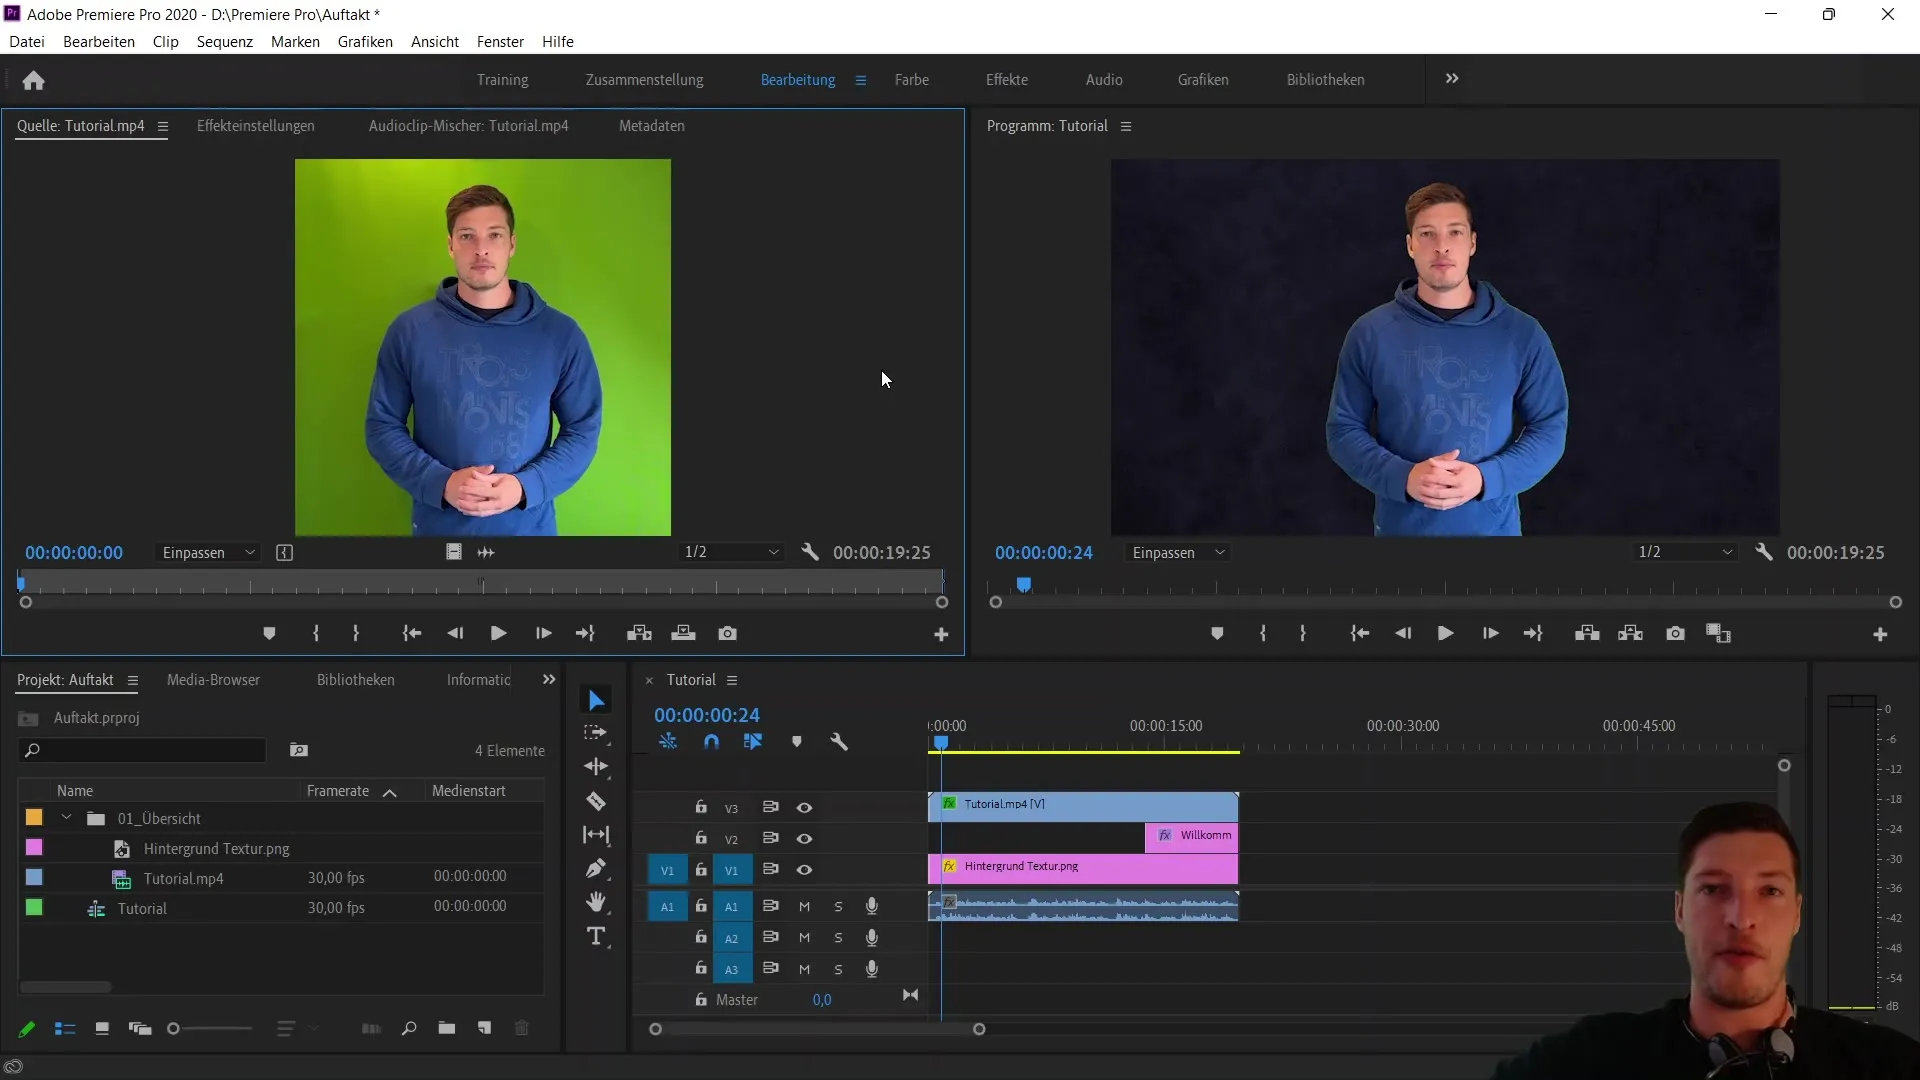
One of the first functions you will use in this area are the shortcuts for setting in and out points. With the "i" and "o" keys, you can define the relevant area of your video clip that you want to transfer to the sequence. To get an overview, play the video and use the spacebar.
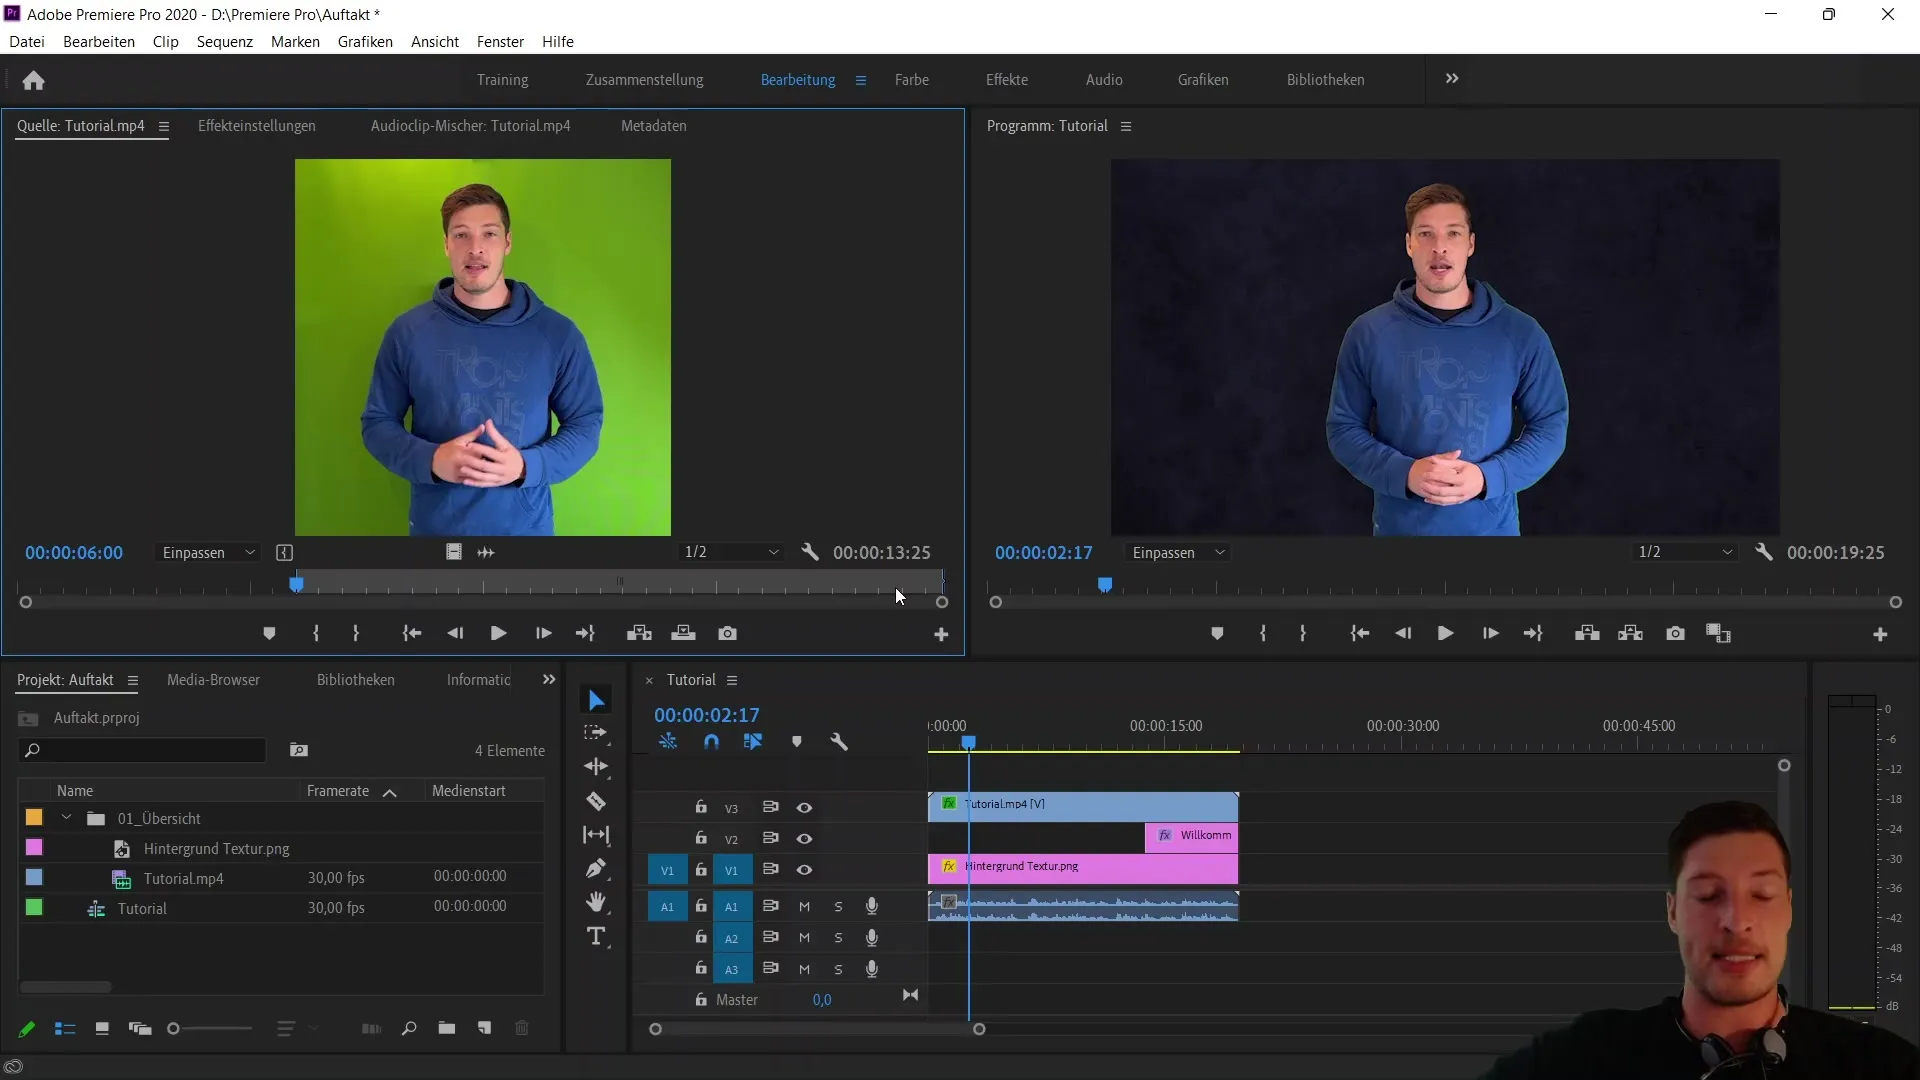
In the first step, we want to remove the first sentence of the clip to start the preprocessing. The most important thing is to use the spacebar to pause the video, and the arrow keys to go frame by frame forward or backward. This helps you select the exact position for your mark.
To set the inpoint, press the "i" key. Alternatively, you can also set it by simply clicking on the inpoint symbol, which gives you visual feedback on where the inpoint was set. Note that the shortcut is displayed right next to the symbol.
Now we want to set the outpoint. Here too, you can use the "o" shortcut or manually drag the outpoint to the end of the clip. Sometimes it is more helpful to move the outpoint manually.
Another useful shortcut is "m," which allows you to add a marker to hold a specific point in the video. This is especially important if you intend to edit the clip later. For example, you can set a marker for when the welcome text appears.
After setting the in and out points as well as the marker, you can transfer the clip to your sequence by drag and drop. Simply drag the clip to the desired area of the sequence, and you will see the clip snap to the marker.
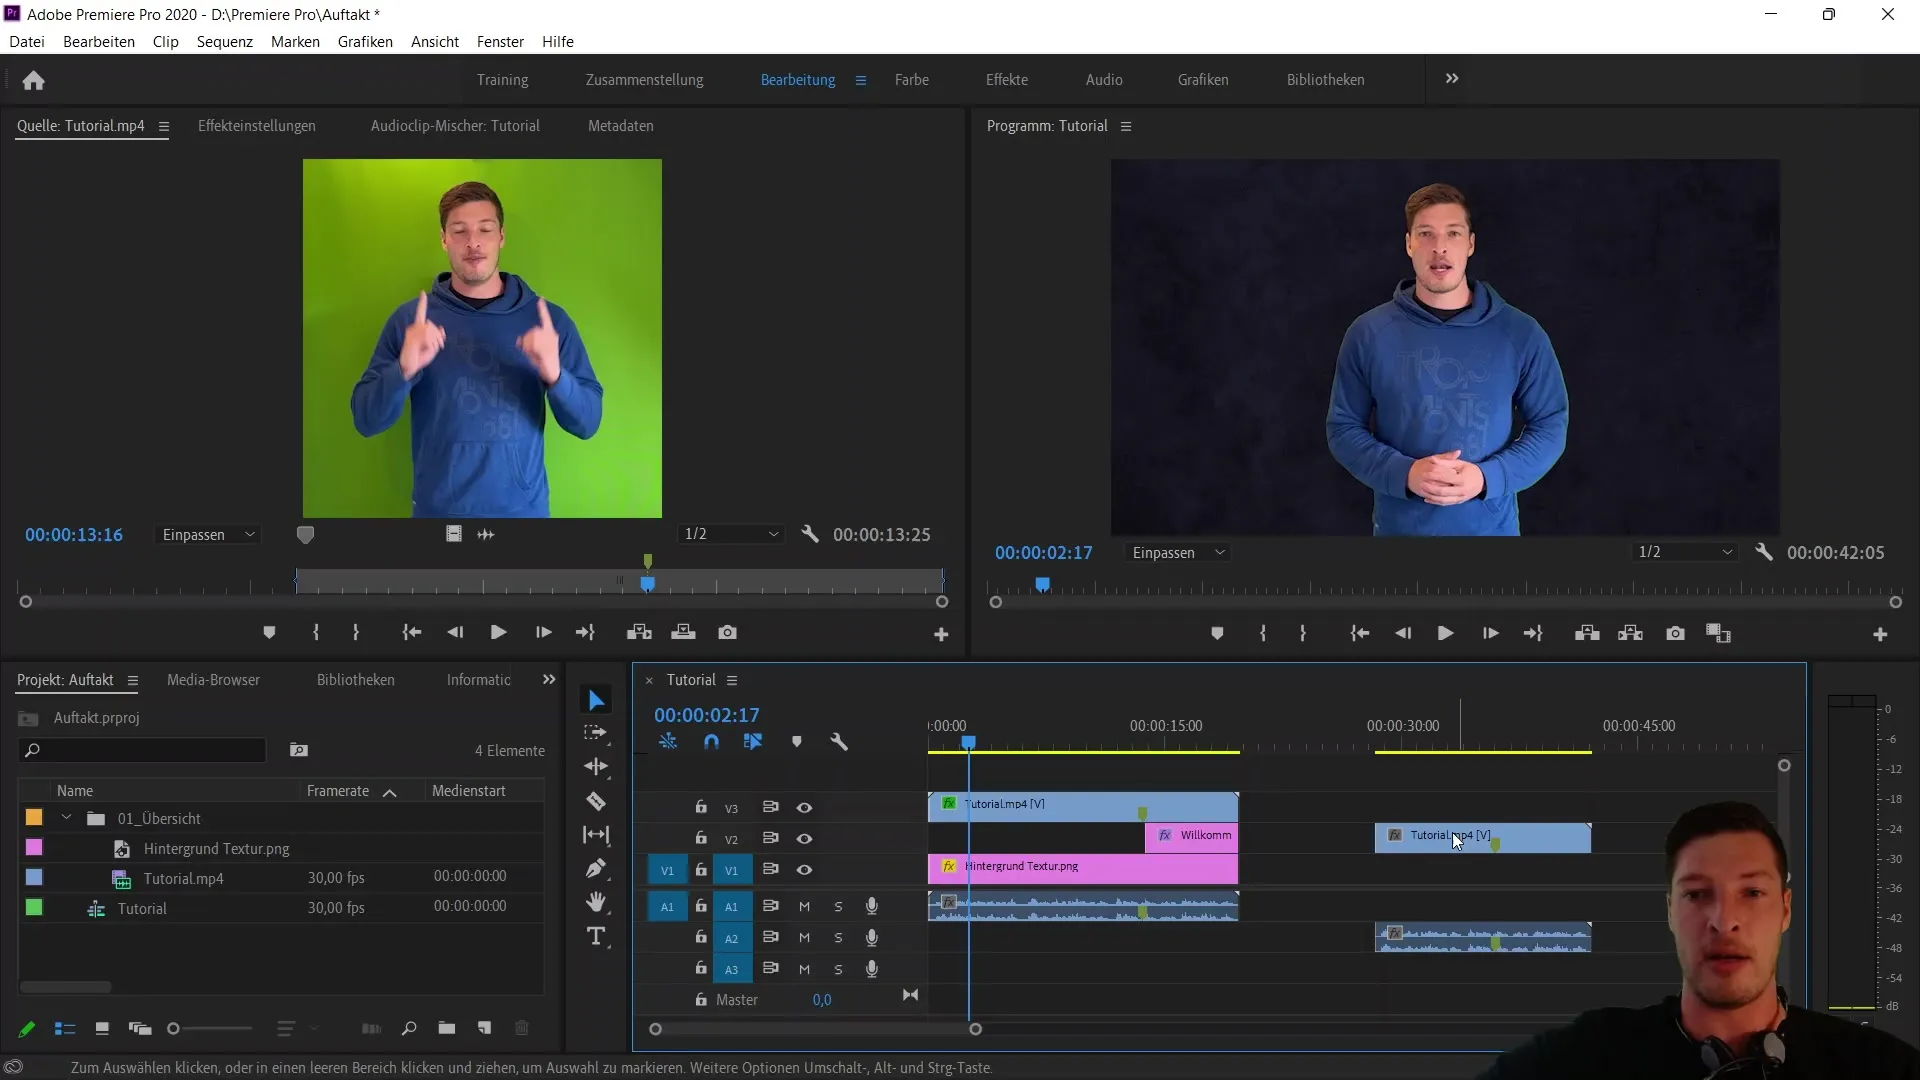
If you only want to import the audio or video track, you can do so using the respective import buttons on the right side. These options allow you to work more flexibly and integrate only the necessary tracks into the sequence.
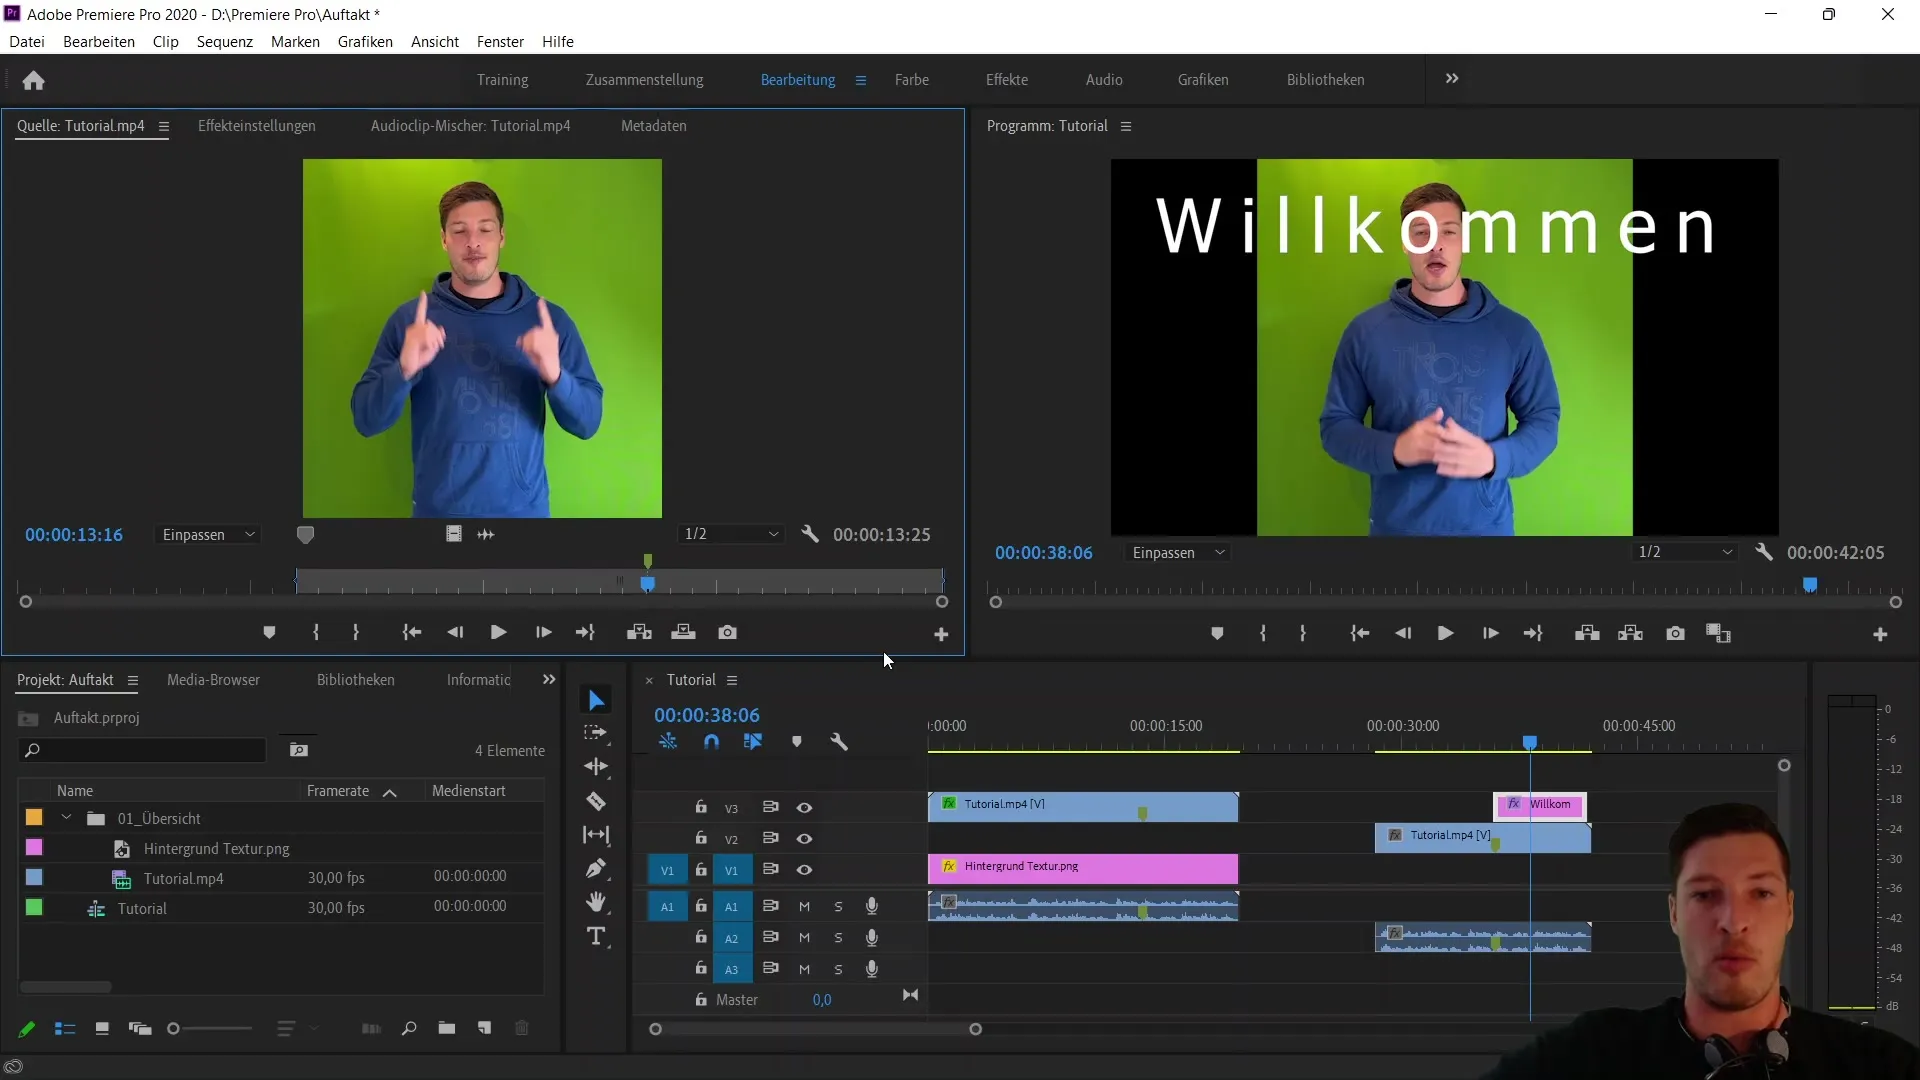
In summary, using the "i," "o," and "m" shortcuts is immensely helpful in making your preprocessing efficient. This way, you can quickly adjust your video and set the necessary markers before transferring it to the sequence.
Summary
You have now received a basic introduction to the preprocessing area of Adobe Premiere Pro CC. By efficiently using shortcuts and functions, you can optimally prepare your video editing and significantly improve your workflows.
Frequently Asked Questions
What is the preprocessing area in Adobe Premiere Pro?The preprocessing area allows you to trim and adjust clips before importing them into the sequence.
How do I set an inpoint in my video?You can set an inpoint by pressing the "i" key or clicking on the inpoint symbol.
Can I import only the audio or video track into the sequence?Yes, you can choose between importing audio and video tracks using the respective buttons.
How do I add a marker?You can add a marker by pressing the "m" key or using the marker symbol.
What shortcuts are important for preprocessing?The key shortcuts for preprocessing are "i" for inpoint, "o" for outpoint, and "m" for markers.


