In this comprehensive tutorial, you will get to know the tools of Adobe Premiere Pro located on the left side of the timeline. I will introduce you to the functions of these tools as well as their shortcuts so that you can make the most of the many possibilities of video editing. The goal is for you to be able to start working on your own projects directly after watching the video and applying the steps.
Key Takeaways
This tutorial will help you understand and apply the most important tools in Adobe Premiere Pro. These include:
- Selection Tool (V)
- Razor Tool (C)
- Track Select Right/Left Tool (A)
- Move Edit Point Tool (B)
- Ripple Edit Tool (N)
- Rate Stretch Tool (R)
- Slip Tool (Y)
- Pen Tool (P)
- Hand Tool (H)
- Type Tool (T)
Step-by-Step Guide
Create New Project and Import Clips
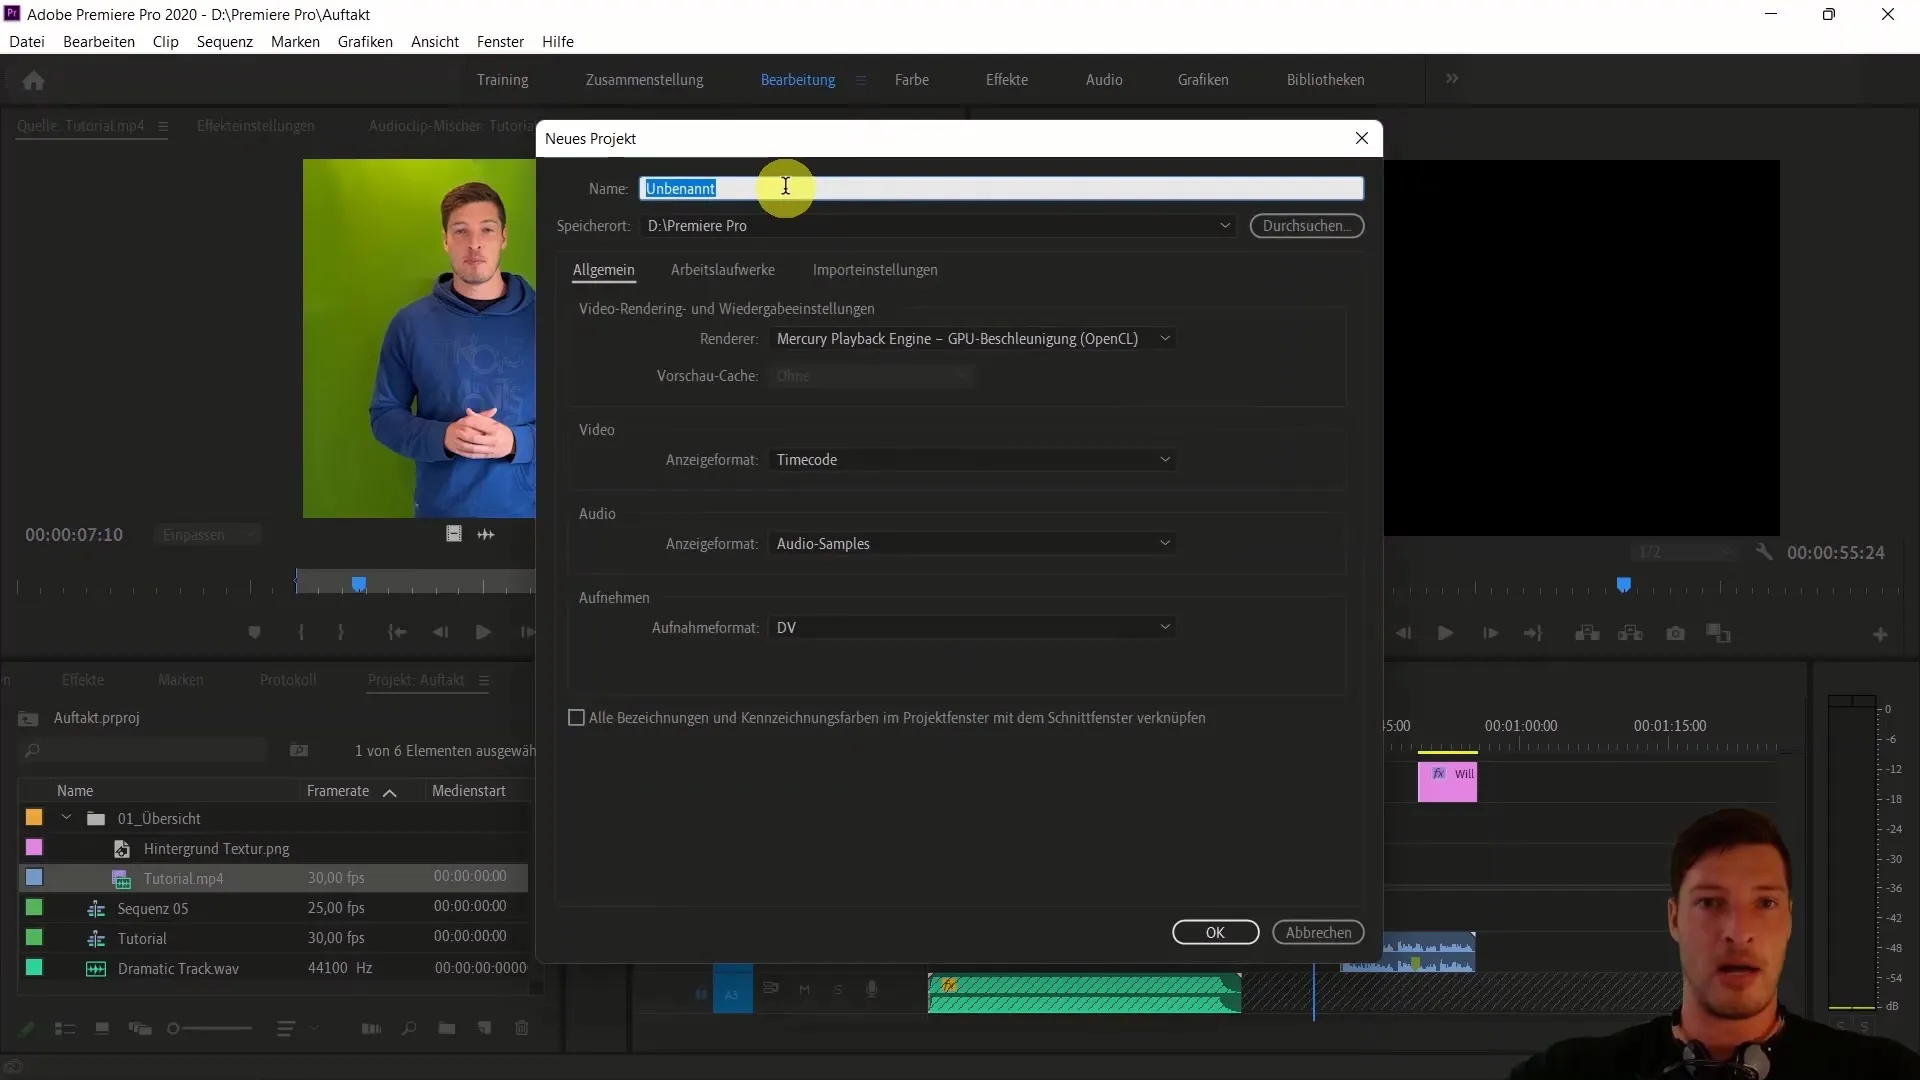
Start by creating a new project in Adobe Premiere Pro. You can do this by going to "File," selecting "New," and then choosing "Project." Alternatively, you can use the shortcut Control + Alt + N. I will name the new project "Tools" to show immediately what we will do in this video. The location for the project should remain in your Premiere Pro folder. Click "OK" to create the project.
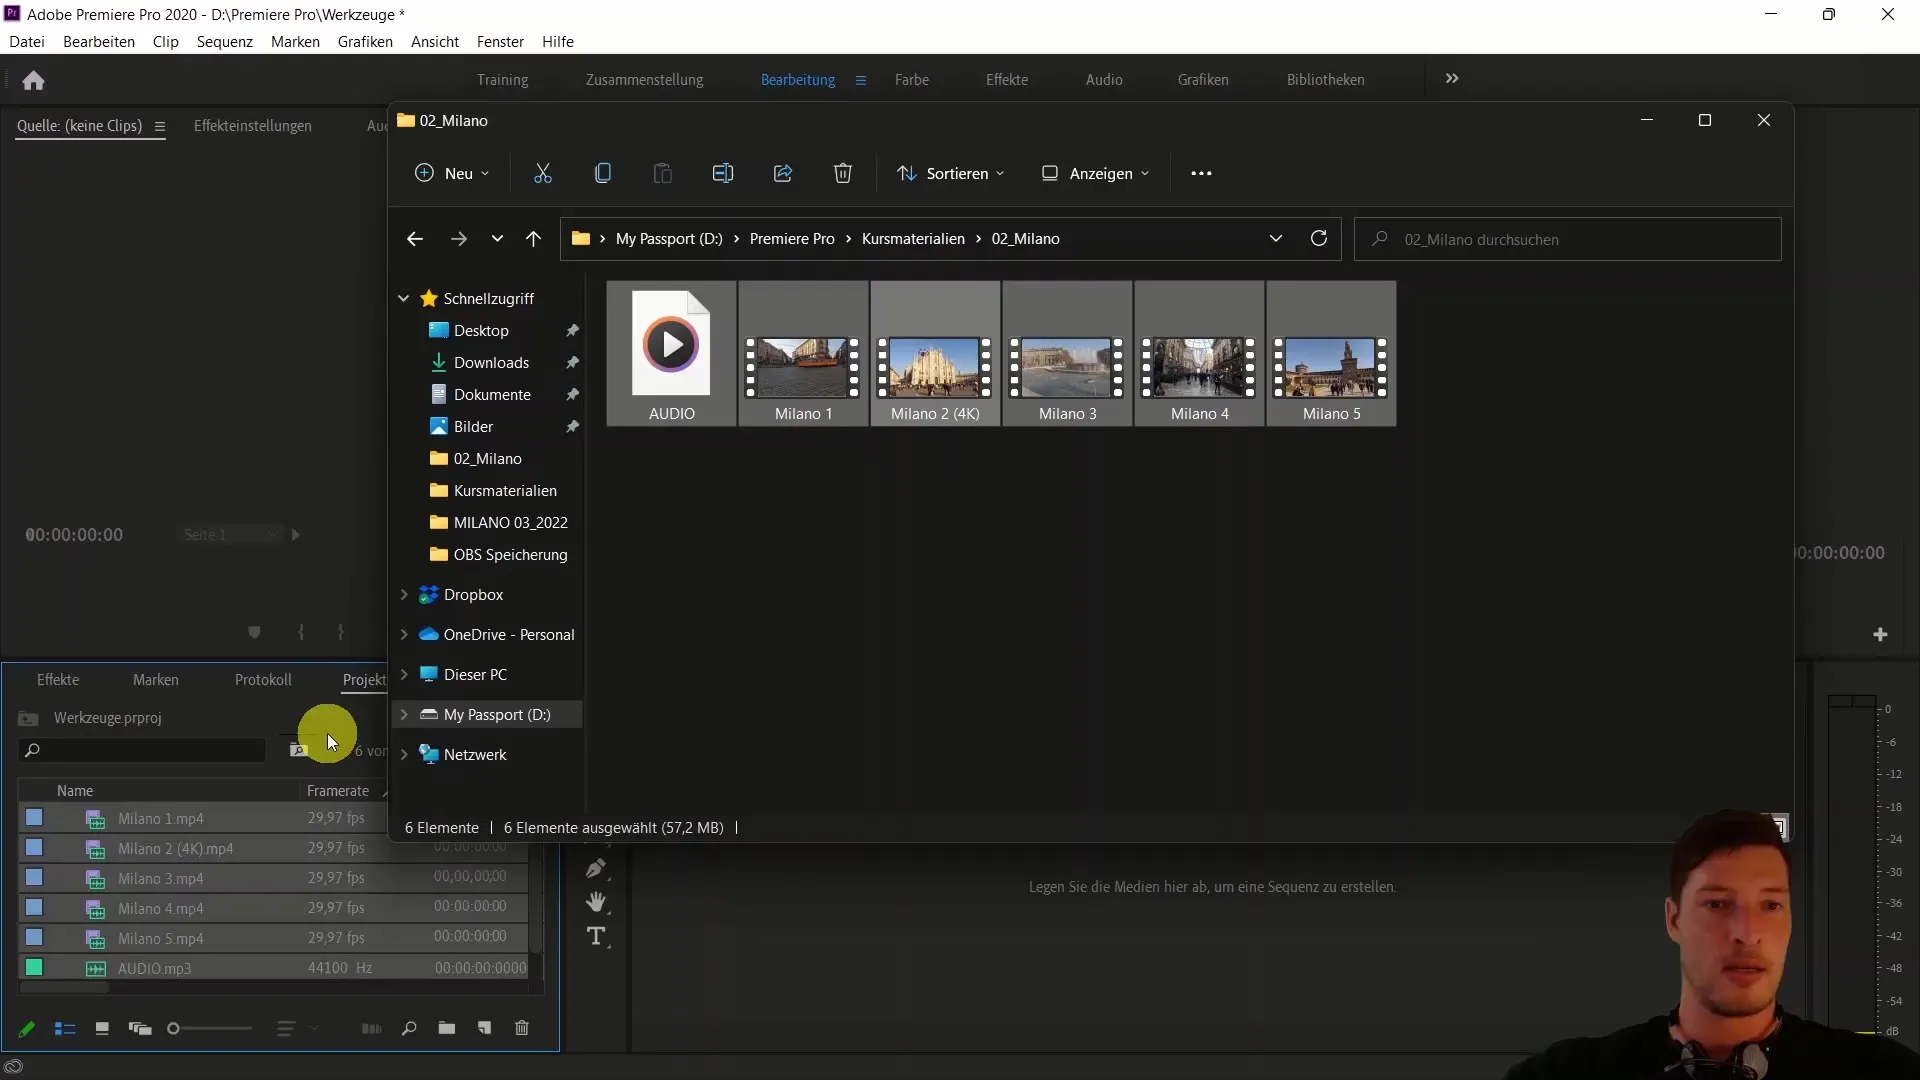
Now you should have an empty project where you can import clips. Right-click in the project area and select "Import." Locate the folder with the course materials and choose the clips you want to import – in this case, five sequences and an audio file. You can import all selected files at once.
Drag Clips into Sequence
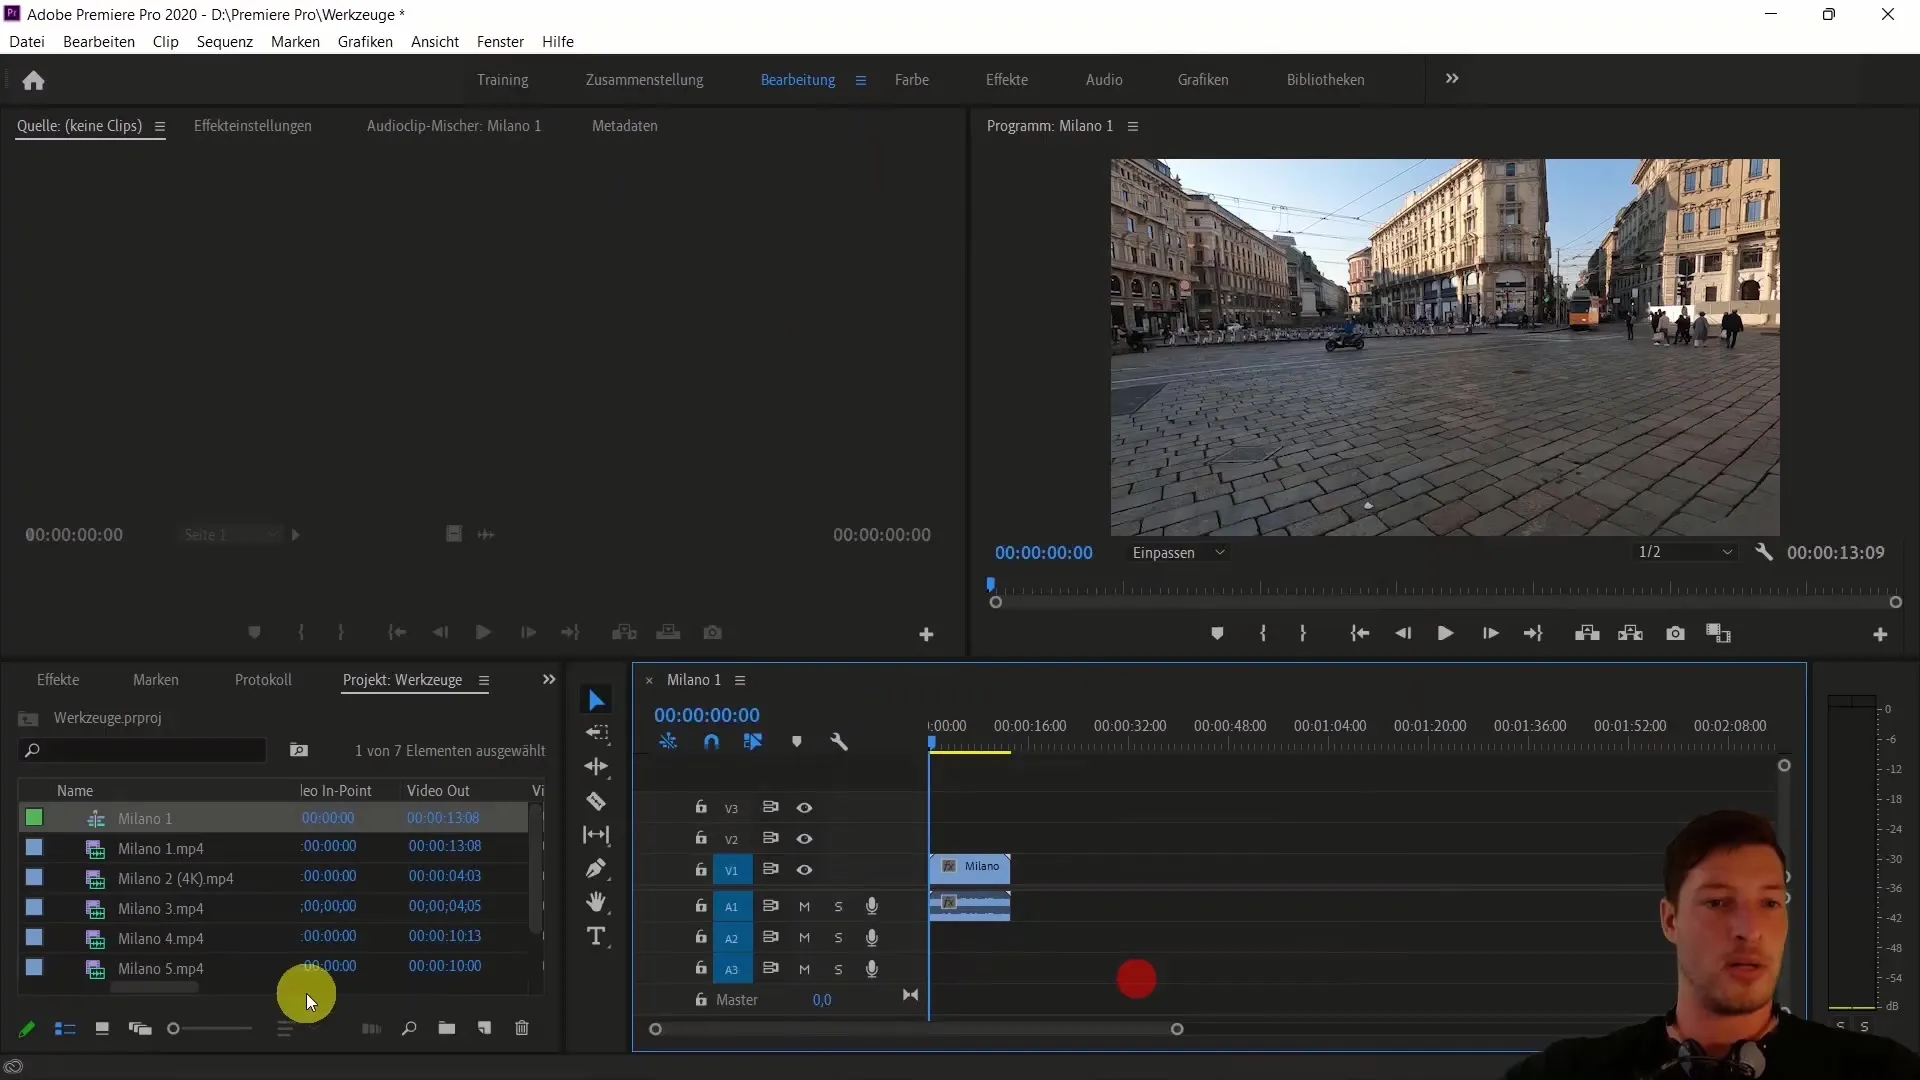
Now take the first clip and drag it into a new sequence. Make sure the sequence settings match the clip (1920 x 1080 pixels, Full HD). If you have a 4K clip, you'll need to adjust it to the appropriate dimensions.
Scaling 4K Clips
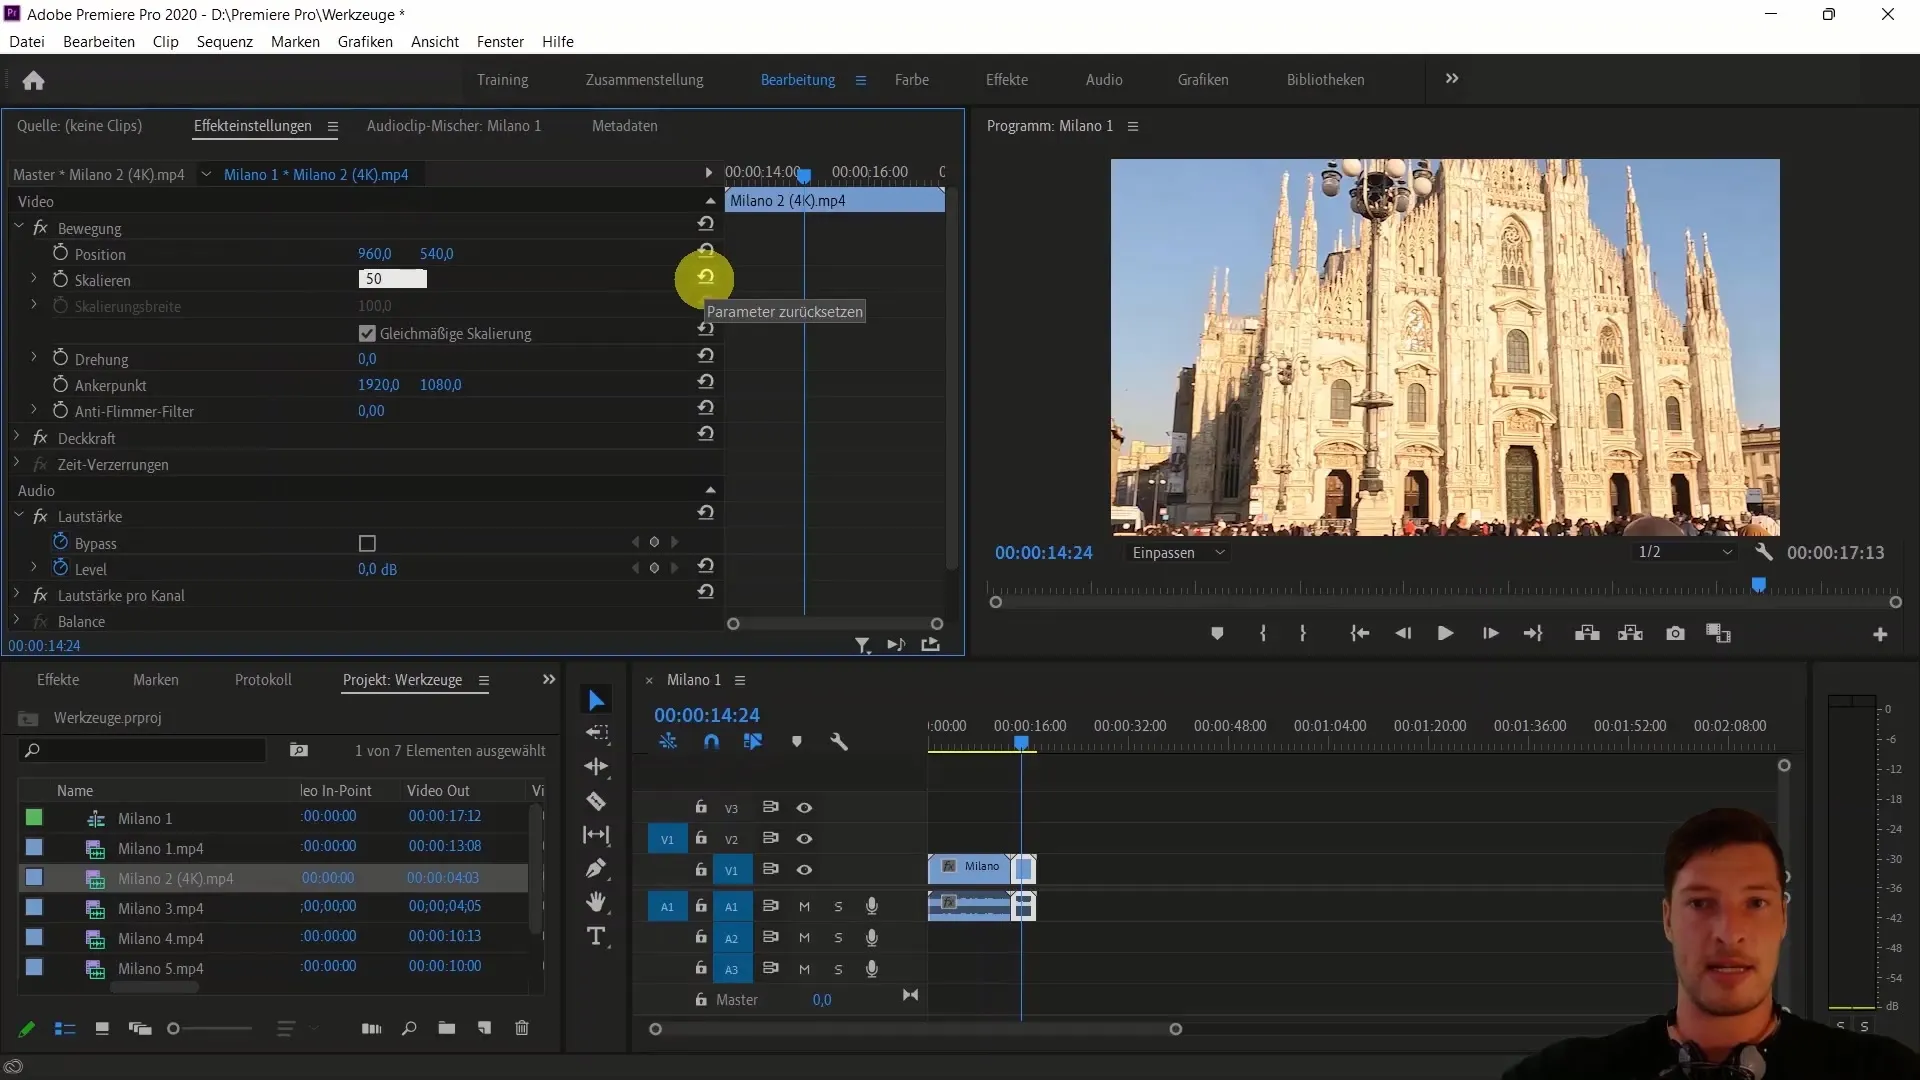
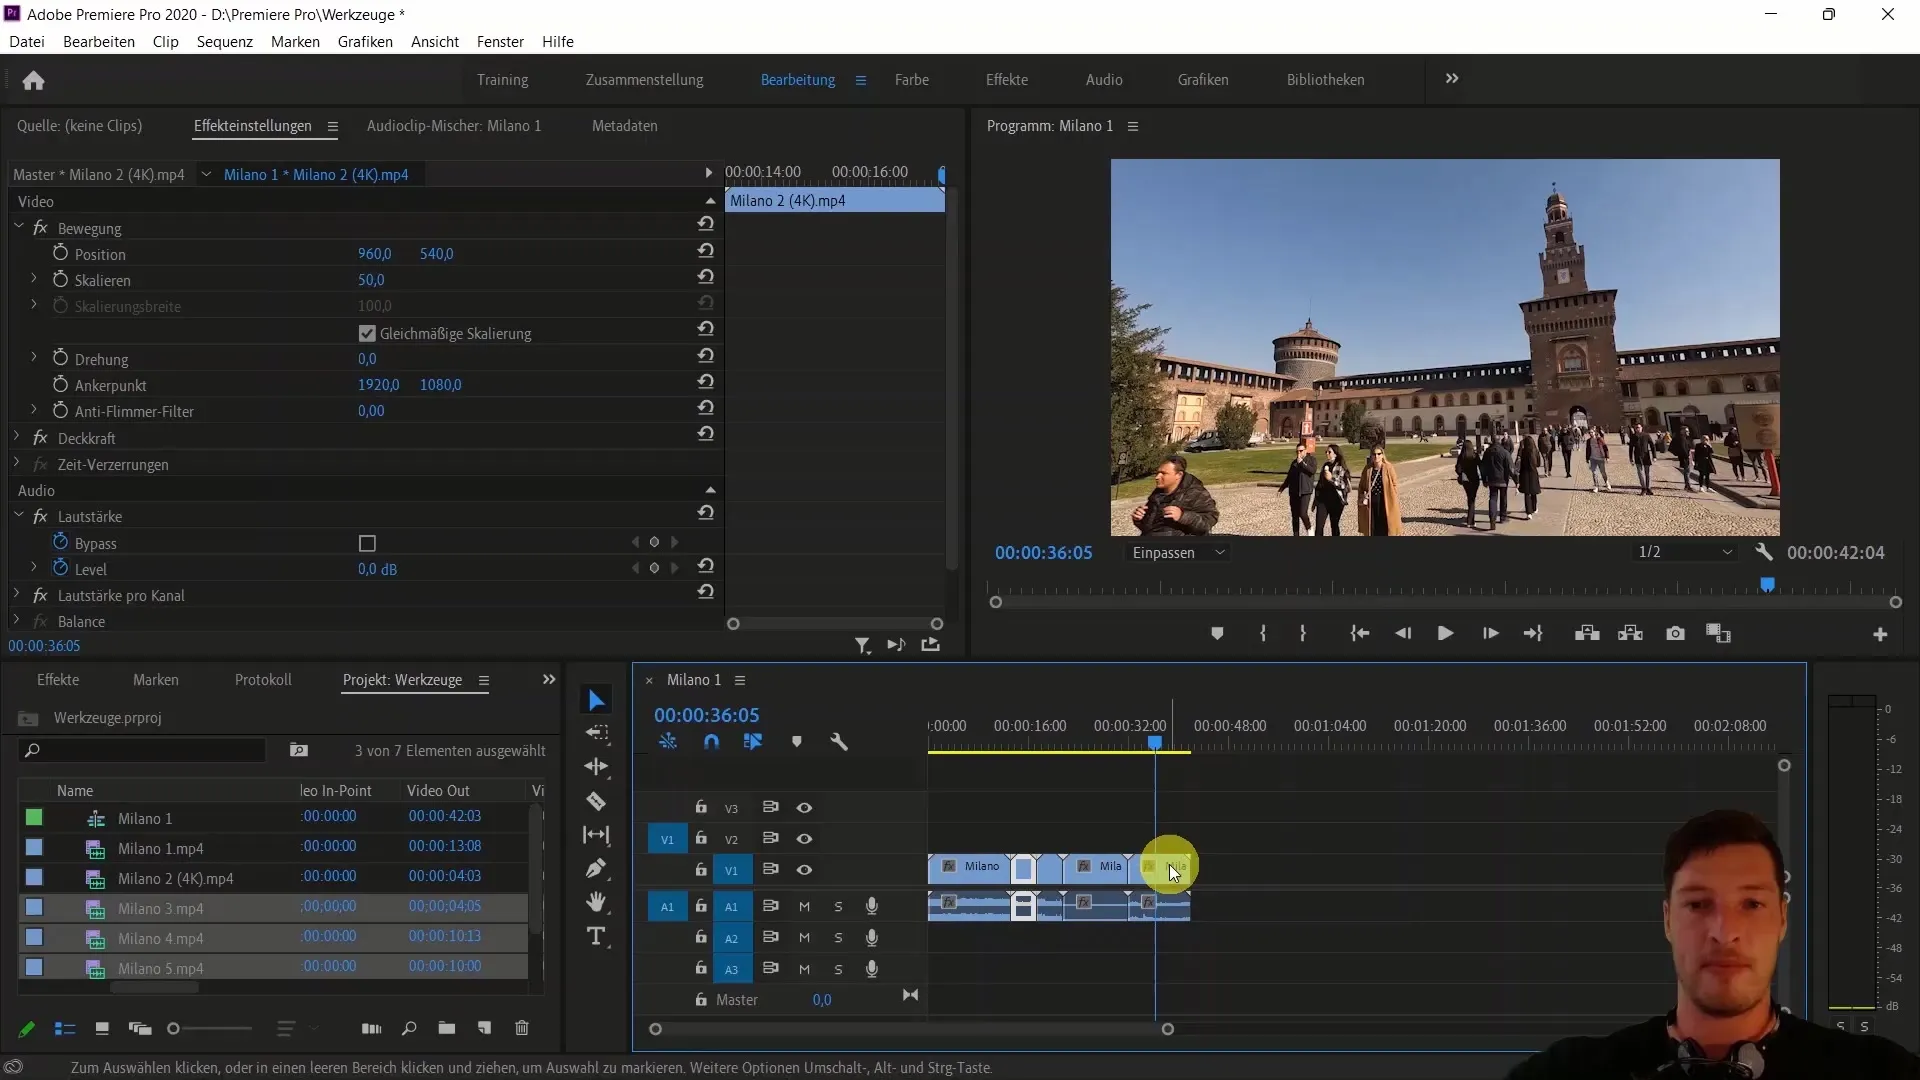
To scale the 4K clip, select the clip and go to the effects settings. Change the scale to 50% to fit the image back into Full HD. You can also right-click on the clip and choose "Set to Frame Size" to automatically adjust the size.
Selection Tool
Currently, the selection tool (Shortcut V) is active. With this tool, you can move, select, and arrange clips. A simple click on a clip selects it, while you can drag a frame around multiple clips with the selection tool.
Using the Razor Tool
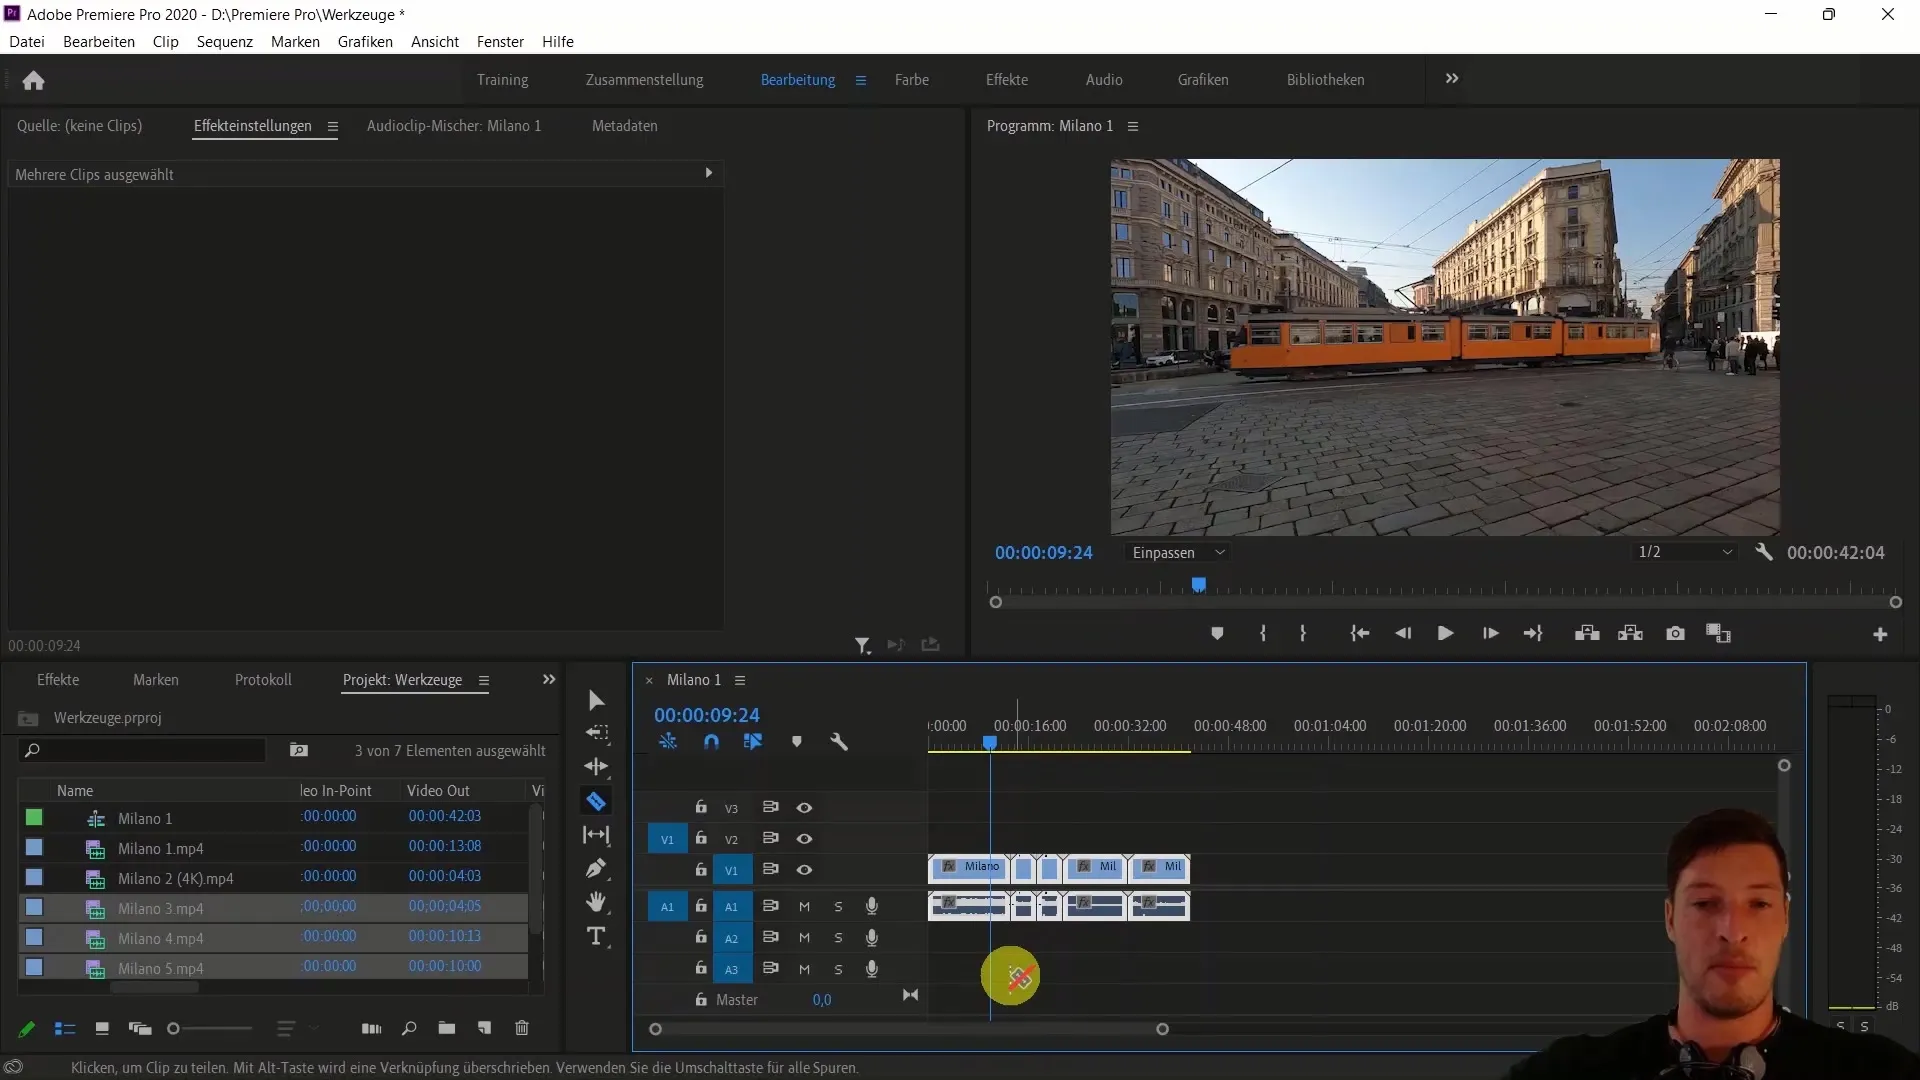
Now switch to the razor tool (Shortcut C). This tool allows you to cut the first clip at a specific point, such as where a new beat begins in a music clip. Click at the position where you want to cut, and the clip will split into two parts. You can then use the selection tool (V) to select the unwanted part and delete it using the "Delete" key.
Track Select Right and Left Tool
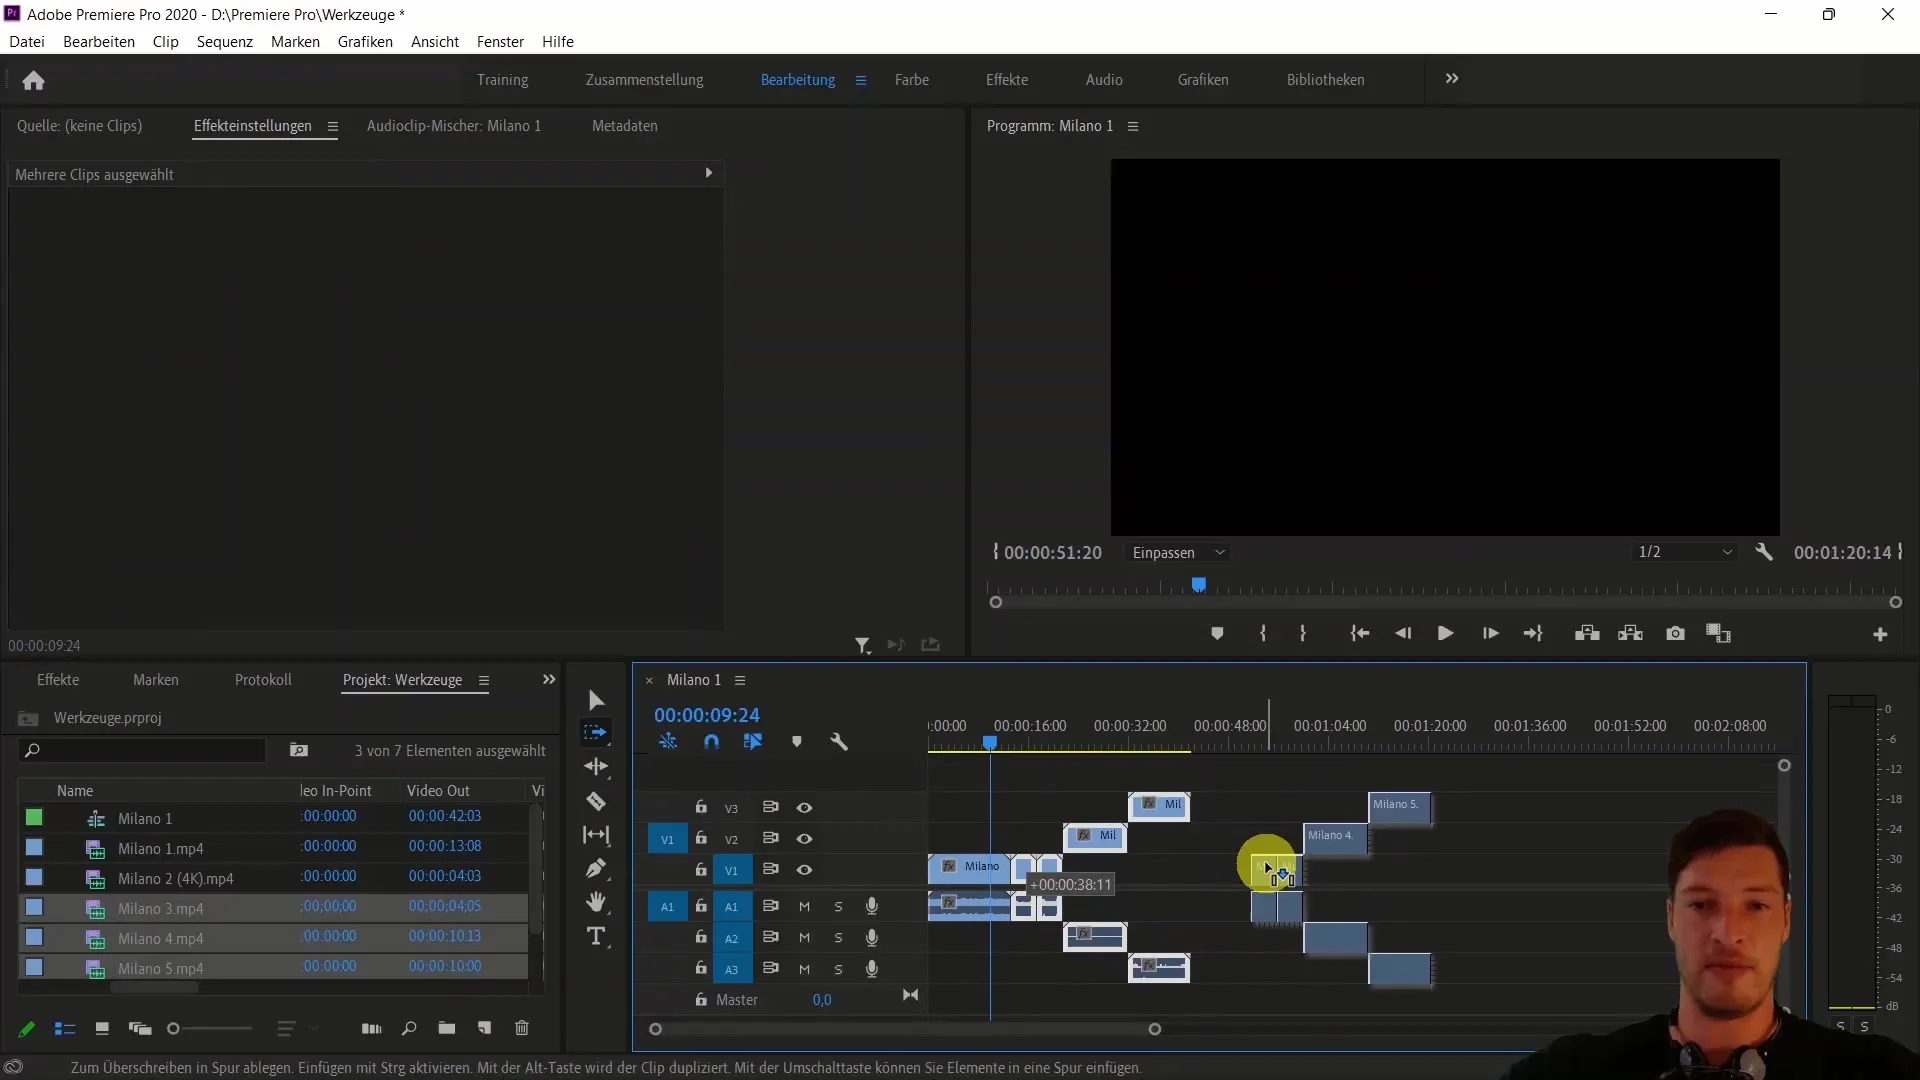
The track select tool (Shortcut A) allows you to select all clips to the right or left of the cursor position. Hold down the mouse button to select all clips and move them. This works on all tracks, regardless of whether they contain audio or video.
Move Edit Point Tool
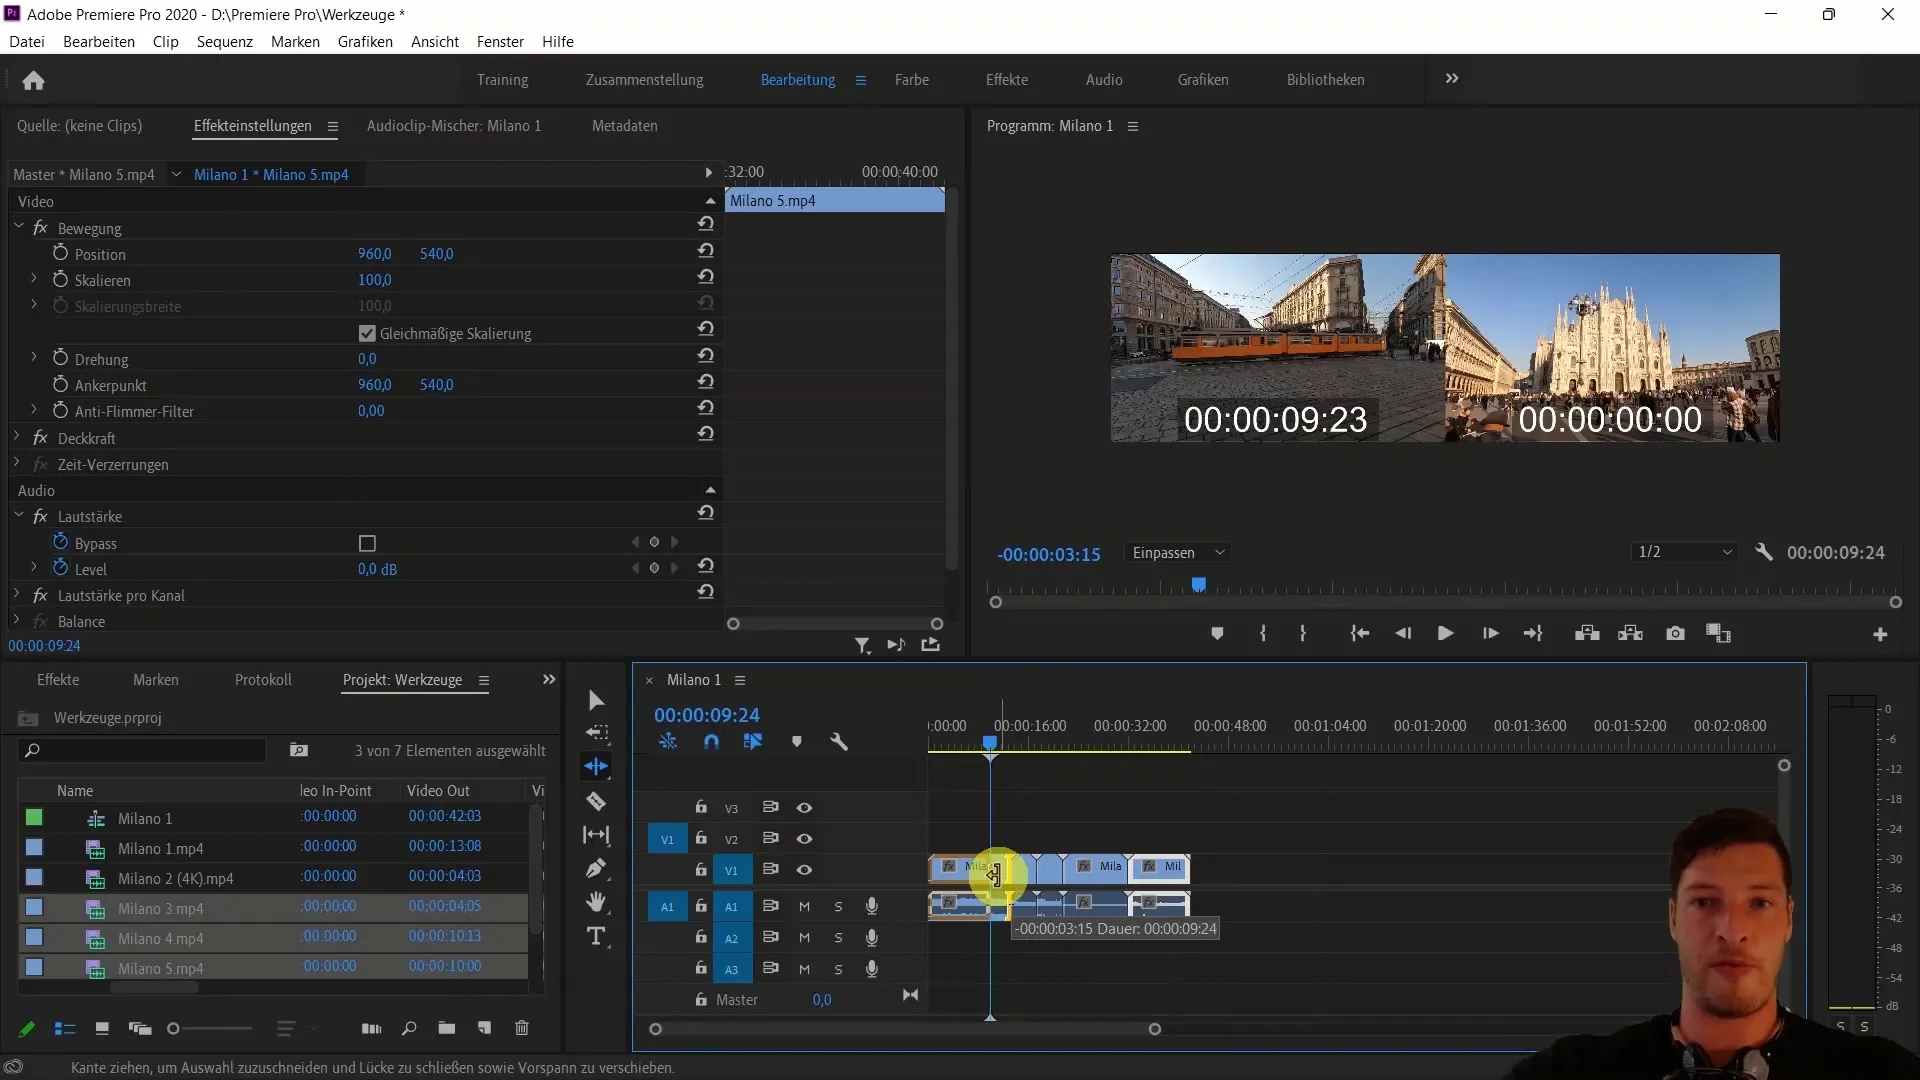
With the "Move Edit Point Tool" (Shortcut B), you can move the endpoint of a clip without affecting the clip before it. Simply click on the edge of the clip and drag the edge outward or inward.
Change Rolls and Speed
The Roll Tool (Shortcut N) helps you adjust the Outpoint of one clip while moving the Inpoint of another clip simultaneously. If you also want to change the speed of a clip, choose the "Speed Change" tool (Shortcut R) and drag the clip to influence the playback speed.
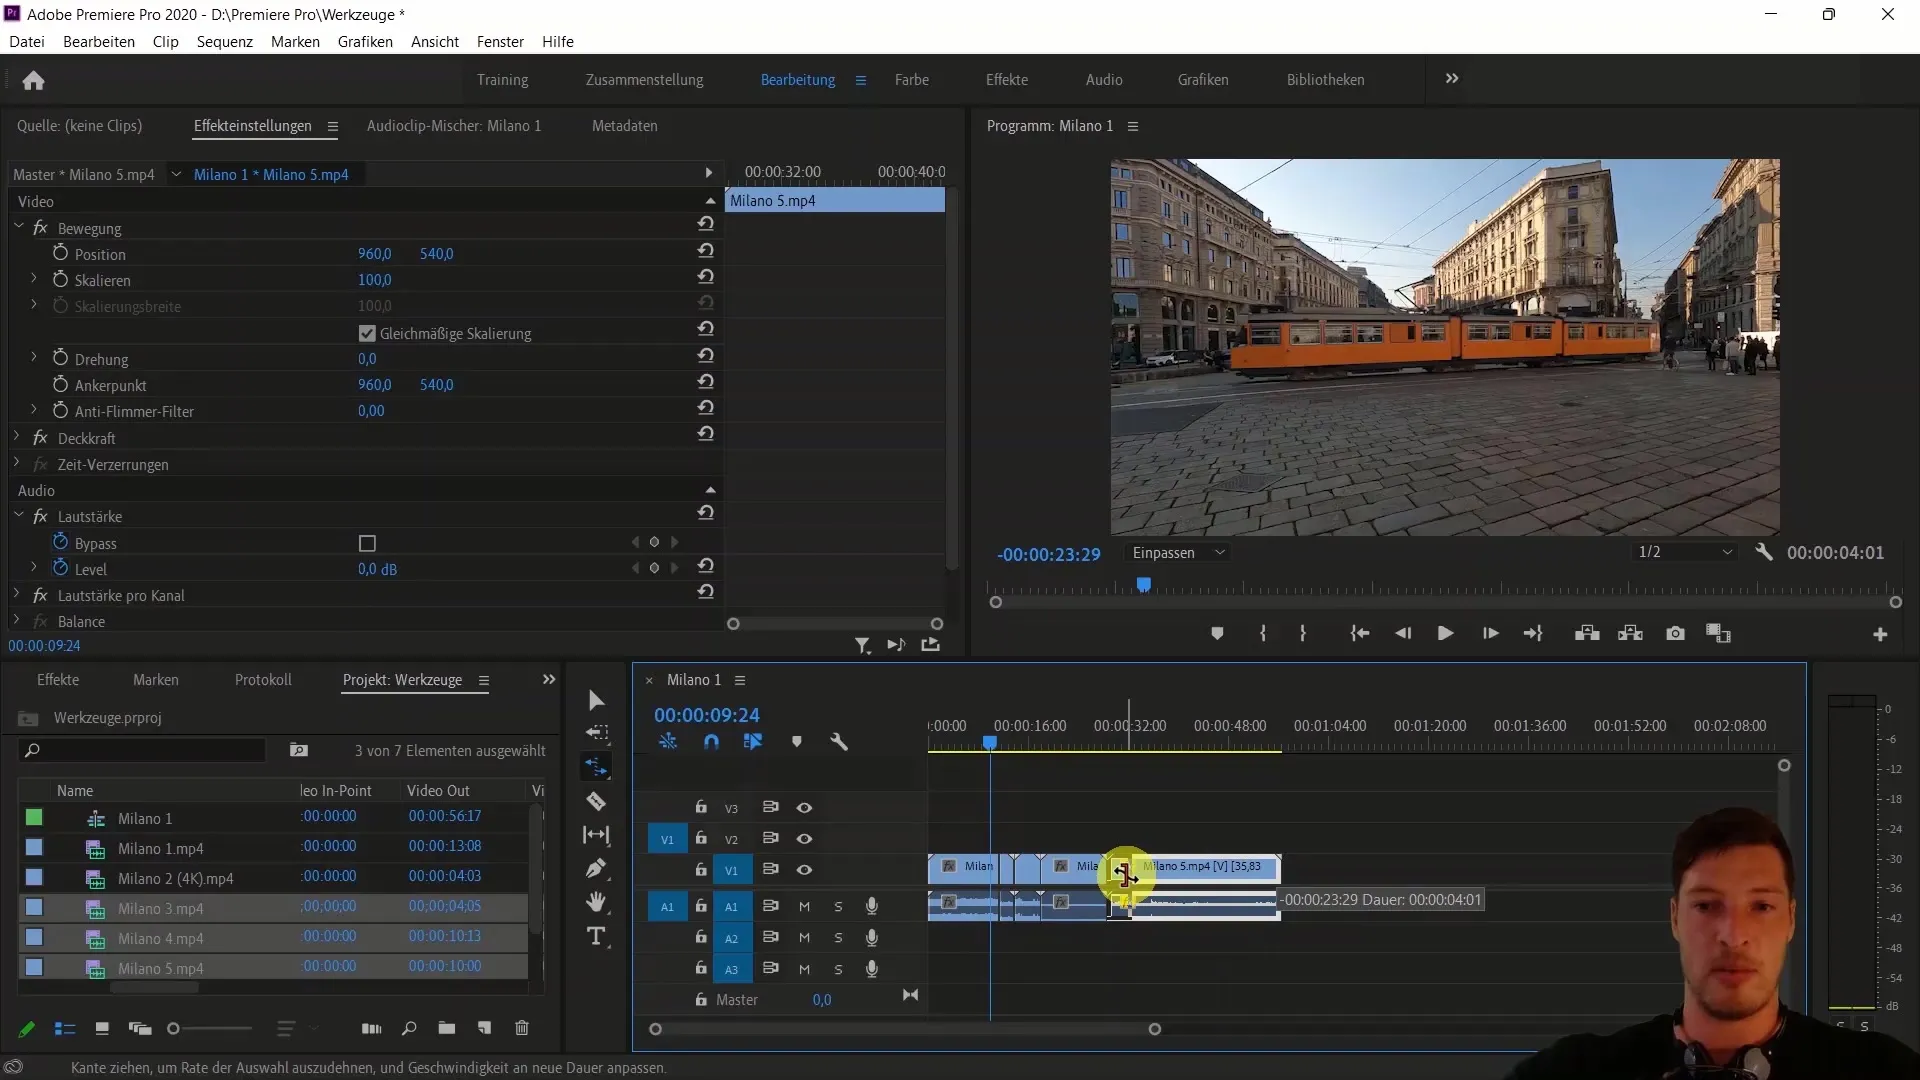
Move Clip Content
The Move Clip Content tool (Shortcut Y) is used less frequently but helps you move the entire content of a clip while keeping the duration the same. Select the clip and drag it up or down.
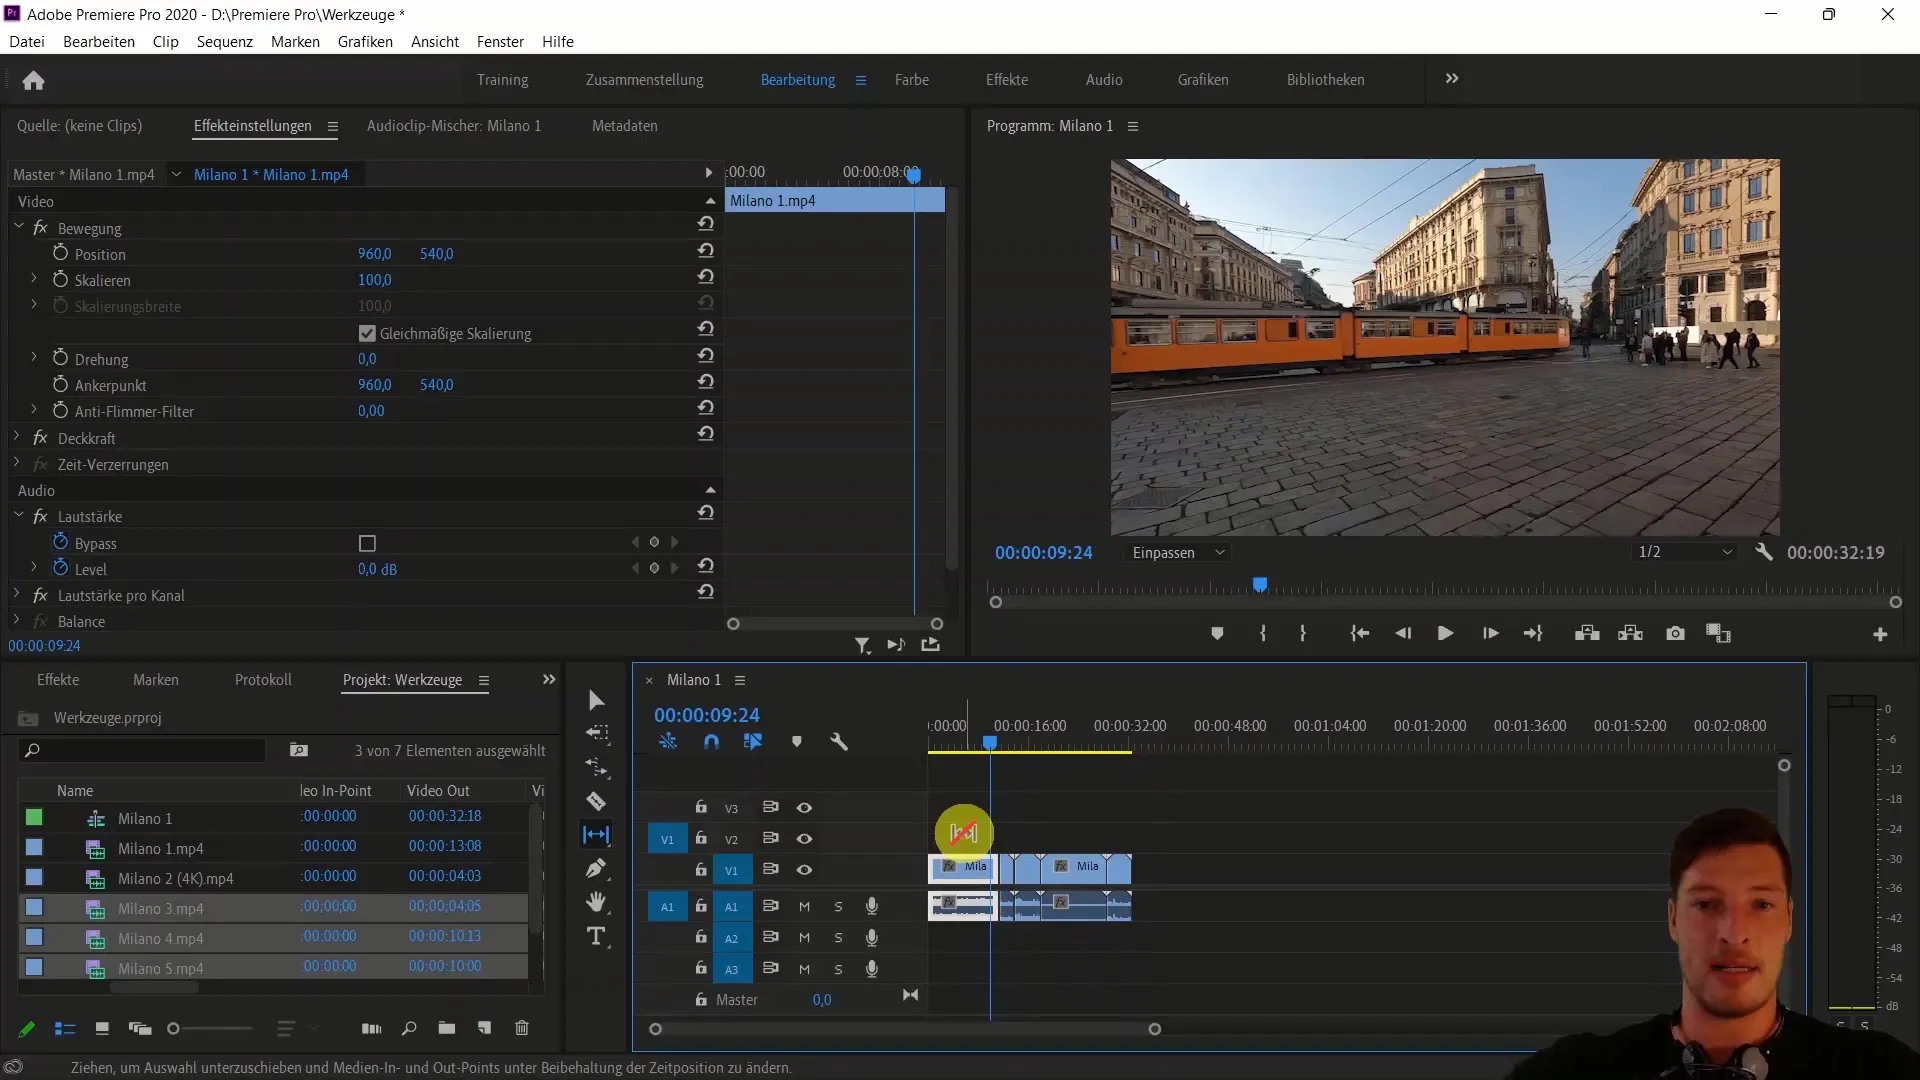
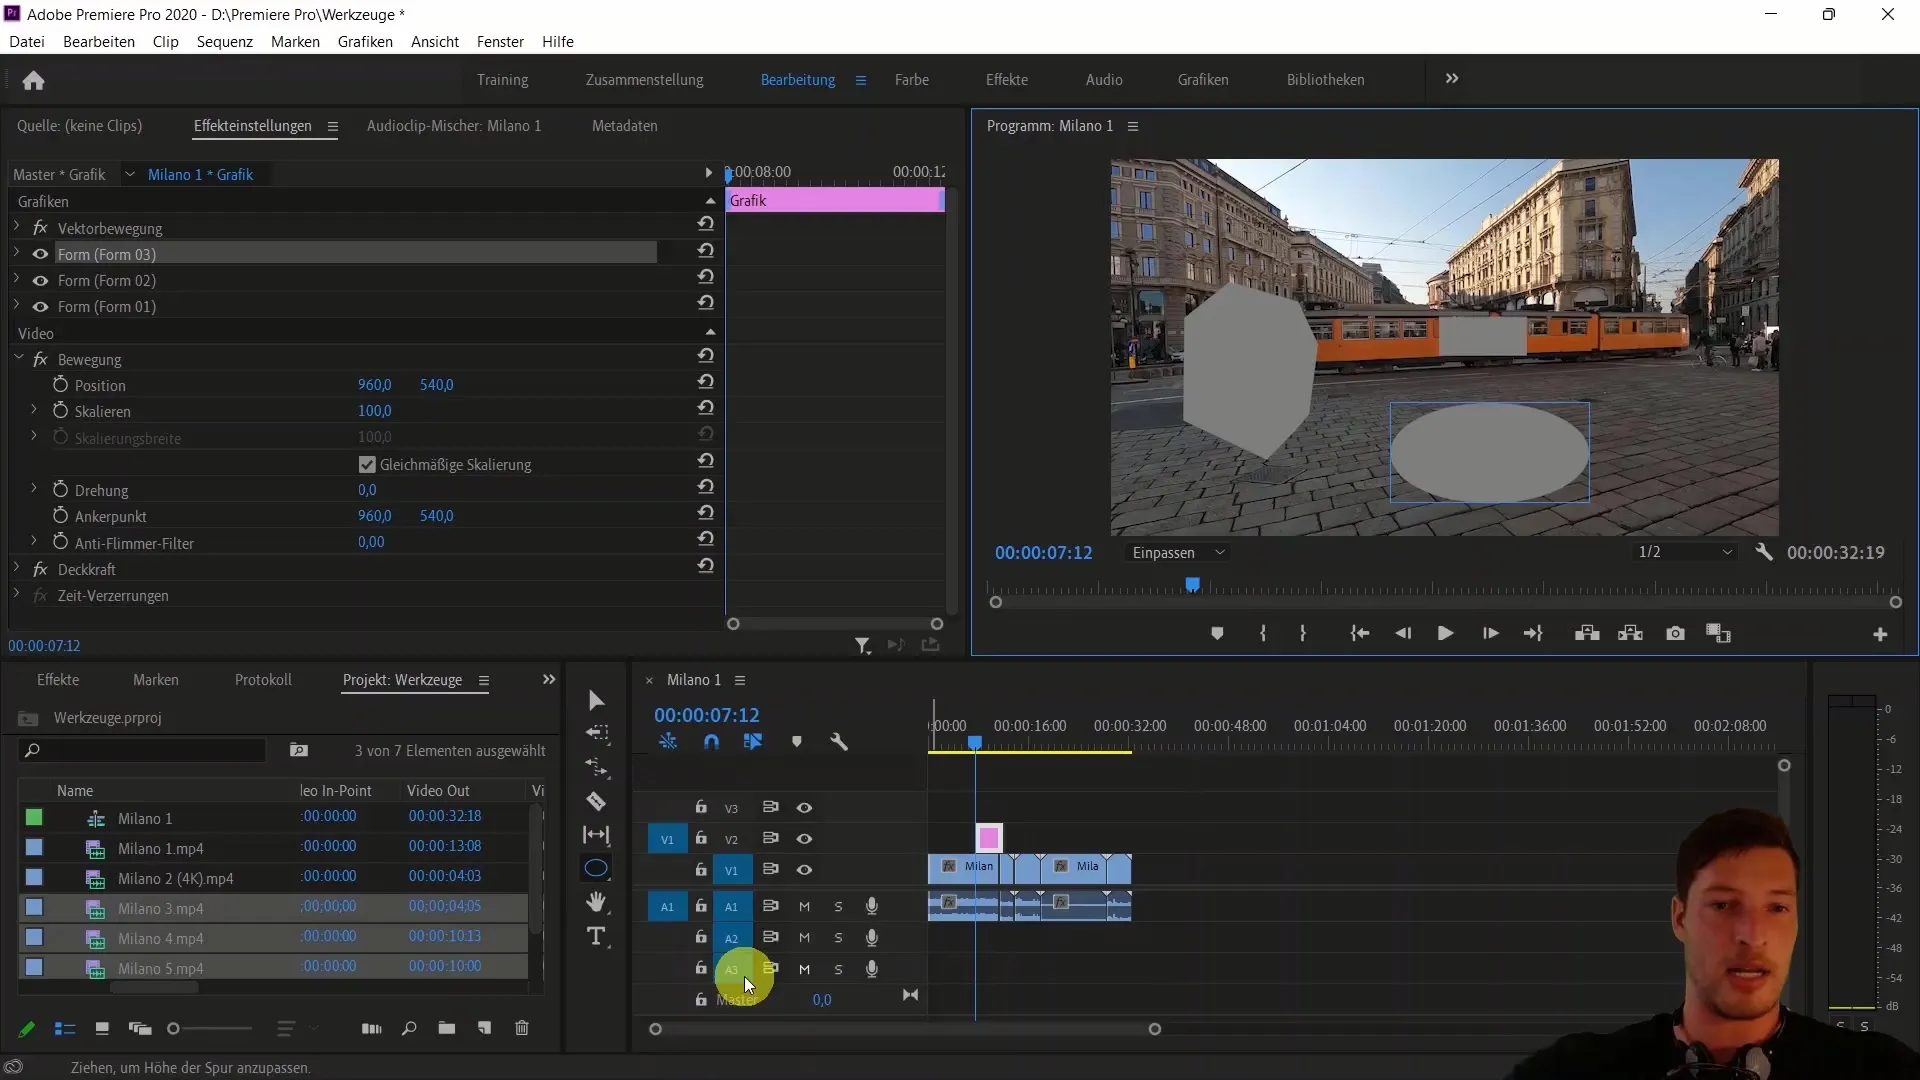
Pen Tool
With the Pen Tool (Shortcut P), you can create masks or control keyframes for a clip. You can add shapes like rectangles or ellipses and use them for transitions or effects.
Pan and Text Tools
The Pan Tool (Shortcut H) allows you to adjust your zoom and view within a sequence as needed, while the Text Tool (T) is used to insert text into your sequence by simply clicking and typing.

Conclusion
Now you have an overview of the main tools in Adobe Premiere Pro. As we went through the steps, you could see how they can help you in editing your videos. I invite you to try out the tools and get creative.
Summary
In this guide, you were able to learn about the different tools in Adobe Premiere Pro, understand their functions, and take initial steps towards practical application. Use the tools to optimize and professionalize your video projects.
Frequently Asked Questions
Where can I find the tools in Adobe Premiere Pro?The tools are located on the left side of the Timeline.
How can I import clips into Adobe Premiere Pro?Right-click in the Project area and select "Import."
How can I resize a 4K clip?Select the clip, go to the Effects settings, and change the scaling.
What does the Razor tool do?The Razor tool allows you to cut clips at desired points.
How can I change the speed of a clip?You can use the Speed Change tool (Shortcut R).


