Exporting video files is a crucial step in video editing. With Adobe Media Encoder, you can make this process efficient and even outsource it, saving you time and optimizing your workflows. In this guide, I will show you how to export your videos using Adobe Media Encoder while continuing to work in Adobe Premiere Pro or After Effects. Let's start by ensuring you can make the most of the necessary software.
Key Takeaways
- Adobe Media Encoder is part of the Creative Cloud and allows for outsourcing rendering processes.
- You can create a queue for exports that is processed automatically.
- The program supports various export formats, including h264 and Quicktime, and can also be used as a converter.
Step-by-Step Guide
To start exporting your videos using Adobe Media Encoder, follow these simple steps:
Prepare Project and Open Export Window
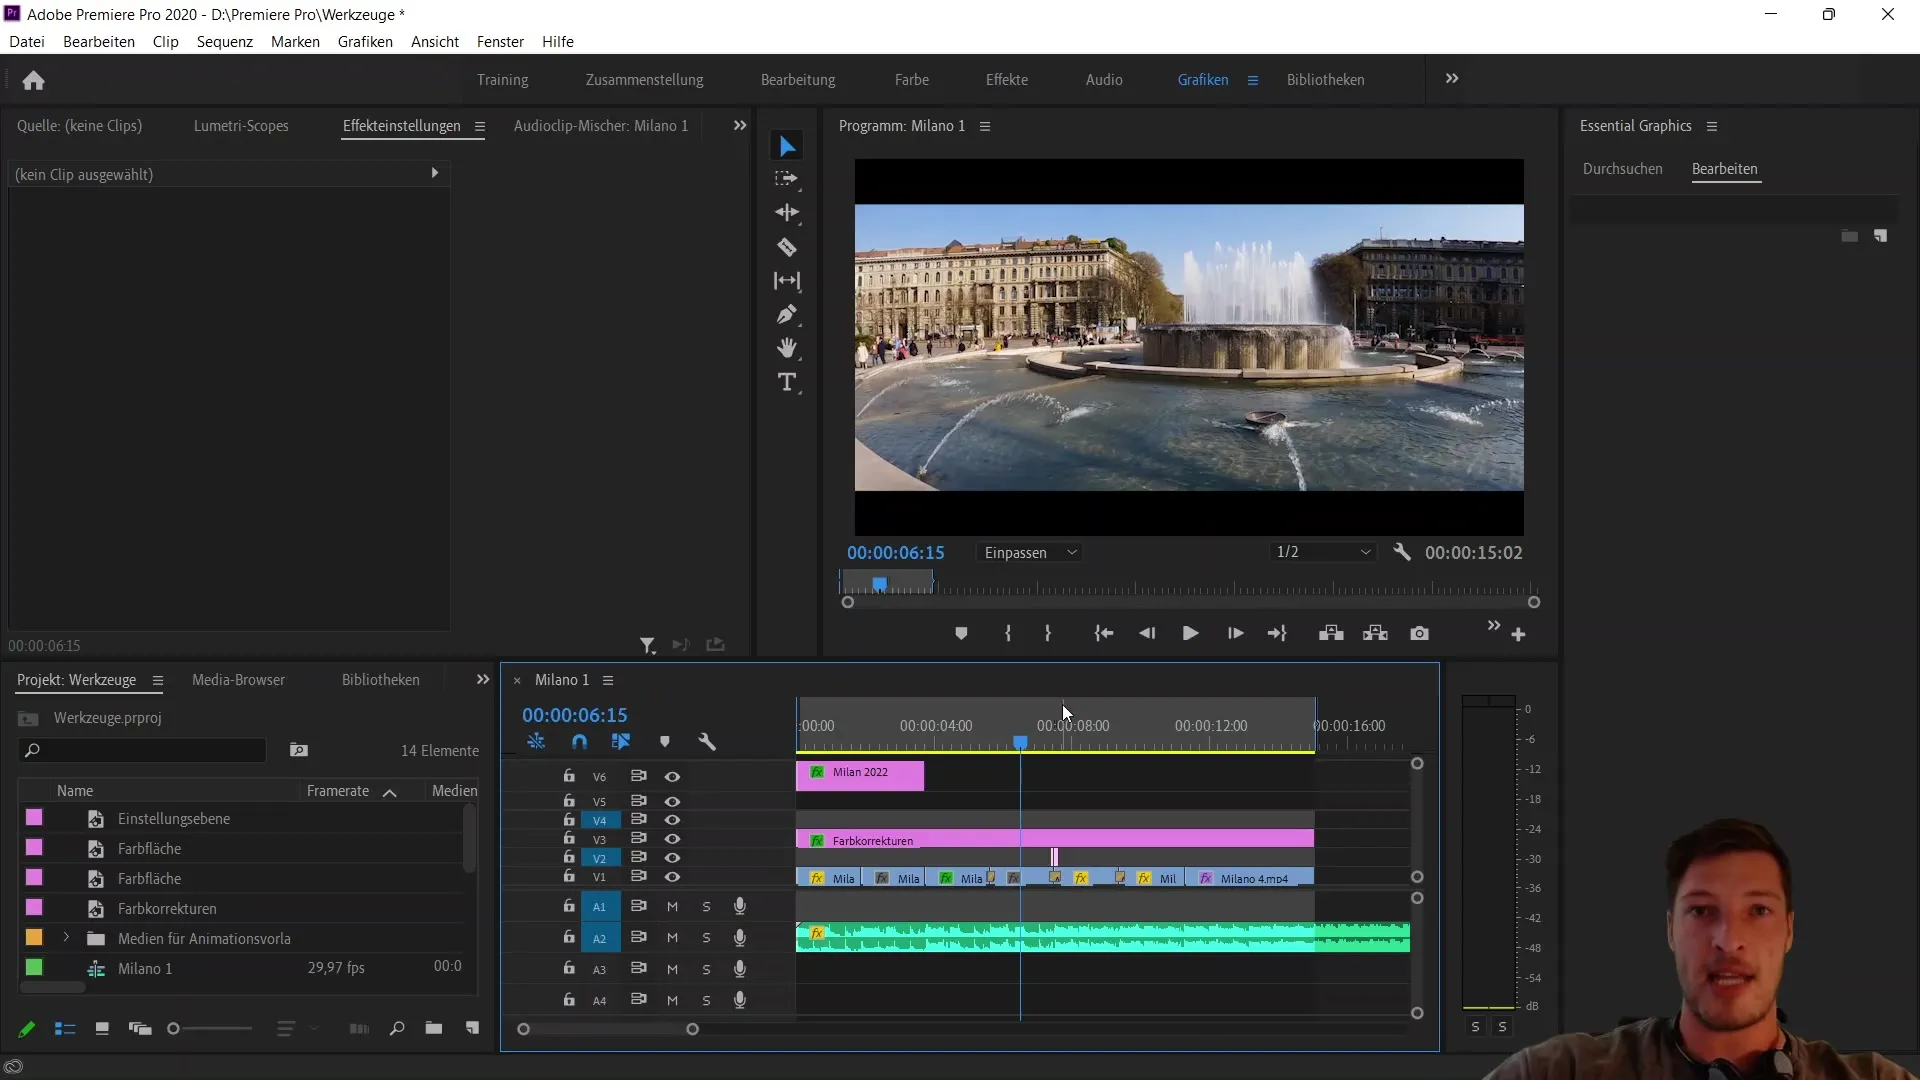
First, ensure that your project is ready in Adobe Premiere Pro. Before initiating the export, you may want to remove some elements from the sequence that you do not wish to export, such as a title effect. Go to your last rendered MOV file and remove this. Then, move the out frame to the end of the relevant image area so that the entire sequence is part of your export. After verifying everything, press Ctrl + M to open the export window.
Choose Export Settings
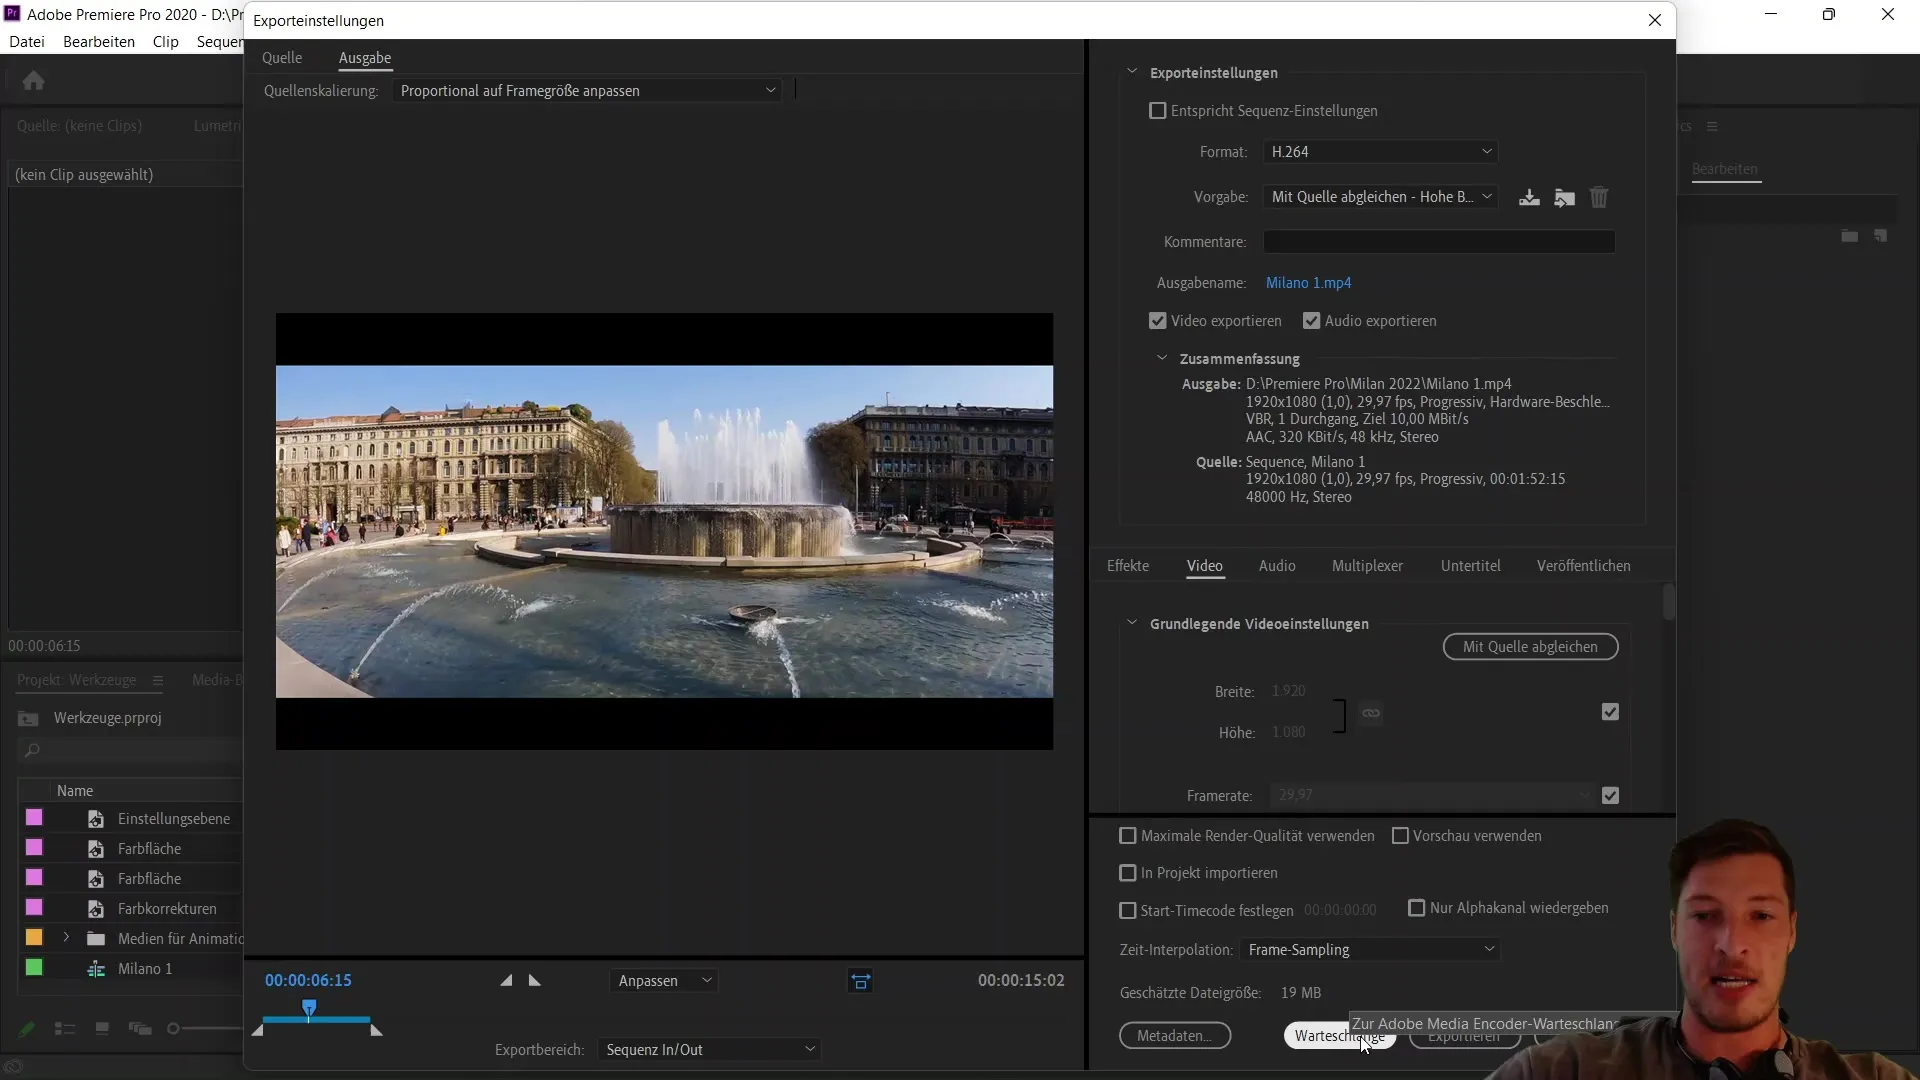
In the export window, select the preselected h264 format. This is the most common format and typically results in an MP4 file. Instead of clicking the traditional "Export" button, focus on the button next to it labeled "Queue" on the left. Clicking on it opens the Adobe Media Encoder.
Get to Know Adobe Media Encoder
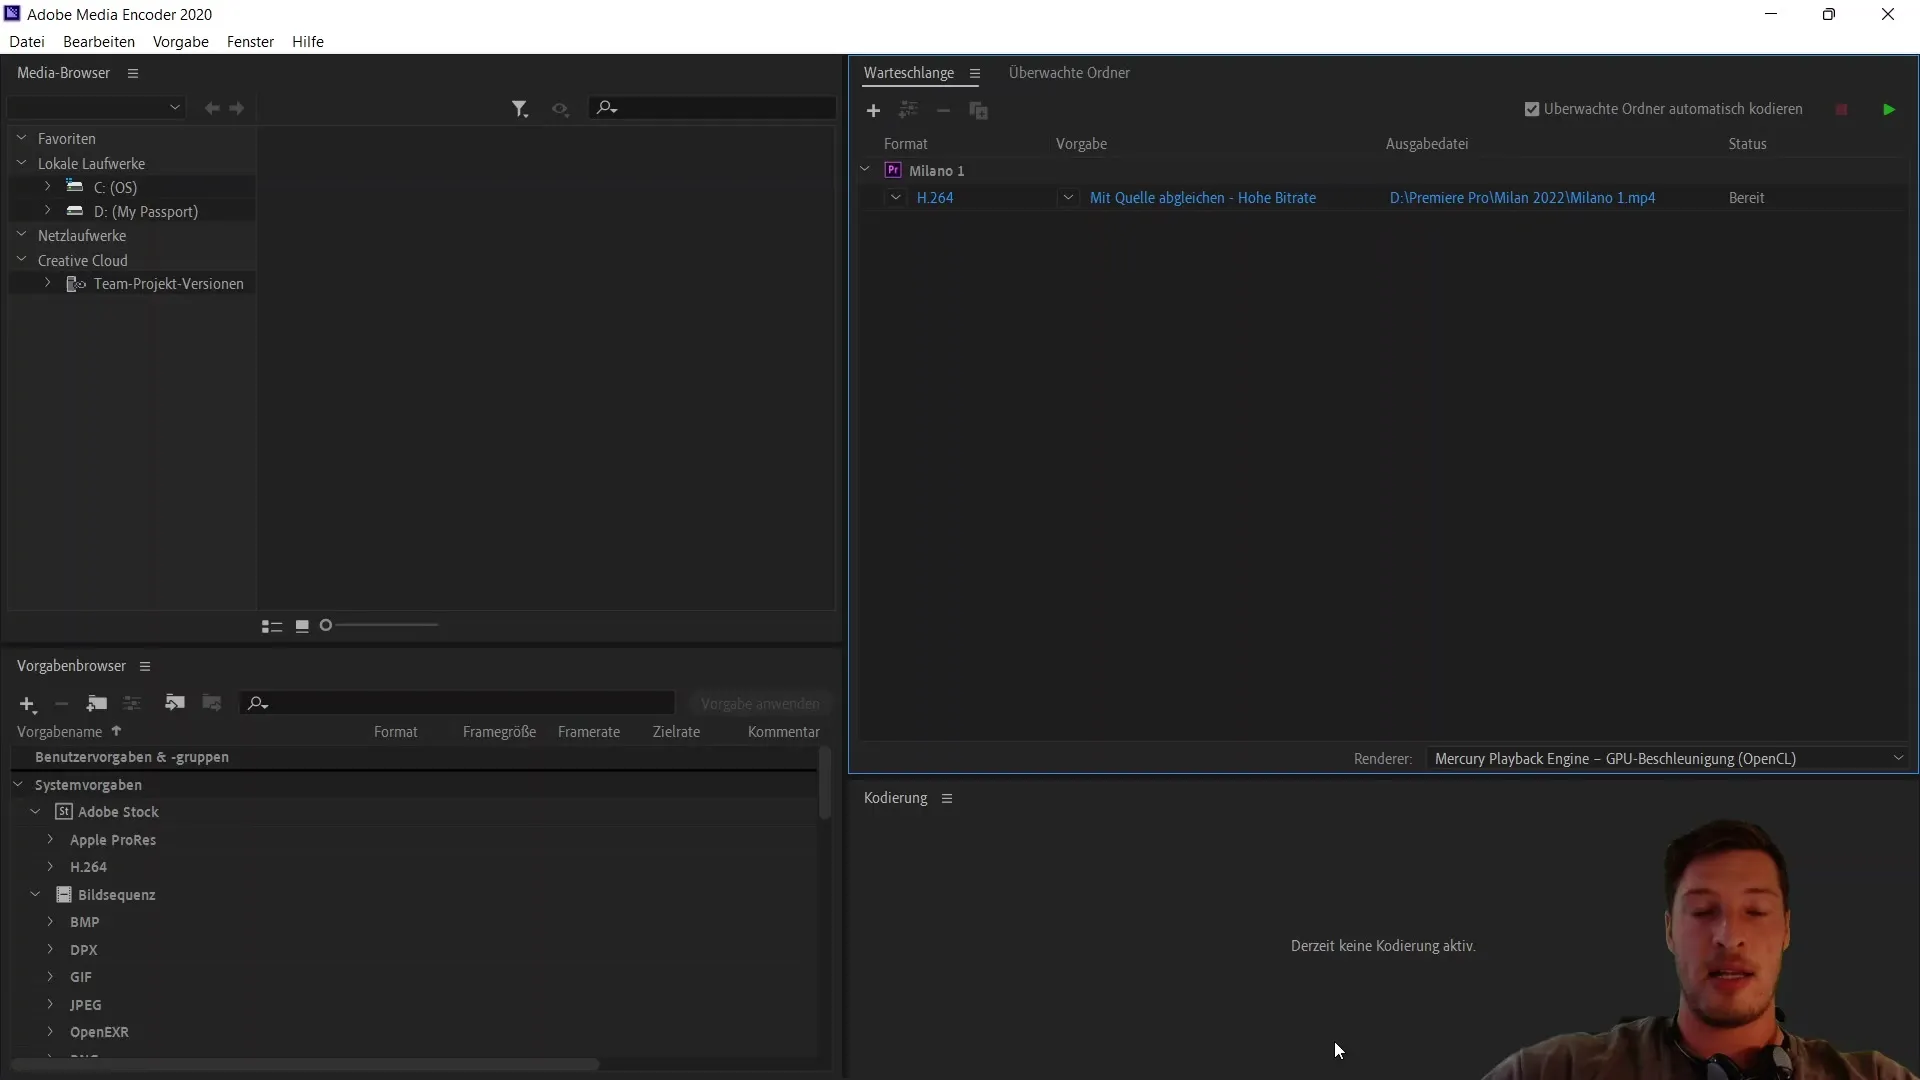
Adobe Media Encoder is another very useful product from Adobe that helps optimize the export process. Note that this software is only available as part of the Creative Cloud, meaning you cannot buy it separately - another reason why subscribing to the entire Creative Cloud makes sense. The Media Encoder allows you to queue exports from various programs (such as Premiere Pro or After Effects) and process them.
Set Up Queue
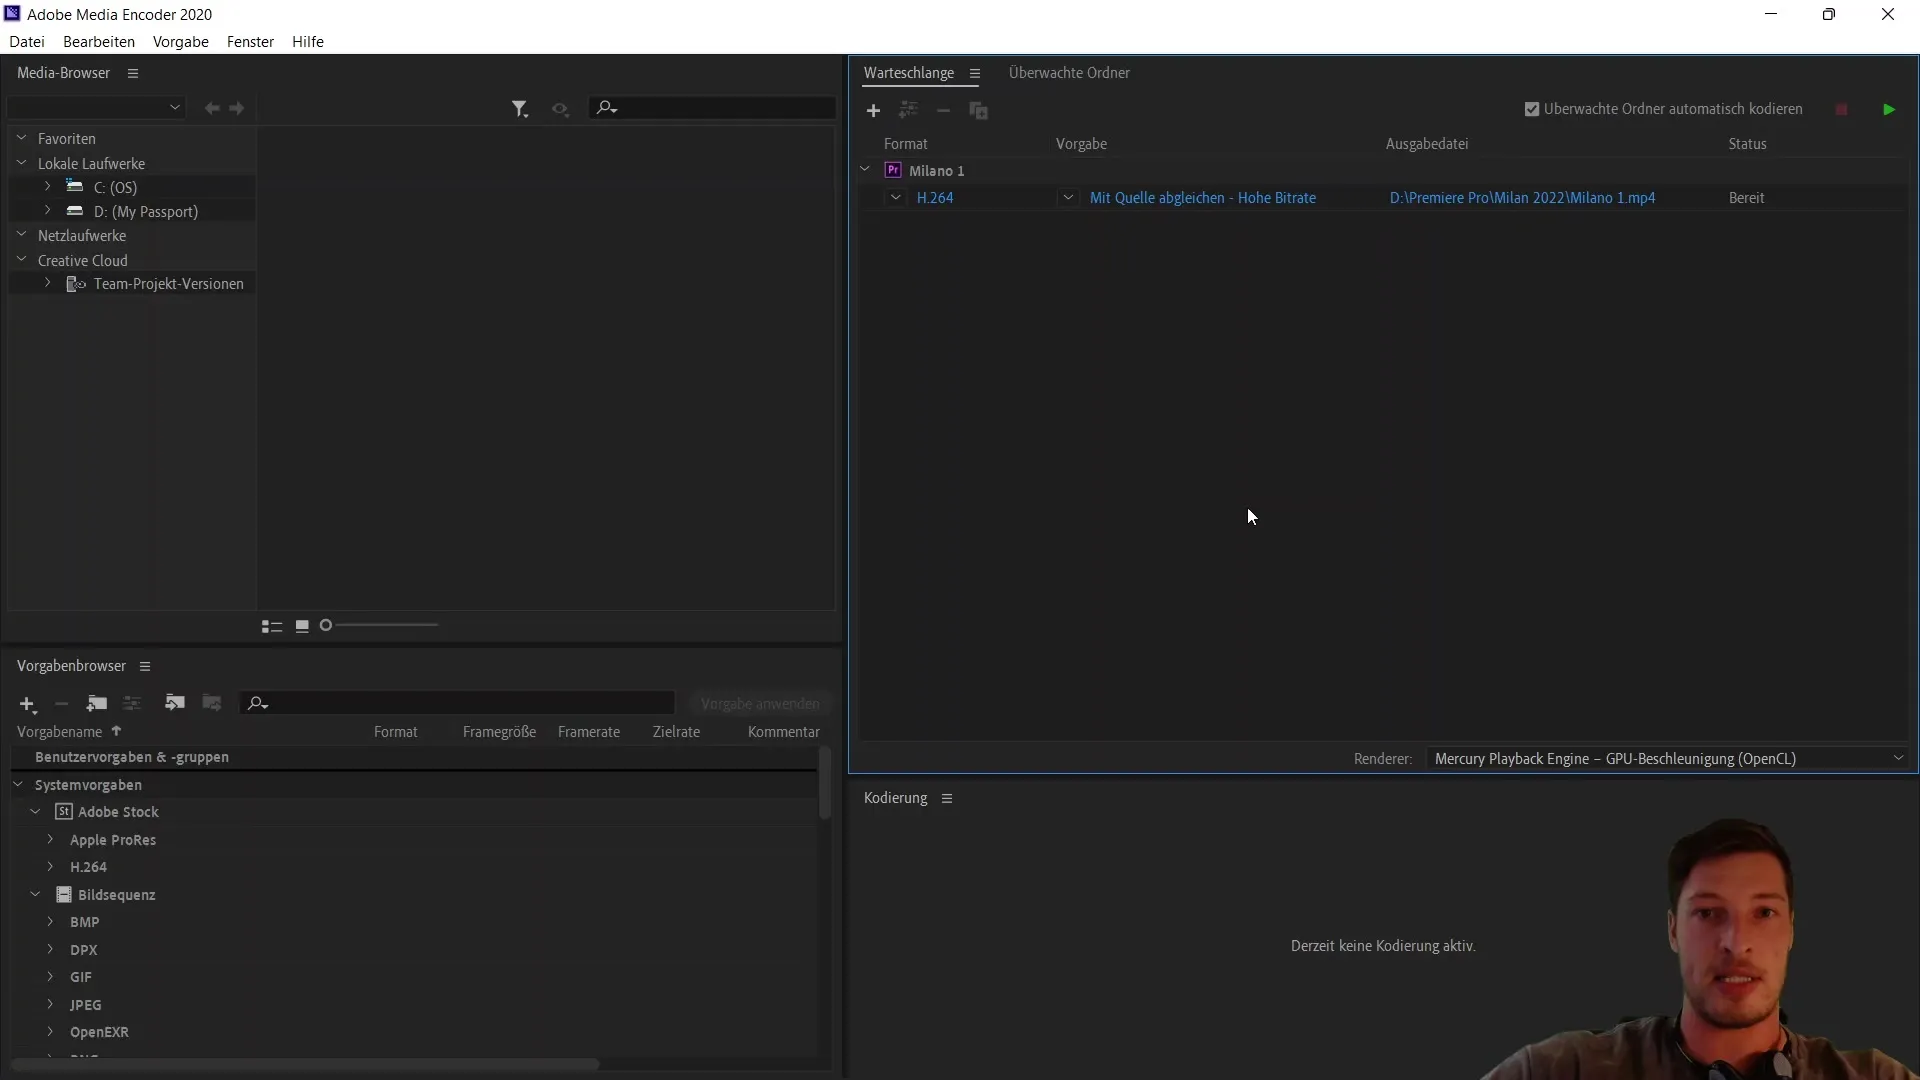
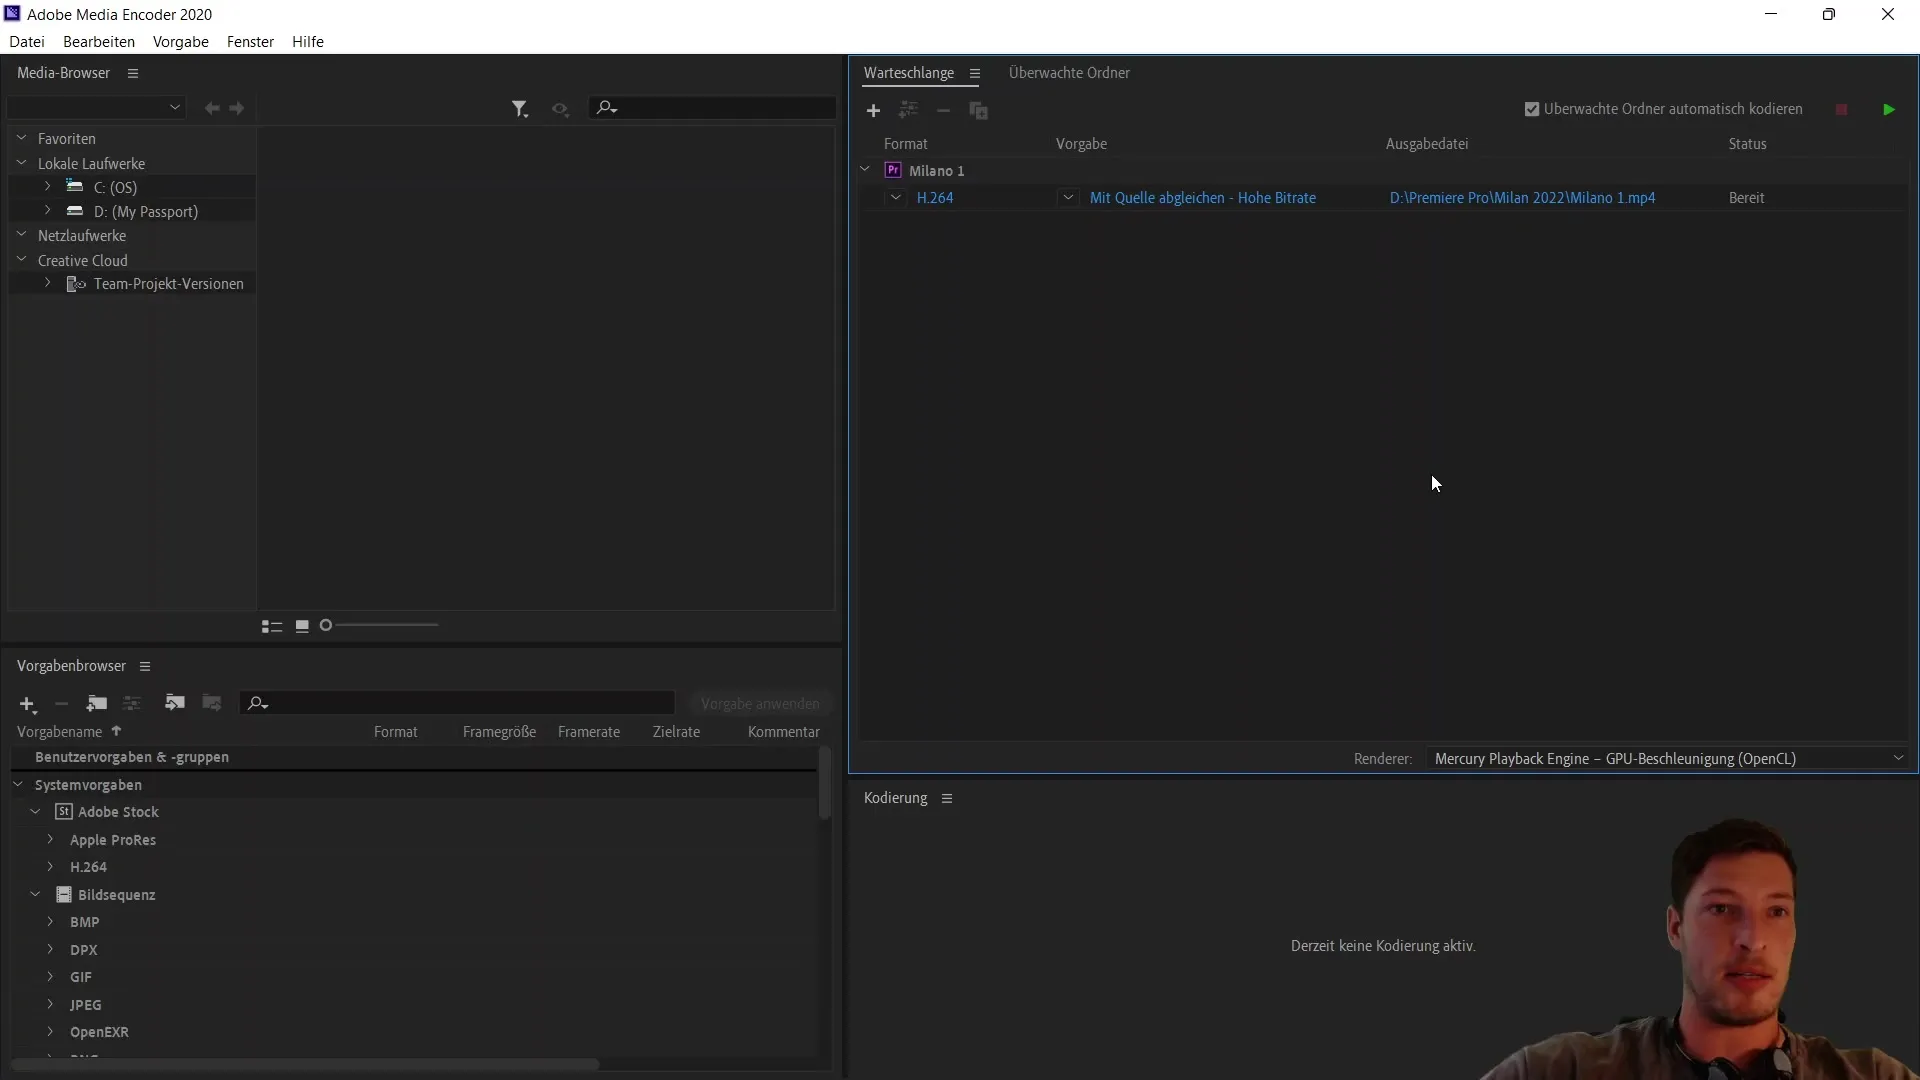
Once the Media Encoder is open, you can add your exports to a queue. This means that you can work on your projects in Premiere Pro or After Effects during the day, and with one click on the green button in the evening, you can queue and process everything while you sleep. This is particularly effective and allows you to optimize the use of your workday.
Change Formats
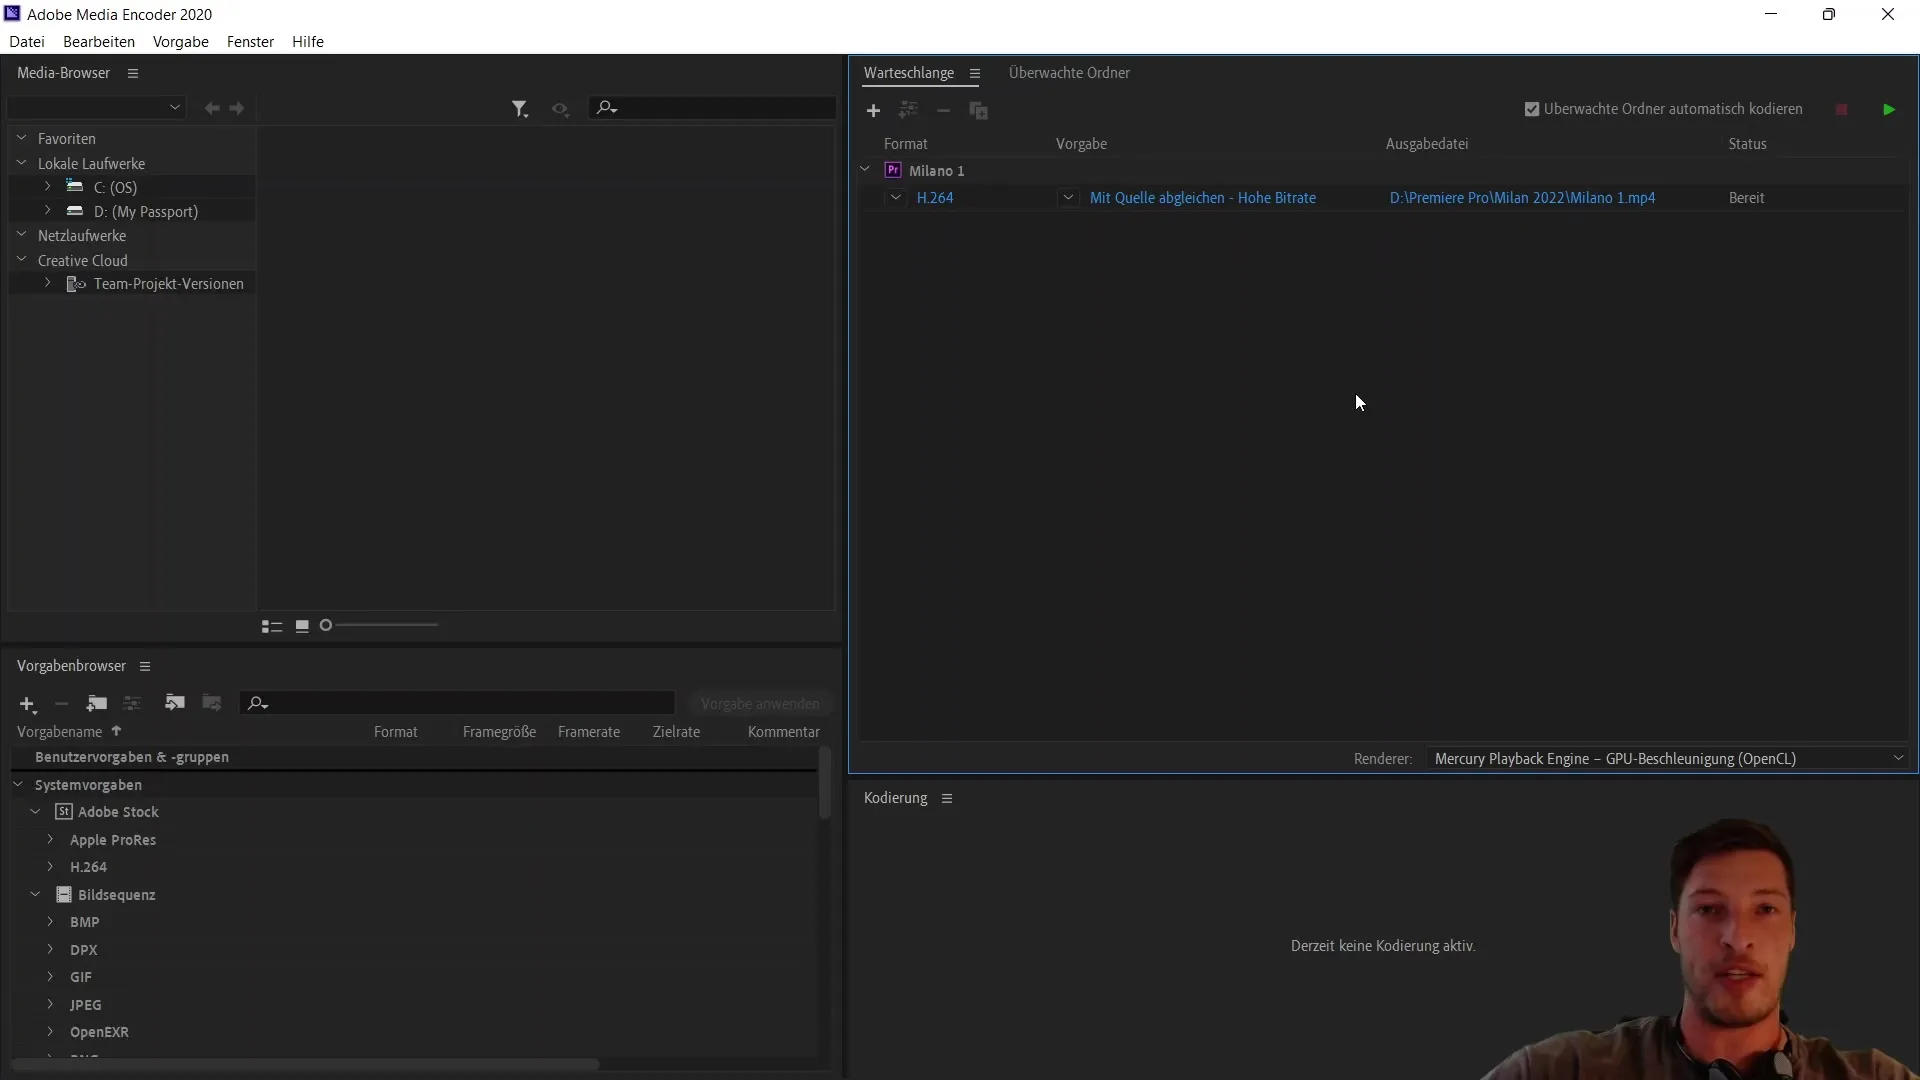
Before starting the rendering process, you have the opportunity to adjust the formats as needed. Start with the h264 format, but you can also select other formats by using the dropdown menu in the Media Encoder to switch to Quicktime or another format, for example. This flexibility is a key feature of the Media Encoder.
Using as a Converter
In addition to the exporting functions, you can also use Adobe Media Encoder as a converter. This means you can import MOV files and convert them into h264 files. This ensures that your files meet the desired export requirements.
Start Exporting
After making all the necessary settings and configuring your queue, you are ready to start the export process. Simply click on the green button to process the queue. The Media Encoder takes over the entire process, allowing you to focus on other projects in the meantime.
Summary
In this tutorial, you have learned how to efficiently export video files using Adobe Media Encoder. You have discovered the importance of using the queue and the versatility of the program in terms of formats and functions. Use these tips to optimize your work and make the export process a smooth part of your video editing.
Frequently Asked Questions
How do I start the export in Adobe Media Encoder?You need to click on the "Queue" button in the export window in Premiere Pro.
Can I also use Media Encoder as a converter?Yes, you can import MOV files and convert them to h264 files.
Do I need to subscribe to the Creative Cloud to use Adobe Media Encoder?Yes, Adobe Media Encoder is part of the Creative Cloud and cannot be purchased separately.


