In this tutorial, you will learn how to use the powerful techniques of Time Remapping and Speed Rampings in Adobe Premiere Pro to create dynamic and engaging videos. In particular, we will focus on how you can effectively use these effects using a rally clip as an example to create transitions and enhance the visual impact of your videos.
Main Insights
- Time Remapping allows you to dynamically change the speed of a clip, achieving interesting effects.
- With the right technique, you can create a smooth transition between fast and slow movements, giving your videos a professional touch.
- The use of keyframes is crucial for implementing Speed Rampings, allowing you to precisely adjust the speeds.
Step-by-Step Guide
To familiarize yourself with the technique of Time Remapping, we will go through the process step by step.
1. Select and Cut the Clip
First, you need to select the clip you want to work with. Listen to your music track to identify the best timing for the cut.
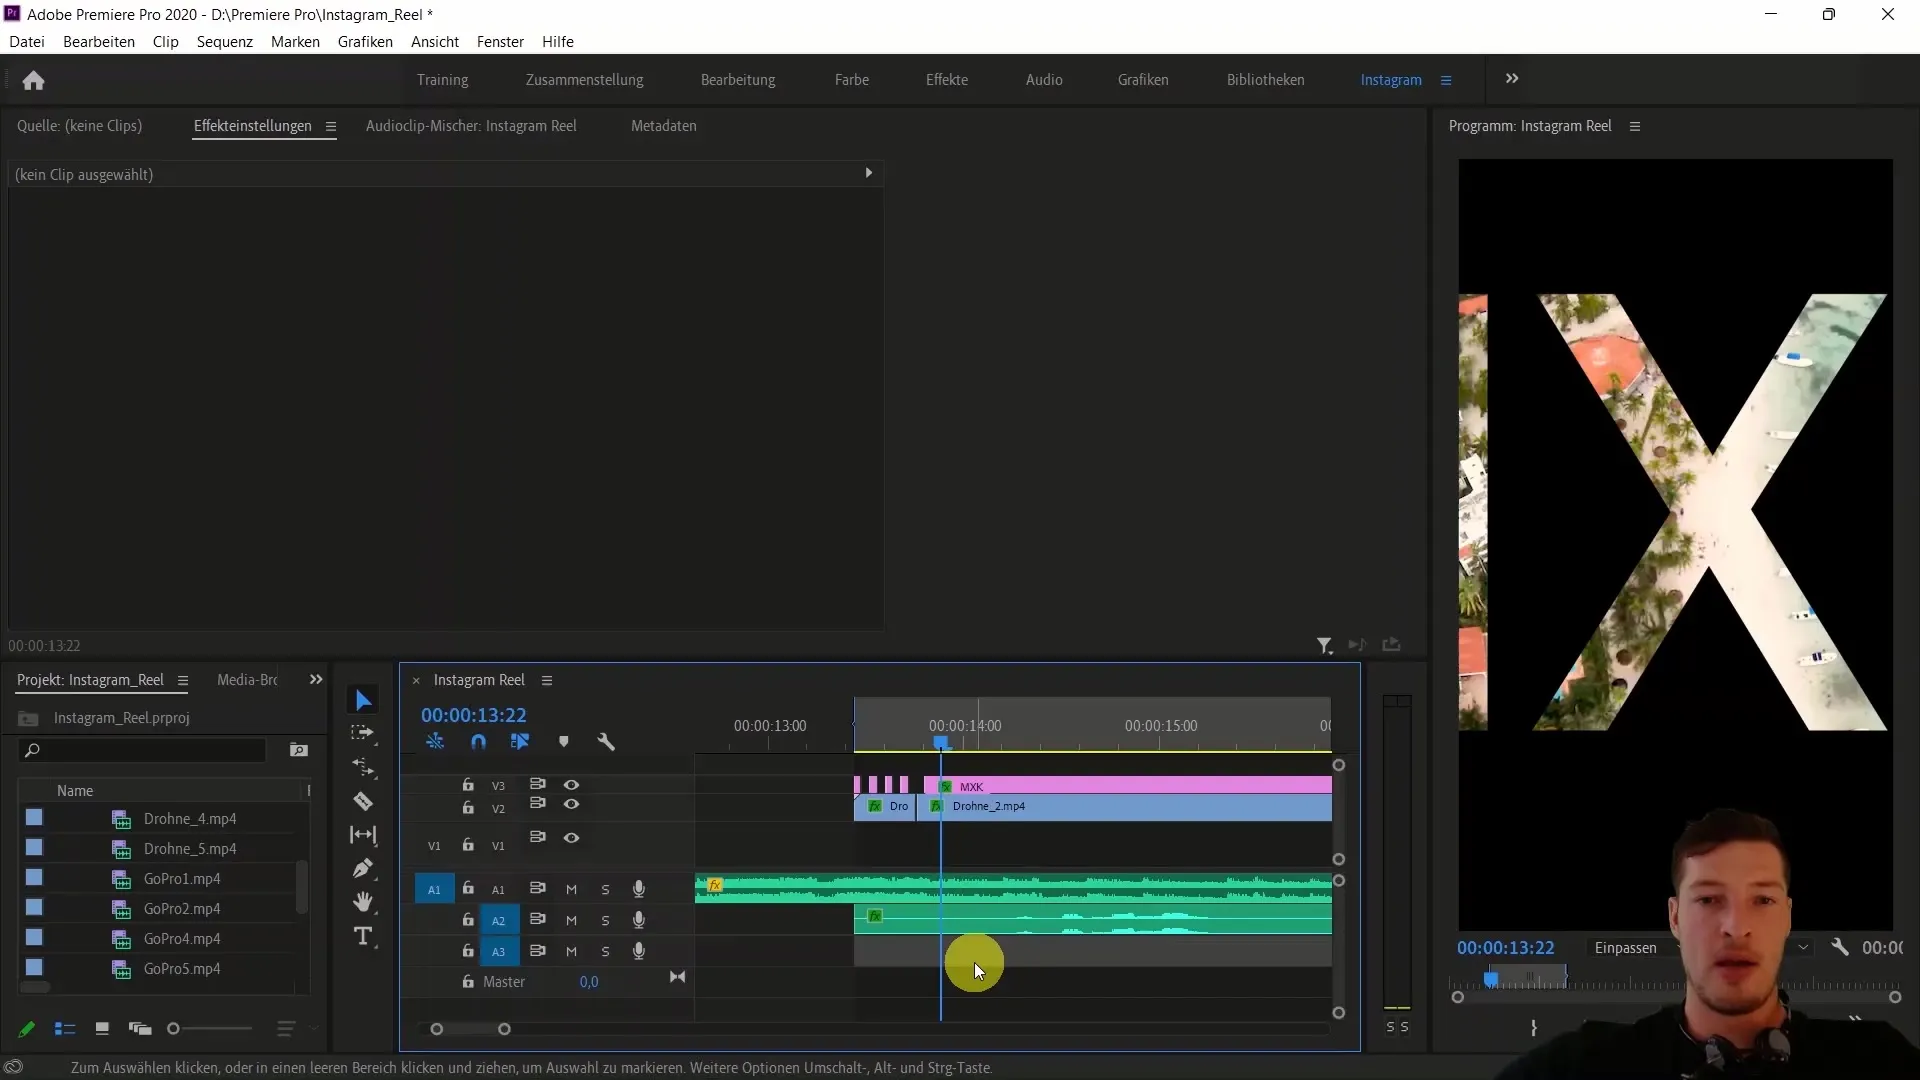
Now, cut the clip at the appropriate point using the C key (Cut). Remove the unwanted part of the clip using the V key.
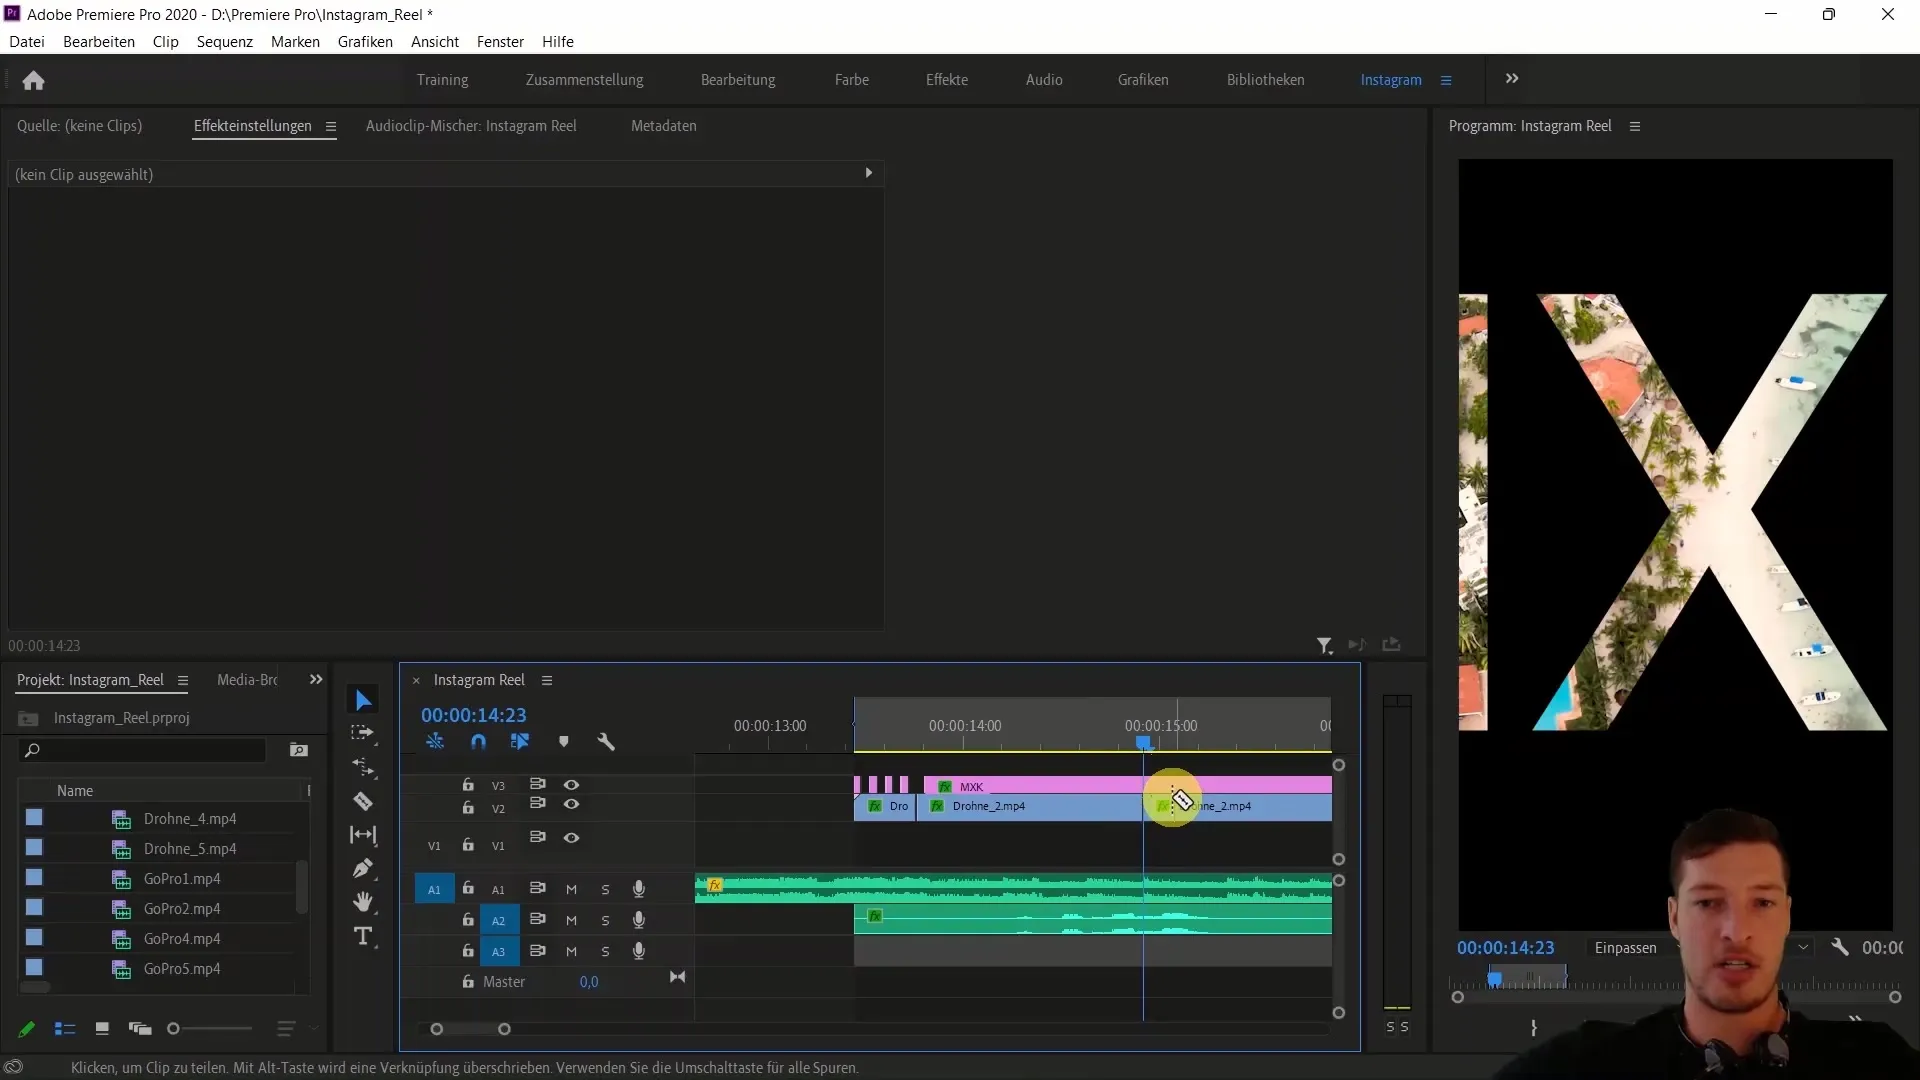
2. Temporarily Accelerate the Clip
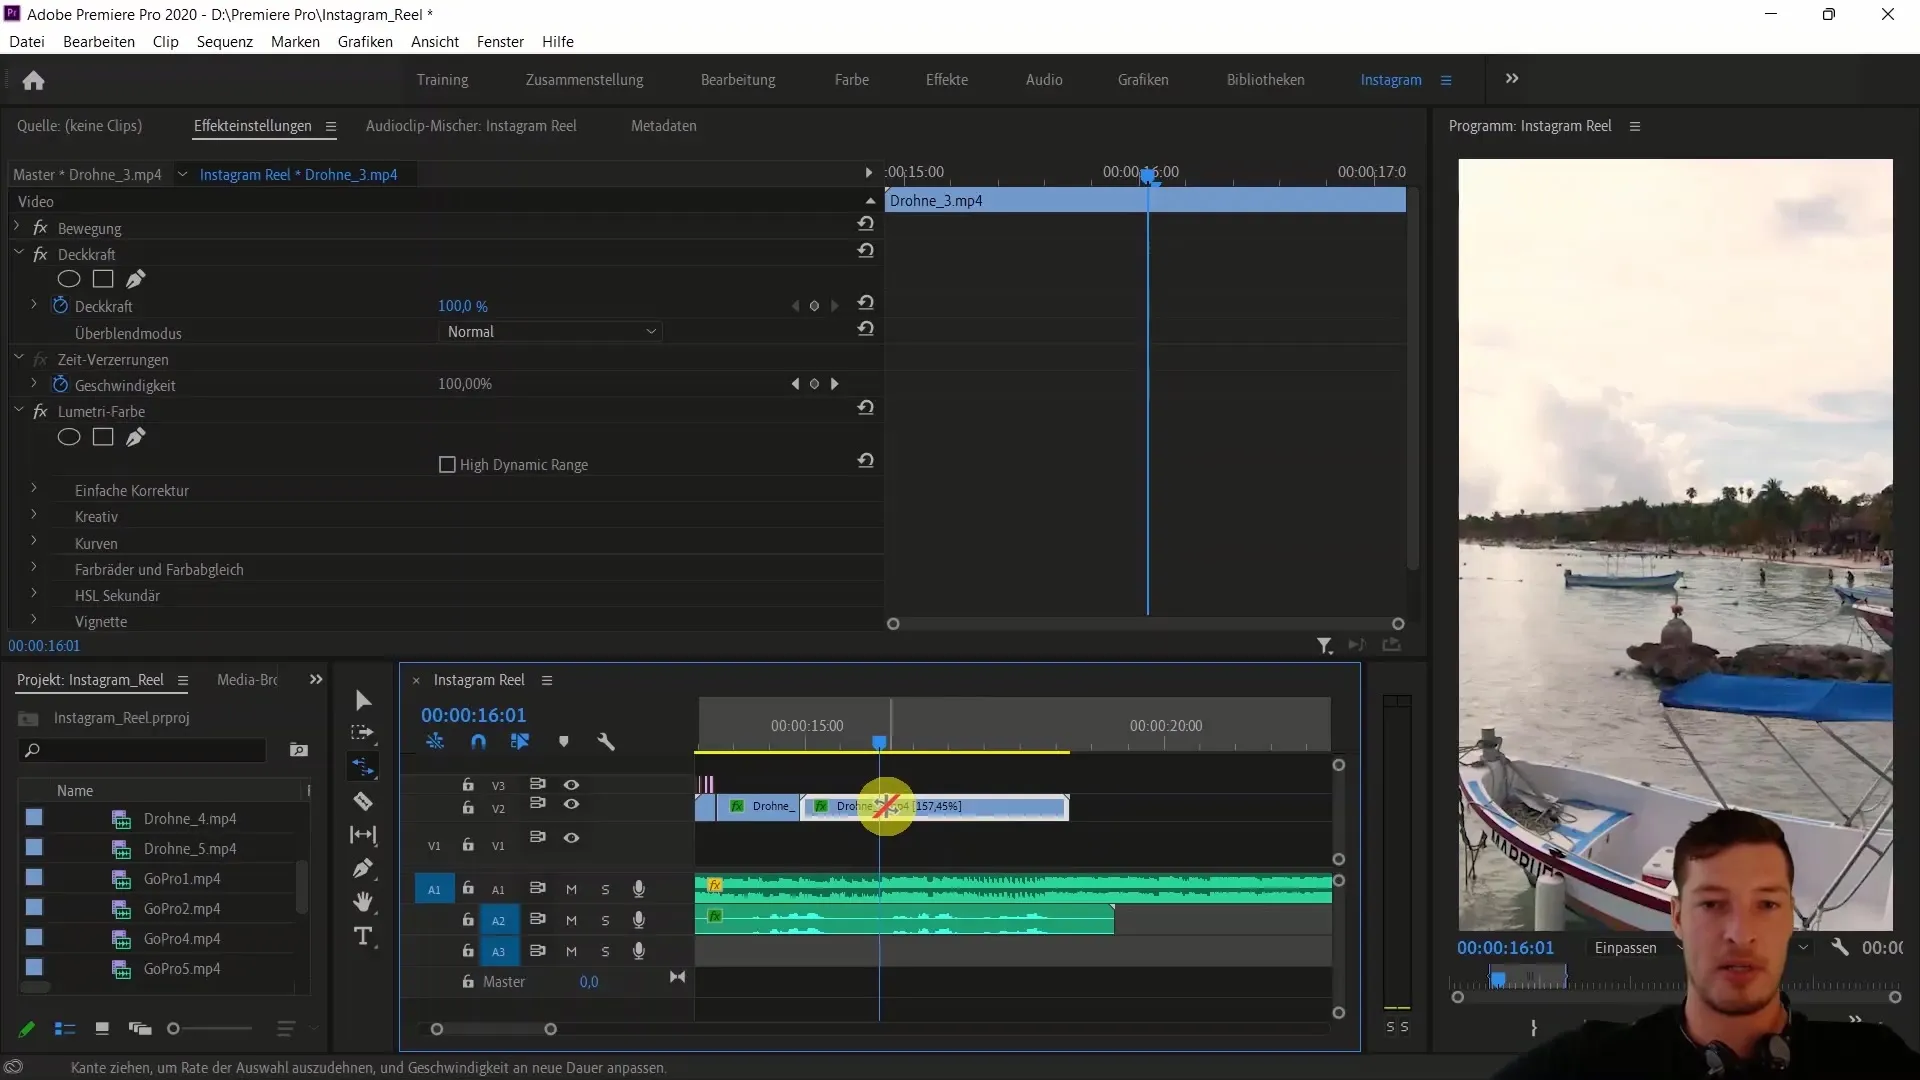
To add some movement to your video, I'll show you how to speed up a clip. Select the clip and use the R shortcut to increase the speed. A value of approximately 157% is a good starting point in this case.
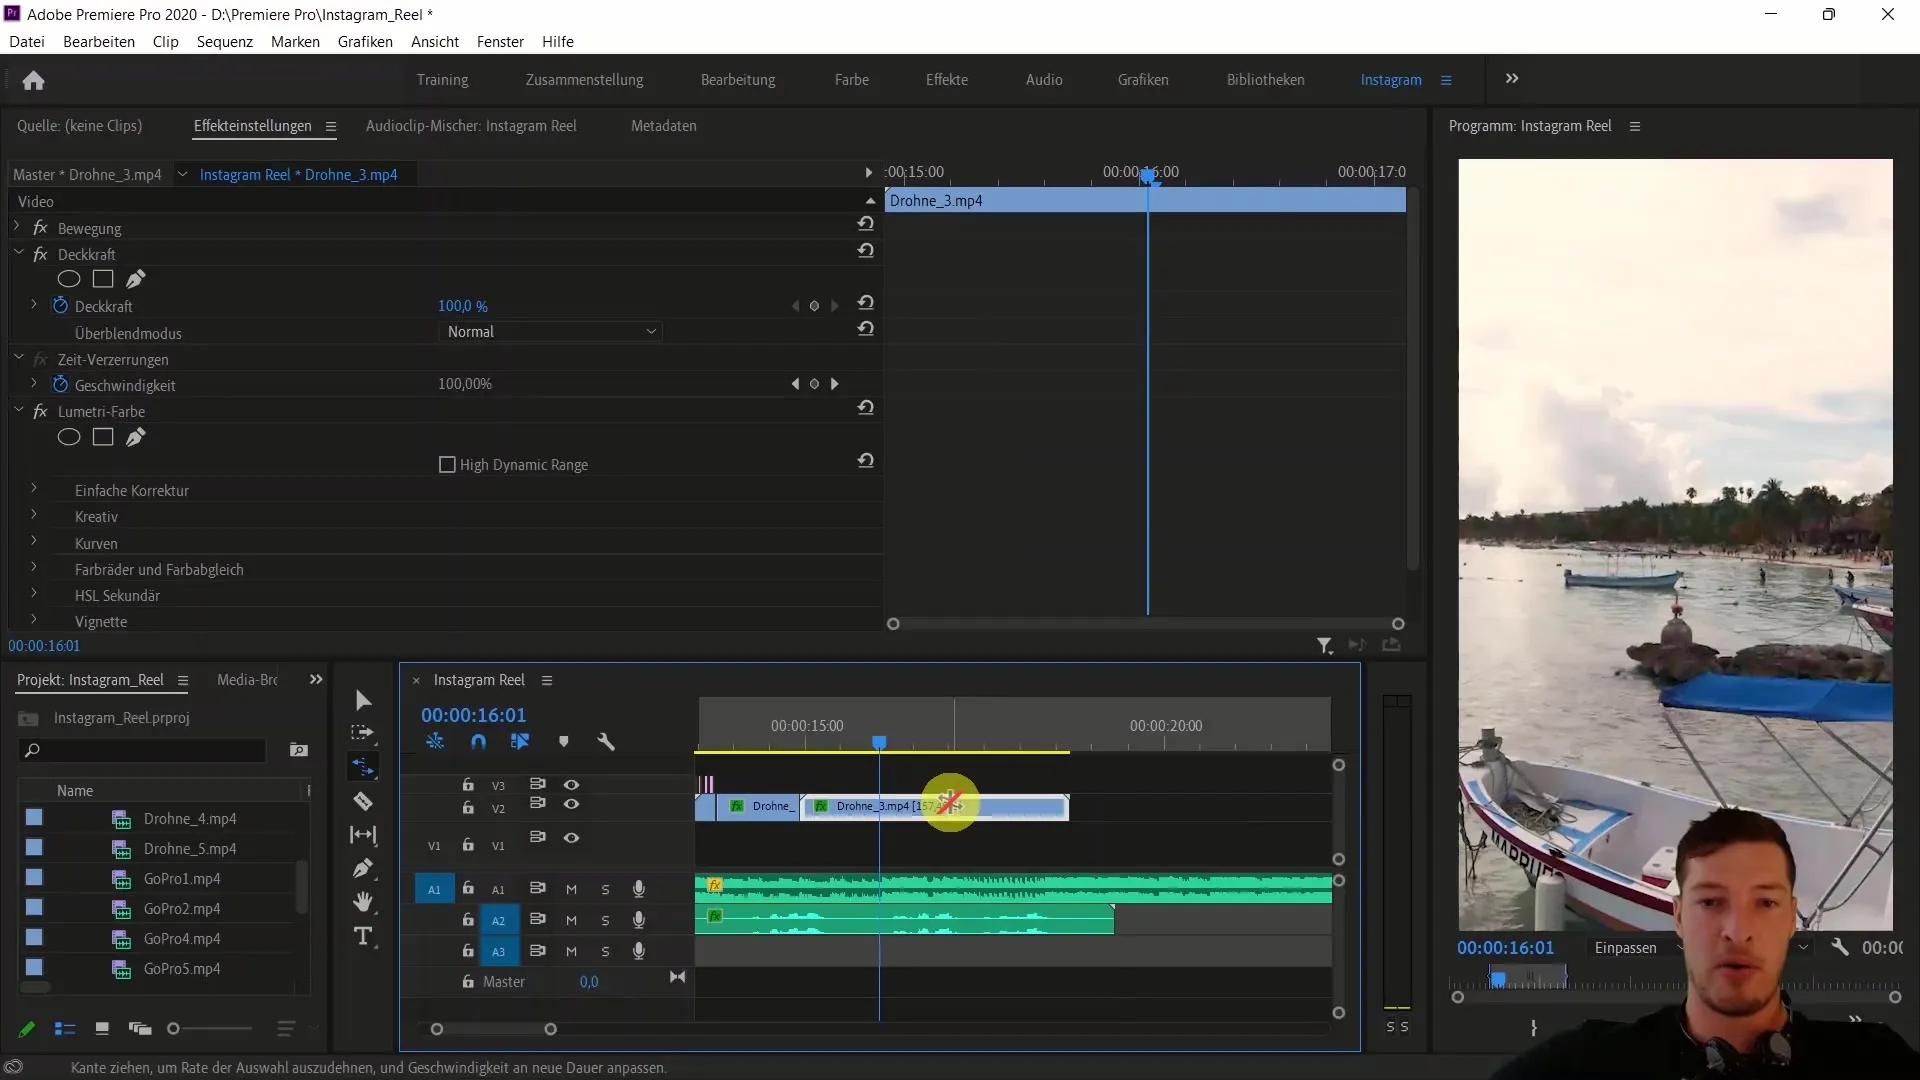
Now, play the clip to check the result. You should already notice a change in speed.
3. Introduction to Time Remapping
Now it's time to get familiar with Time Remapping. Select your clip and navigate to a point further in your video. Right-click and activate the "Clip Keyframes" for time distortion (Time Remapping).
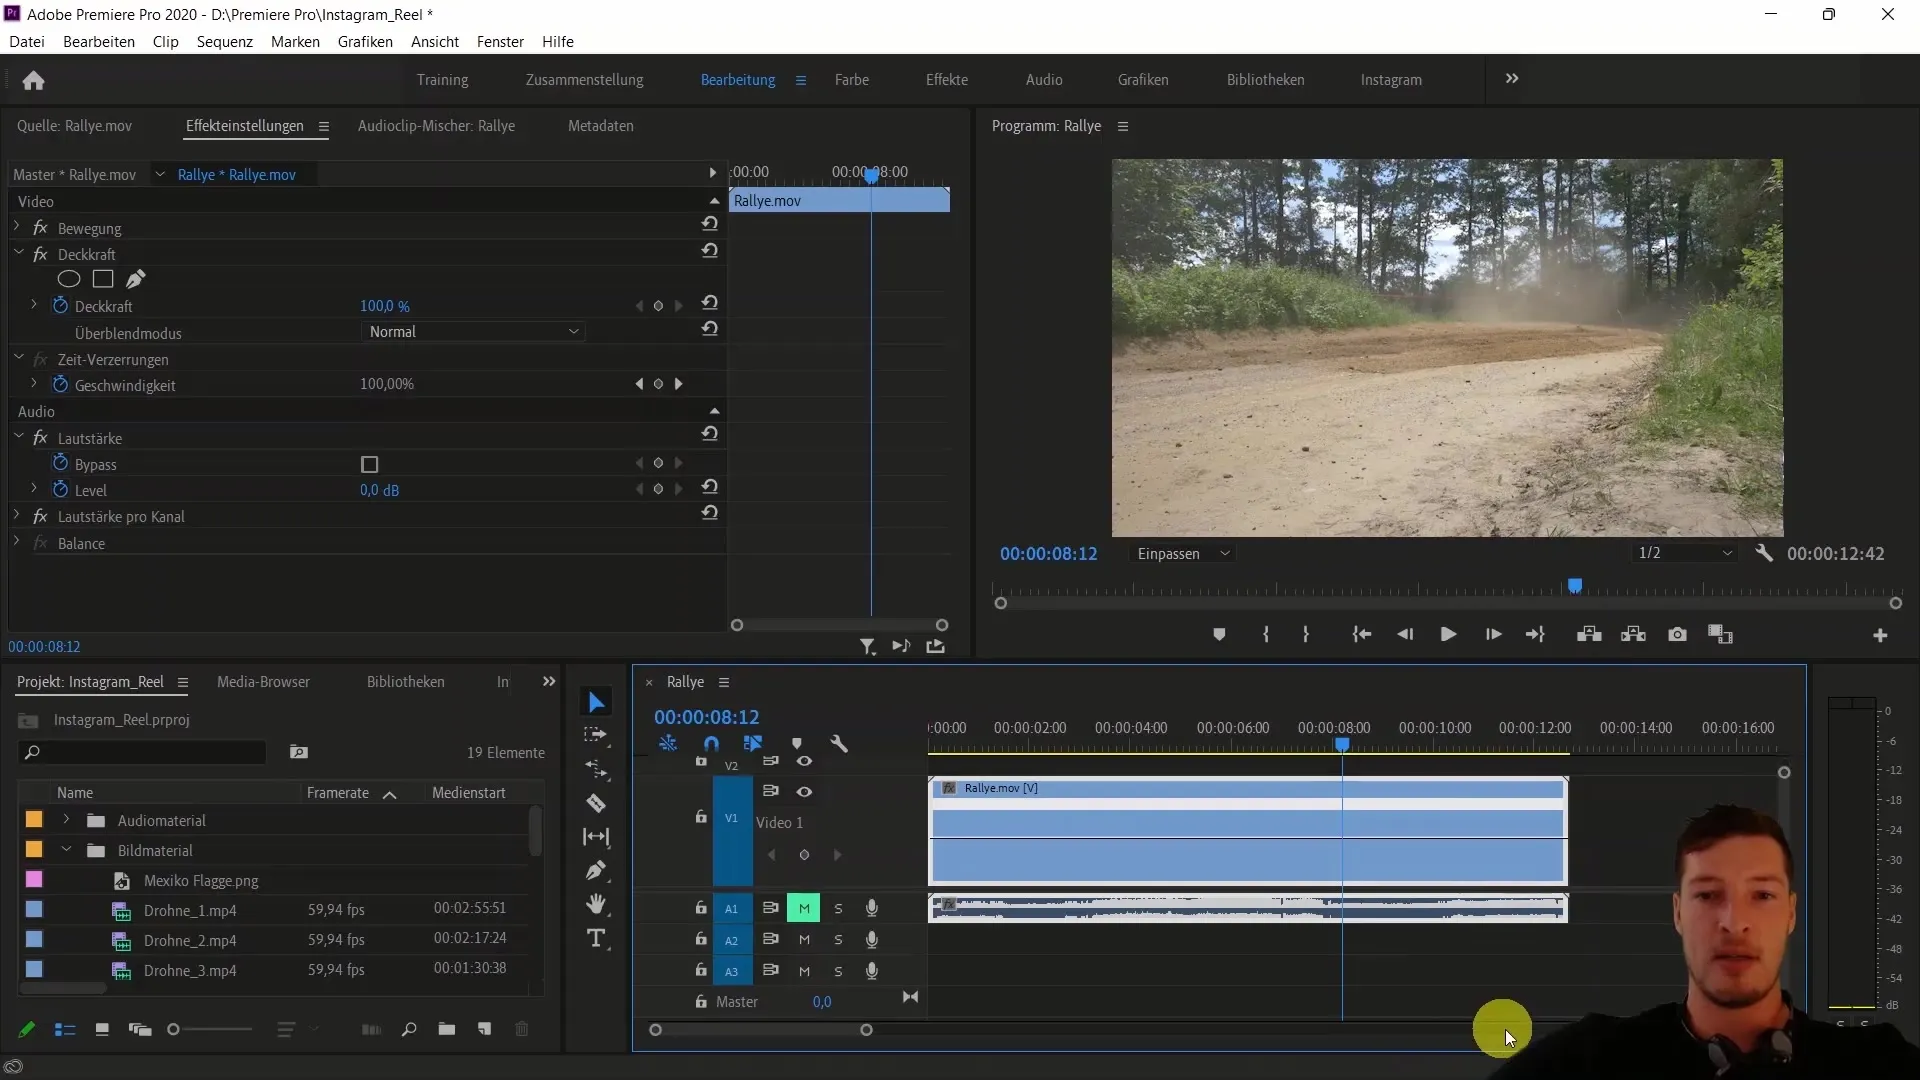
Here you will see a line that extends over the entire duration of the clip. This line indicates the playback speed.
4. Add Keyframes
To achieve a more dynamic speed adjustment, add keyframes. Place the first keyframe at the point where the rally clip enters the frame.
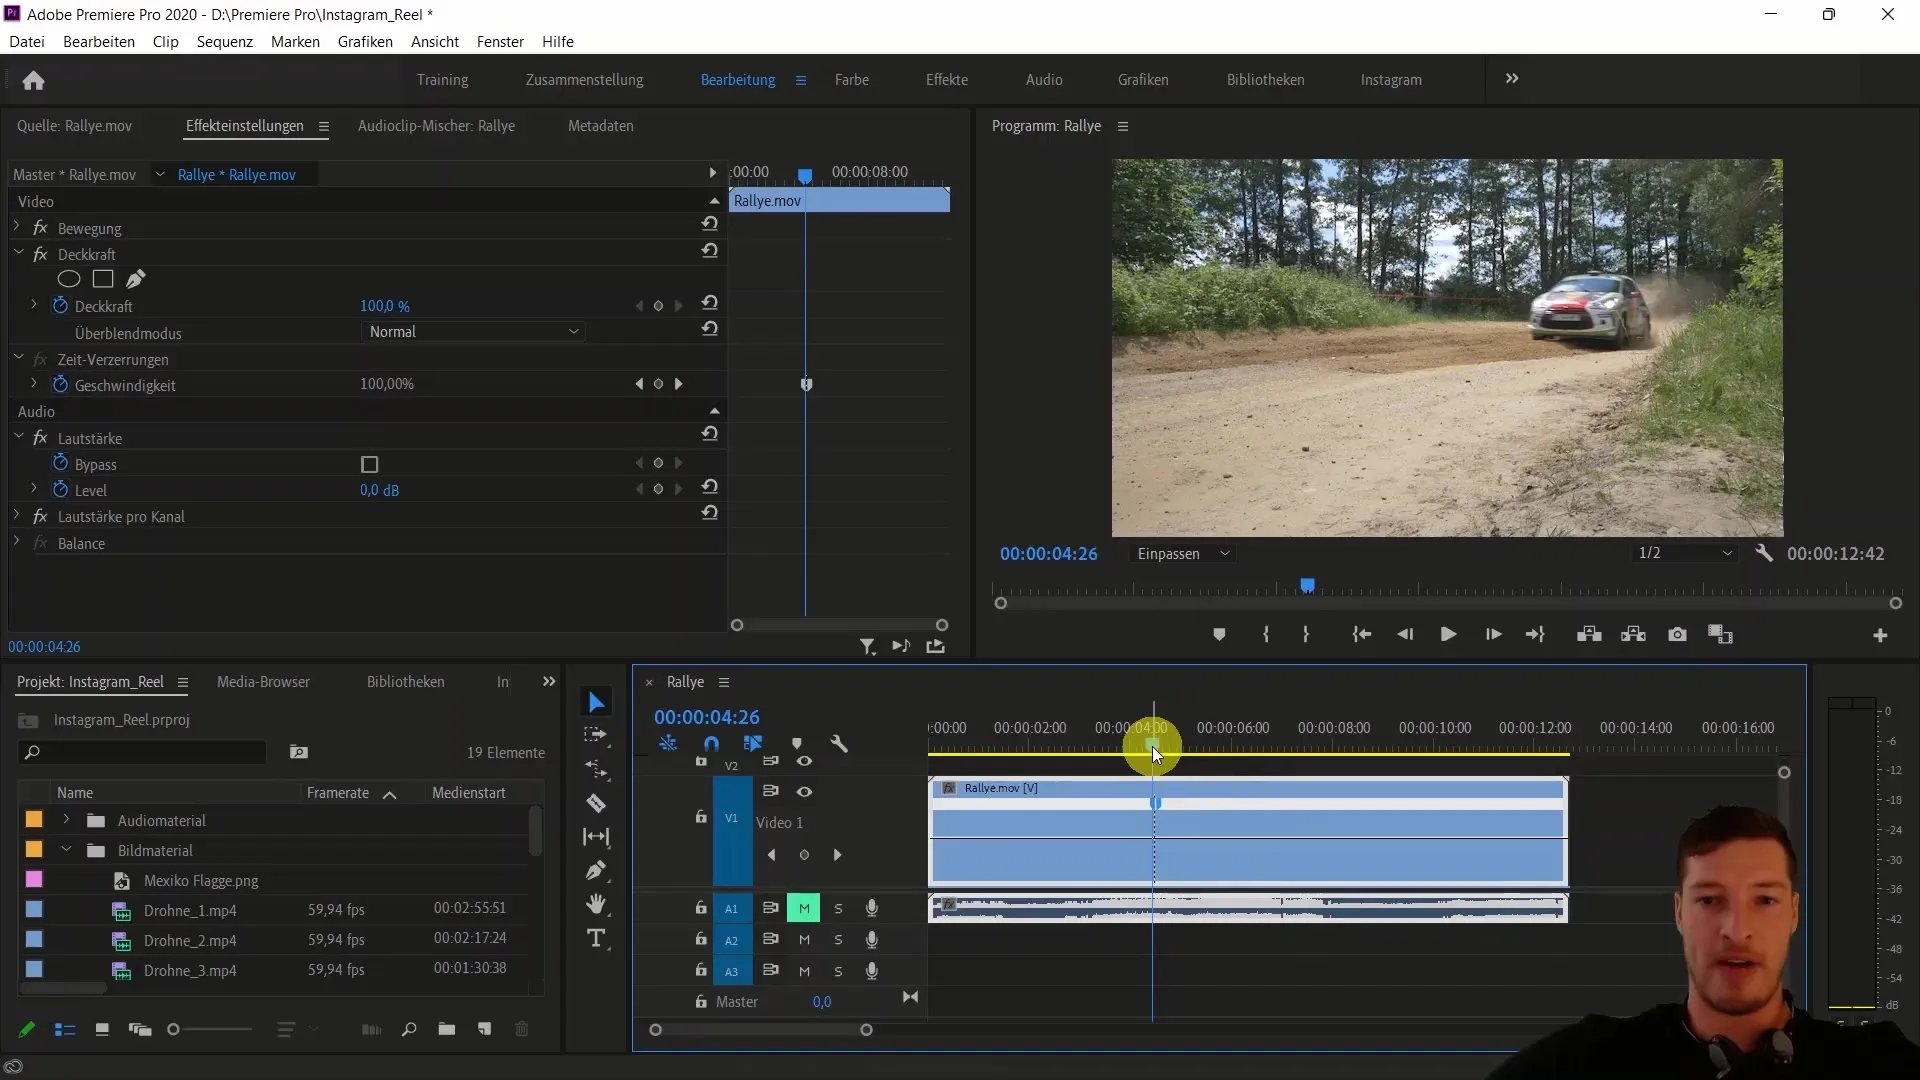
Then, go to a later point and add another keyframe. Now you are ready to adjust the speed.
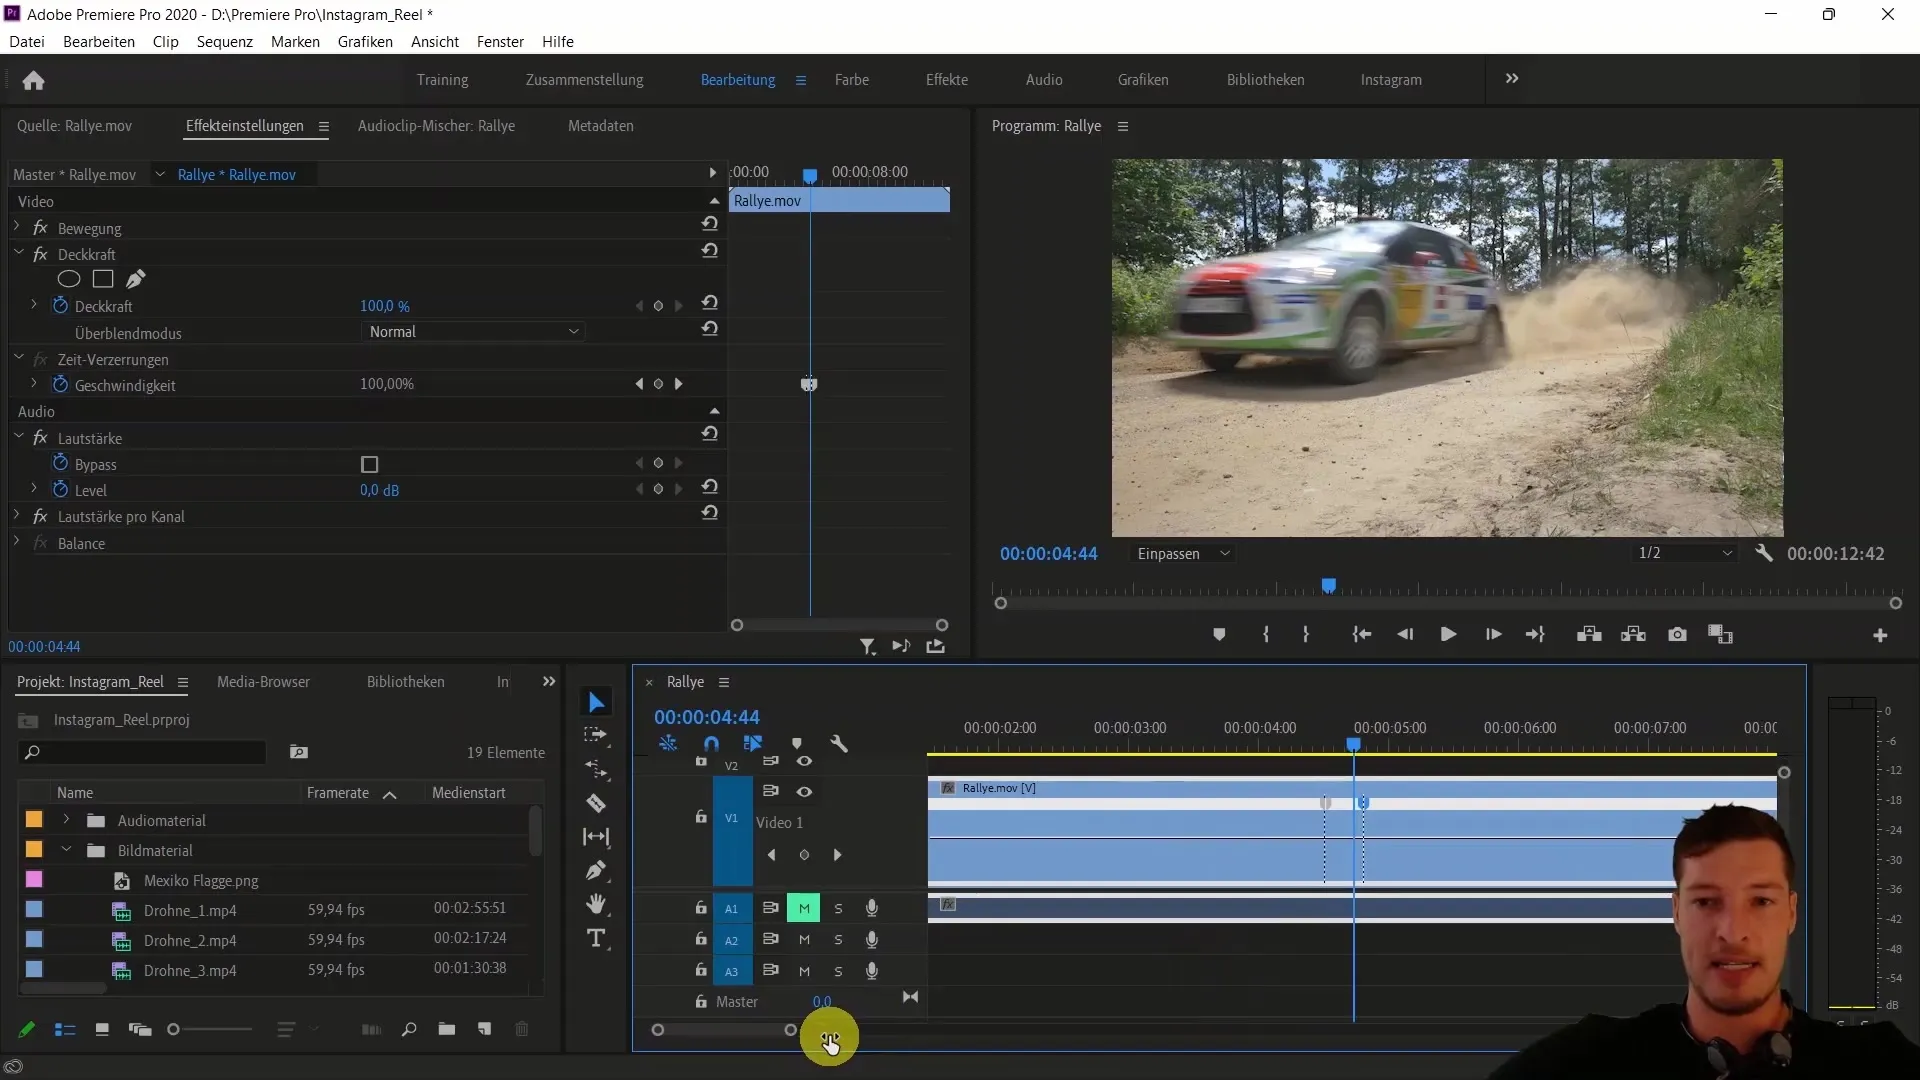
5. Adjust Speeds
Grab the line between the two keyframes and drag it down to decrease the playback speed. For example, you can set it to 30%. This will make the motion appear slower.
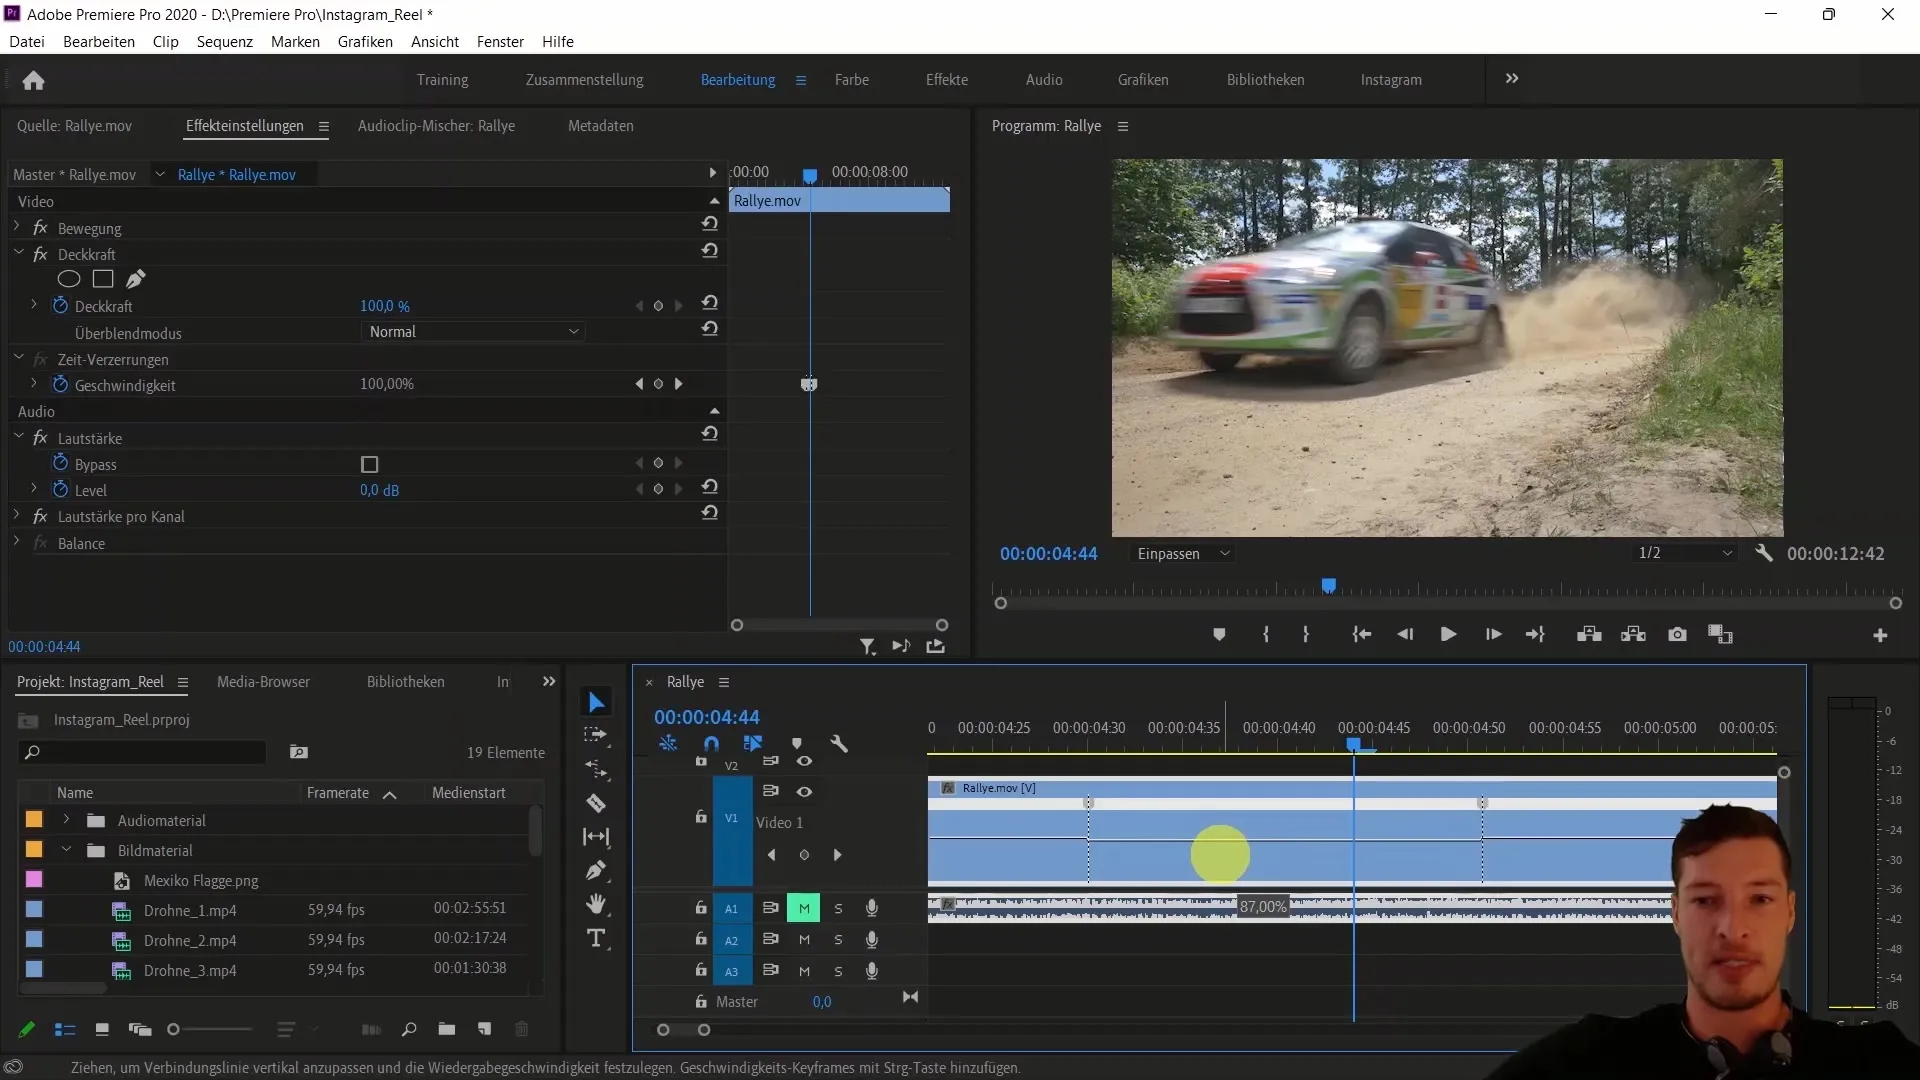
6. Optimize Transitions
To make transitions between fast and slow speeds smoother, drag the top points of the lines. This will avoid a sudden change in speeds, resulting in a more pleasant viewing experience.
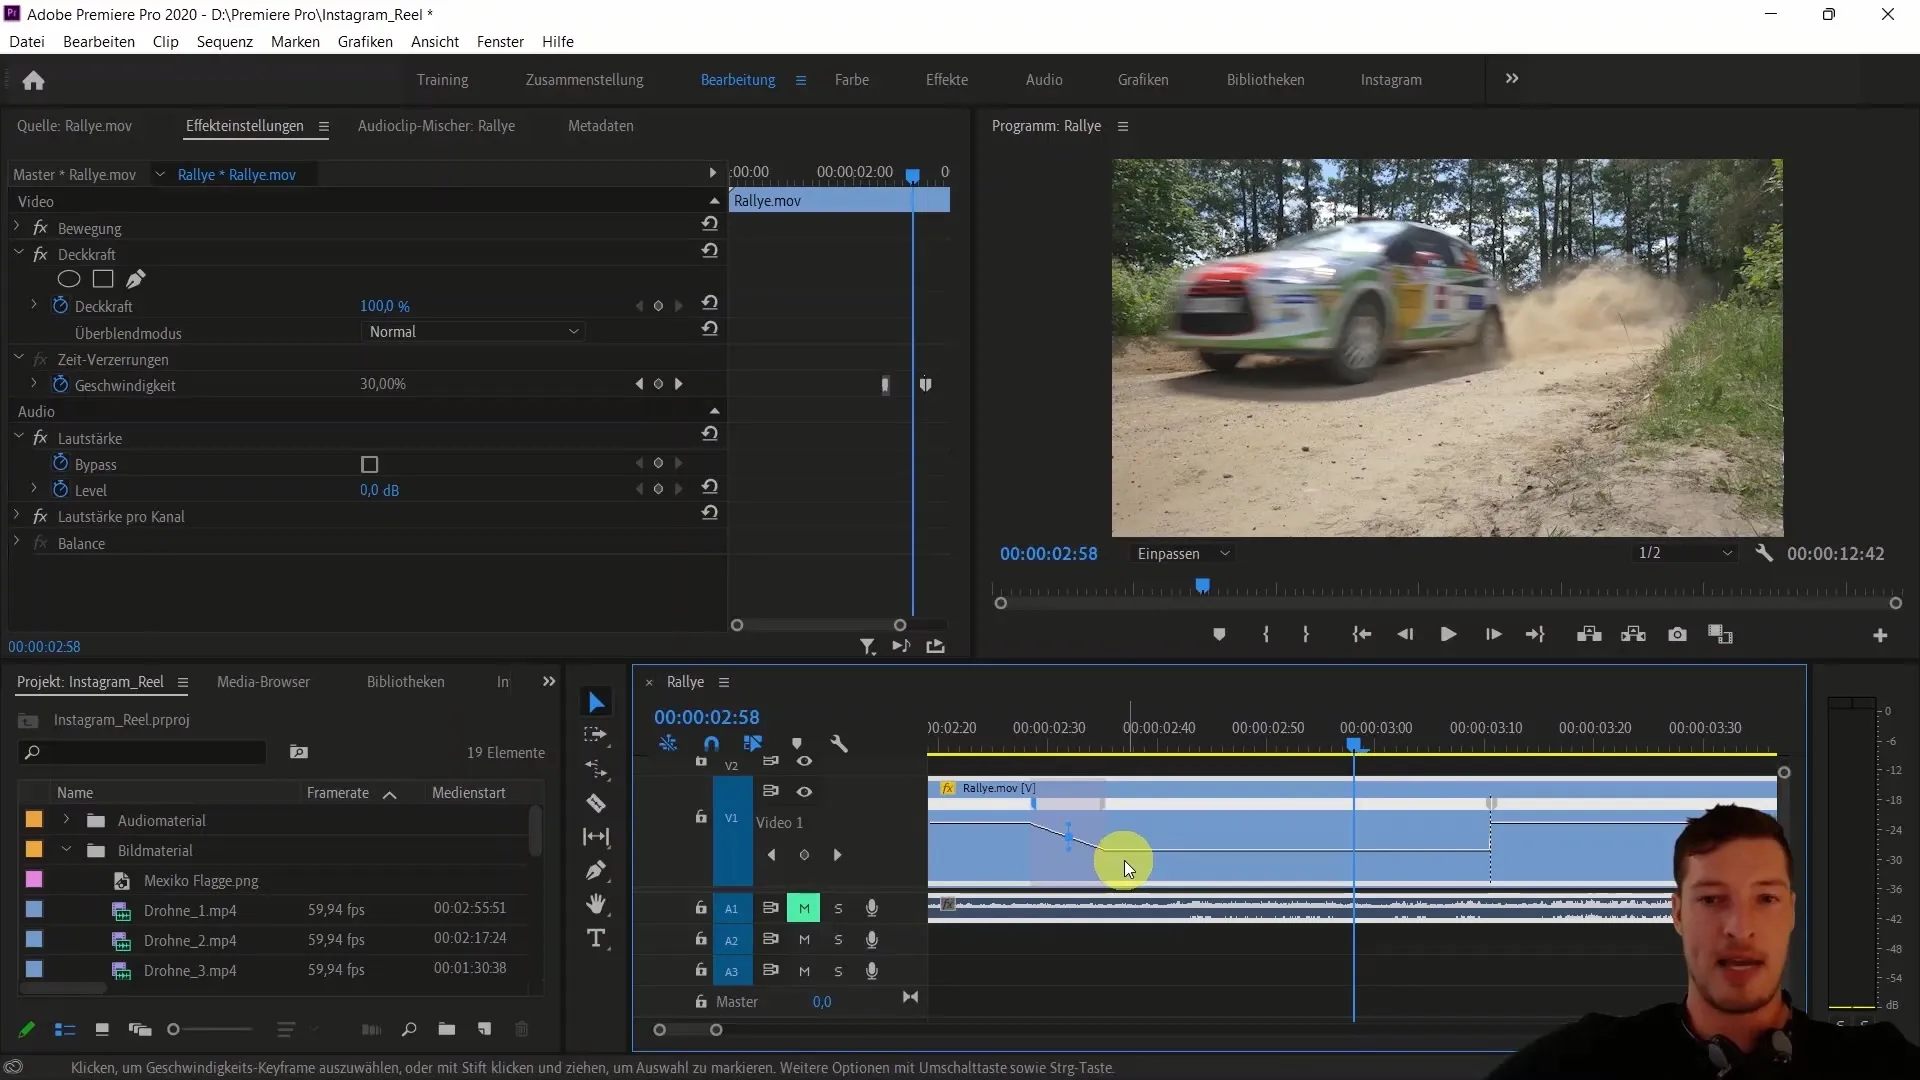
7. Play and Adjust
Test the speed settings by playing the video. You should see how the car quickly enters the frame, then slows down, and finally speeds out of the frame.
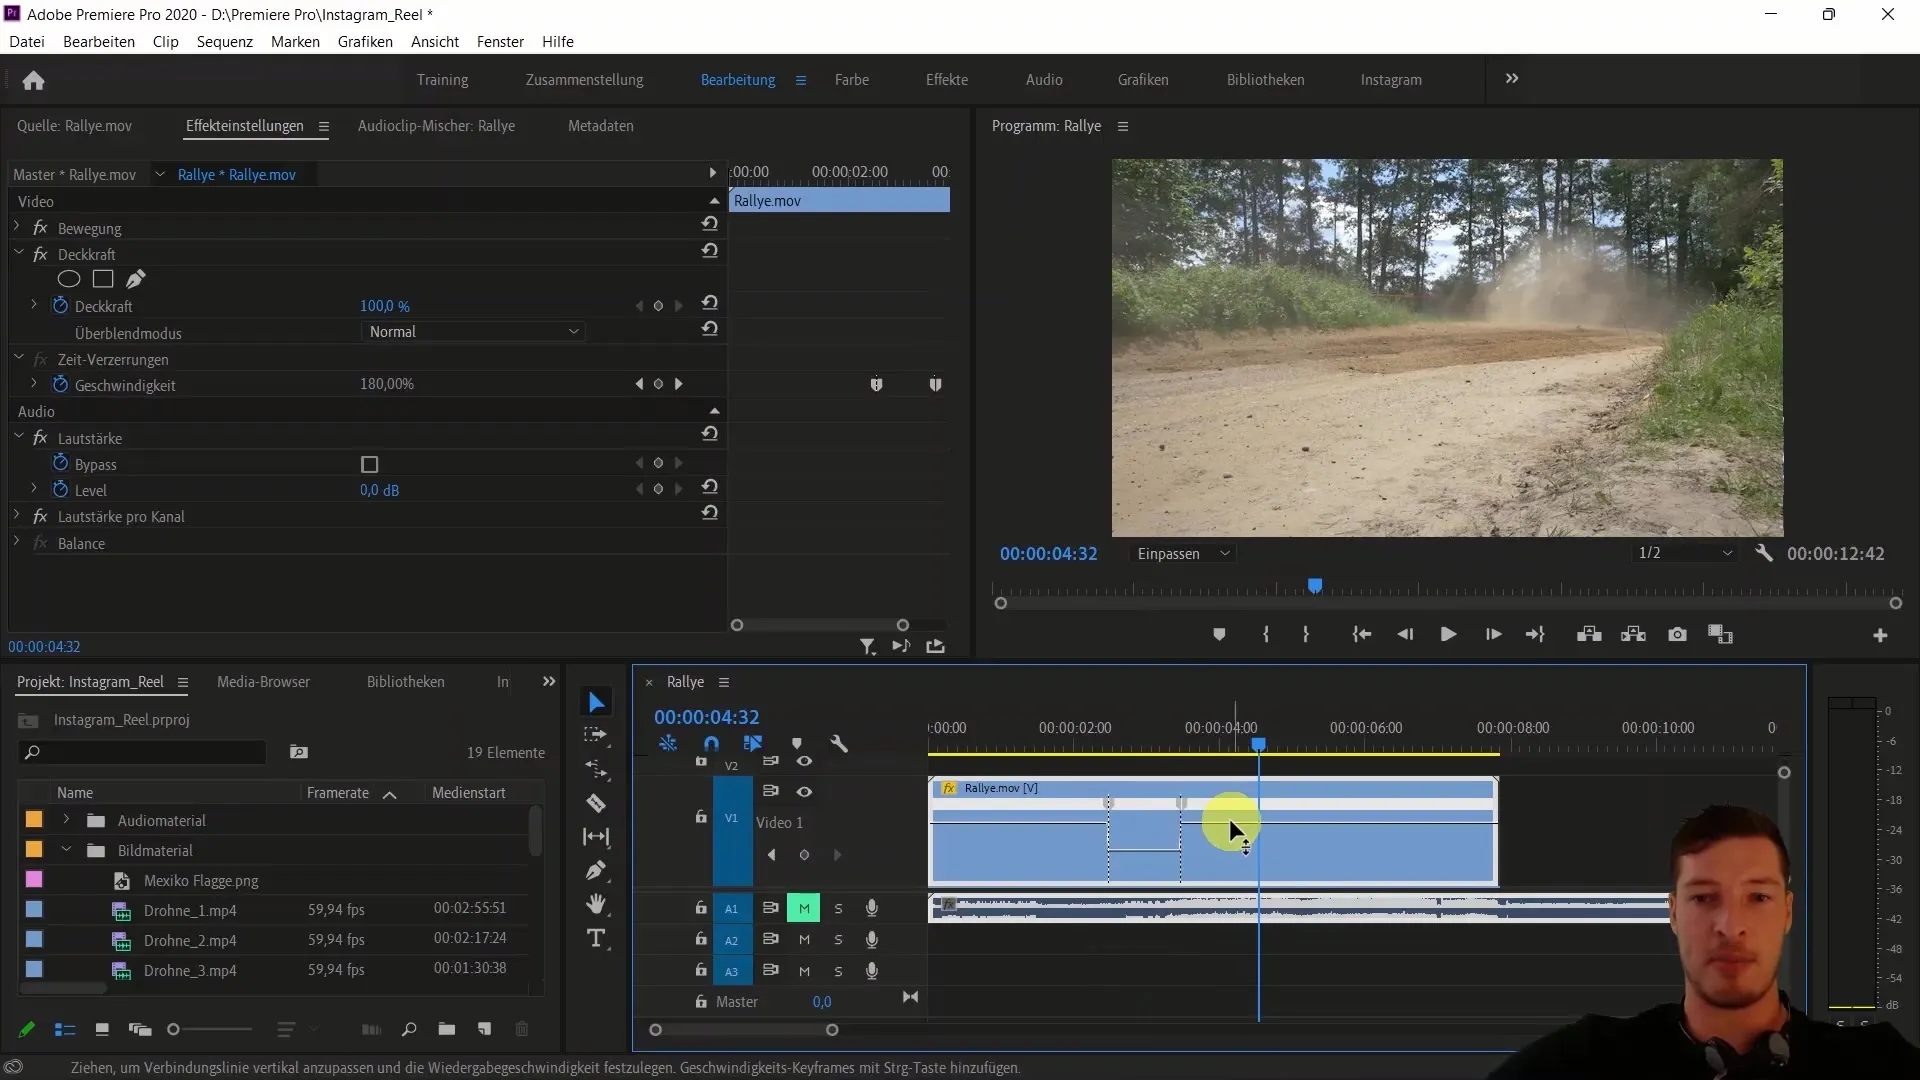
These adjustments will significantly enhance the dynamics of the clip. You can adjust the keyframes at any time to achieve the desired speed.
8. Applications for Dynamic Transitions
You can also use the concept of Time Remapping to create smooth transitions between different clips. Start at a normal speed and then increase the tempo before blending into the next clip.
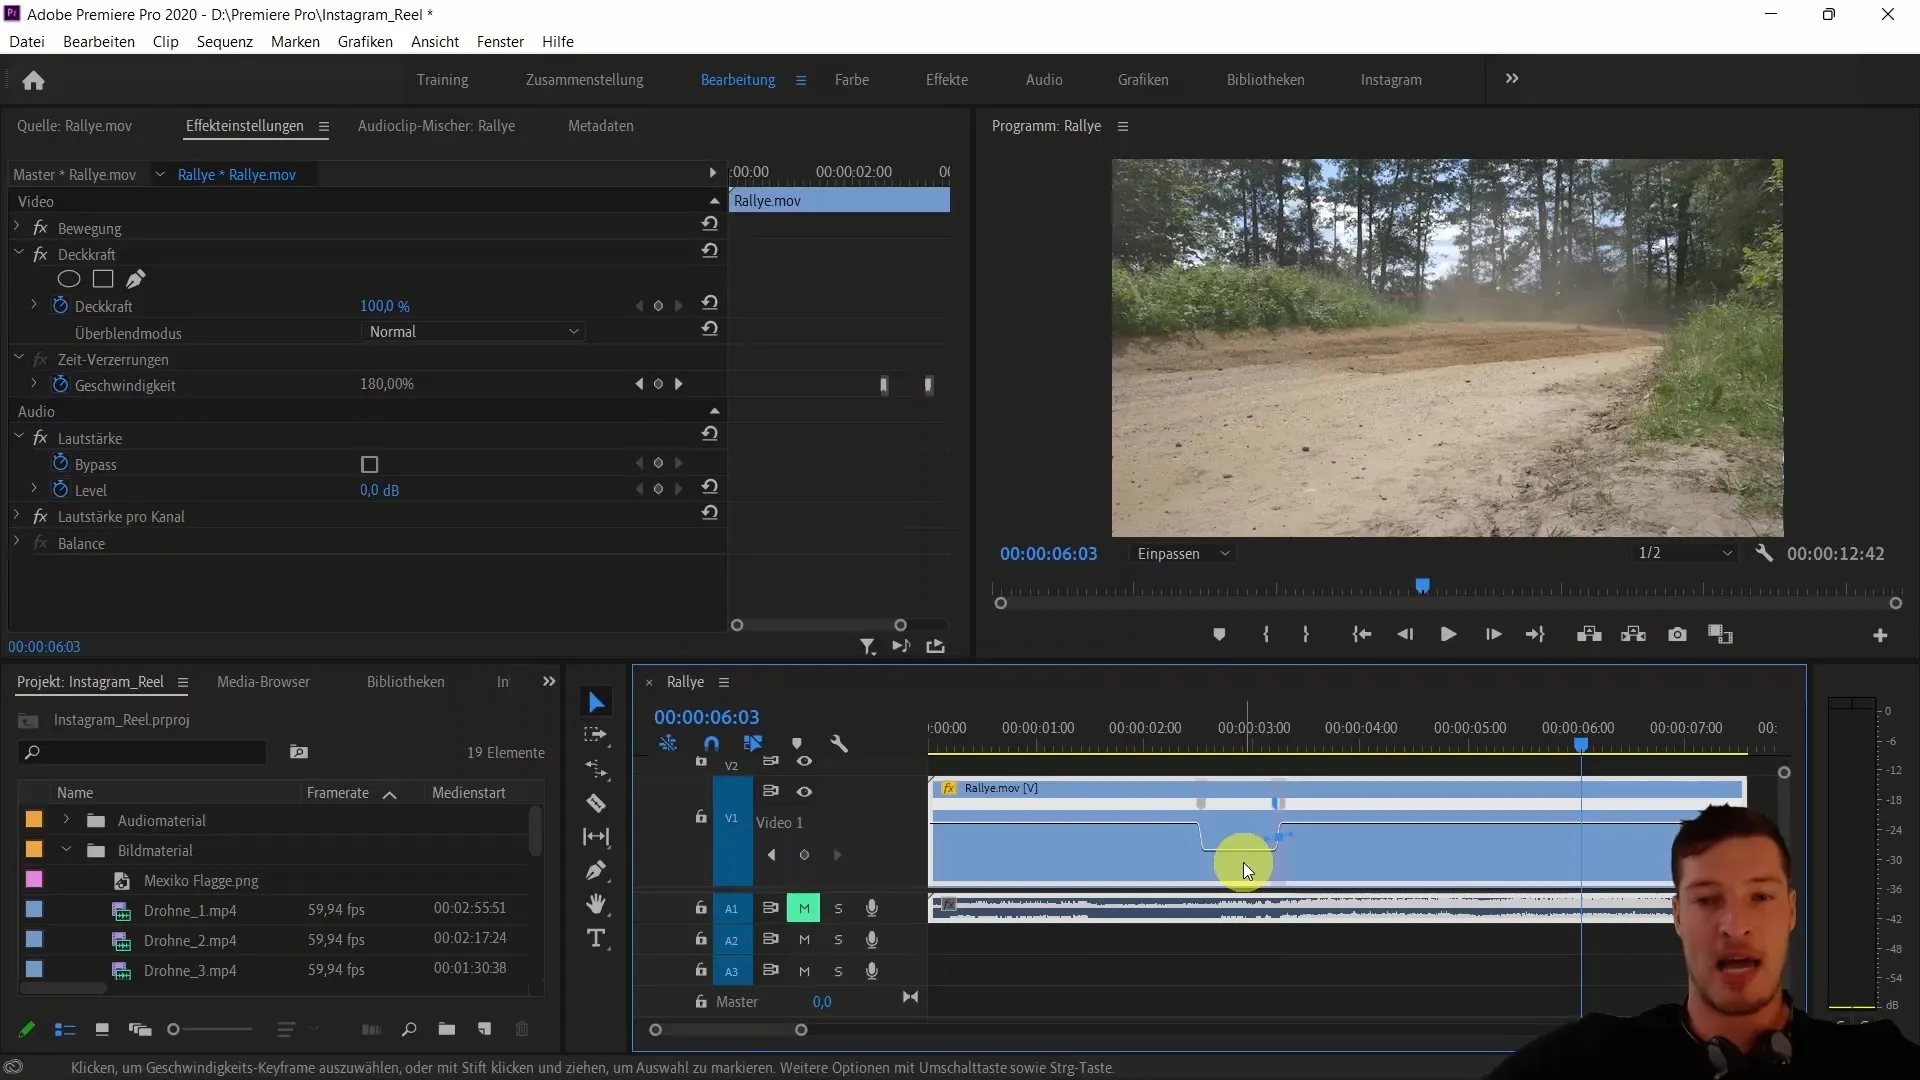
Now you are ready to apply these techniques in your own projects and create impressive video effects.
Summary
In this guide, you have learned how to effectively use Time Remapping and Speed Ramping in Adobe Premiere Pro to create interesting dynamic effects. You should now be able to adjust the speed of your clips and create smooth transitions that elevate your videos to the next level.
Frequently Asked Questions
What is Time Remapping?Time Remapping is a technique in Adobe Premiere Pro that allows you to dynamically change the playback speed of a clip.
How do I set Keyframes in Premiere Pro?You can set keyframes by clicking with the control key after selecting the clip.
Can I use Time Remapping for transitions between clips?Yes, you can use Time Remapping to create a smooth transition between different clips by adjusting the speeds.


