In this tutorial, you will learn how to enhance your channel intro with custom design in Adobe Premiere Pro CC. By using targeted coloring and dynamic effects, your video will have a fresh look that reflects the personality of your YouTube channel. In this video, we will work on your intro and use various techniques for color correction and applying effects like Repeat and Mirror.
Key Takeaways
- Using an adjustment layer allows you to customize the overall color scheme in your video.
- Effects like Repeat and Mirror can add more dynamism to your intro.
- Adjusting contrast and brightness contributes to enhancing the visual aesthetic.
Step-by-Step Guide
First, lower the audio track for a smoother playback. To do this, select the audio track in Premiere Pro and set the level to -15 dB. Disable the stopwatch to ensure the adjustment is only made once.
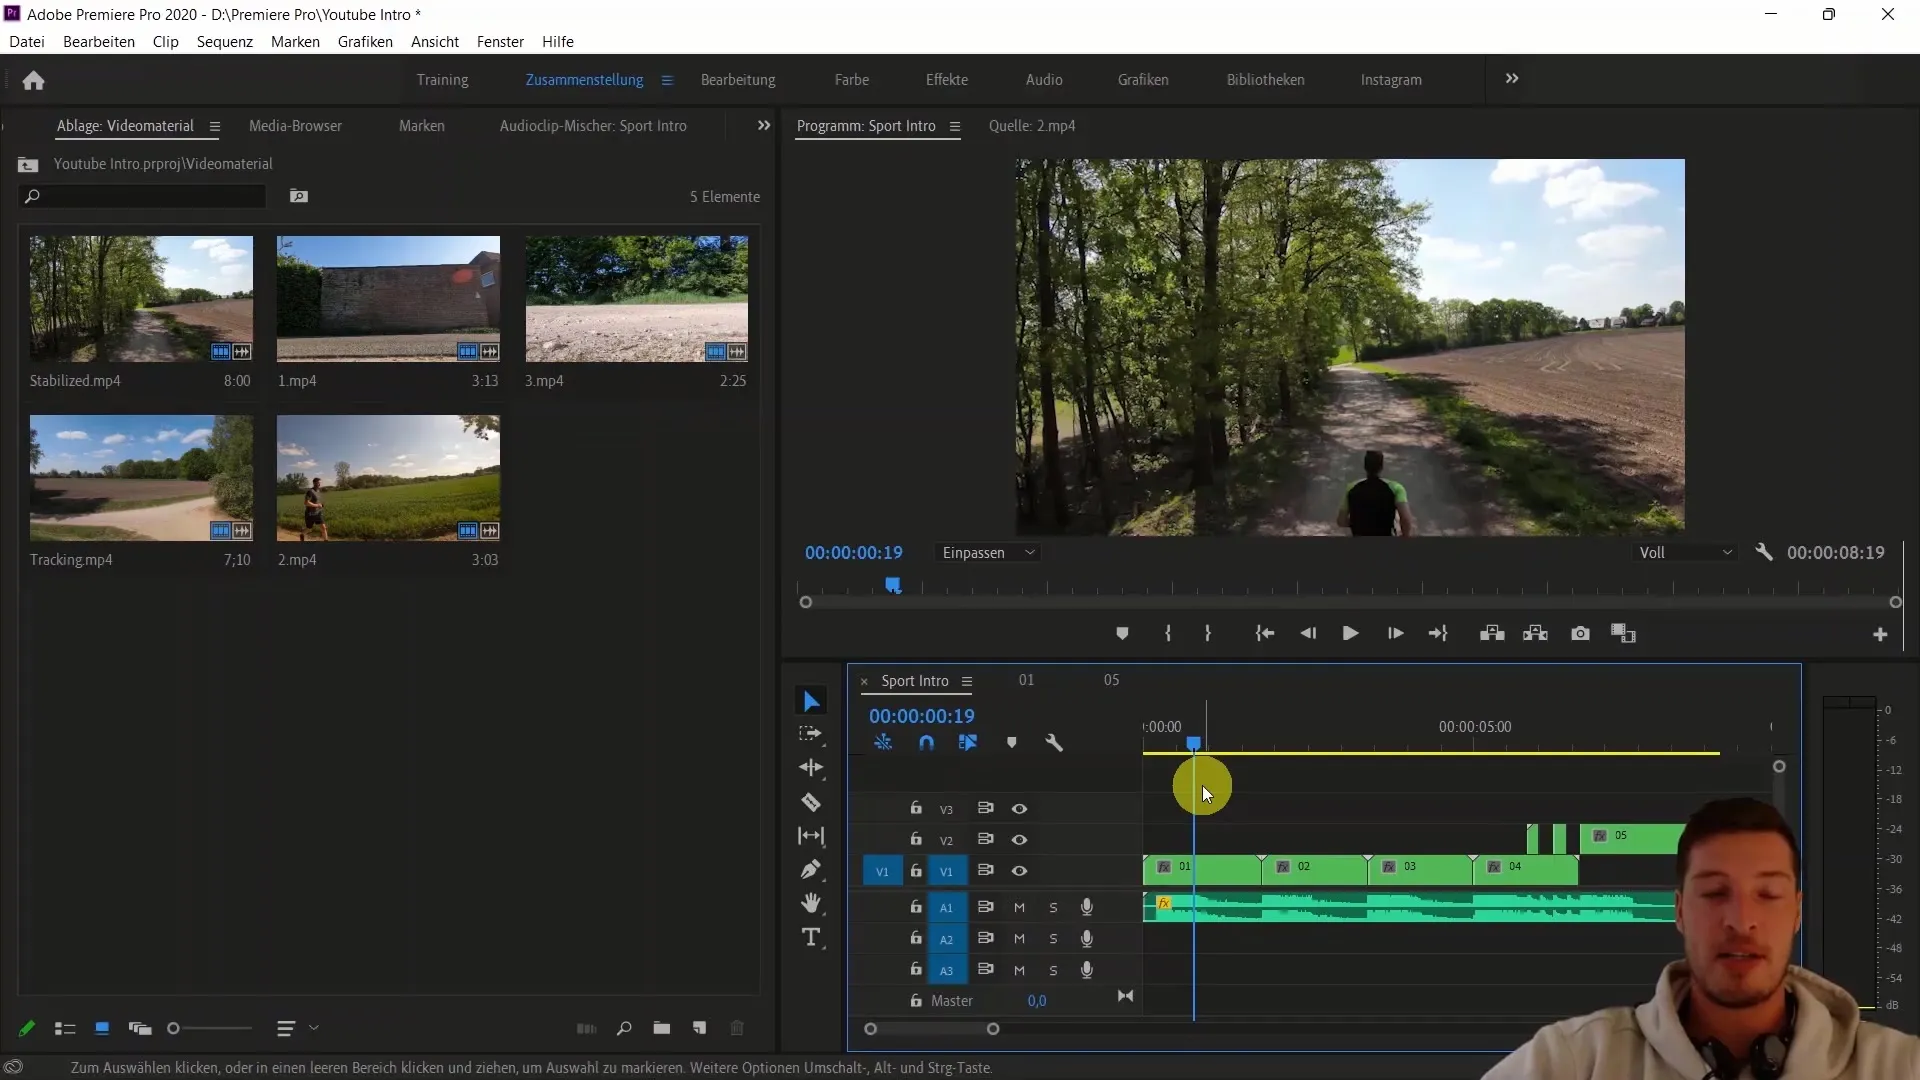
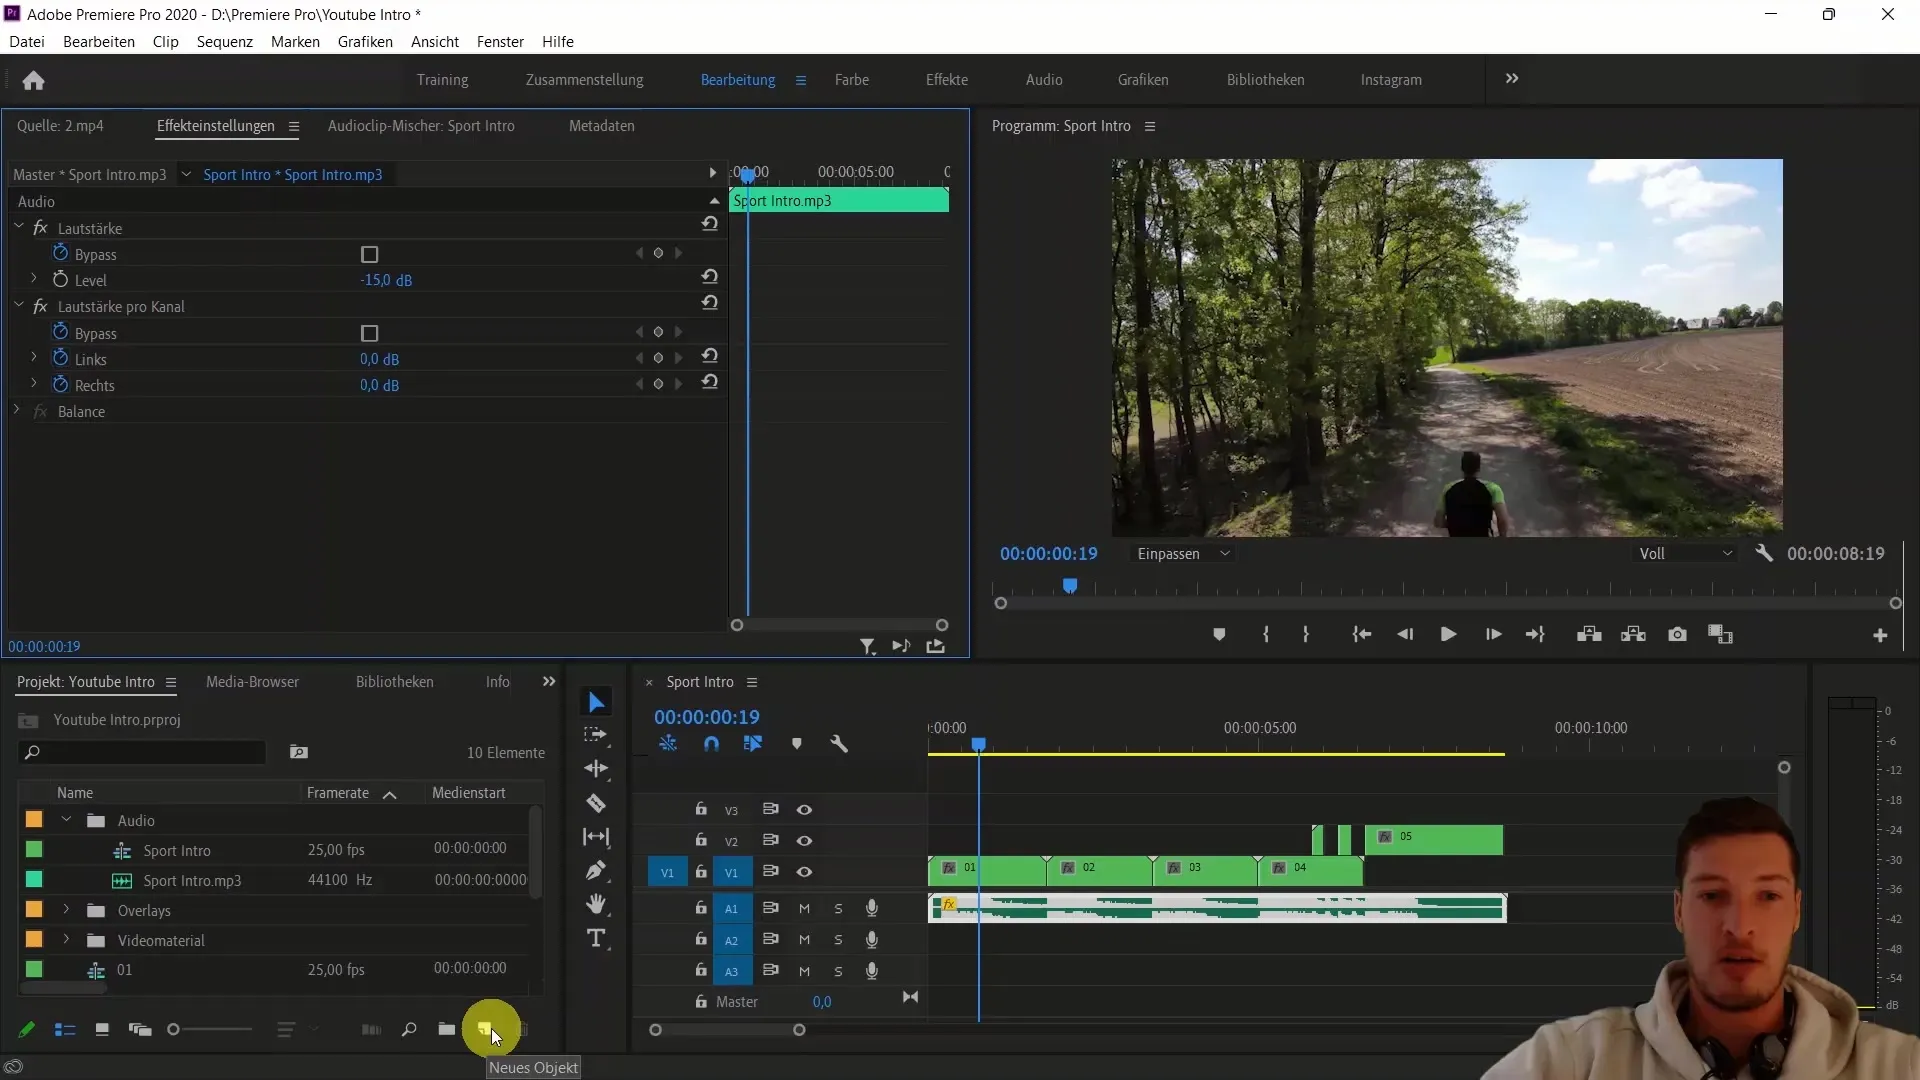
Now, we will create an adjustment layer to customize the coloring of your intro. Click on the "new object" button at the bottom or choose "File" > "New Adjustment Layer" from the menu. Drag the newly created layer into the sequence and adjust it to cover the entire length of the intro.
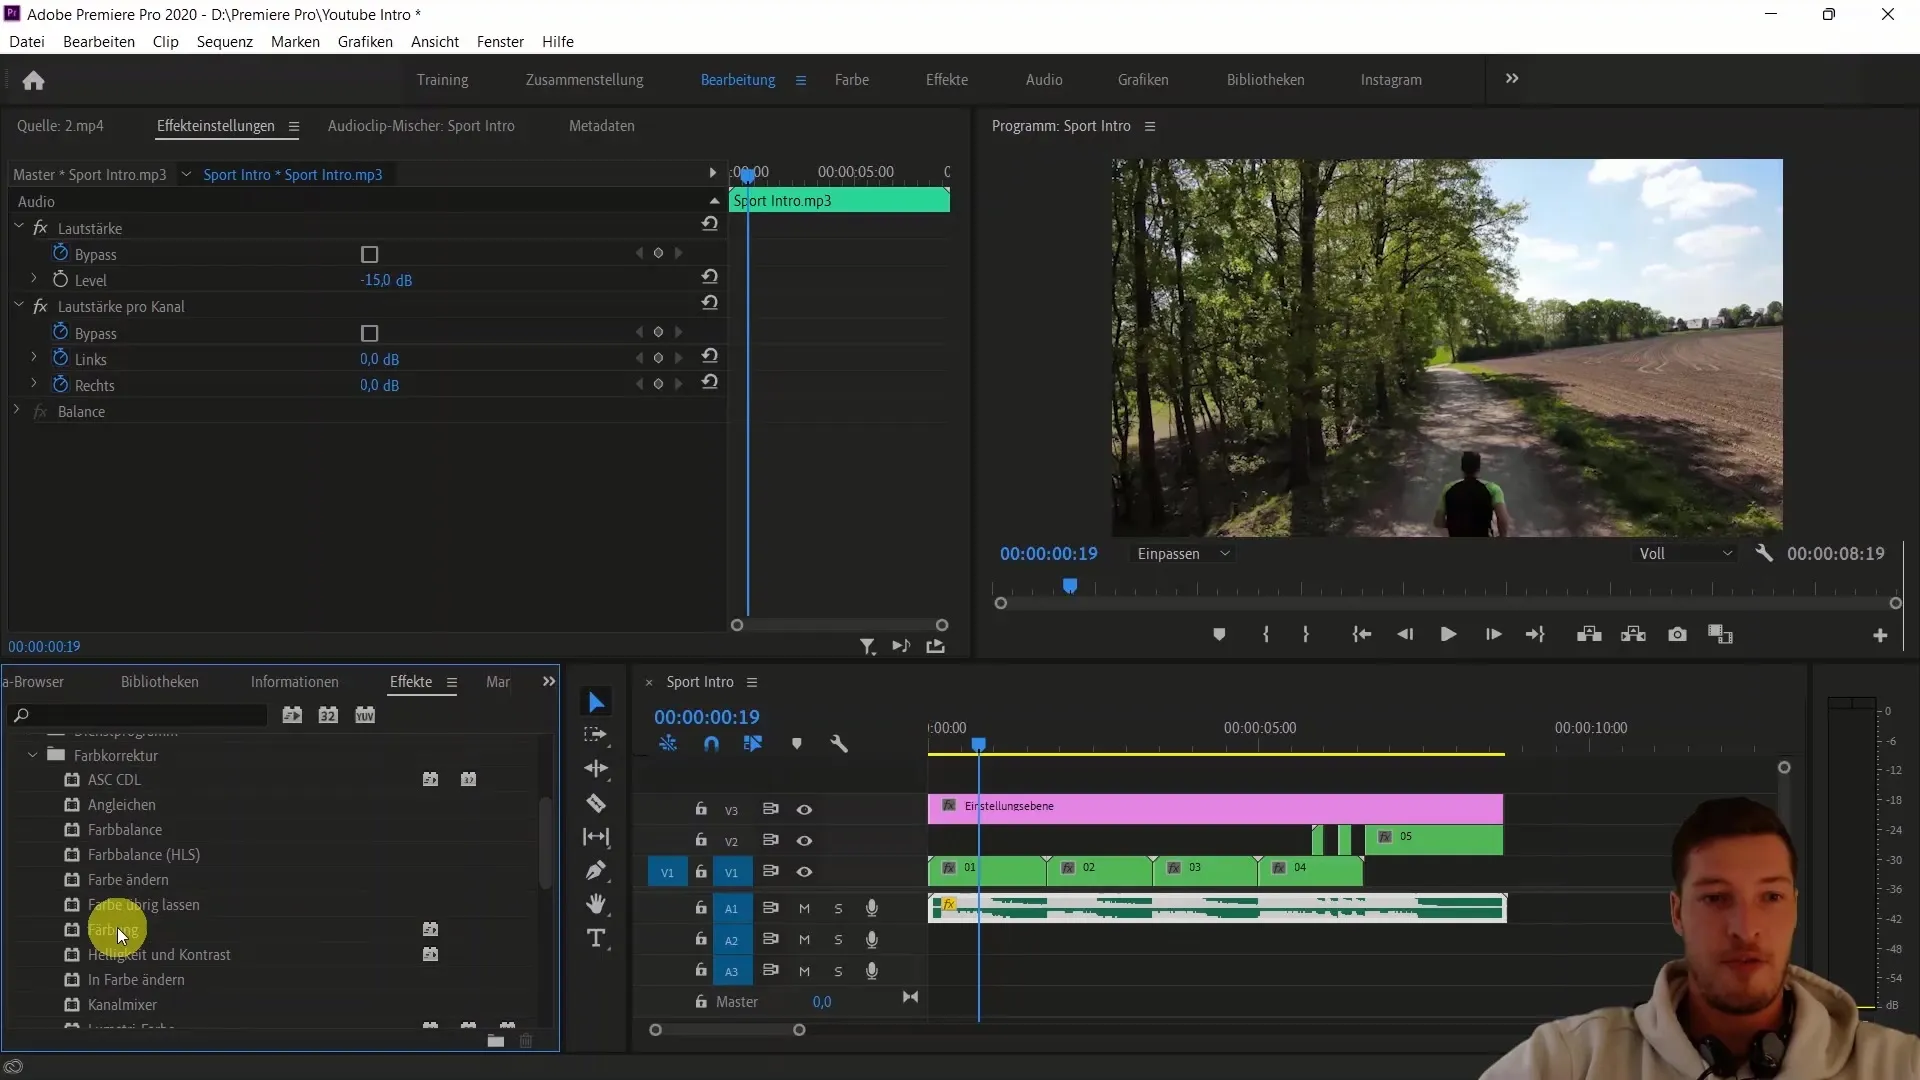
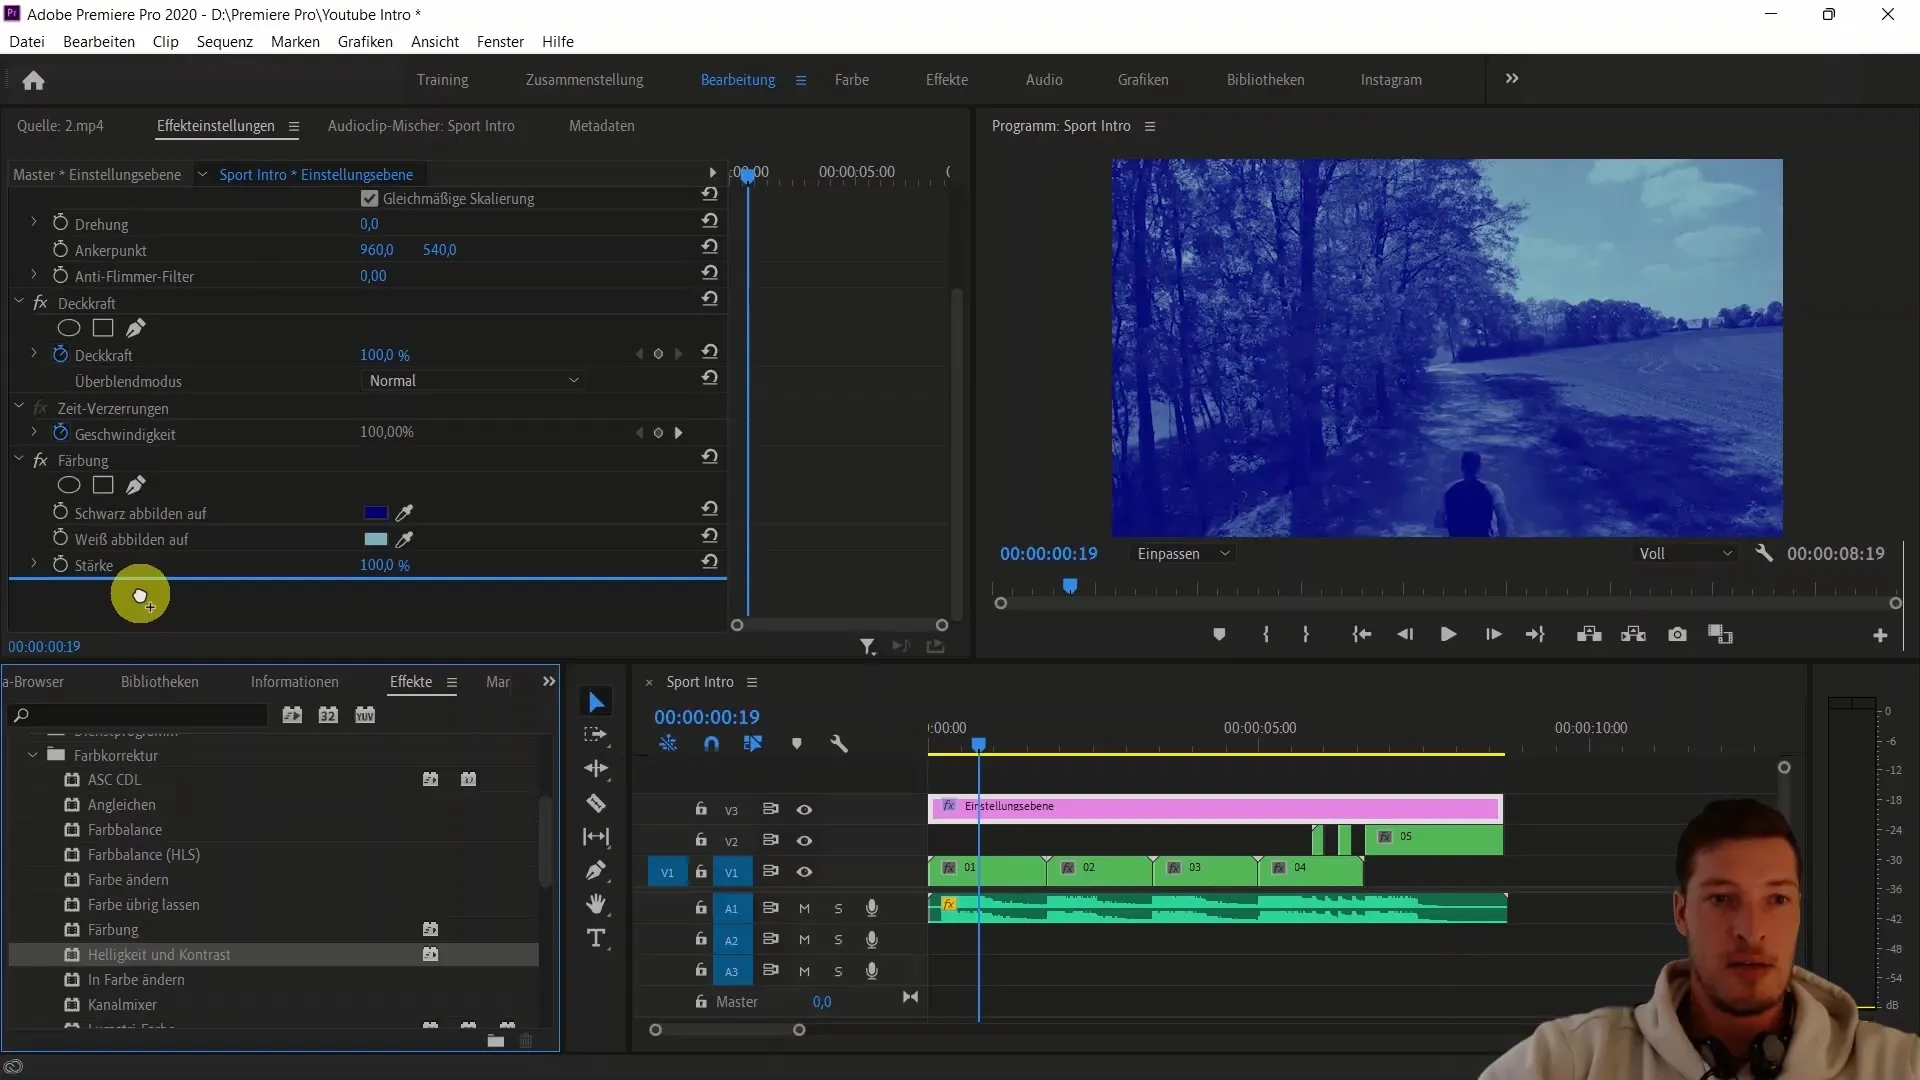
To change the overall color scheme, go to the effects. In the "Video Effects" tab, choose the "Color Correction" folder and drag the "Colorize" effect onto the adjustment layer. By default, the video will turn black and white. Now, adjust the black and white values to stay in the blue tones of your channel. Set the first value to blue and the second to a lighter shade of blue.
After setting the desired colors, increase the contrast to improve visual clarity. Add the "Brightness and Contrast" effect and set the contrast to a value between 10 and 15.
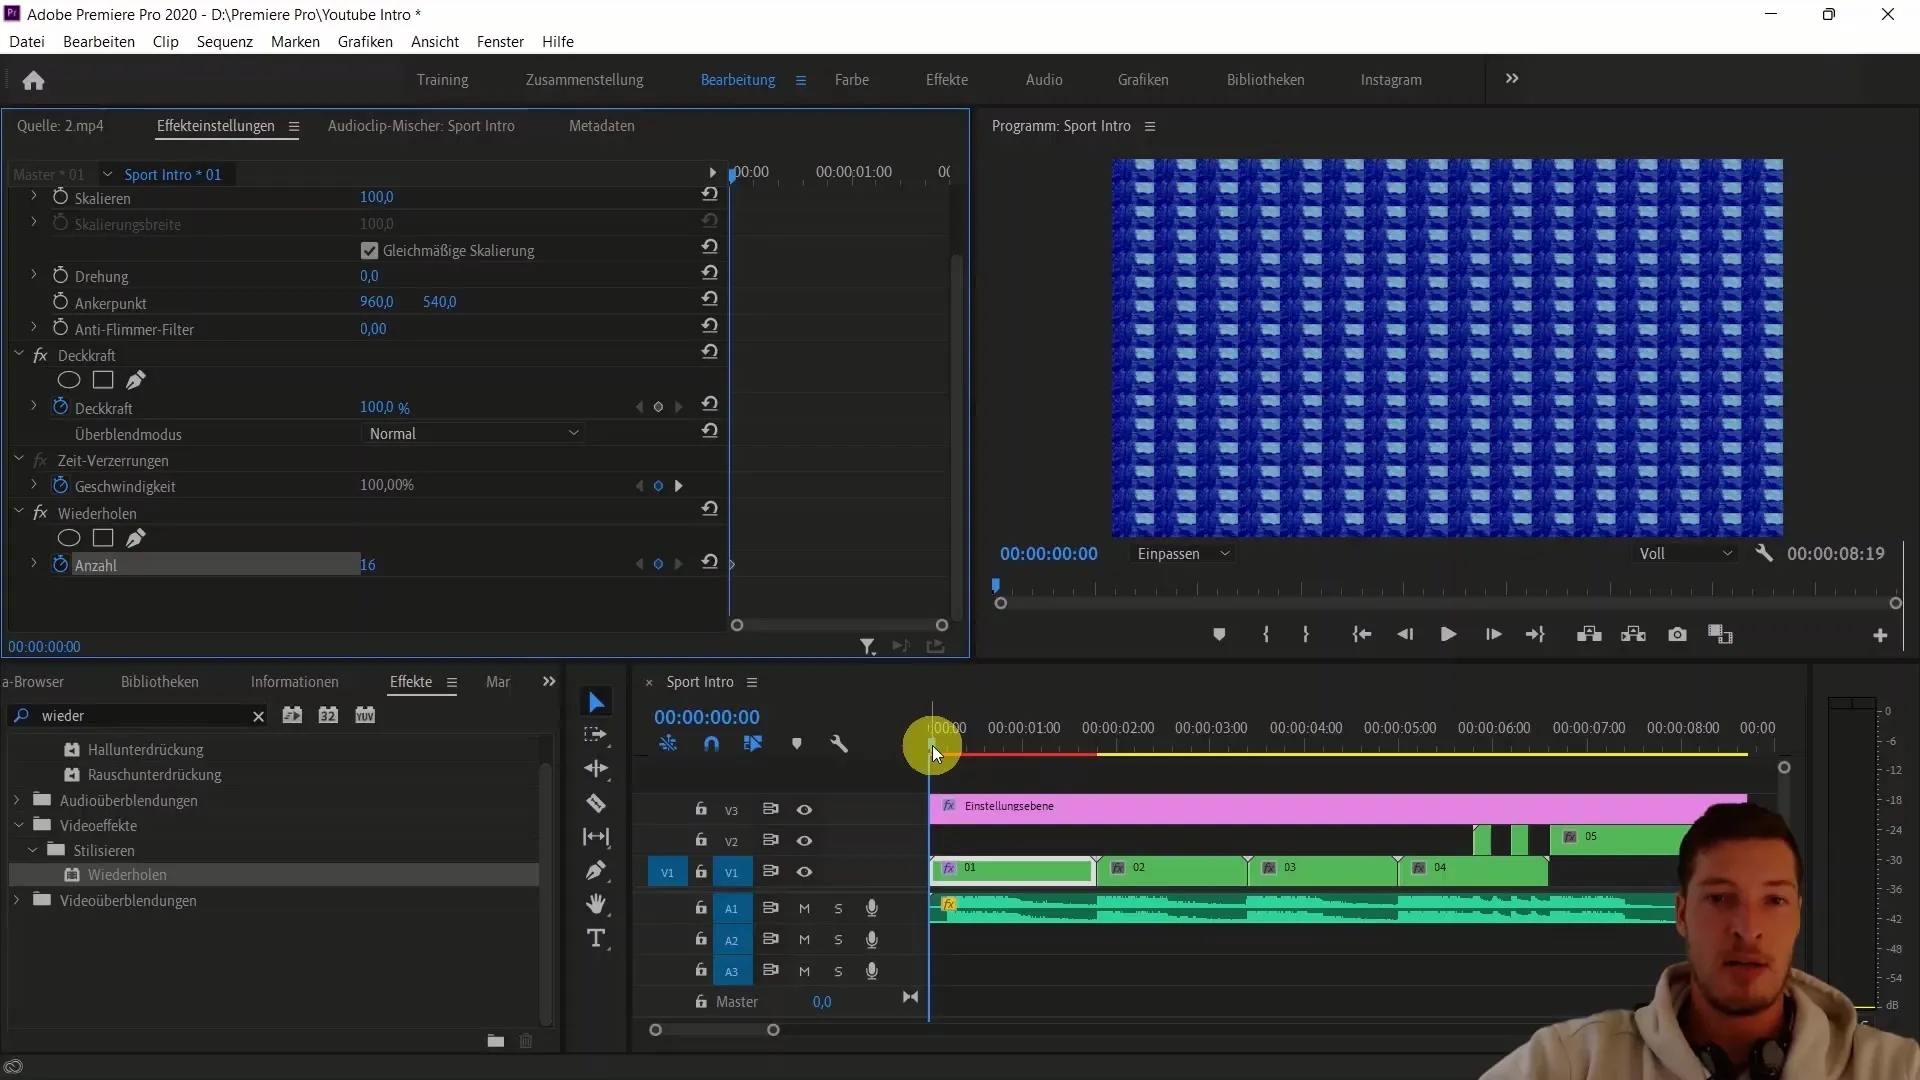
Now, let's move on to clip-specific effects. We'll start with the Repeat effect. Find this in the search bar or in the "Distortion" folder under Video Effects. Add the effect to your first clip and set the number of repetitions to the maximum value to create an exciting entrance effect.
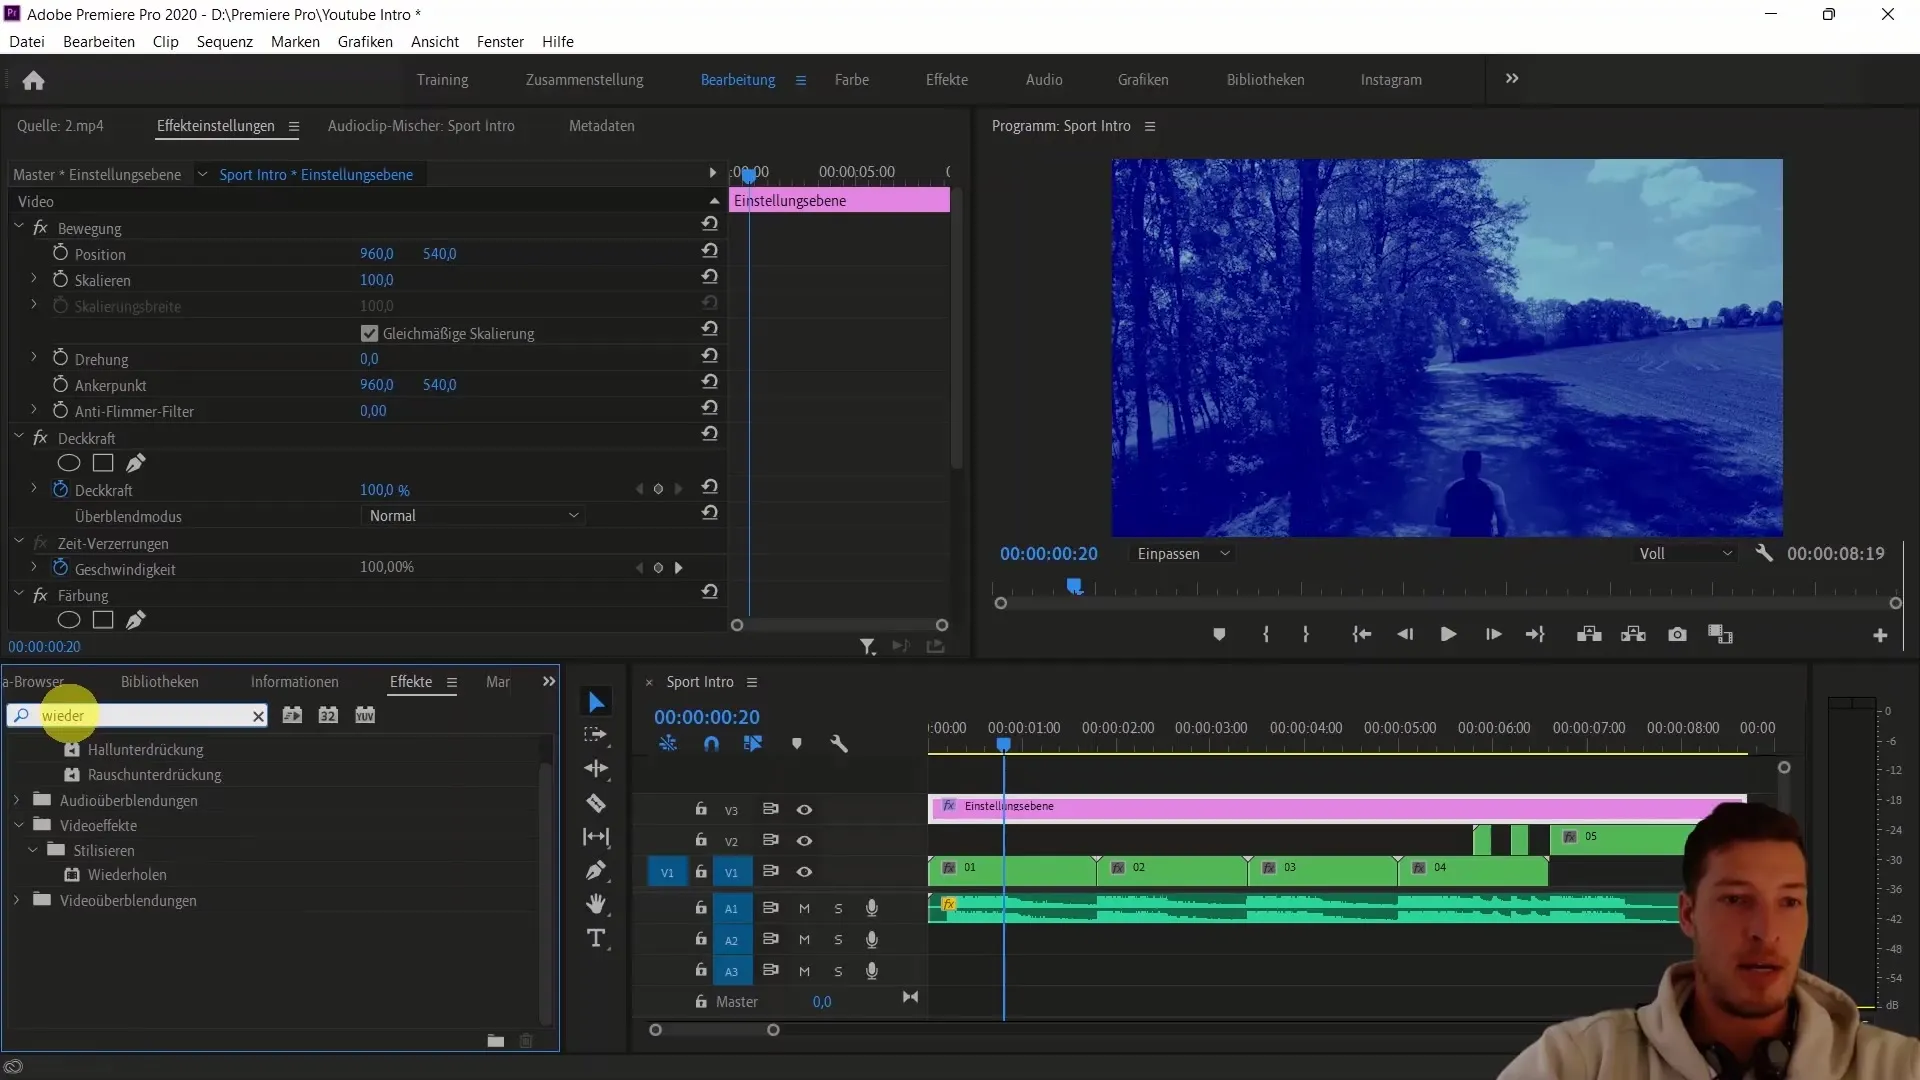
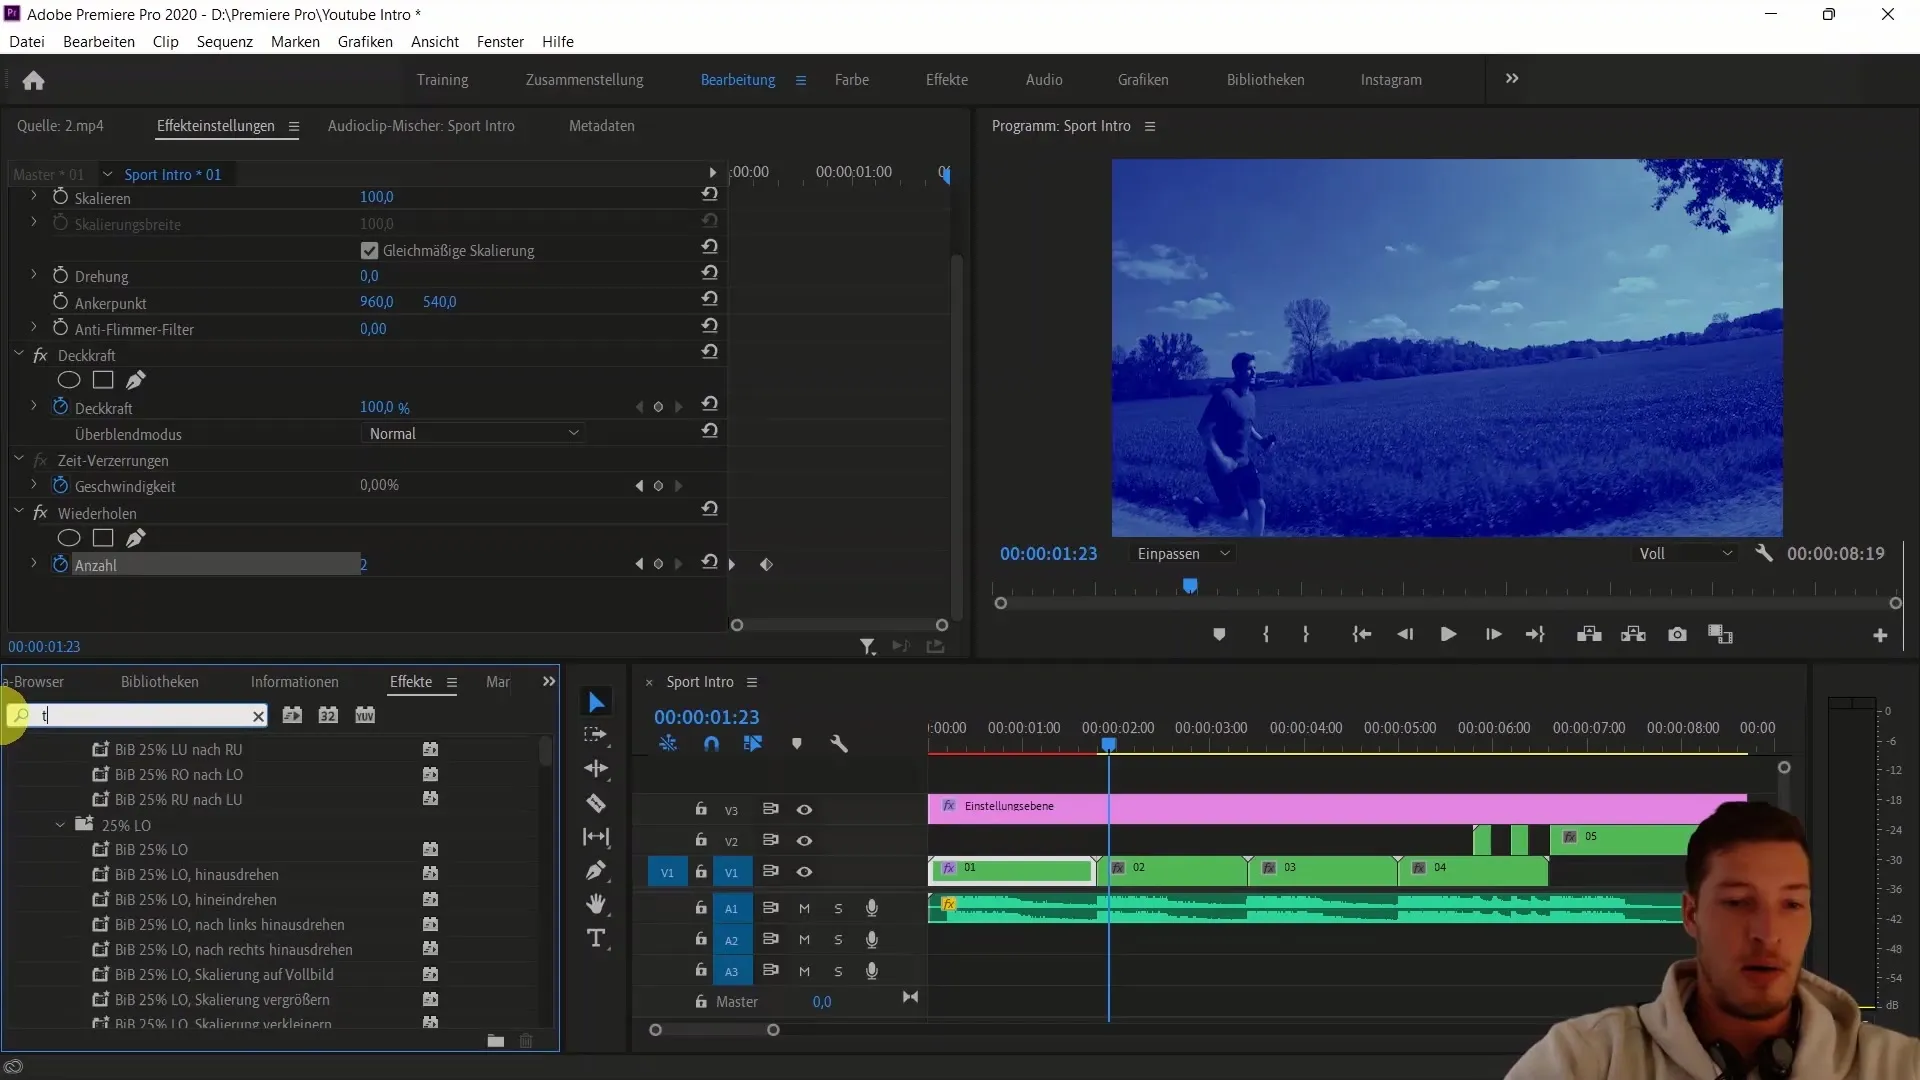
Set the stopwatch for the repetitions on the first frame of your intro and lower the value after a few frames to return the image to normal. This creates a smooth transition to your intro.
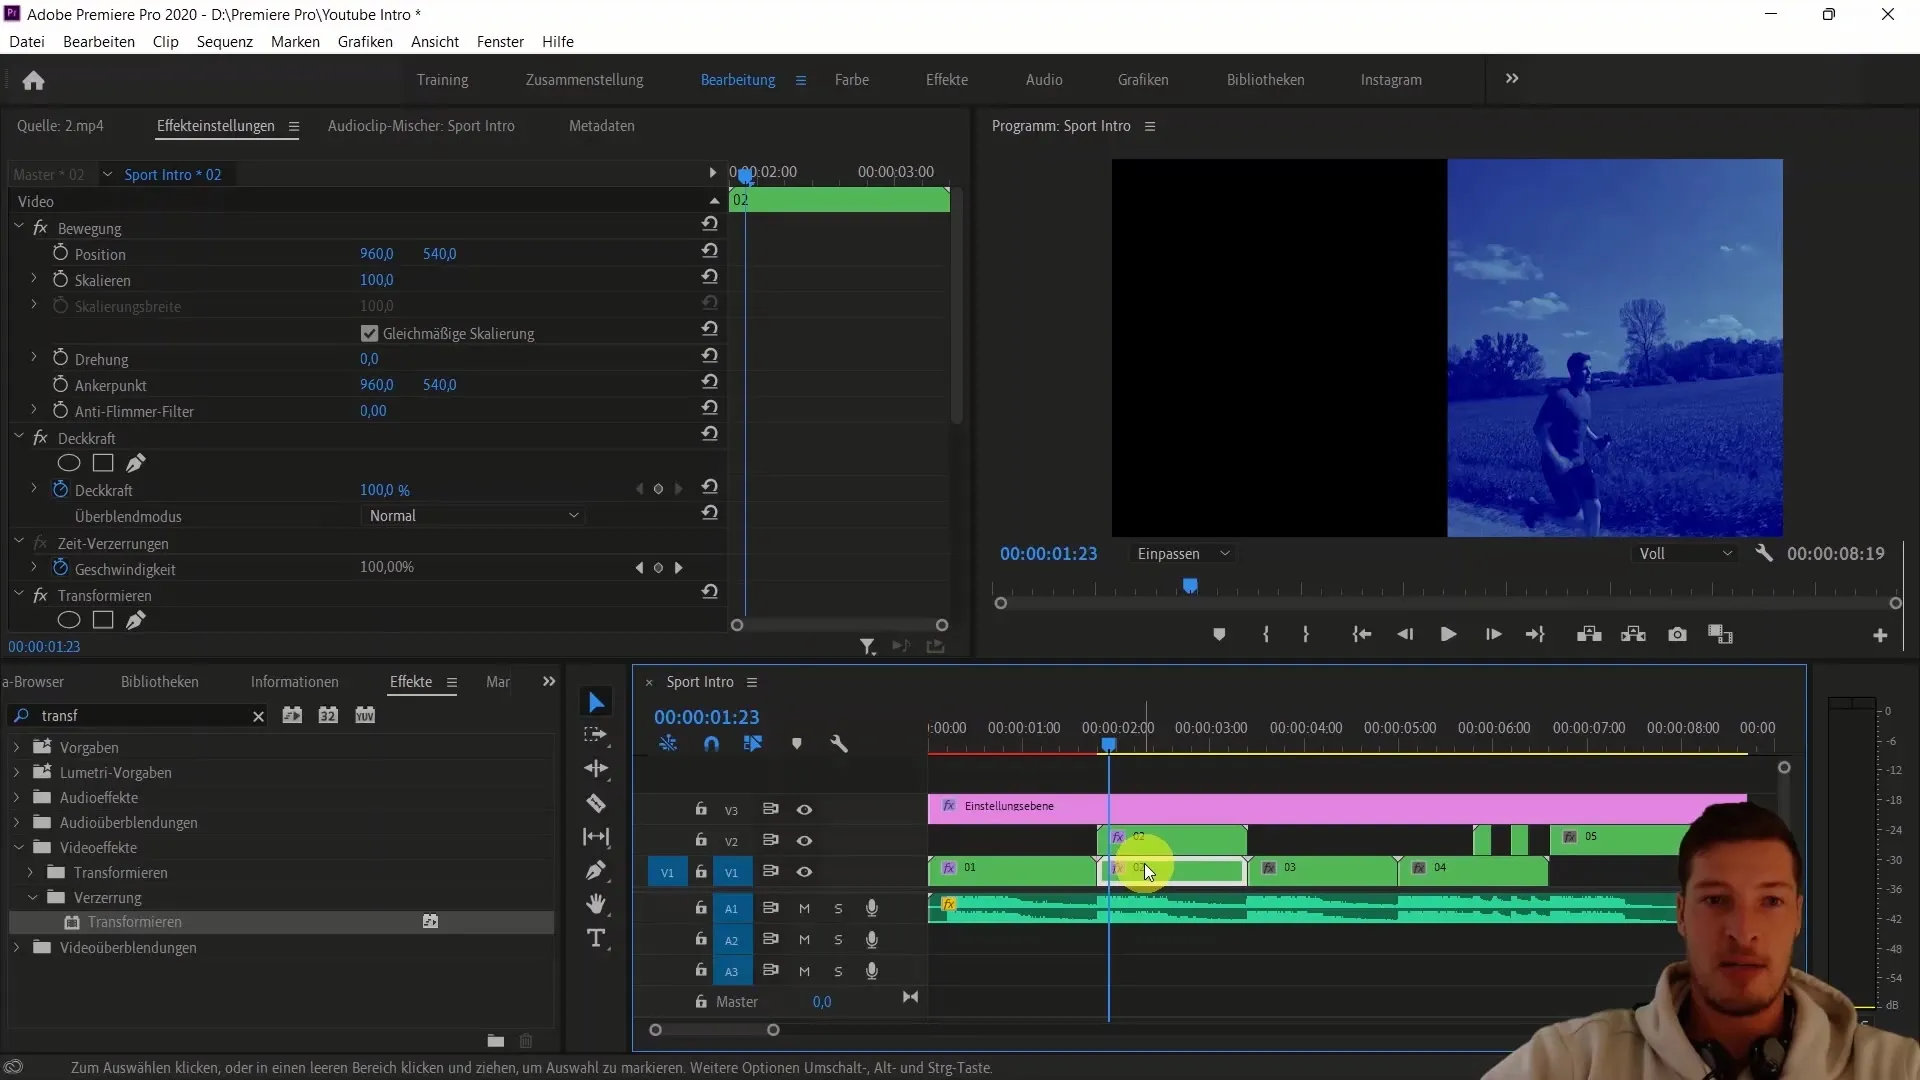
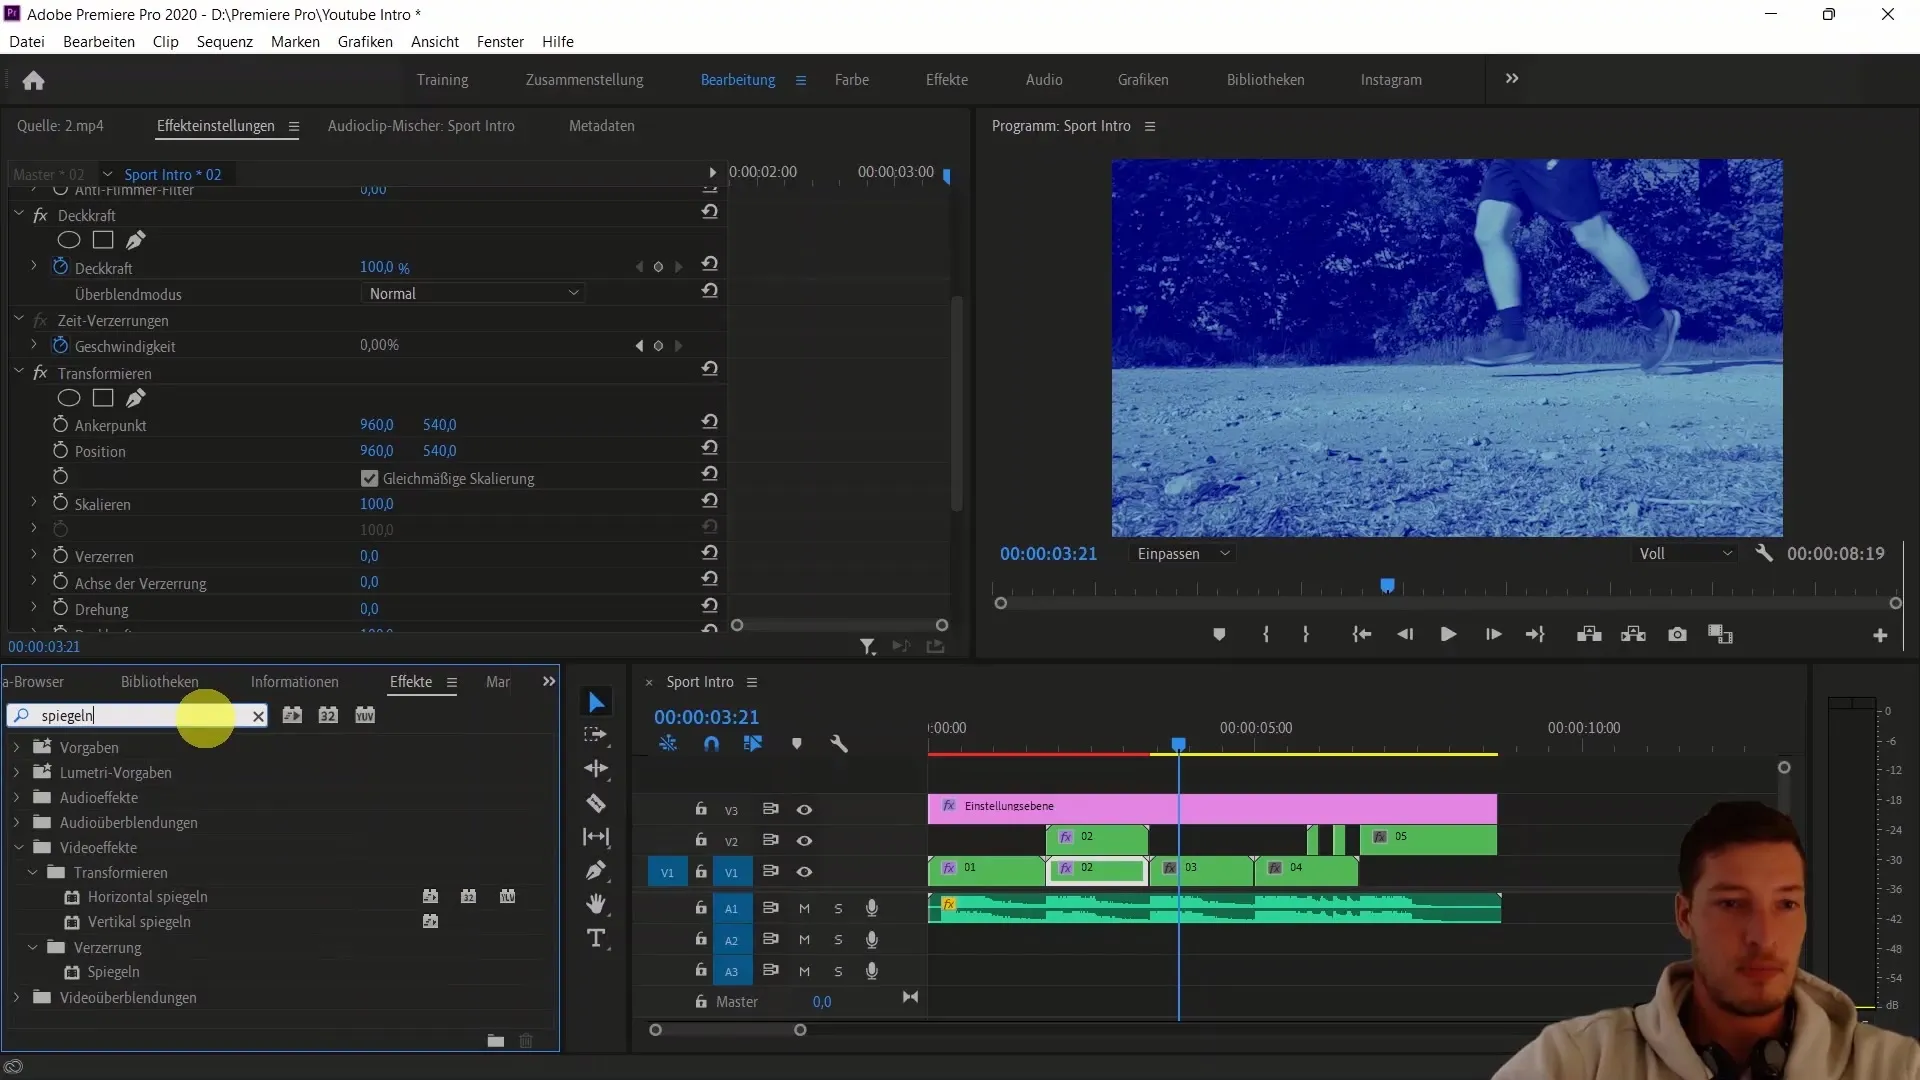
Now that we have created the Repeat effect, we will use the Transform effect for the second sequence. Find the effect under "Video Effects > Distortion". Add it to the second clip and adjust the X position to shift the image to the right.
Duplicate the clip by holding the Alt button and dragging downwards. For this second clip, change the position again to shift it to the left. Now you should have a more interesting image layout.
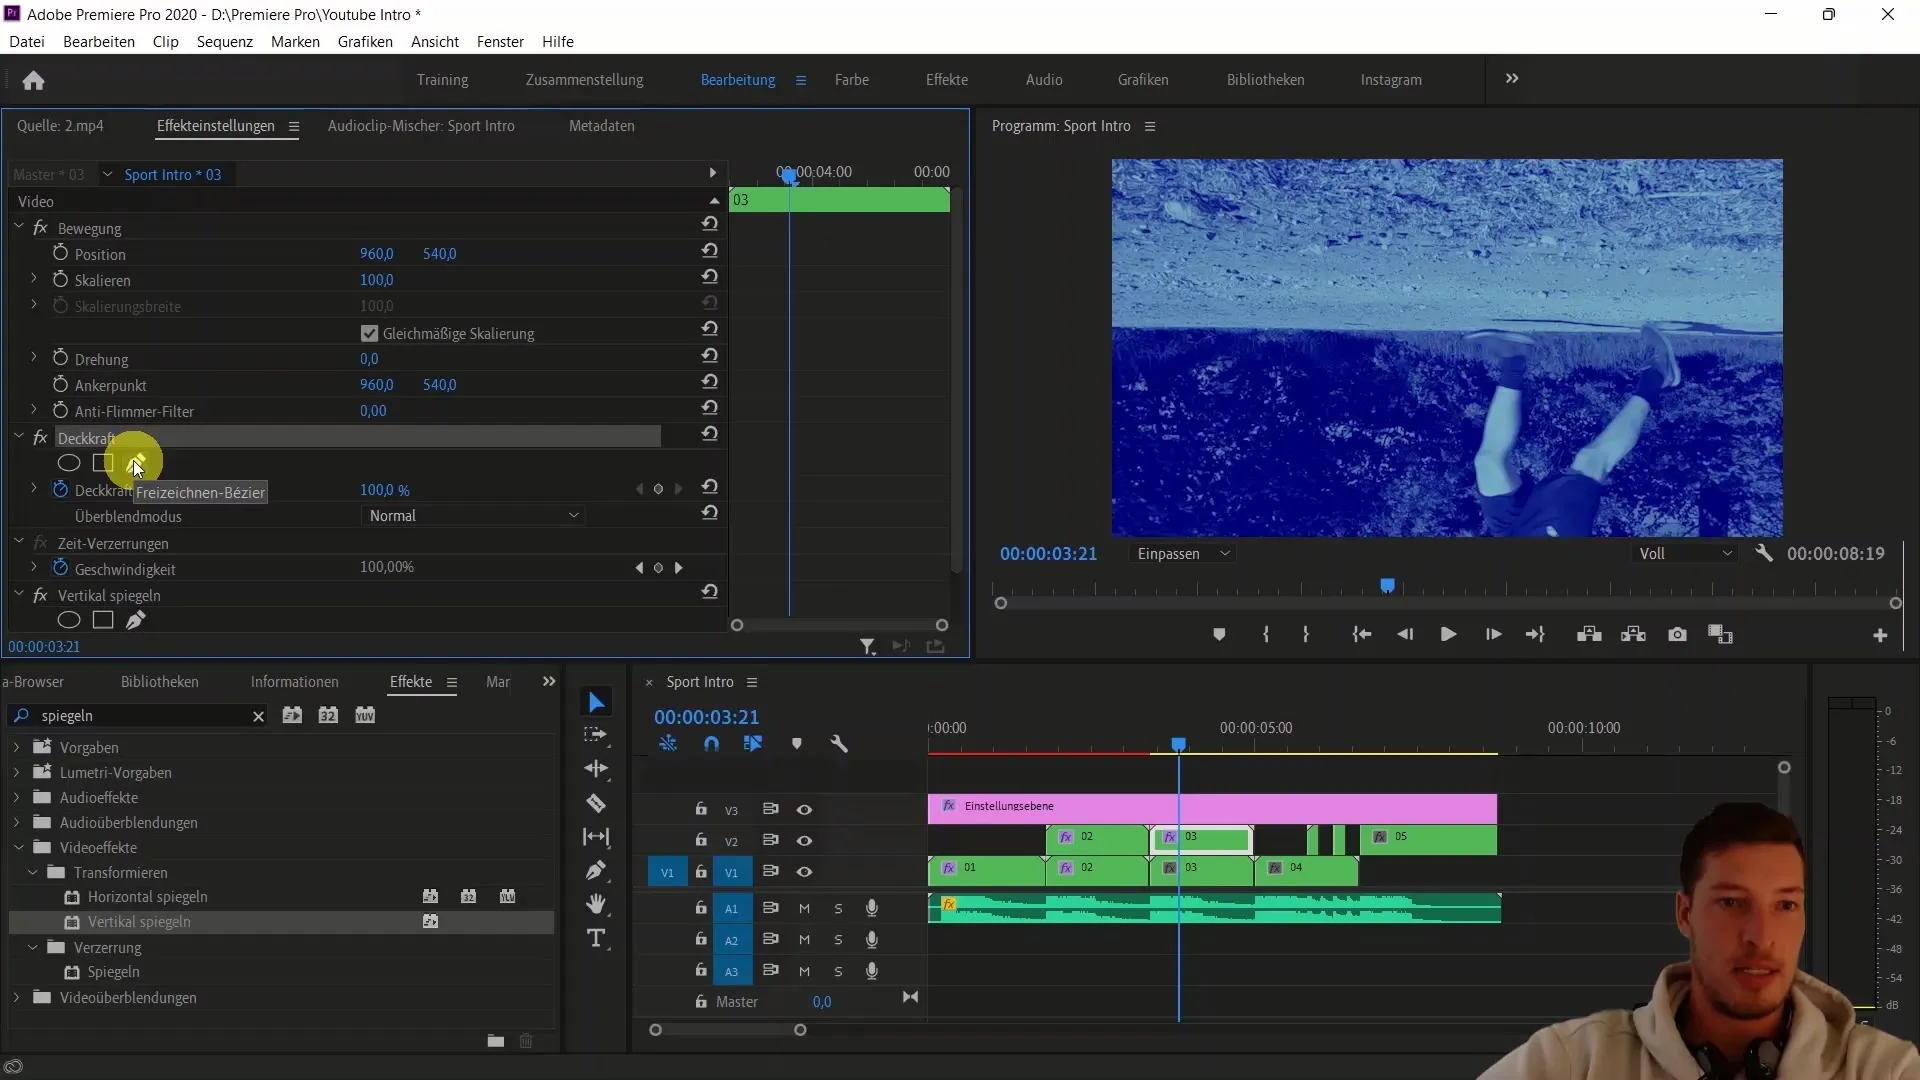
Next, we will add a Mirror effect to a third clip. Find the "Vertical Flip" effect and apply it. Once again, duplicate the clip, and in the duplicated clip, remove the Mirror effect to create two images side by side.
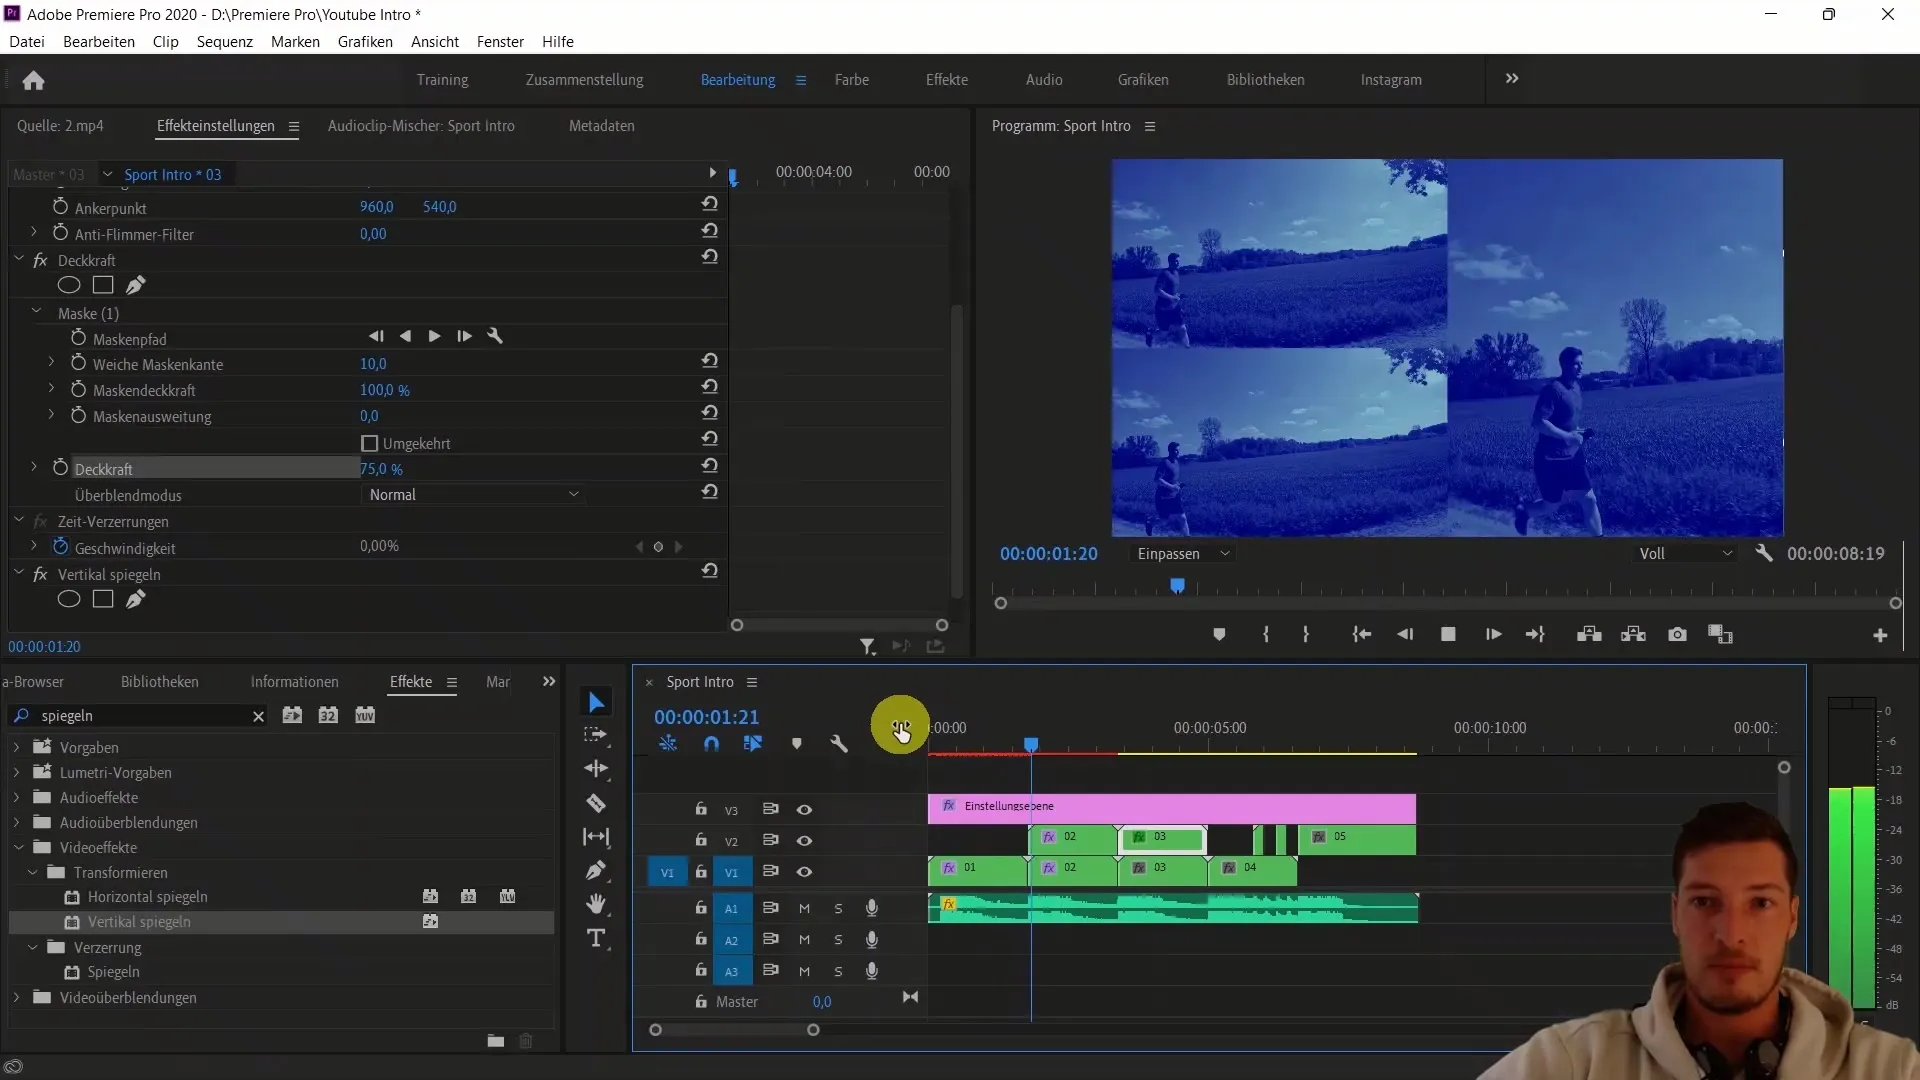
Now, you want to add a mask to isolate the area of the shoes. Activate the opacity and select the Freeform Drawing tool. Create a mask around the desired area and adjust the opacity to about 75% for a smooth transition.
Now, check out how your improved intro looks by watching the first three sequences with the added effects. Here, your impressive new design should become apparent.
Summary
In this tutorial, you have learned how to enhance your YouTube intro by custom colorization and dynamic effects. The processes you have acquired offer you many creative possibilities for your future video projects.
Frequently Asked Questions
How do I add an adjustment layer in Premiere Pro?Go to "File" > "New" > "Adjustment Layer" and drag it into your sequence.
How can I increase the contrast of my video?Add the "Brightness and Contrast" effect and adjust the contrast value.
How do I use the Repeat effect?Add the effect to your clip and adjust the number of repetitions in the effect control panel.
Can I use multiple effects simultaneously?Yes, you can add and combine as many effects as you want to a clip to achieve desired results.
How do I save my changes in Premiere Pro?Go to "File" and select "Save" or press Ctrl + S to save your changes.


