In this tutorial, I want to introduce you to the versatility of adjustment layers in Adobe Premiere Pro CC. As an enthusiastic user of this feature, you can not only make general color adjustments, but also realize creative effects and optimizations for your videos. The possibilities are almost limitless, and I will show you some interesting use cases.
Key Takeaways
Adjustment layers provide an easy way to apply effects and adjustments to multiple clips at once. You can make both aesthetic and technical changes without directly altering your original clips. In this tutorial, you will learn how to generate black bars for a 21:9 format and add recurring effects to transitions.
Step-by-Step Guide
1. Create Black Bars for 21:9 Output
To give your video a cinematic look in 21:9 format, you can add black bars at the top and bottom using an adjustment layer. First, open your existing project and navigate to the sequence you want to edit.
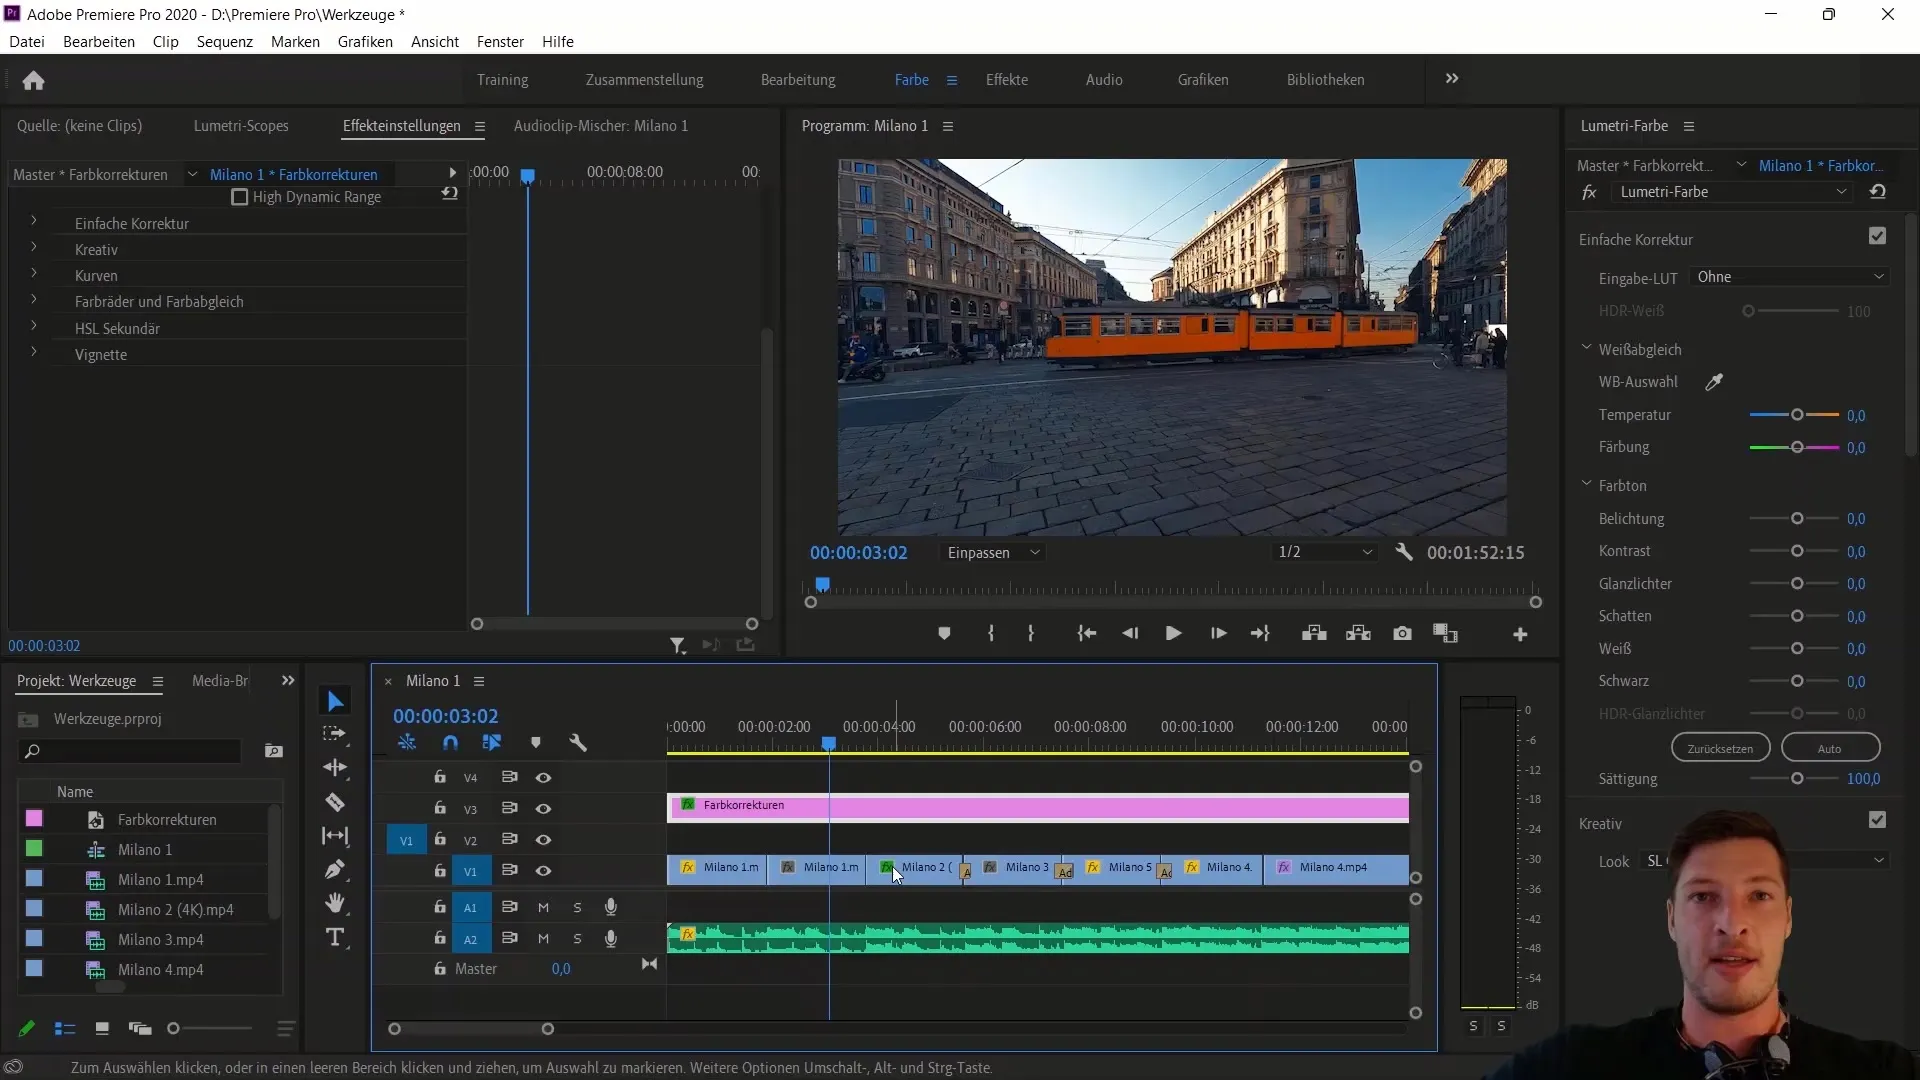
Then select the adjustment layer and go to the "Effects Control Panel". Here you will find the "Video Effects". Click on "Transform" and then on "Crop" to activate the effect.
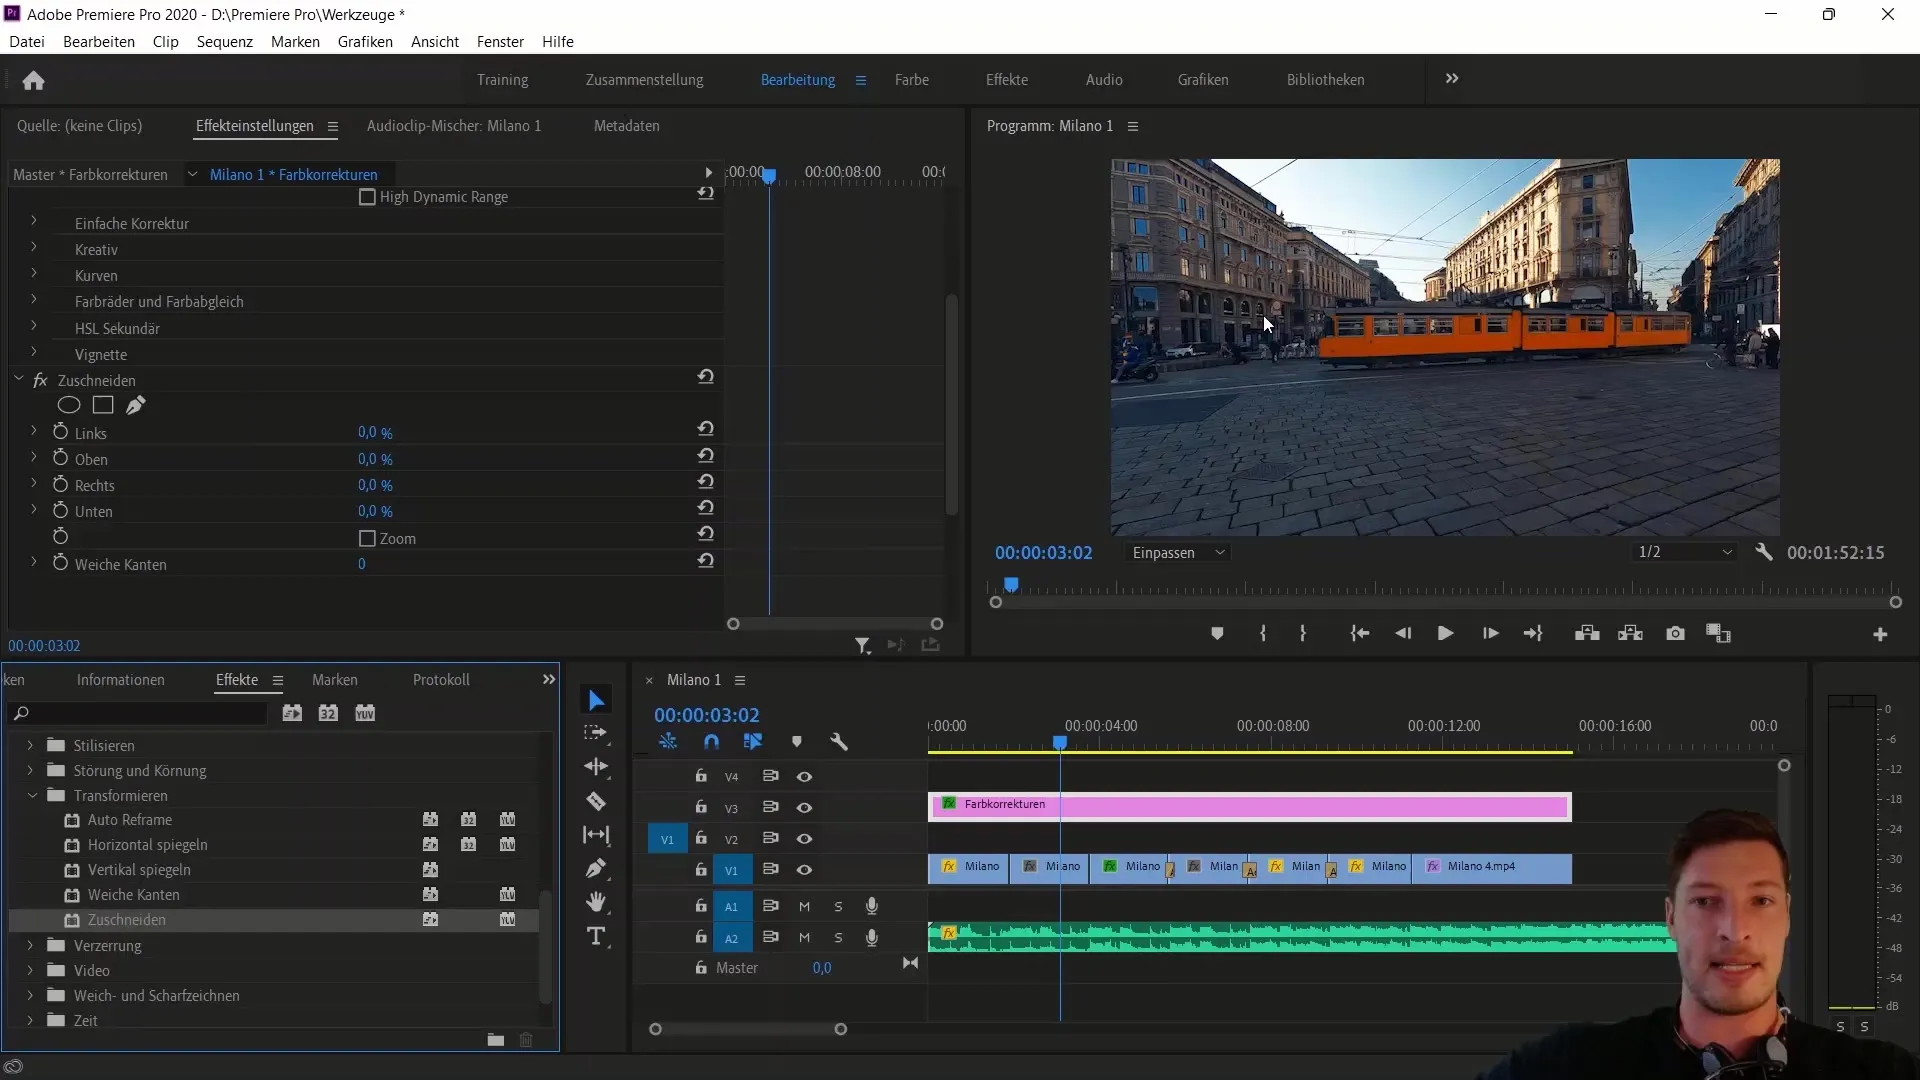
Drag the Crop effect onto your adjustment layer. Now you can adjust the top and bottom percentage values. For the desired 21:9 look, set both to about 12%. This creates the black bars commonly seen in cinemas.
2. Add Subtitles or Emphasize Additional Effects
After applying the effect, you will see that the black bars frame the content of your video. At this stage, you can also add additional elements such as subtitles to complement your clip.
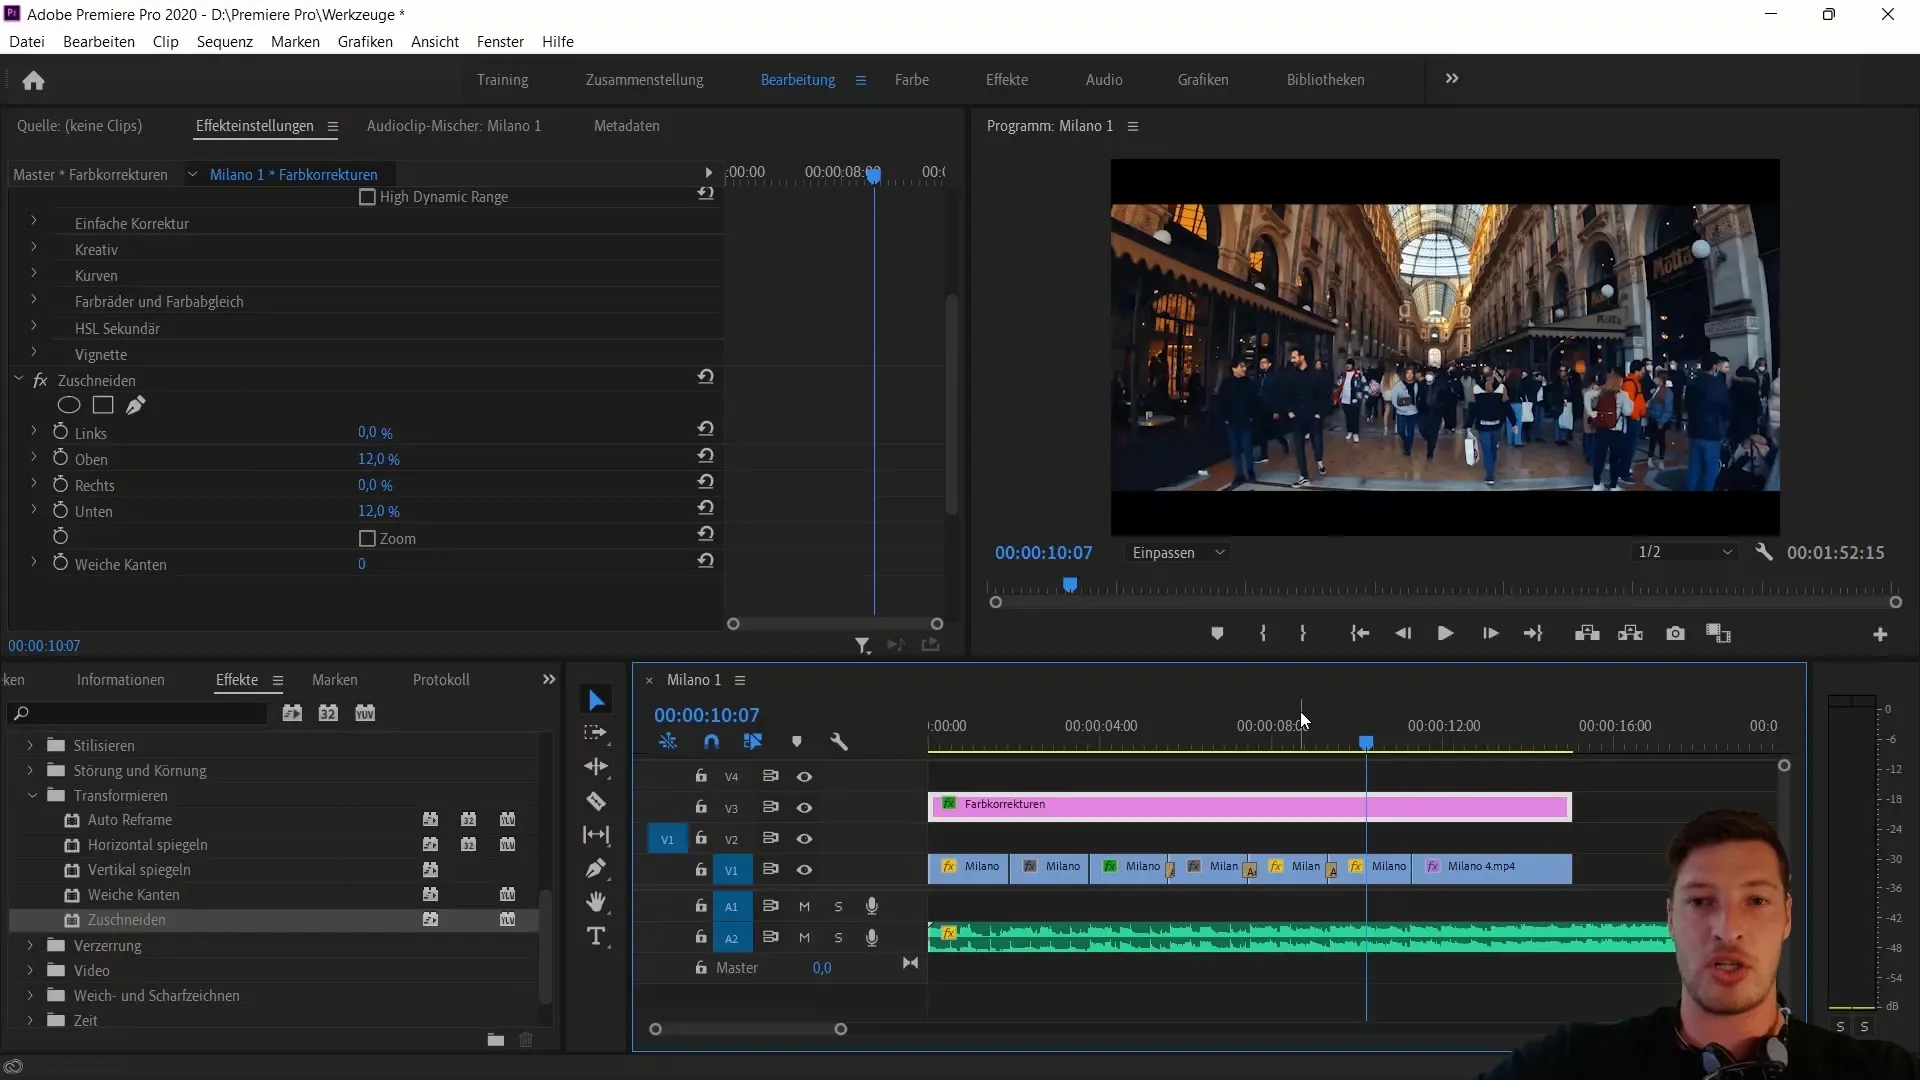
3. Create Recurring Effects for Transitions
Another use case for adjustment layers is to create recurring effects. To do this, highlight the corresponding part of your clip. Go to "File" and click "New" to create a new adjustment layer, then drag it into your sequence.
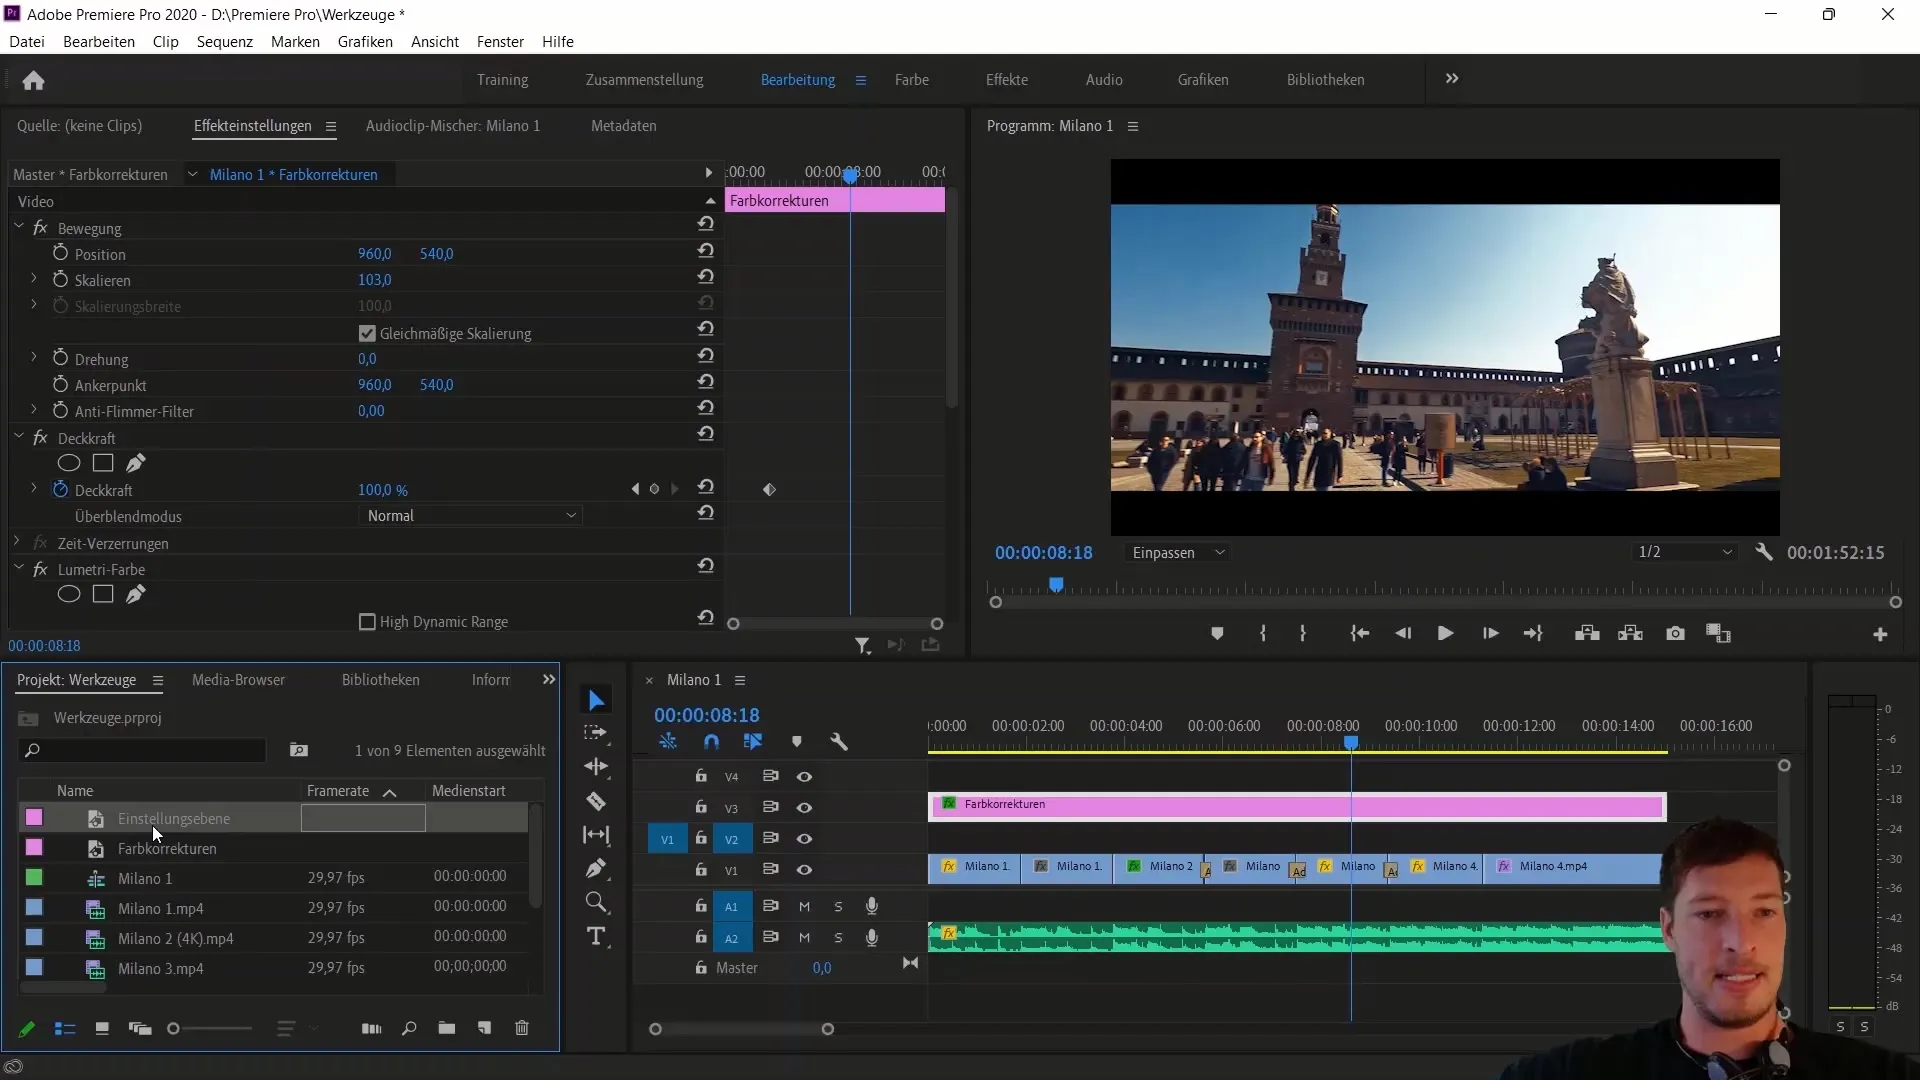
To enhance the effects at a transition, zoom into the transition. Use the "Razor Tool" (Shortcut: C) to cut the adjustment layer before and after the transition.
Remove the parts before and after the transition using the selection tool (Shortcut: V) and position the adjustment layer where you only see the desired clip.
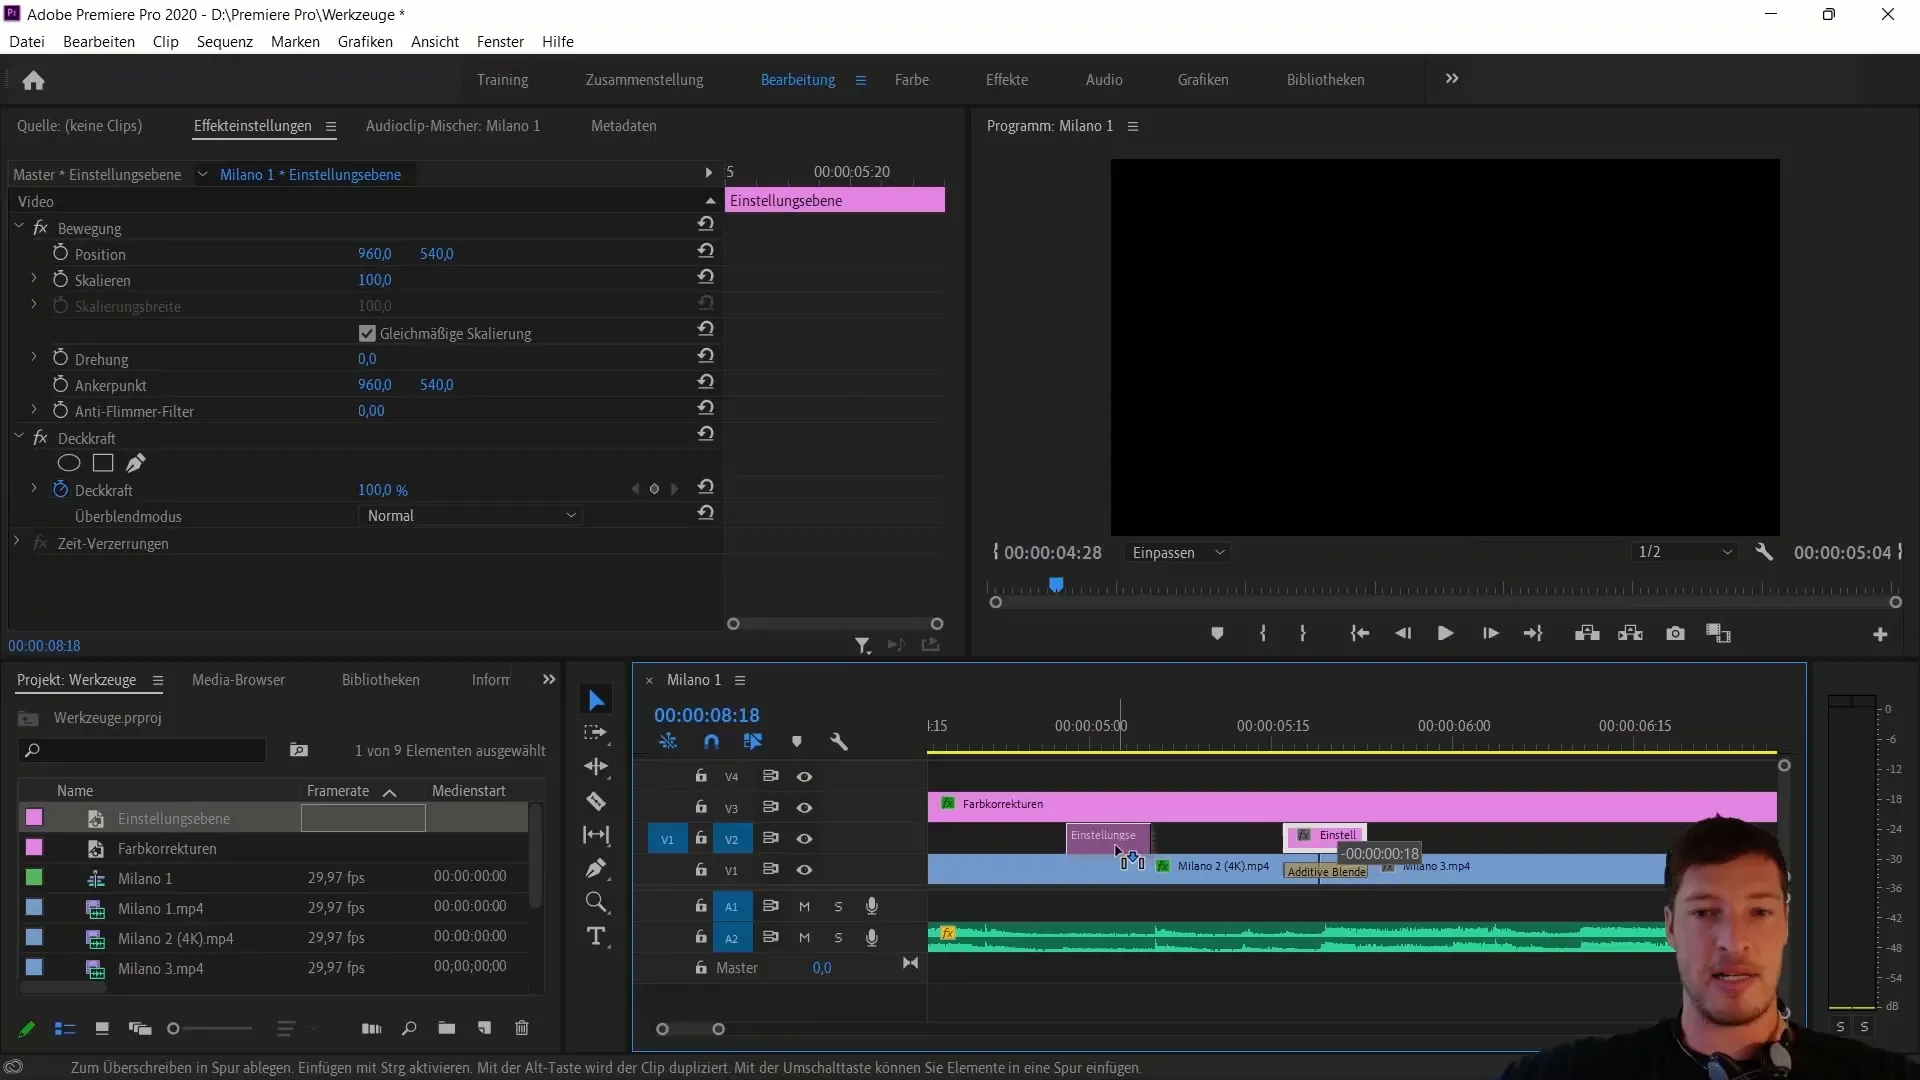
4. Add Effect and Keyframe
Now you want to add an effect. Under "Stylize," you can choose the "Find Edges" effect and drag it onto your adjustment layer.
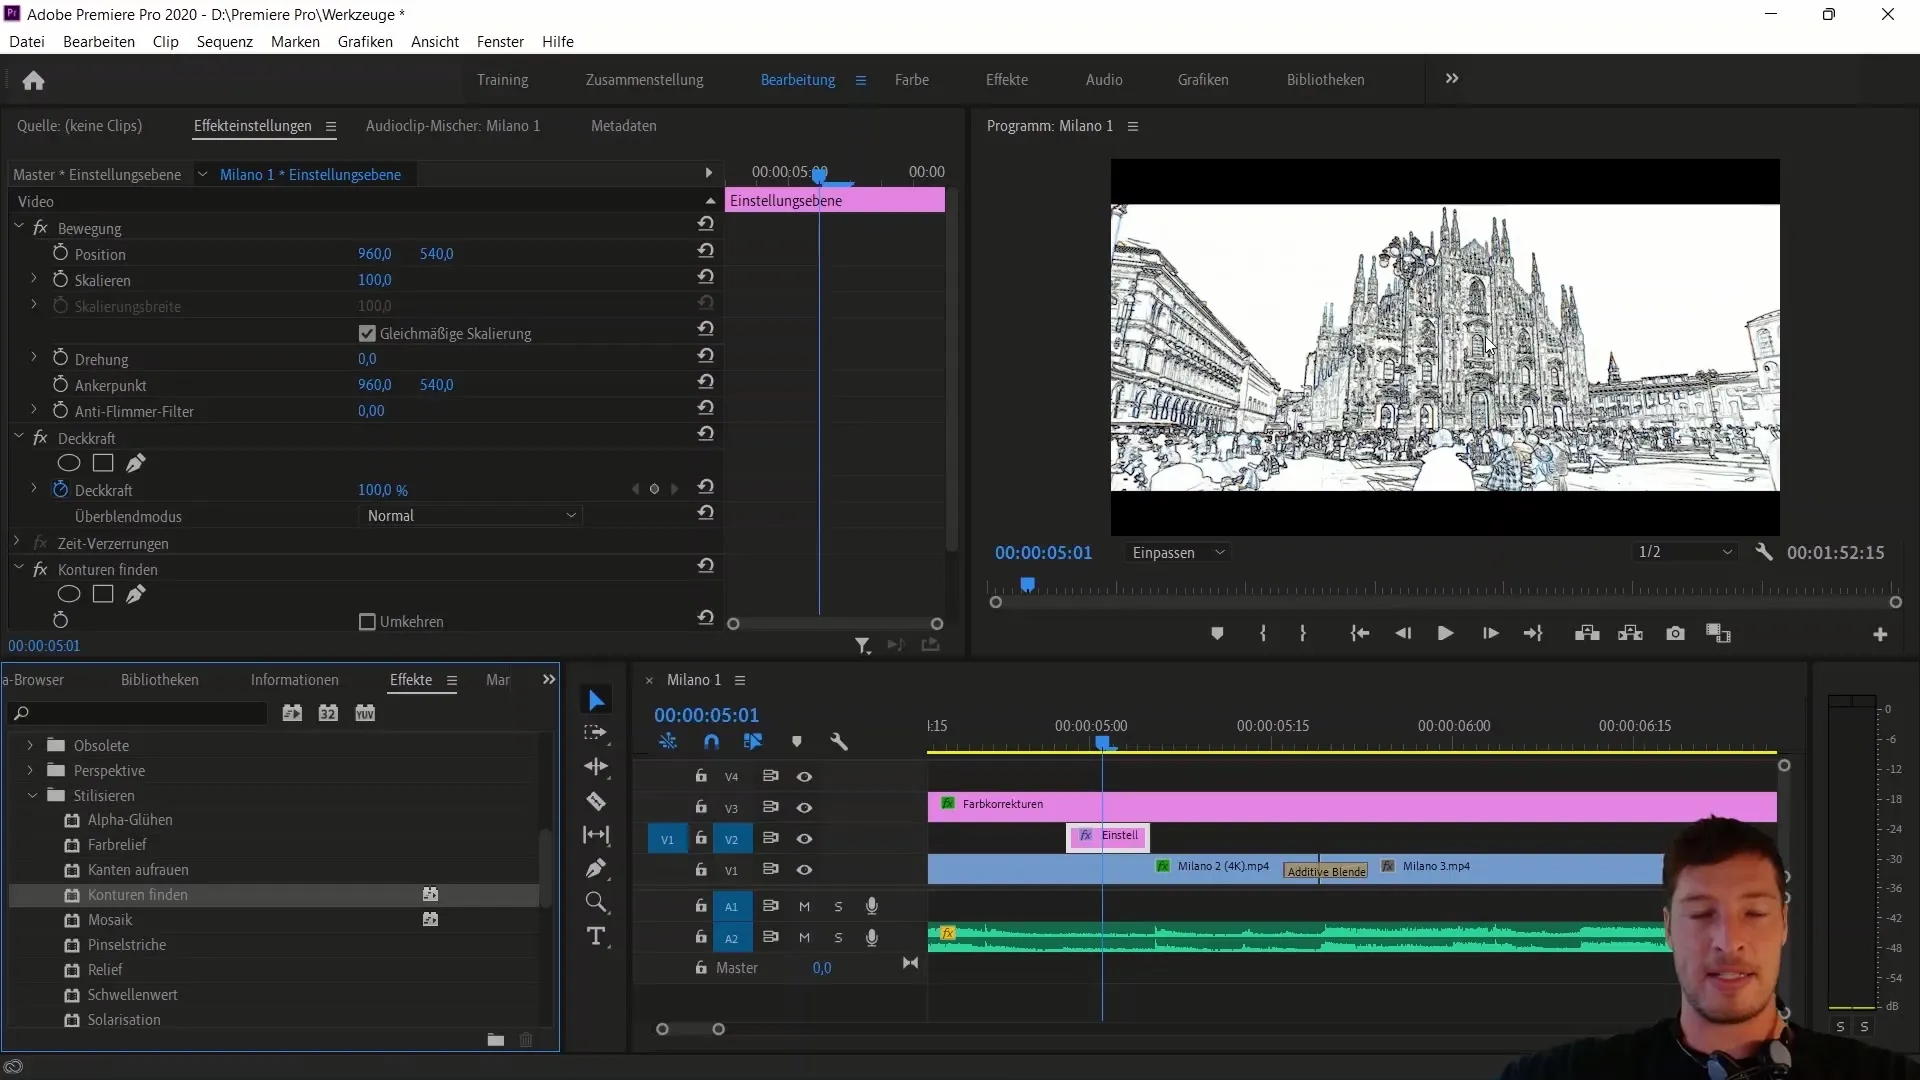
Now add keyframes: Set the first keyframe at 100% of the original image at the beginning of the adjustment layer. At about halfway through the adjustment layer, lower the value to 0%, and at the end, bring it back to 100%. This will smoothly blend the effect into the clip.
5. Working with Multiple Effects
You can repeat this process by copying the adjustment layer (Ctrl+C) and pasting it (Ctrl+V) to apply the same effect at different points. This allows you to continue the effect at transitions and create multiple variations of your effect.
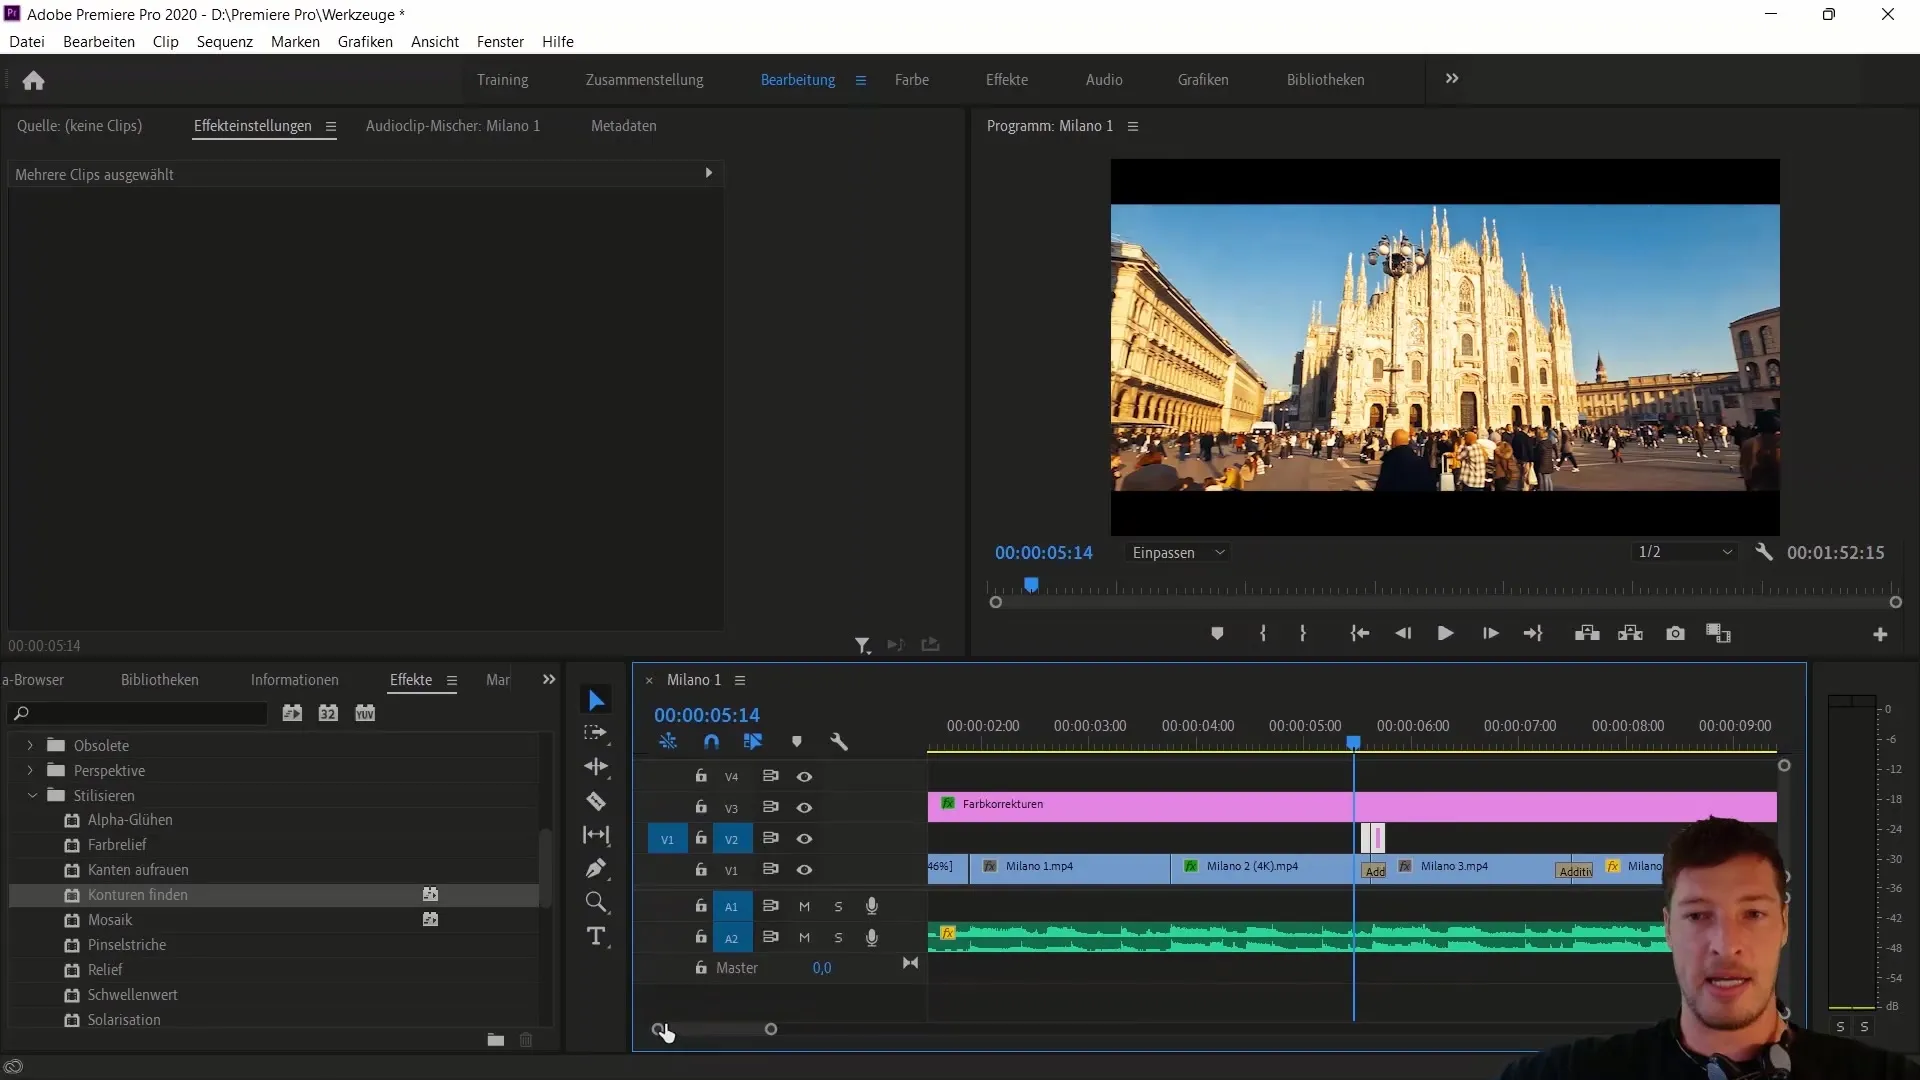
By creatively using these adjustment layers, you can make your videos more professional.
Summary
In this tutorial, you have learned how to efficiently use adjustment layers to create black bars for the 21:9 format and apply recurring effects to transitions. Adjustment layers allow you more creative freedom and clarity in video editing.
Frequently Asked Questions
What are adjustment layers?Adjustment layers are transparent layers that apply effects to multiple clips at the same time without altering the original clips.
How do I add an effect?You can add an effect by selecting it from the video effects and dragging it onto the adjustment layer.
How do I create a keyframe?You create a keyframe by checking the value for an effect and changing it from 0% to 100% or vice versa at the desired position.
How can I manage multiple effects?You can copy an adjustment layer and paste it at different points in the project to apply the same effect.
How do I change the percentage for cropping?Select the cropping setting of the adjustment layer and adjust the percentage values for top and bottom to achieve the desired aspect ratio.


