In this tutorial, we will explore the different ways to edit text and shapes in Adobe Premiere Pro CC. The focus is on using "Essential Graphics," with special features for creating text messages and applying keyframes for animations. You will learn how to design appealing text elements and animate them to effectively enhance your videos.
Main Insights
- Working with "Essential Graphics" for text formatting
- Creating shapes as backgrounds for text
- Applying keyframes to animate text and shapes
Step-by-Step Guide
Getting Started with Essential Graphics
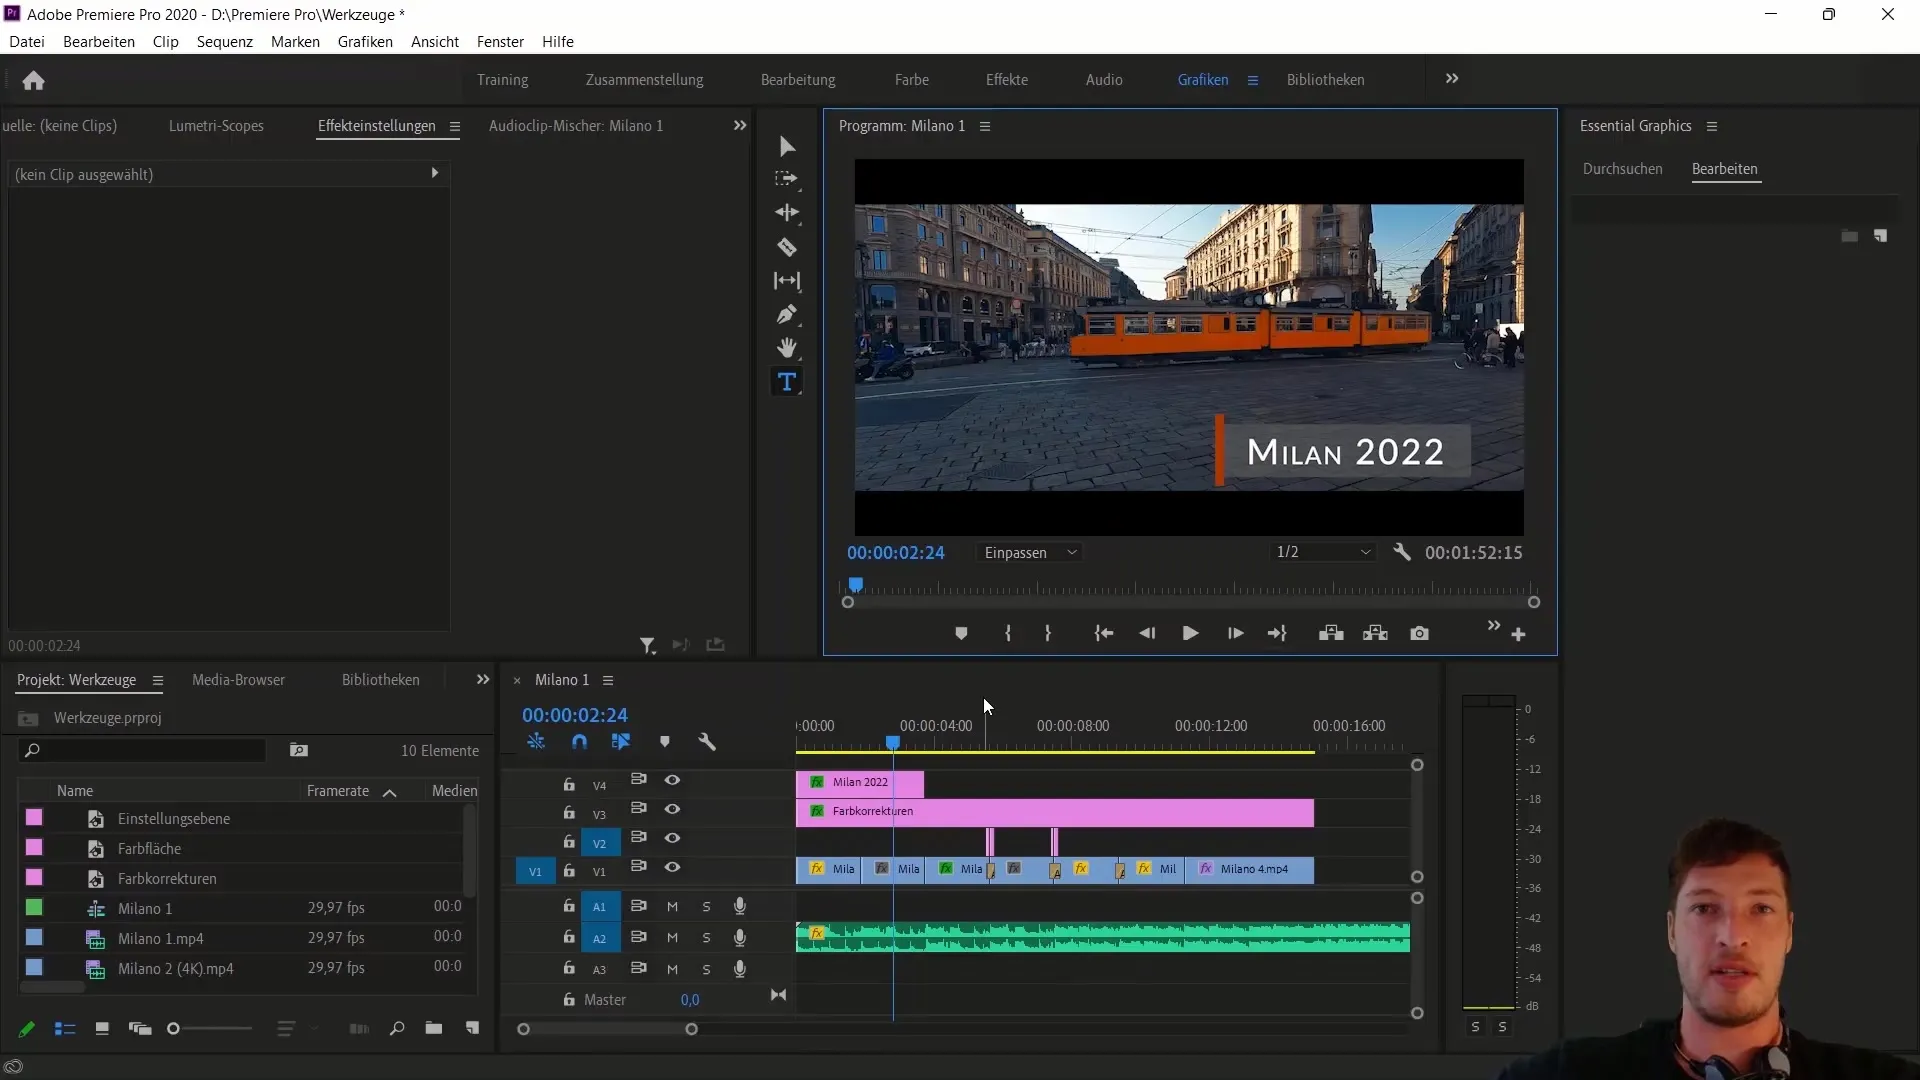
First, open your project in Adobe Premiere Pro and select the sequence in which you want to work. To add text, select the entire element and delete it if present. Then, activate the text tool by clicking on the text button or using the shortcut "T." Click in the preview area to create your text "Milan 2022." You will see the "Essential Graphics" tab open up, where you can customize various text options.
Text Editing
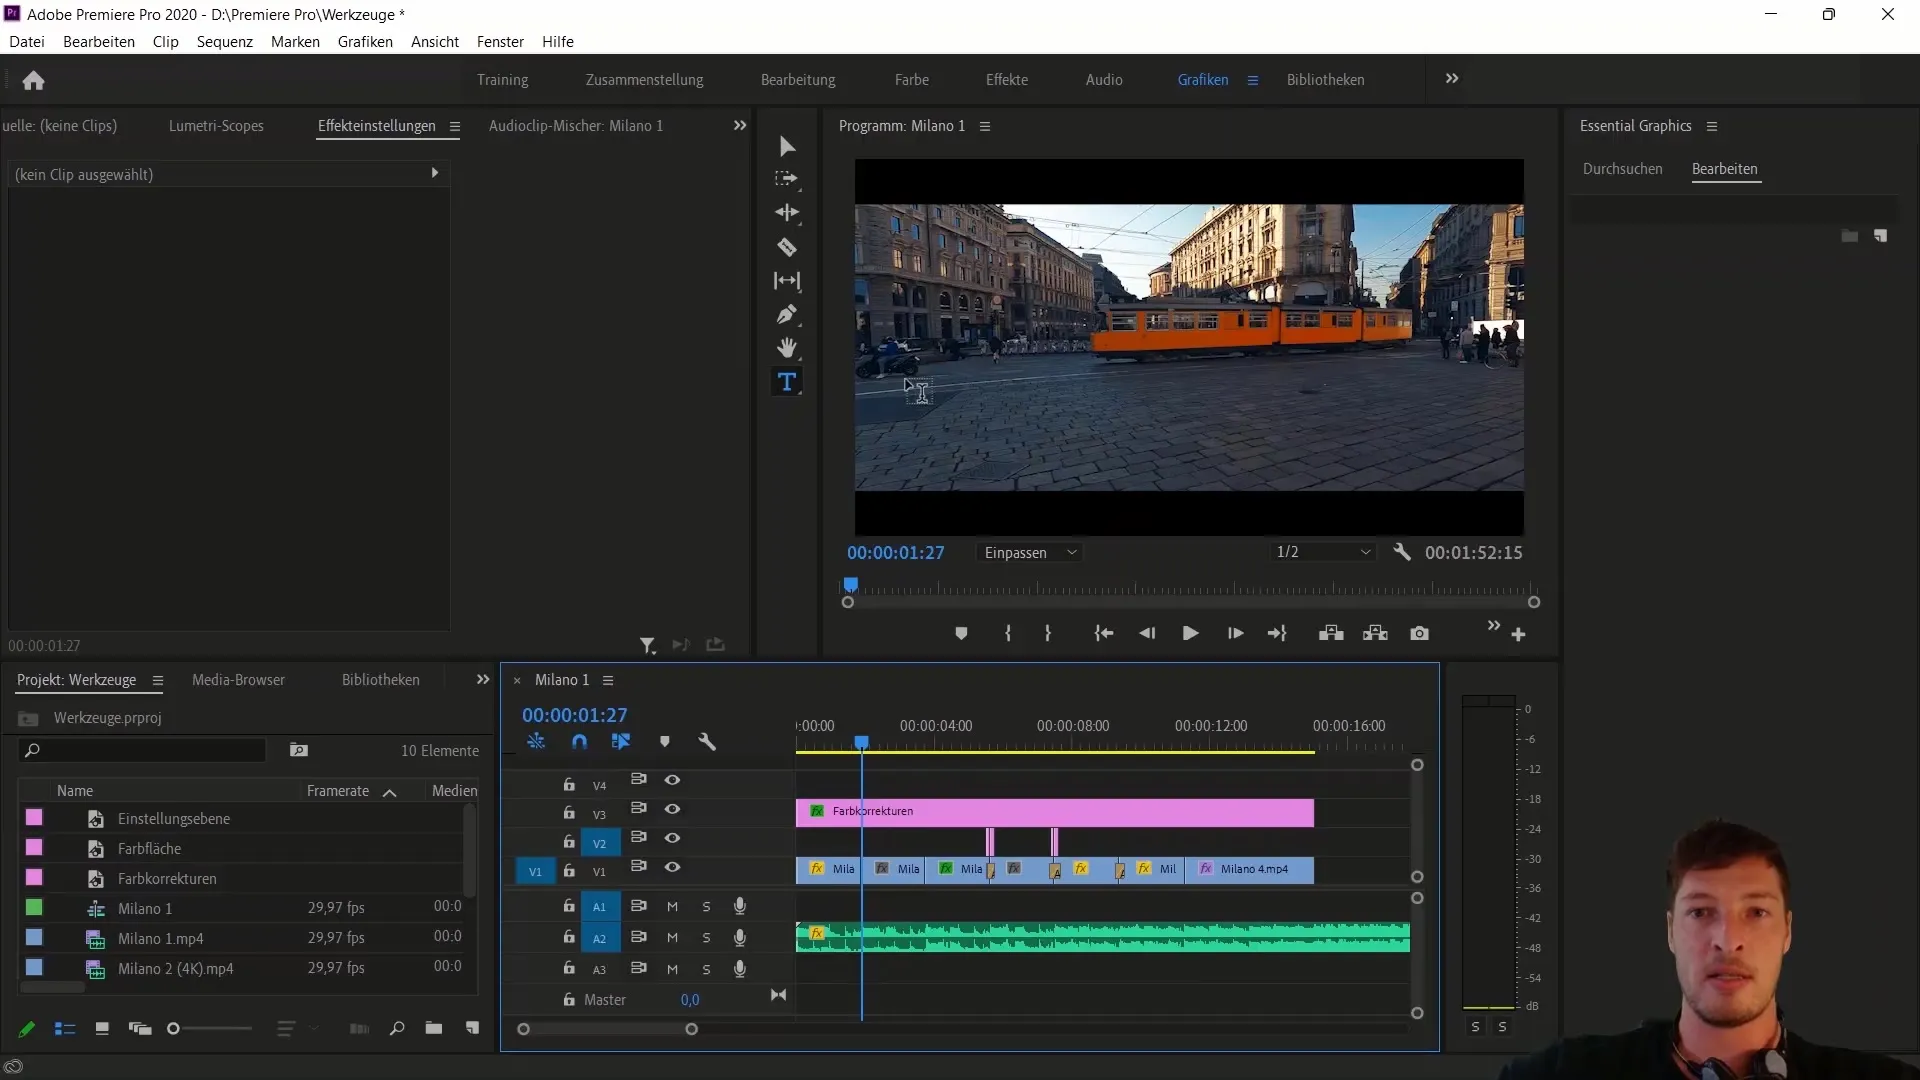
In the "Edit" tab, you have the option to modify the font and other elements. In your case, you can choose the font "Lato." Adding tracking (space between letters) to around 100 makes the text look more professional. Also, enable the small caps option to make the text appealing. It's crucial to adjust the opacity and color of the text to your preferences as well.
Adding a Color Matte
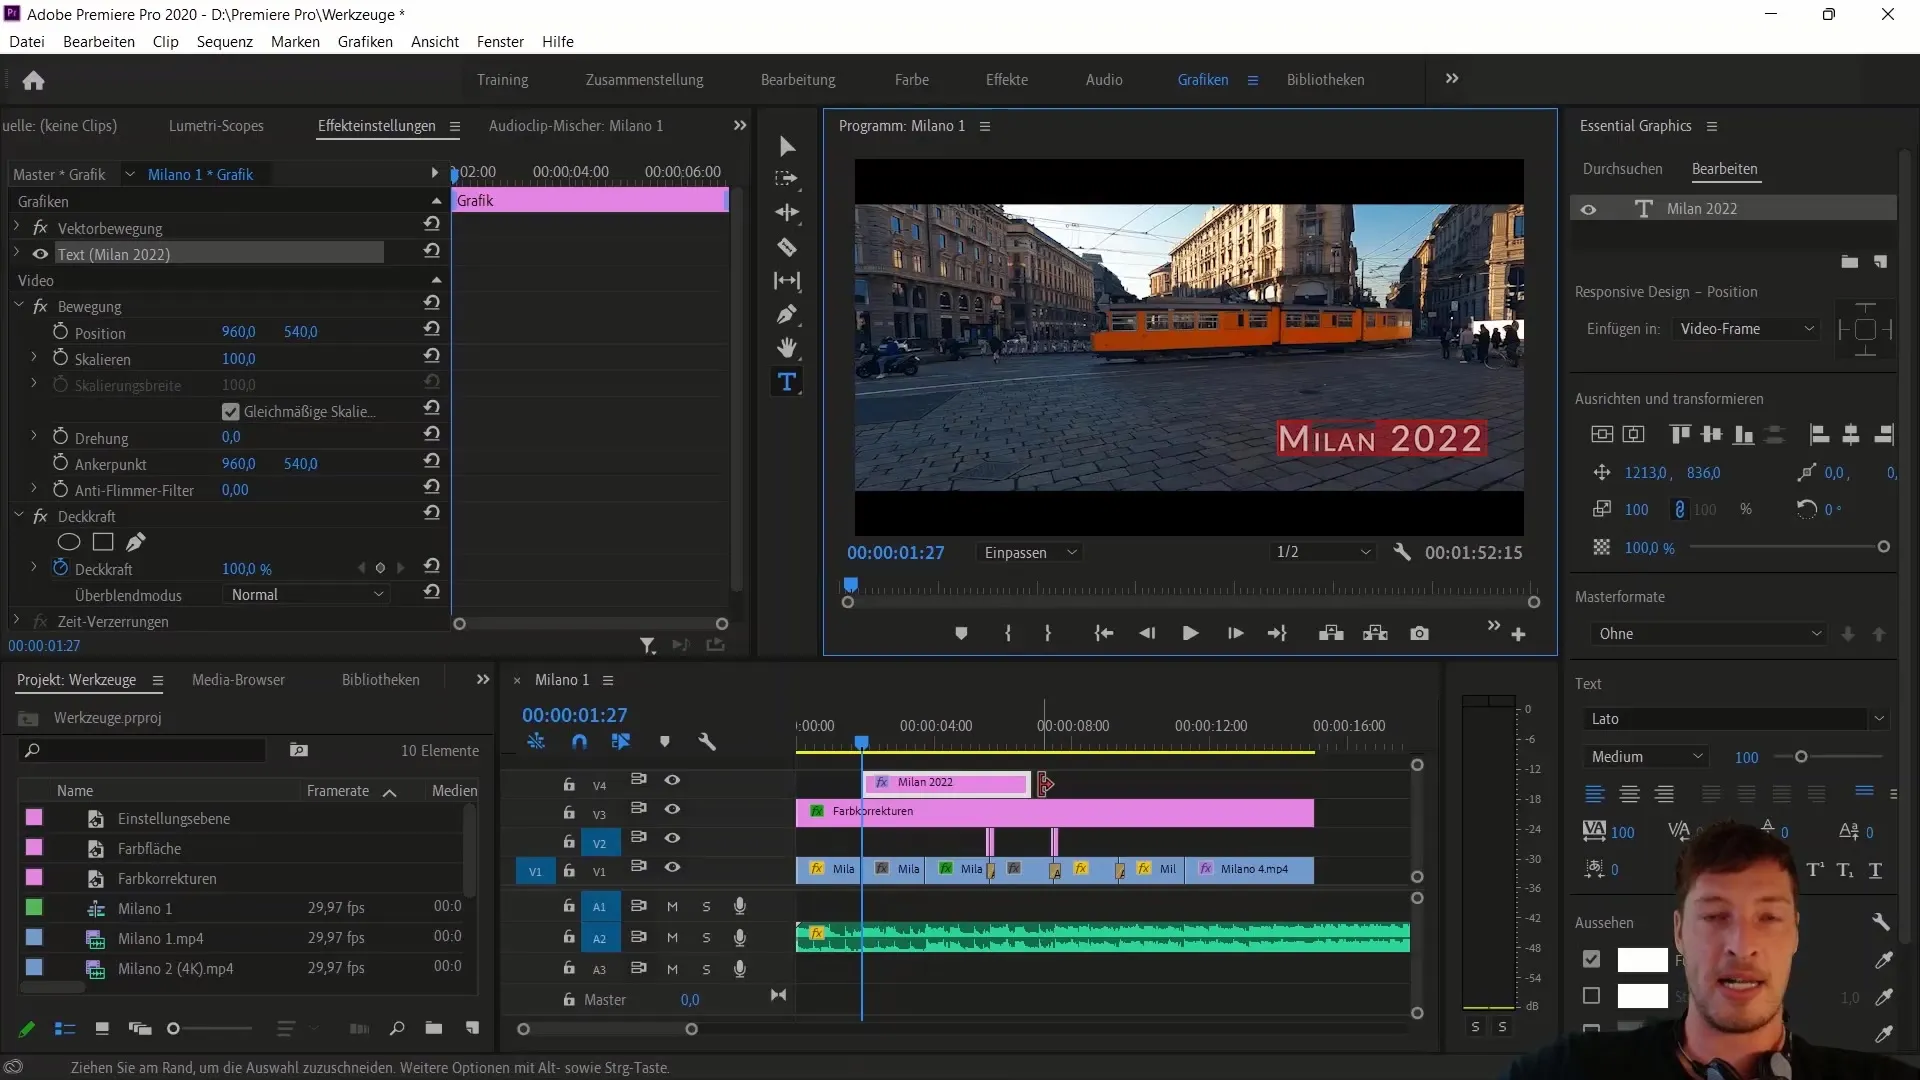
To emphasize the text, we want to add a color matte to the project. Right-click in the project files and choose "New Item" > "Color Matte." Select a black color matte - the name of the color matte is not crucial, so click "Okay." Place the color matte above your text on a new video layer.
Adjusting the Color Matte
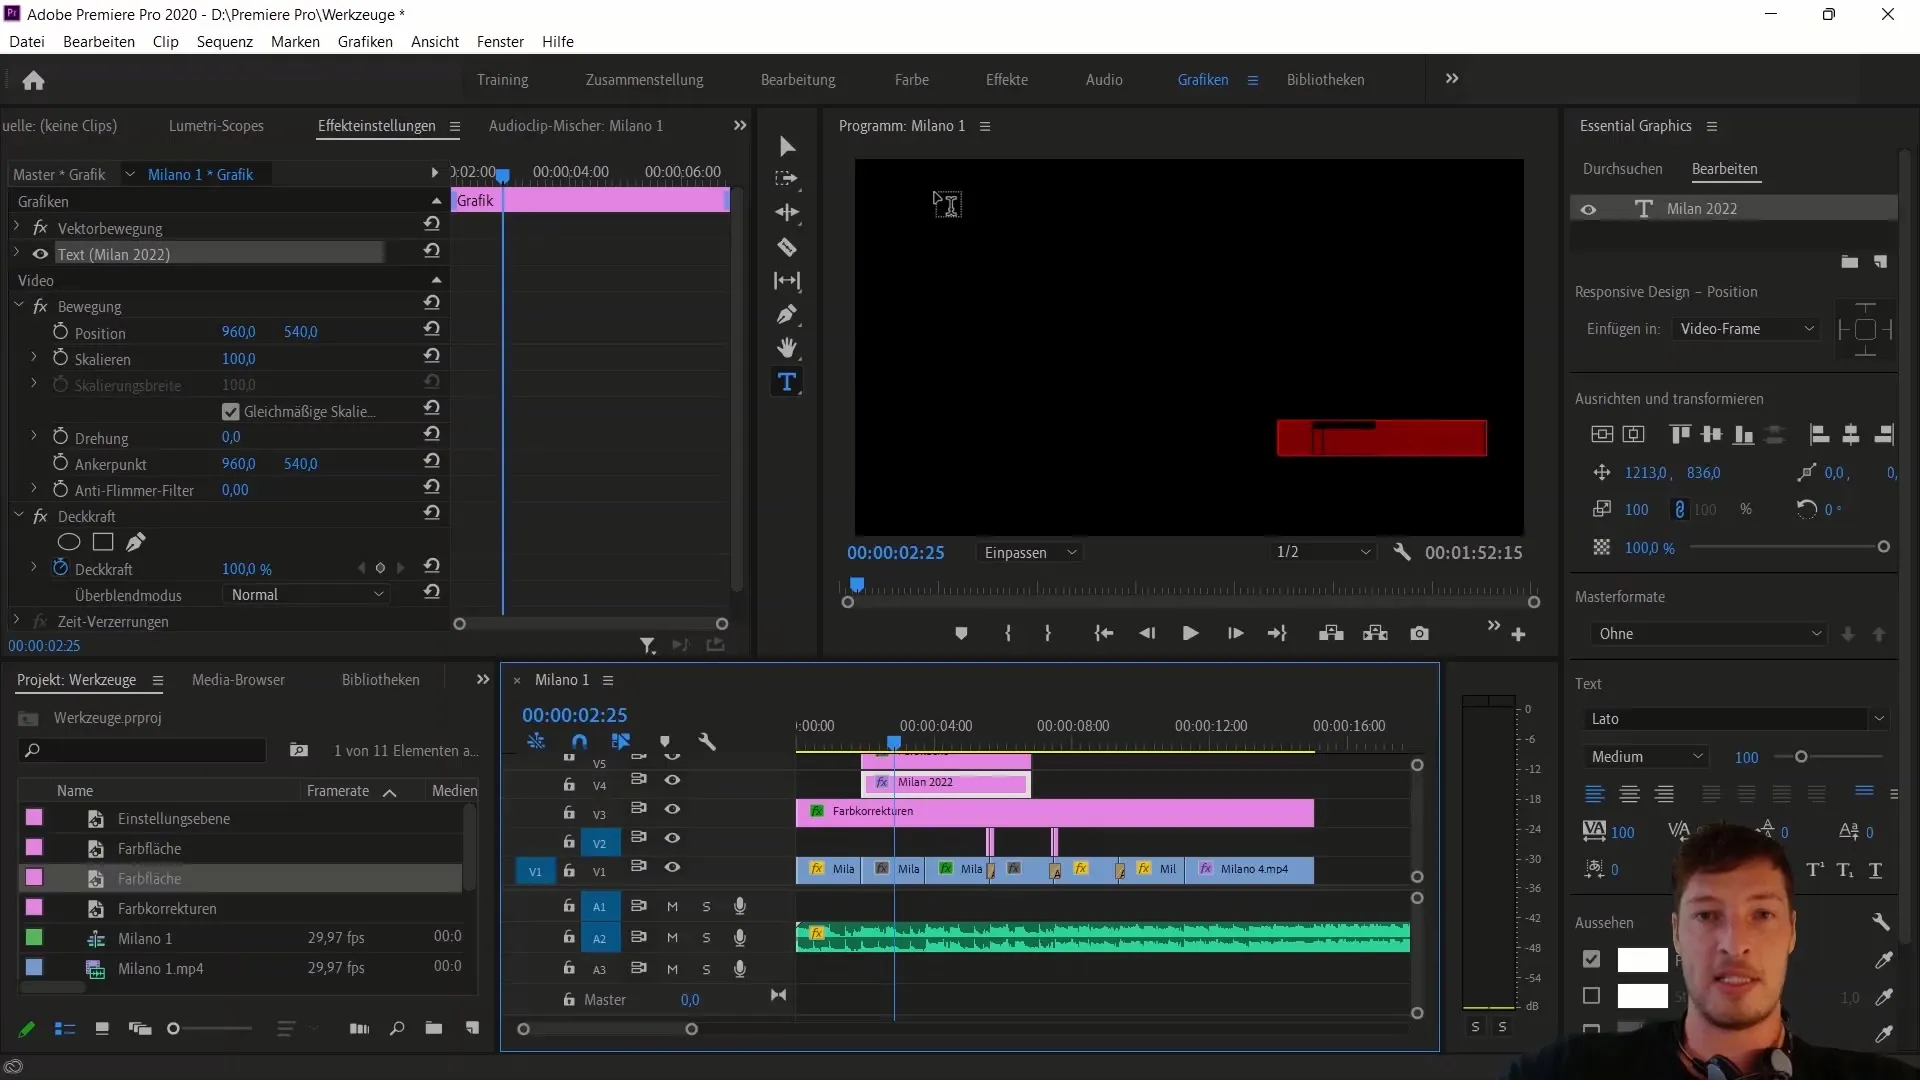
Now, you want to adjust the color matte to serve as a background for the text. Select the color matte and change the scaling by turning off the "uniform scaling" option. Adjust the height and position of the color matte to place it behind the text. You can also reduce the opacity to create a more appealing variation.
Animating the Text and Color Matte
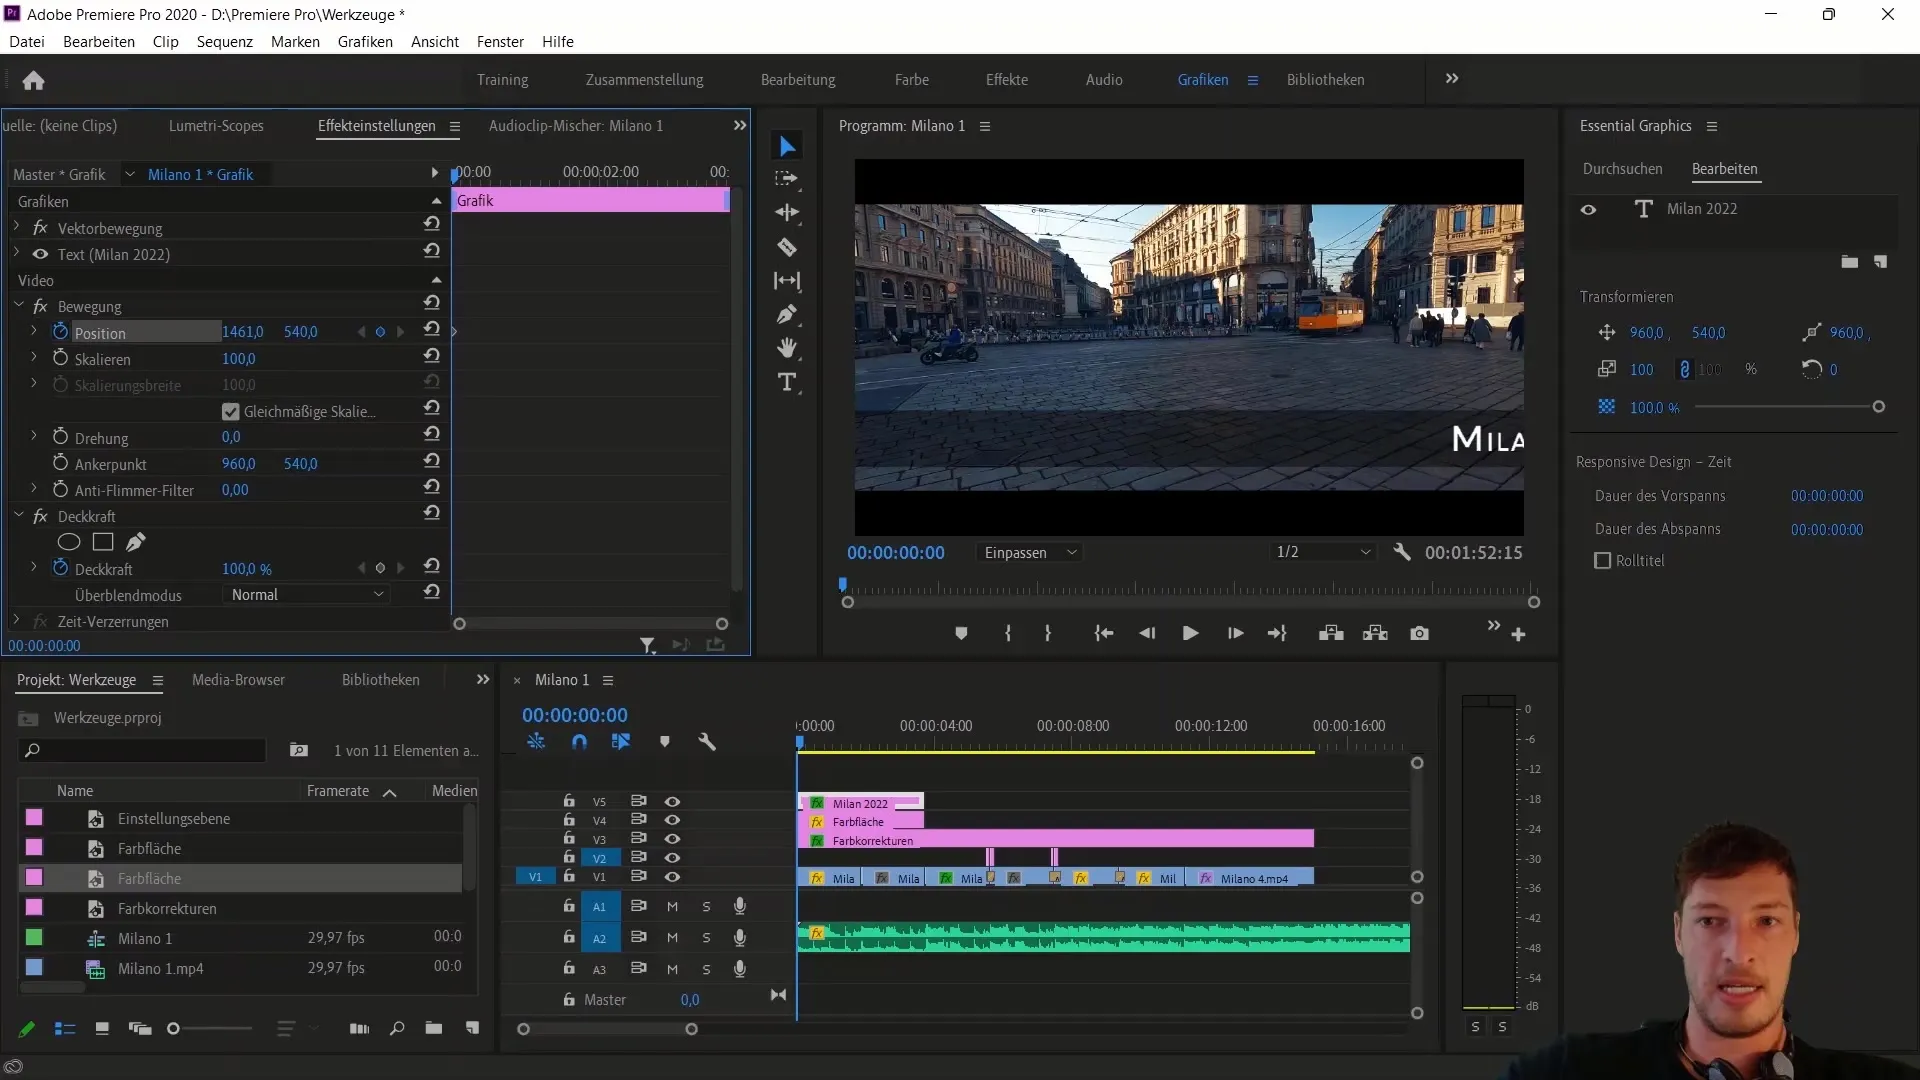
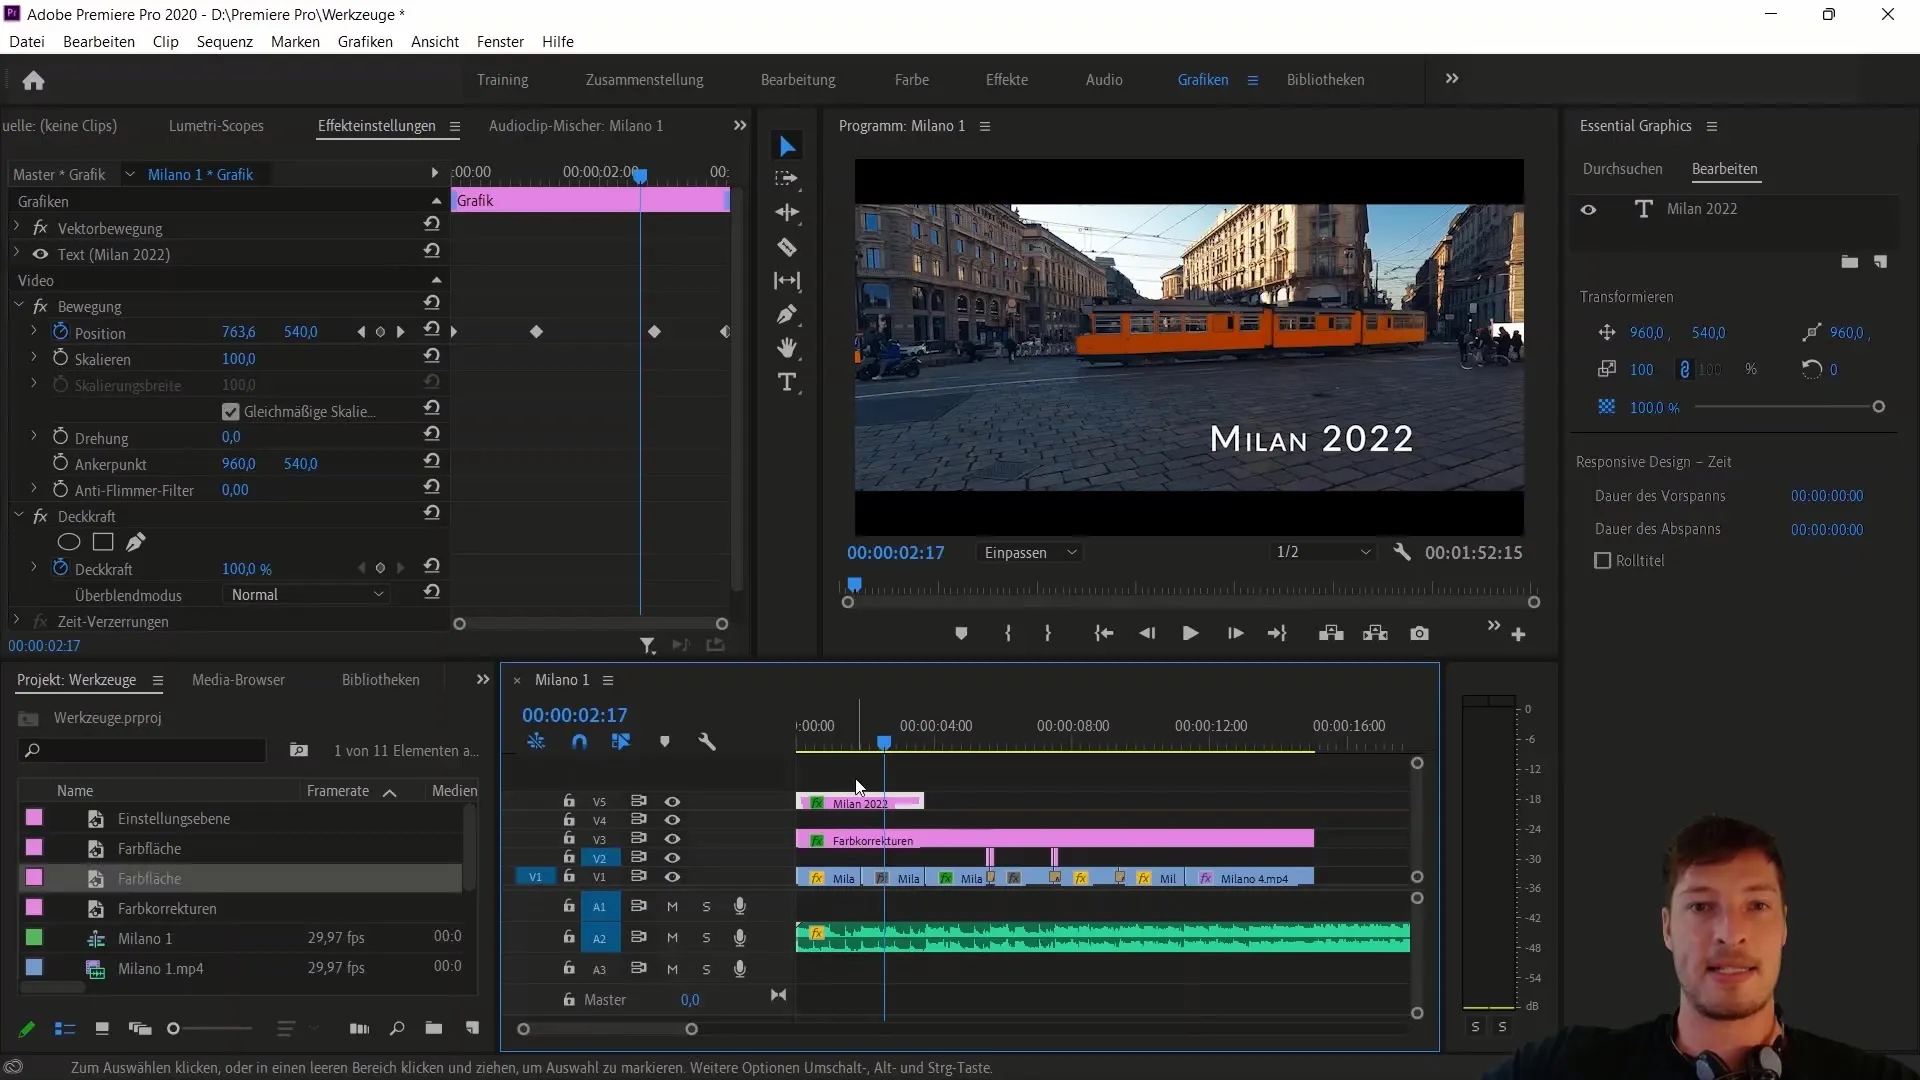
Next, we animate the text and color matte using keyframes. Select both layers and drag them to the beginning of the sequence. Play the clips until the point where the transition to the next frame occurs. Set the initial keyframes for the position of the text. The X-value should be positioned far to the right until the text is no longer visible. Adjust the keyframes accordingly to achieve the desired animation effect.
Adjusting Interpolation
To avoid a jump or "bounce" effect during text animation, select all keyframes and right-click. Choose "Spatial Interpolation" and change the type from "Bezier" to "Linear." This will ensure a smoother transition between the keyframes.
Final Adjustments
Review your animation and adjust the position of the keyframes if needed to ensure that the text and color matte fly seamlessly into the image. If necessary, you can remove the color matte you used earlier if it is no longer needed. These final adjustments give your video the finishing touch.
Conclusion and Outlook
Check out the end result and make sure everything is to your satisfaction. In the next tutorial, we will further explore the individual elements of the text and possibly implement a cursor effect that only reveals the text when it is hovered over.
Summary
In this tutorial, you have learned how to create and animate text and shapes in Adobe Premiere Pro CC. Working with the features of "Essential Graphics" allows you to create appealing and professional text animations. By adjusting the keyframes, you have learned additional ways to animate your designs.
Frequently Asked Questions
What are "Essential Graphics"?"Essential Graphics" is a tool in Adobe Premiere Pro that helps you design graphics, text, and animations more efficiently.
How do I add a keyframe?To add a keyframe, position the playhead at the desired location and click on the small clock icon next to the desired property.
How can I change the font?Select the text and go to the "Edit" tab in the "Essential Graphics" panel to change the font and other properties.
Can I customize color panels?Yes, color panels can be adjusted in size, color, and opacity to achieve the desired visual effect.
How do I prevent text from jumping?To avoid a jumping effect, set the interpolation of the keyframes to "Linear".


