In this guide, I will show you how to create an impressive Instagram Reel with Adobe Premiere Pro CC. The tutorial will guide you through the final editing steps, where you arrange clips, add effects, and refine the entire sequence. You have already learned the basics of video editing and now it's time to put what you've learned into practice. Below, I will go step by step through the key aspects of editing.
Main Takeaways
- Mastering dynamic clip cutting enhances the visual appeal of the video.
- Audio adjustments are crucial for the quality of the final product.
- Using effects and color corrections gives your Reel the finishing touch.
Step-by-Step Guide
Start by dragging your first drone clip into the timeline and place it at the end of your relevant editing area. You want to work with the clip that focuses the camera on itself and then flies forward over the jungle. You will integrate some jumps in this clip to achieve a dynamic effect.
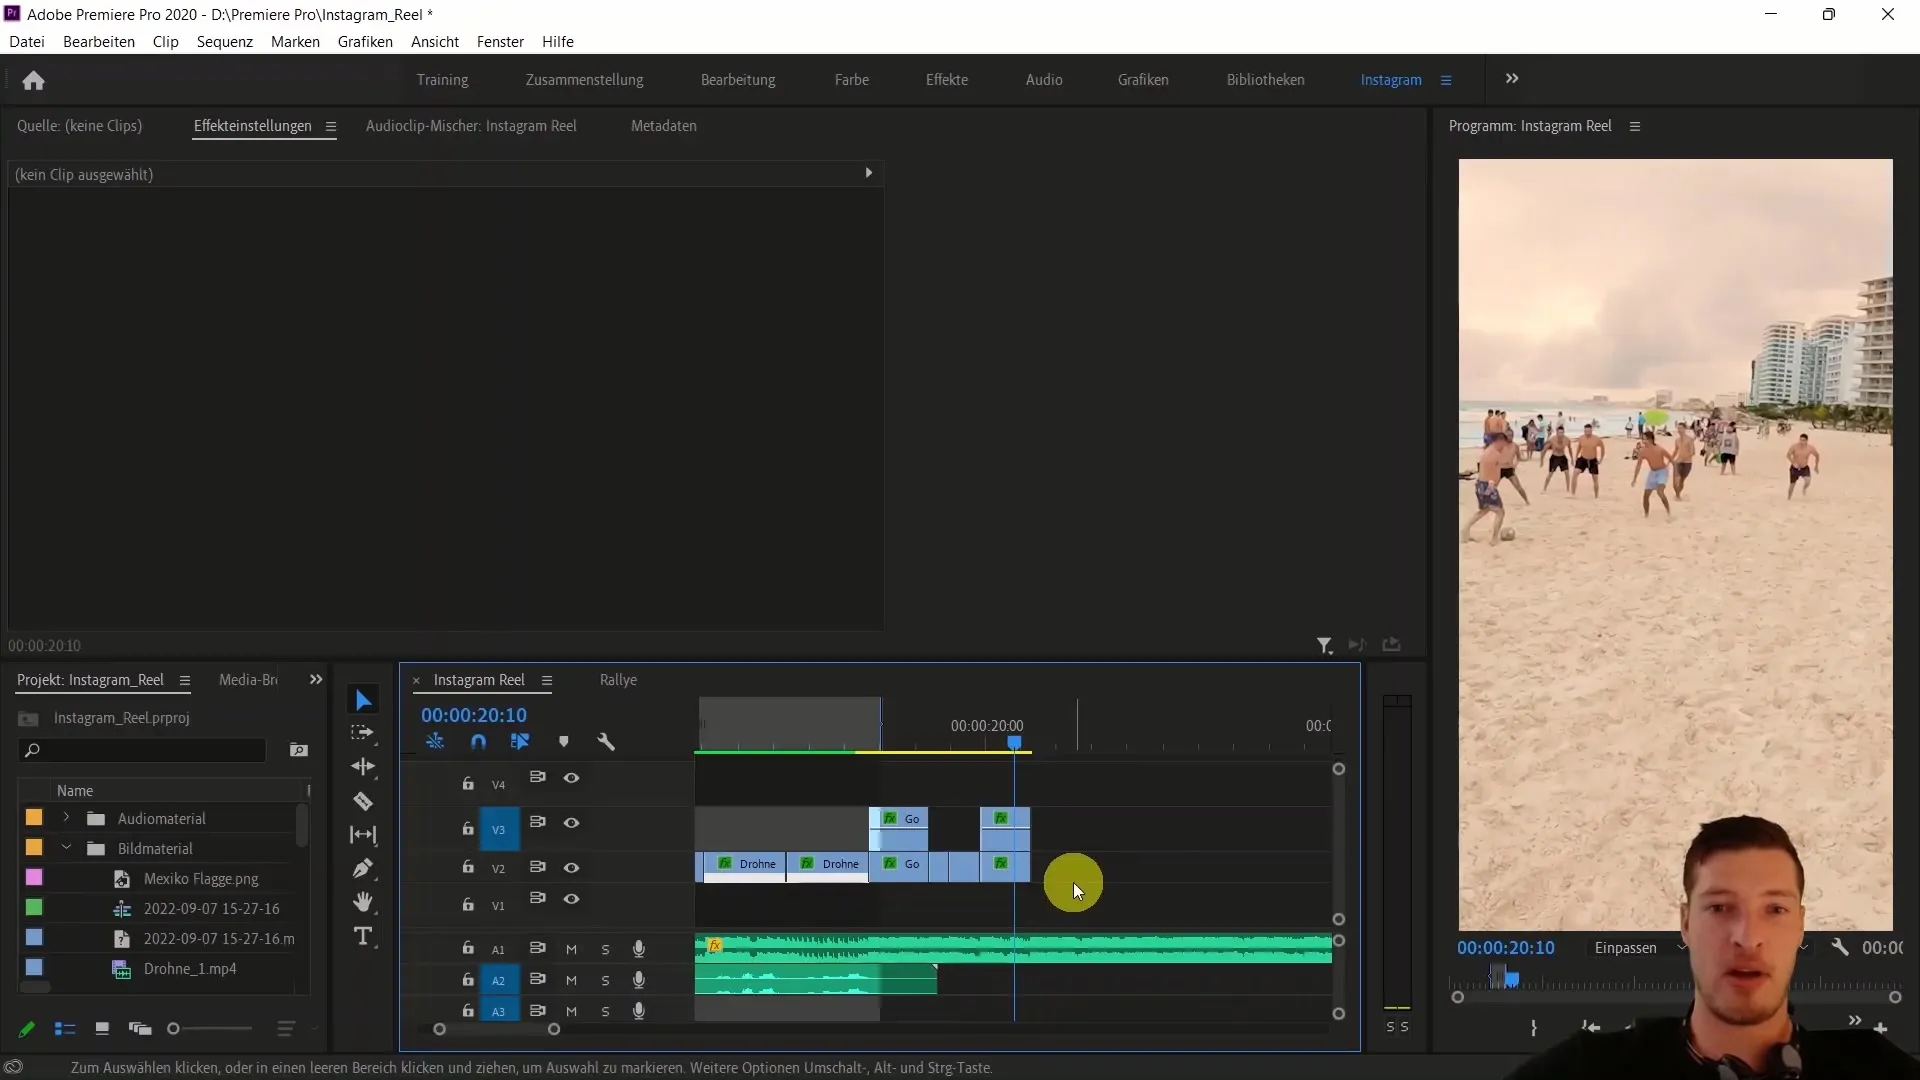
Now watch the clip and decide where you want to make some cuts. First, listen to the music and identify the best spots for a cut. After the initial cut at around 1, 2, and 3 seconds, you can divide the clip in this dynamic way.
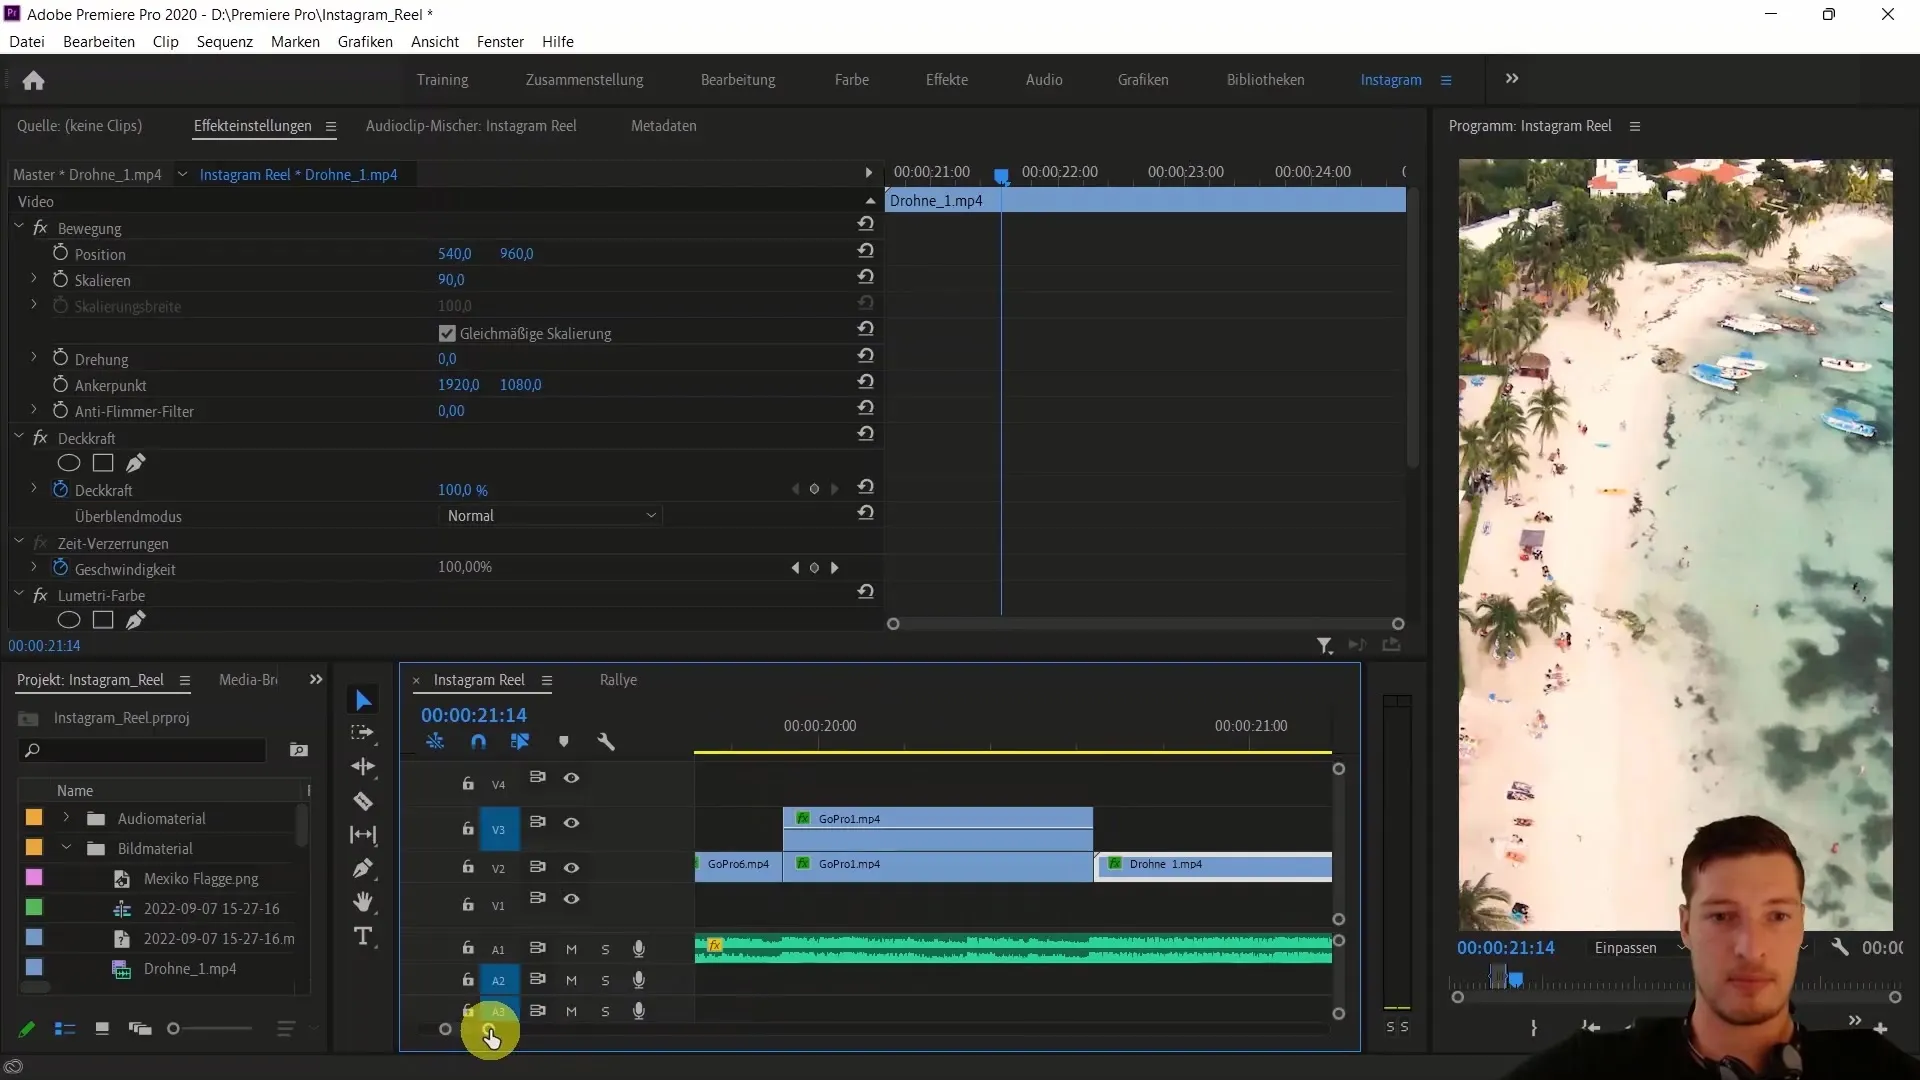
Take the beginning of the clip, maybe from the point where the drone flies forward, and make the cut using the "C" key. Then show the length of the clip to find out how much you can skip.
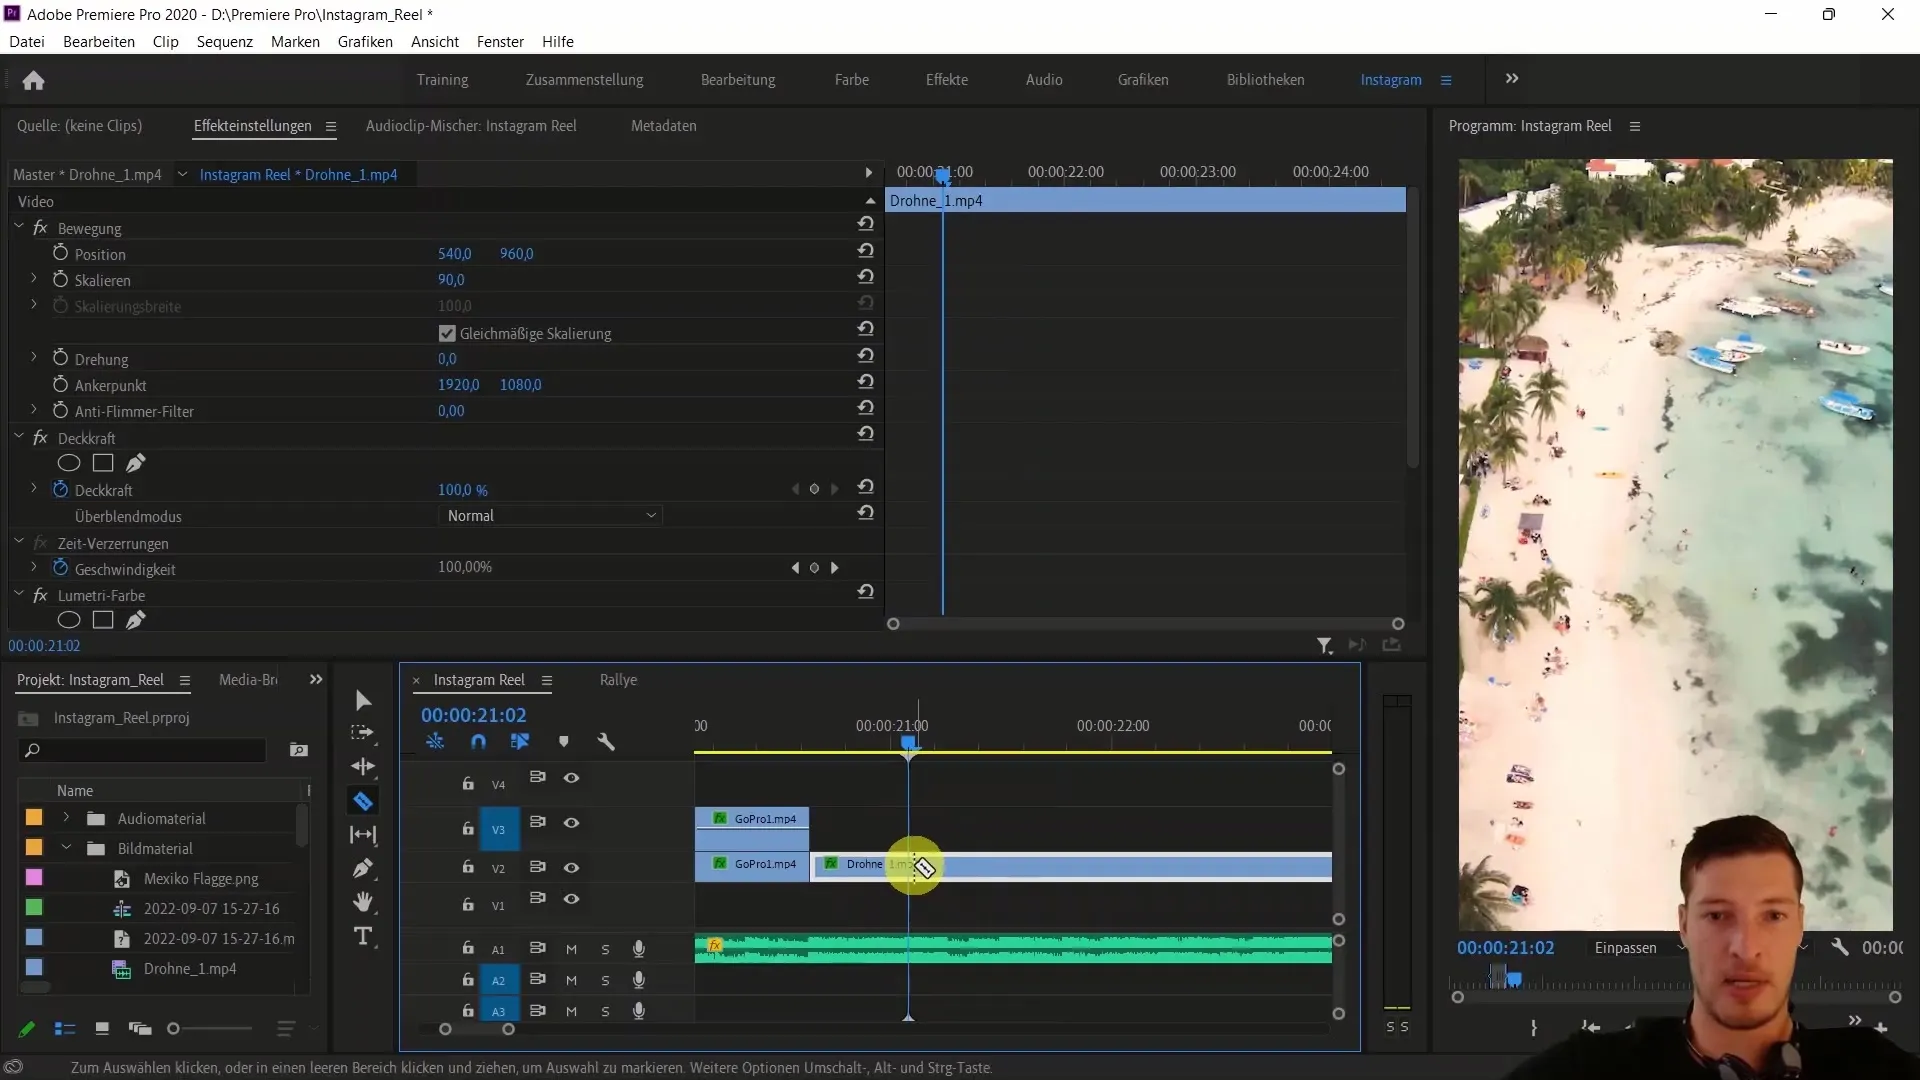
You will skip a much larger portion of the clip and return to a point where the music has a spike. Insert another cut at this point. Zoom out a bit then to see where you can place the next cut.
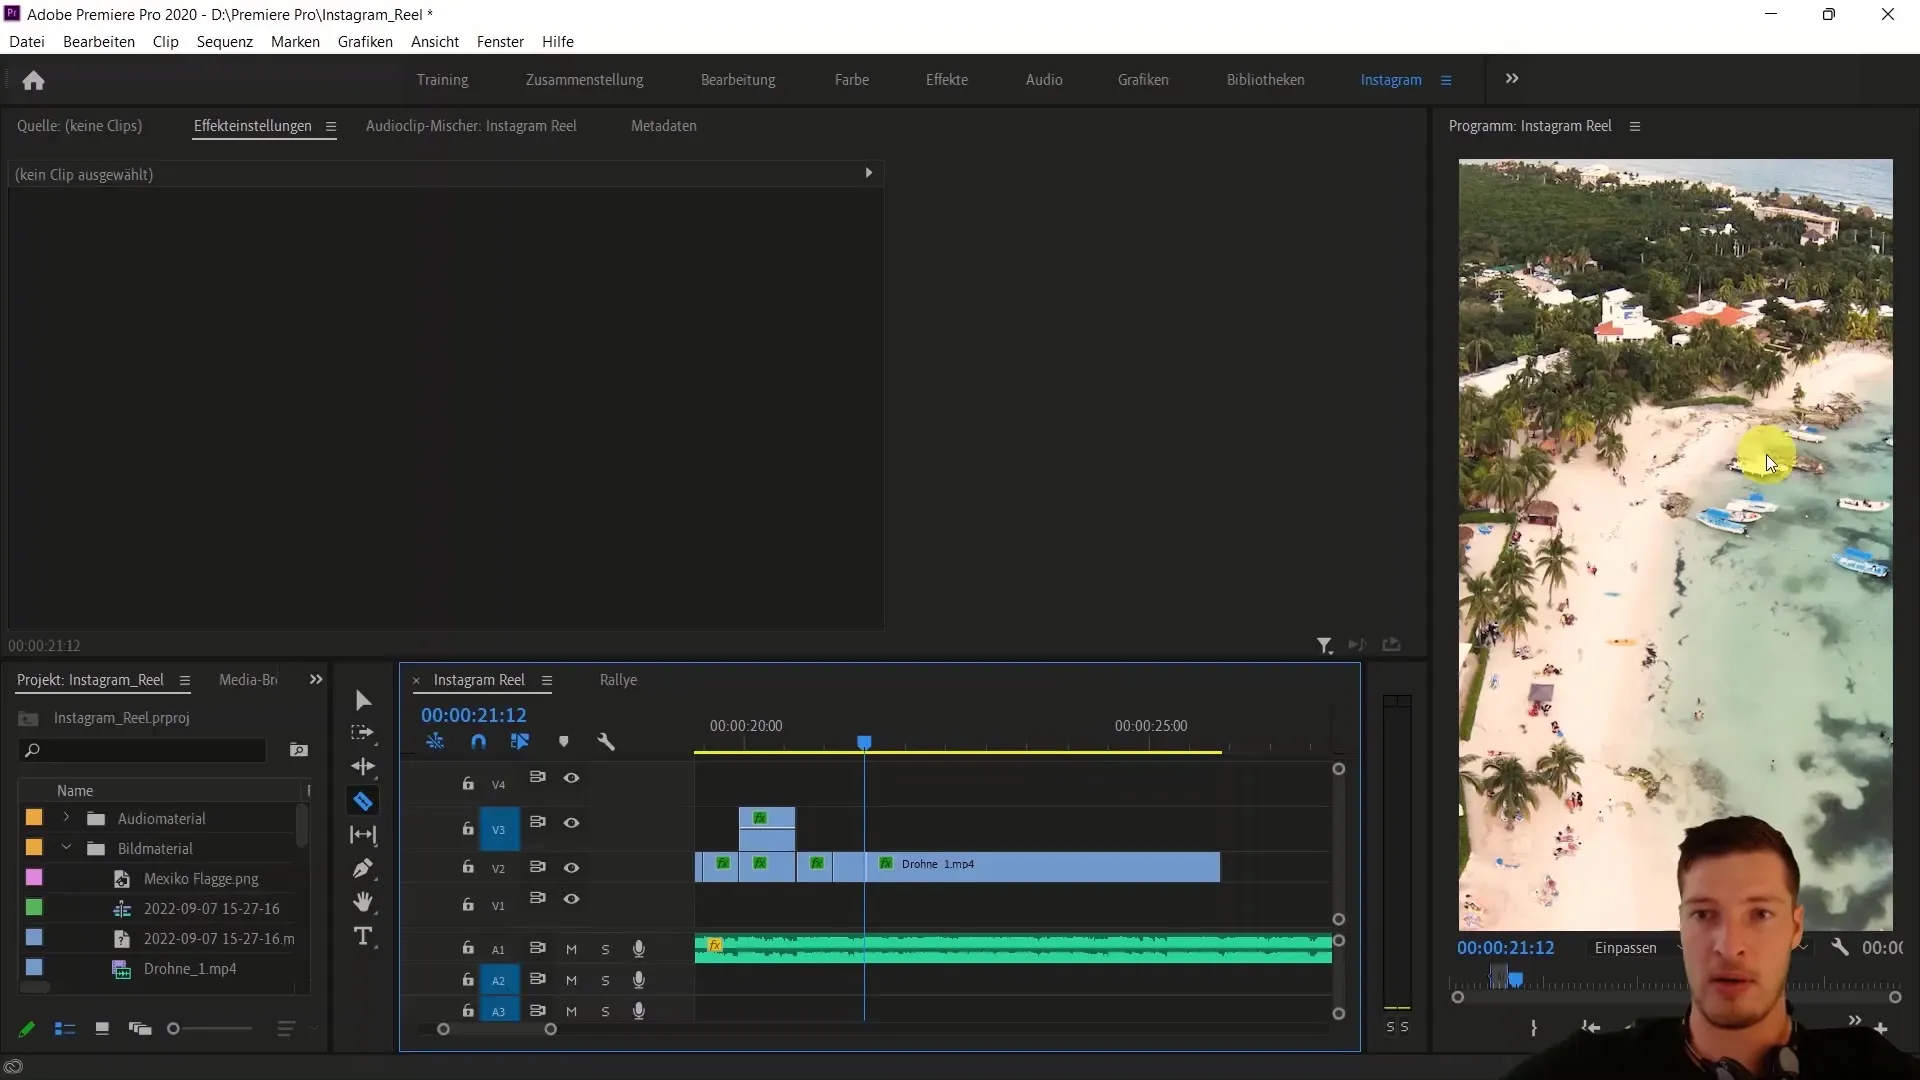
Repeat the process for the remaining clips to create a well-coordinated flow. So, remove the gaps after the cuts. Now, watch the clip as a whole to ensure that the video looks dynamic and appealing. This should lead to a very cool effect that fits well with the mood of the Instagram Reel.
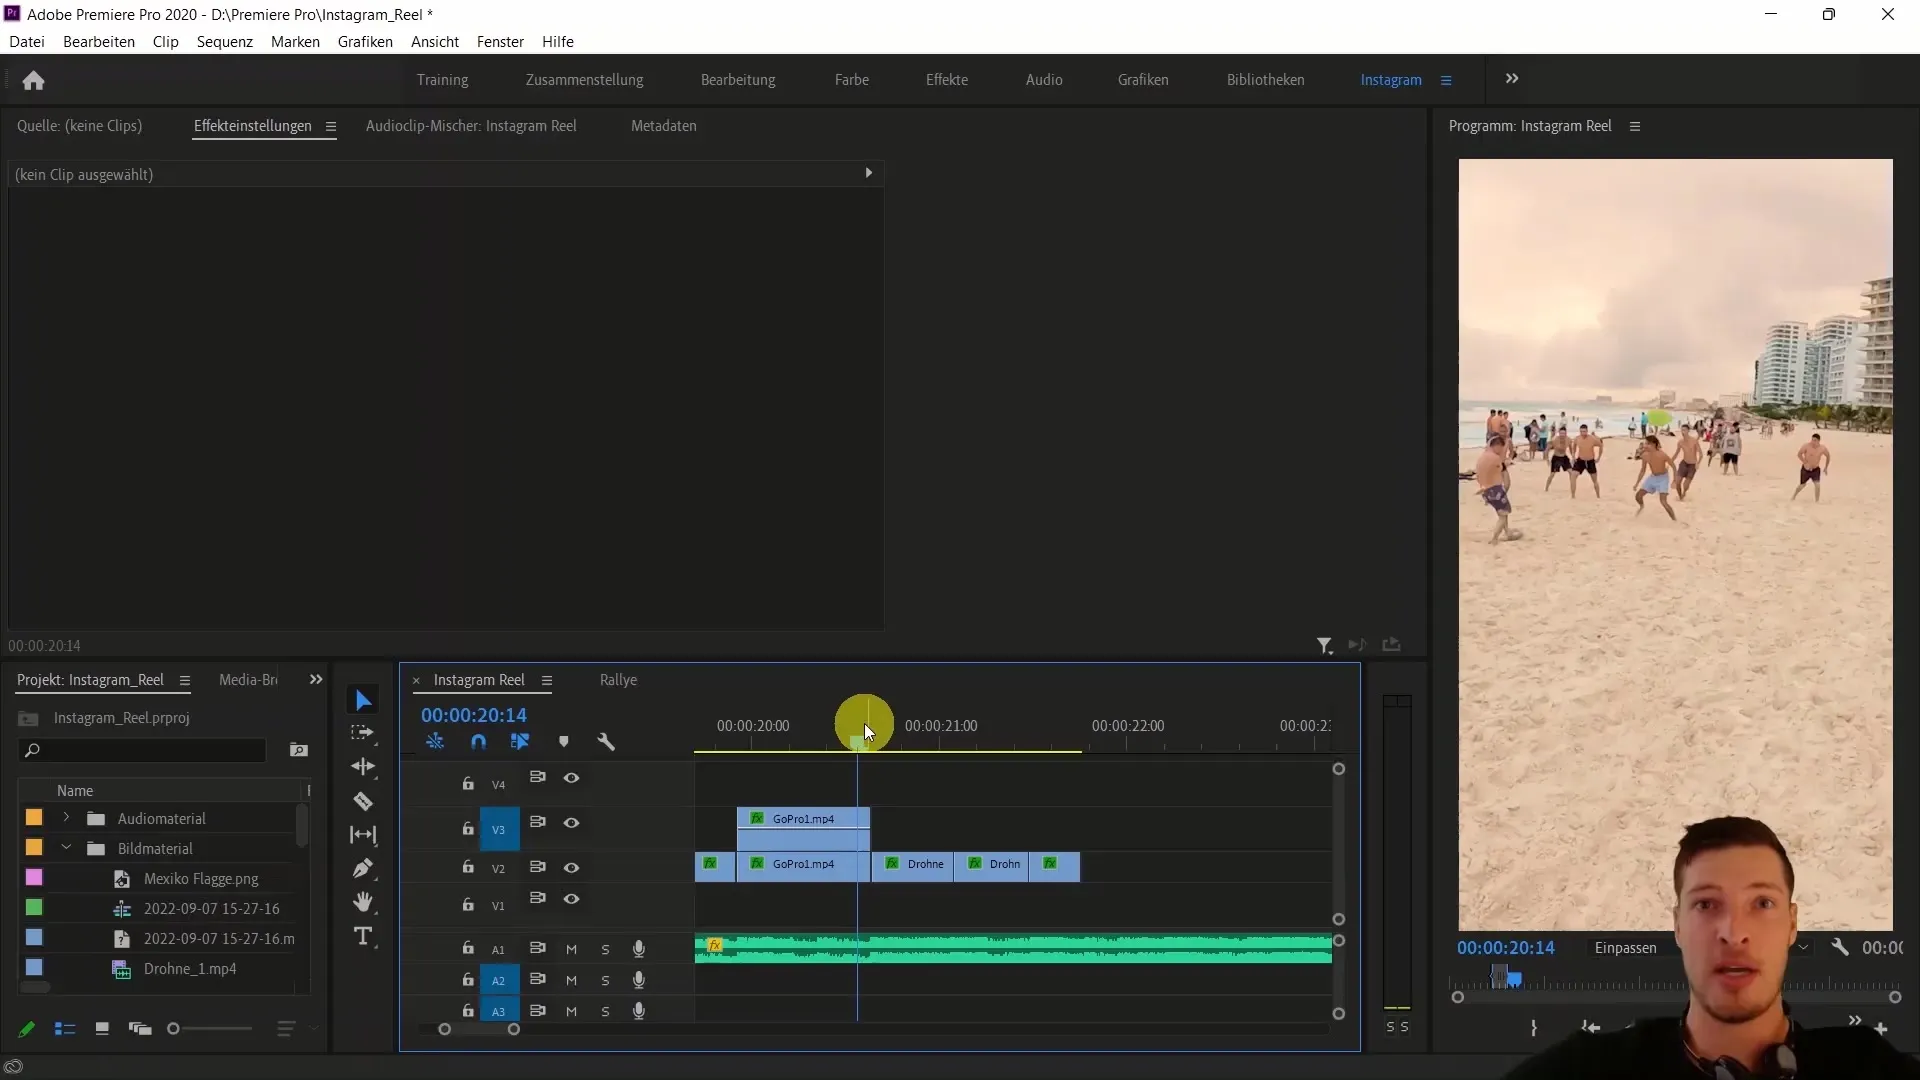
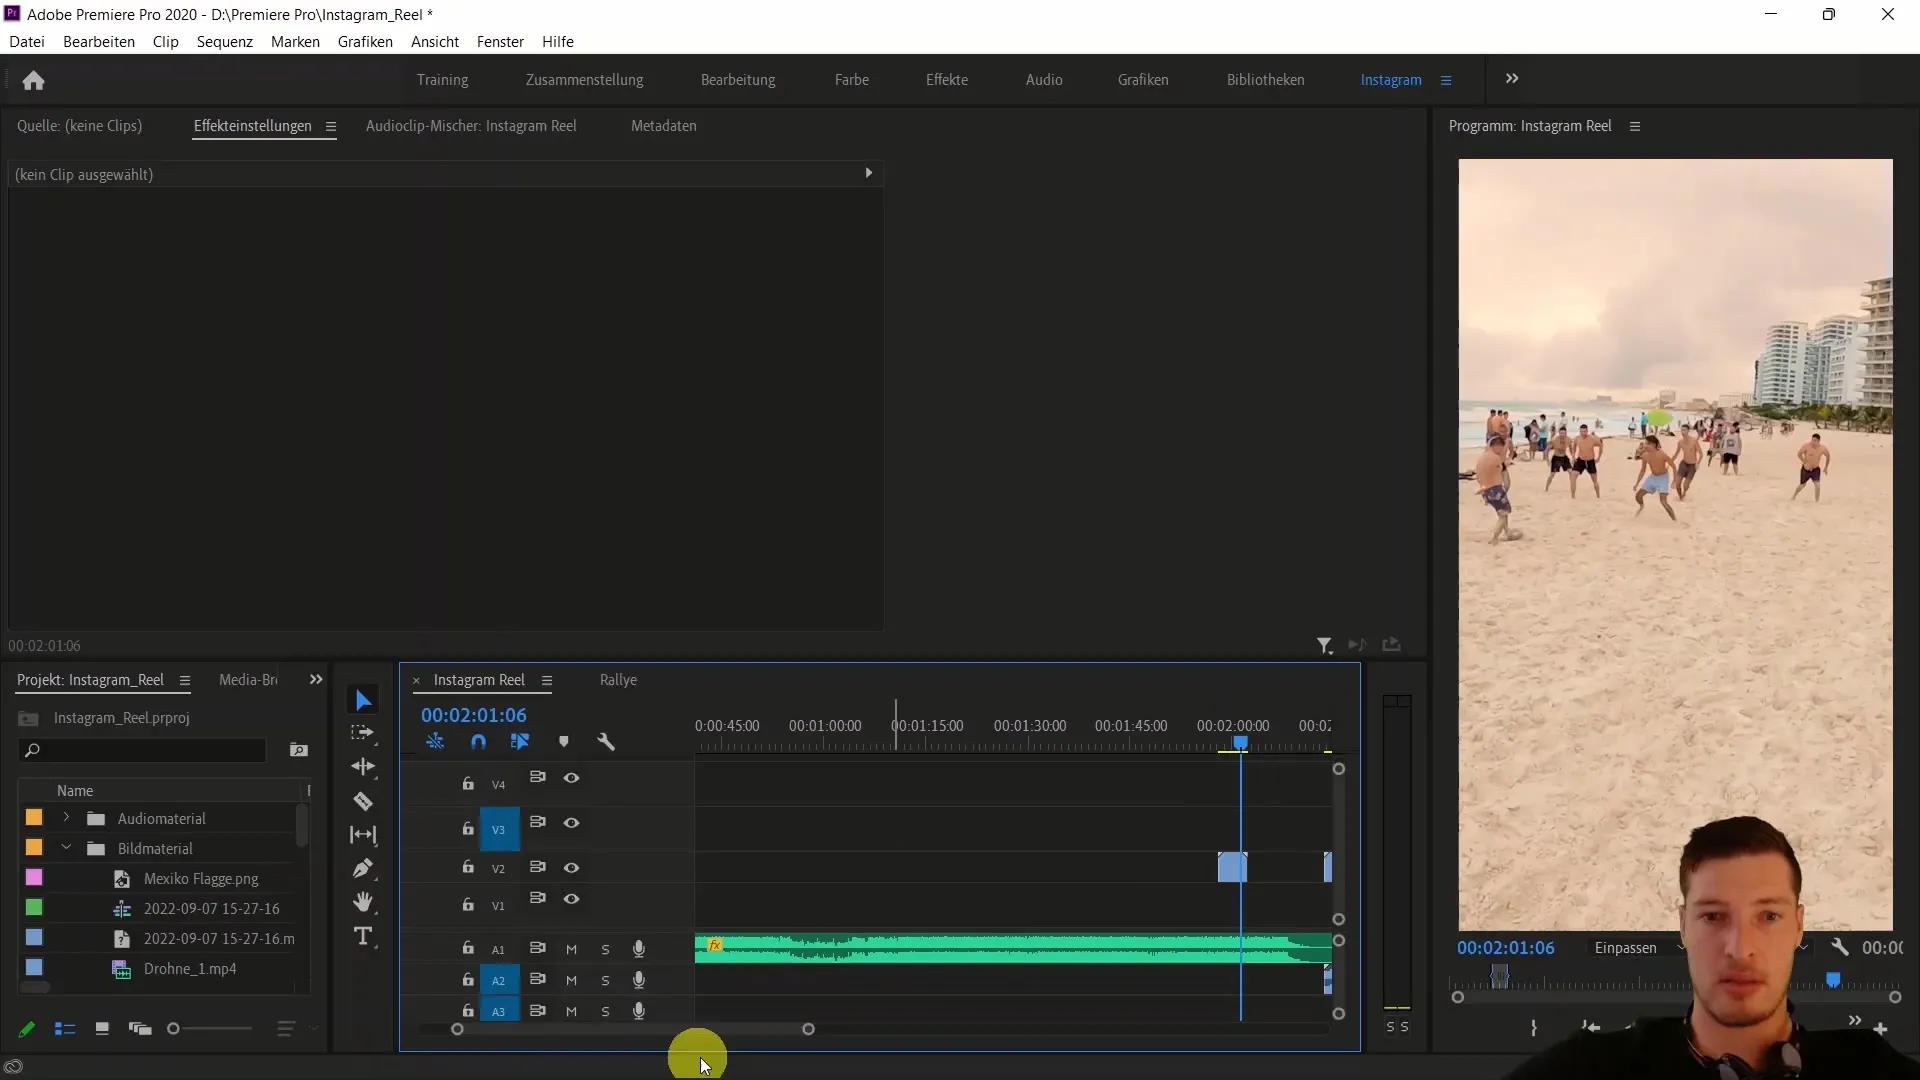
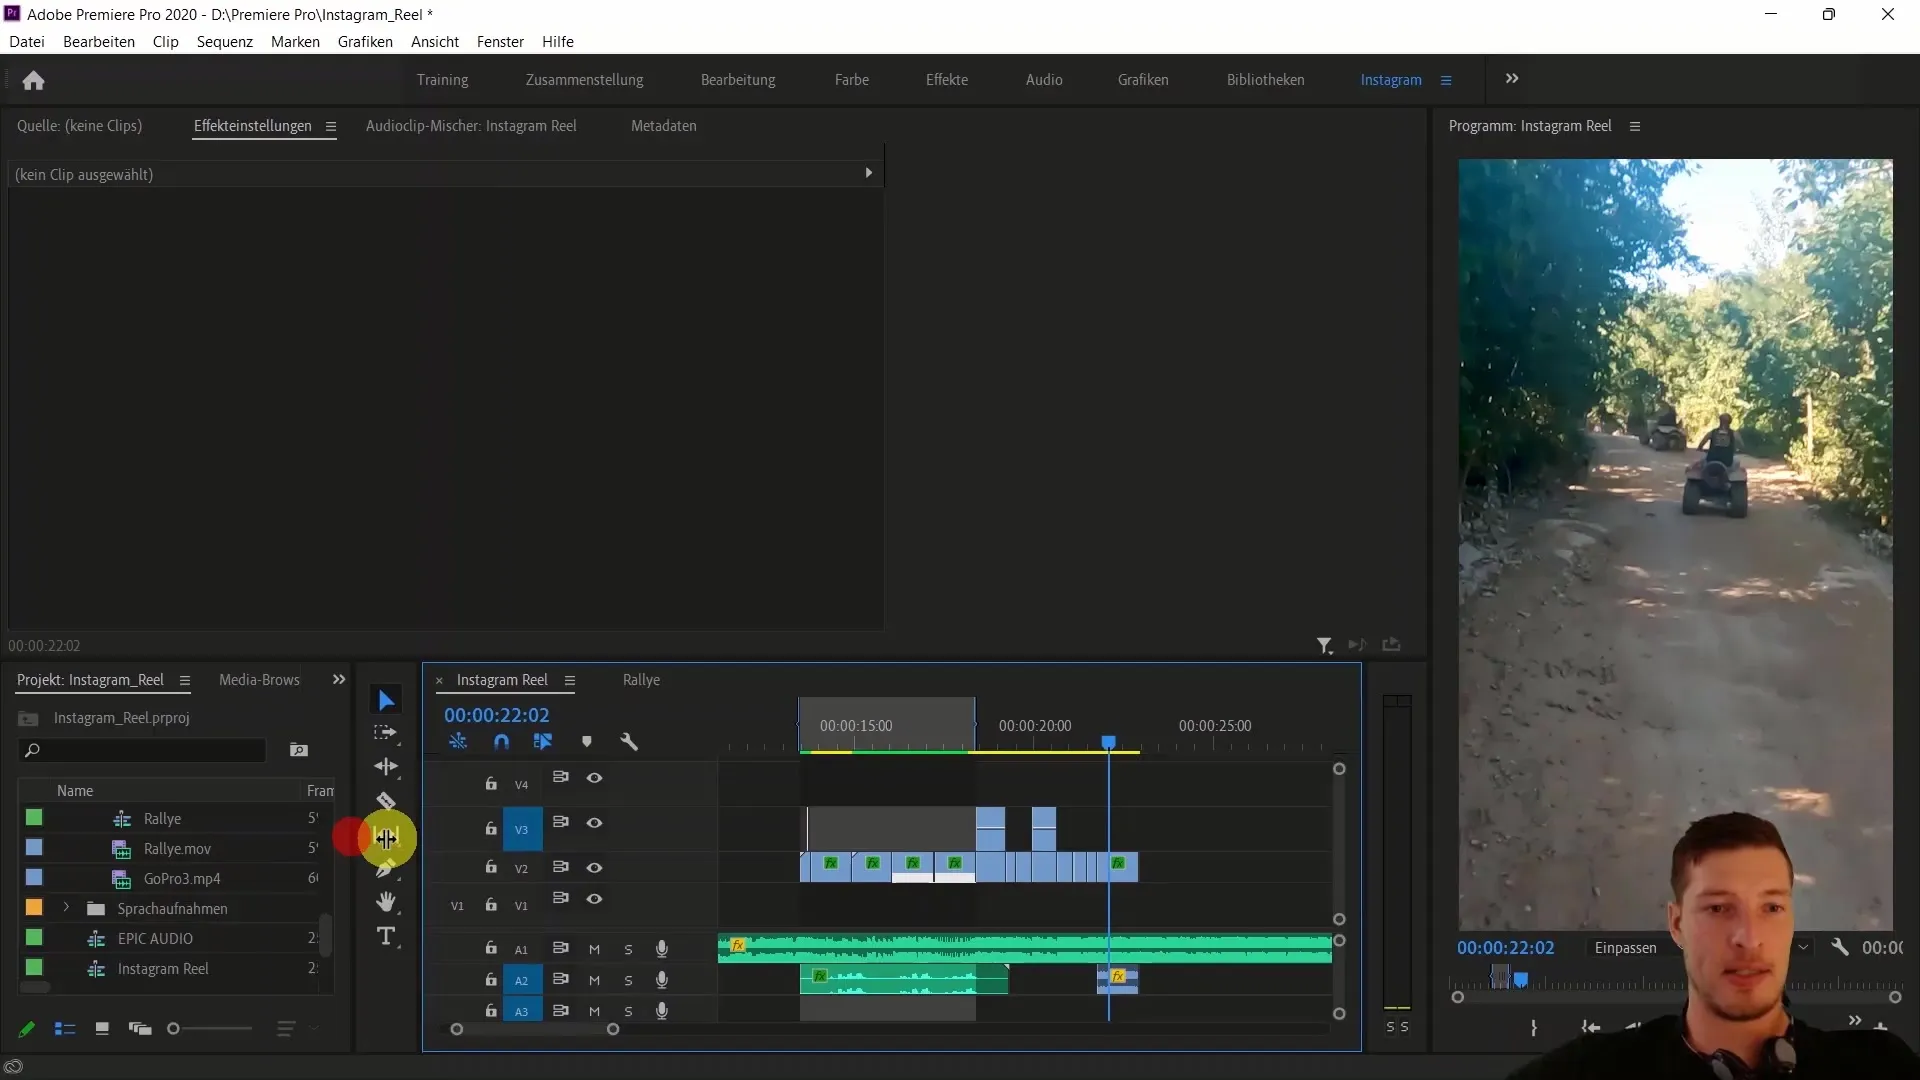
Next, let's focus on the Quad Clip. Also, drag this clip into your relevant editing area and think about how long you want to play it. Here too, pay attention to where the music reaches a climax to cut the clip.
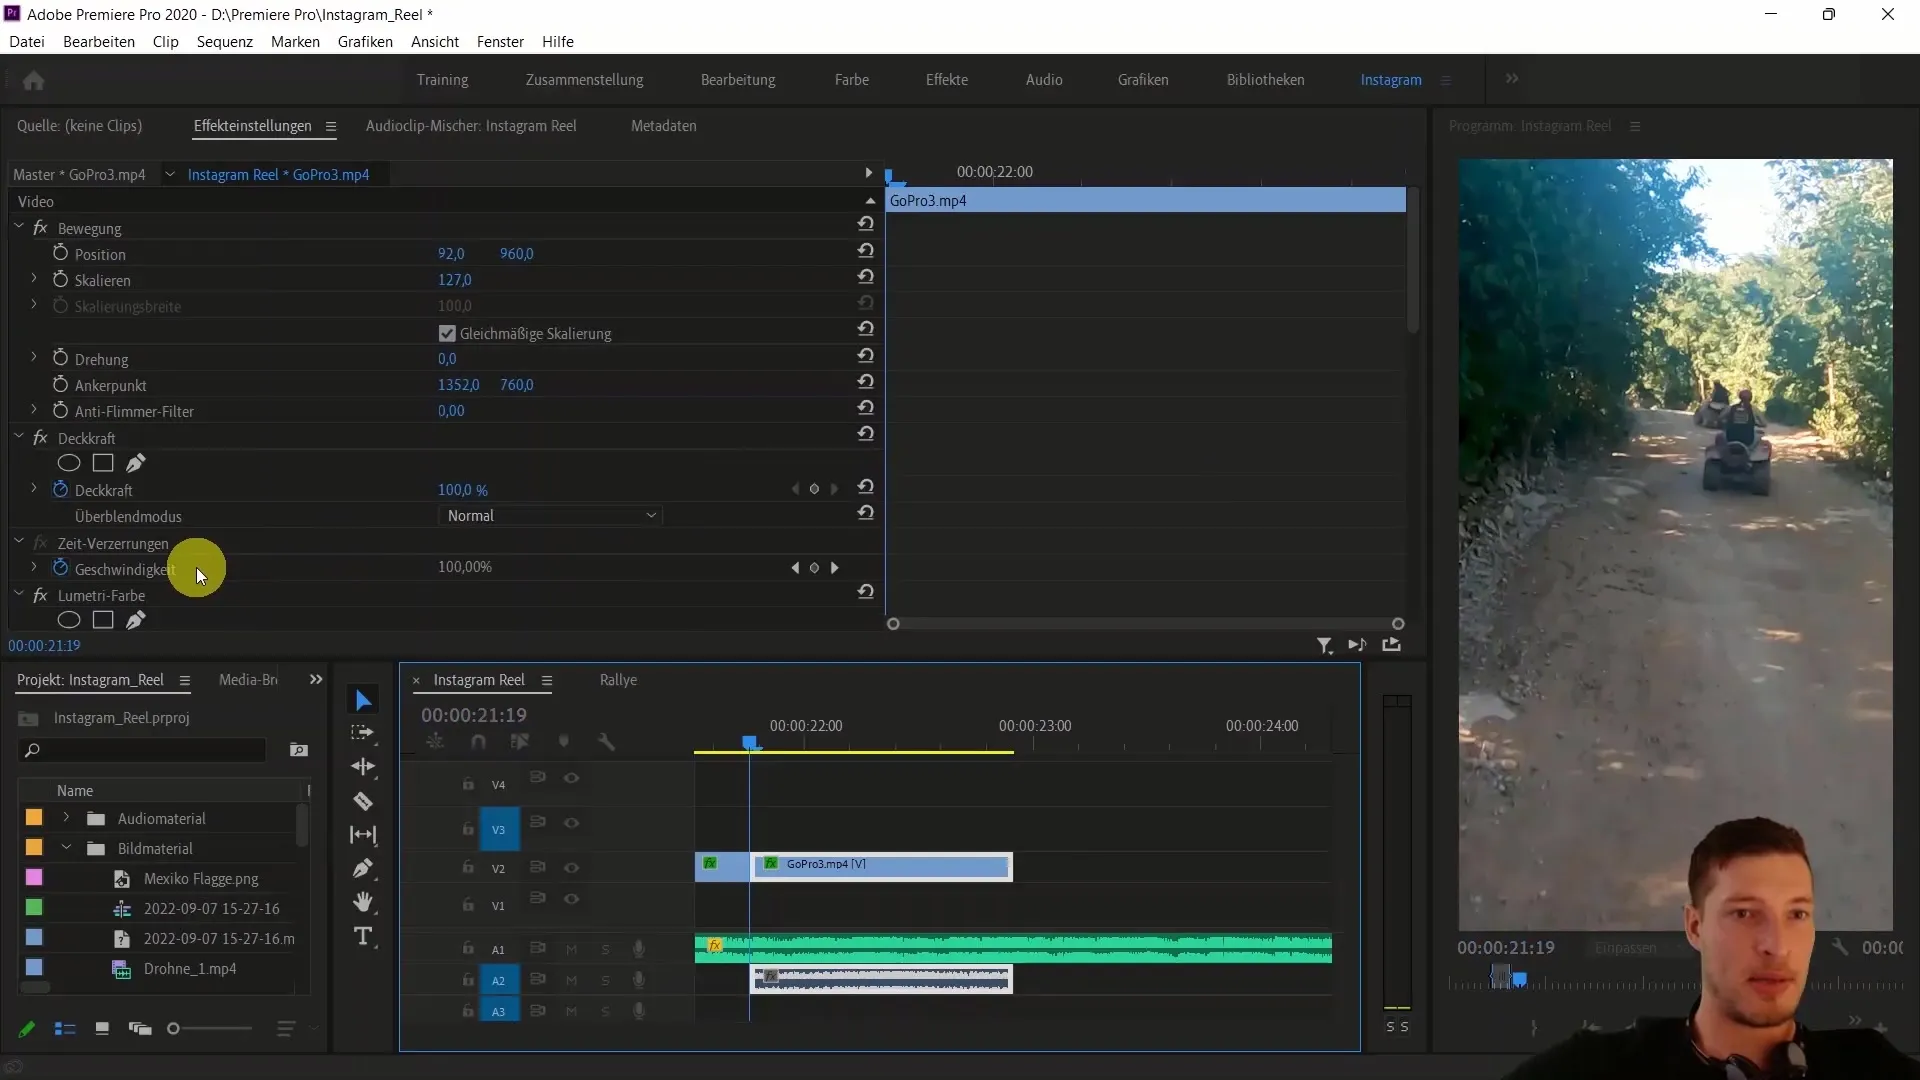
For the sound of the Quad Clip, you need to start off a bit softer with the sound. Select the audio track of the Quad Clip and go to the audio options. Set the volume to -15 decibels at the beginning and maybe increase it to -5 decibels a few seconds later to let the sound pleasantly come in.
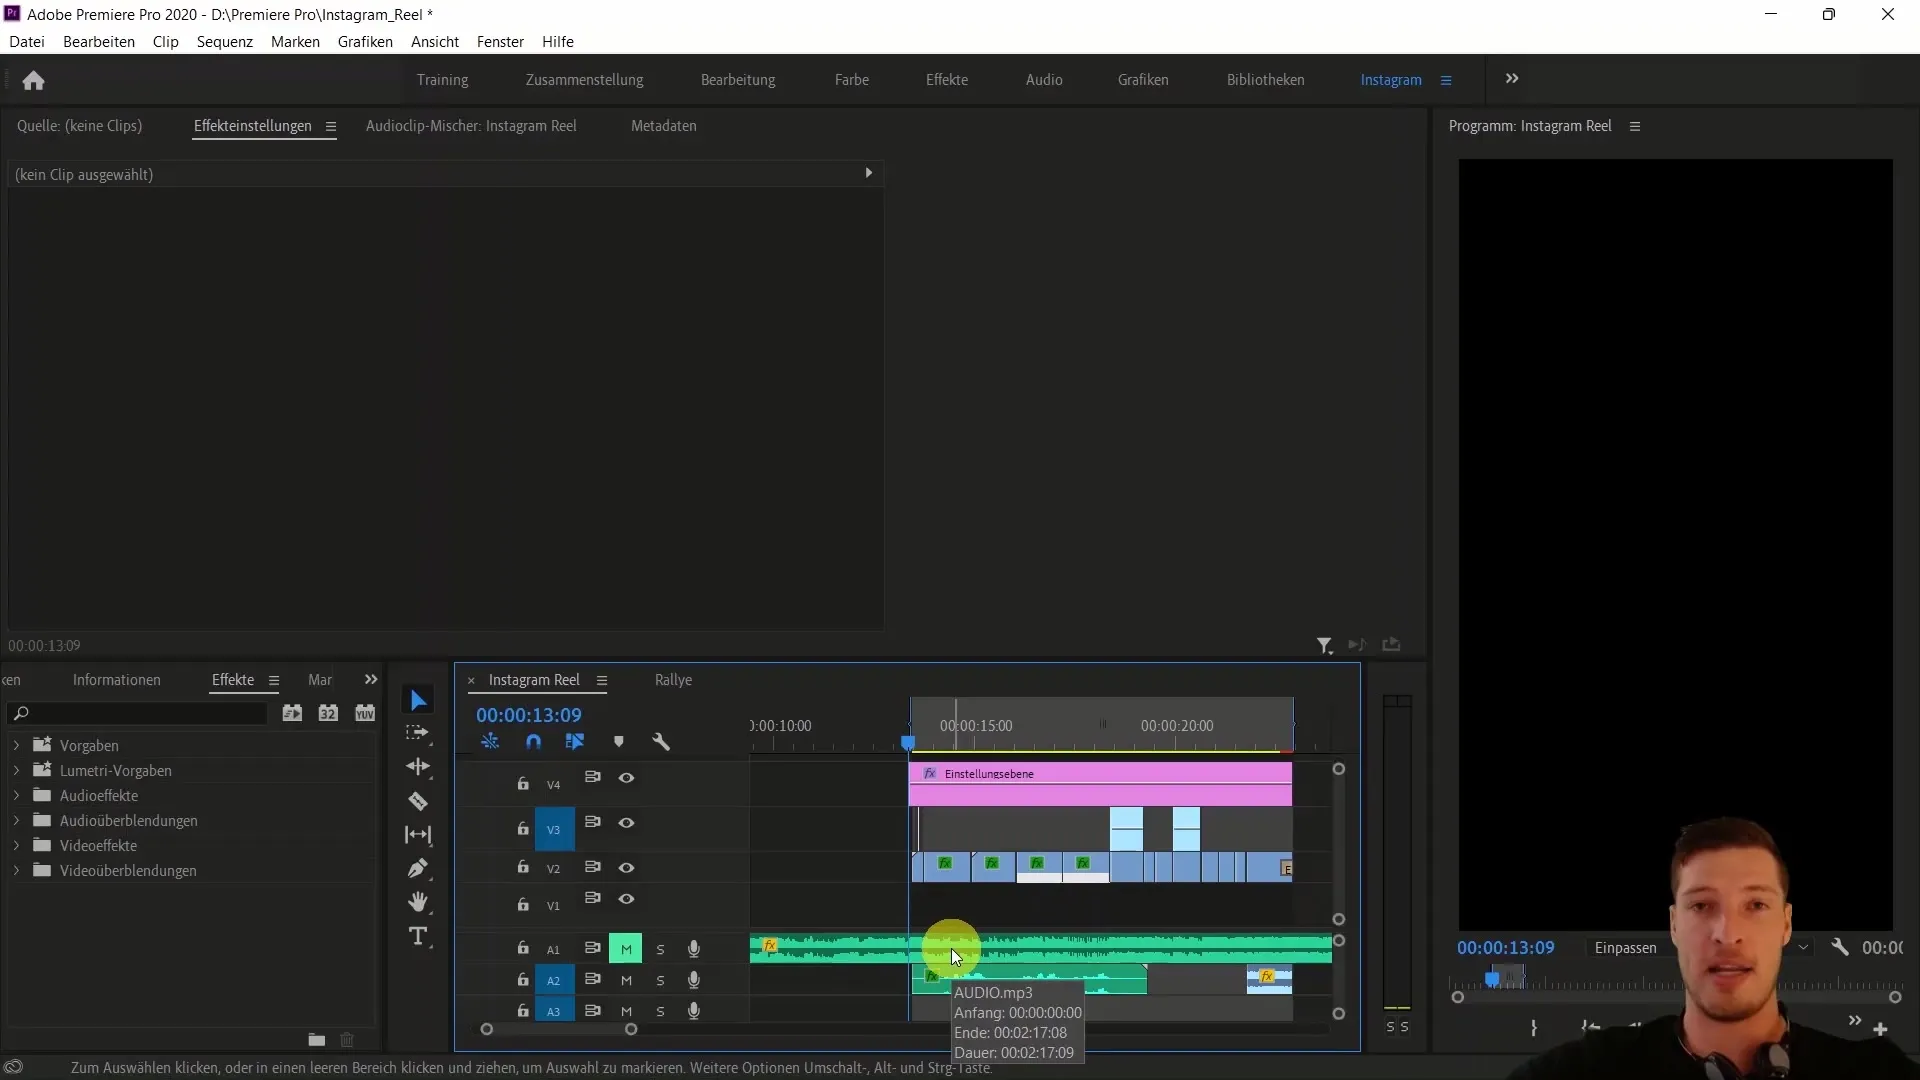
Now let's move on to color correction. You'll do this through a new adjustment layer. In the project area, drag a new object category and select the "Adjustment Layer" option. Place the new layer over the entire sequence to apply color editing uniformly.
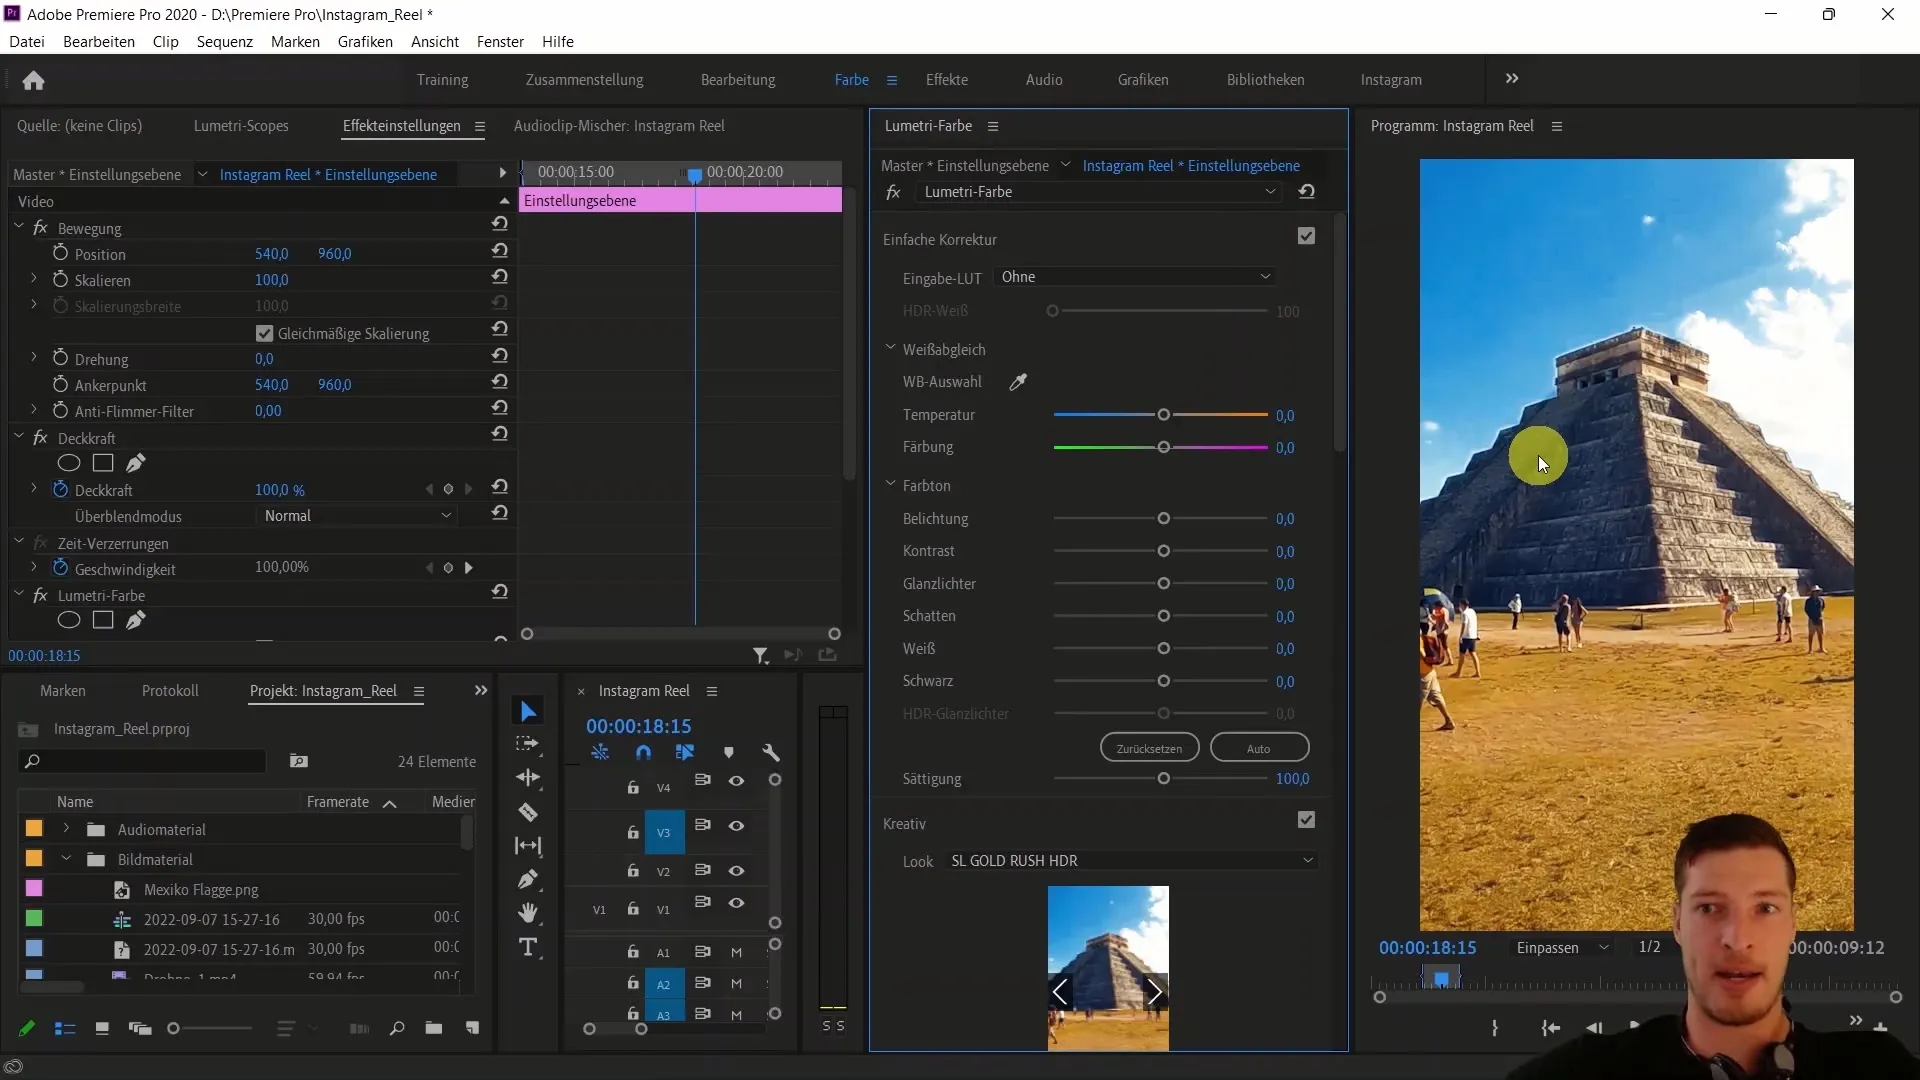
Open the color tab and start adding a look that enhances the desired effect. It is advisable to work with the standard looks that Premiere Pro offers before creating your own. You will find that a warmer look, such as "Rush Hour," fits well.
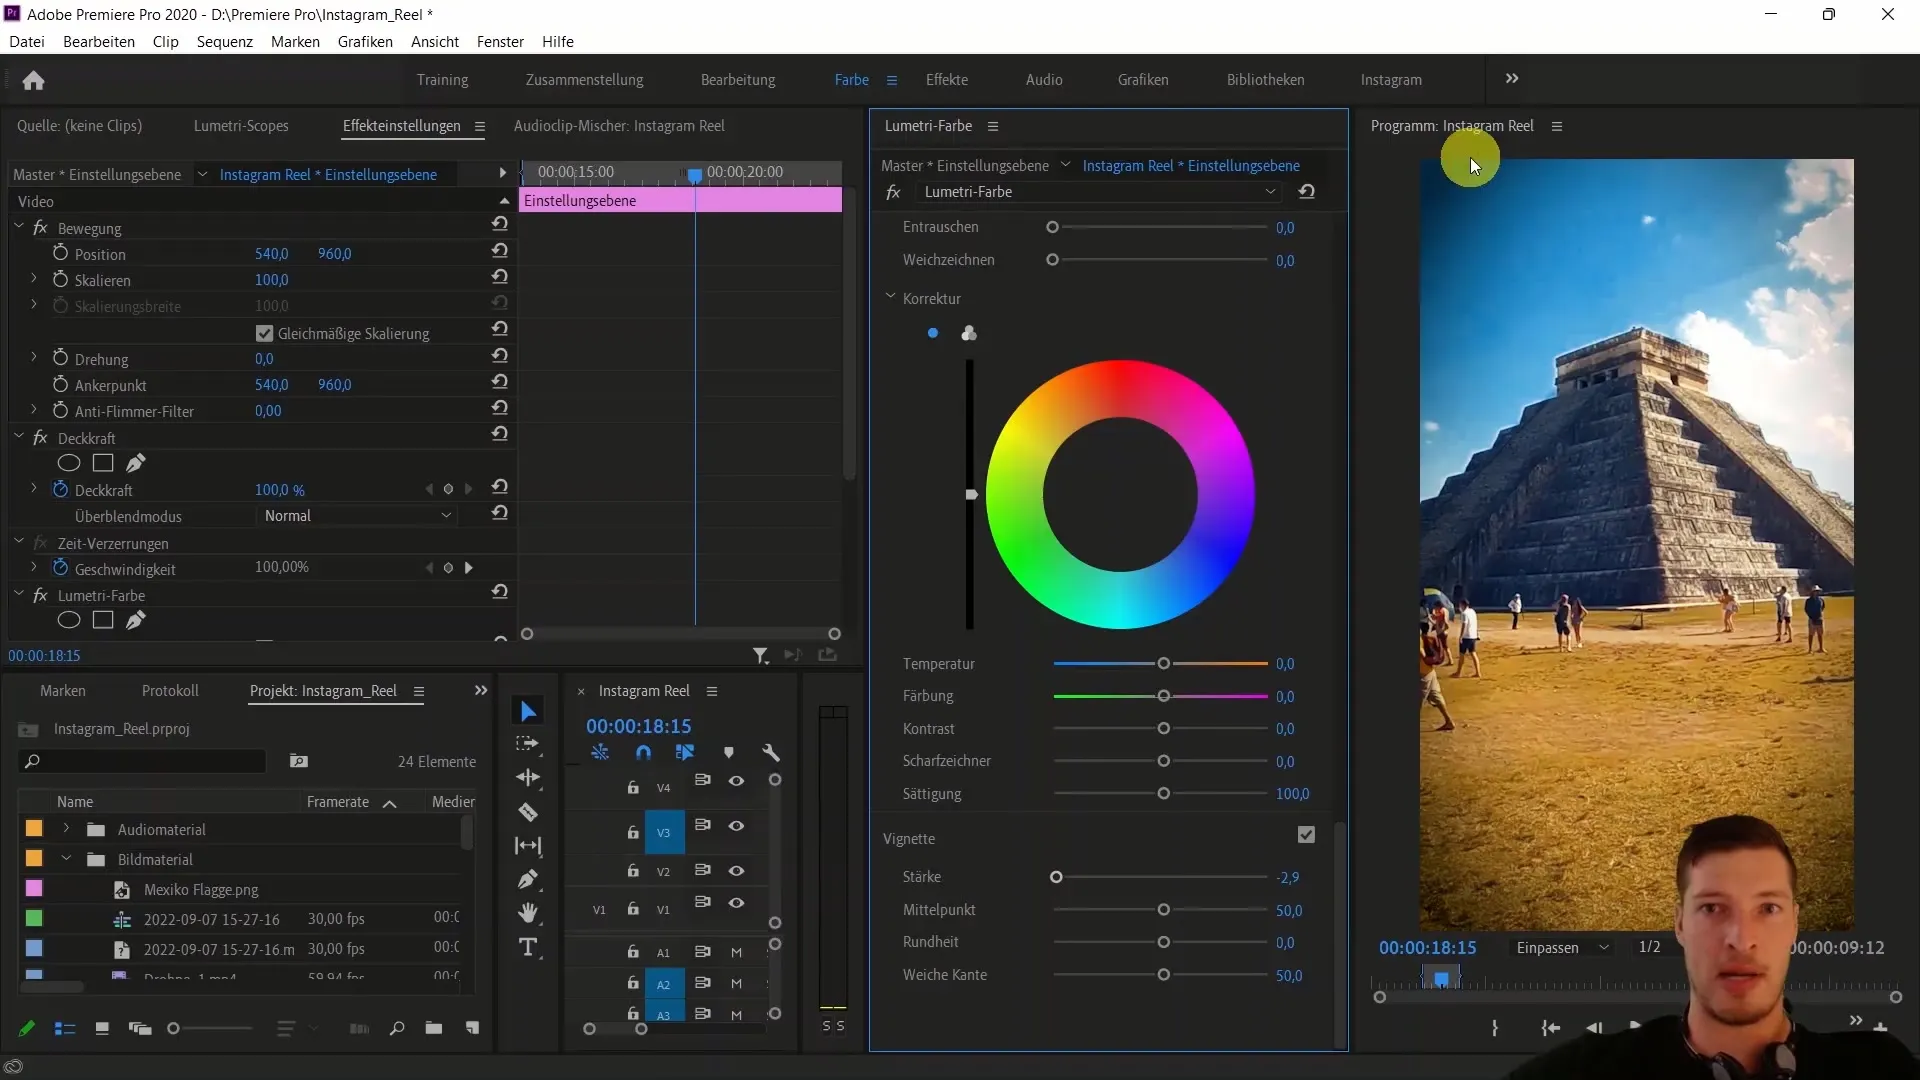
To further enhance the look, you can add a vignette. To do this, go to the vignette settings and adjust the strength according to your preference. A negative strength will result in a slight darkening of the edges, which is often very appealing.
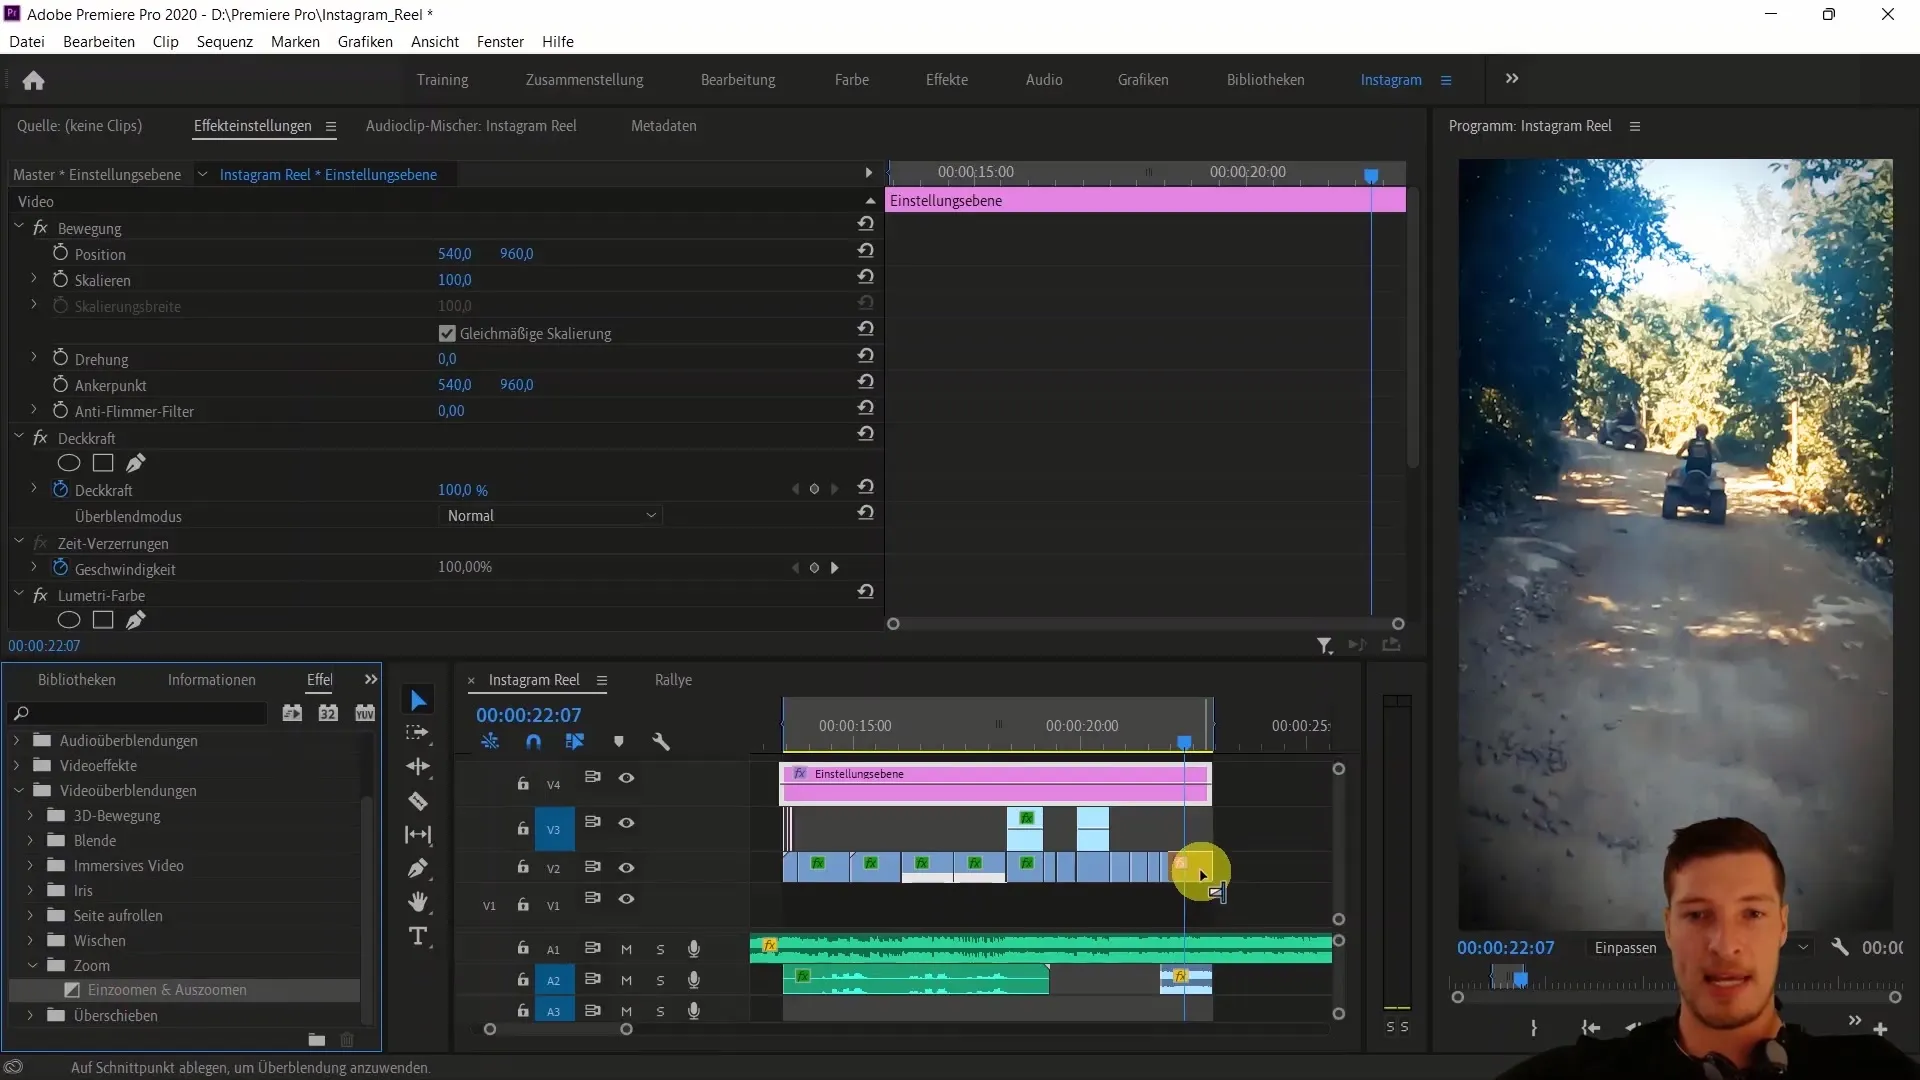
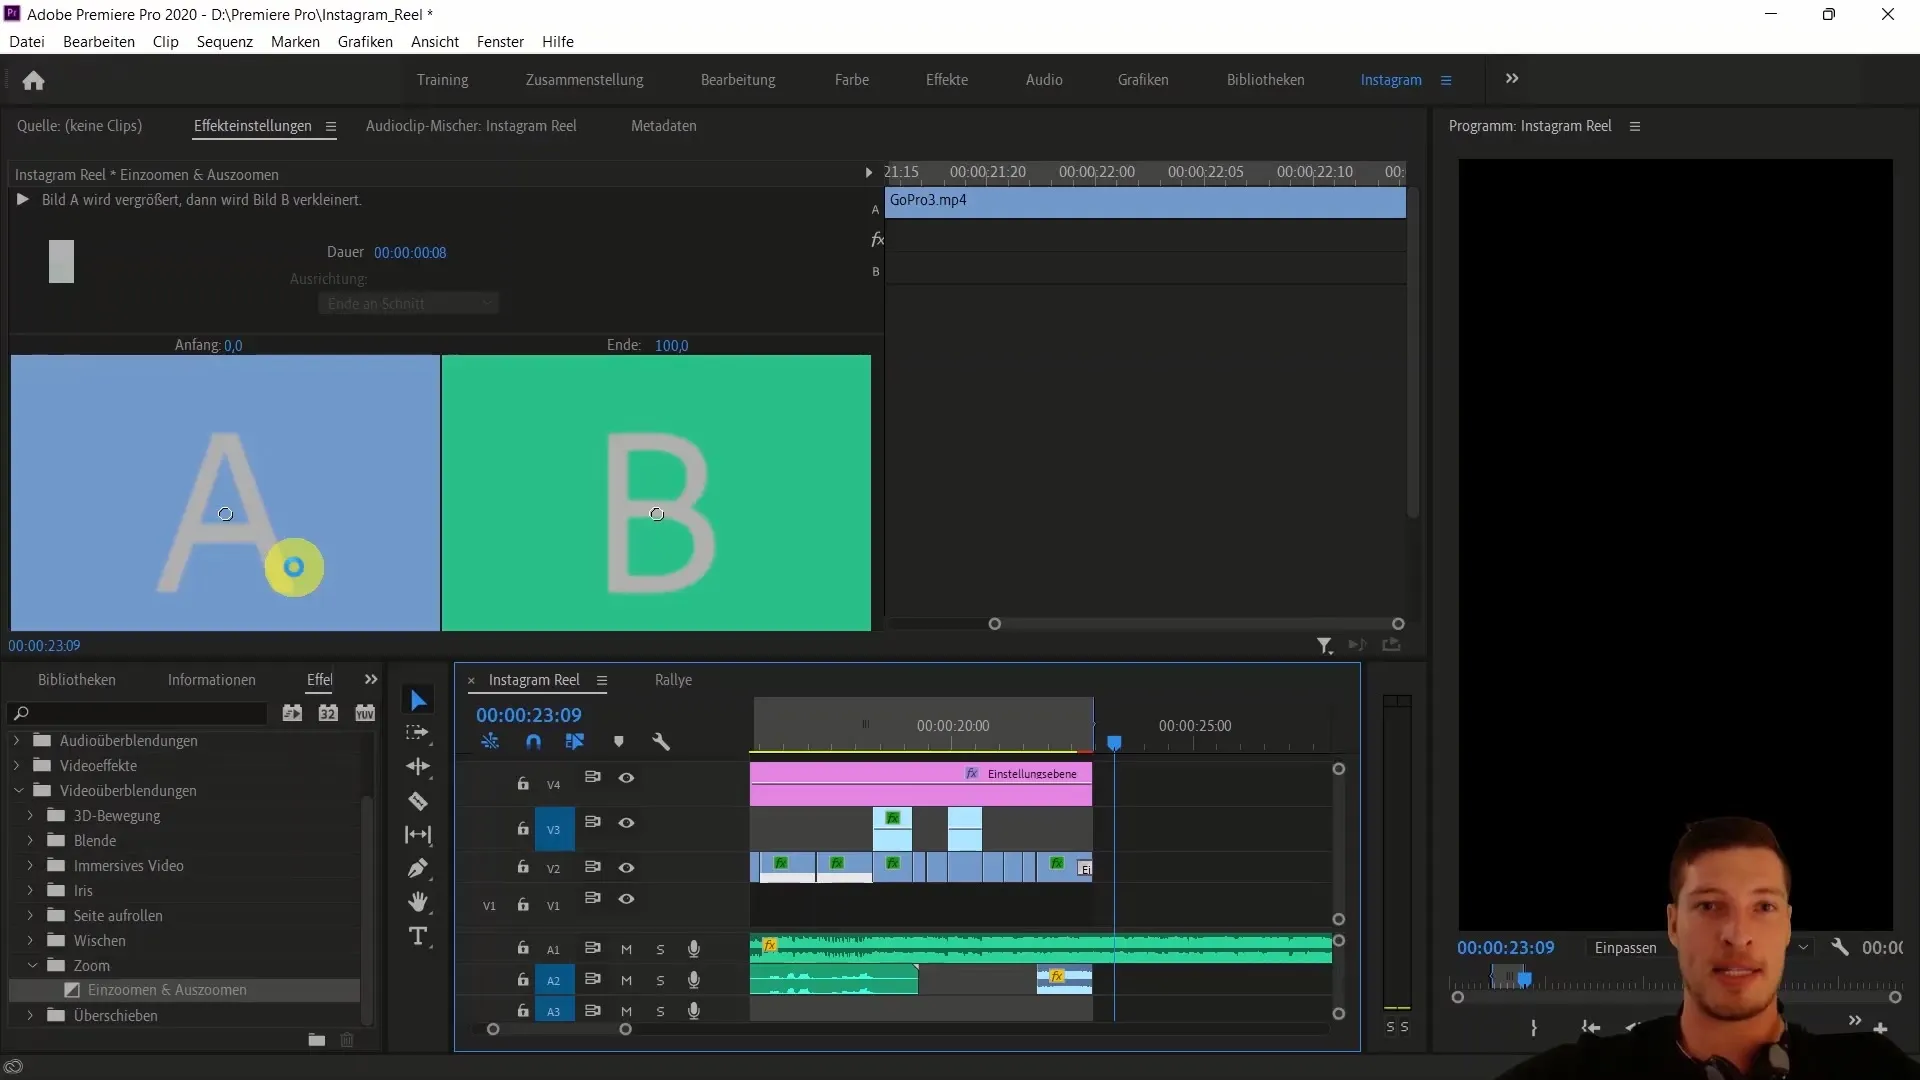
Now make the final adjustments and add a transition to the end of the Quad Clips. Go to the video transitions and drag a zoom in or zoom out effect to the end of the Quad Clips. At this point, you can shorten the duration of the transition to allow for a faster cut.
Now preview the entire reel by pressing the spacebar, to make sure everything looks harmonious and the effect is well received. The final step is to export the Reel. Use the shortcut "Ctrl + M" or go to "File" and then "Export".
Once the Reel is exported, you can upload it to Instagram and may need to resynchronize the audio track to ensure everything fits perfectly together.
Summary
In this guide, you have learned how to finalize your Instagram Reel with Adobe Premiere Pro CC. By integrating jumps and cuts into your clips, as well as tackling audio tracks and color corrections, you are on the right track to achieve an appealing result. Use the tips and techniques to optimize your video editing and express your creative visions.
Frequently Asked Questions
What are the essential steps for editing an Instagram Reel in Premiere Pro?The essential steps include sorting and cutting the clips, adjusting the audio tracks, color correction, and adding effects.
How can I adjust the volume of an audio track?Select the audio track and use the audio options to set the volume individually.
What are the best colors and effects for Instagram Reels?Warmer color tones are often more appealing, and the use of vignettes can enhance the look.
How do I export my finished Reel?Use the shortcut "Ctrl + M" or go to "File" > "Export" to export the Reel.
Can I make adjustments to my video after exporting?Yes, you can edit the audio track afterwards to ensure everything is synchronized.
