In this guide, you will learn how to upload your own images to Midjourney and edit them with different styles. Editing images has become increasingly popular nowadays, and Midjourney provides a user-friendly platform to bring your creative ideas to life. Whether you want to adjust your portraits or apply art styles to your photos, this step-by-step guide will show you how to work quickly and effectively.
Key Takeaways
- You can upload and edit both your own photos and existing images from the internet.
- Applying styles is easy to give your images a fresh look.
- It's important to copy the image URLs correctly to achieve the desired results.
Step-by-Step Guide
To use and edit your own images in Midjourney, follow these steps:
1. Upload Image or Copy URL
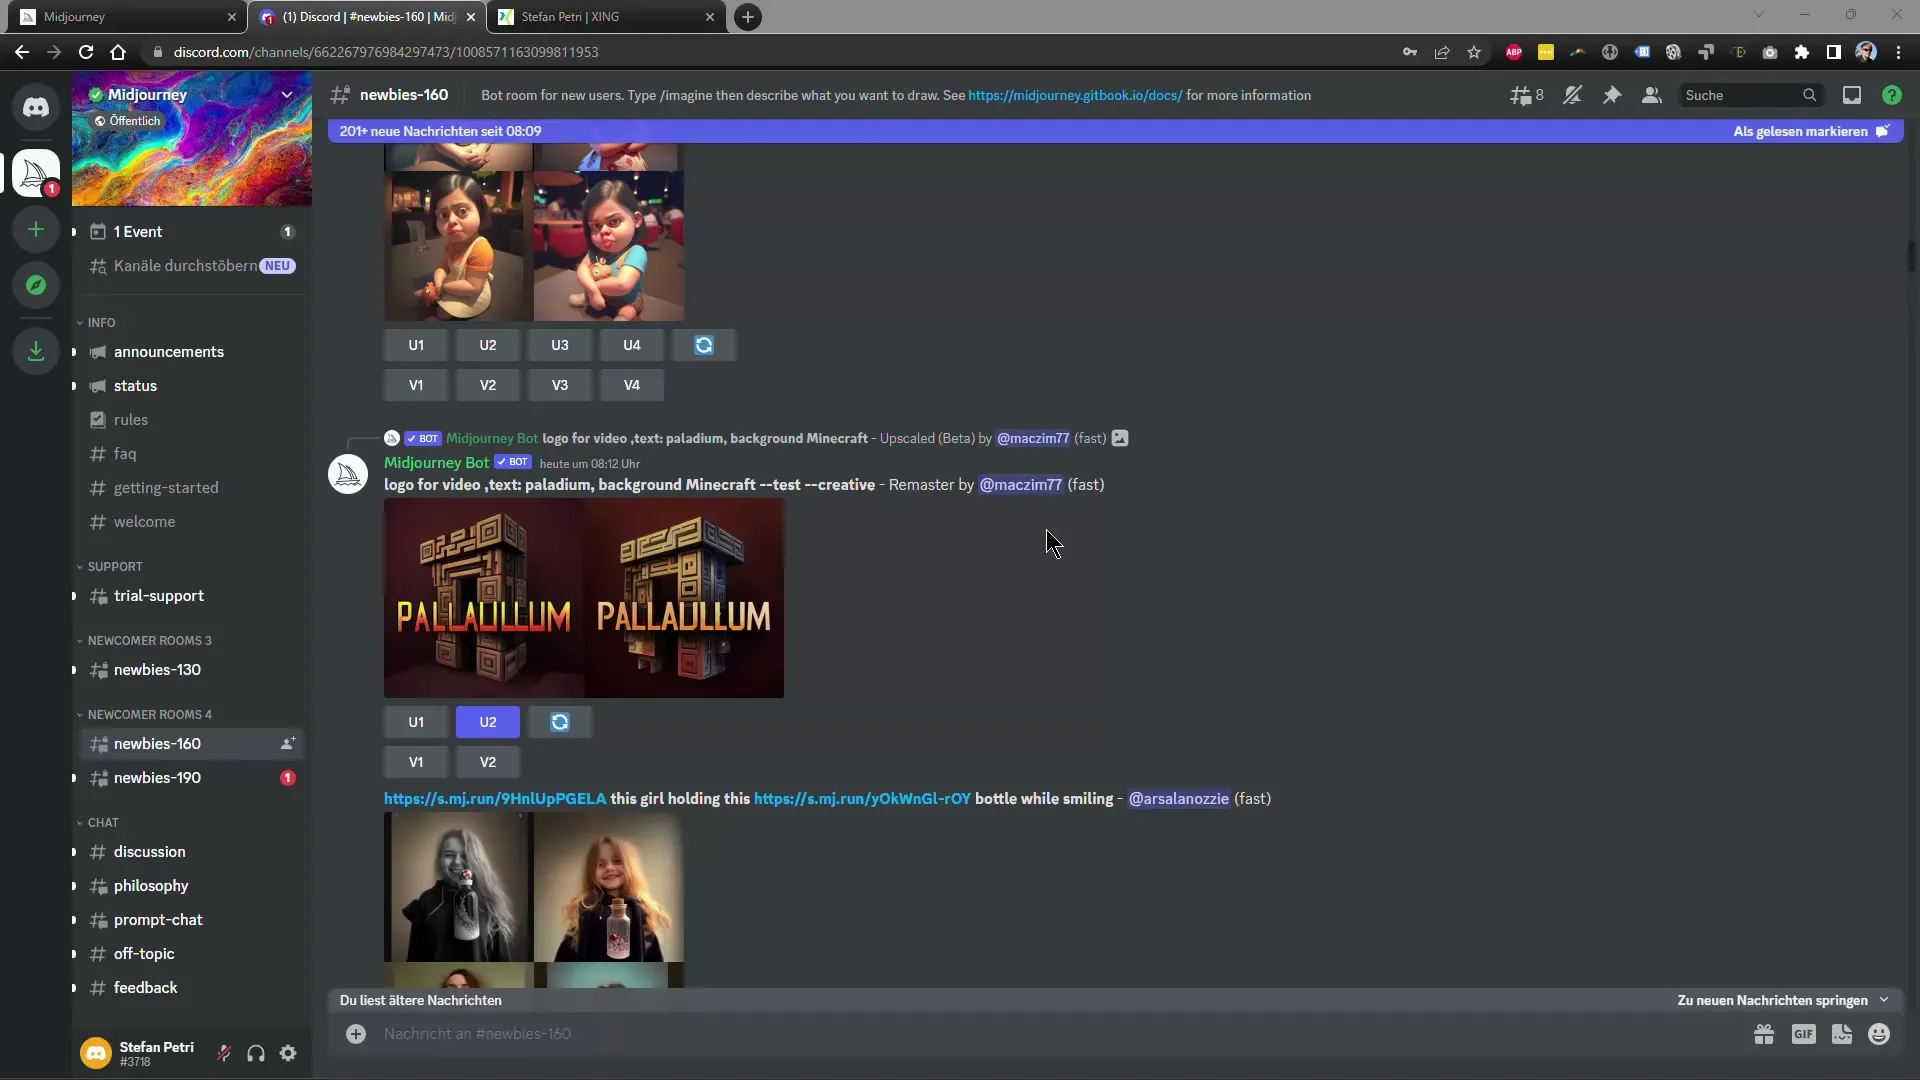
The first step is to upload the image you want to edit or insert the URL of an existing image. Go to your Midjourney account. Here you can select an image from your library or copy the image address of one available on the internet.
2. Insert Image in Midjourney
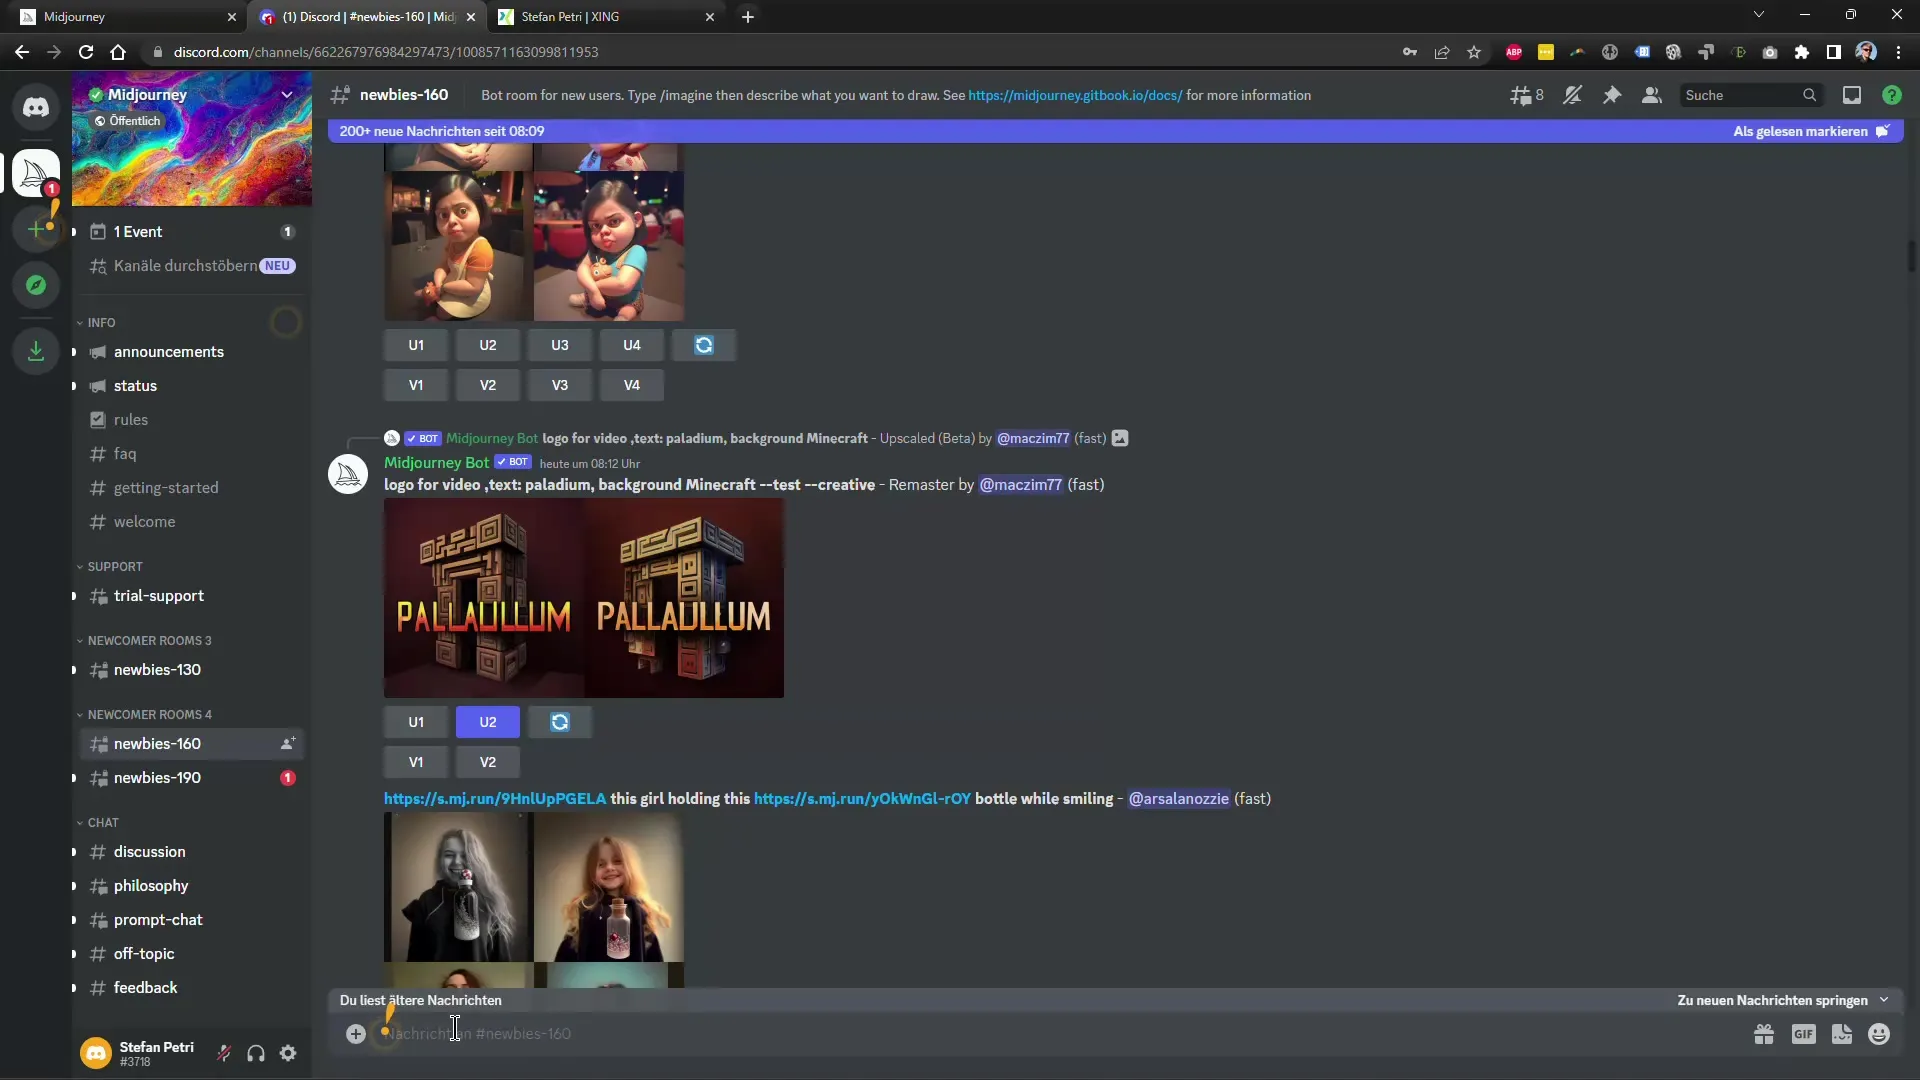
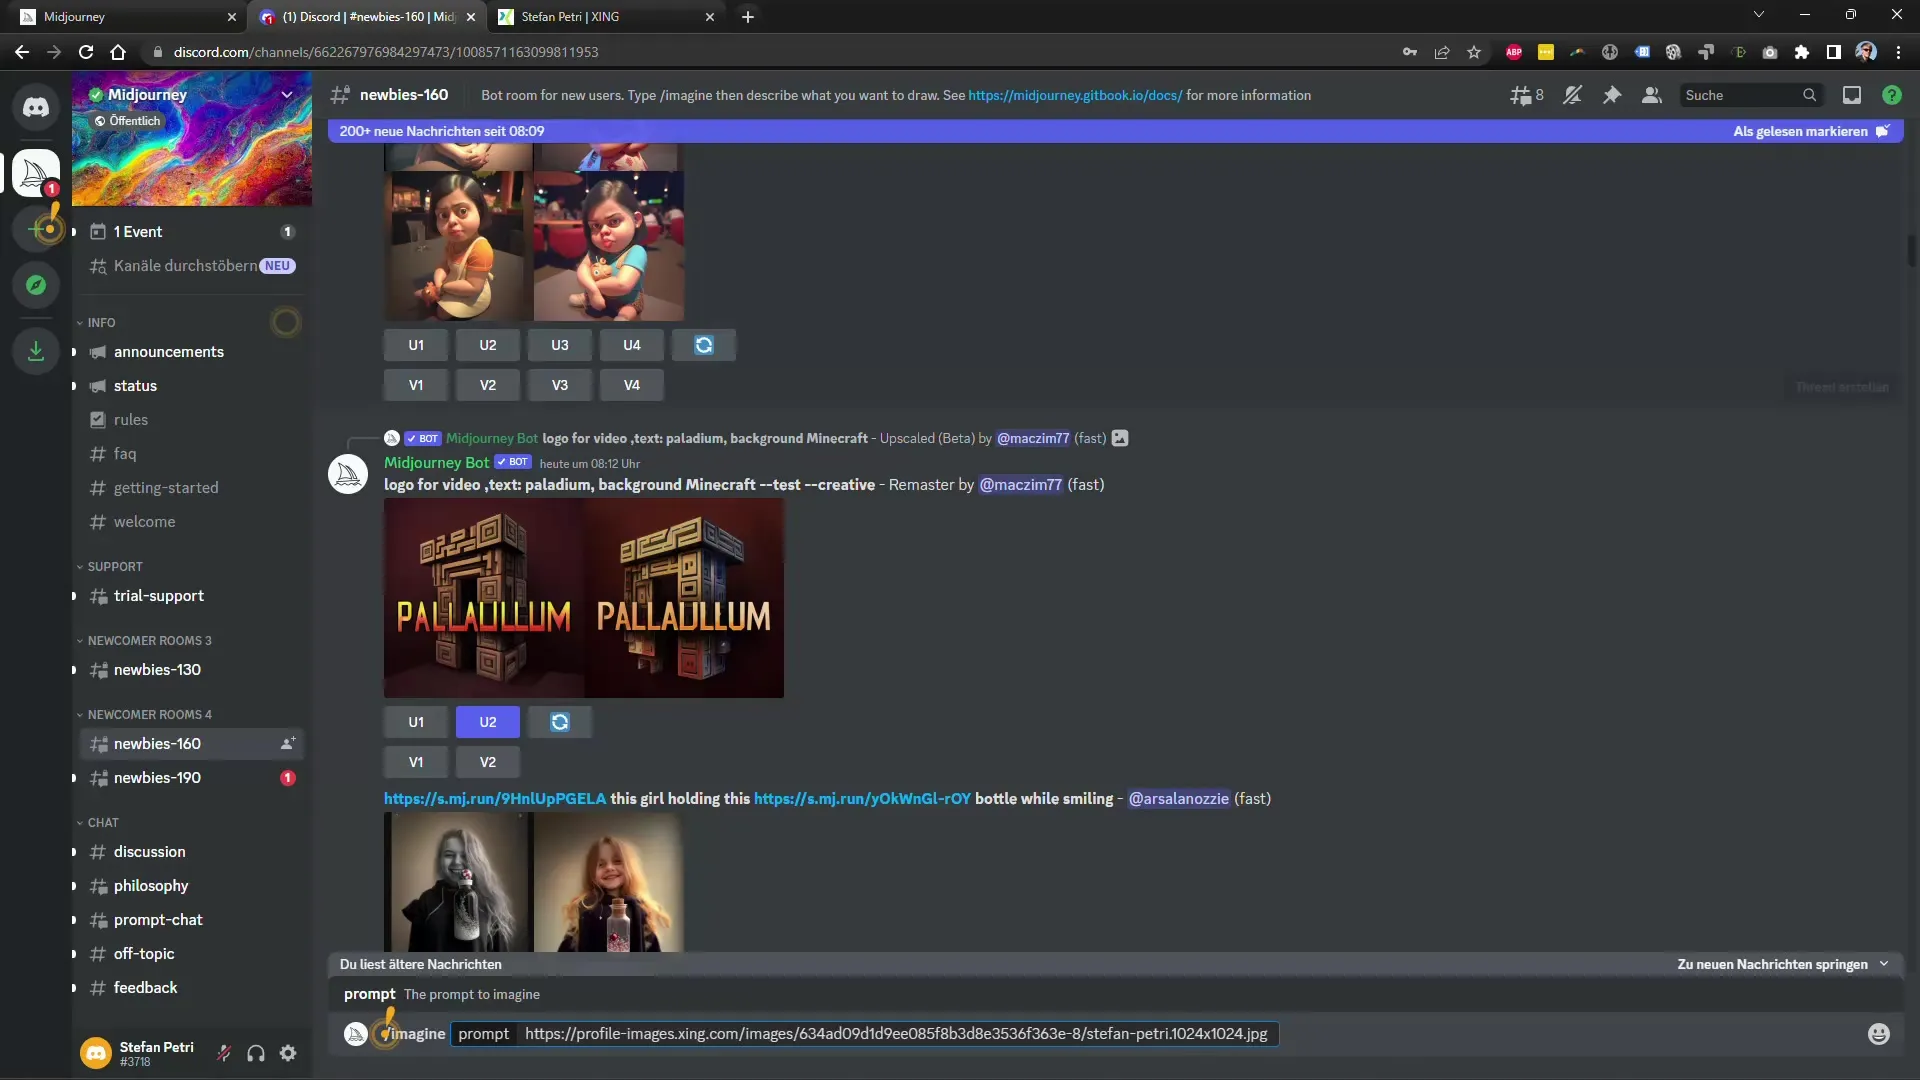
After copying the image address, return to Midjourney and use the /imagine command followed by the image URL. Paste the URL using "Ctrl + V" or by right-clicking and selecting "Paste" in the text editor.
3. Add Style
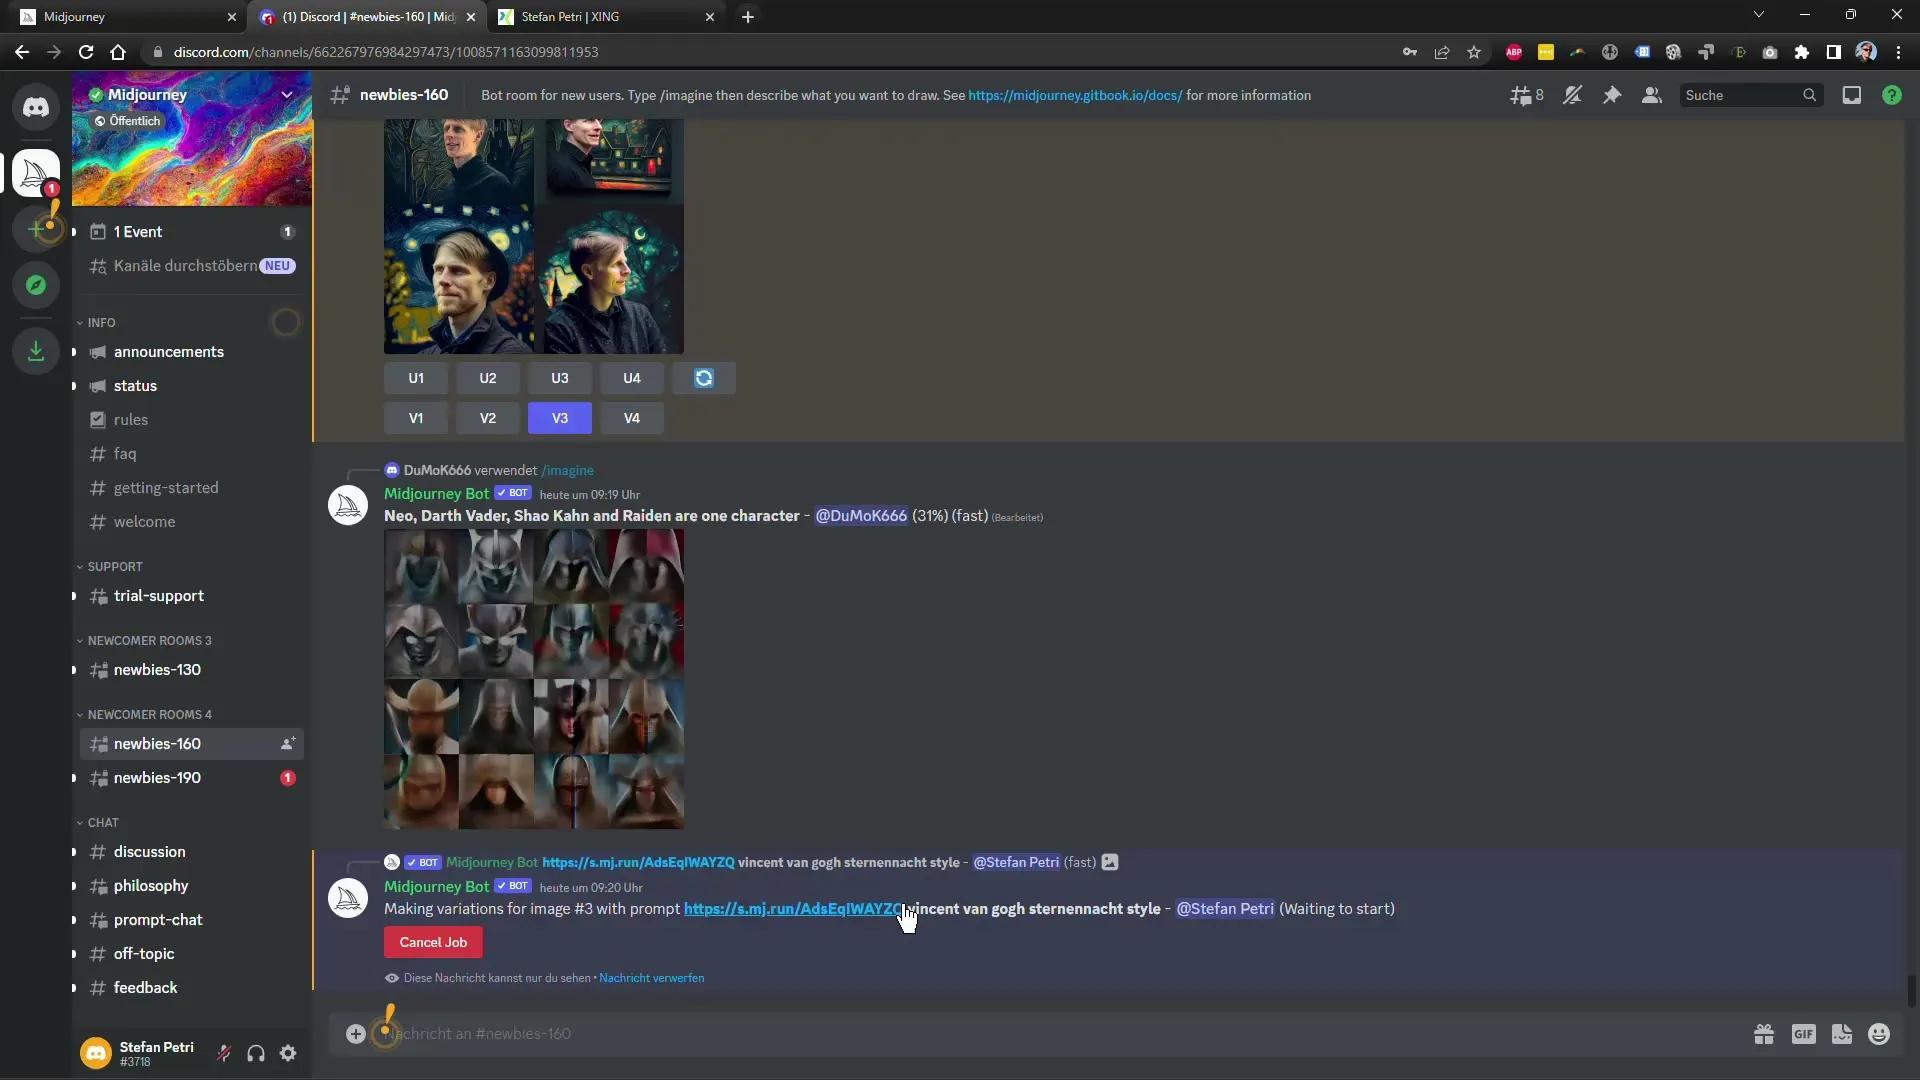
You can now add a style. Just write the desired style after your image URL. For example, you can use "Vincent van Gogh's Starry Night Style." Then press Enter and let Midjourney apply the edits.
4. Wait for the Result
Midjourney will now upload the image and begin applying the desired style to it. This may take a few moments, so have some patience while the system generates your edited image.
5. Check the Results
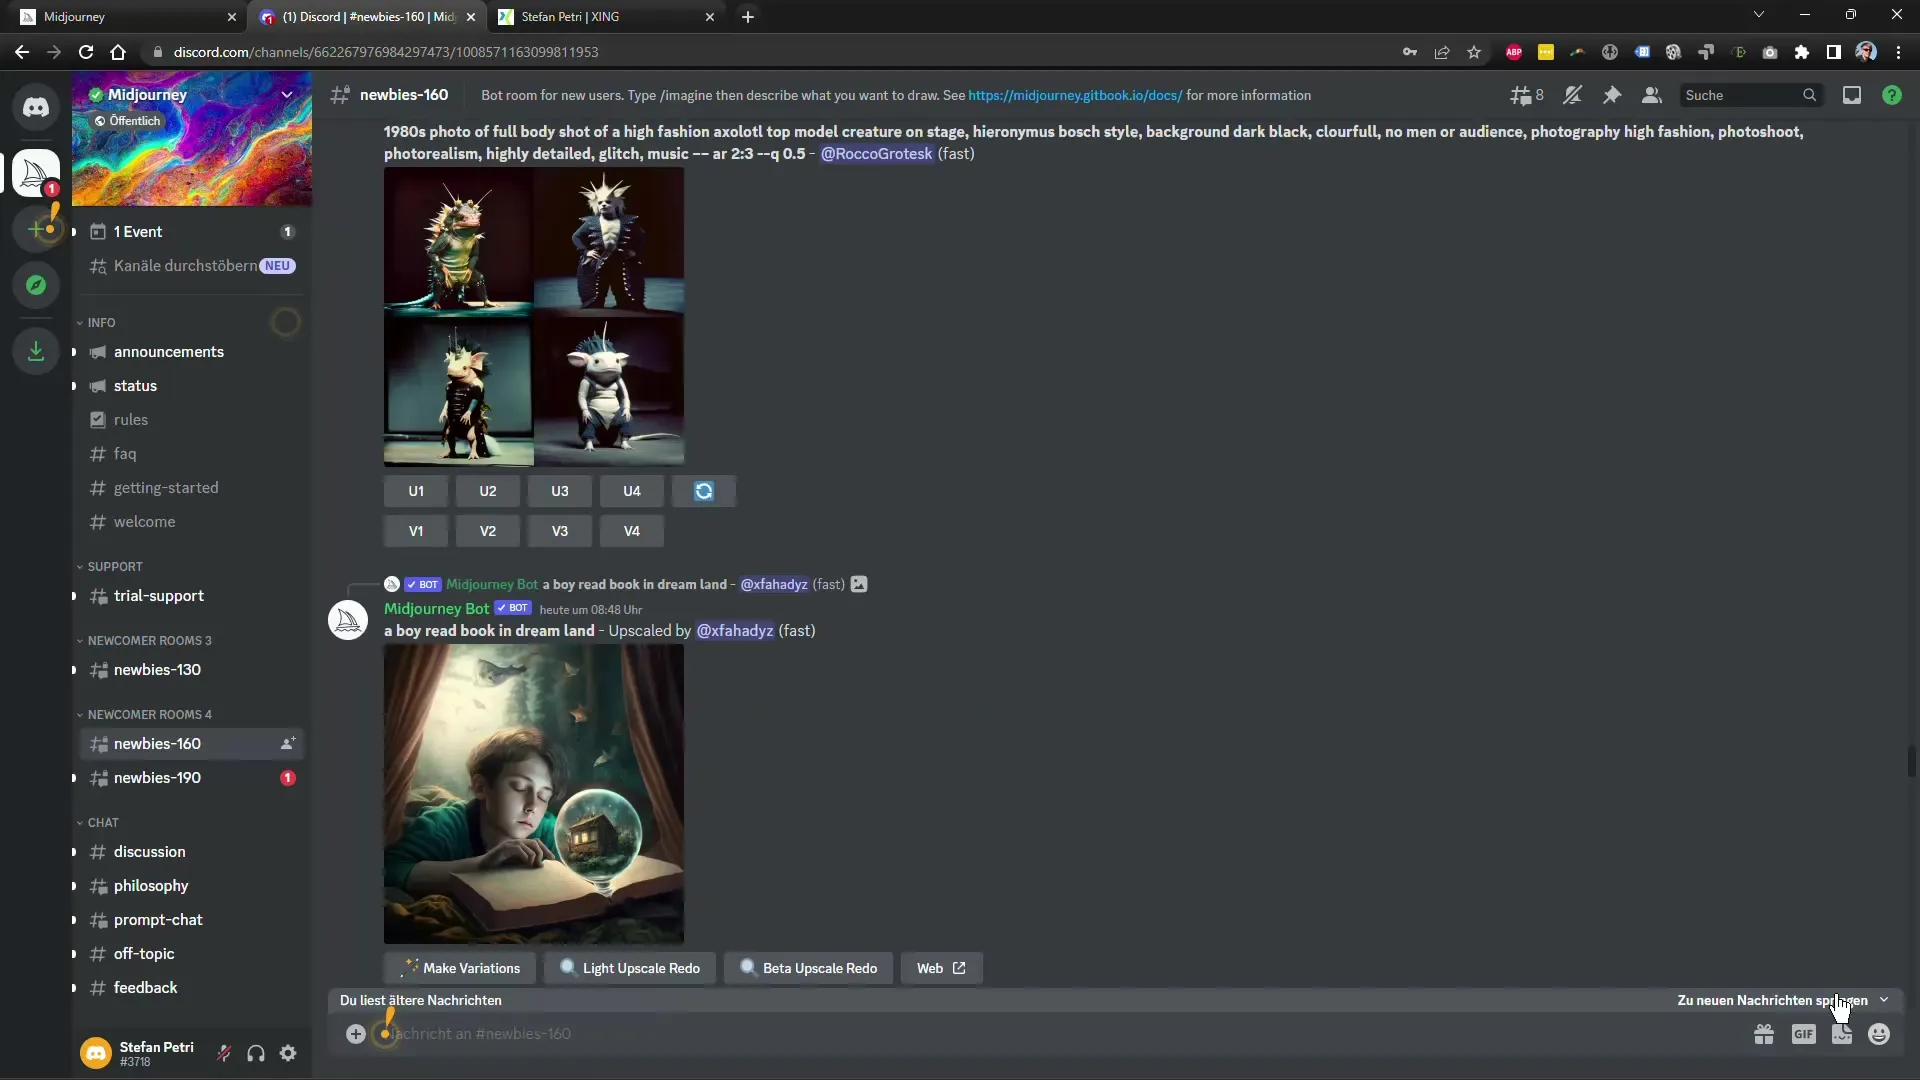
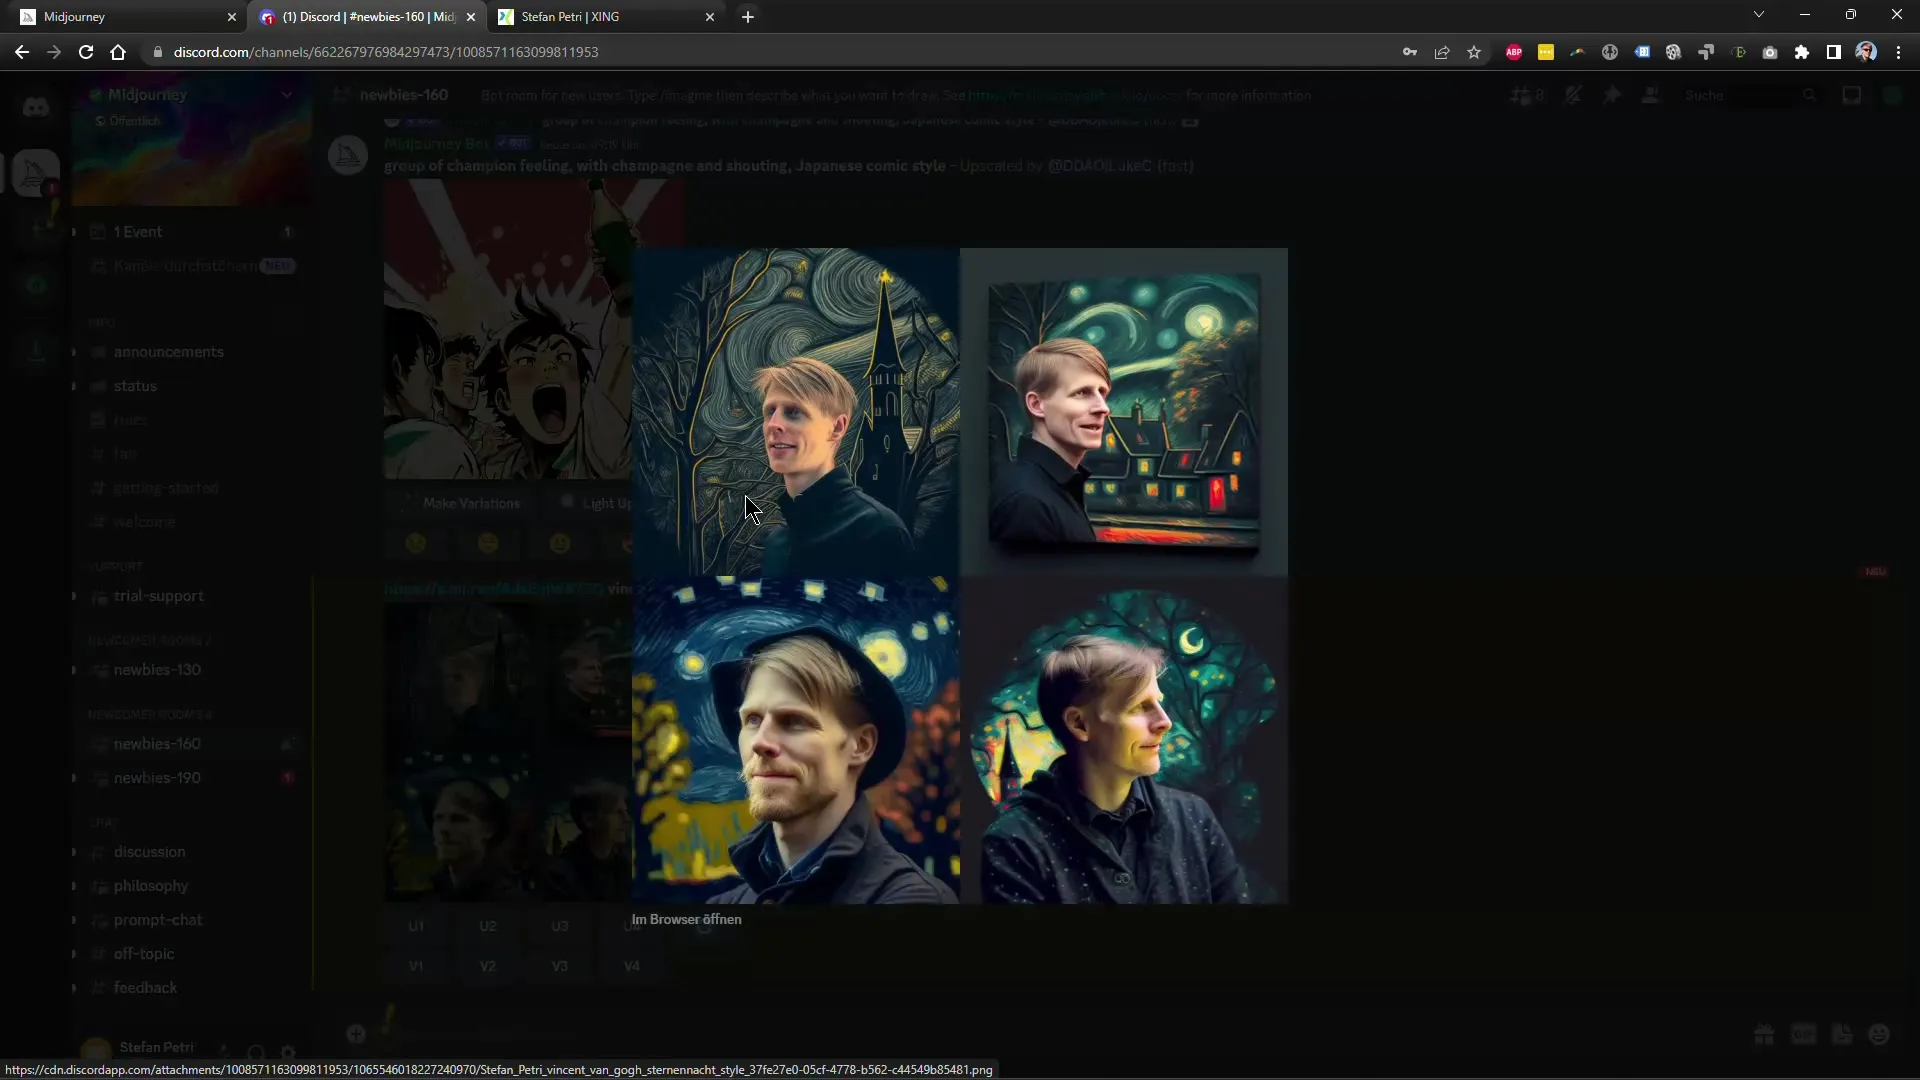
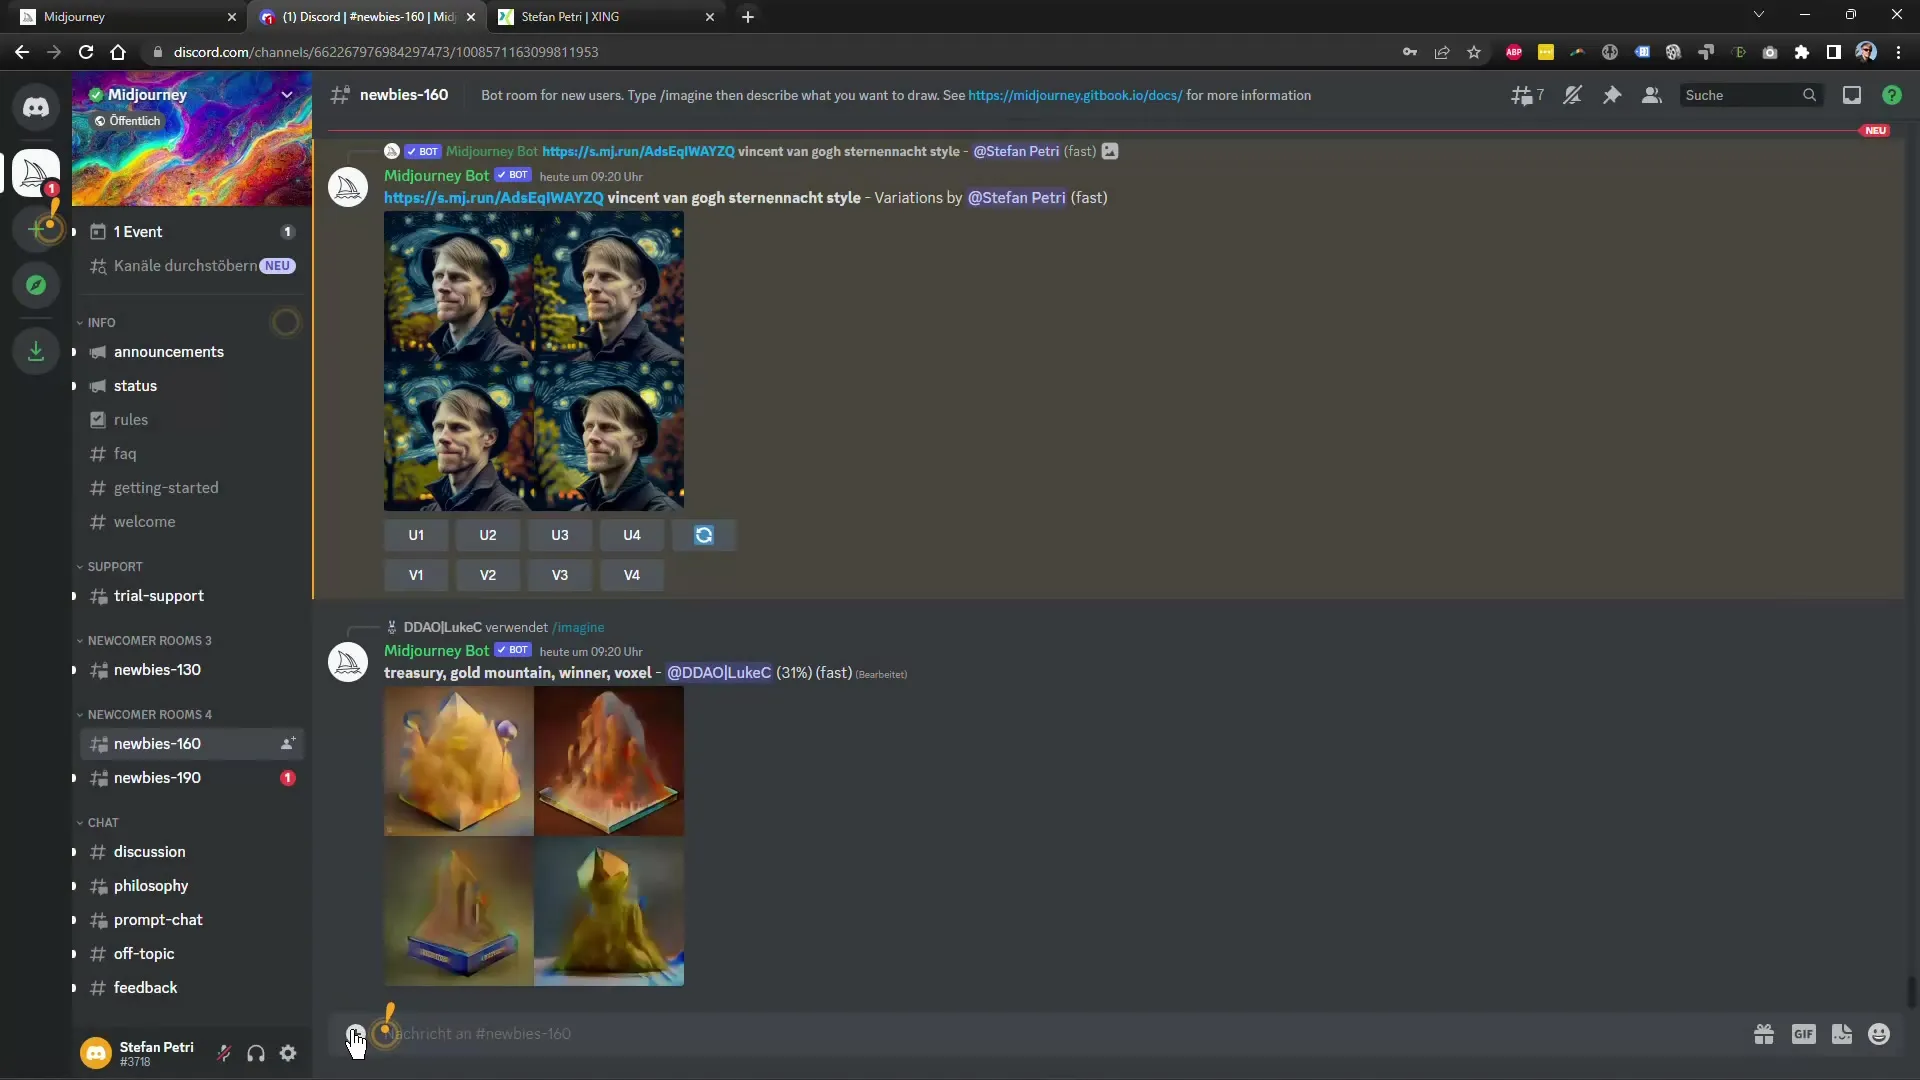
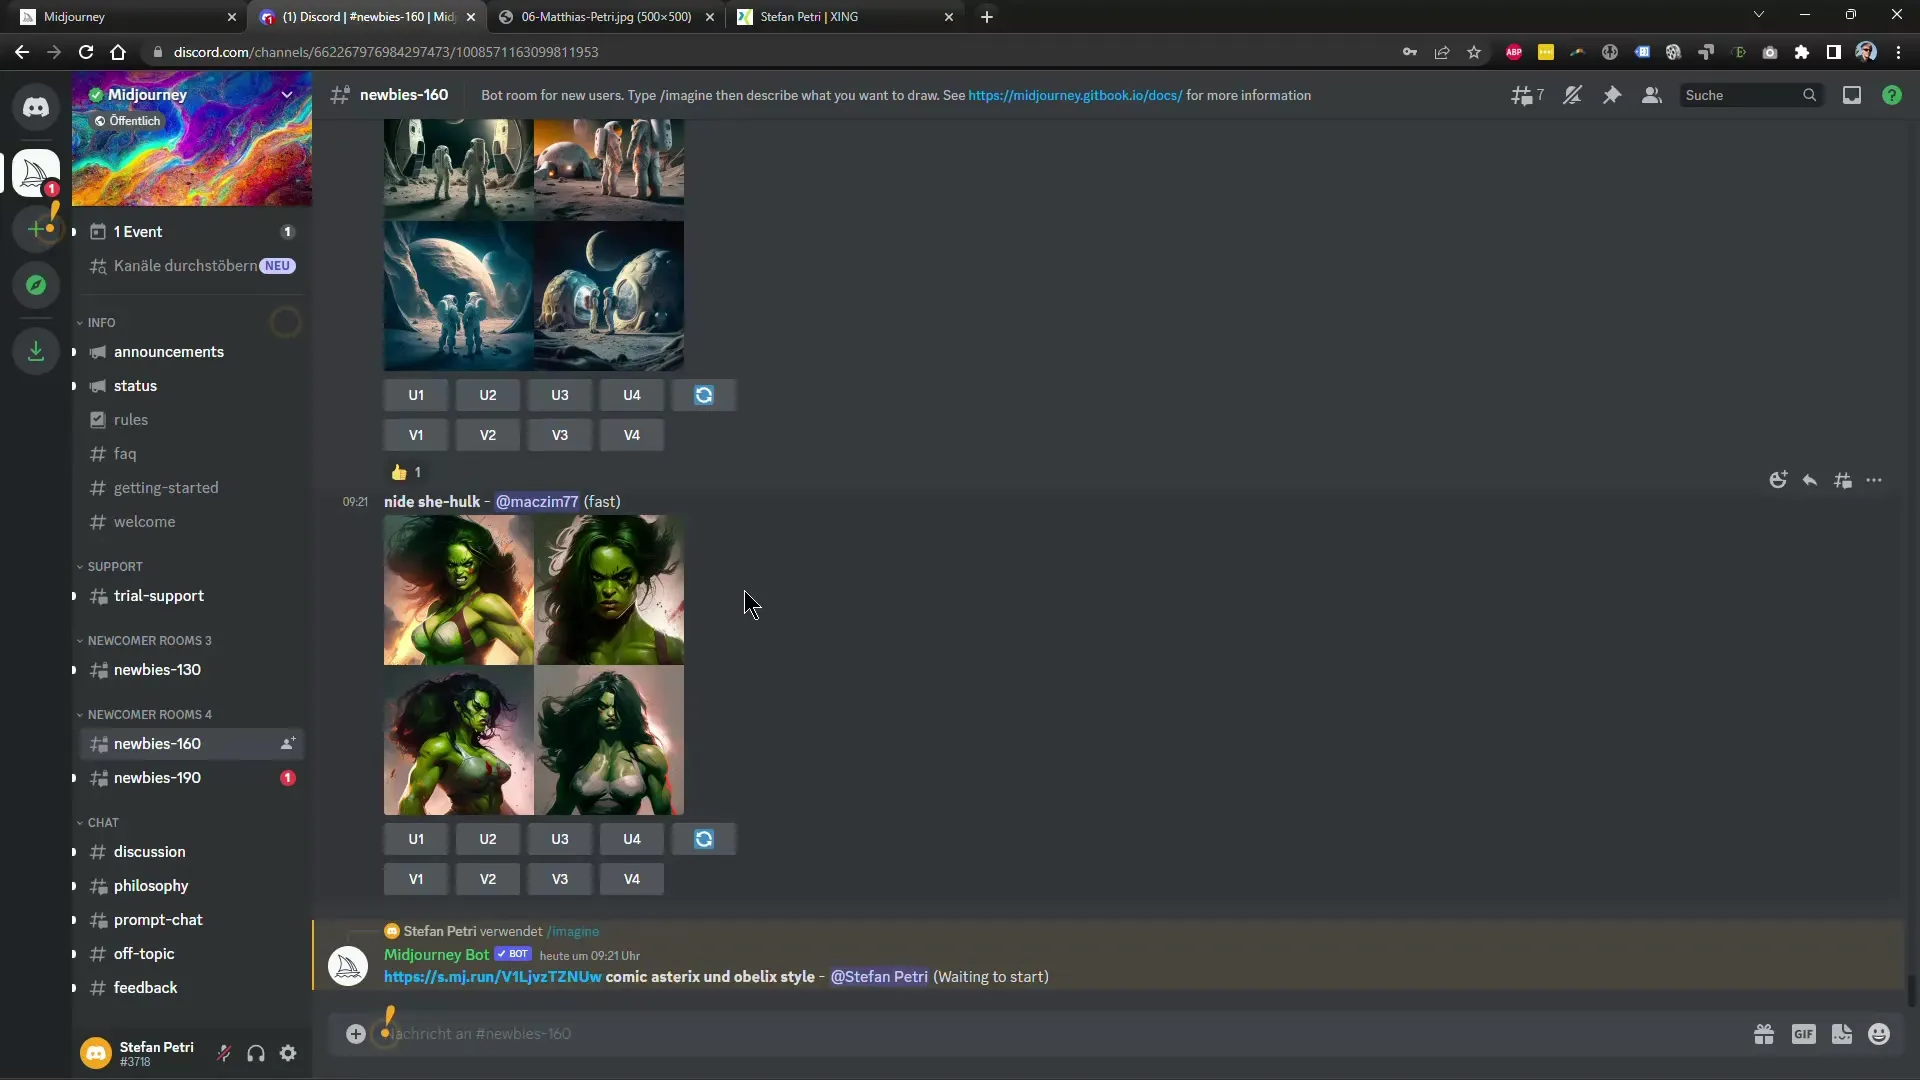
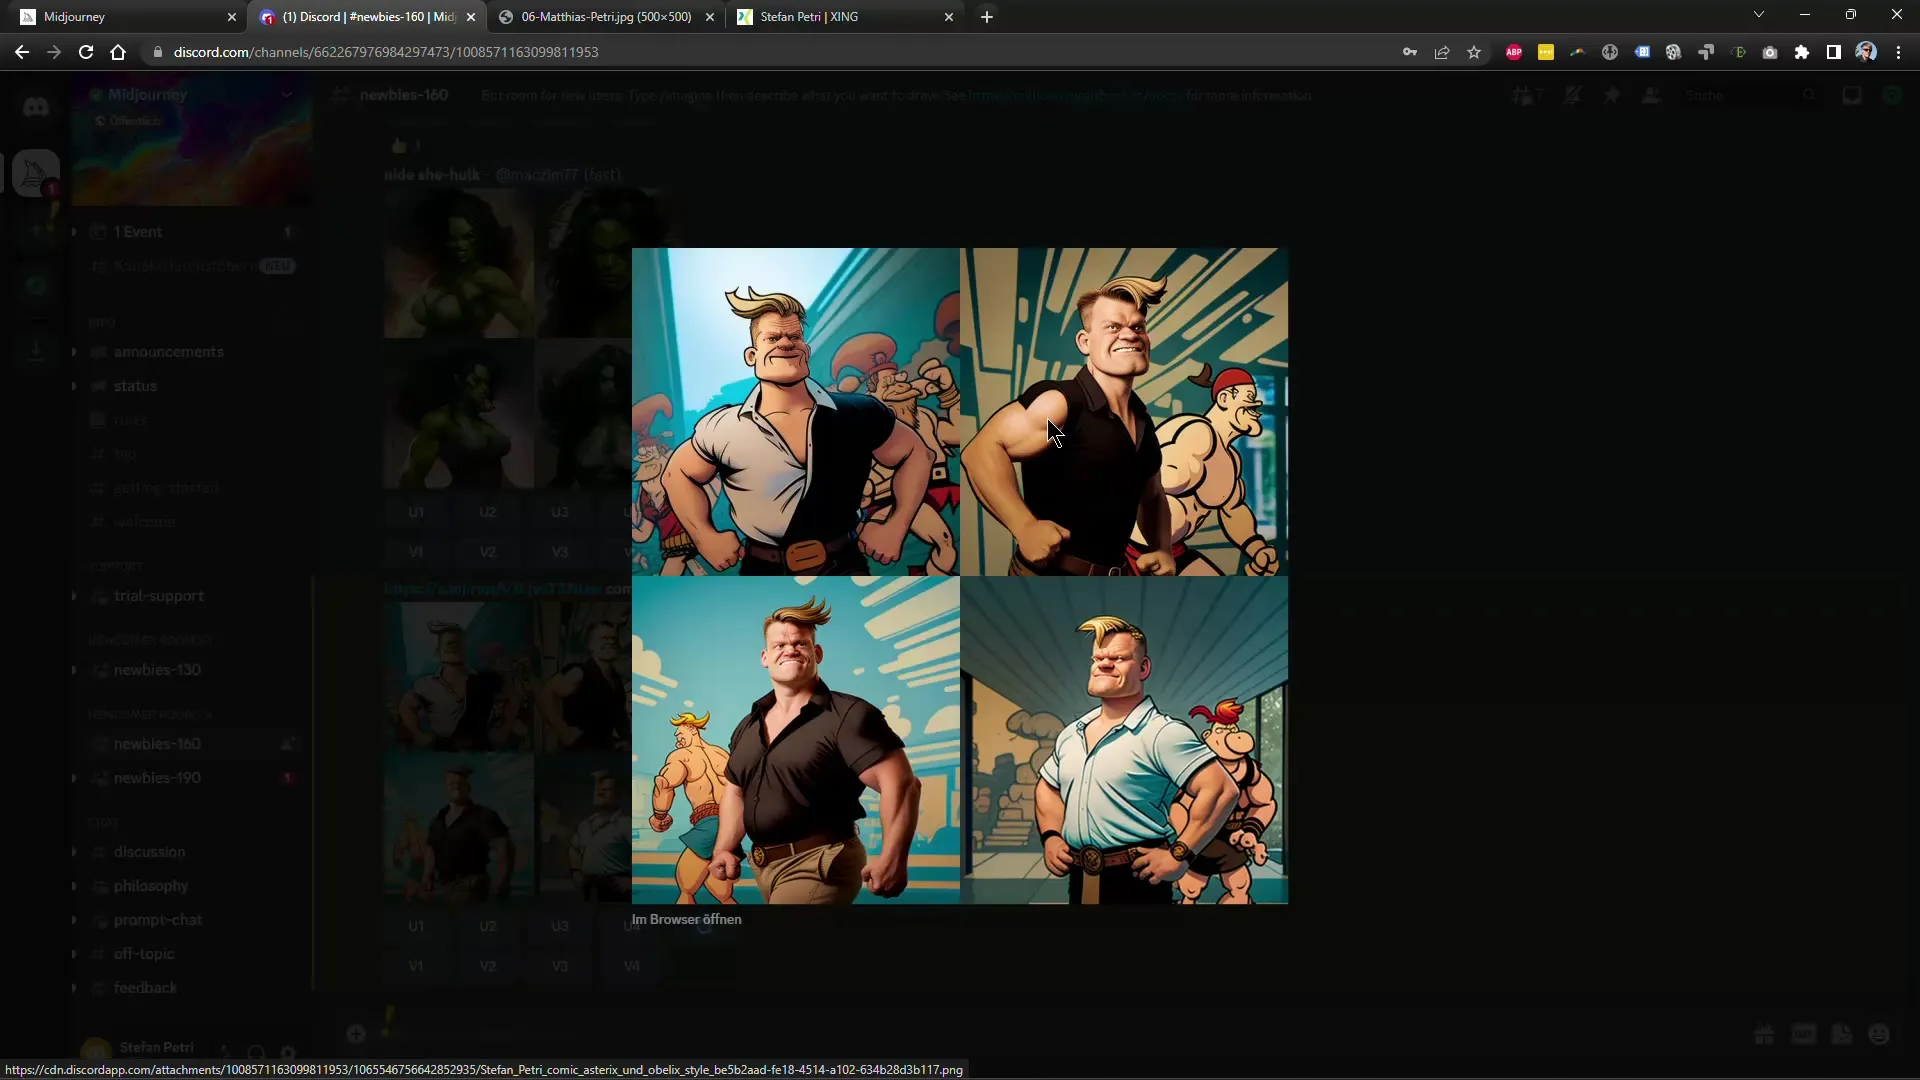
Once Midjourney has completed the edits, you will see a preview of your results. Here you can view the different versions of the edited images and choose the ones you like best.
6. Select Upscaling and Variants
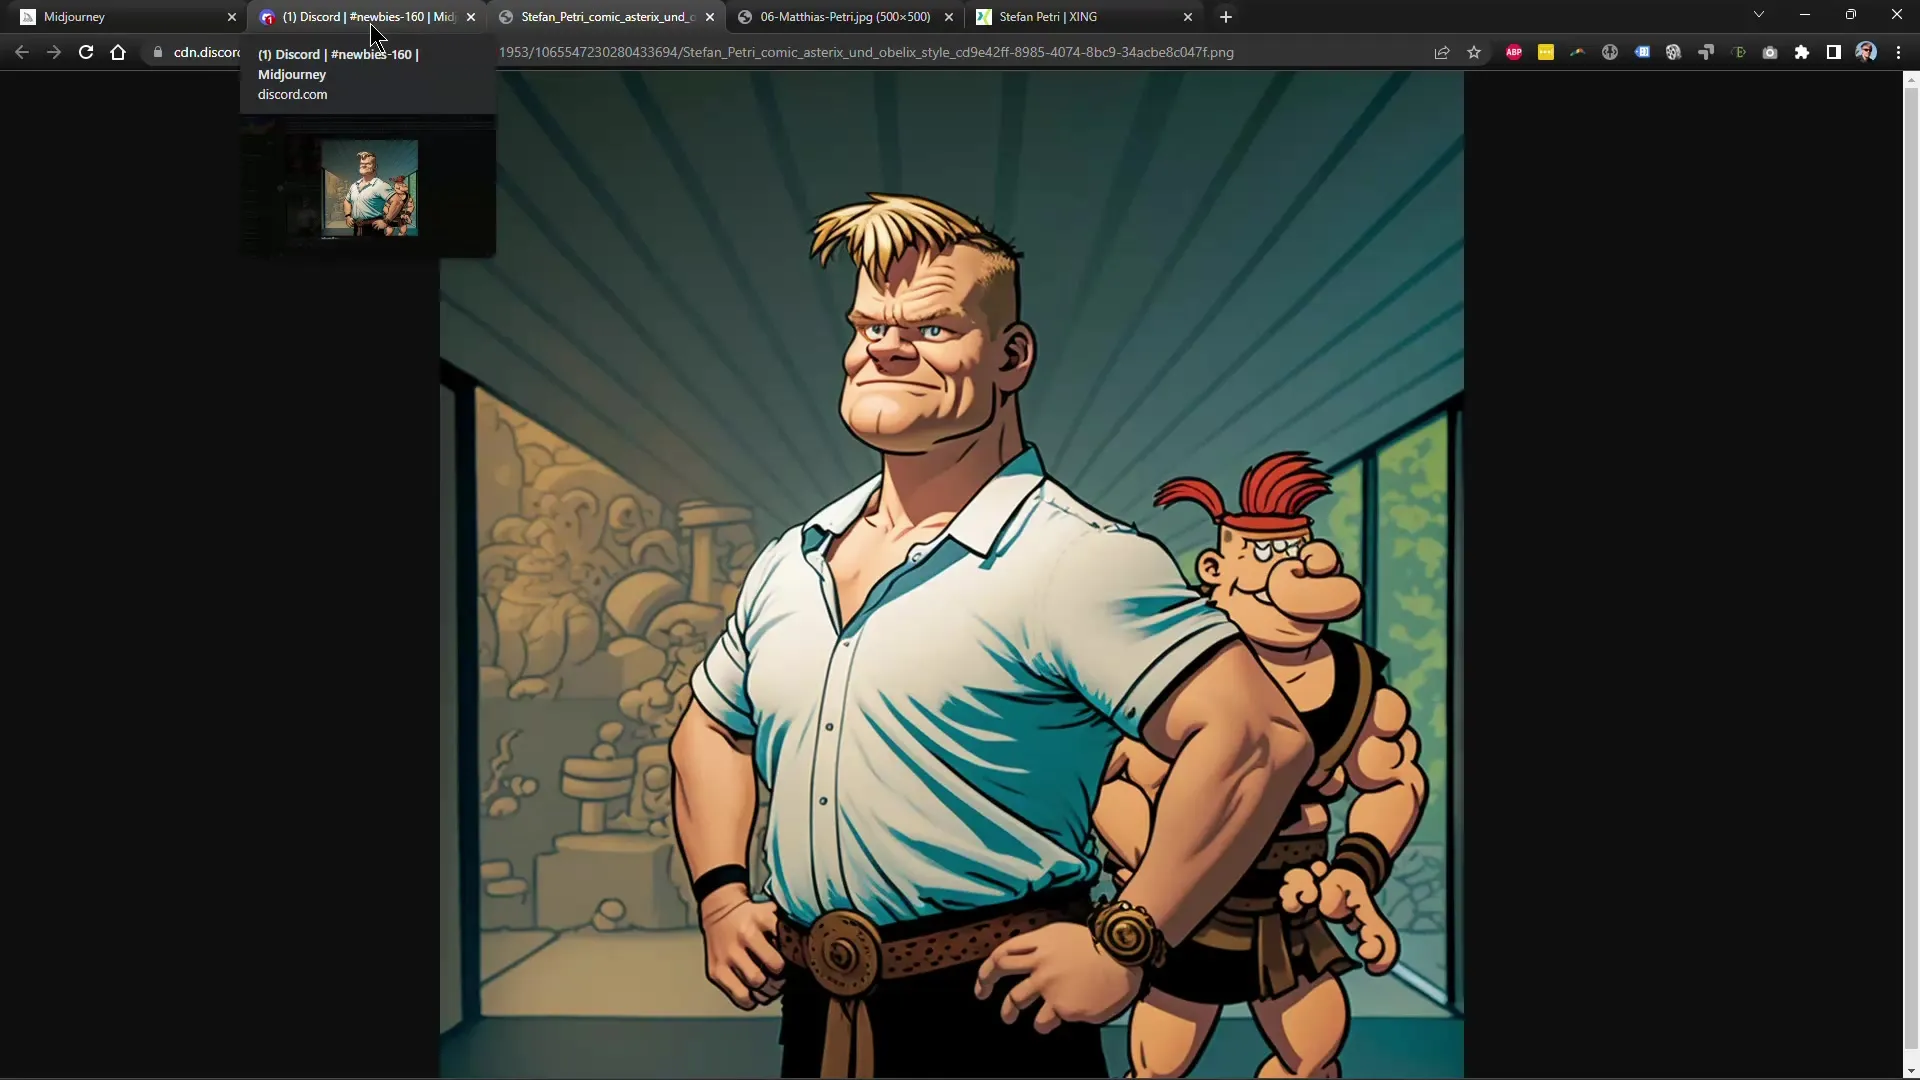
If you like a particular variant of the image, you can enlarge it by clicking on the corresponding UpScaling option. This will improve the image quality and give you a larger version of your design.
7. Upload More Images
If you want to upload a new image, you can simply do so by clicking on "Upload File" again and selecting the desired image. Remember to save the URL of your new image to edit it in Midjourney.
8. Consider Public Access
Be aware that all images you upload to your public account are visible to others. If you want to avoid this, you may consider a paid subscription.
9. Make Final Adjustments
Once images are uploaded, they can undergo many minor changes. Go through the different variants to make the perfect adjustments to your images. If you particularly like a variant, you can scale it to a higher resolution.
10. Using post-processing tools
For the final editing of your images, you can use programs such as Photoshop or Affinity Photo. These tools help you to increase sharpness and further optimize the overall image.
Summary
With this guide, you now have a clear and comprehensive overview of how to use and edit your own images in Midjourney. From selecting the source to applying styles and final editing, you have learned all the necessary steps to unleash your creativity to the fullest.
Frequently Asked Questions
How do I upload an image in Midjourney?You can upload an image in Midjourney by clicking on "Upload file" and selecting the desired image.
How can I change the style of my image?Simply add the desired style after the image URL in the command /imagine and press enter.
How long does it take to edit an image?Editing an image can take only a few minutes, depending on server load and job complexity.
How can I improve image quality?Use the UpScaling option to enhance the image quality of your edited versions.
Can I keep my images private?Yes, you will need a paid subscription to keep your images private.
