In this tutorial, you will learn how to optimize the settings of Midjourney to generate even more impressive images. While there are default settings that provide a solid foundation, to fully unleash the software's potential, it's important to know and understand the various options. I will explain to you step by step which settings you can adjust and how to effectively utilize them to maximize your image generation results.
Key Takeaways
Choosing the right Midjourney version, adjusting the quality and detail levels, and experimenting with different parameters are crucial to improving your image generation in Midjourney. Proper utilization can significantly enhance the technique behind content generation.
Step-by-Step Guide
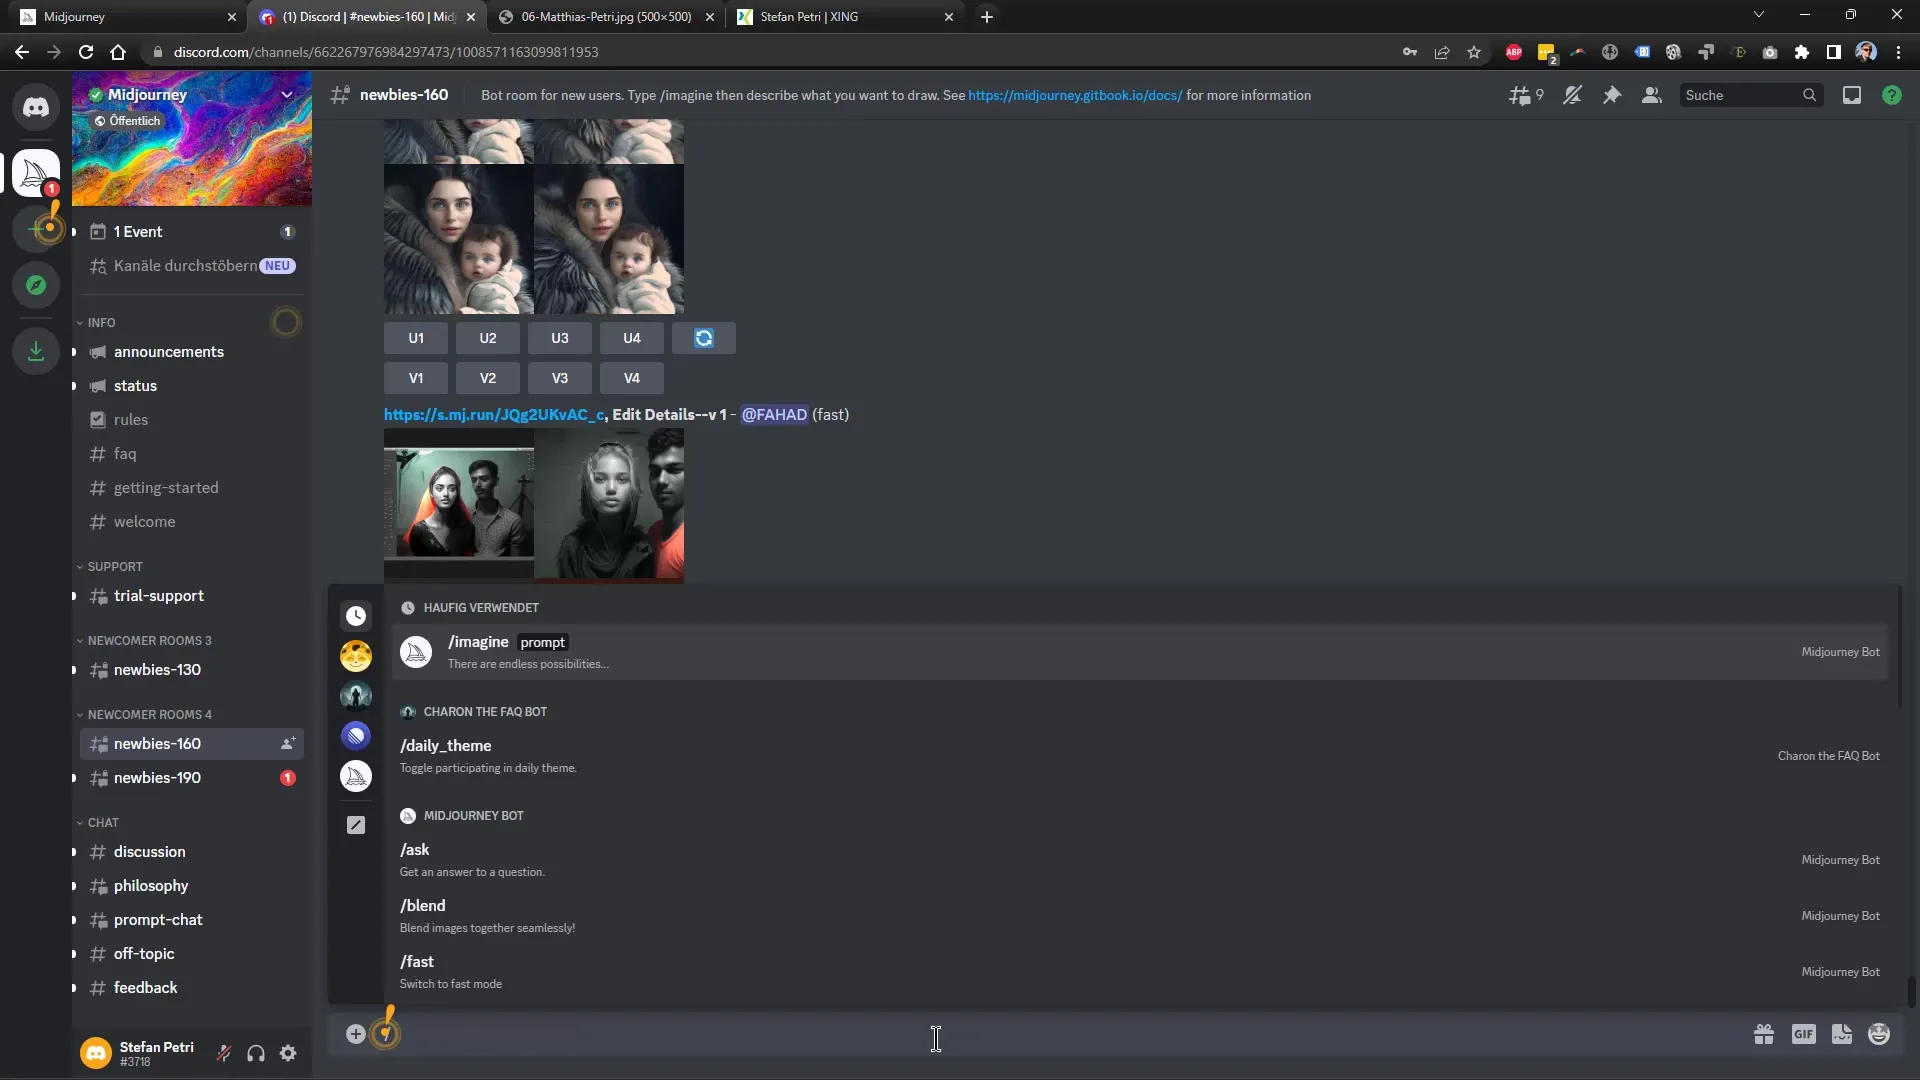
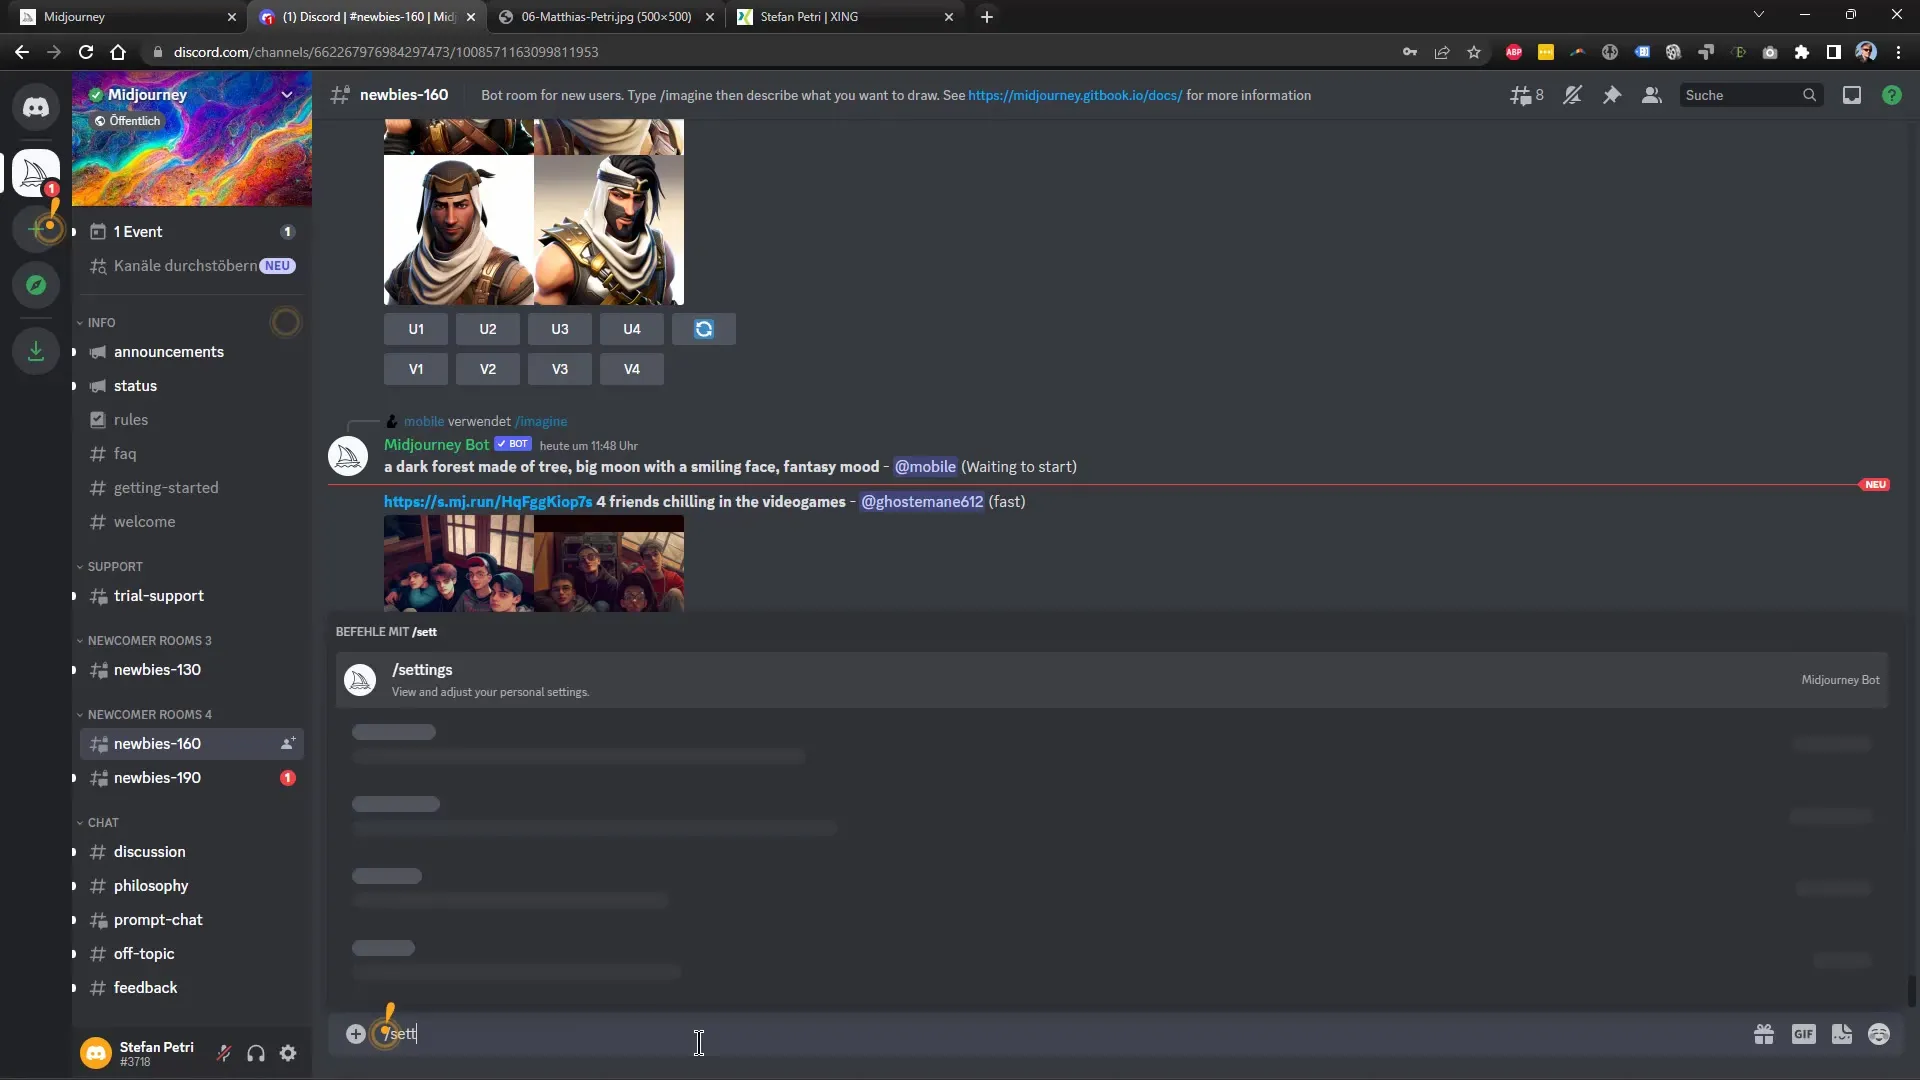
To change the settings in Midjourney, start with the command "/settings." This will provide you with an overview of all available customization options.
First, you can set the desired version of Midjourney. At the time of recording this video, we are using Version 4, the latest version. It is generally known that the latest version often delivers the best results. However, if you prefer the previous Version 3 because it better suits your needs in certain aspects, you can also select that.
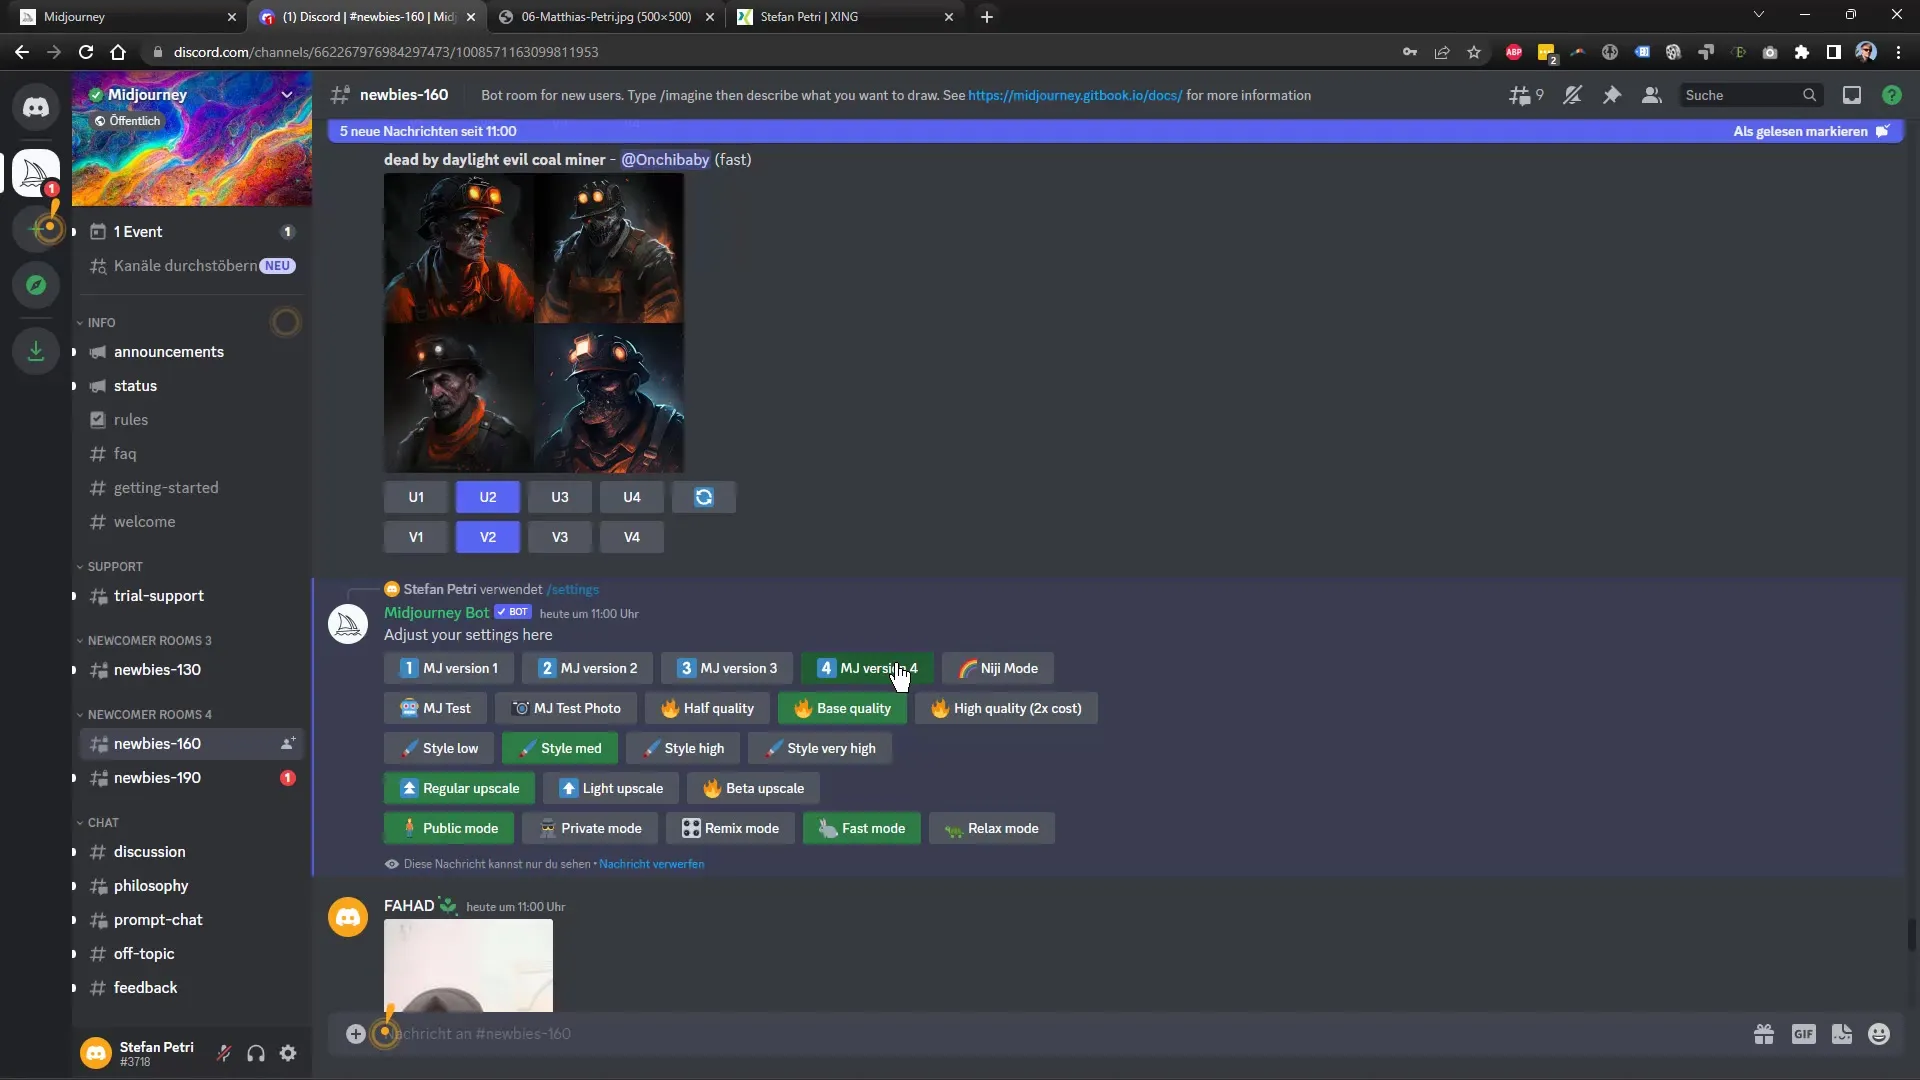
Another important parameter is the mode. Here, you can activate the "Anime Mode" if you want to generate images in an anime style. This could be an interesting way to unleash your creativity and experiment with new styles.
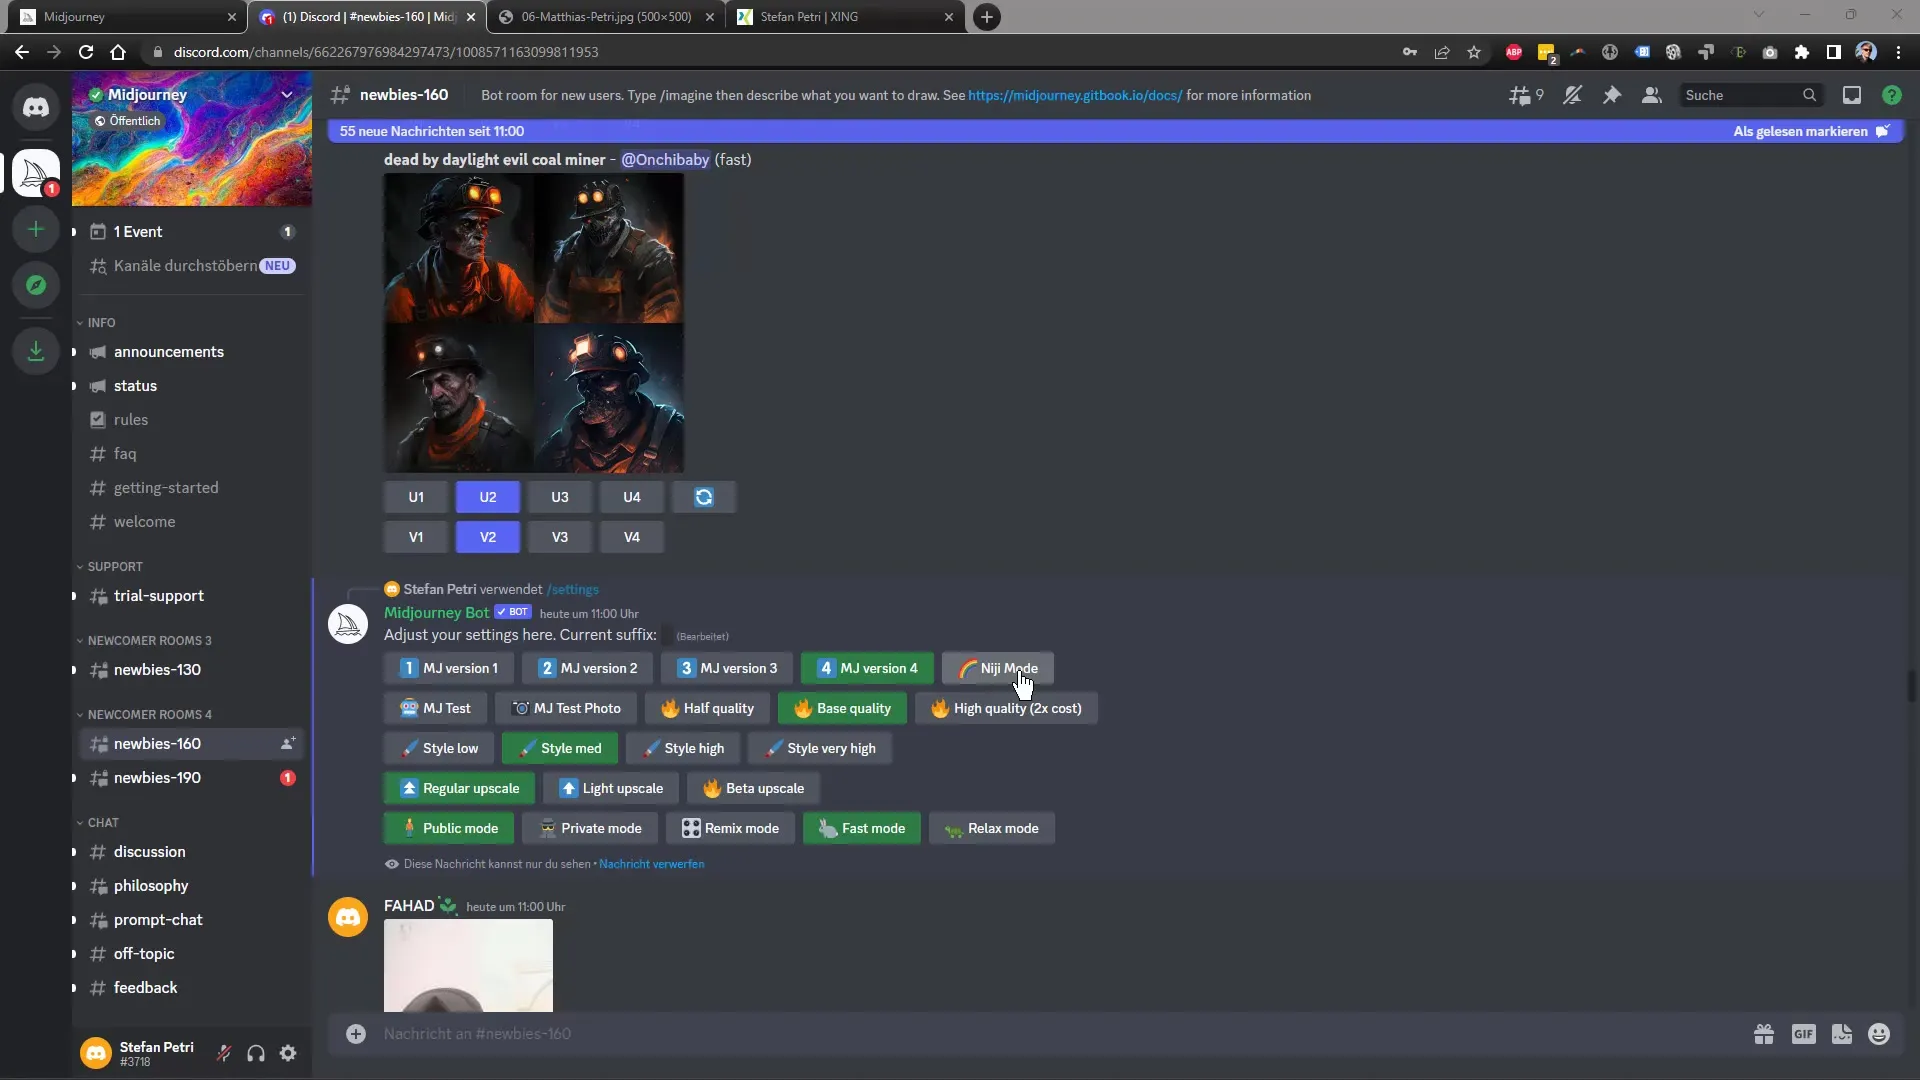
Next, proceed to the quality setting. You can choose between different quality levels: Low, Normal, or High. Keep in mind that computation time may double with higher qualities. Therefore, consider carefully which quality level you need, especially if you have a limited quota of images per month.
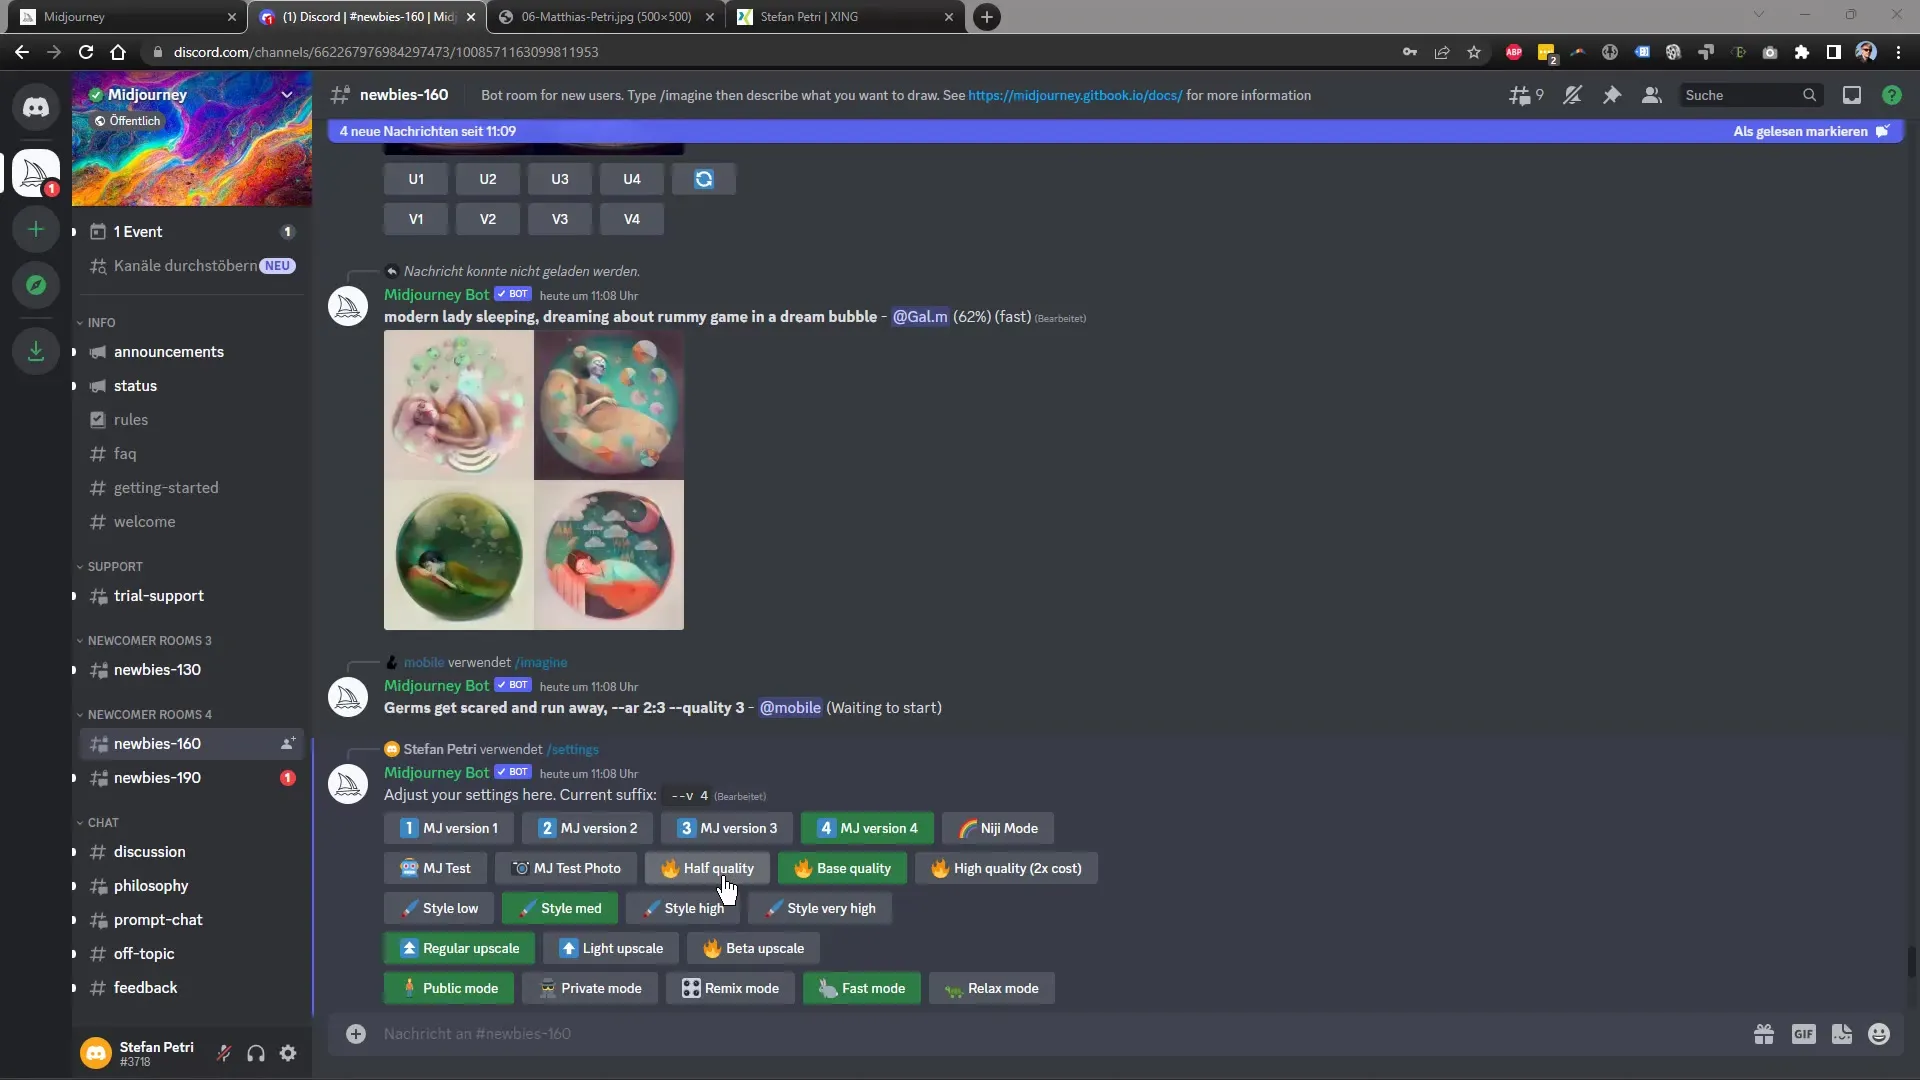
In the next step, you can adjust the level of detail in your image. Here, you have the choice between low, medium, and highly detailed. While higher detail levels provide more impressive results, they may also require more computing power.
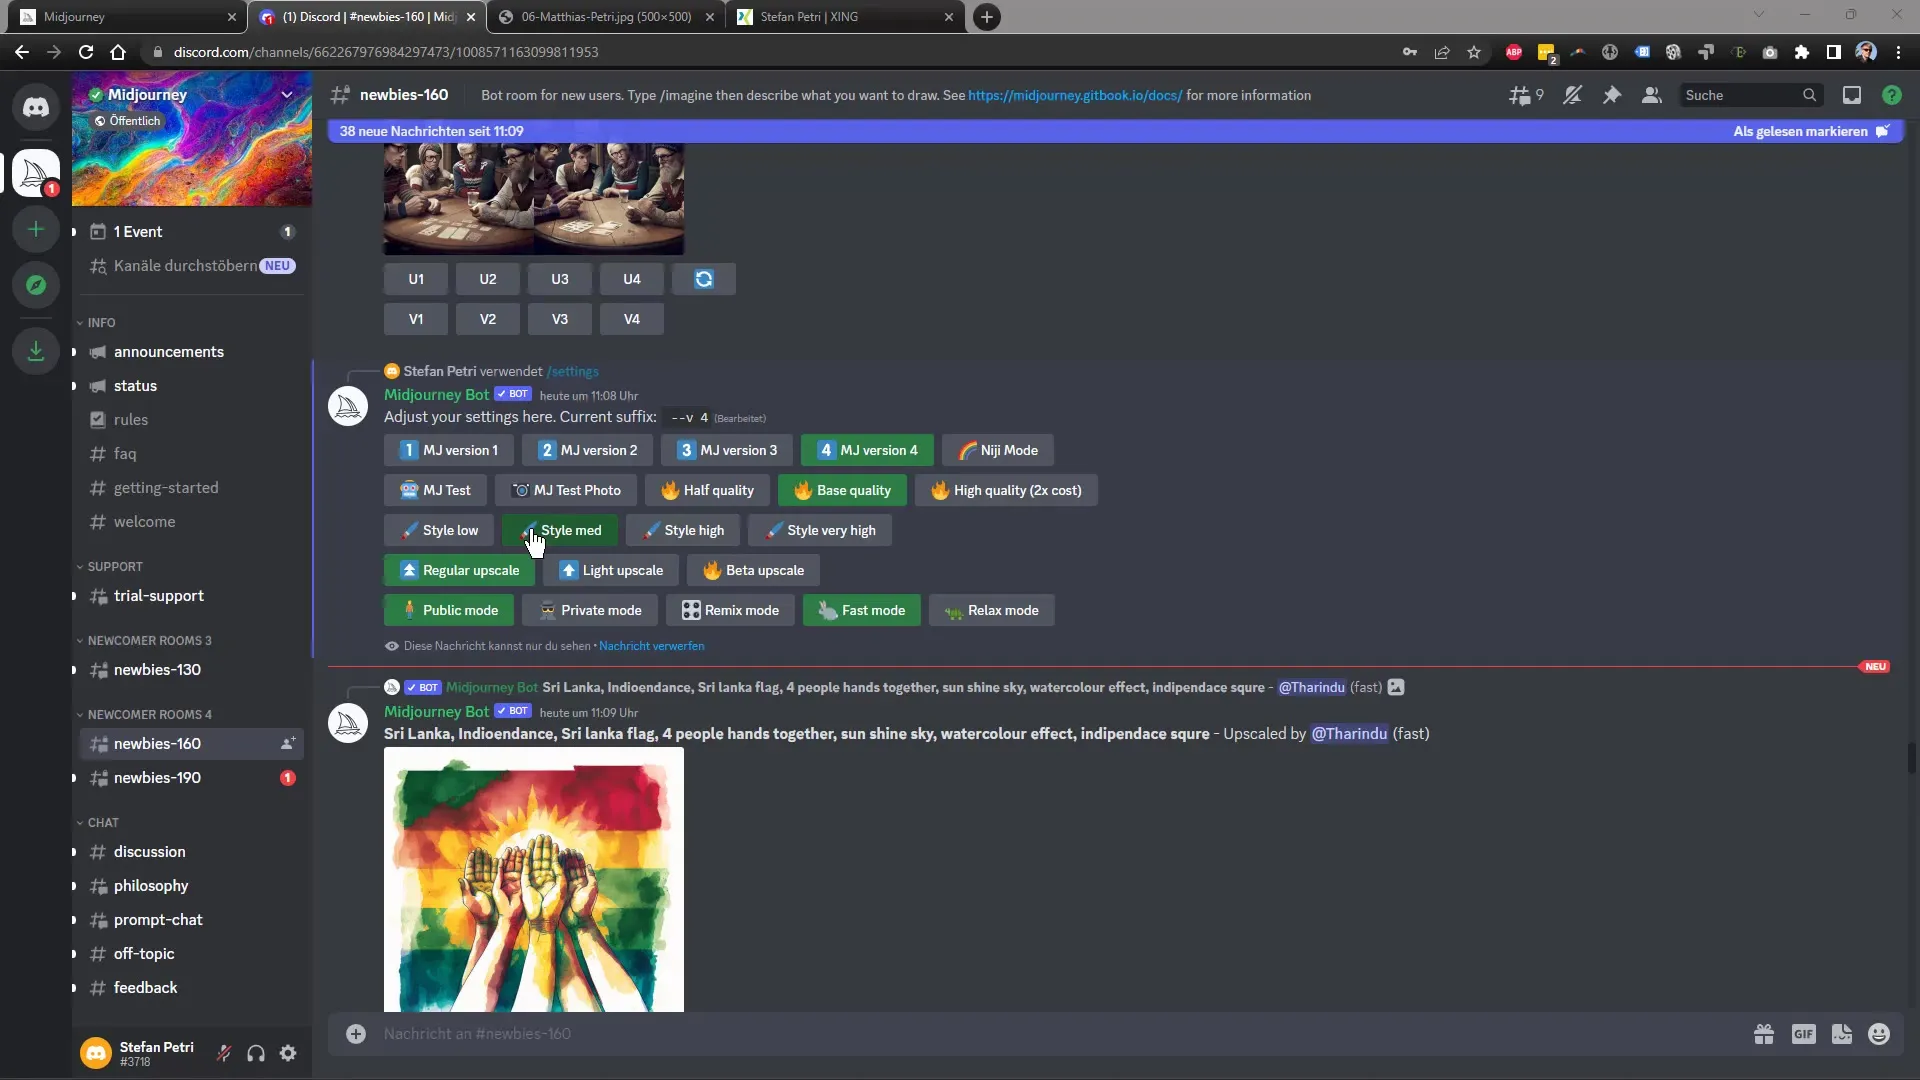
Another important point is image scaling. You can choose whether the image should be in standard format, smaller versions, or even upscaled to a beta version. The beta version could be optimized in the future, so it's worth trying out.
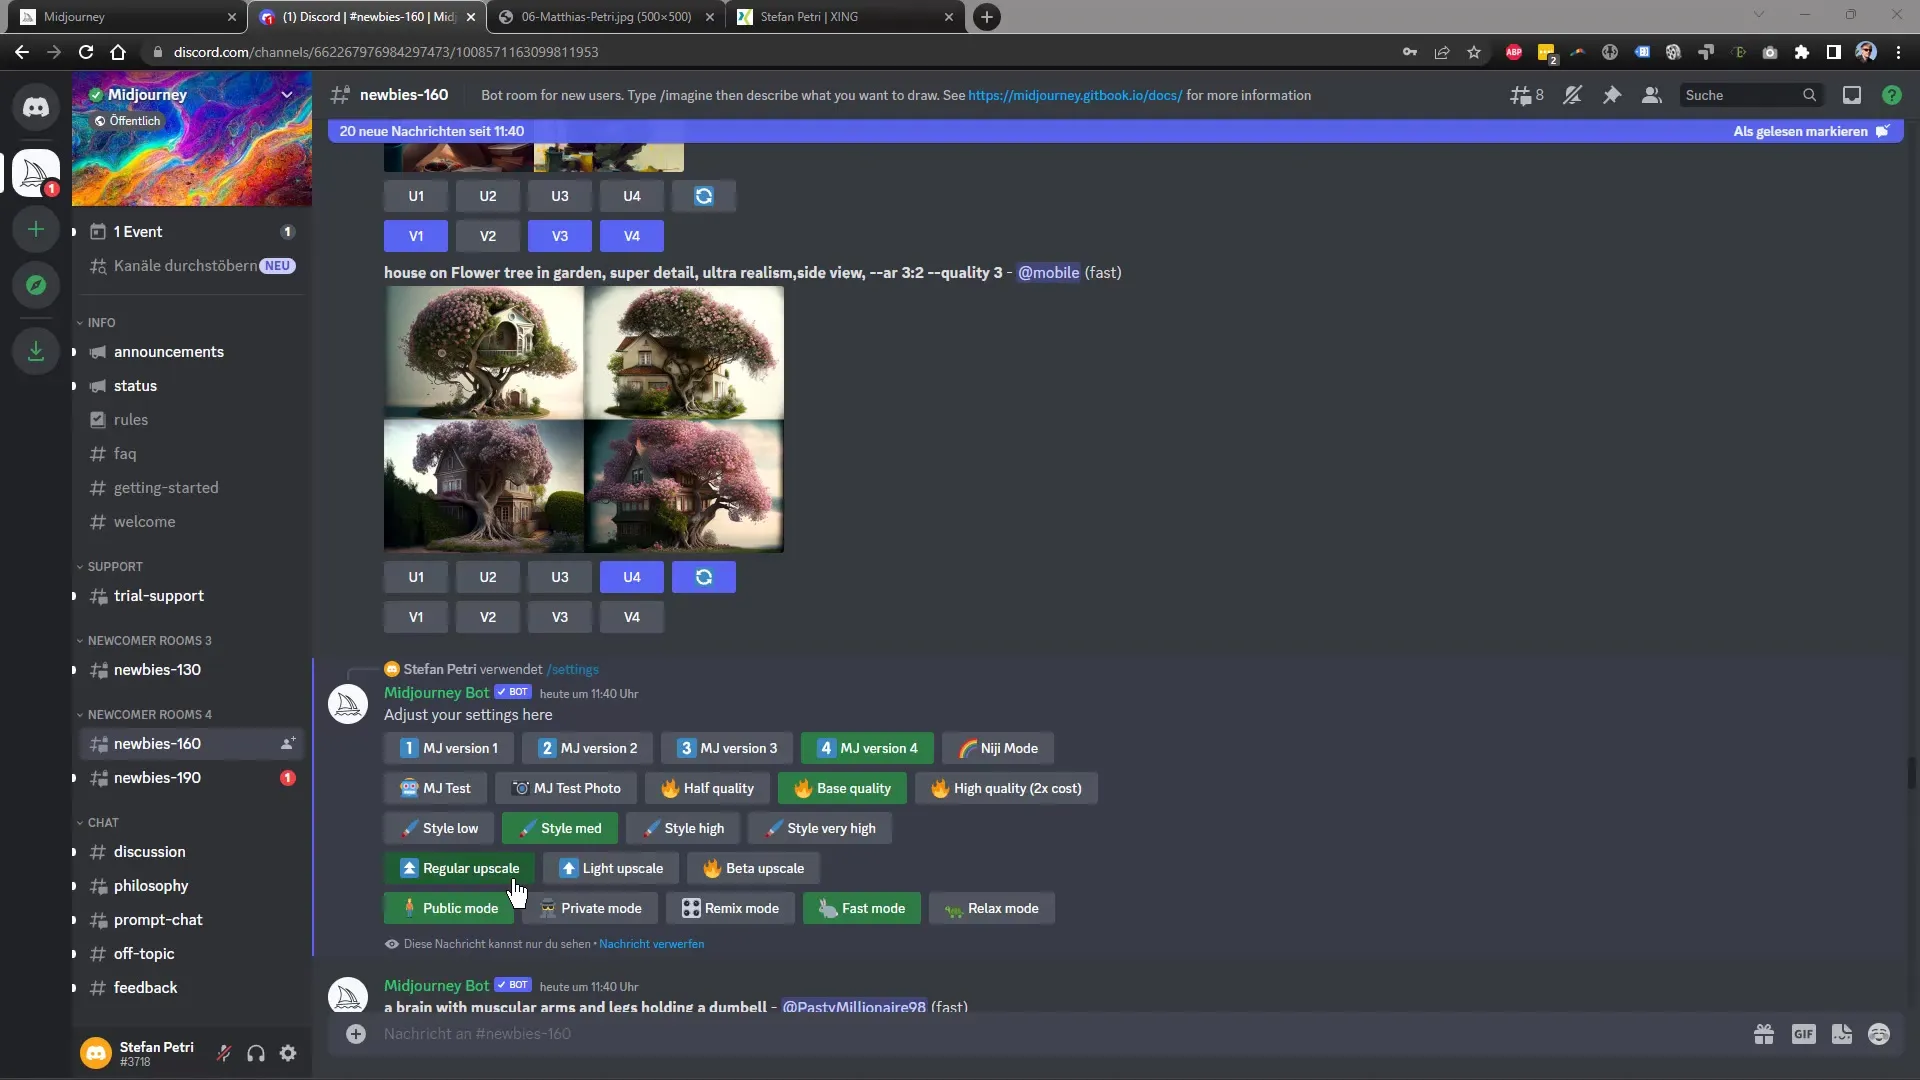
In the final row, the options are available to keep your image either public or private. If you enable the private option, your creation will only be visible to you, which can be particularly important when working on sensitive or unique projects.
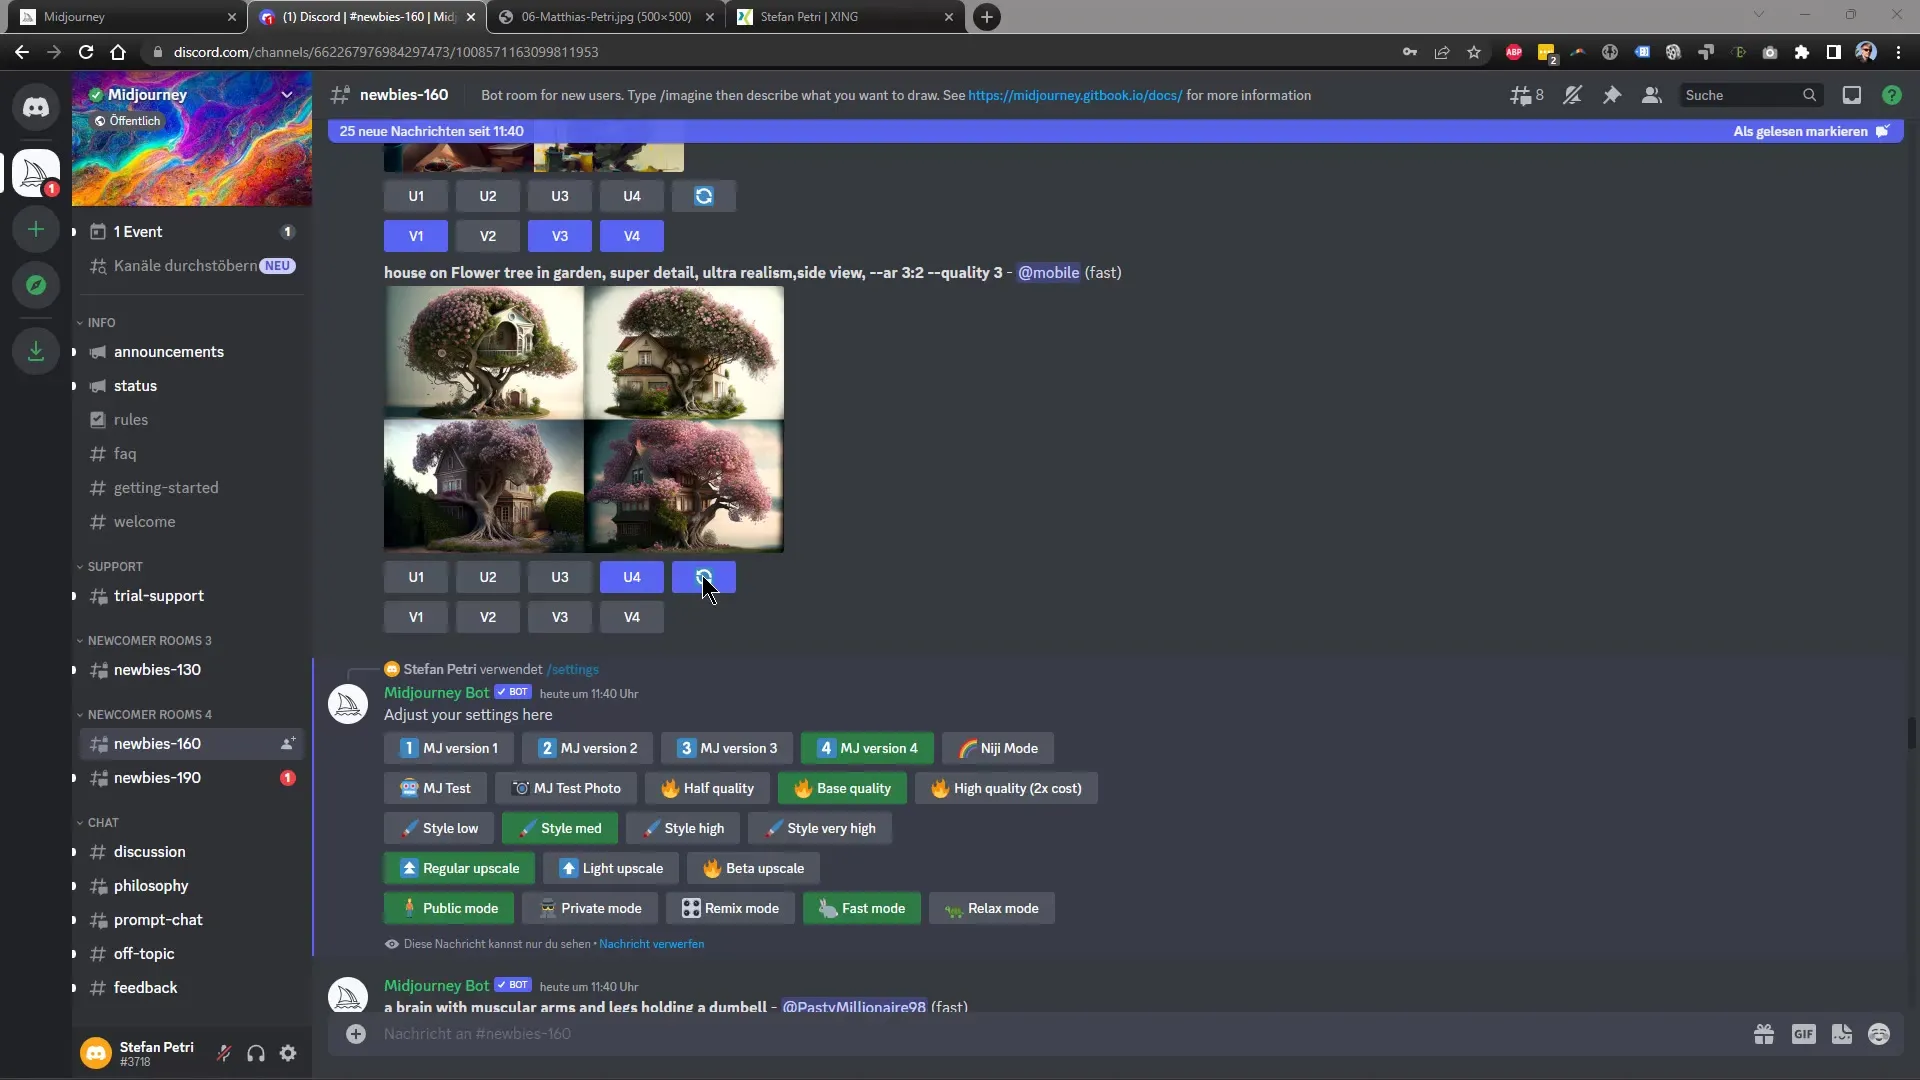
Additionally, there is the "Relax Mode," which allows for slower generation to optimize processing time. For faster results, you can use the "Fast Mode." Note that some modes come with different limitations or advantages.
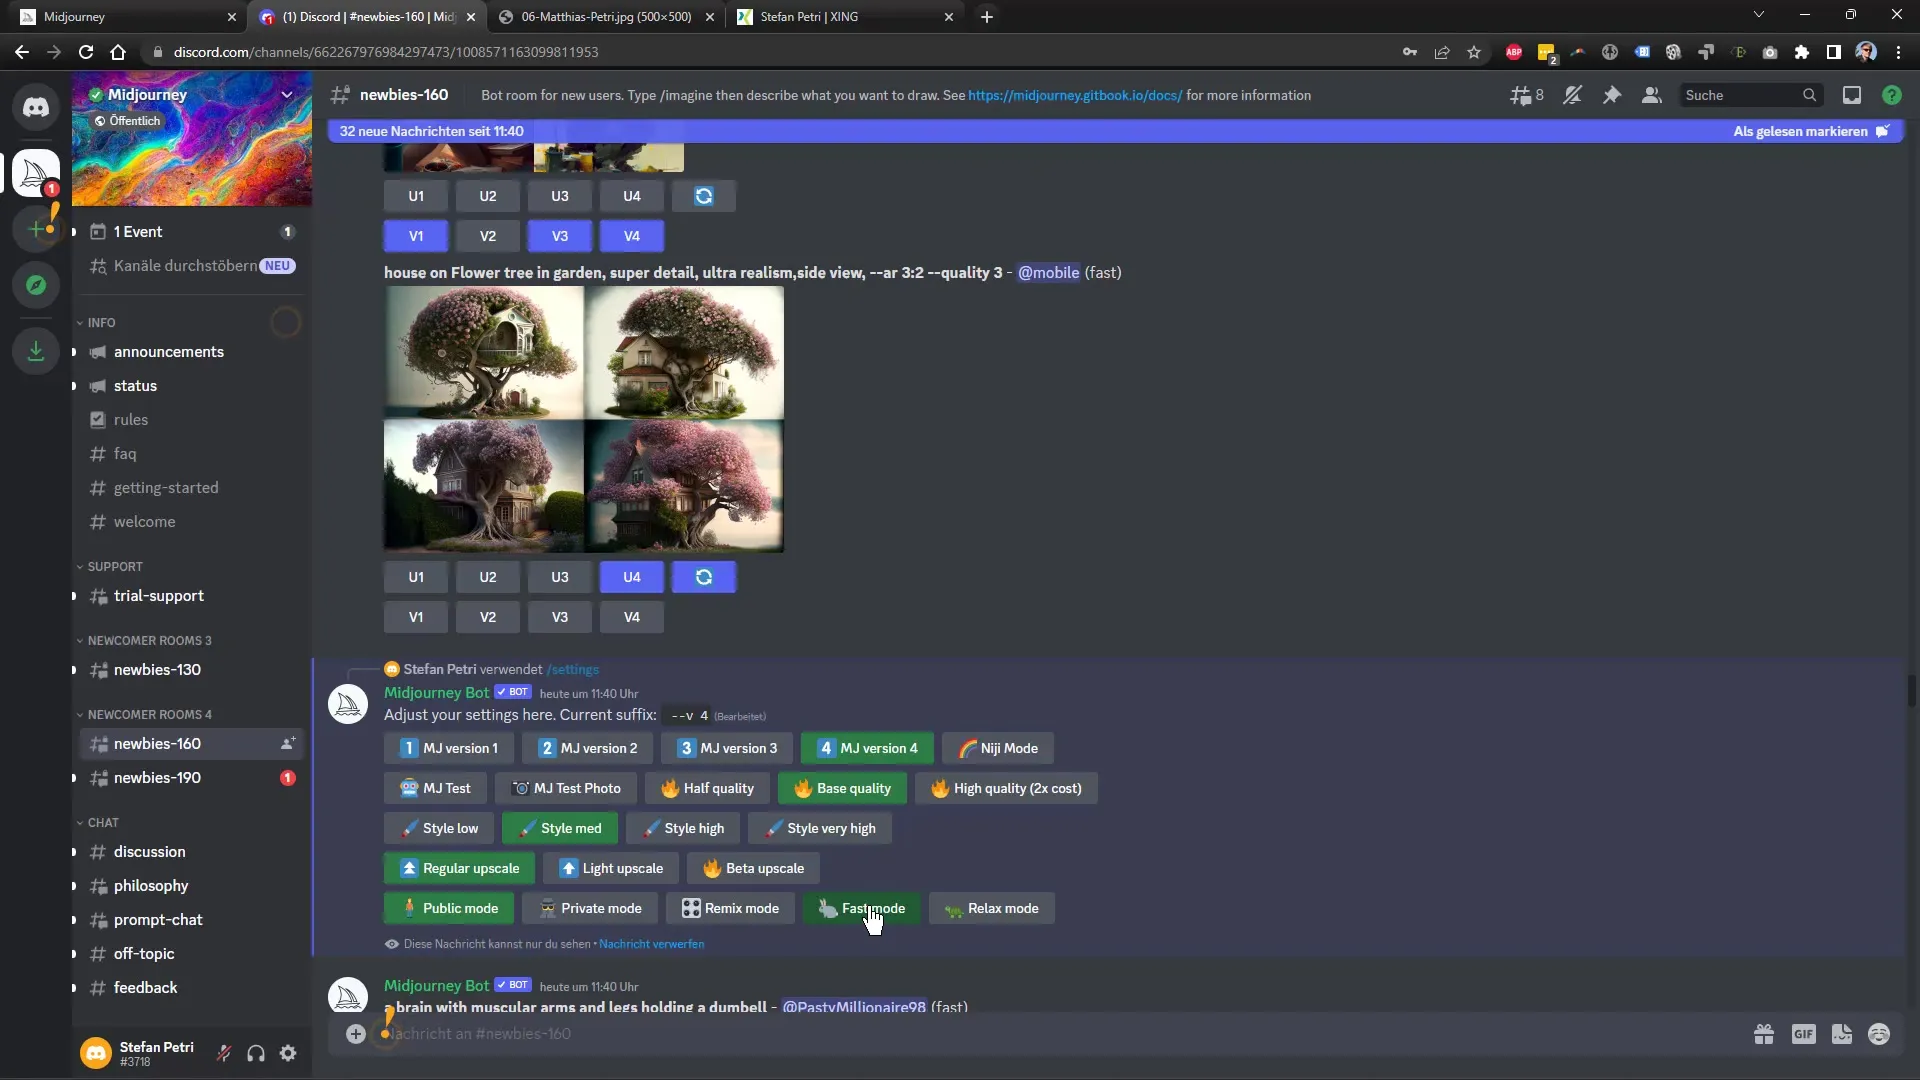
An exciting feature you should definitely try is the "Remix Mode." This option allows you to make adjustments while generating images. For example, you can modify the style or specific details of your already generated image, creating a unique customization.
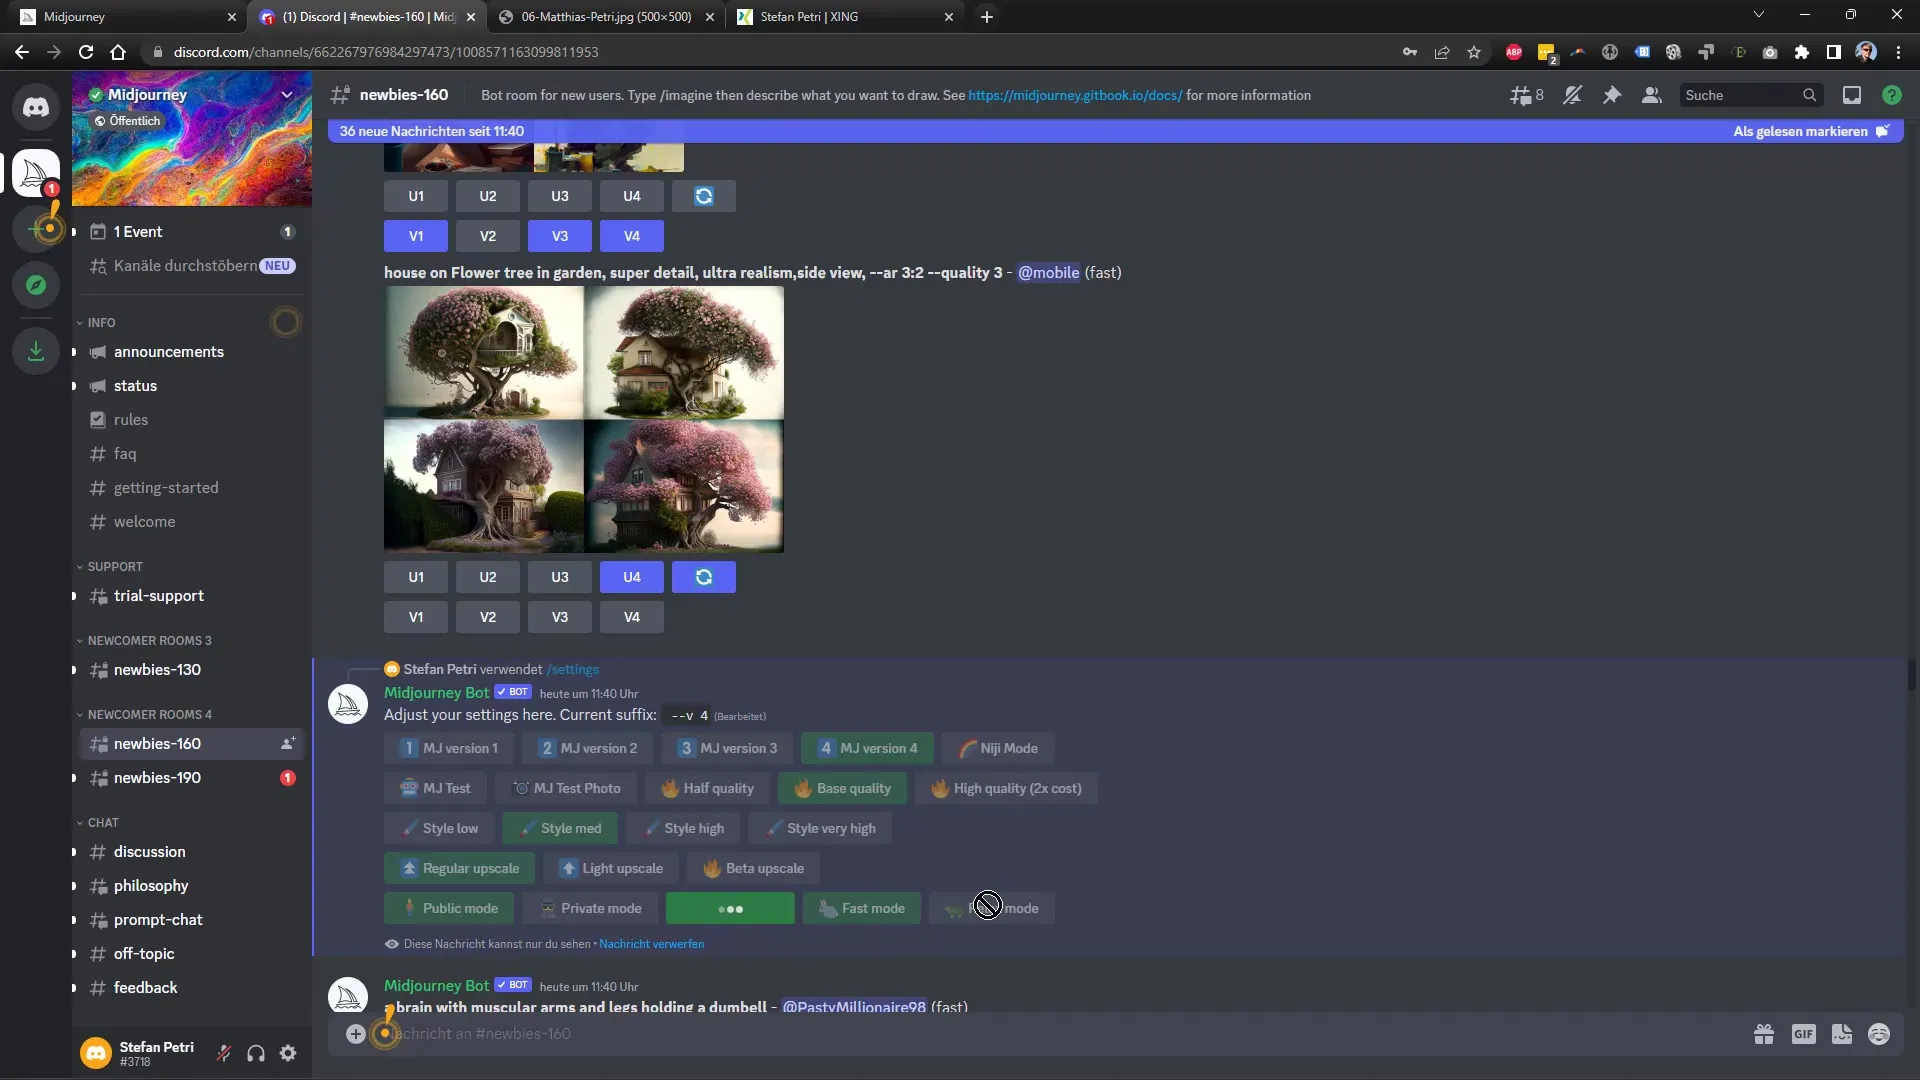
When in Remix Mode, input the image you want to change and play around with the template. You can move towards a variant and adjust specific details, such as adding a castle in the sky or incorporating snow.
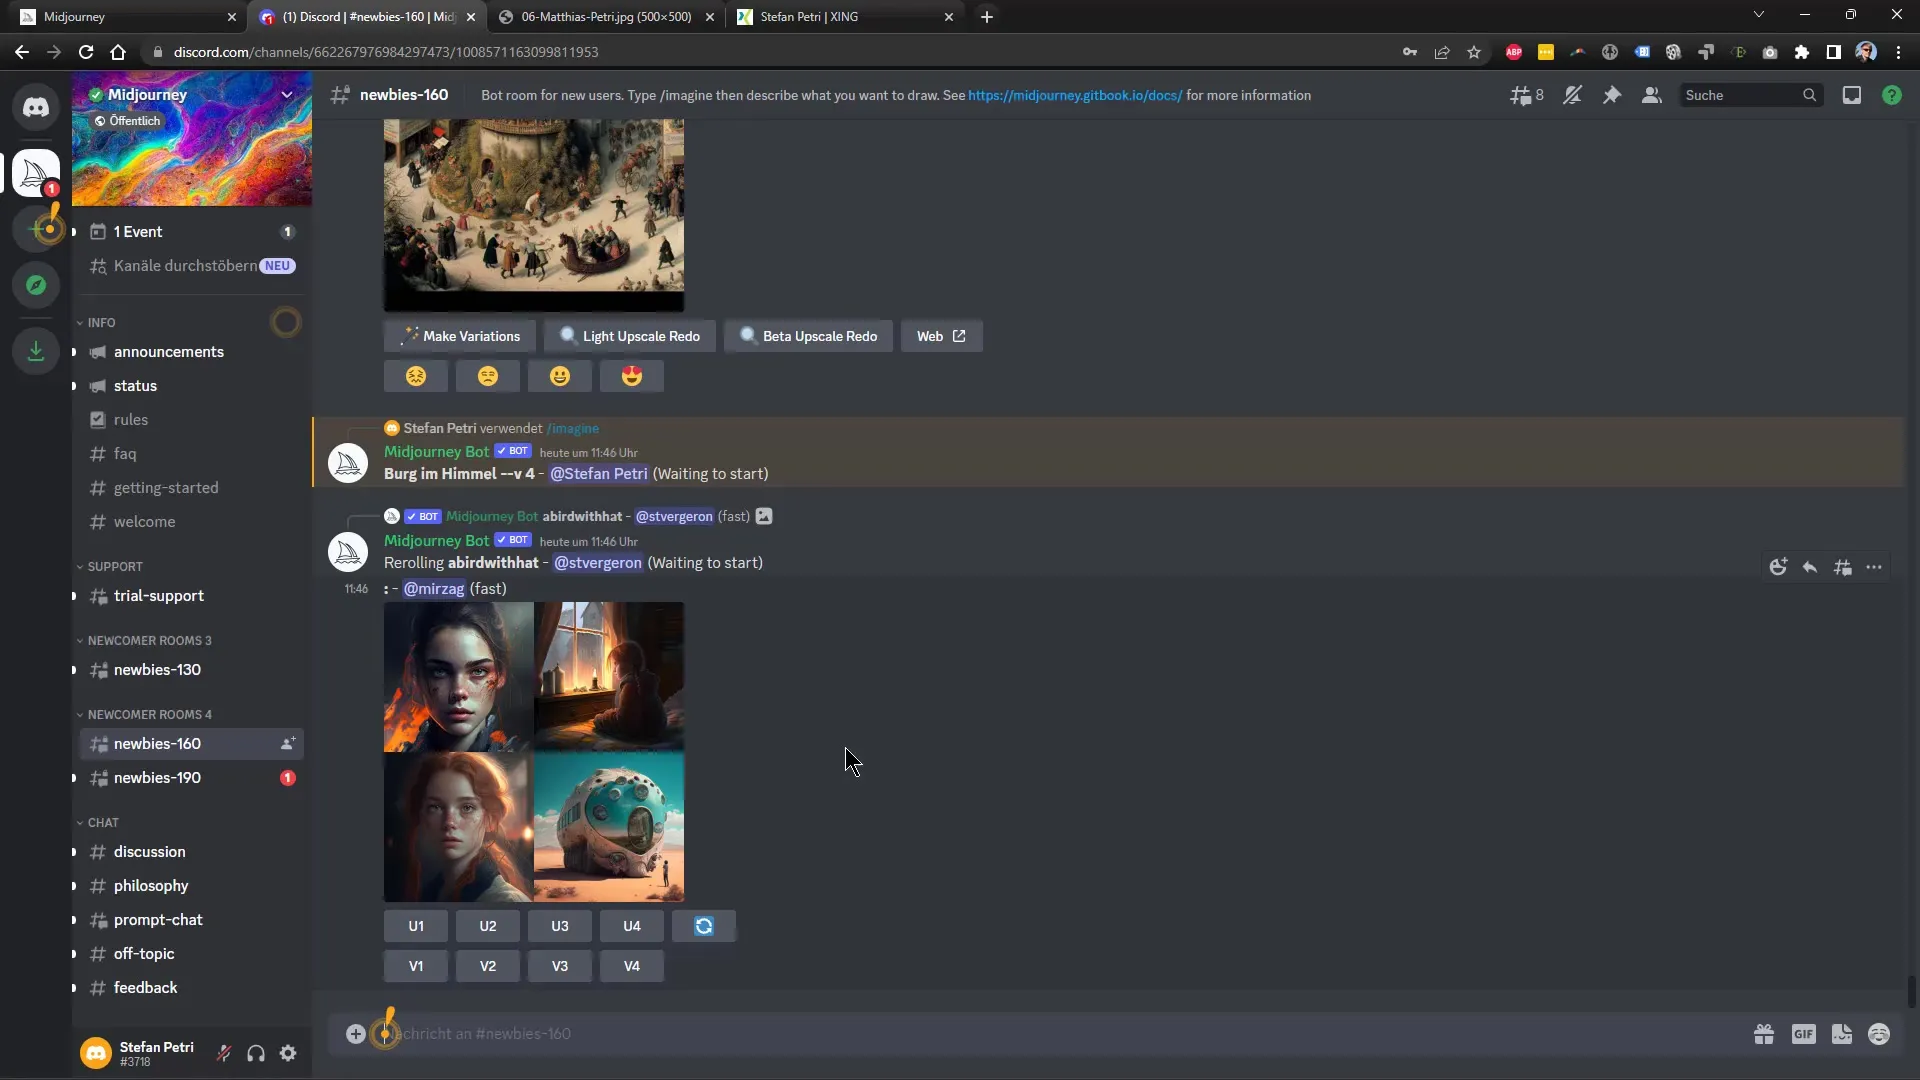
The final adjustments are crucial for creating an impressive image. Take advantage of the option to save the variations and add more details afterwards.

Lastly, when you are satisfied with the generated images, you can request the high-resolution version of the image. Before that, check how the appearance looks in different settings to make sure you get the best result.
Overall, the settings of Midjourney offer incredible flexibility and many opportunities to get the most out of your image generation. By experimenting and exploring, you can discover which settings best meet your artistic needs.
Summary
In this tutorial, you have learned how important it is to choose the right settings in Midjourney. From selecting the Vision version to quality and level of detail to the Remix mode - all these options allow you to generate impressive and unique images. Experiment with the settings to find out what works best for you.
Frequently Asked Questions
What is the difference between the Vision versions of Midjourney?The latest Vision version usually yields better results, but sometimes an earlier version may have specific advantages.
How can I adjust the quality level?You can choose between low, normal, and high quality levels, with higher quality levels requiring more computational time.
What is the Remix mode?The Remix mode allows you to re-edit images already generated and adjust their style or specific details.
How do the images scale?You have different options for image scaling: standard size, small, or a beta scaling.
How can I keep my images private?You can activate the private mode option while generating the image, which restricts visibility.
