In this tutorial series, you will be extensively informed about how to convert pixel graphics into vector objects in Inkscape. Under the guidance of Marco Kolditz, you will learn how to use various free graphics and how to edit them optimally. This introduction prepares you for the upcoming steps and ensures that you are ready to fully utilize the functions of Inkscape.
Main Insights
- You can download exciting free graphics for your projects.
- It is important to use the right settings and functions to achieve optimal results.
- Inkscape allows you to manually adjust and optimize vector graphics.
- You will learn how to scan hand-drawn illustrations with your smartphone and import them into Inkscape.
- Vector graphics can be exported in different formats suitable for your needs.
Step-by-Step Guide
To facilitate your entry into vectorization, follow these steps:
First, focus on graphics. It is important to find high-quality pixel graphics that you can use for free. There are numerous websites where you can download illustrations, logos, and icons. Make sure to familiarize yourself with the legal terms of use in advance.
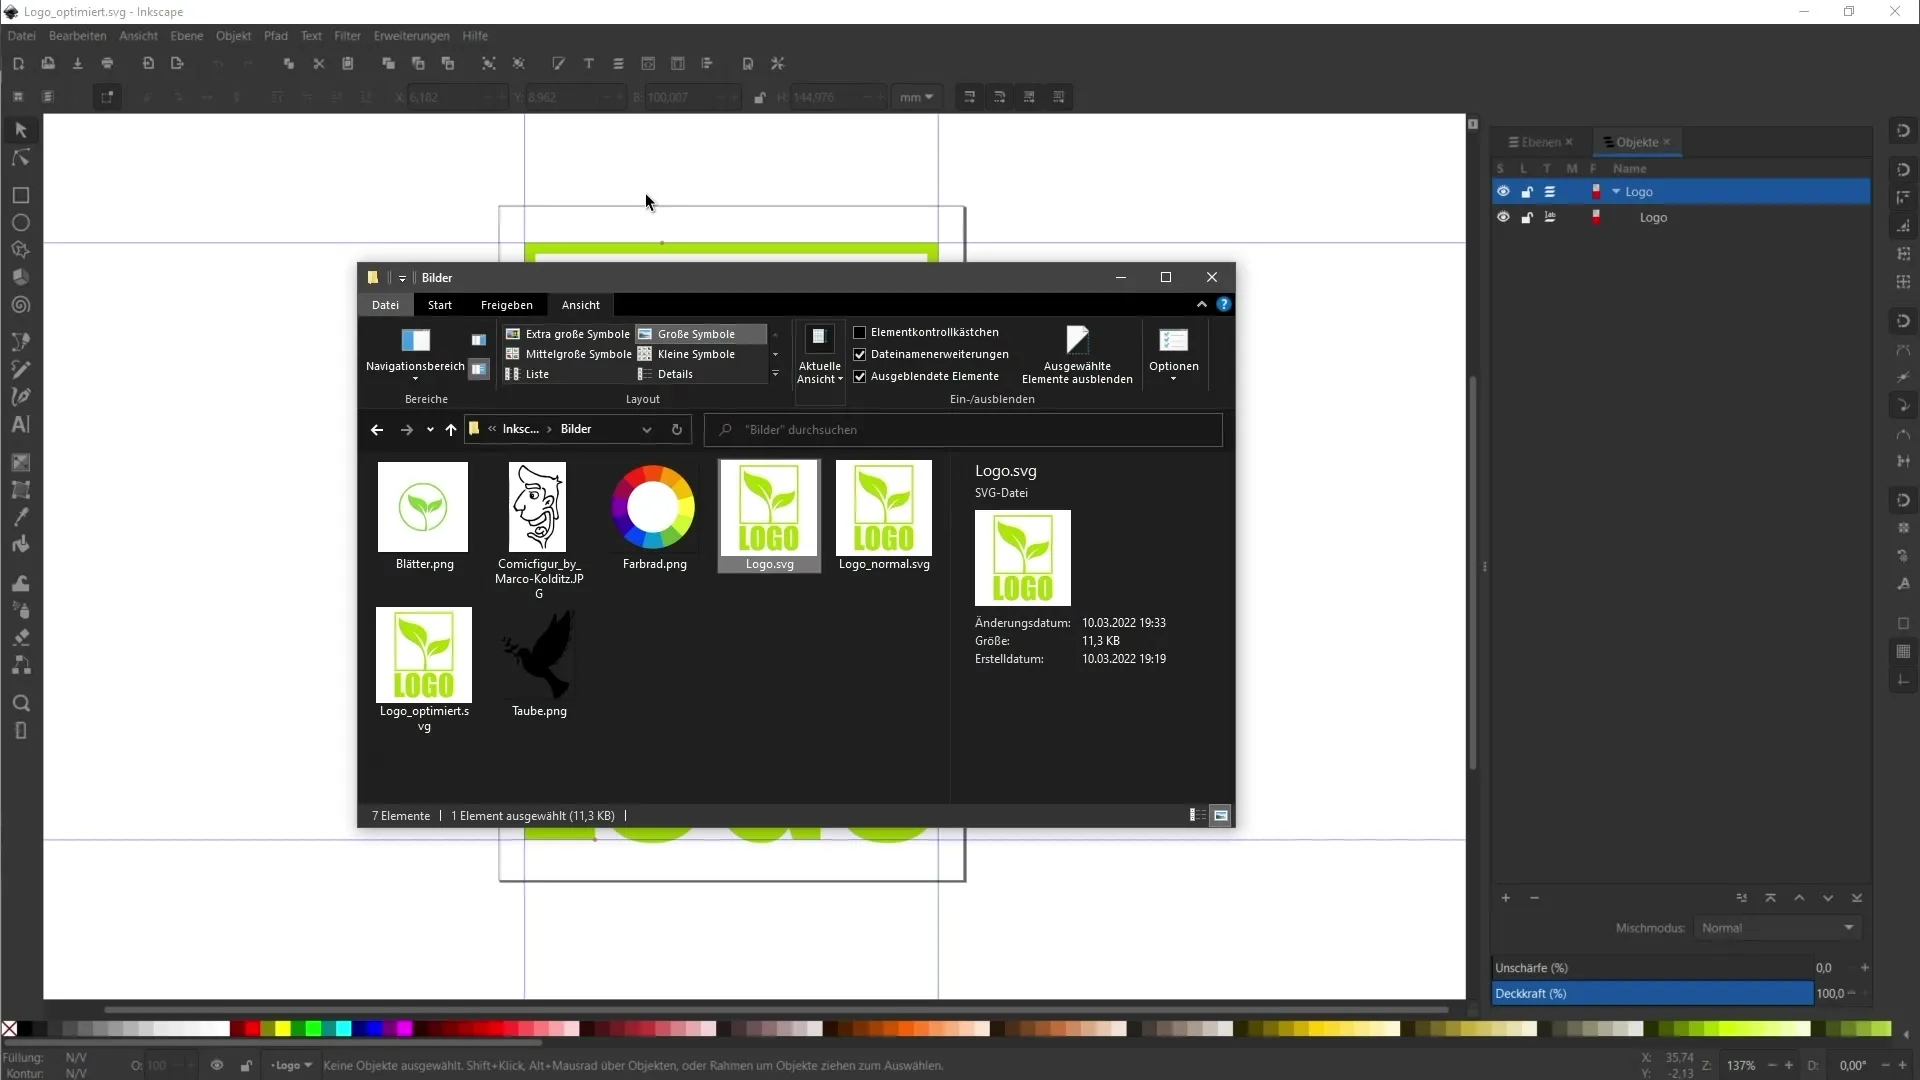
Once you have the graphics, the next step is to import them into Inkscape. This is done quite simply through the "File" menu and the "Import" option. Here, you select the previously downloaded file and click on "Open". Make sure the file is compatible.
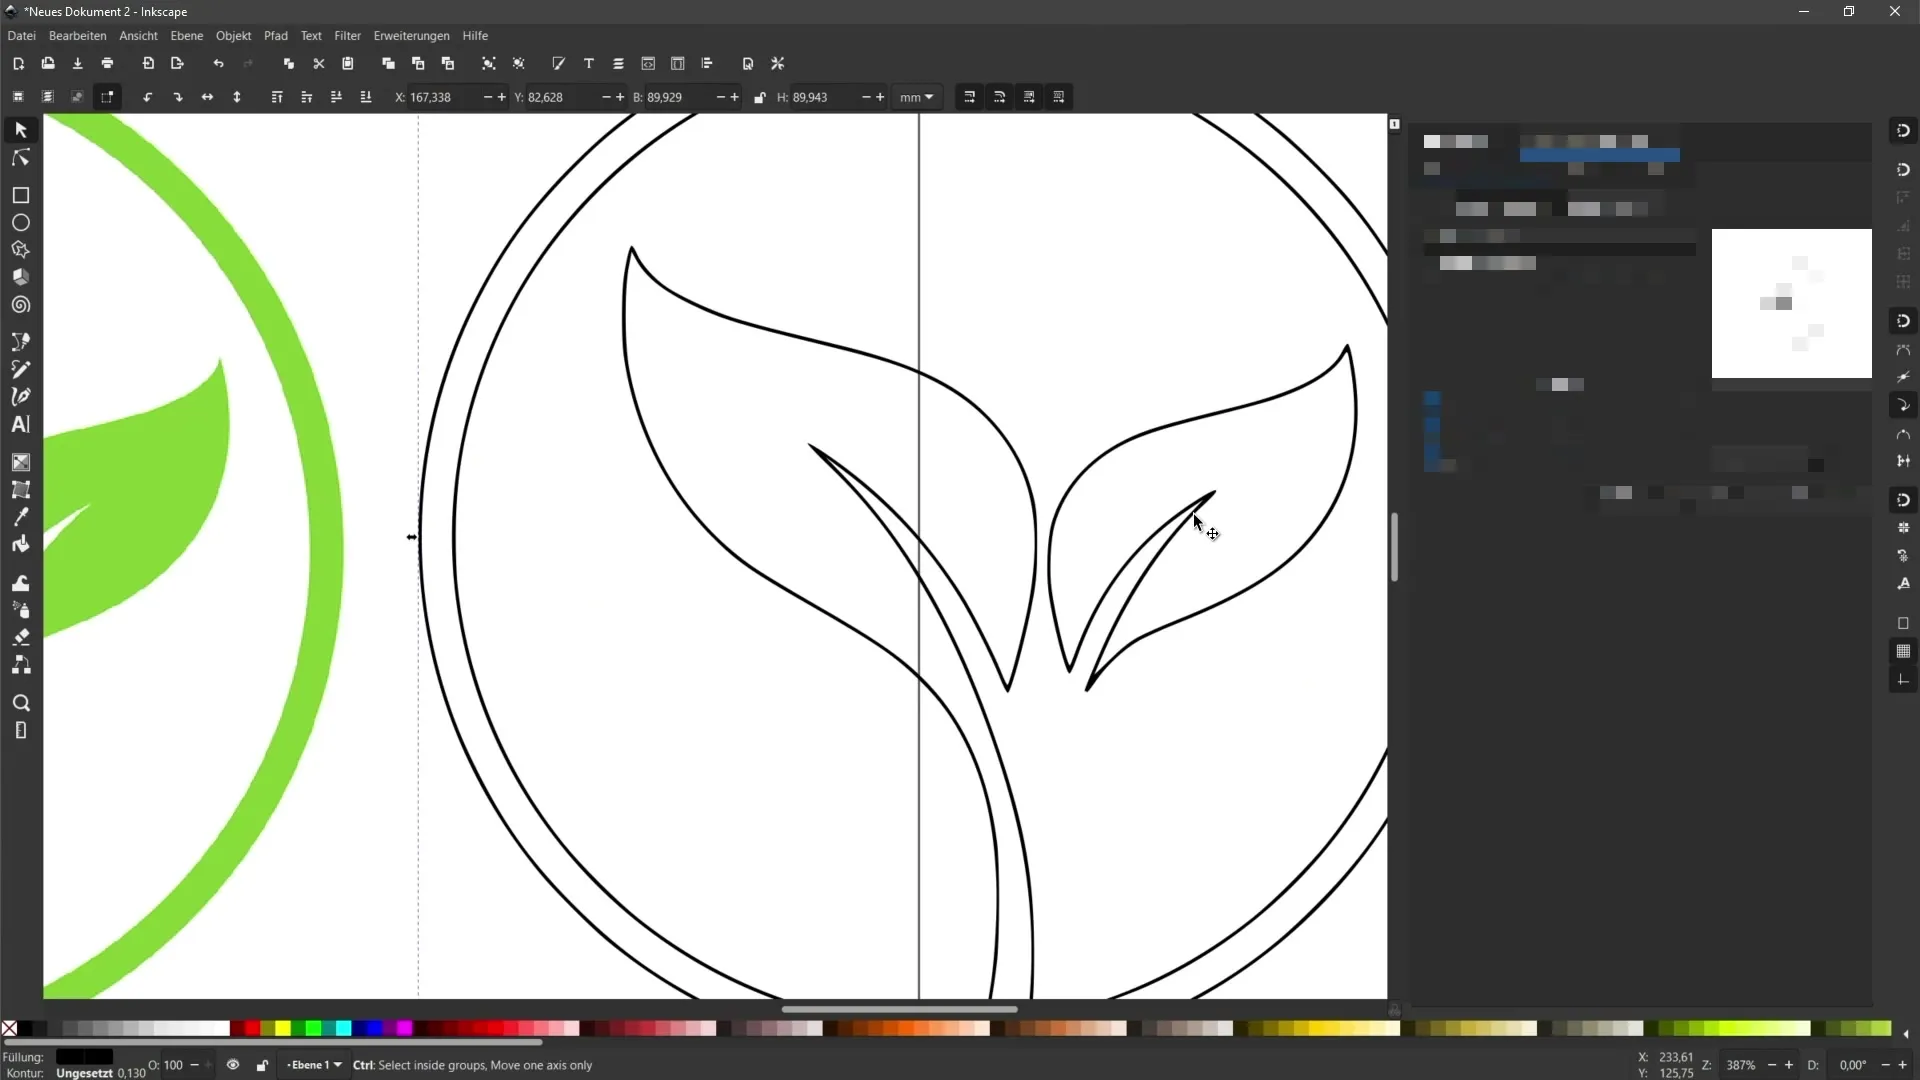
Once the graphic is open, you can start converting it into vector objects. In Inkscape, you have various functions available to customize the vectorization process. A frequently used function is the "Bitmap to Vectors" function, which you can select via "Path" in the menu. This allows you to make various settings regarding detail fidelity and colors.
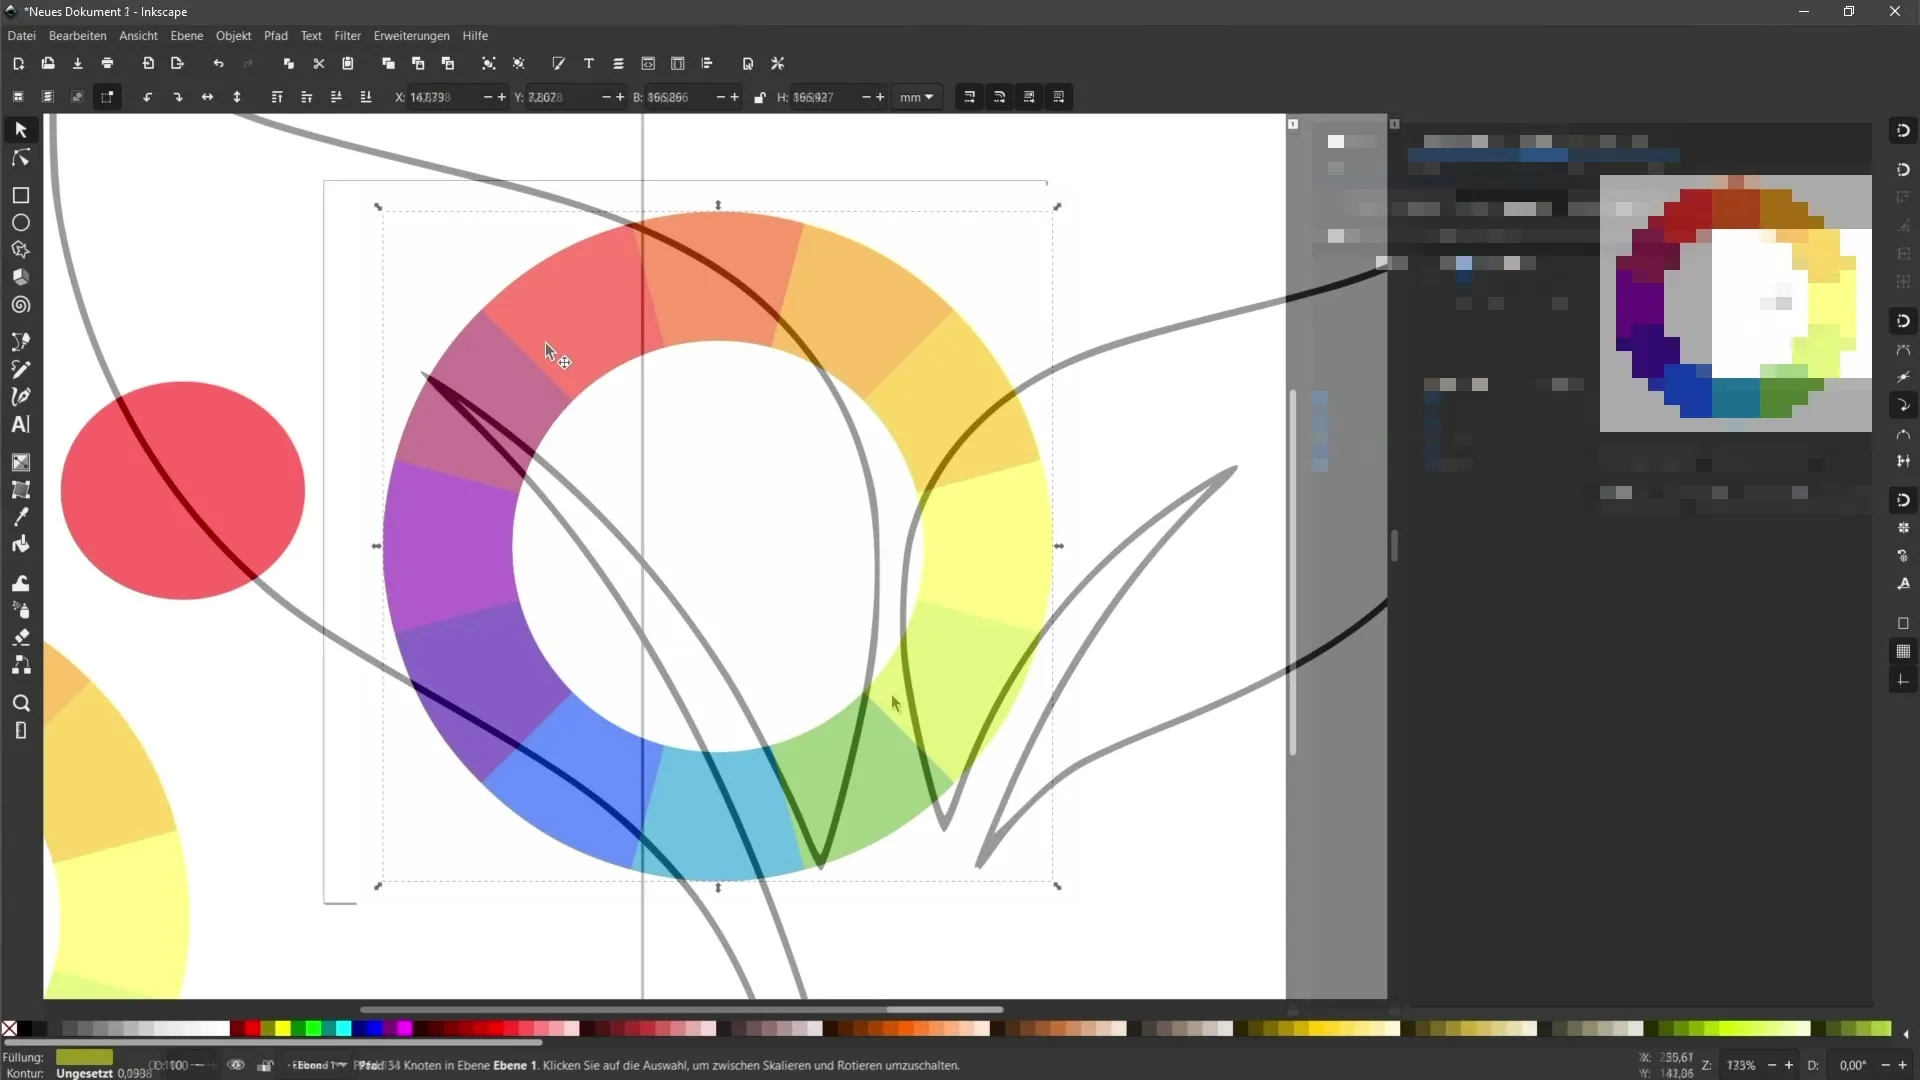
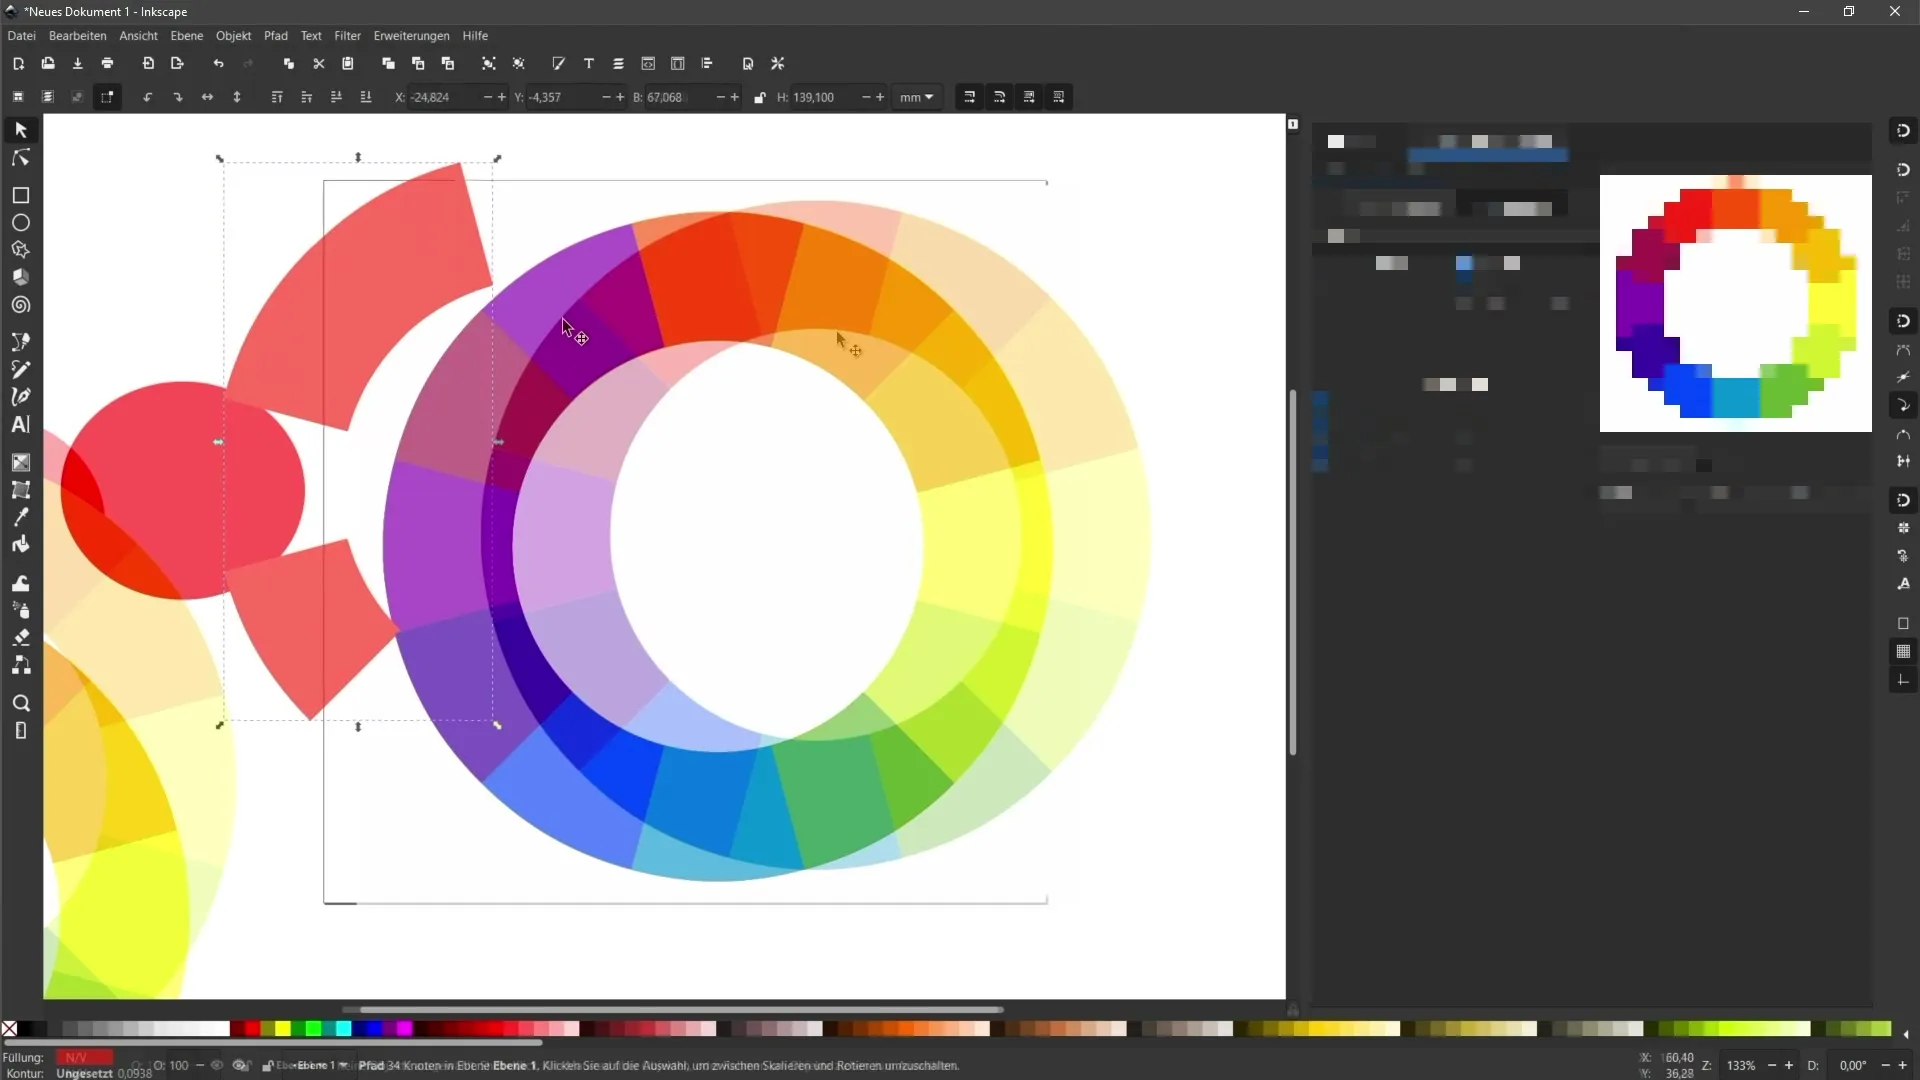
If you have multicolored graphics, pay particular attention to adjusting the colors so that they are appropriately represented in the vector graphic. For monochrome graphics, fewer adjustments are needed as Inkscape often automatically makes the best settings.
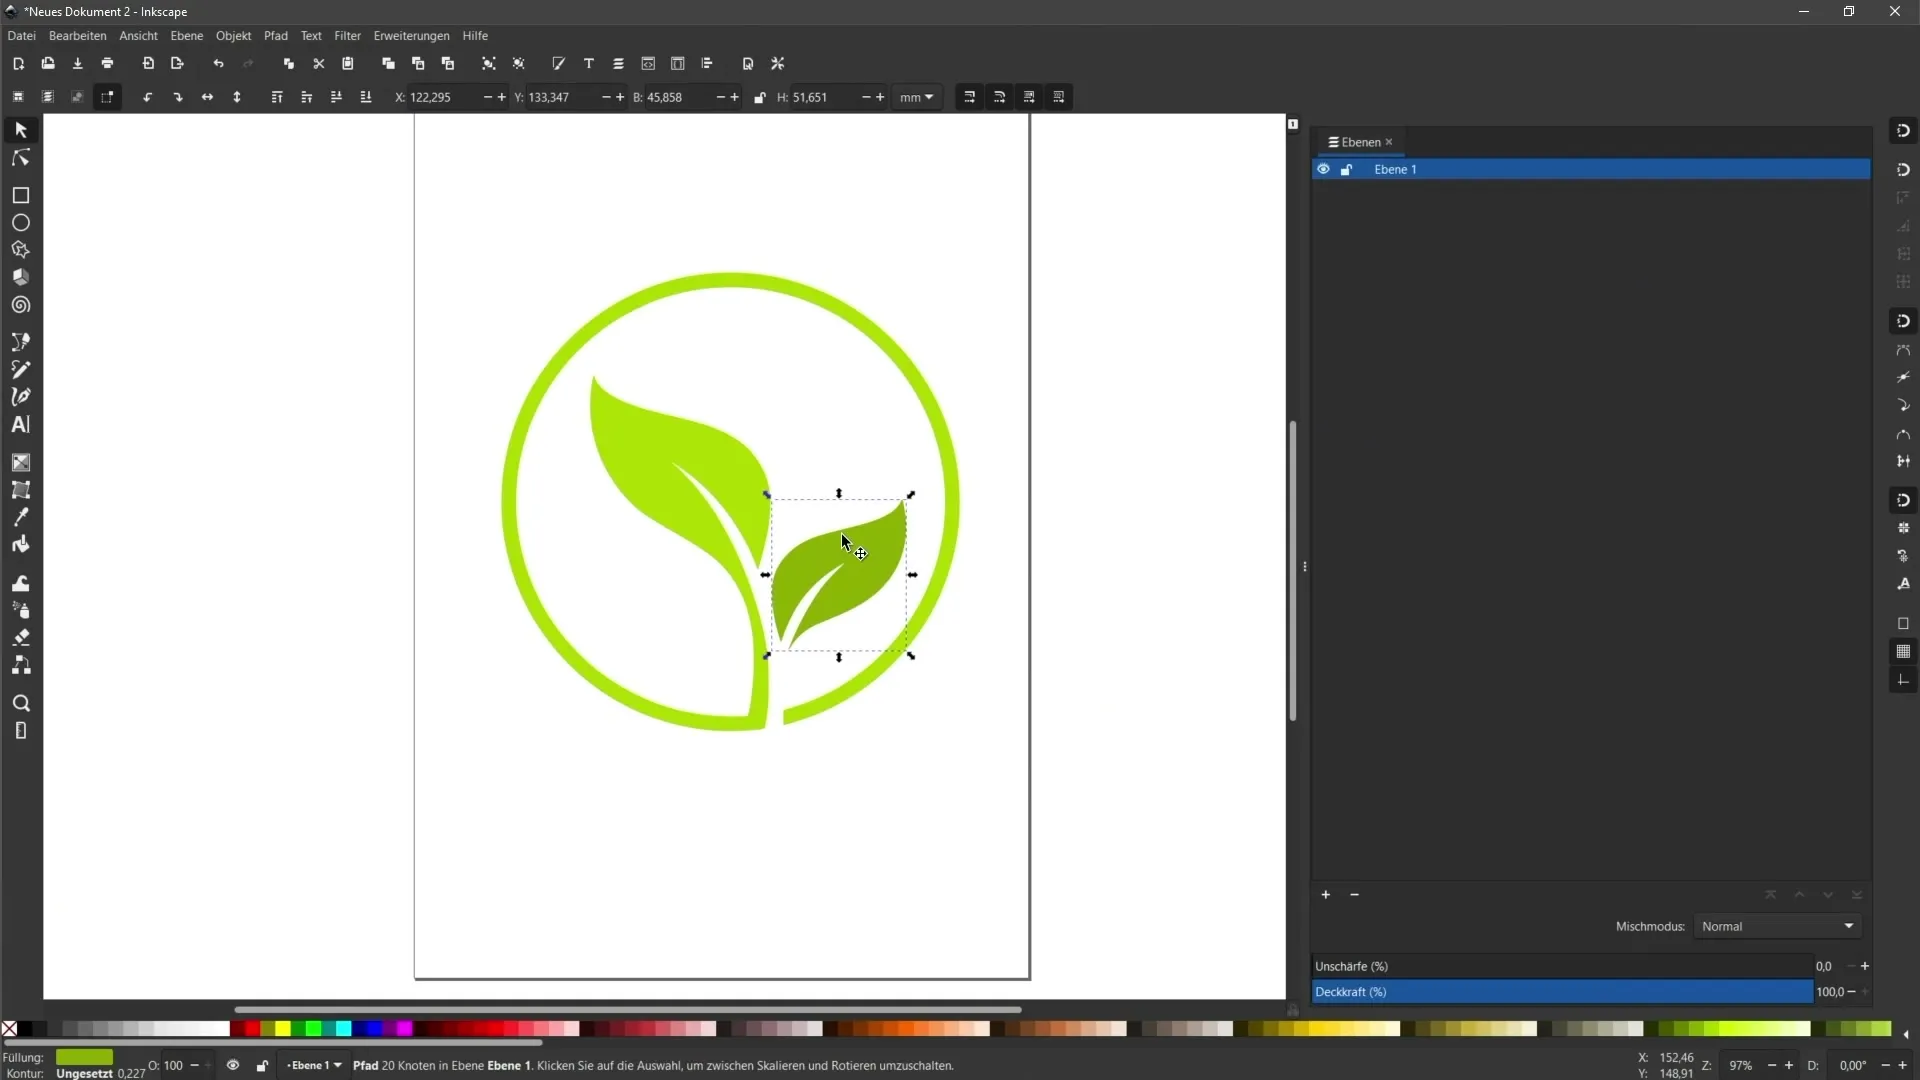
You may also want to make adjustments to the vector graphic after conversion. This is possible! You can use various tools in Inkscape to manually edit the graphic. Be creative and adjust the shapes according to your preferences.
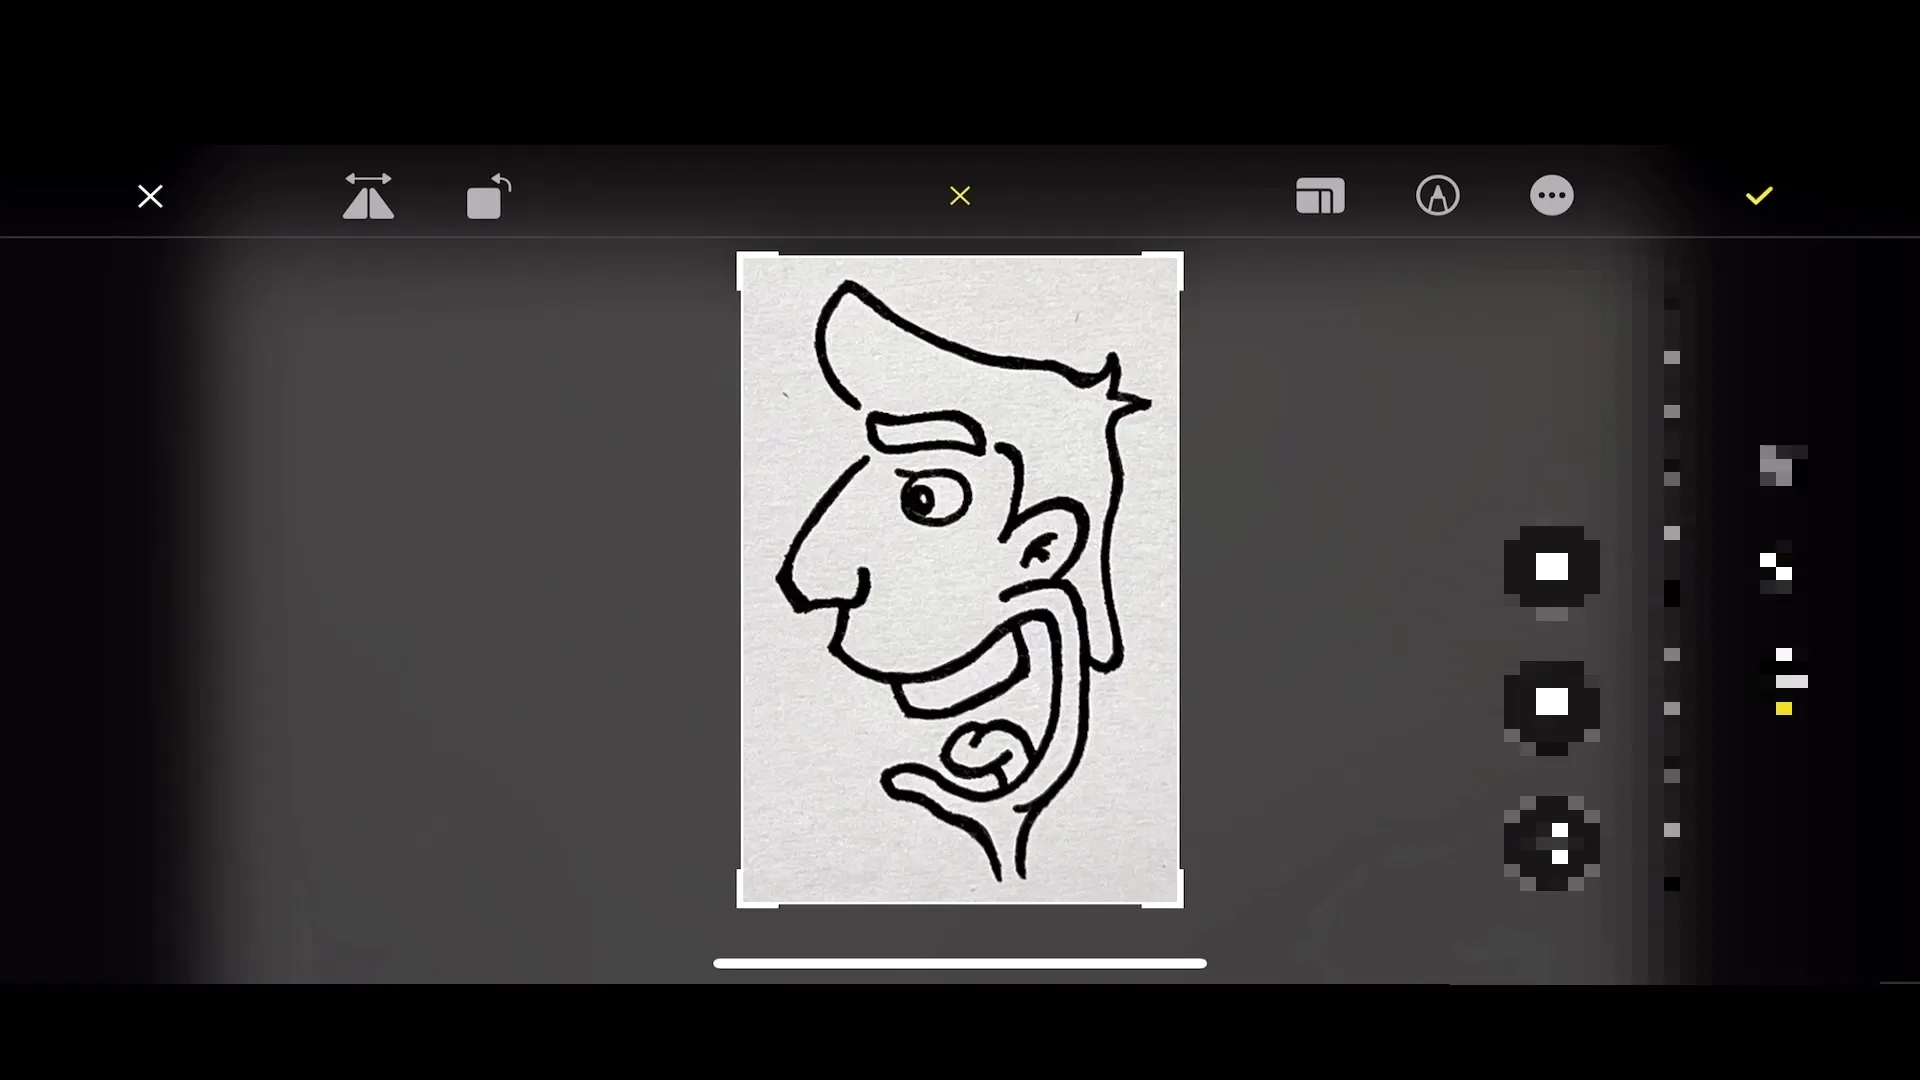
Another exciting possibility is to photograph a hand-drawn illustration with your smartphone. There is also a quick preparation for this. Ensure good lighting and clear visibility of the drawing before importing the image into Inkscape and converting it into vectors.
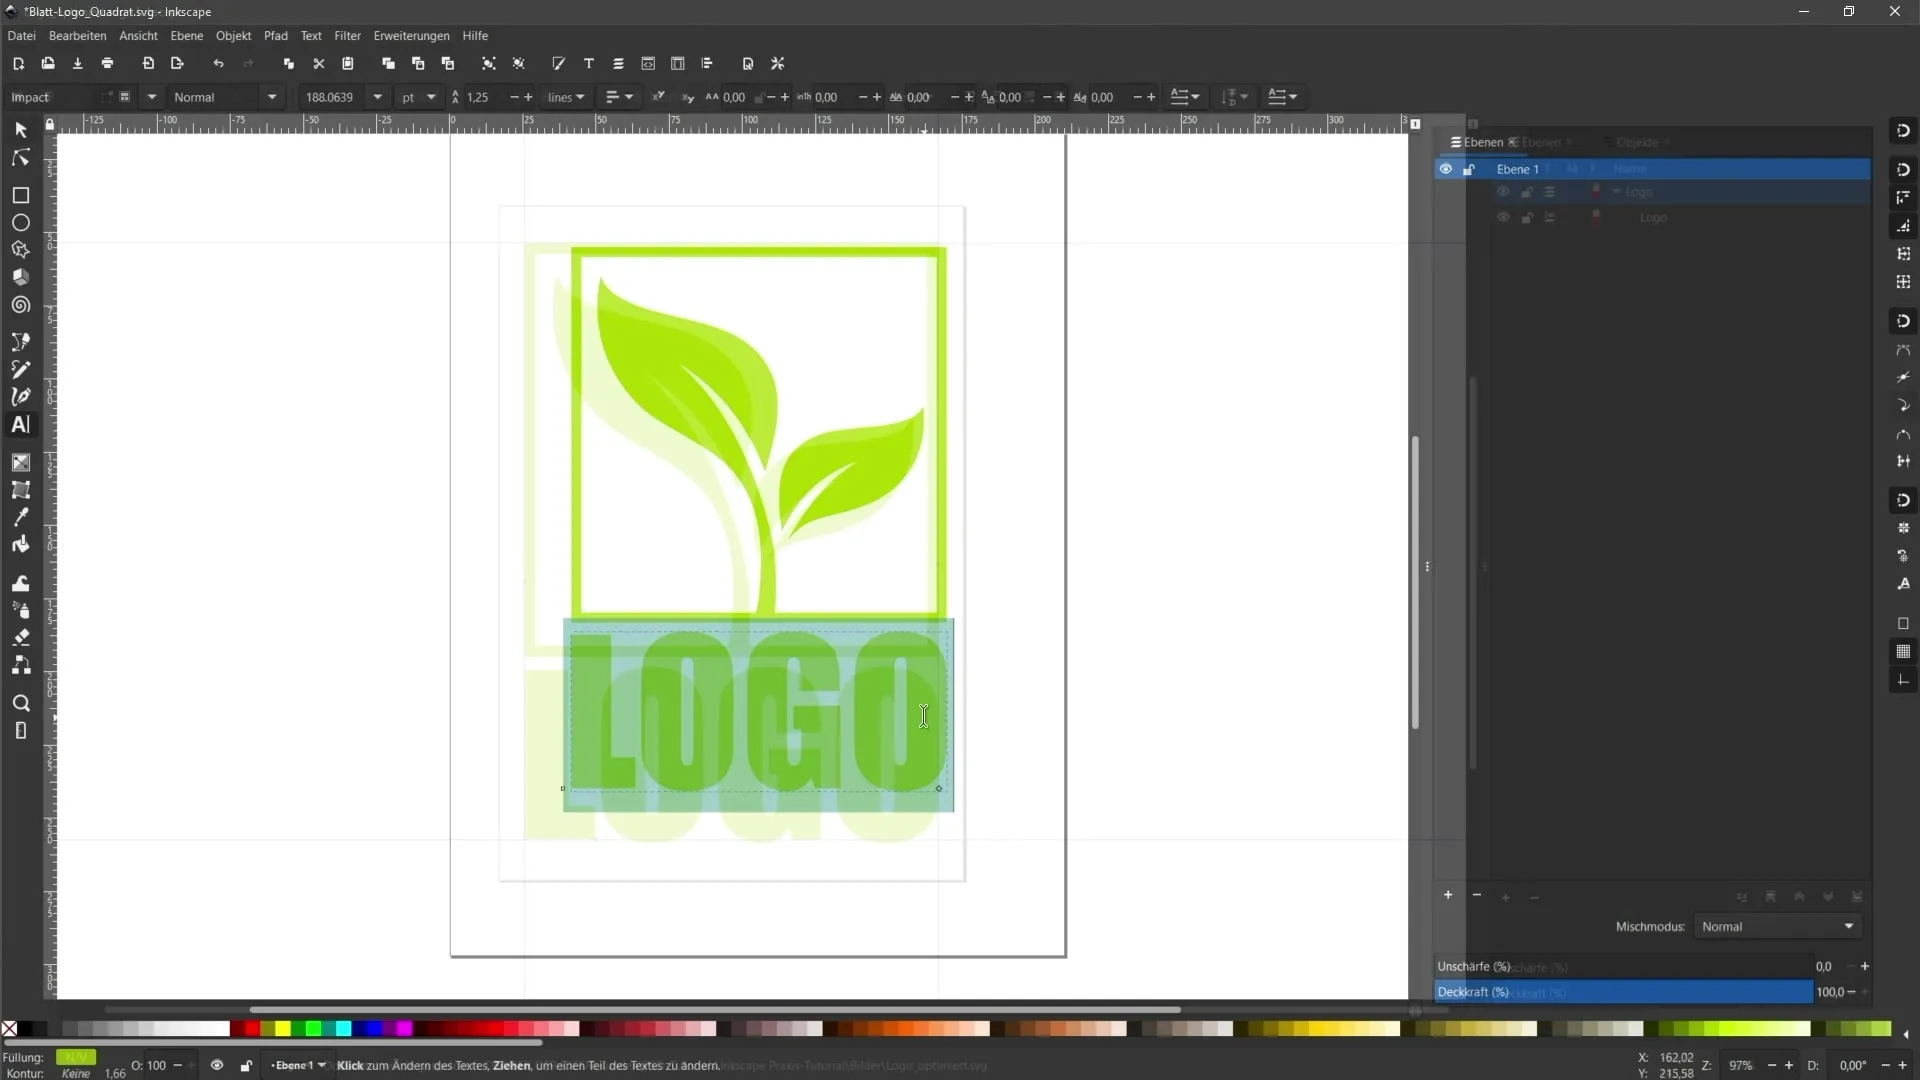
Another important step is converting editable texts into paths in case you need them for a printing house. This is also done through the "Path" menu, where you can select "Convert Object to Path" to ensure that fonts and styles are correctly represented when printed.
Finally, export your vector graphic. In Inkscape, there are various export formats. For websites, the SVG format is recommended as it is space-saving and maintains high quality. Go to the "File" menu and choose "Save As" to select the desired format.
Summary
In this guide, you have learned how to successfully convert pixel graphics into vector objects. You are familiar with the necessary steps and settings to achieve optimal results in Inkscape. Additionally, you have learned how to customize and export your graphics.
Frequently Asked Questions
How do I import graphics into Inkscape?You can open graphics in Inkscape through the "File" menu and the "Import" option.
What settings should I use for multicolored graphics?Make sure to adjust the colors and detail fidelity accordingly to achieve the best results.
Can I manually adjust vector graphics?Yes, Inkscape offers numerous tools to adjust vector graphics.
How to convert texts into paths for printing?Go to the "Path" menu and select "Convert Object to Path" to adjust the text.
Which format should I choose for vector graphics for websites?For websites, the SVG format is ideal as it maintains quality and saves space.
