In this guide, you will learn how to convert a pixel image, specifically a PNG image, into a vector object using Inkscape. The function "Unique Scan" is used, which achieves excellent results, especially with monochromatic graphics. This method allows you to convert pixel-based images into scalable vector graphics that can be resized without loss of quality. Videotrainer Marco Kolditz will guide you through the process step by step, explaining the different options and their effects on the final result.
Key Takeaways
- The "Unique Scan" function allows the conversion of pixel-based images into monochrome vector objects.
- By adjusting the brightness threshold, you can control which colors are detected and converted into vectors.
- There are various options to optimize the vector image, including corner smoothing and number of anchor points.
- Experimenting with the settings is crucial to achieve the desired result.
Step-by-Step Guide
Step 1: Open Inkscape and Import Image
Launch Inkscape and drag the desired PNG image, such as a color wheel, into the document. You can also add the image through the "File" menu and then "Import." If the image is larger than your document, you can proportionally resize it by holding down the control key and dragging the corners of the image with the mouse.
Step 2: Trace Image
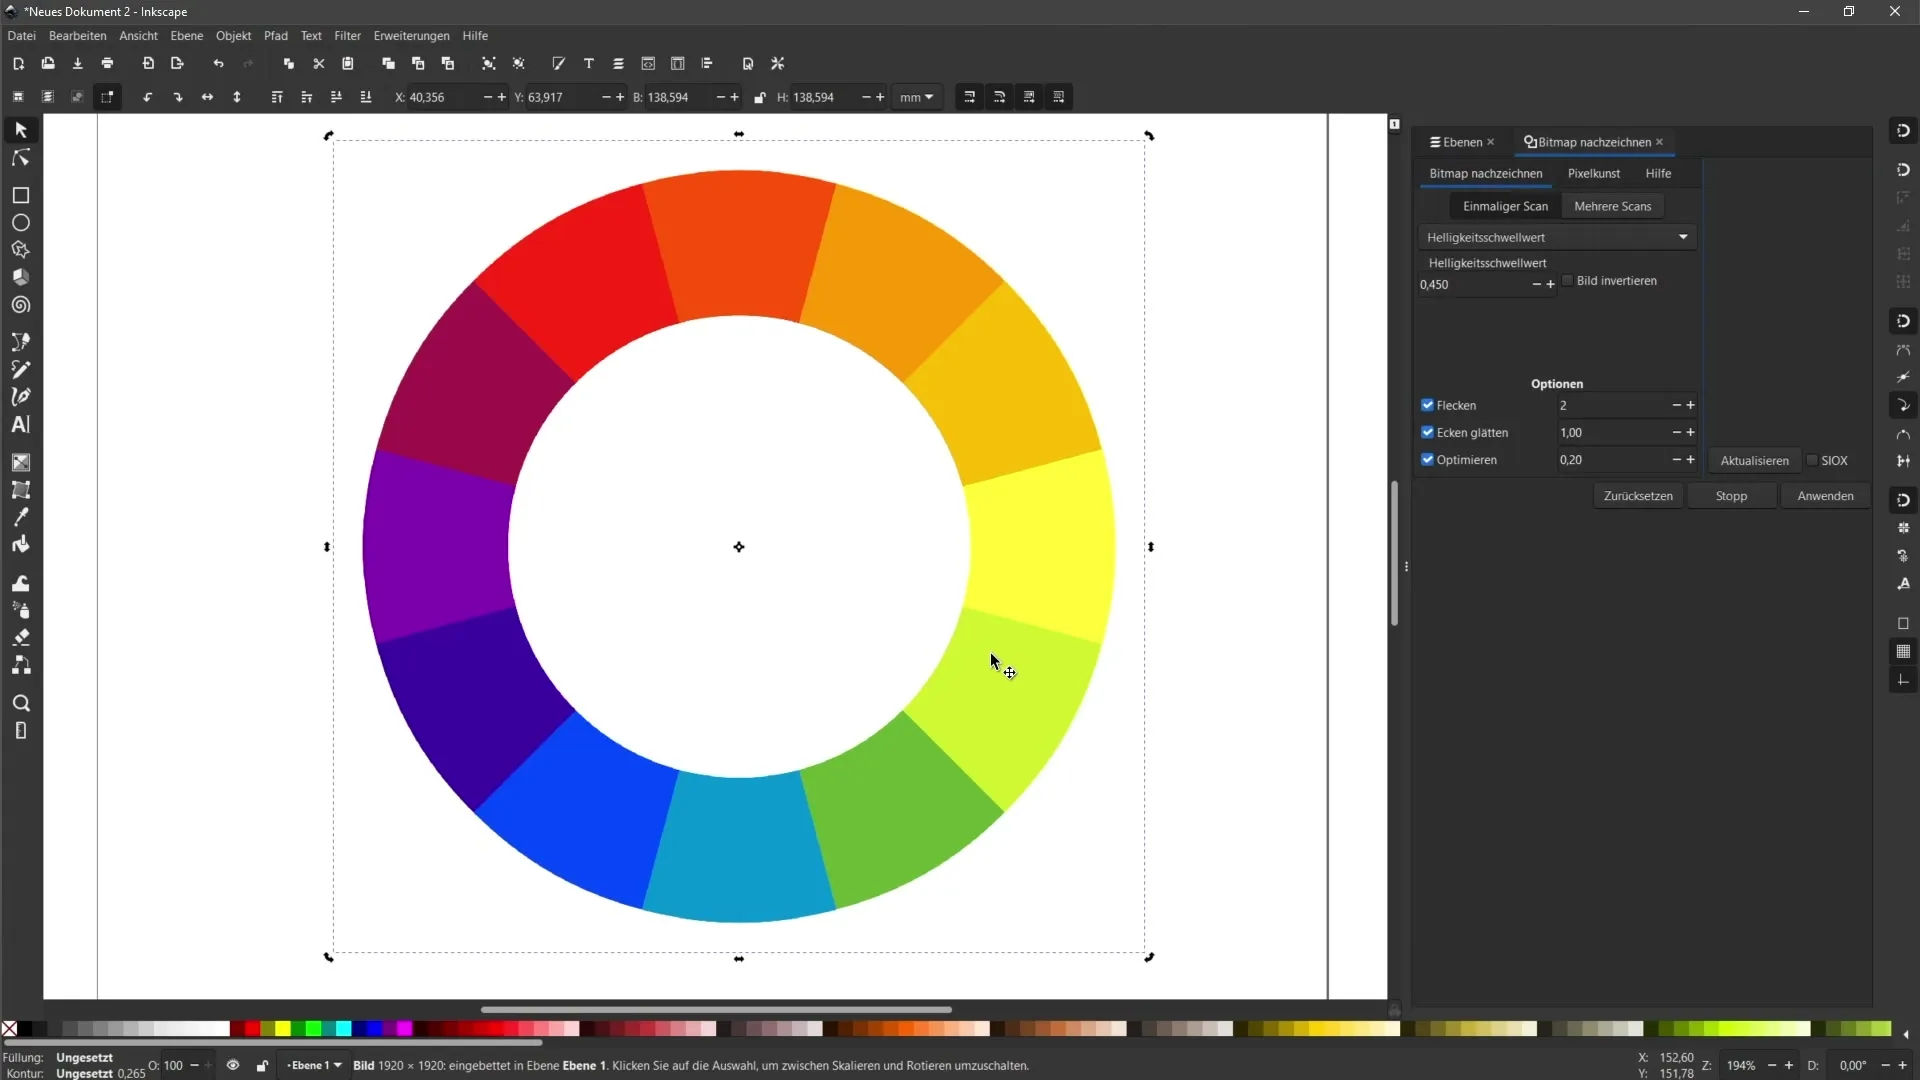
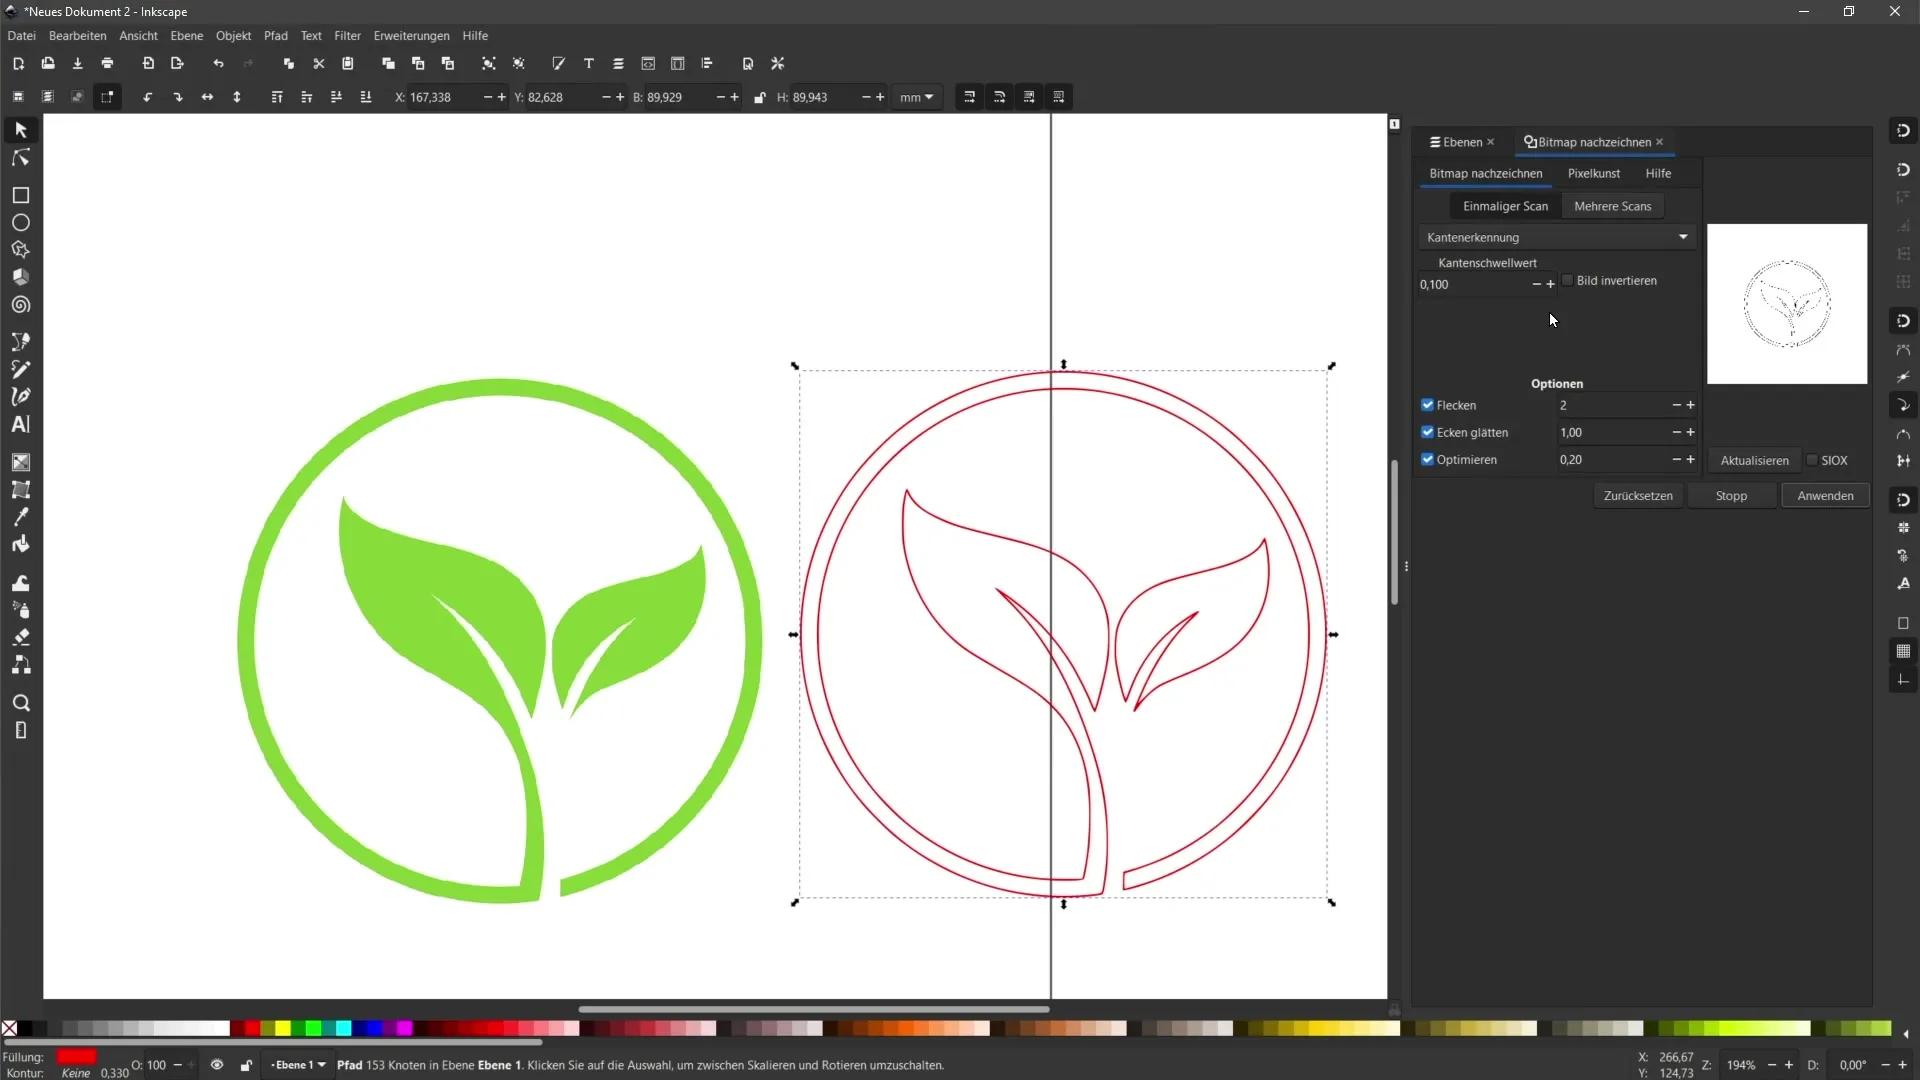
To convert the image into a vector object, select it and go to the "Path" menu. Choose the "Trace Bitmap" option. A new window will appear on the right side, offering you various tracing options. We will focus on the "Unique Scan."
Step 3: Adjust Brightness Threshold
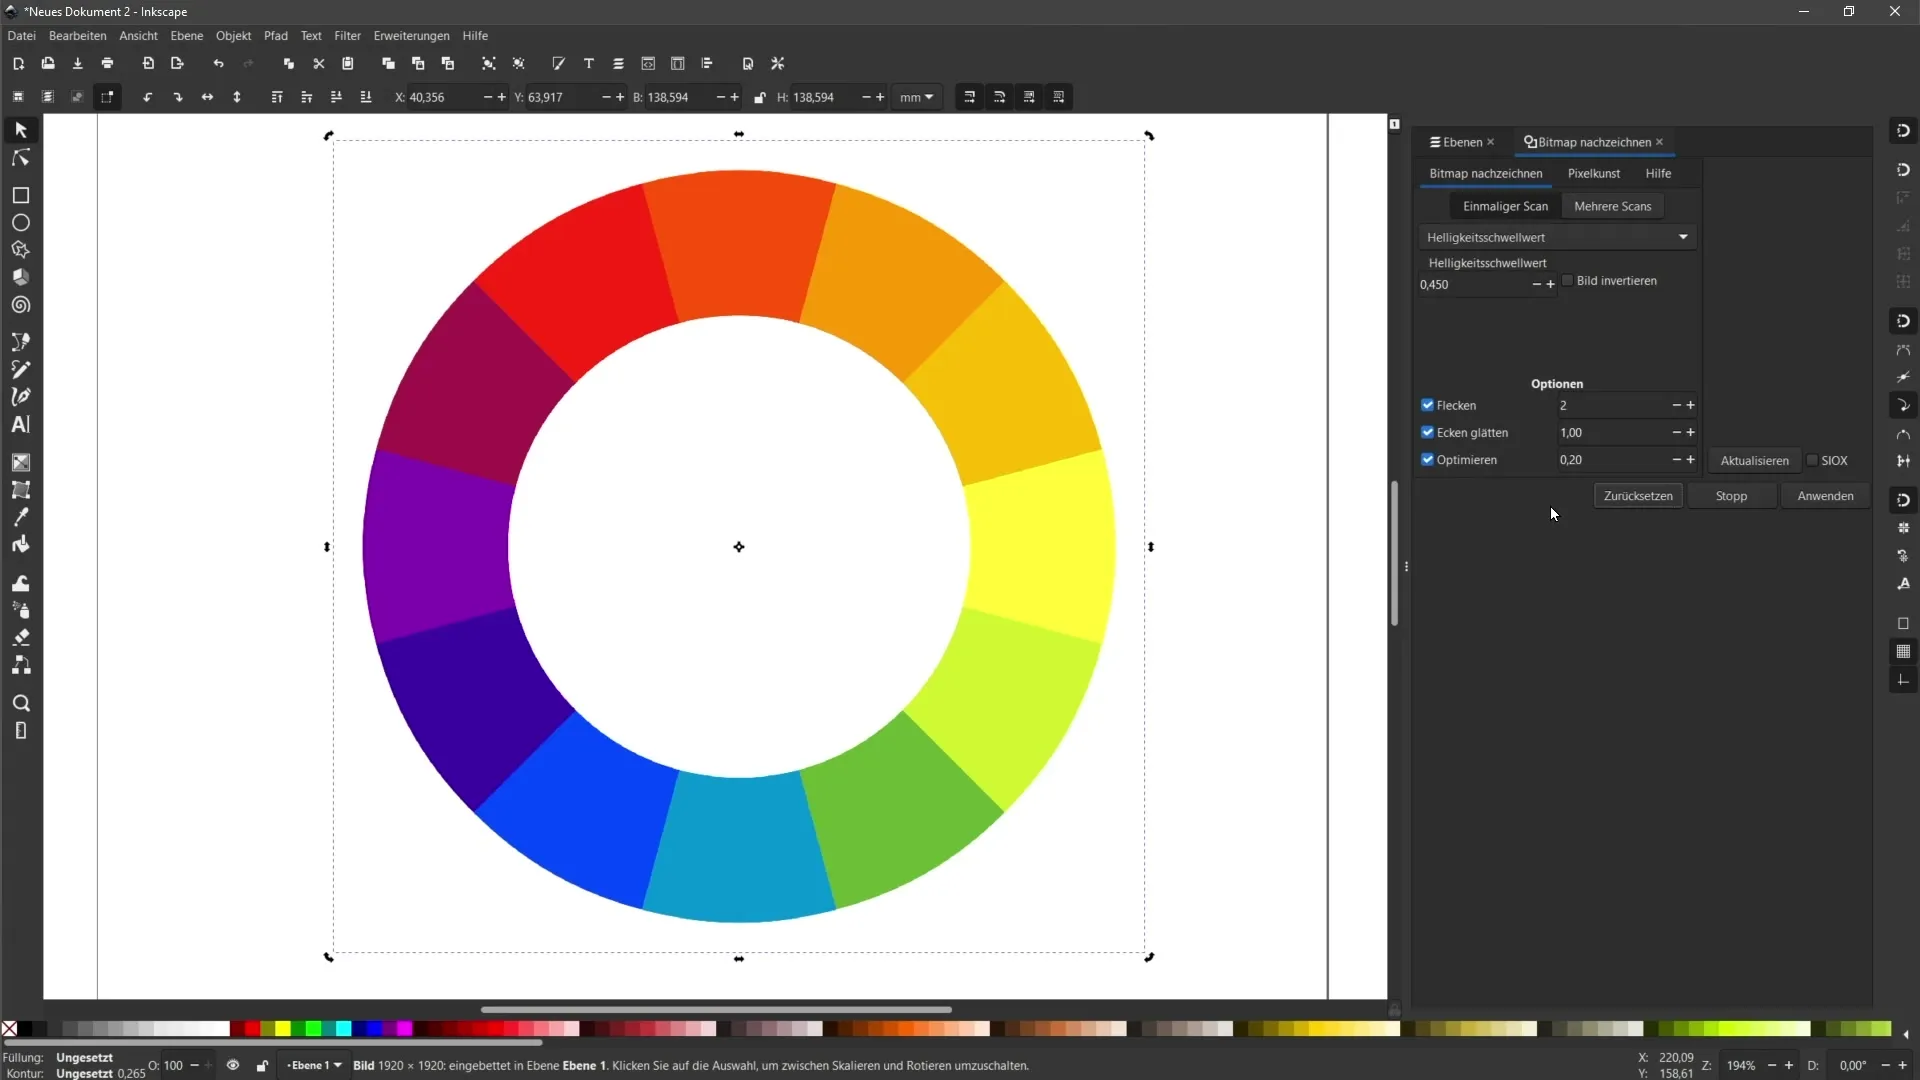
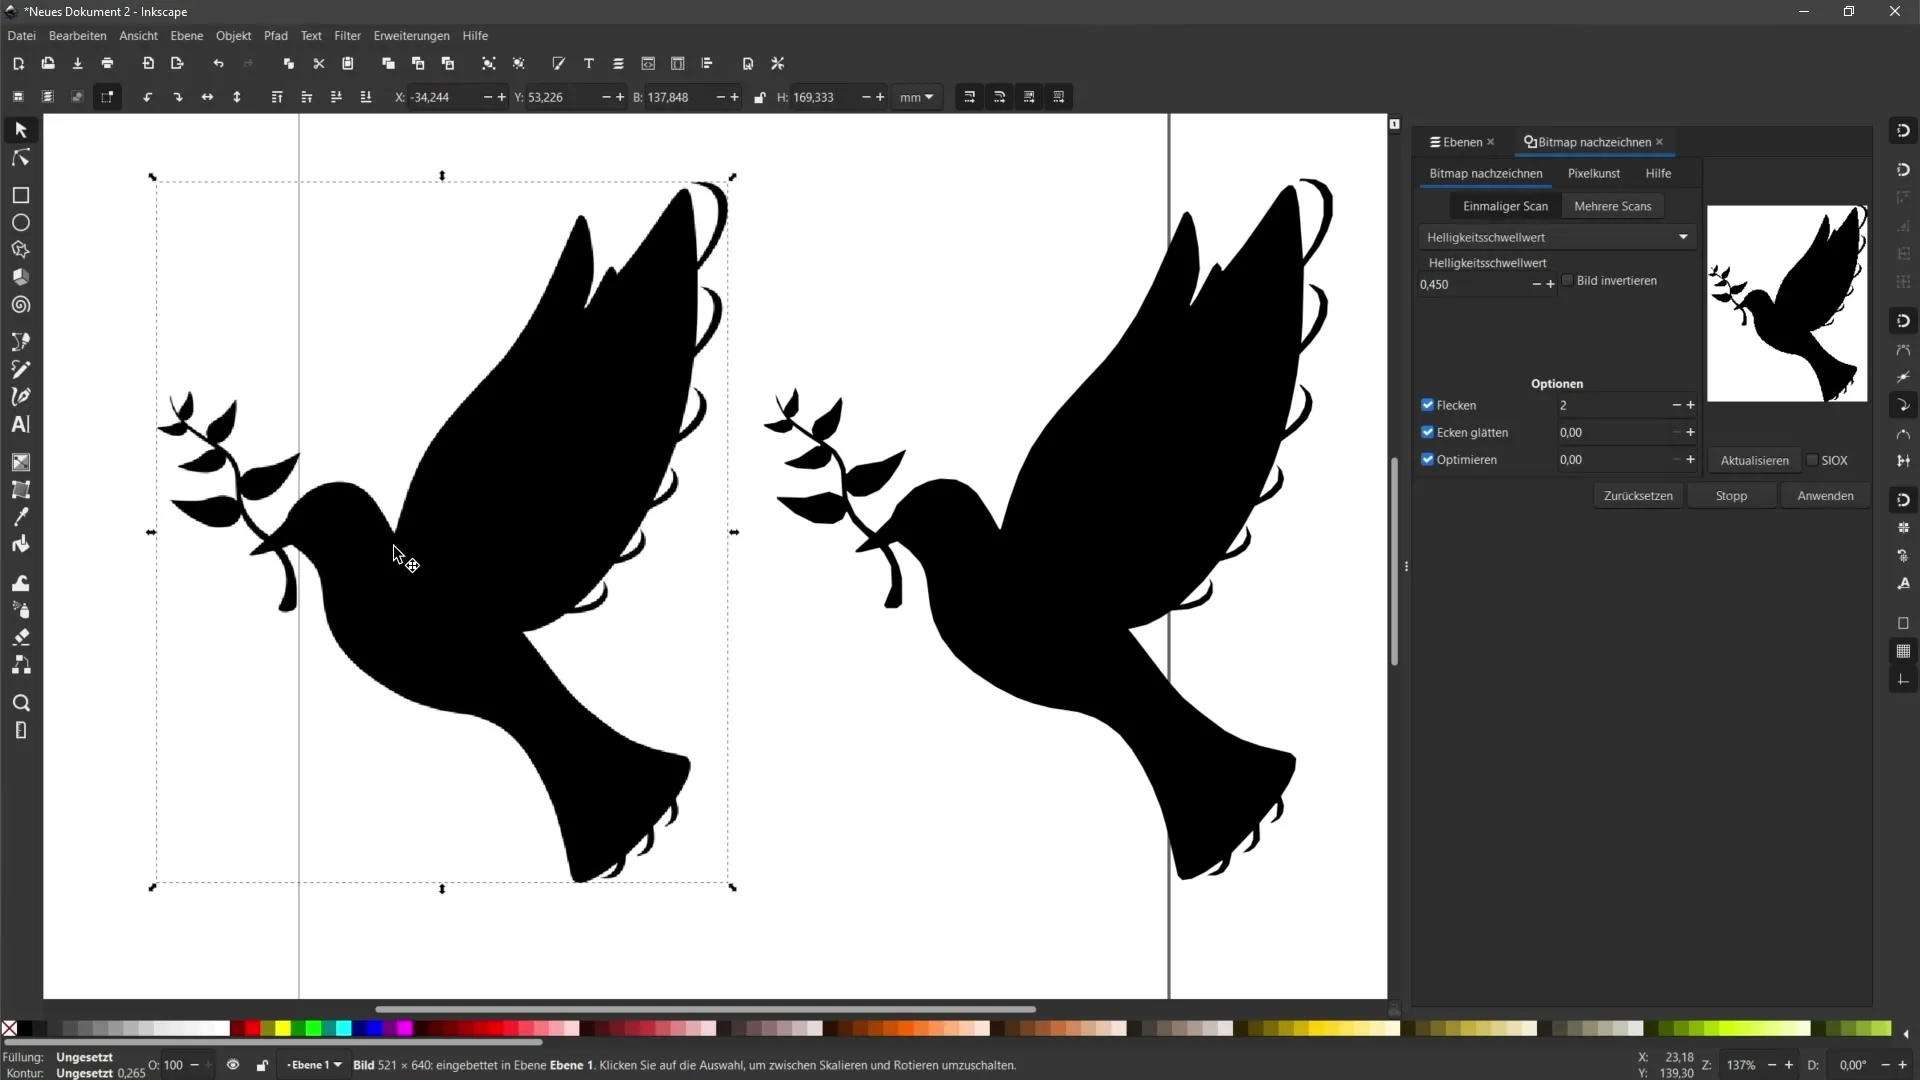
Within the "Unique Scan" option, you can adjust the brightness threshold. The default value is 0.450. By increasing or decreasing this value, you can control which color tones in the image are detected as vectors. A higher value allows lighter colors, while a lower value only considers darker colors. To see the preview, click on "Update."
Step 4: Preview and Adjustments
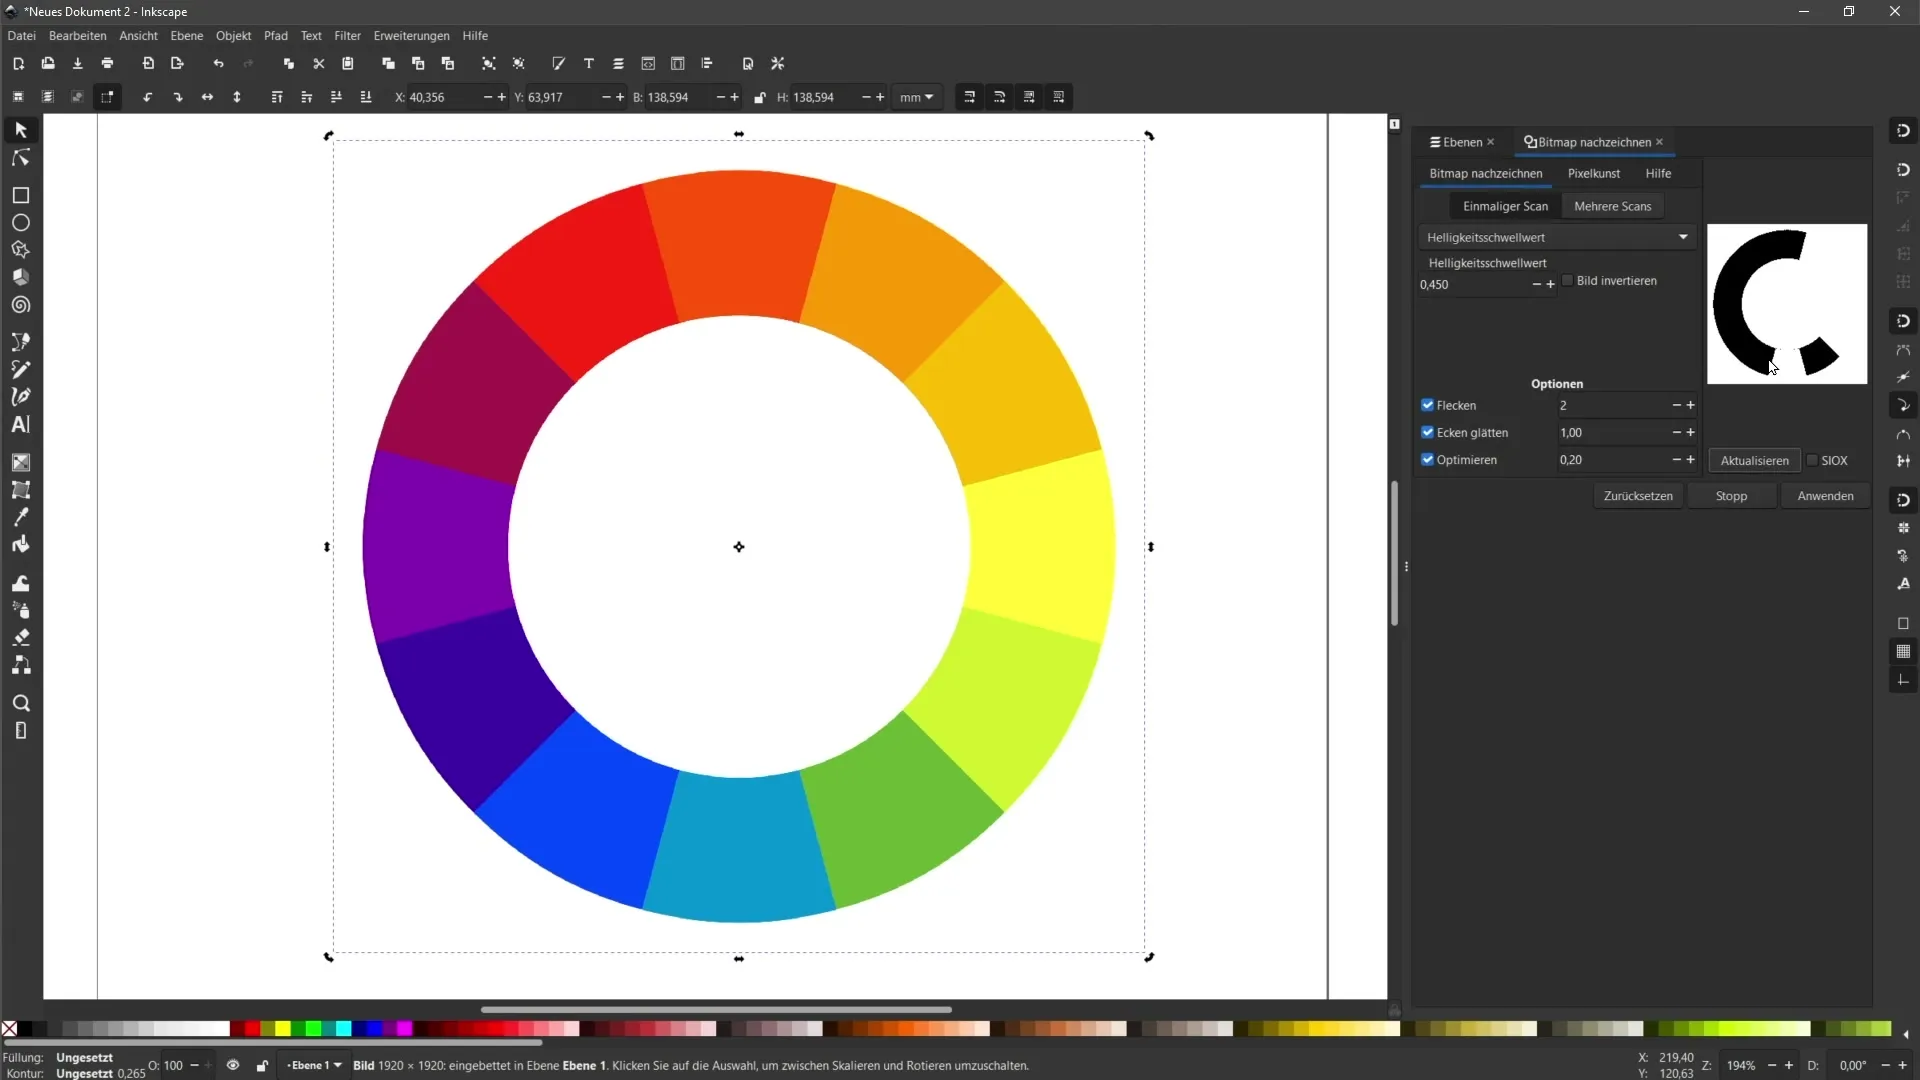
Observe the changes in the preview. If you set a value of 0.3, you may see your first shape in the preview window. Experiment with values between 0 and 1 to find the best detection for your image. A value of 0.9 might result in many bright colors being ignored in the image.
Step 5: Applying the Settings
Once you are satisfied with the settings, click on "Apply." This will create the vector object. Move this object to the side to see the difference between the original image and the newly created vector object.
Step 6: Corner Smoothing and Optimization
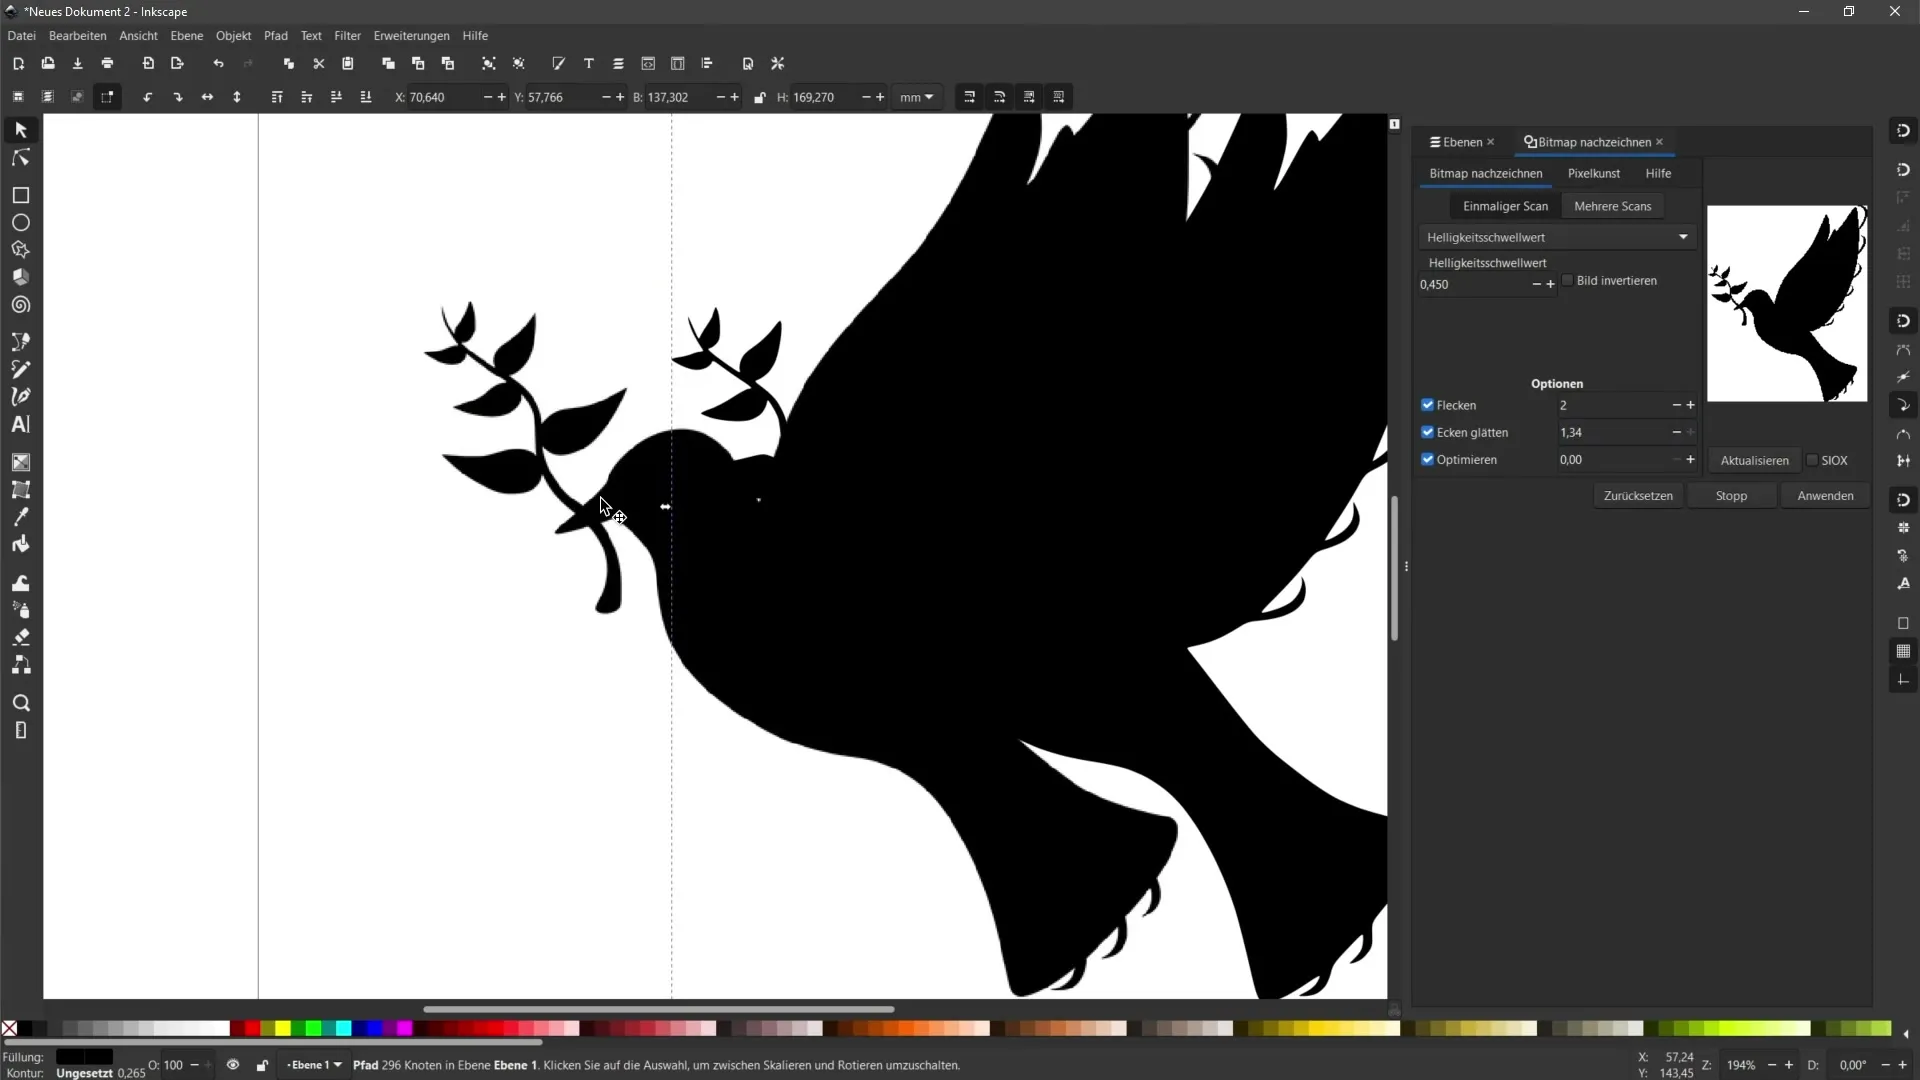
Within the Trace Bitmap window, there are options for corner smoothing and optimization. These settings help to reduce the number of anchor points and improve the curves of the vector base image. You can experiment with the corner smoothing and anchor point reduction settings to achieve a cleaner result.
Step 7: Creative Editing
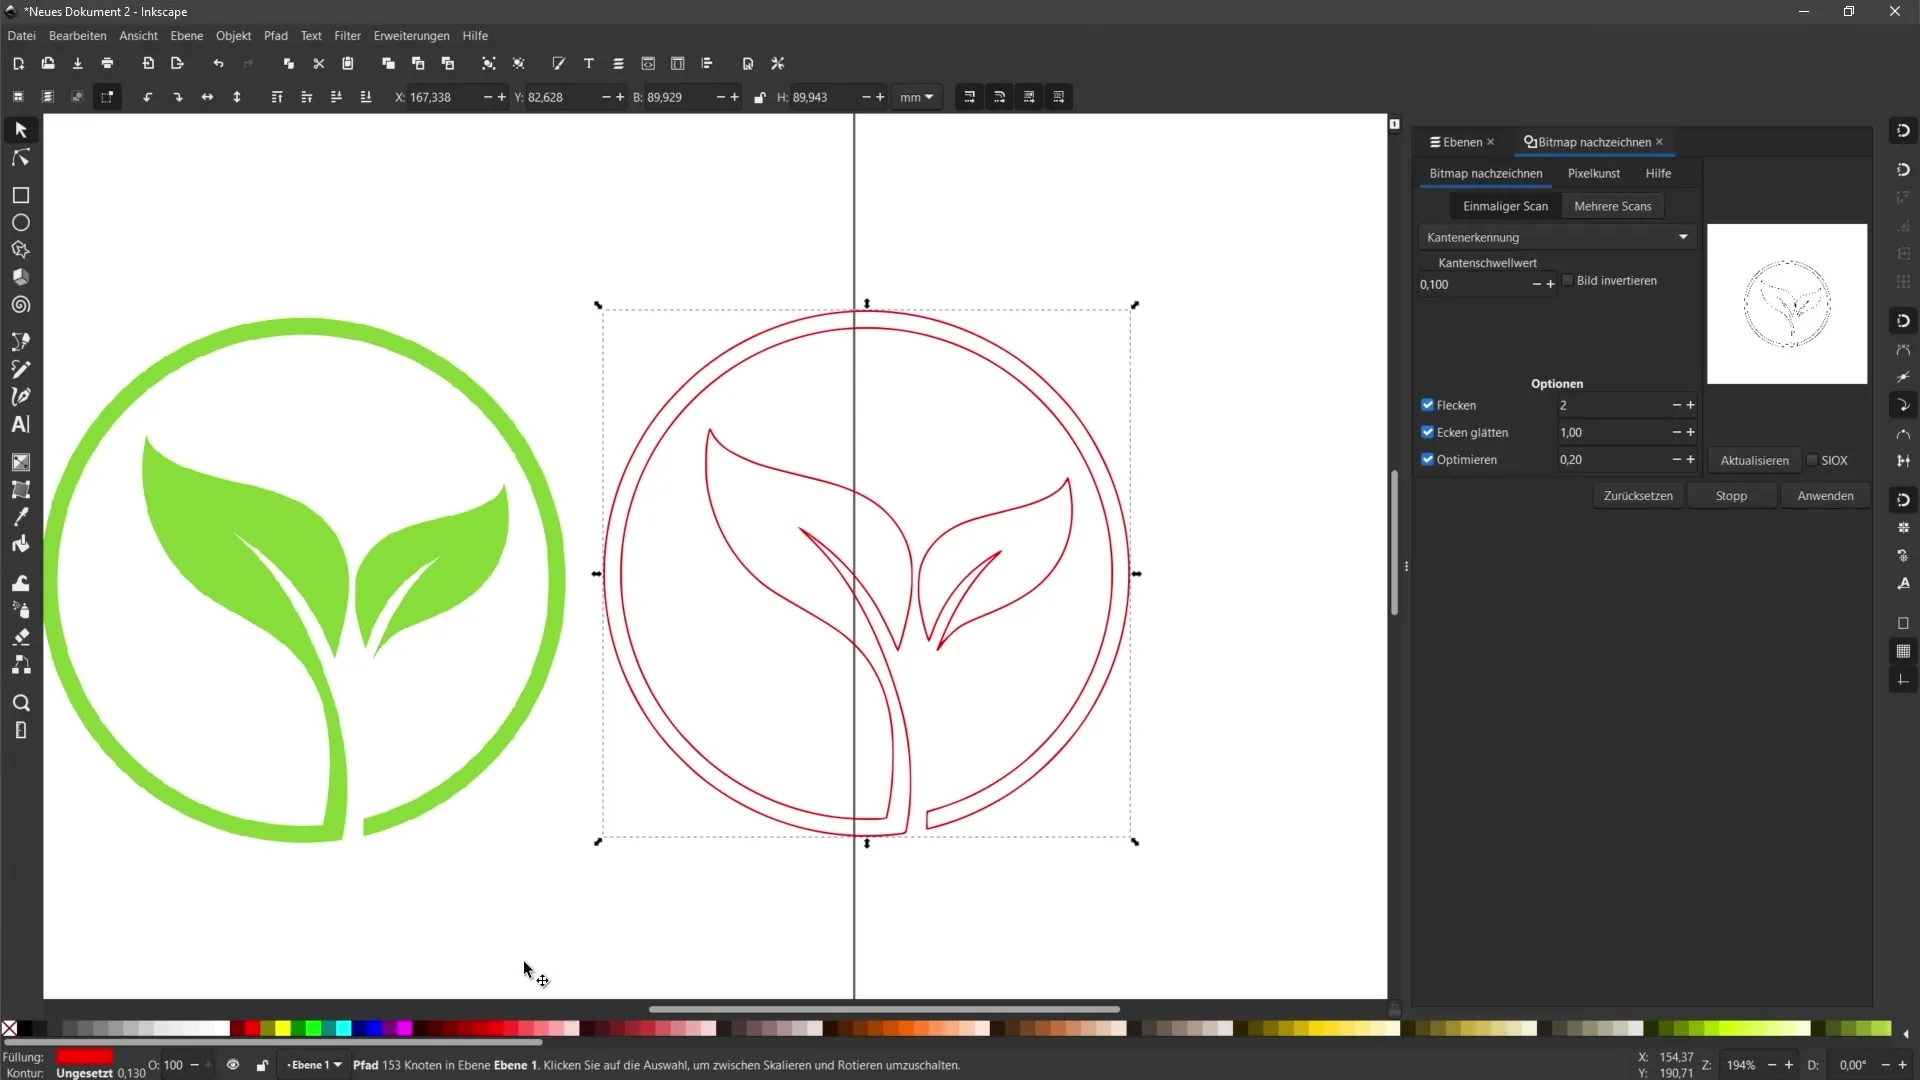
Now you can customize the newly created vector object. You can change the color and edit the outlines. For example, if you want to adjust the fill color to red, select the object and choose the desired color from the fill area.
Step 8: Working with Outlines
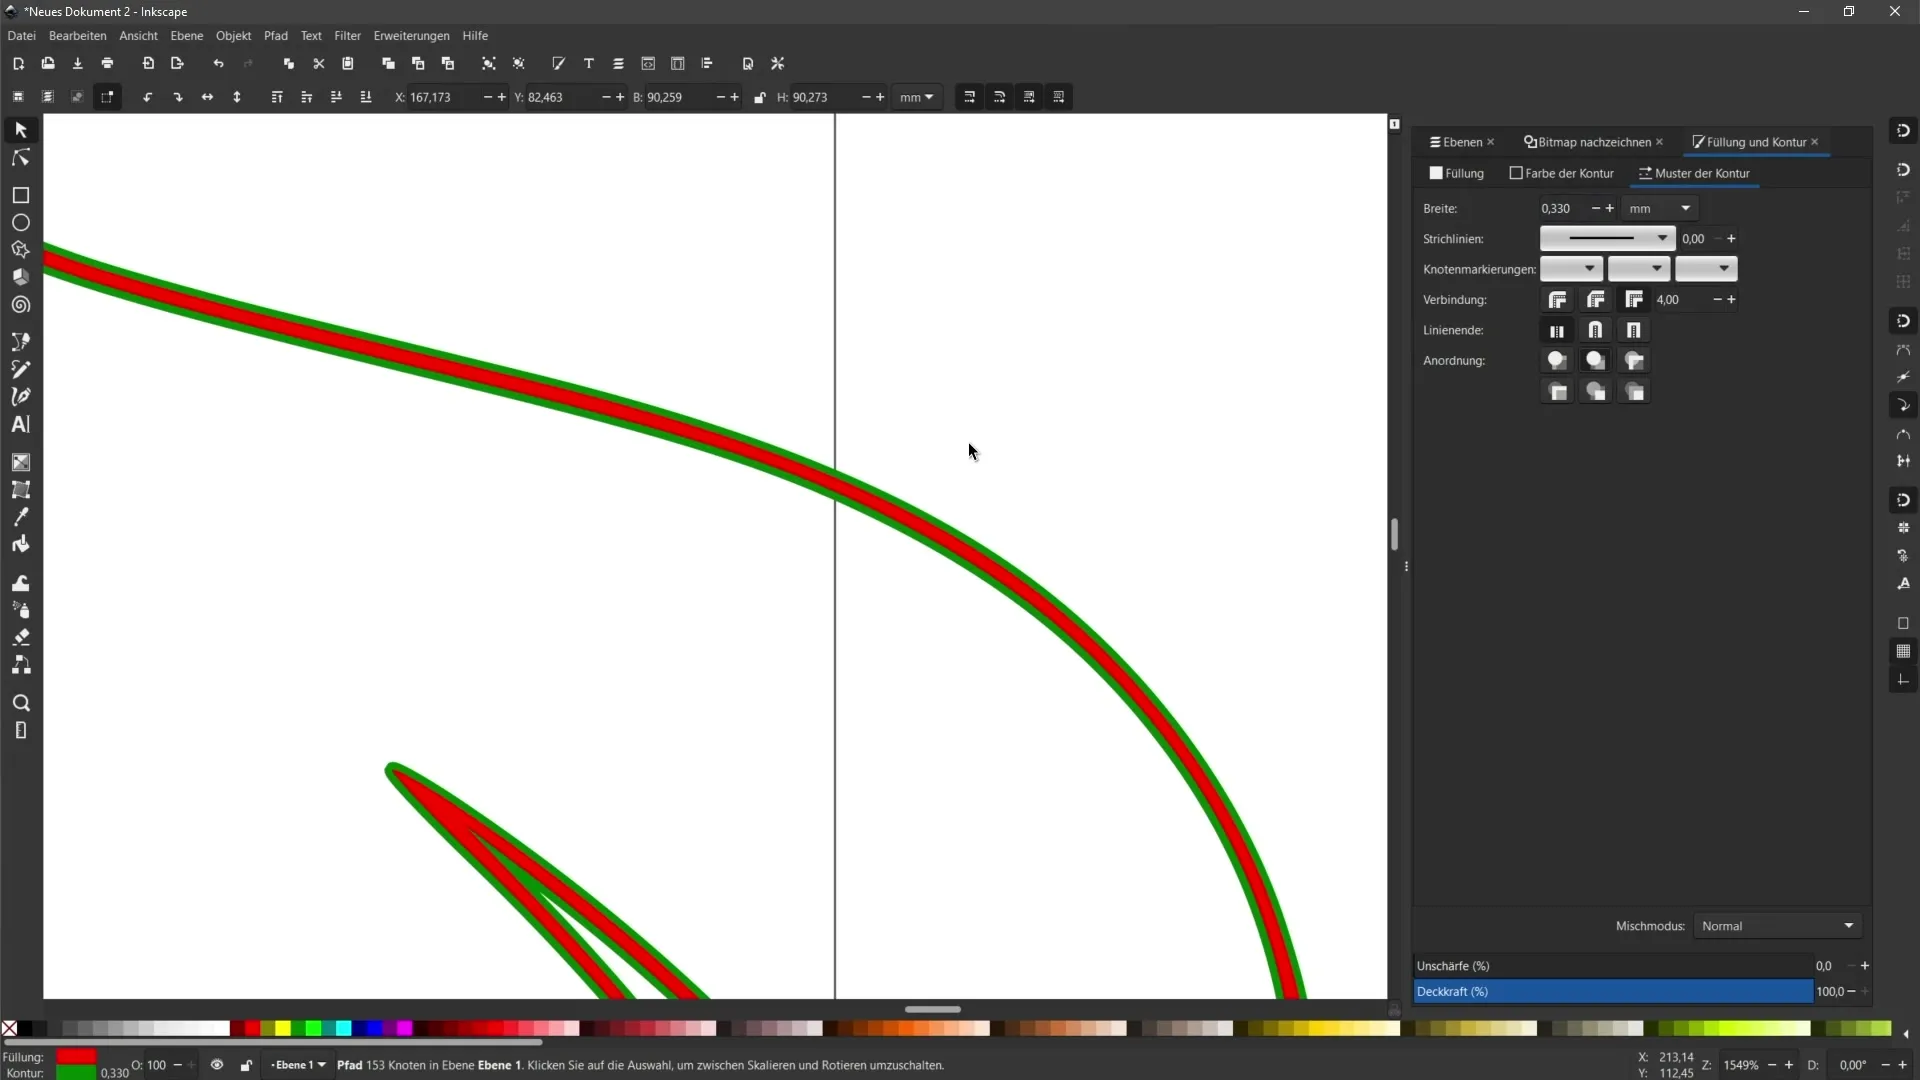
If you want to add a real outline to the vector object, hold down the Shift key and choose the desired outline color. You can adjust the thickness and arrangement of the outline as needed.
Step 9: Further Adjustments and Saving
Make any other necessary adjustments to your vector object. Once you are satisfied with the result, don't forget to save your document. To do this, choose "File" and then "Save As".
Summary
In this tutorial, you have learned how to convert a pixel image into a vector object in Inkscape using the "Single Scan" function. You have familiarized yourself with the different settings that help you achieve the desired result and their optimal application.
Frequently Asked Questions
How do I select the image for vectorization?Choose a simple, monochromatic image for the best results.
How can I improve the quality of the vector object?Play with the settings for brightness threshold and corner smoothing to optimize the outlines.
What if the result does not meet my expectations?Experiment with the different settings and check the preview to make adjustments.
How do I save my vector object?Go to "File" and select "Save As" to save the document in the desired format.
Can I trace multiple colors in an image?Yes, you should use the "Multiple Scans" feature, which will be covered in the next video.
