In this guide, you will learn how to convert multicolored pixel graphics into vector graphics, specifically using the "Multiple Scans" function in Inkscape. This technique is particularly useful for editing more complex and colorful graphics, such as logos or artistic illustrations. I will show you step by step how to optimally use the different settings to efficiently convert your graphics and achieve the best results.
Key Insights: You can adjust the number of scans to capture different colors and improve the quality of vectorization. By removing the background, you can avoid unwanted white areas. Additionally, stacking objects is important to avoid gaps and create a seamless graphic.
Step-by-Step Guide
Step 1: Adjust Document Format
First, you should adjust the document format to the size of your imported graphic. Go to the "Edit Settings" area. Click the button to resize the page to fit the content. This way, you can ensure that the workspace is used optimally.
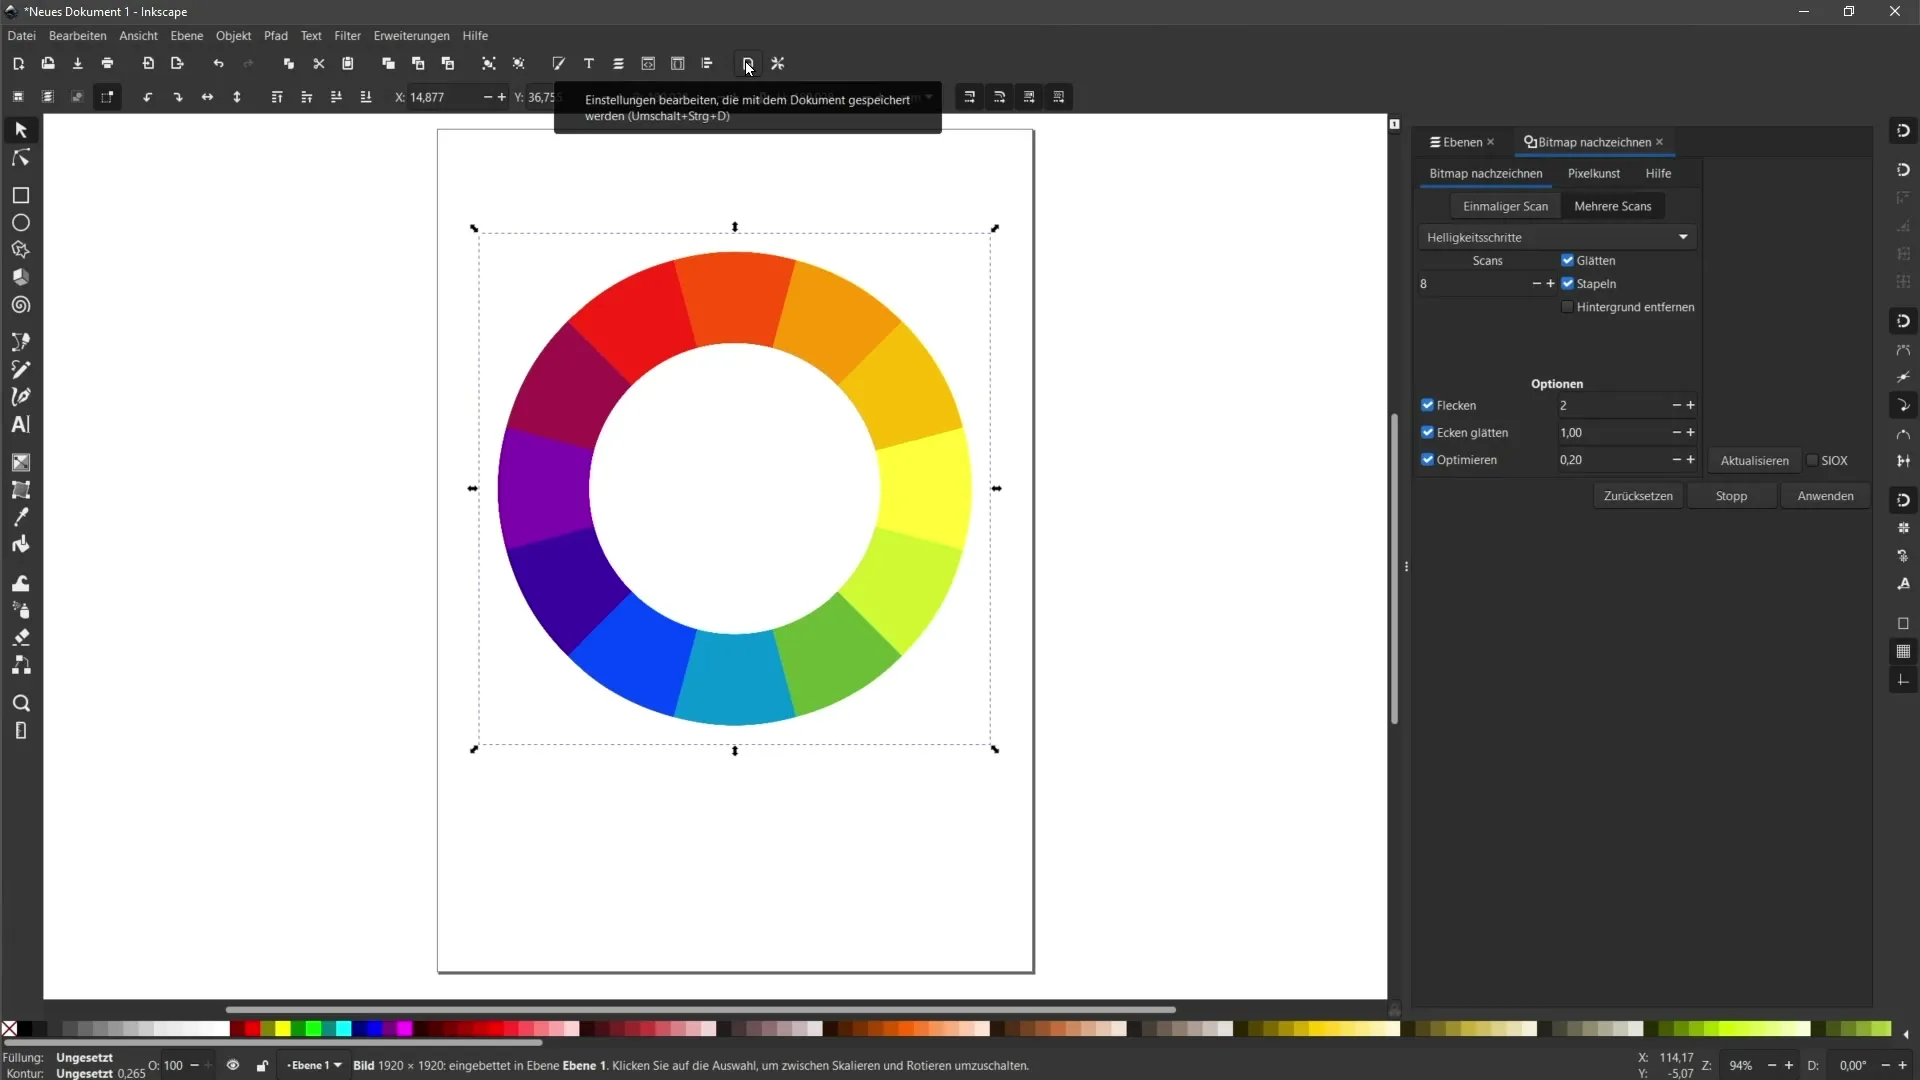
Step 2: Select Pixel Graphic
After adjusting the page size, select the pixel graphic you want to convert. For this tutorial, we are using a multicolored color wheel. Make sure the graphic is clearly visible on your workspace.
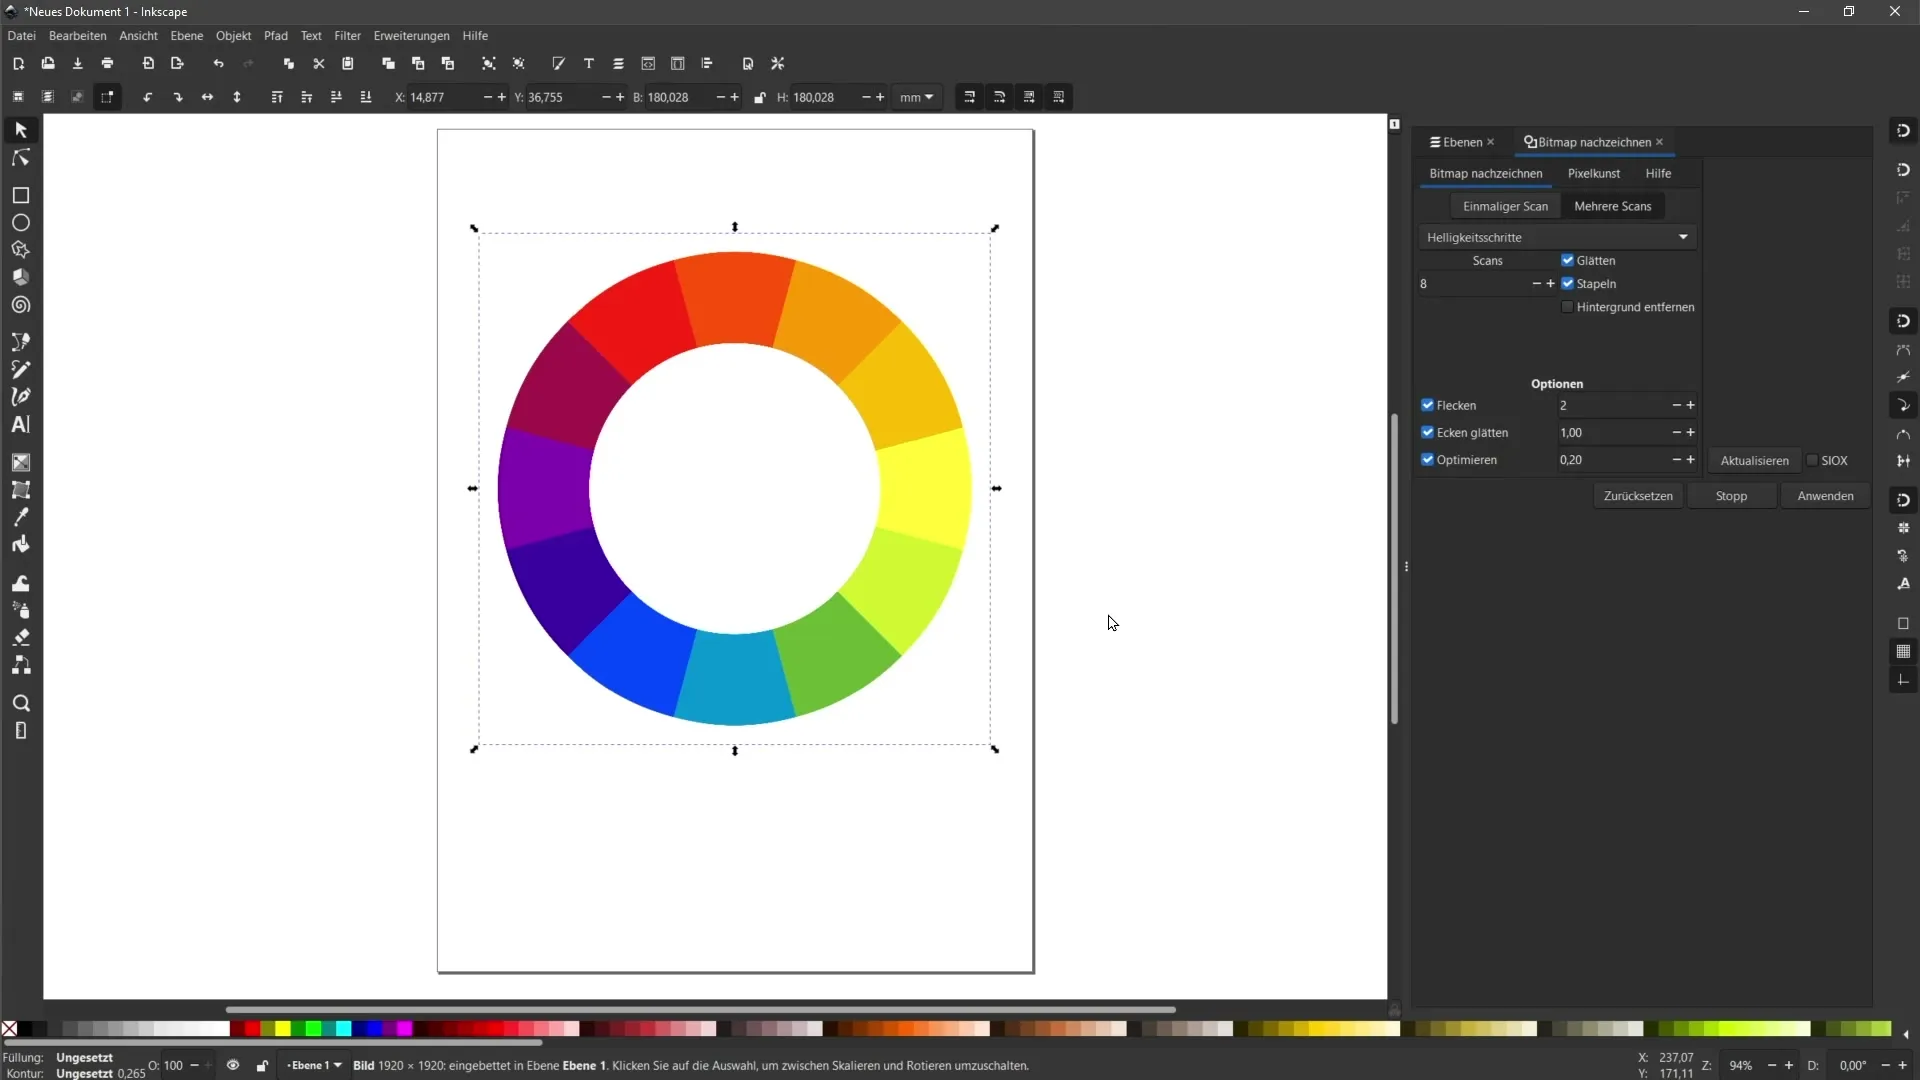
Step 3: Utilize "Multiple Scans" Option
Now switch to the "Trace Bitmap" tab and click on the "Multiple Scans" section. Here you will find a variety of options. For a multicolored graphic, the setting in the "Colors" section is particularly important.
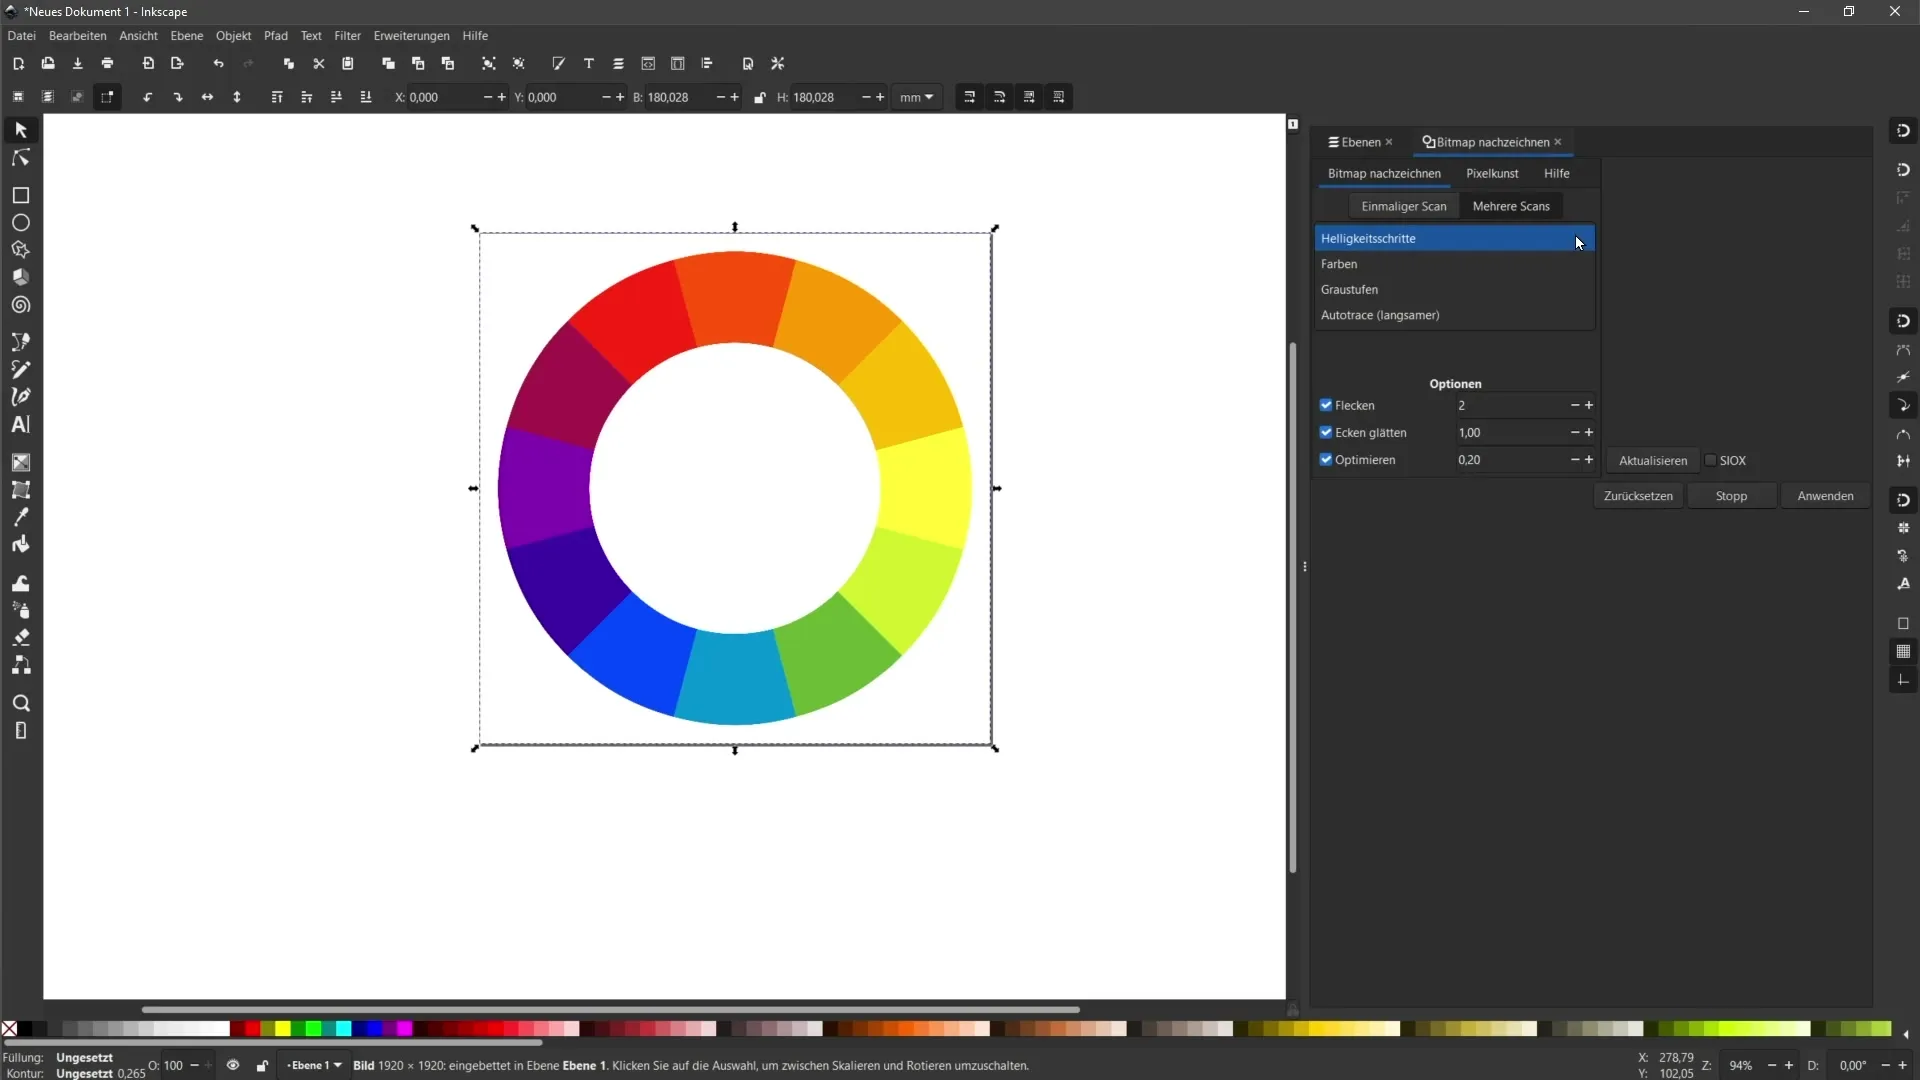
Step 4: Set Number of Samples
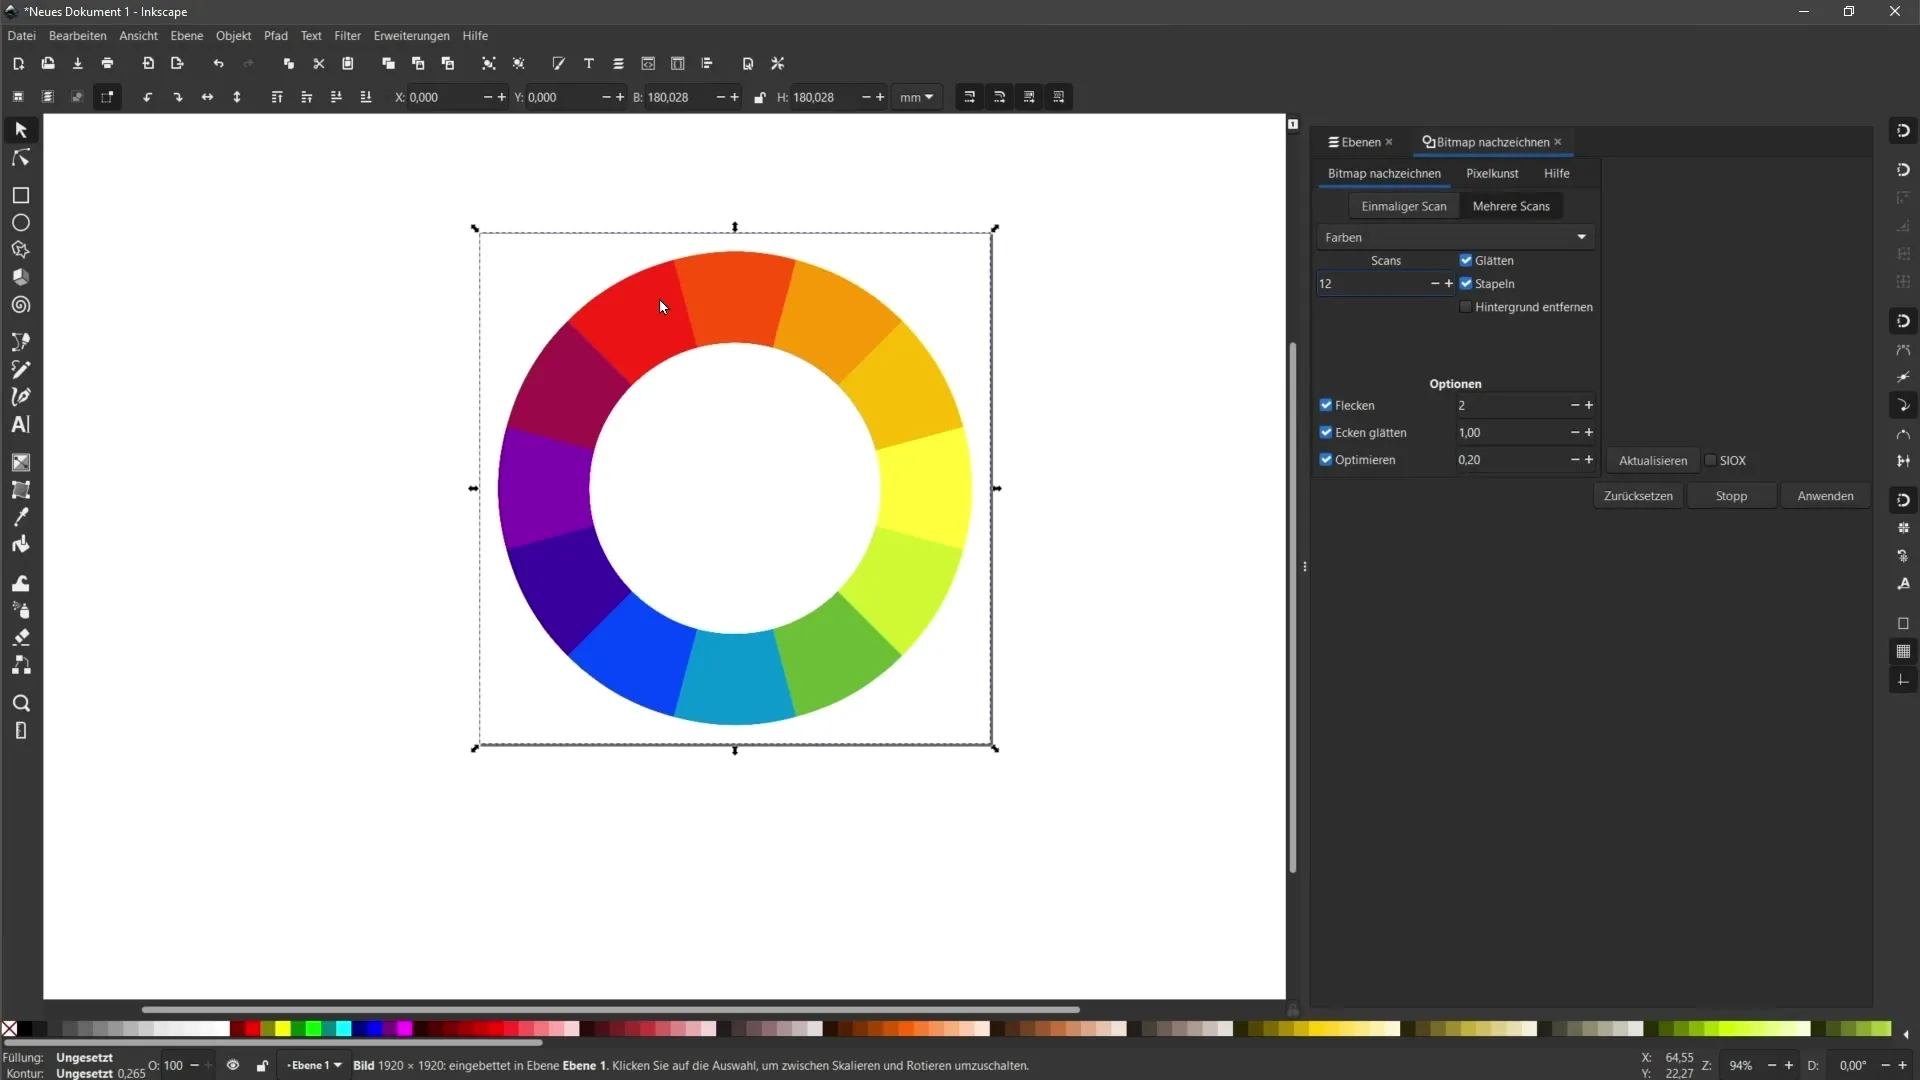
In the Colors section, you can set the number of scans. Since our color wheel has 12 colors, also choose 12 samples here. This helps Inkscape convert the corresponding colors into vectors. Then click "Update" to preview the conversion.
Step 5: Check Preview
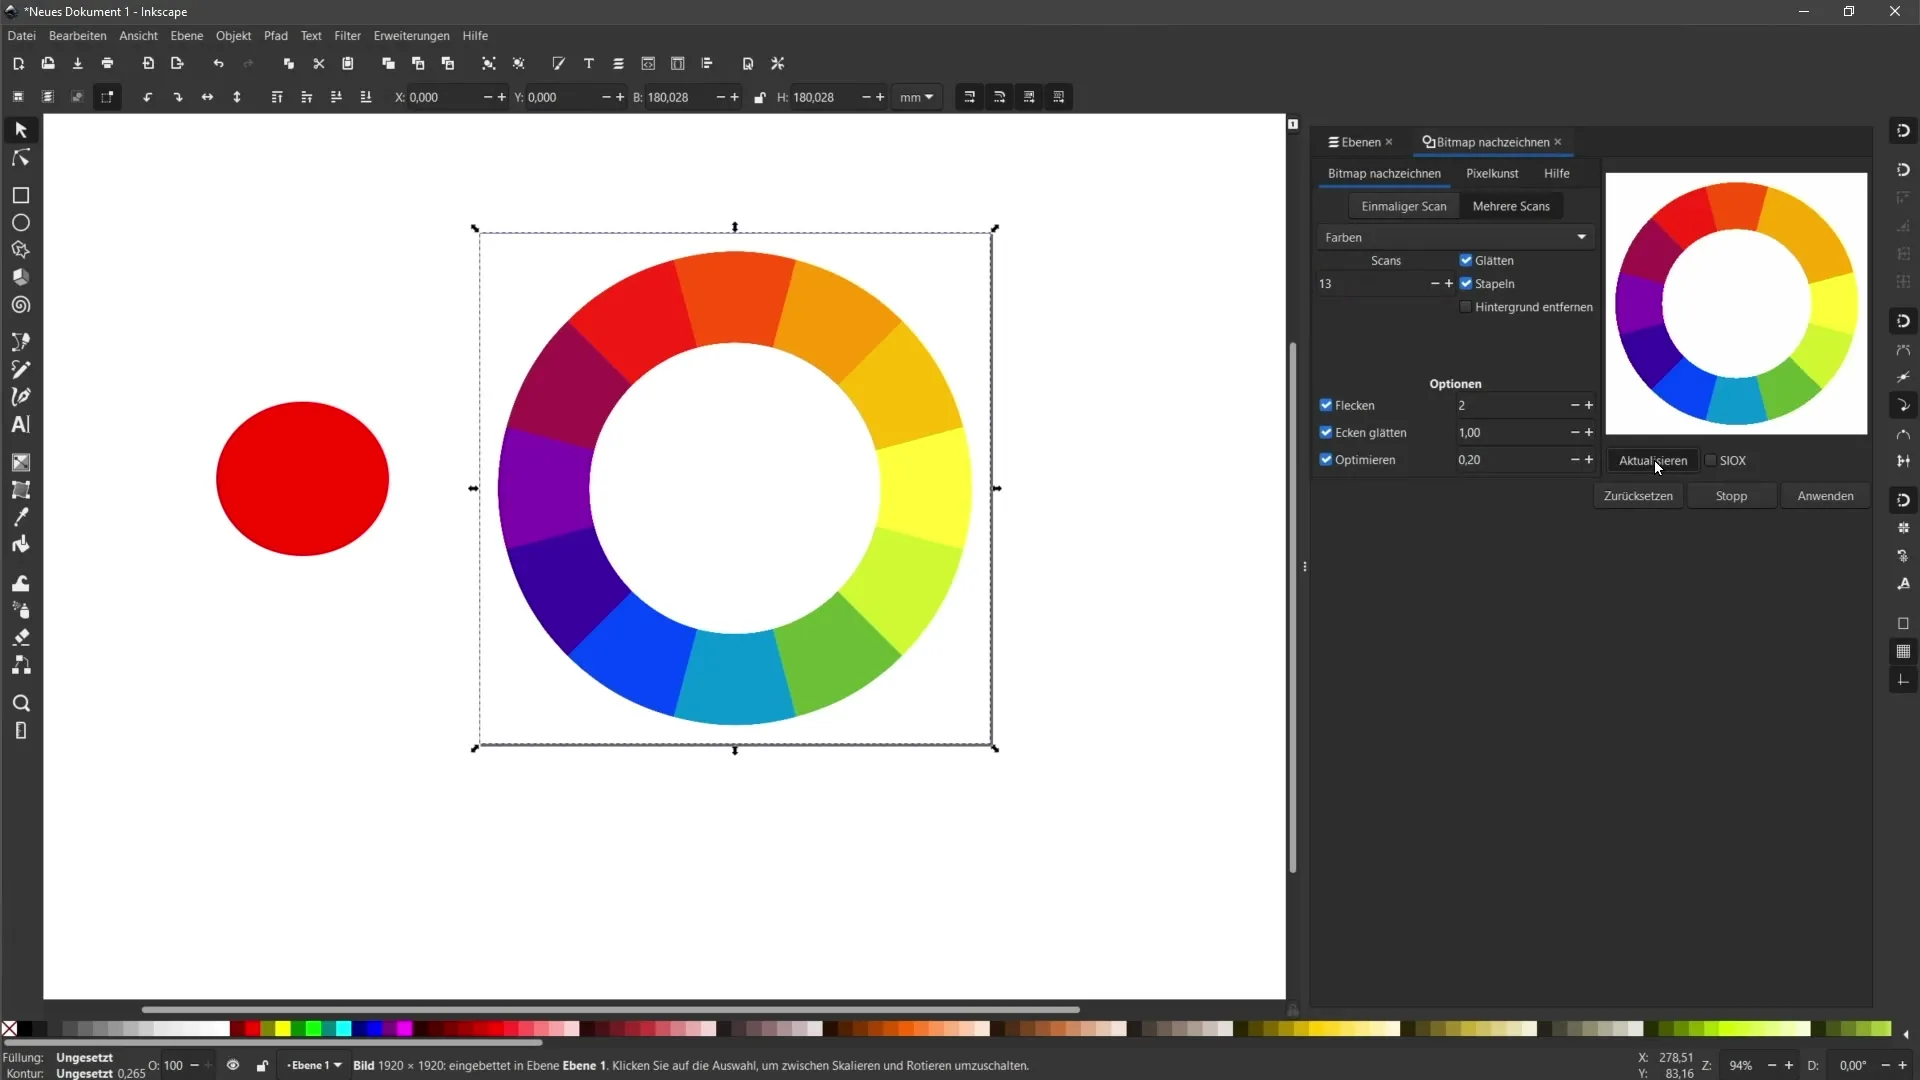
After updating, you should see the preview of the converted graphic. Make sure all colors are correctly captured. If a color is missing, such as an orange tone in our example, you can increase the number of scans. Click "Update" again to see the change.
Step 6: Vectorization without Gaps
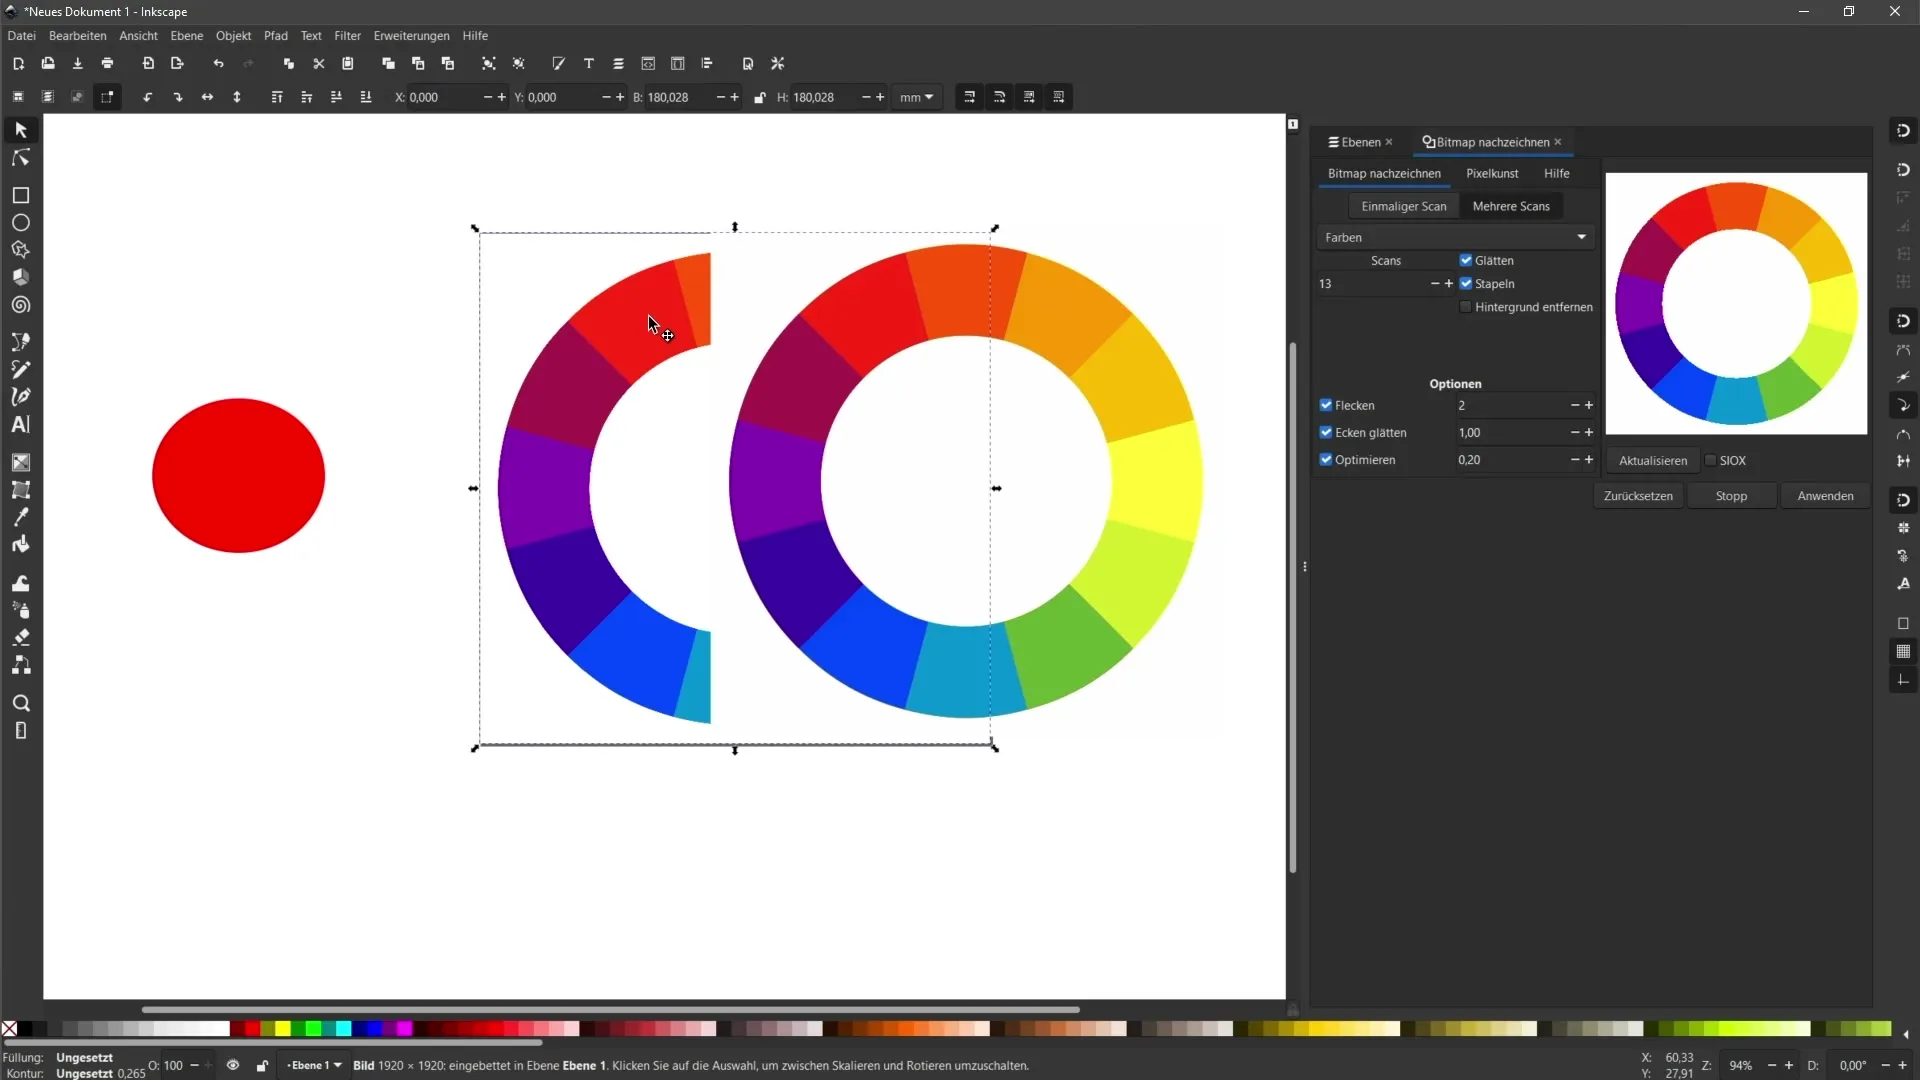
An essential setting is the "Stacking" section. Enable this option to ensure there are no visible gaps between the vector areas. Finally, click "Apply" to complete the vectorization.
Step 7: Edit Individual Areas
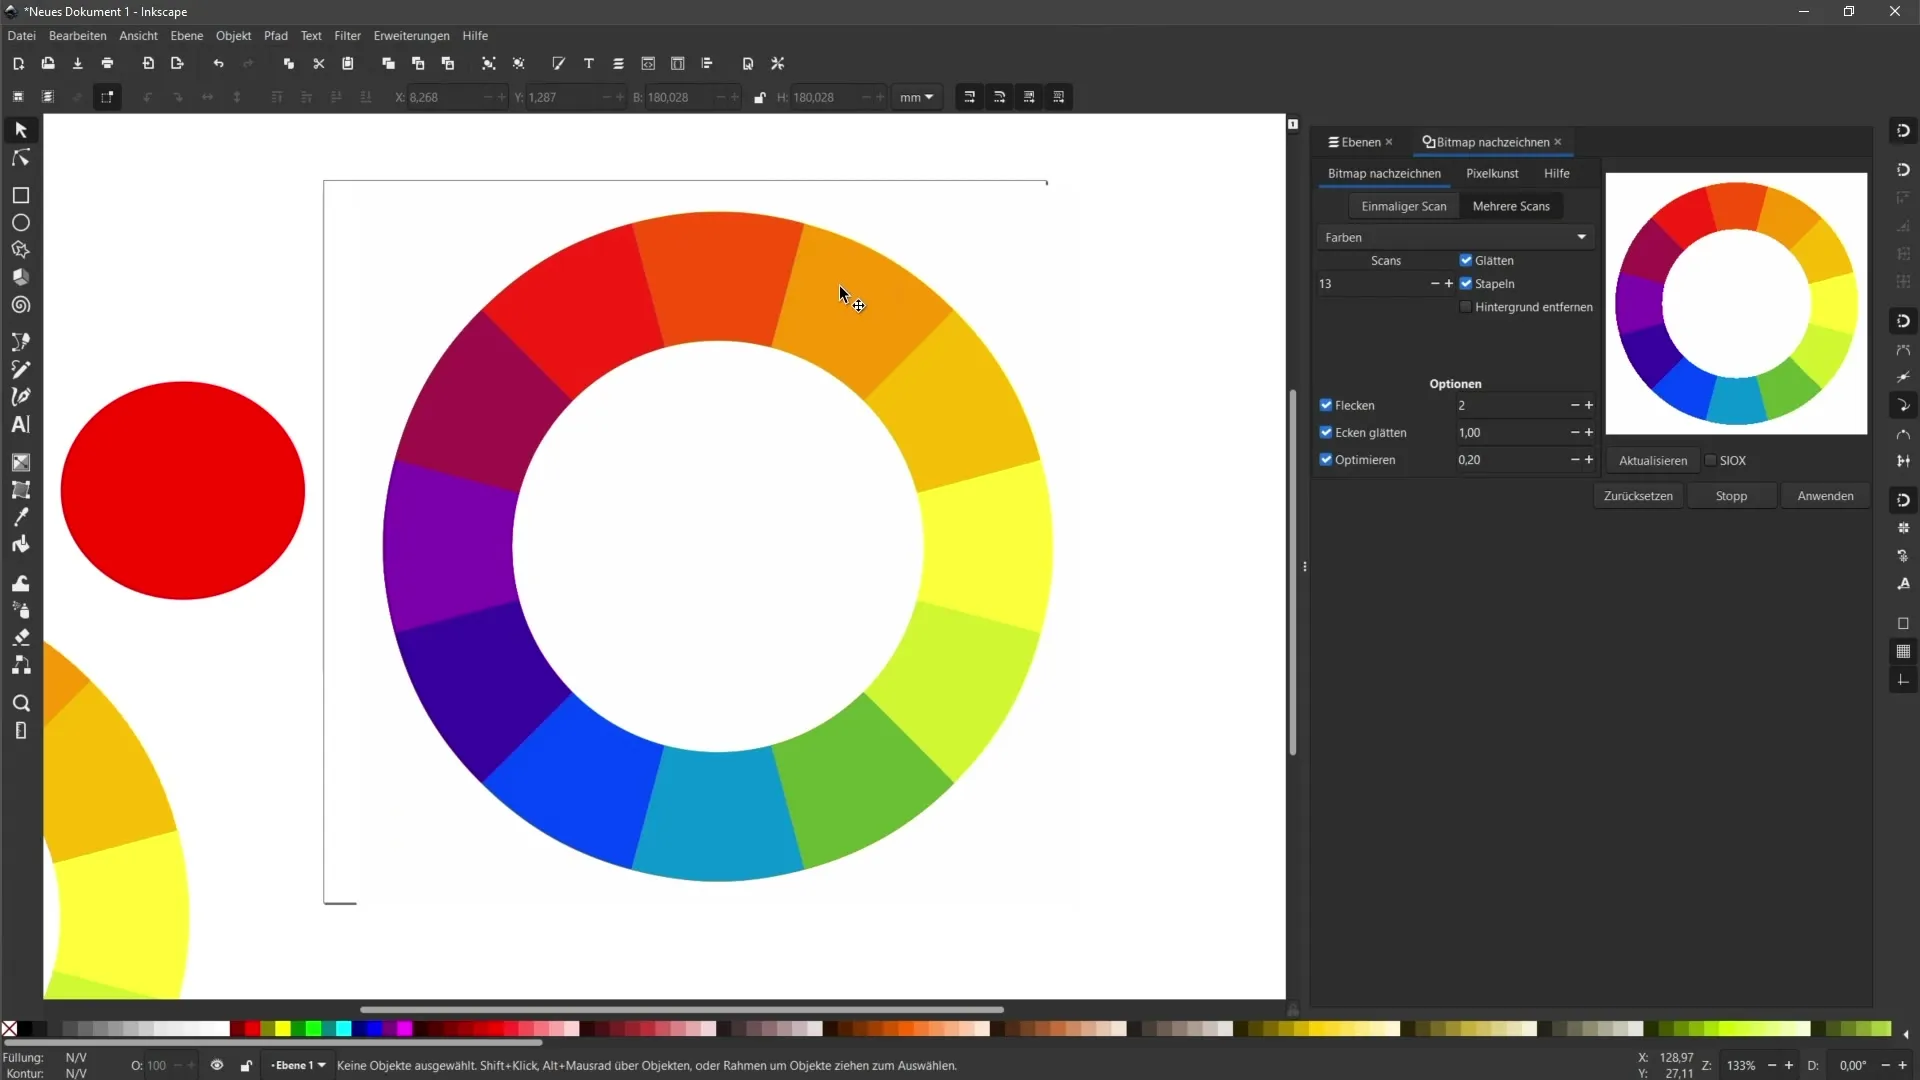
Now you can see the converted vectors. To edit the individual areas, you need to ungroup. Select the entire graphic, go to the menu bar, choose "Object," and then "Ungroup." Now you can select and edit each area individually.
Step 8: Separate Areas
After ungrouping, you can move the individual vectors as desired to organize them. Make sure they are not overlapping, unless intended.
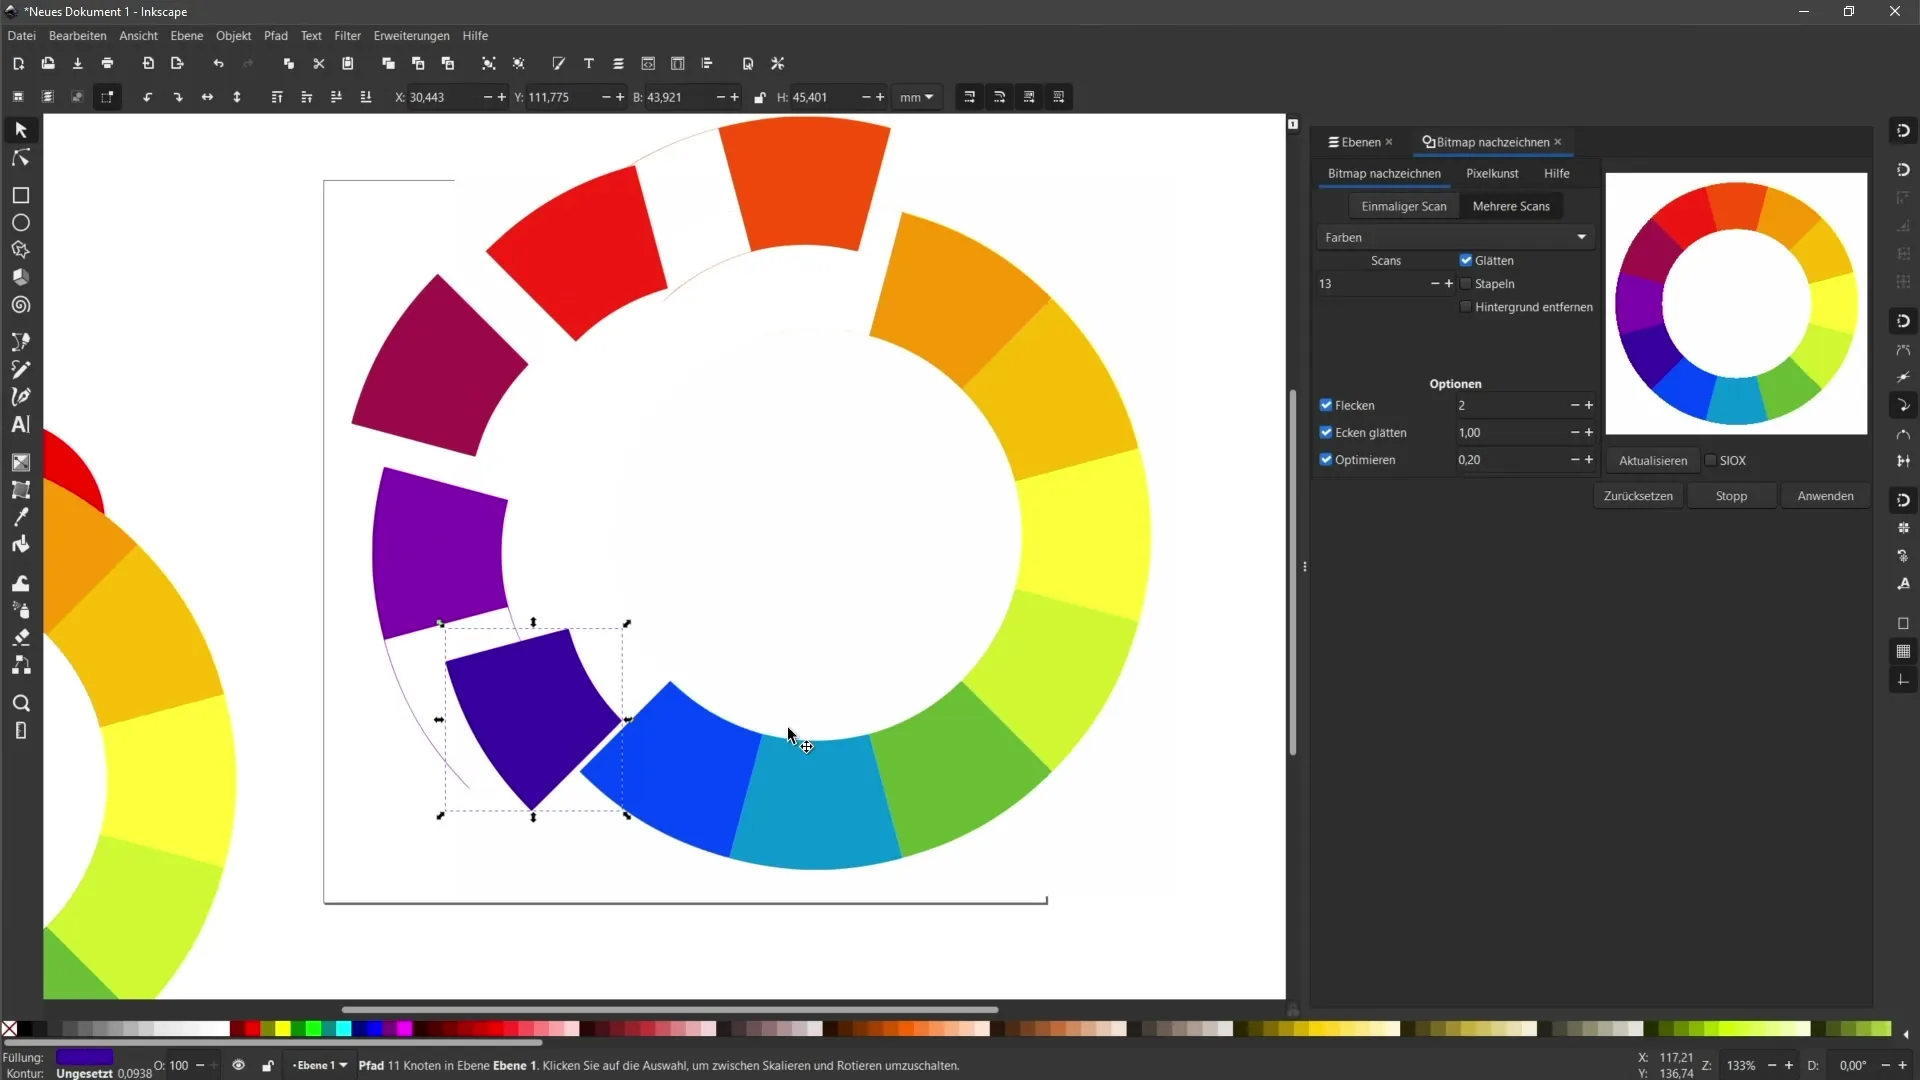
Step 9: Correct Errors
Occasionally, there may be overlaps or unintended edges. You can adjust the anchor points of the vectors with the Node tool. Select and delete the respective anchor points to fix the issues.
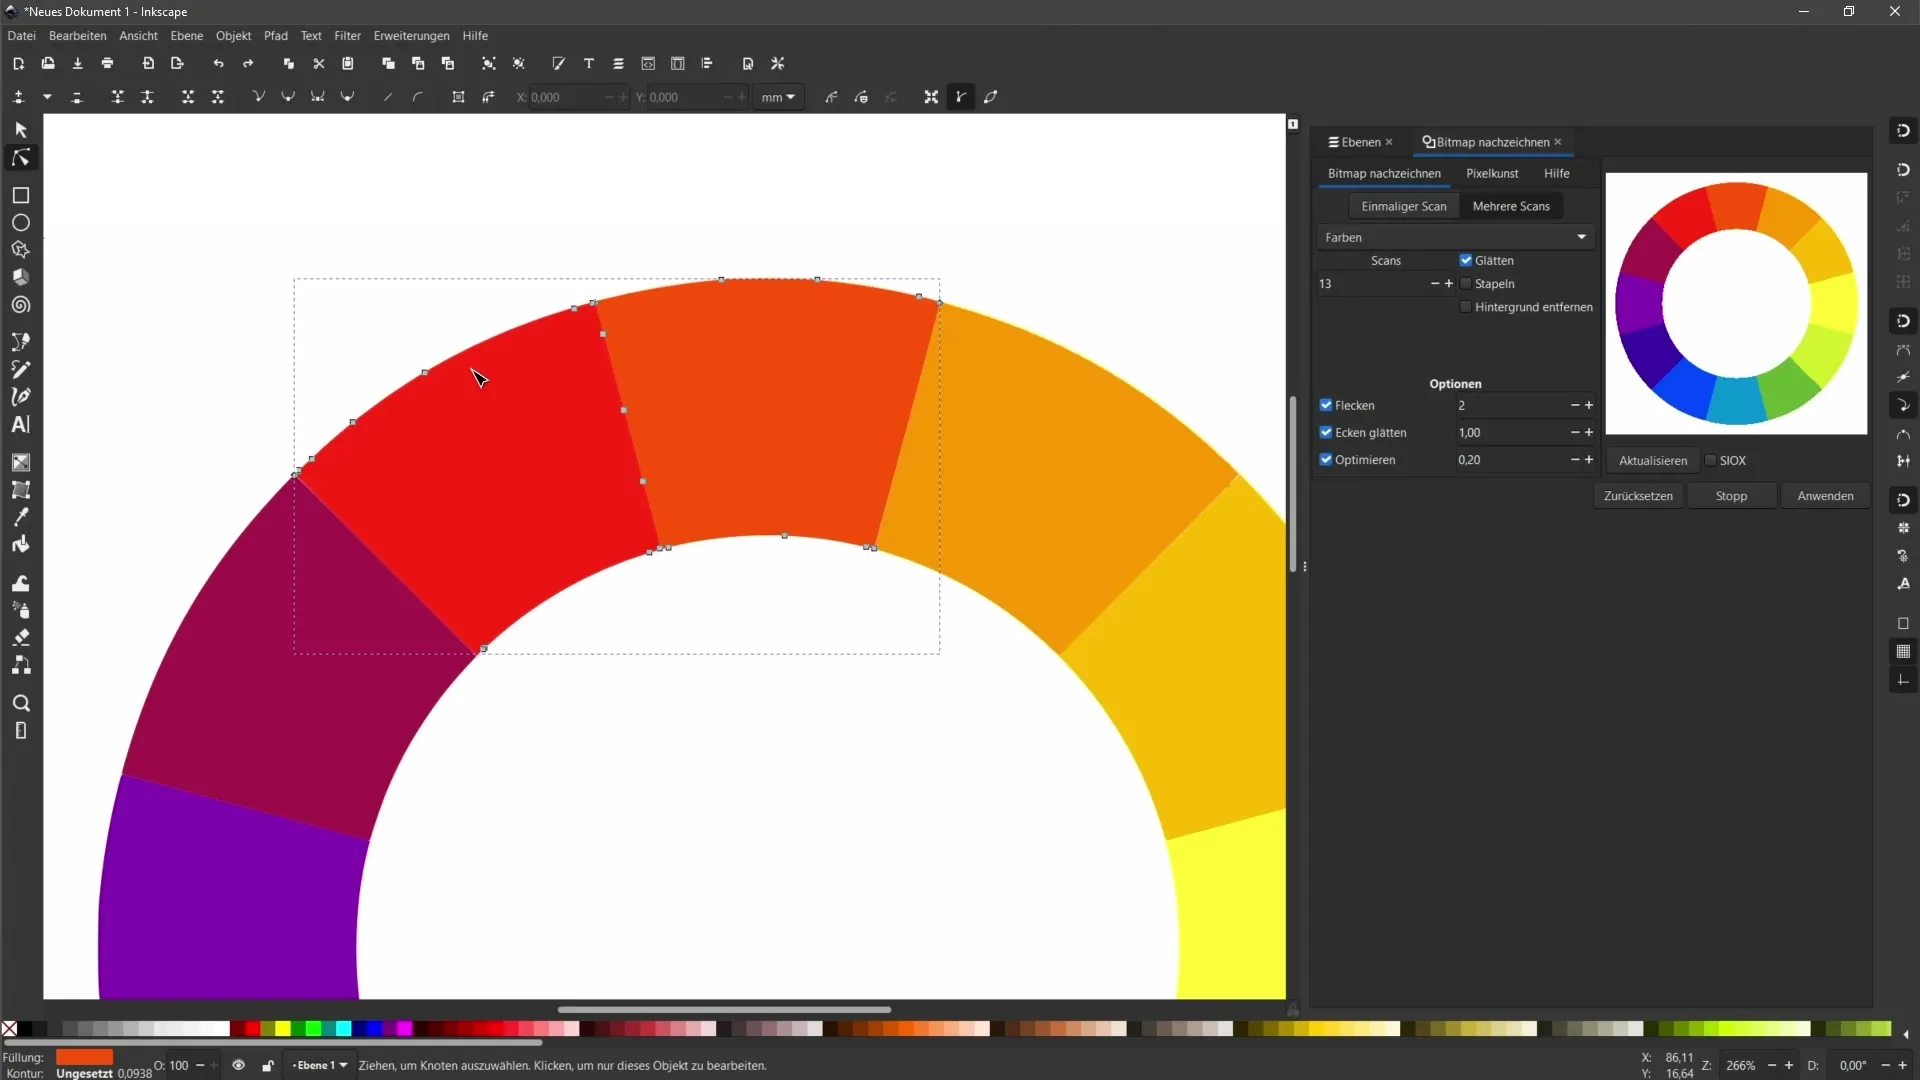
Step 10: Remove background color
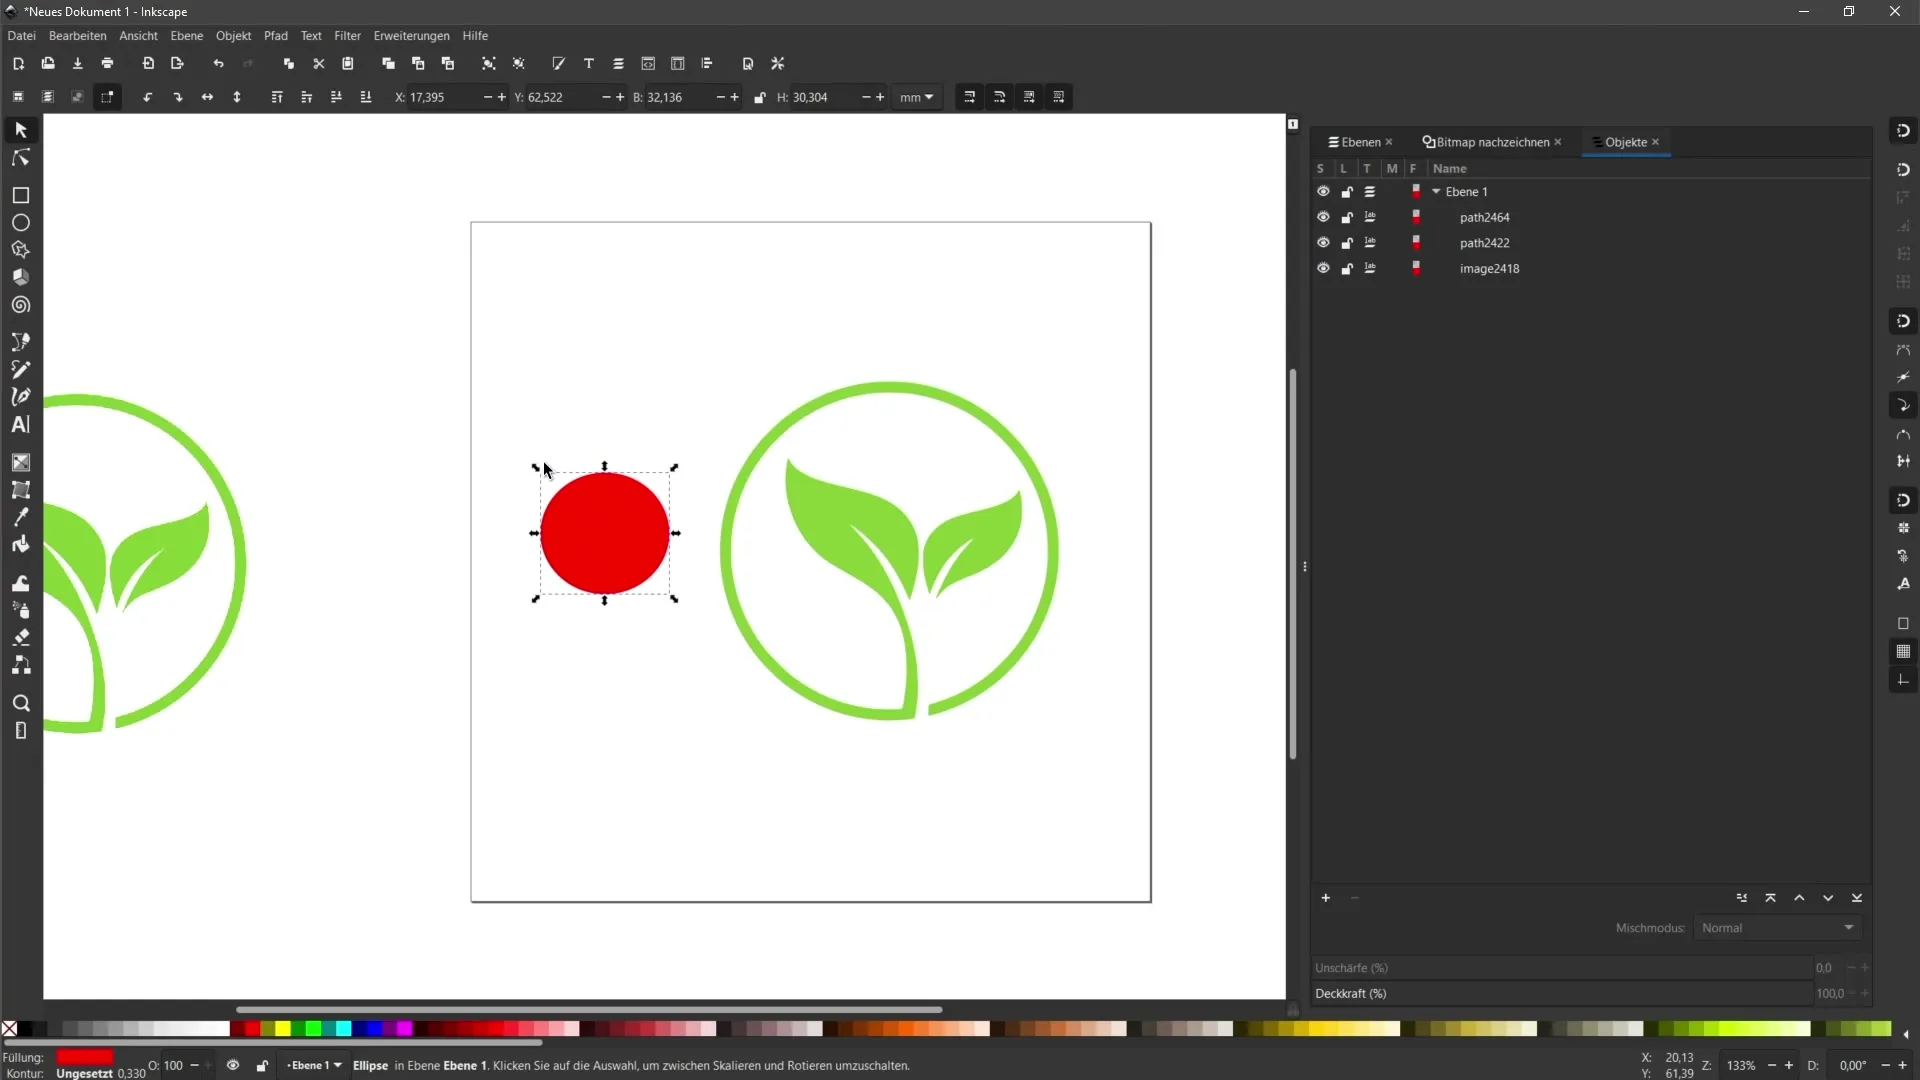
If you have a white background that you do not want in your vector graphic, you can easily remove the background. Select the pixel graphic again, activate "Remove Background", and click "Apply". This will remove the white background and you will have only the vector graphic.
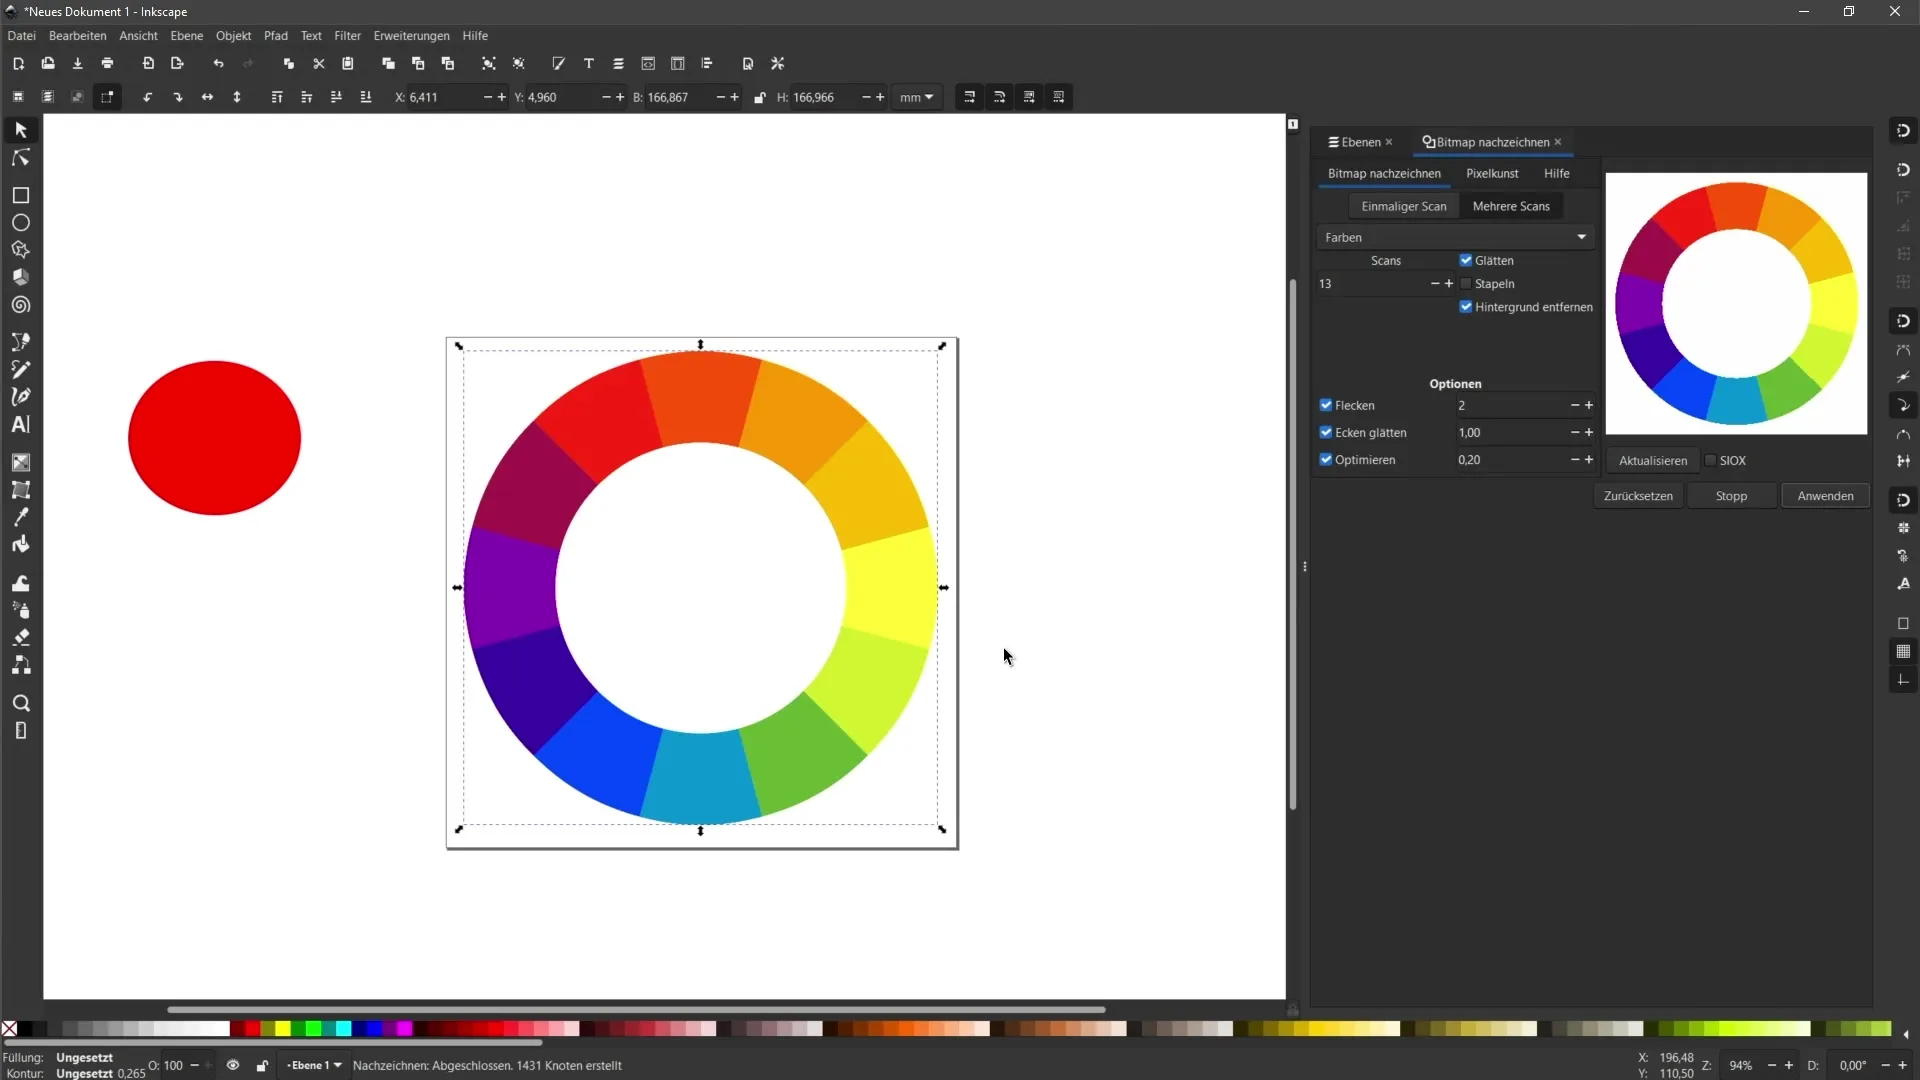
Step 11: Manage layers
It is important to manage the layers, especially when working with multiple graphics at the same time. You can show and hide layers or rearrange them. This helps you optimize the visibility and layout of your elements.
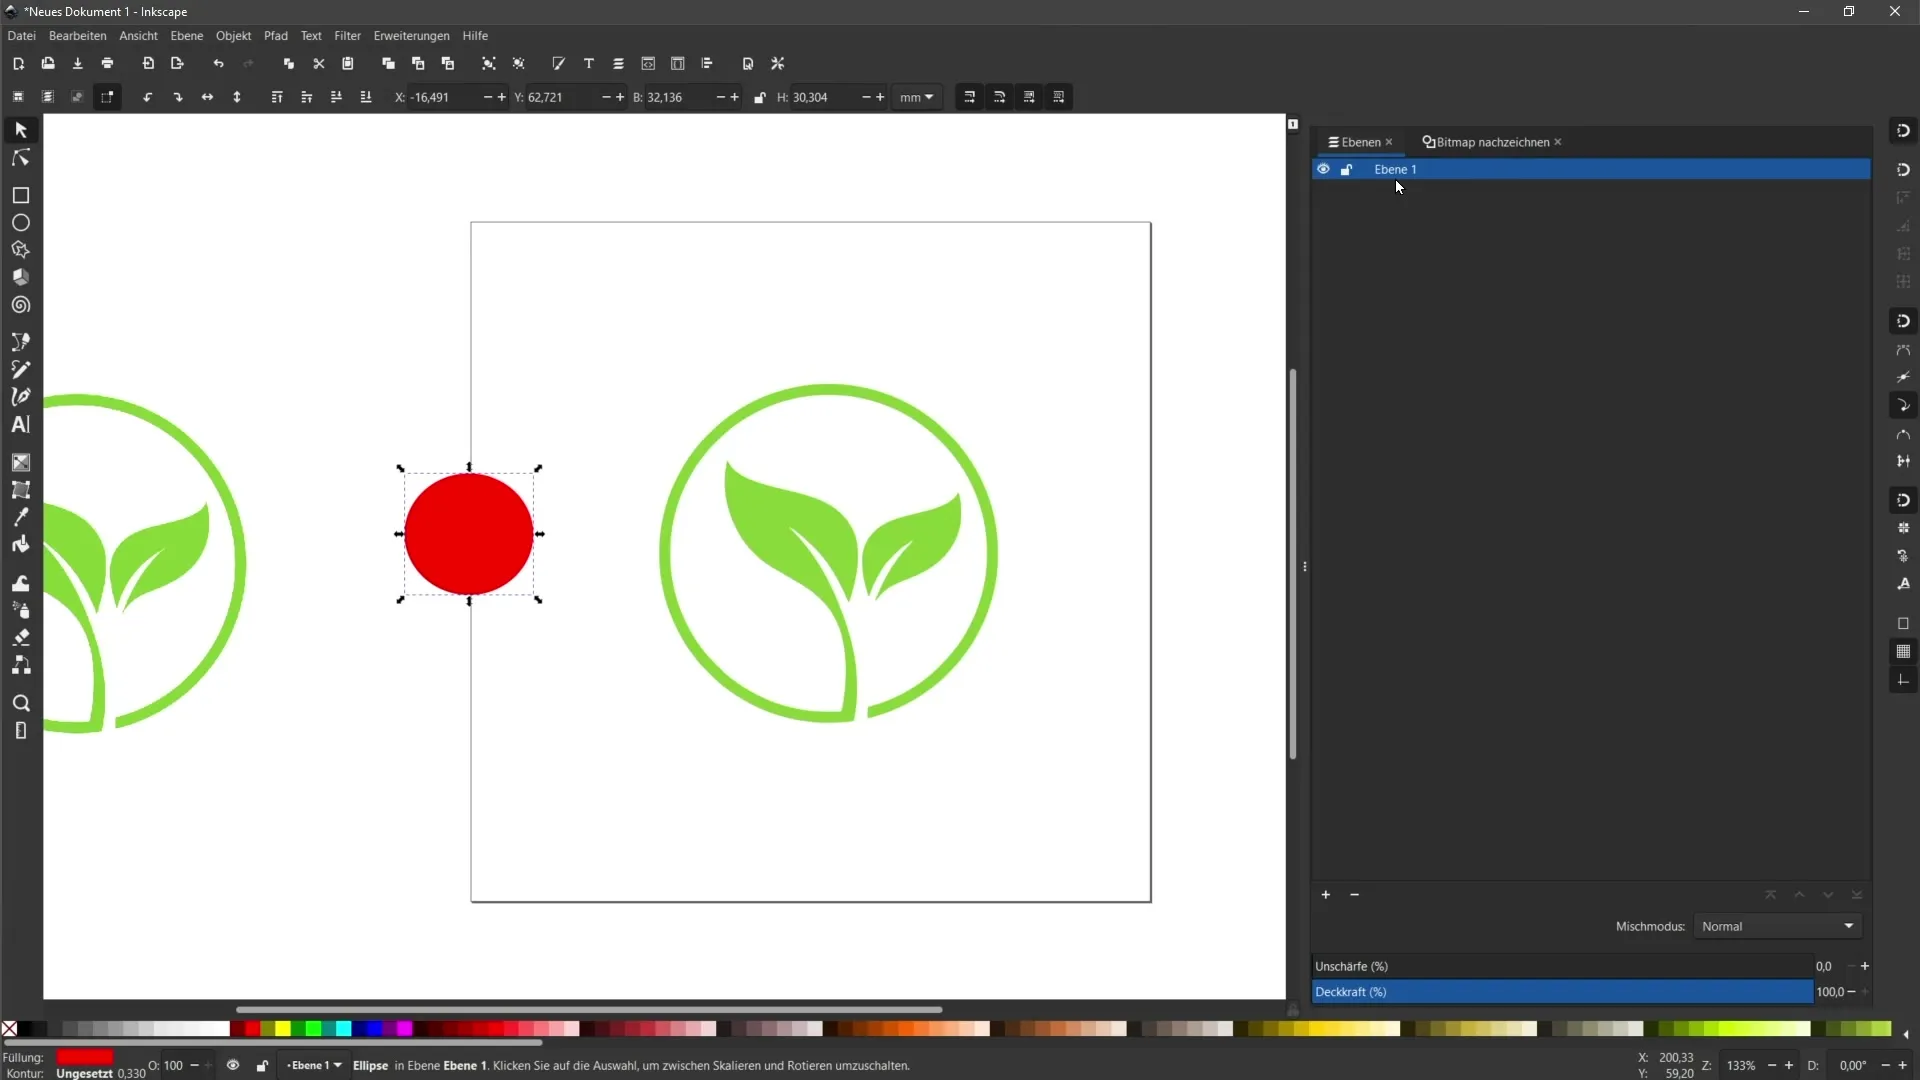
Step 12: Check the final result
Check the final result by displaying all objects. See if the vectors are clear and precise. Make sure there are no unwanted white areas or gaps. Done!
Summary
In this tutorial, you have learned step by step how to convert multicolored pixel graphics into vector graphics. With the right settings, editing areas, and removing the background, you can perfectly transform your graphics into vectors. Use the techniques and options presented to optimize your designs.
Frequently Asked Questions
How many colors should I choose when scanning?The number of colors should match the number of colors in your original image. Make sure to adjust the number accordingly.
How can I remove a white background?Select your pixel graphic and activate the "Remove Background" option in the "Multiple Scans" section.
What is the "Stacking" function?The "Stacking" function prevents gaps between individual vectors and ensures a seamless display.
Do I have to edit each area individually?Not necessarily, but ungrouping will help you customize each area individually according to your preferences.
