In this tutorial, you will learn how to optimize and customize your vector objects created in Inkscape. The video will show you how to smooth curves, adjust colors, as well as break down or combine objects to achieve the desired design. Whether you have a simple drawing or a complex logo, with the right tools and techniques, you can achieve impressive results. Let's go through this process step by step together.
Key Takeaways
- You can manually adjust the nodes of your vector objects in Inkscape to smooth or change them.
- There are special tools in Inkscape that allow you to easily change colors and reshape objects.
- Breaking down and customizing objects in Inkscape is straightforward and allows for individual adjustments.
Step-by-Step Guide
To optimize your vector objects in Inkscape, follow these steps:
Step 1: Select Object and Activate Node Tool
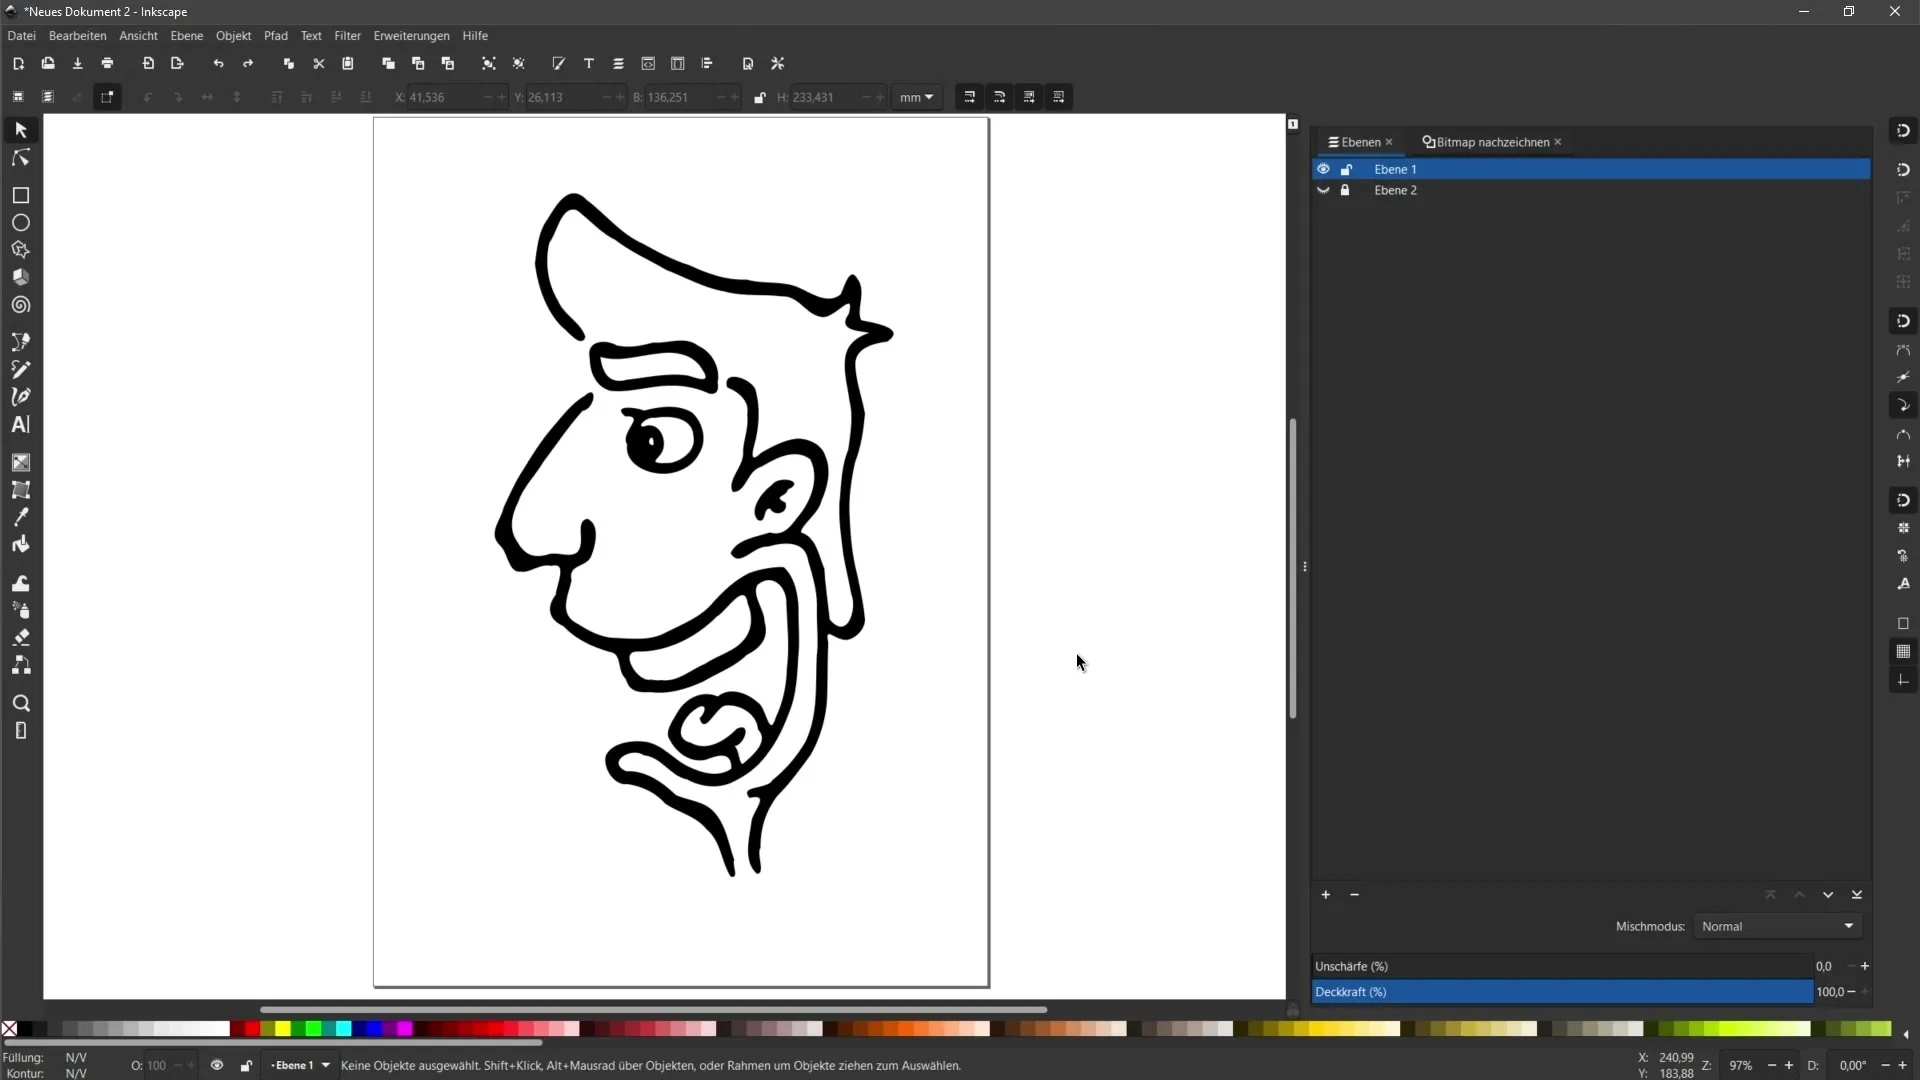
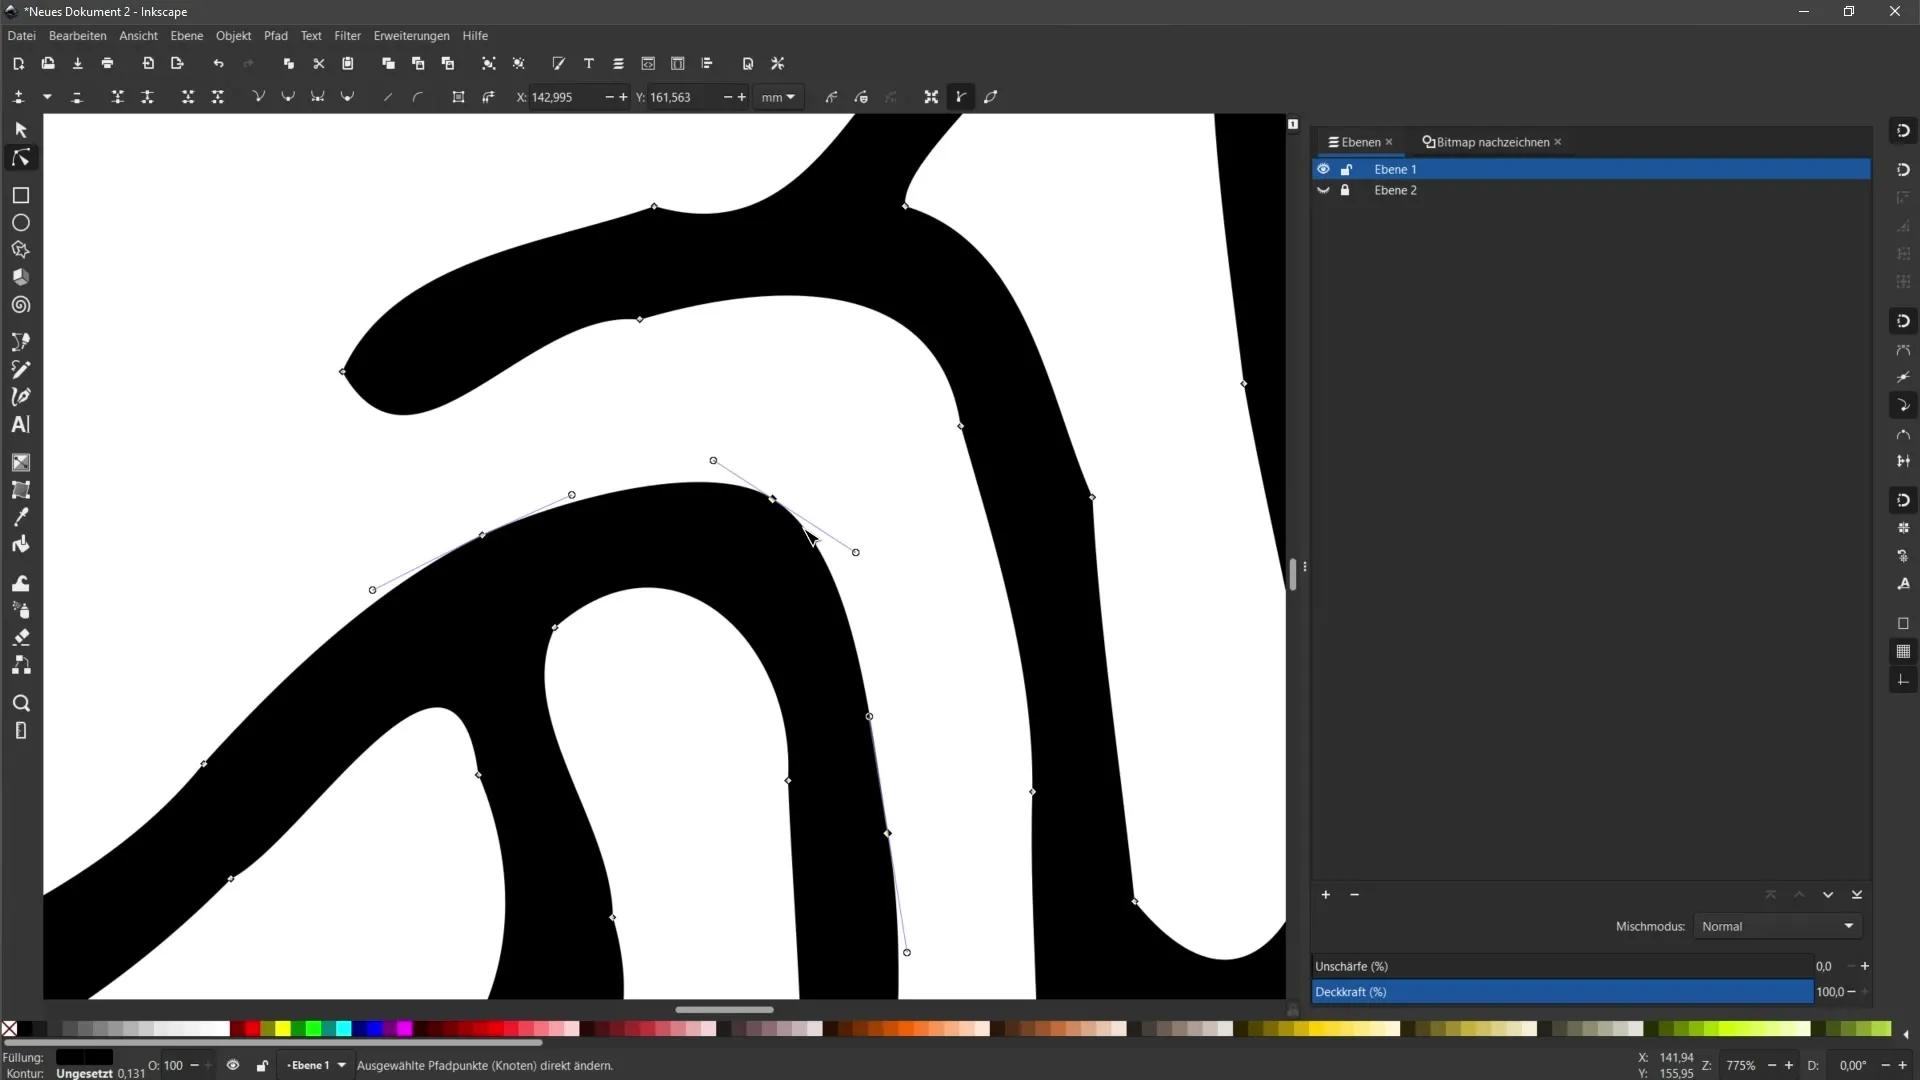
Start by selecting the vector object you want to customize. Then click on the Node Tool in the toolbar. Now you should see all the anchor points of the object.
Step 2: Edit Anchor Points
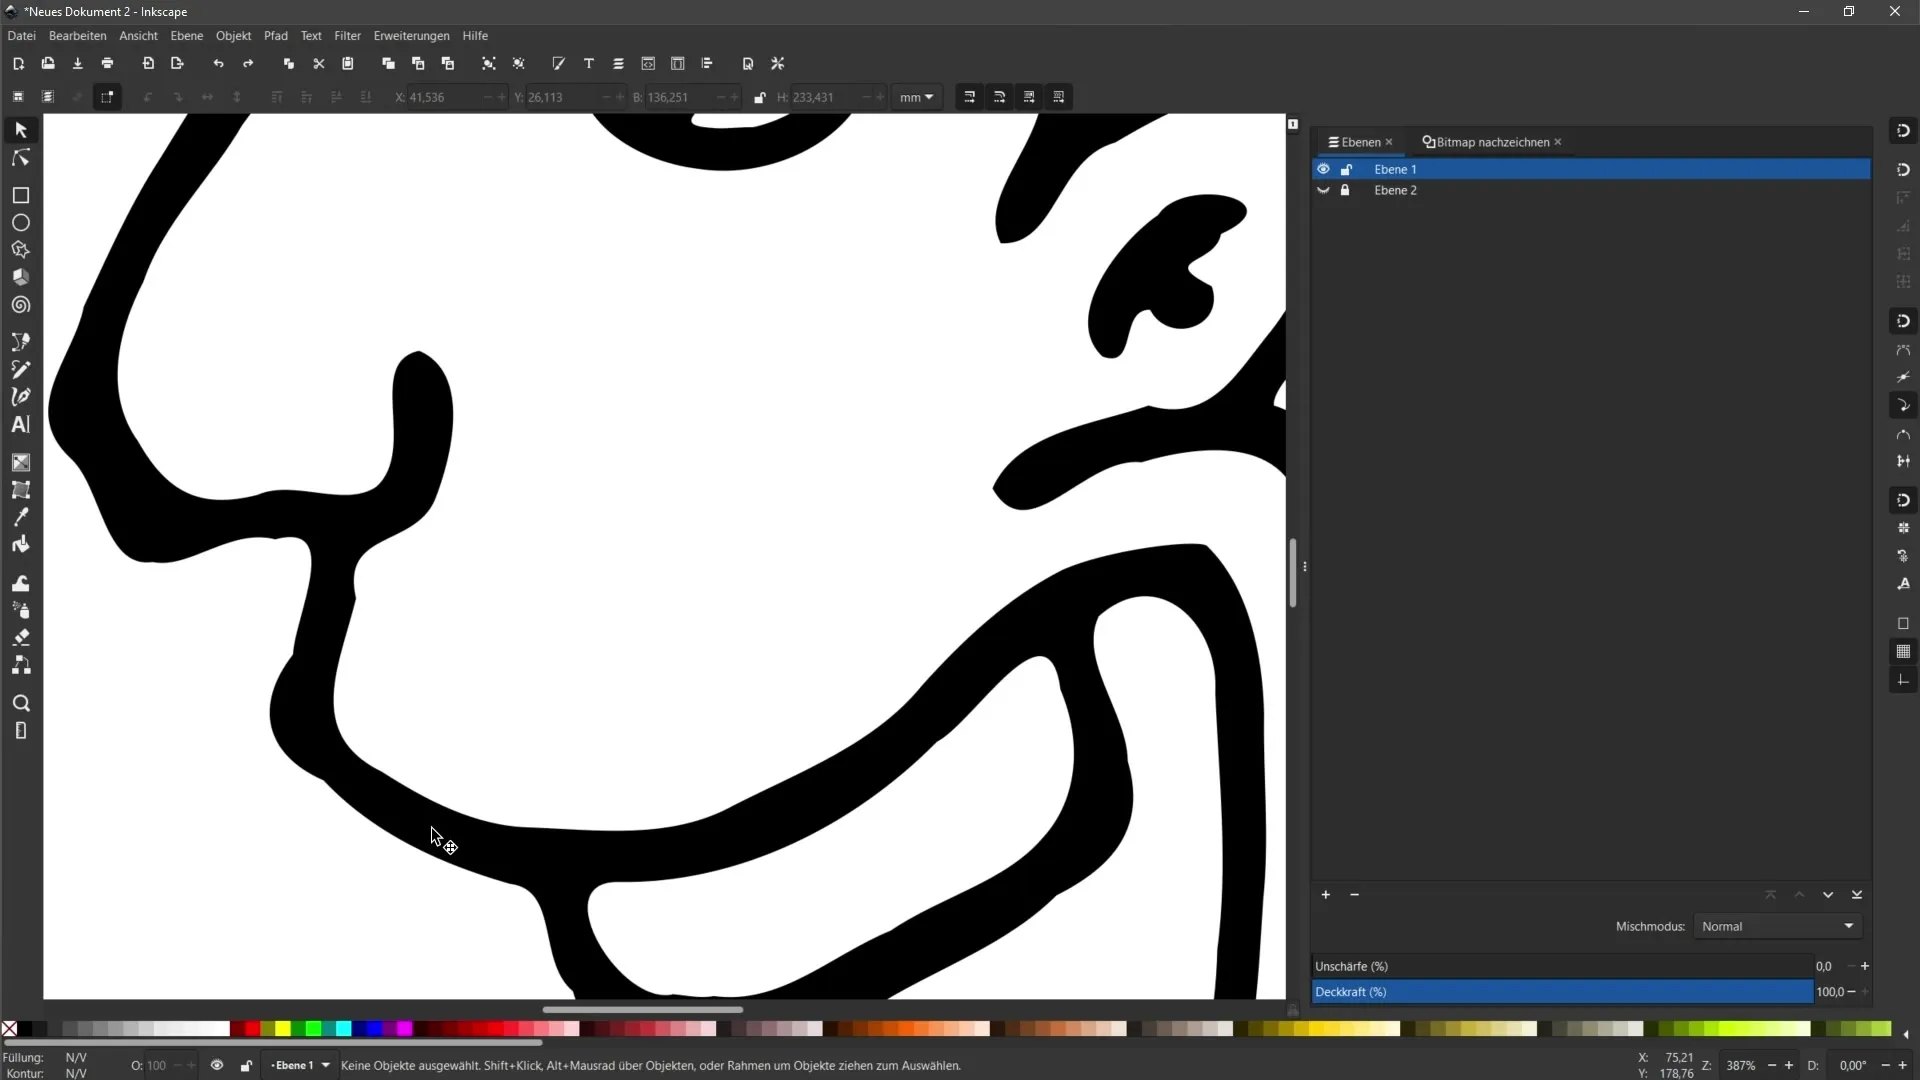
Zoom into your image to better identify the anchor points. Here, you can drag at the edges or corners of the object to change its shape. For example, if you want to create a smooth curve, click on the corresponding anchor point and drag the "arms" (handles) to shape the curve.
Step 3: Smooth Nodes
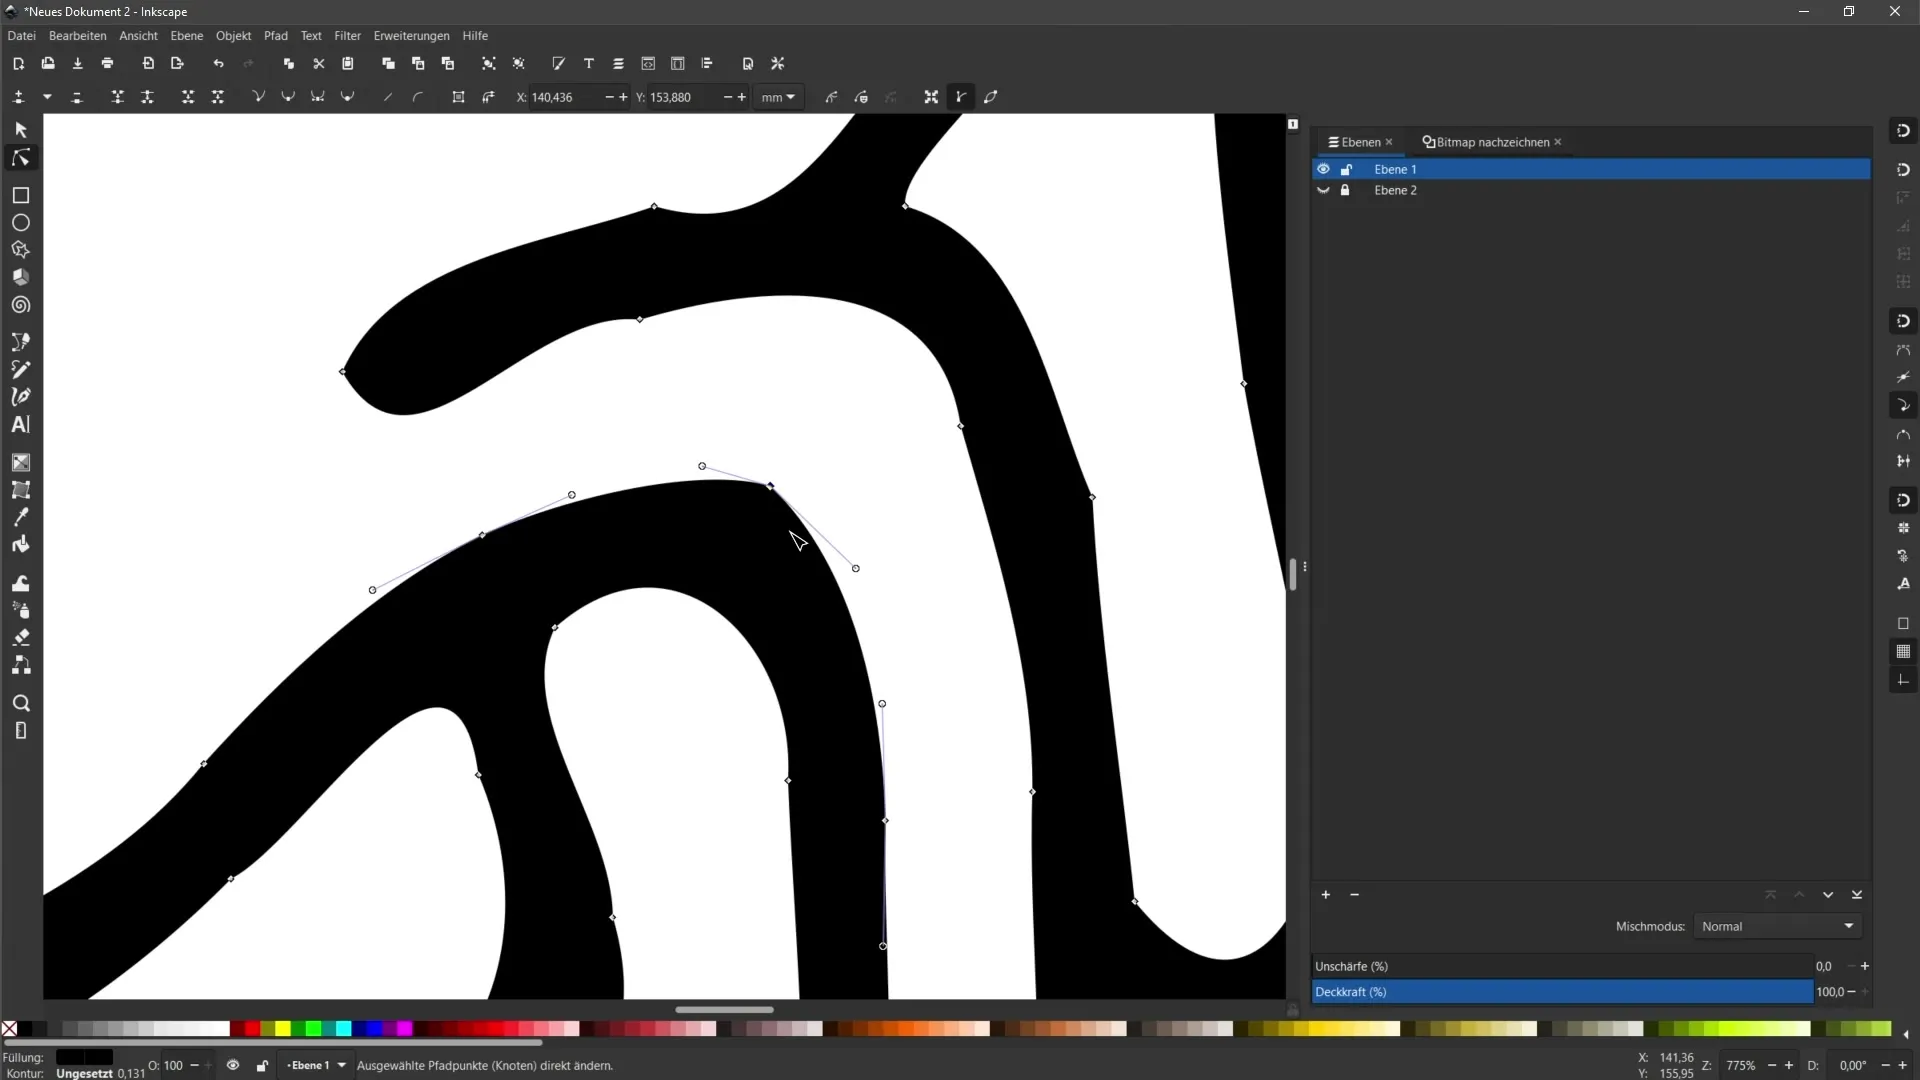
In the top menu, you will find icons related to corrections. An important tool is the "Smooth selected nodes" function, which allows you to optimize the shape of your curve. Click on this icon and observe how the edge becomes smoother.
Step 4: Round Nodes Automatically
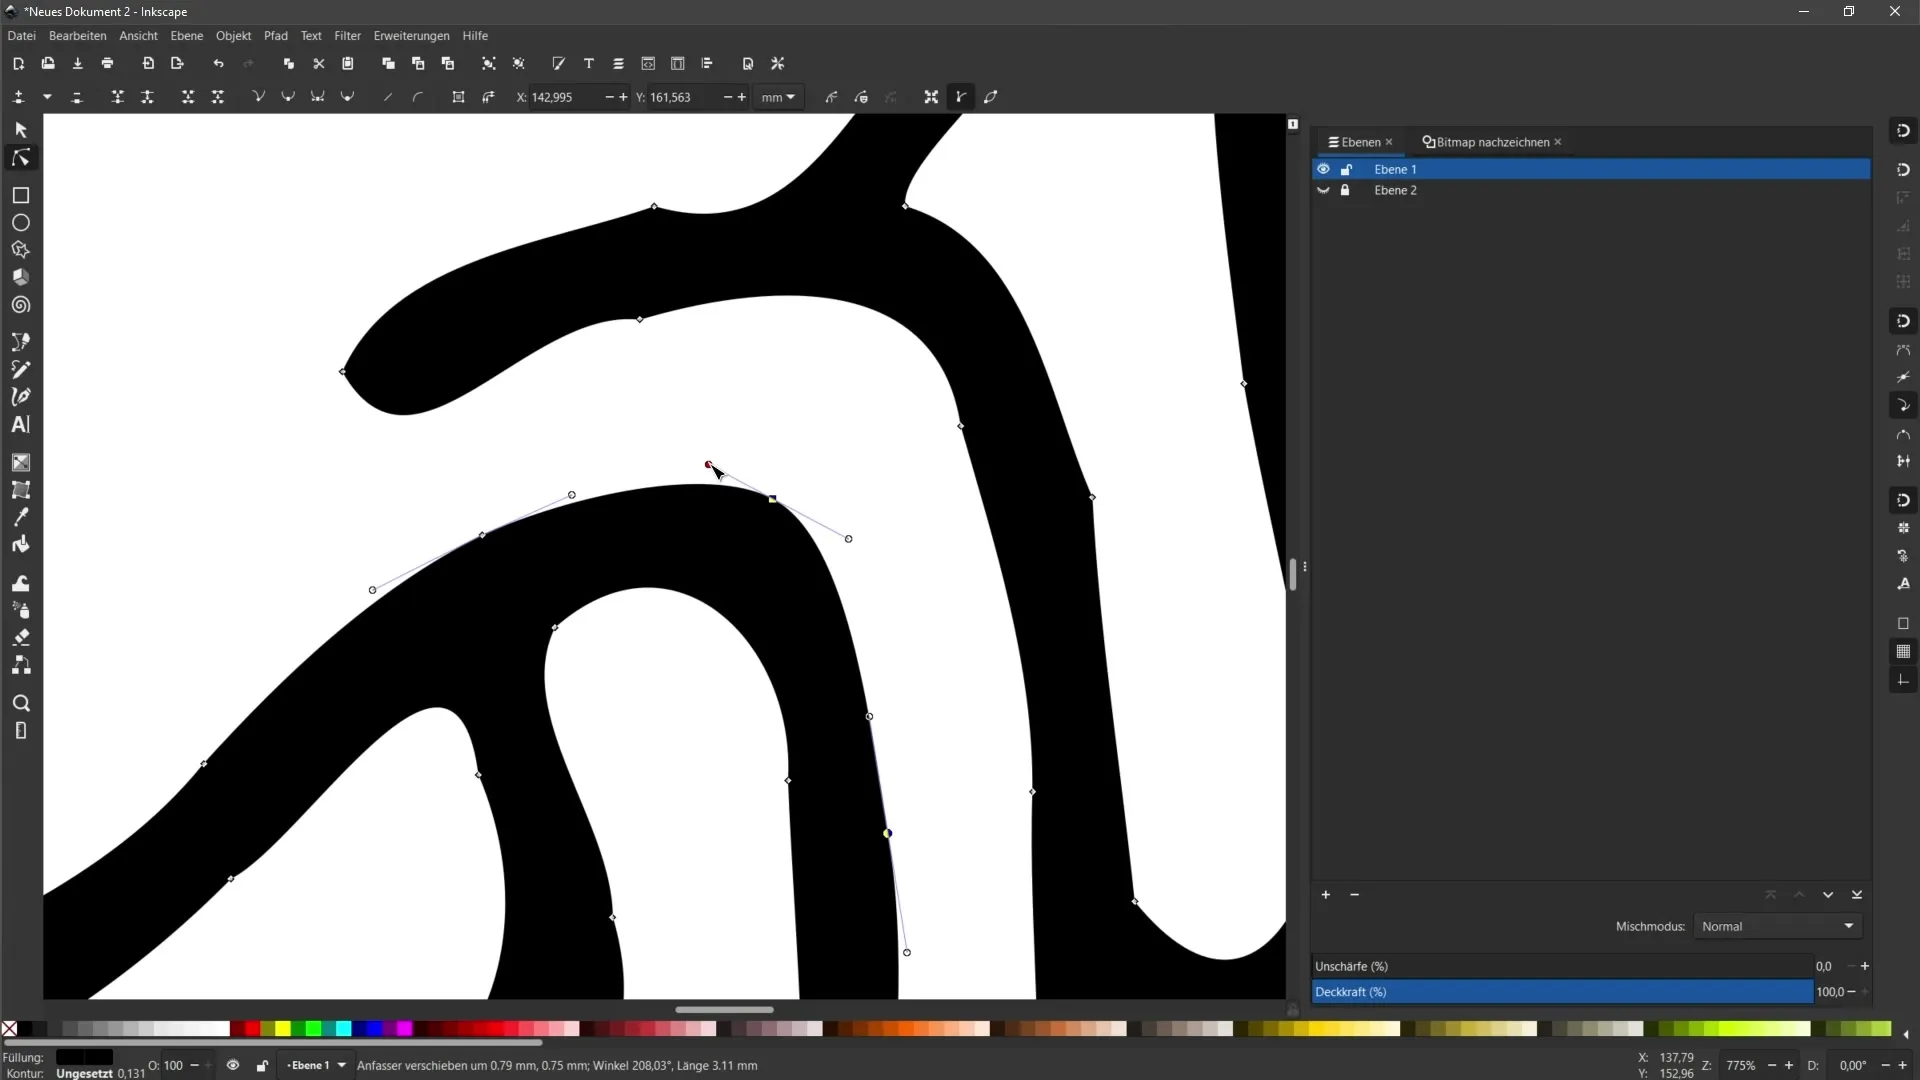
The next symbol, called "Round selected nodes automatically," ensures that the corners are rounded. Try out both options to see which result you prefer.
Step 5: Create Curves or Corners
If you want to convert a curve into a corner, select the anchor point and click on the switch that separates the edges. This allows you to adjust the edges independently from each other.
Step 6: Adjust Colors
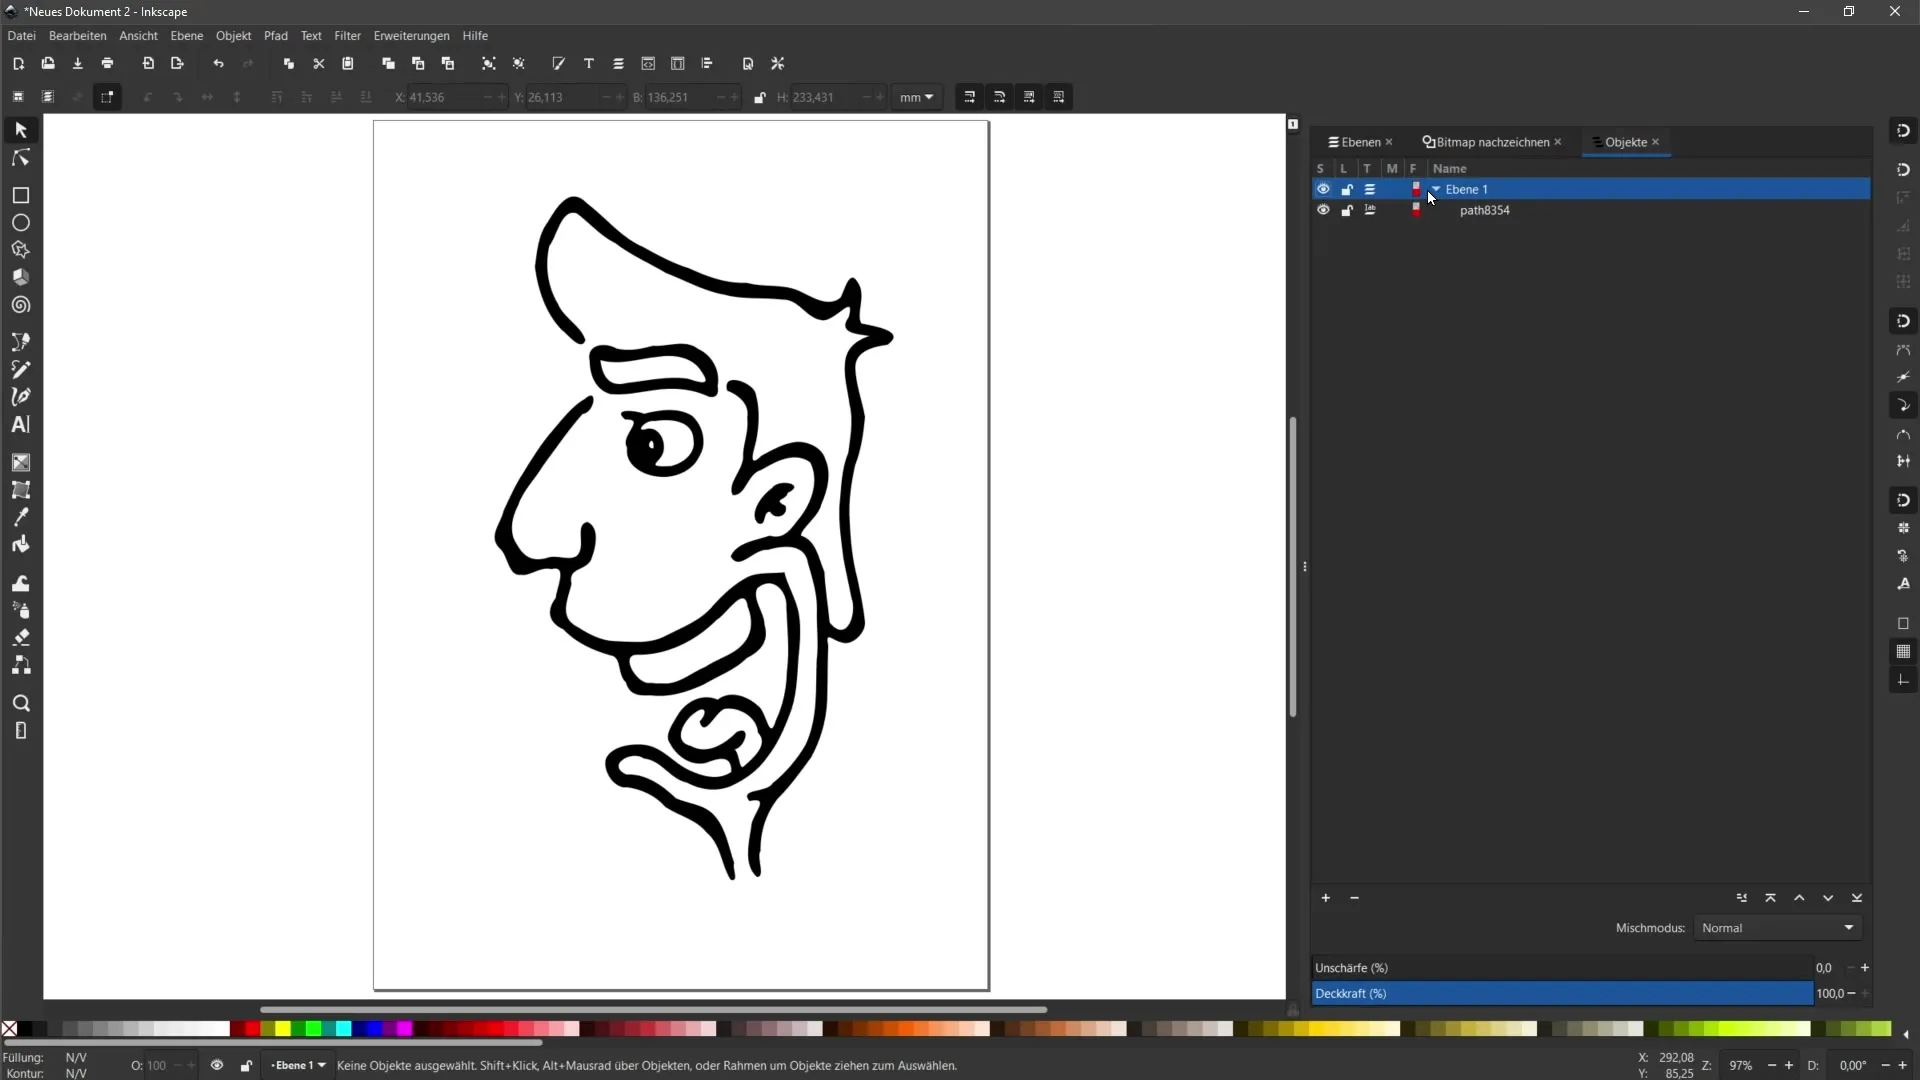
Once you have successfully optimized the shape, you can now start coloring the objects. Go to the "Objects" menu to make the different layers and their contents visible. Here, you can adjust specific objects, such as a tongue or hair, with colors.
Step 7: Create and Customize Shapes
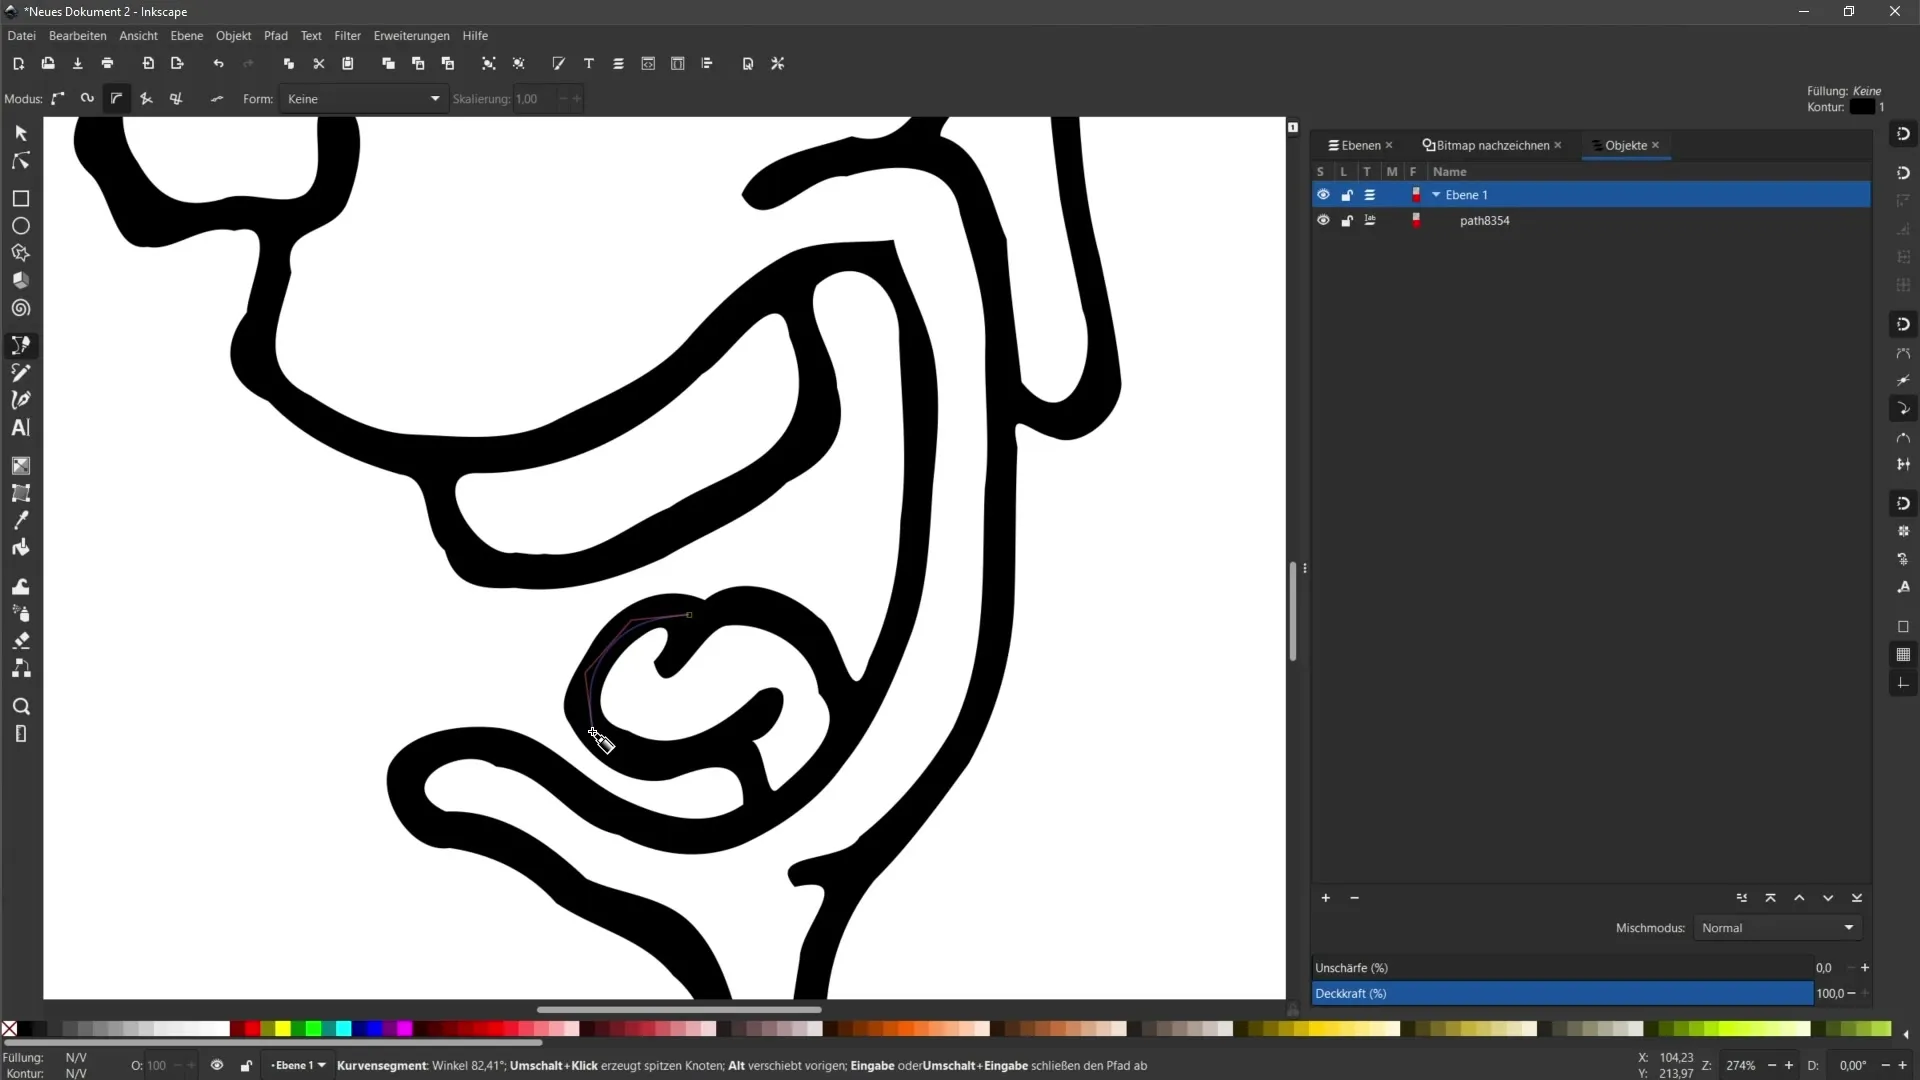
To create additional shapes, switch to the Bezier Curve tool, for example. Draw a new shape, close the contour, and then switch to fill and stroke color settings in the toolbox.
Step 8: Place Objects Behind Others
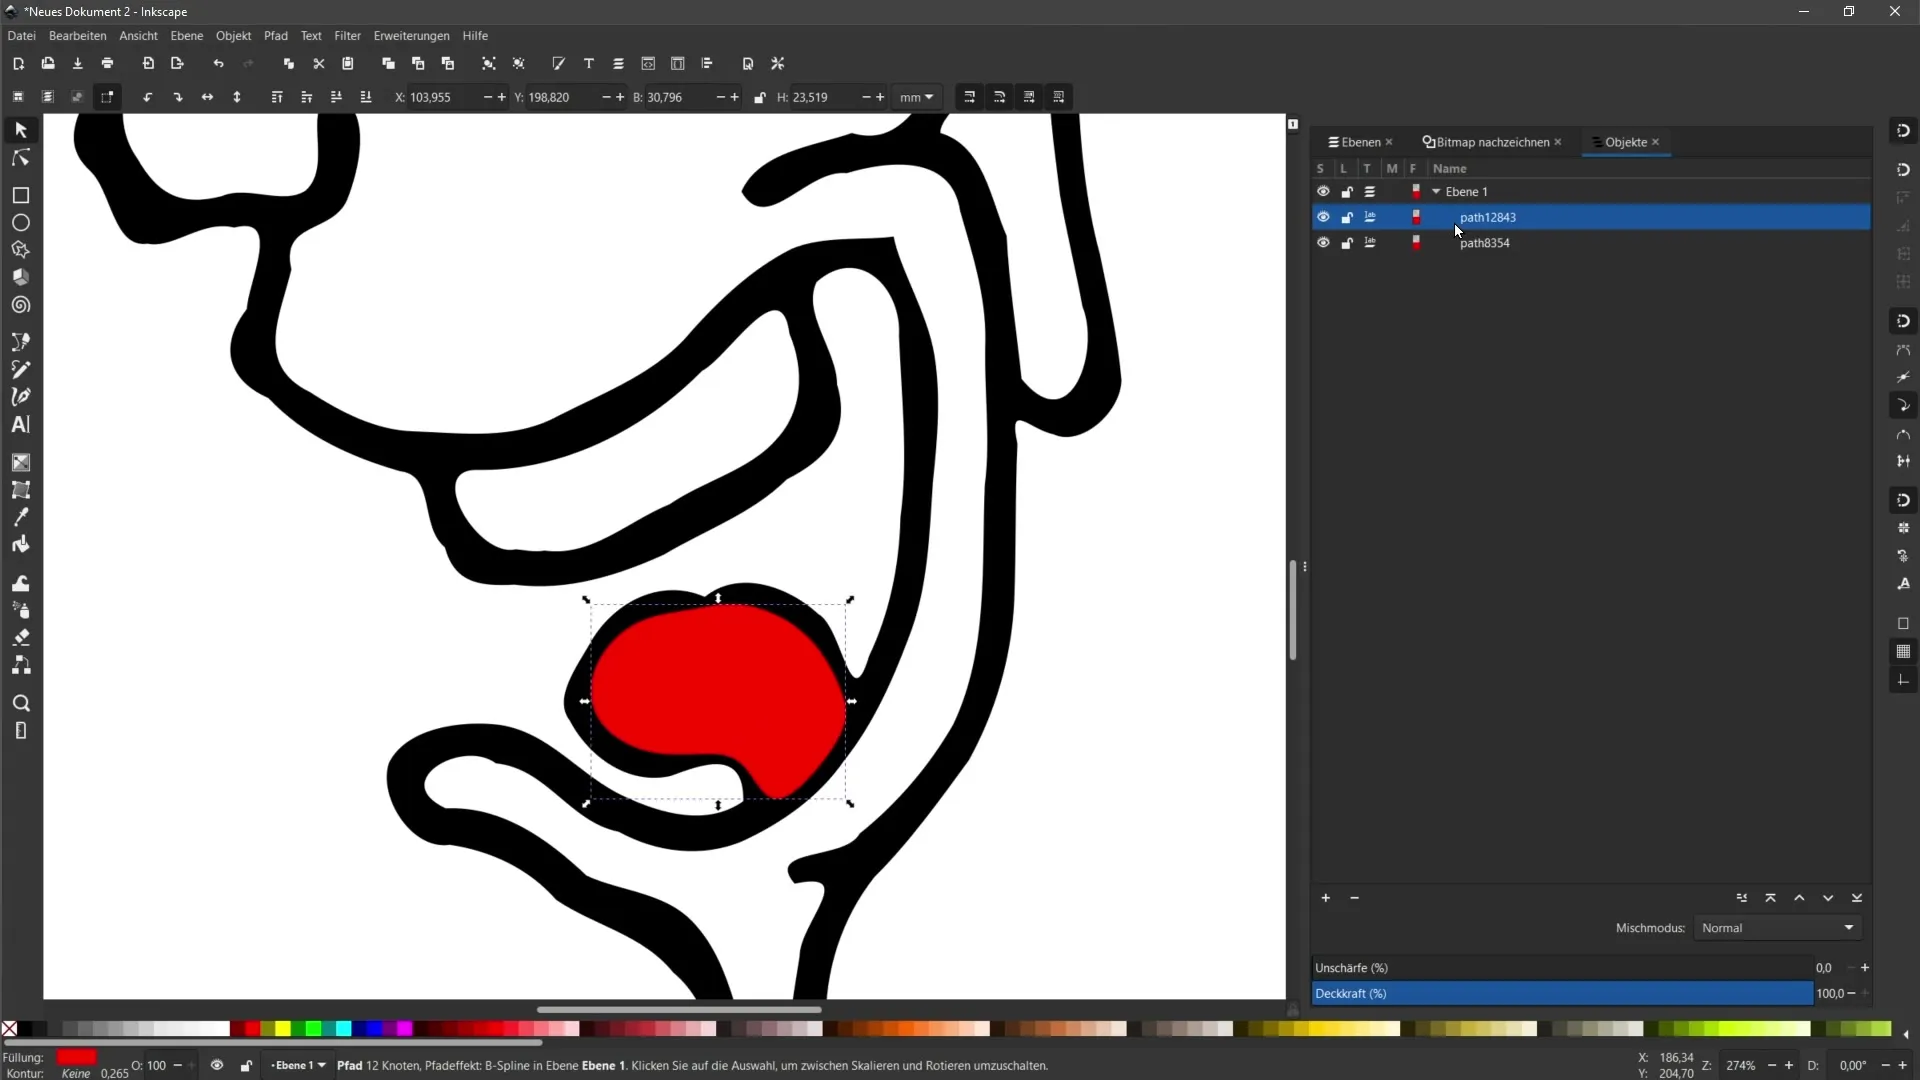
Do you want to place newly created objects behind others? Select the object and go to "Object" and then "Move backward" or "Send to back".
Step 9: Further Adjustments
Apply these techniques to other areas of your illustrations, whether it's for the hair, eyebrows, or other details. You can always adjust colors and outlines to achieve the desired overall look.
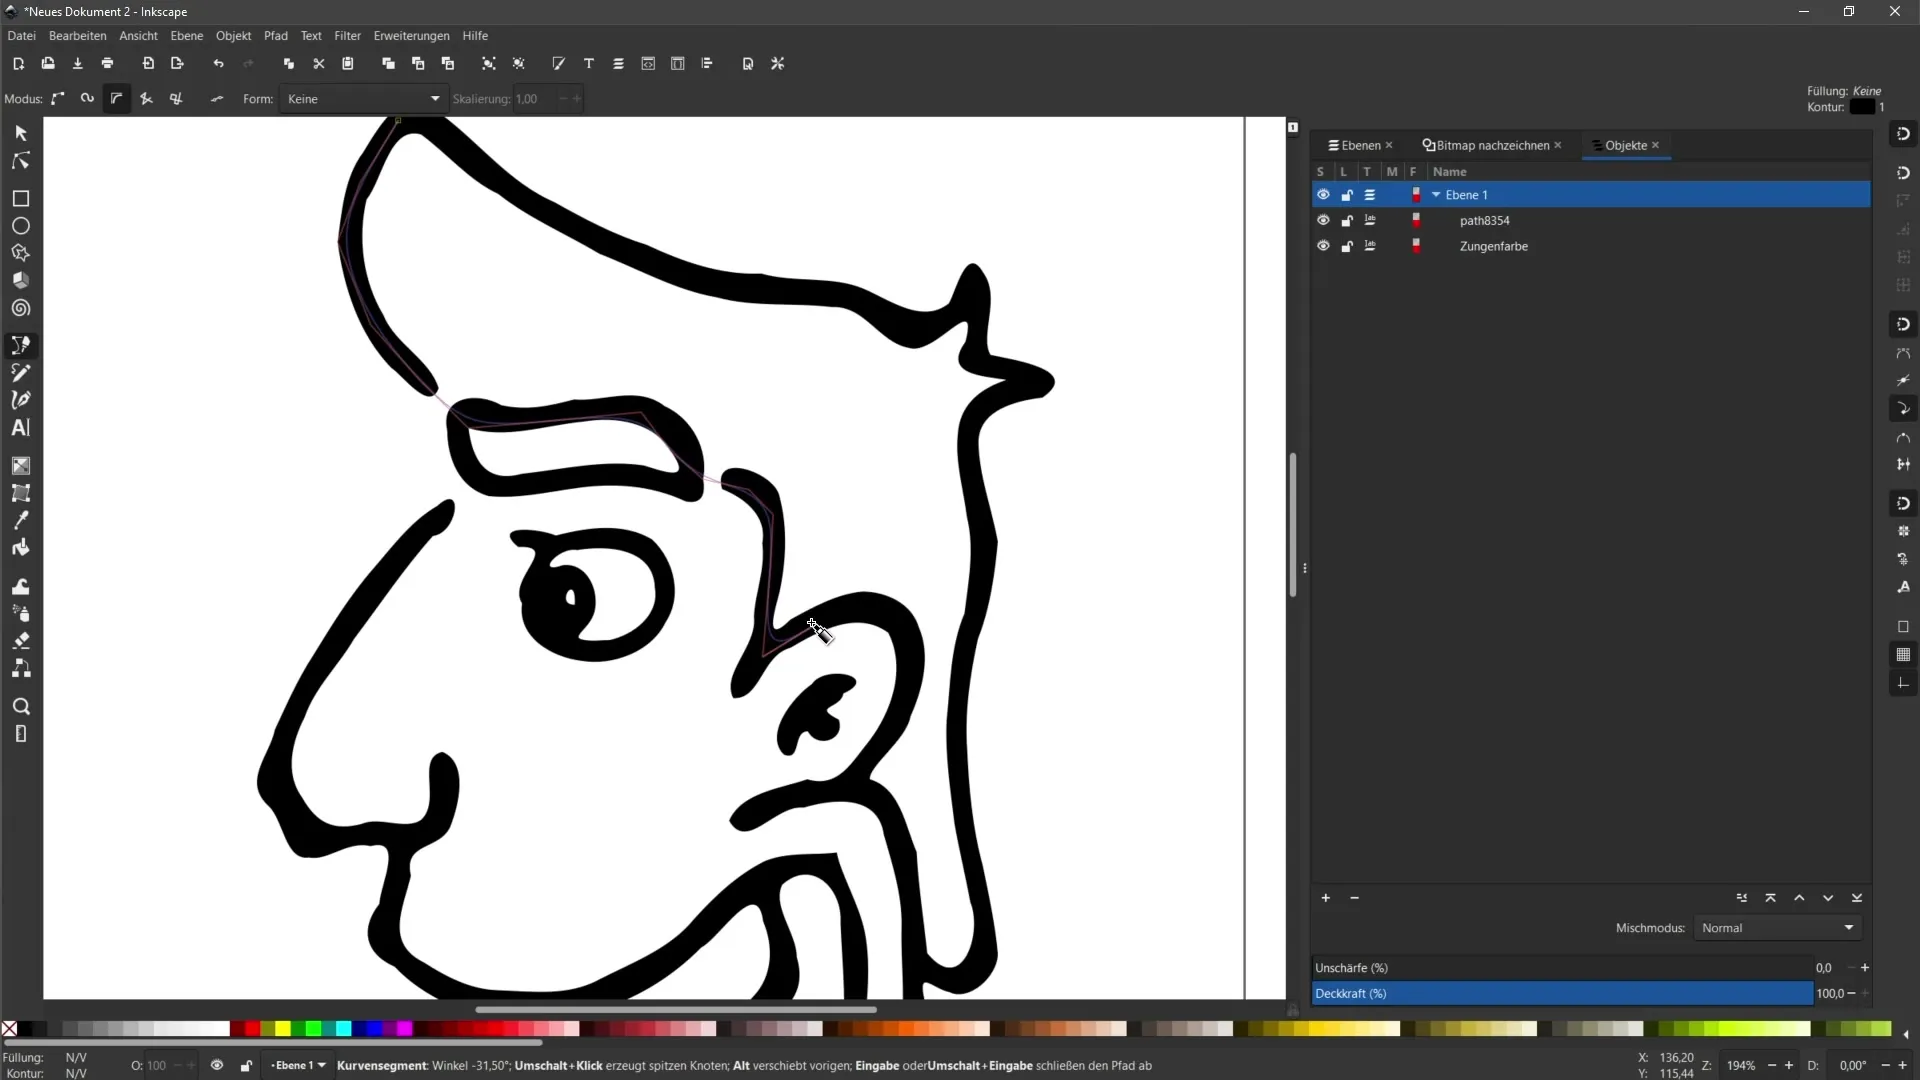
Step 10: Decompose and Combine Objects
If you want to adjust various elements of your design, sometimes it is necessary to decompose the object. Select the object, click on "Path," and then on "Decompose". You can now edit the individual parts independently.
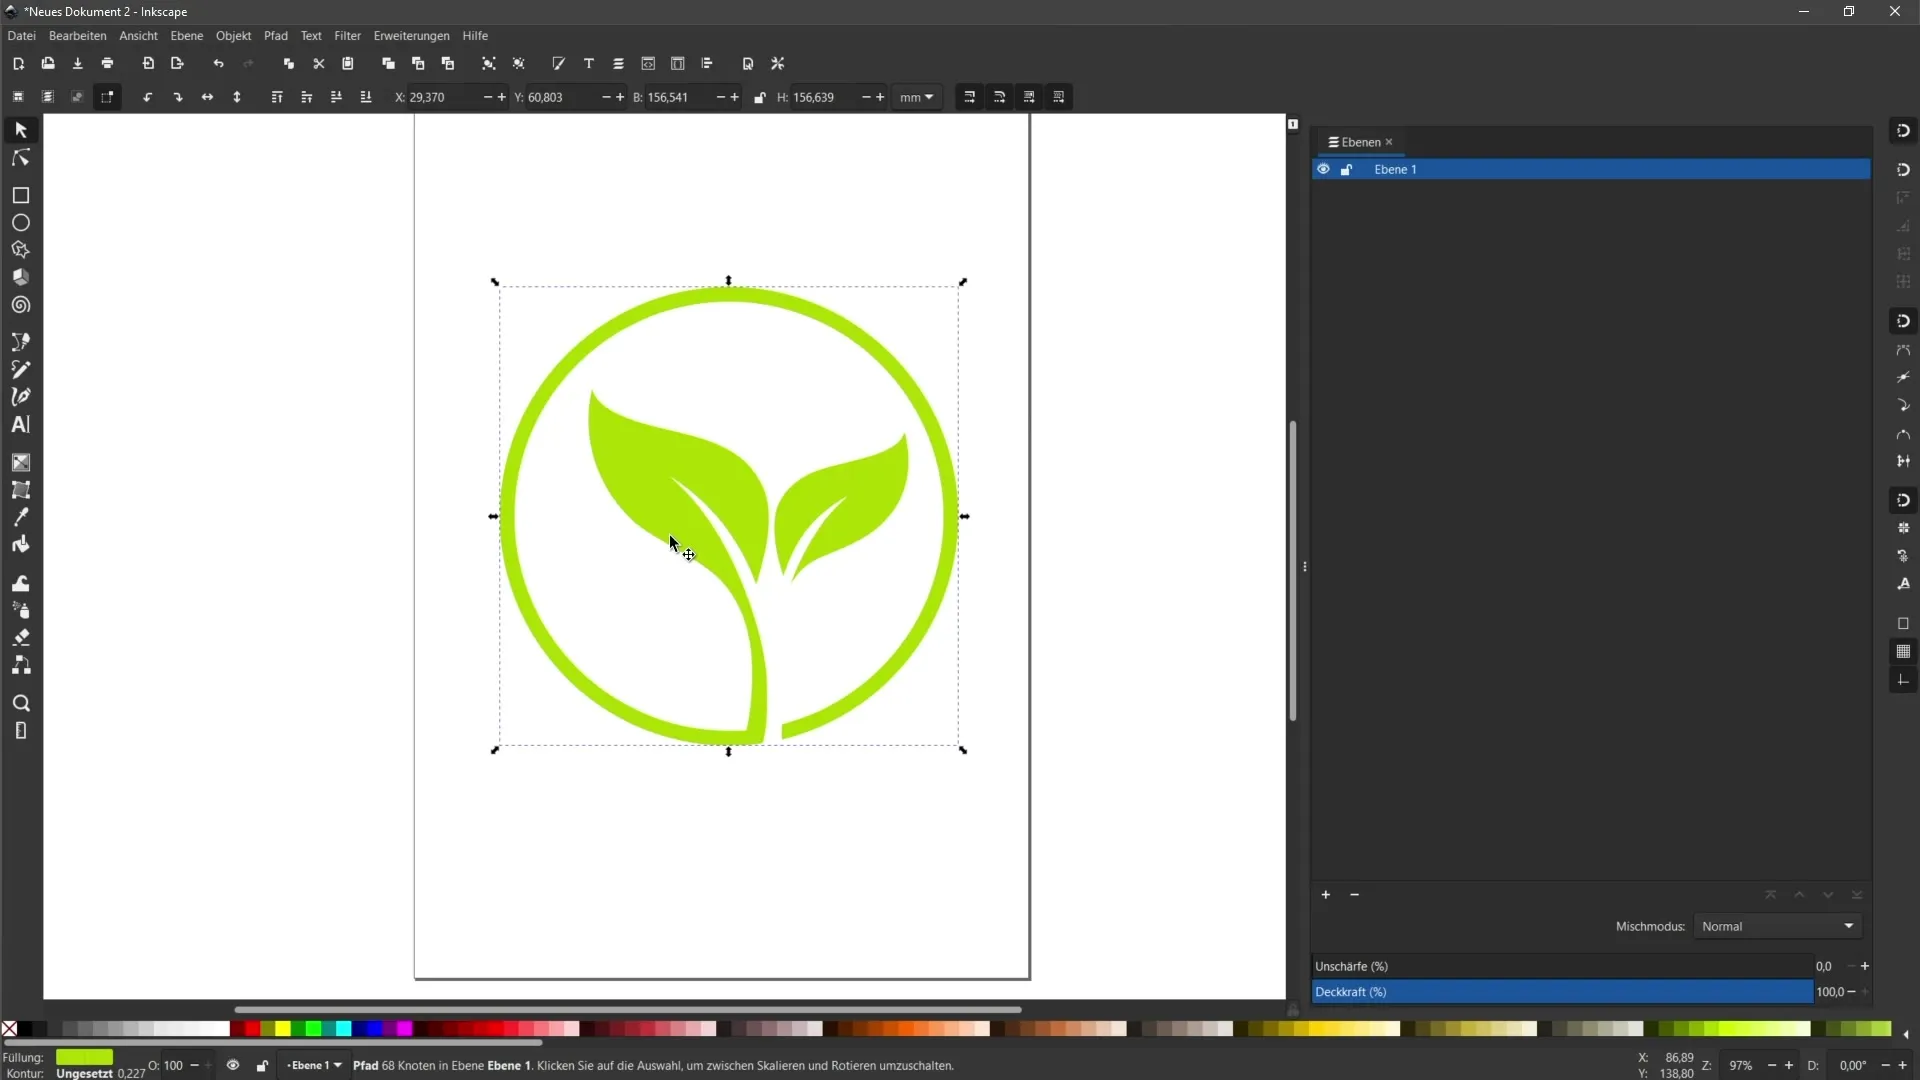
Step 11: Delete Shapes and Create New Ones
If you want to remove a shape, click on it and press the delete key. Would you like to add a new shape? Use the rectangle tool and draw a rectangle.
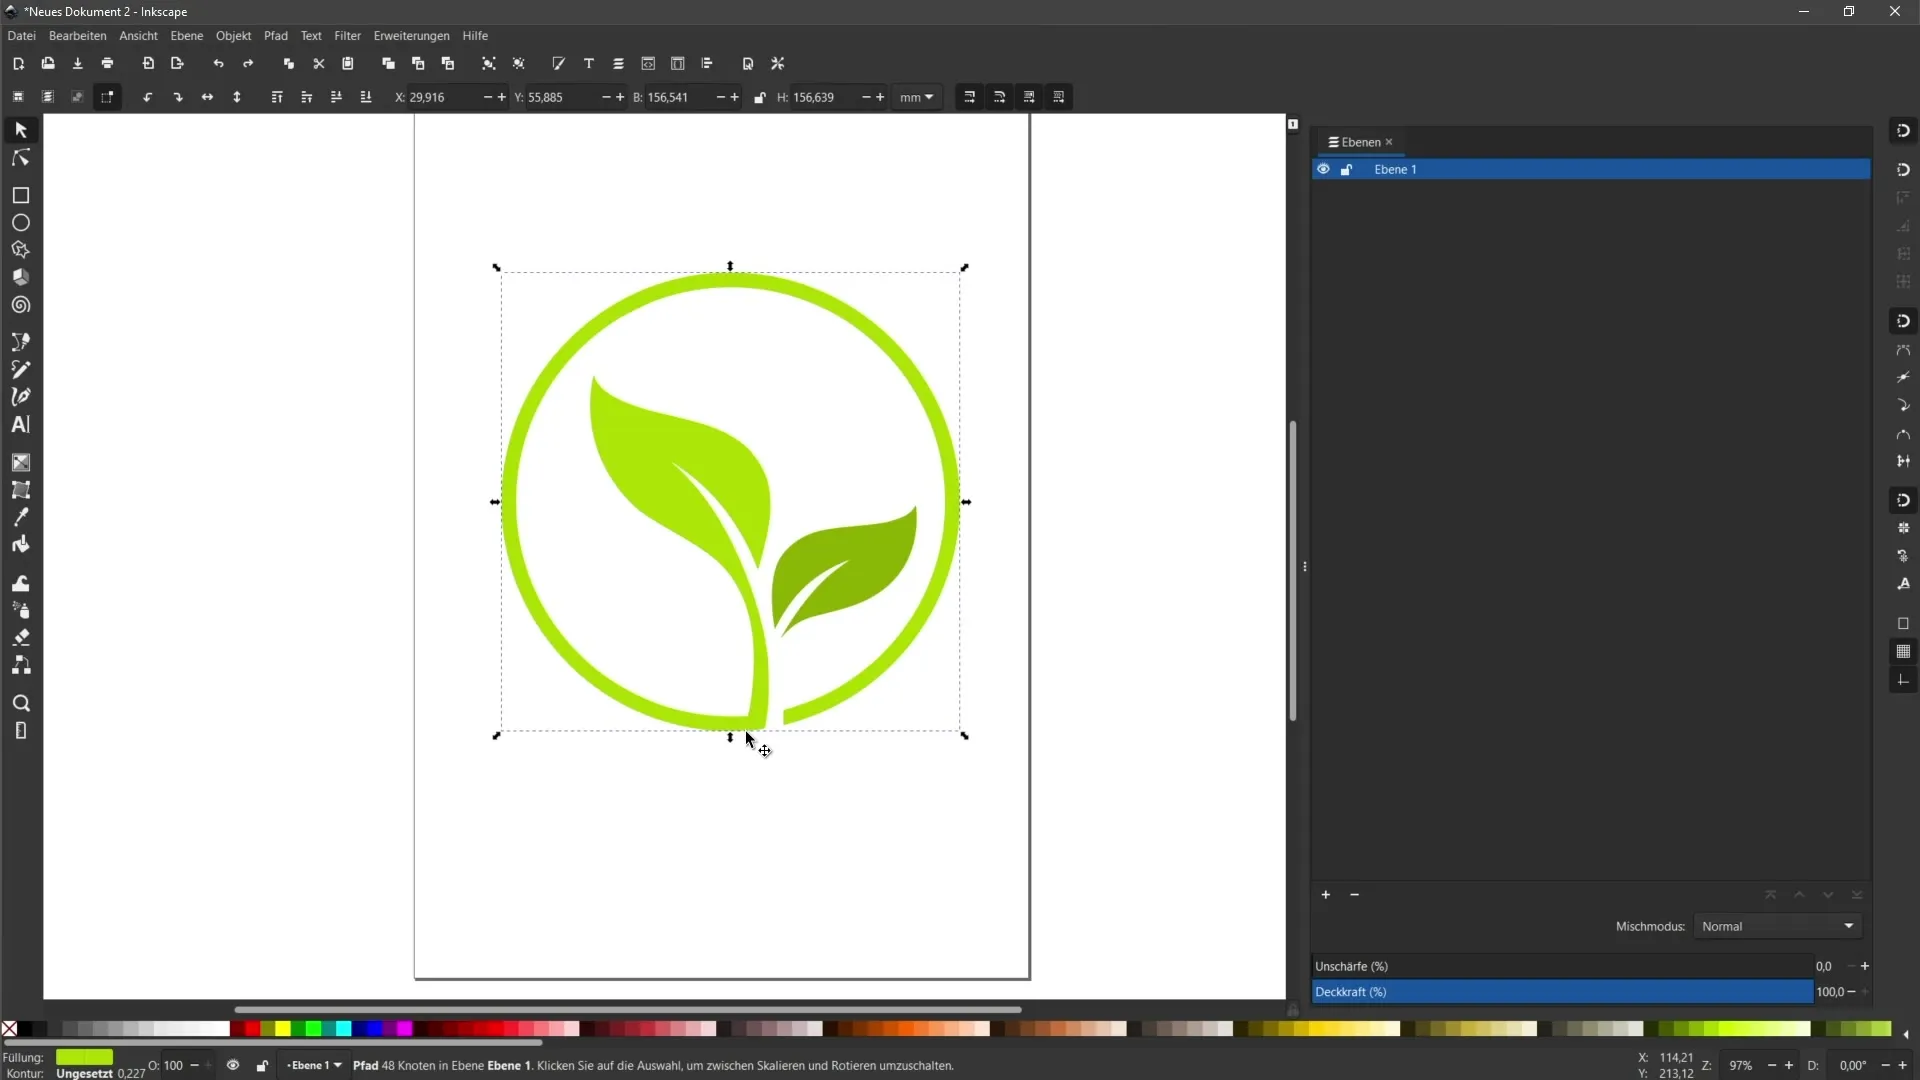
Step 12: Adjust Outlines and Fillings
You should also have the ability to adjust fillings and outlines. Click on the respective symbol and select the desired new fill color. You can also change the outline color by Shift+click.
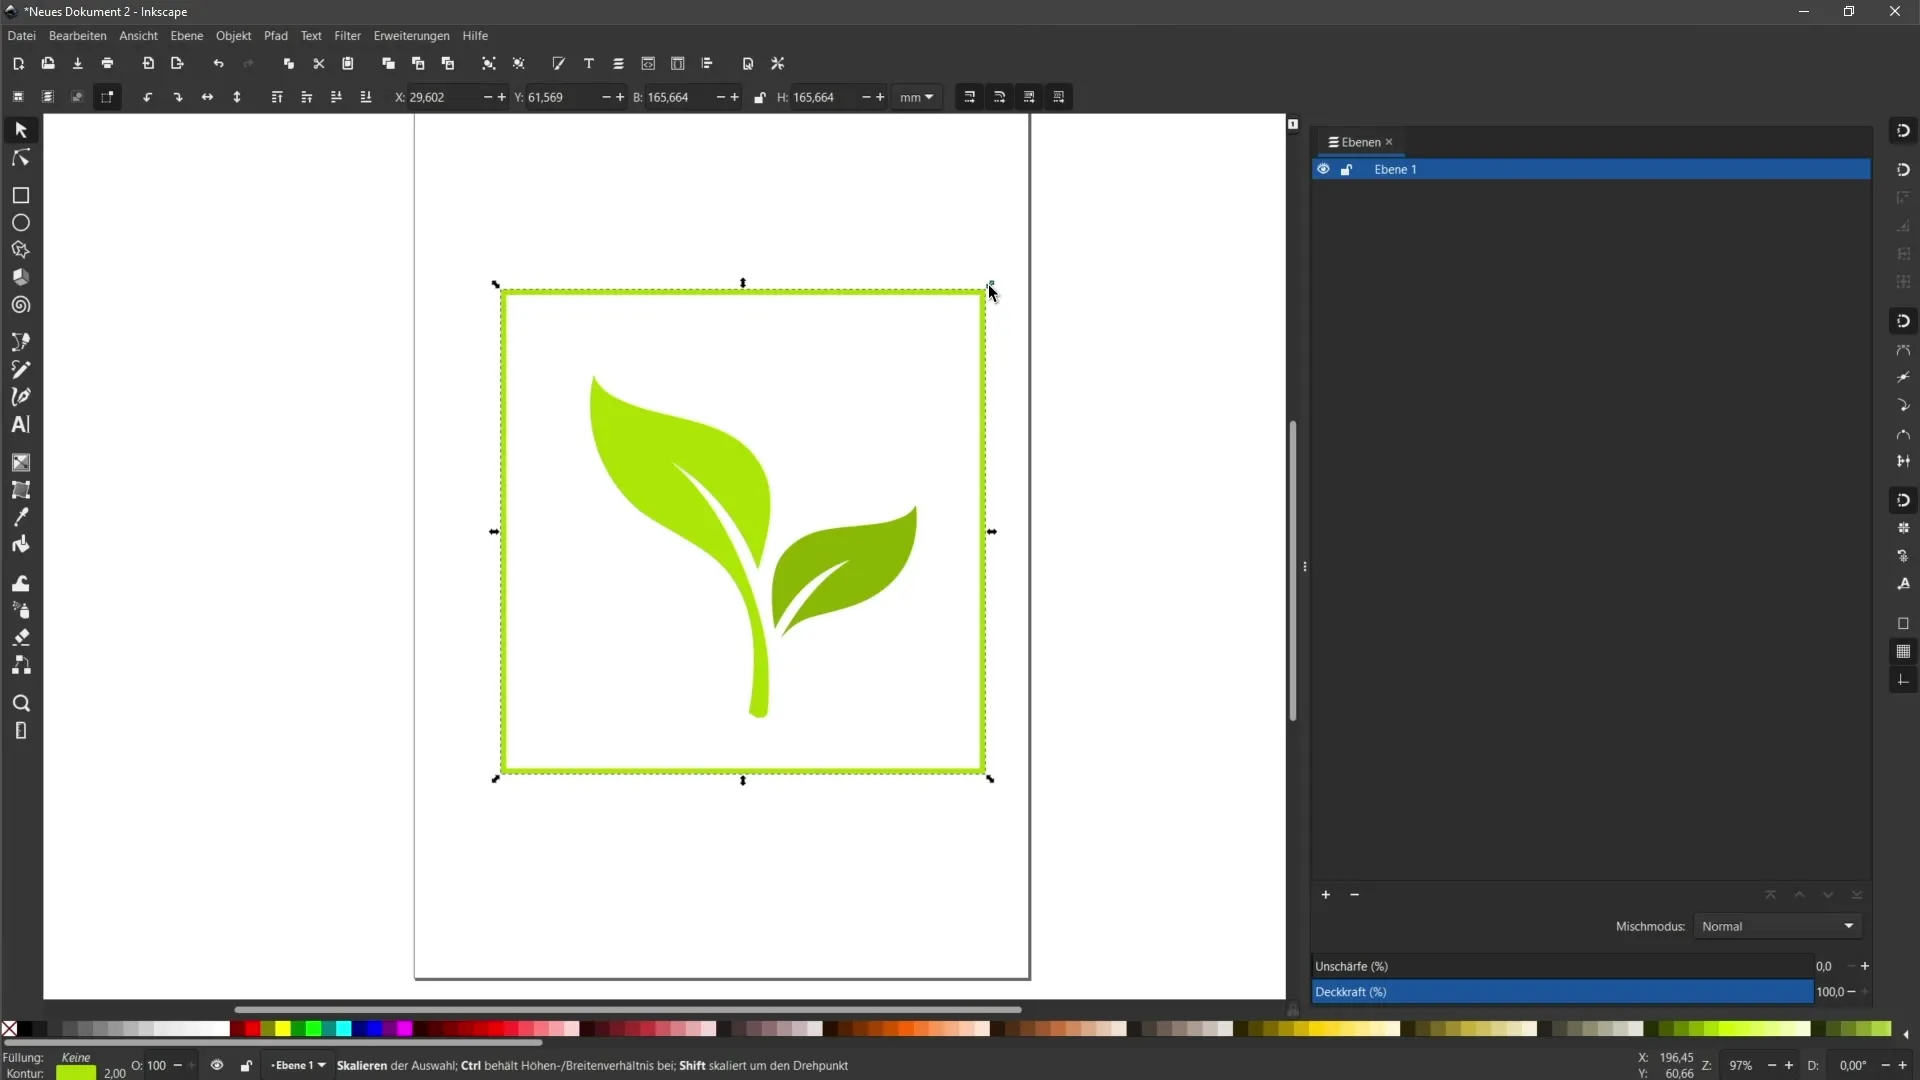
Summary
In this tutorial, you have learned how to optimize vector objects in Inkscape. You have discovered how to adjust nodes, change colors, and decompose objects to customize the design according to your preferences. With the right adjustments, you can truly personalize your graphics. Use the tips and techniques presented to bring your artistic ideas to life!
Frequently Asked Questions
How can I smooth nodes in Inkscape?Use the node tool and click on the "Smooth selected nodes" icon.
Can I color objects in Inkscape?Yes, you can adjust the fill color and outlines through the "Object" menu.
How do I decompose an object in Inkscape?Select the object, go to "Path," and click on "Decompose".
How can I layer objects behind others?Select the object and go to "Object" > "Move backward" or "Send to back".
How can I create new shapes?Use the drawing tool or the rectangle tool to draw or create new shapes.
