Inkscape is a powerful tool for graphic design, especially when working with vector graphics. While you can create many designs in Inkscape, dealing with text remains a particular challenge, especially when it comes to handing over these designs to a printing house. The problem often lies in the fact that the font used may not be installed on the printing house's system. Therefore, it is important to convert editable texts into paths before submitting your file. In this guide, I will explain how you can effectively convert your texts into paths in Inkscape to ensure that your graphics look exactly as you wish.
Key Takeaways
- Converting text to paths in Inkscape is a necessary step before handing over your work to a printing house.
- Editing text in Inkscape is easy as long as you know the right tools and techniques.
- It is important to create a backup of your file before converting to paths, in order to retain the possibility to make changes to the text later.
Step-by-Step Guide
First, you should open Inkscape and create a new document where you want to create your designs. Before you start with the text, it might be necessary to create some guidelines to better position the text.
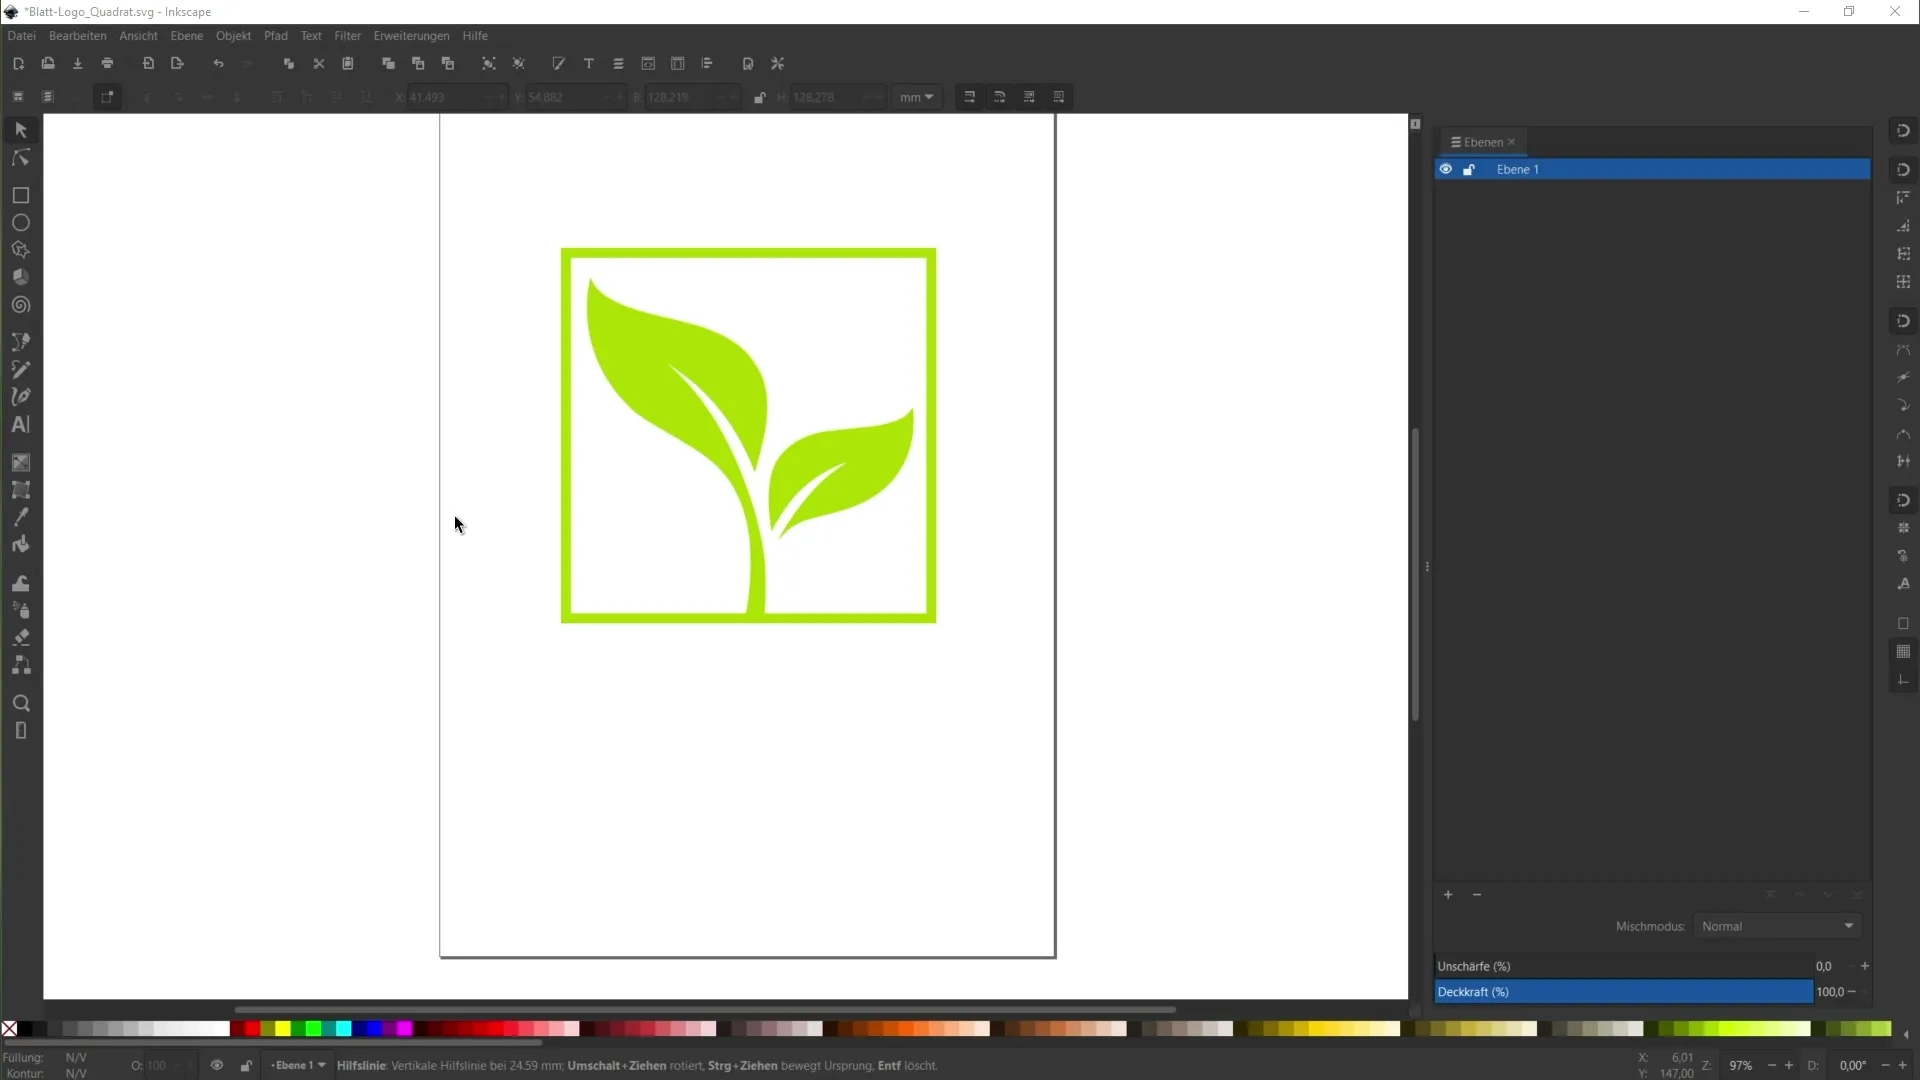
To create guidelines, enable the display of the rulers in the Inkscape window. To do this, click on "View", then on "Show", and select "Rulers".
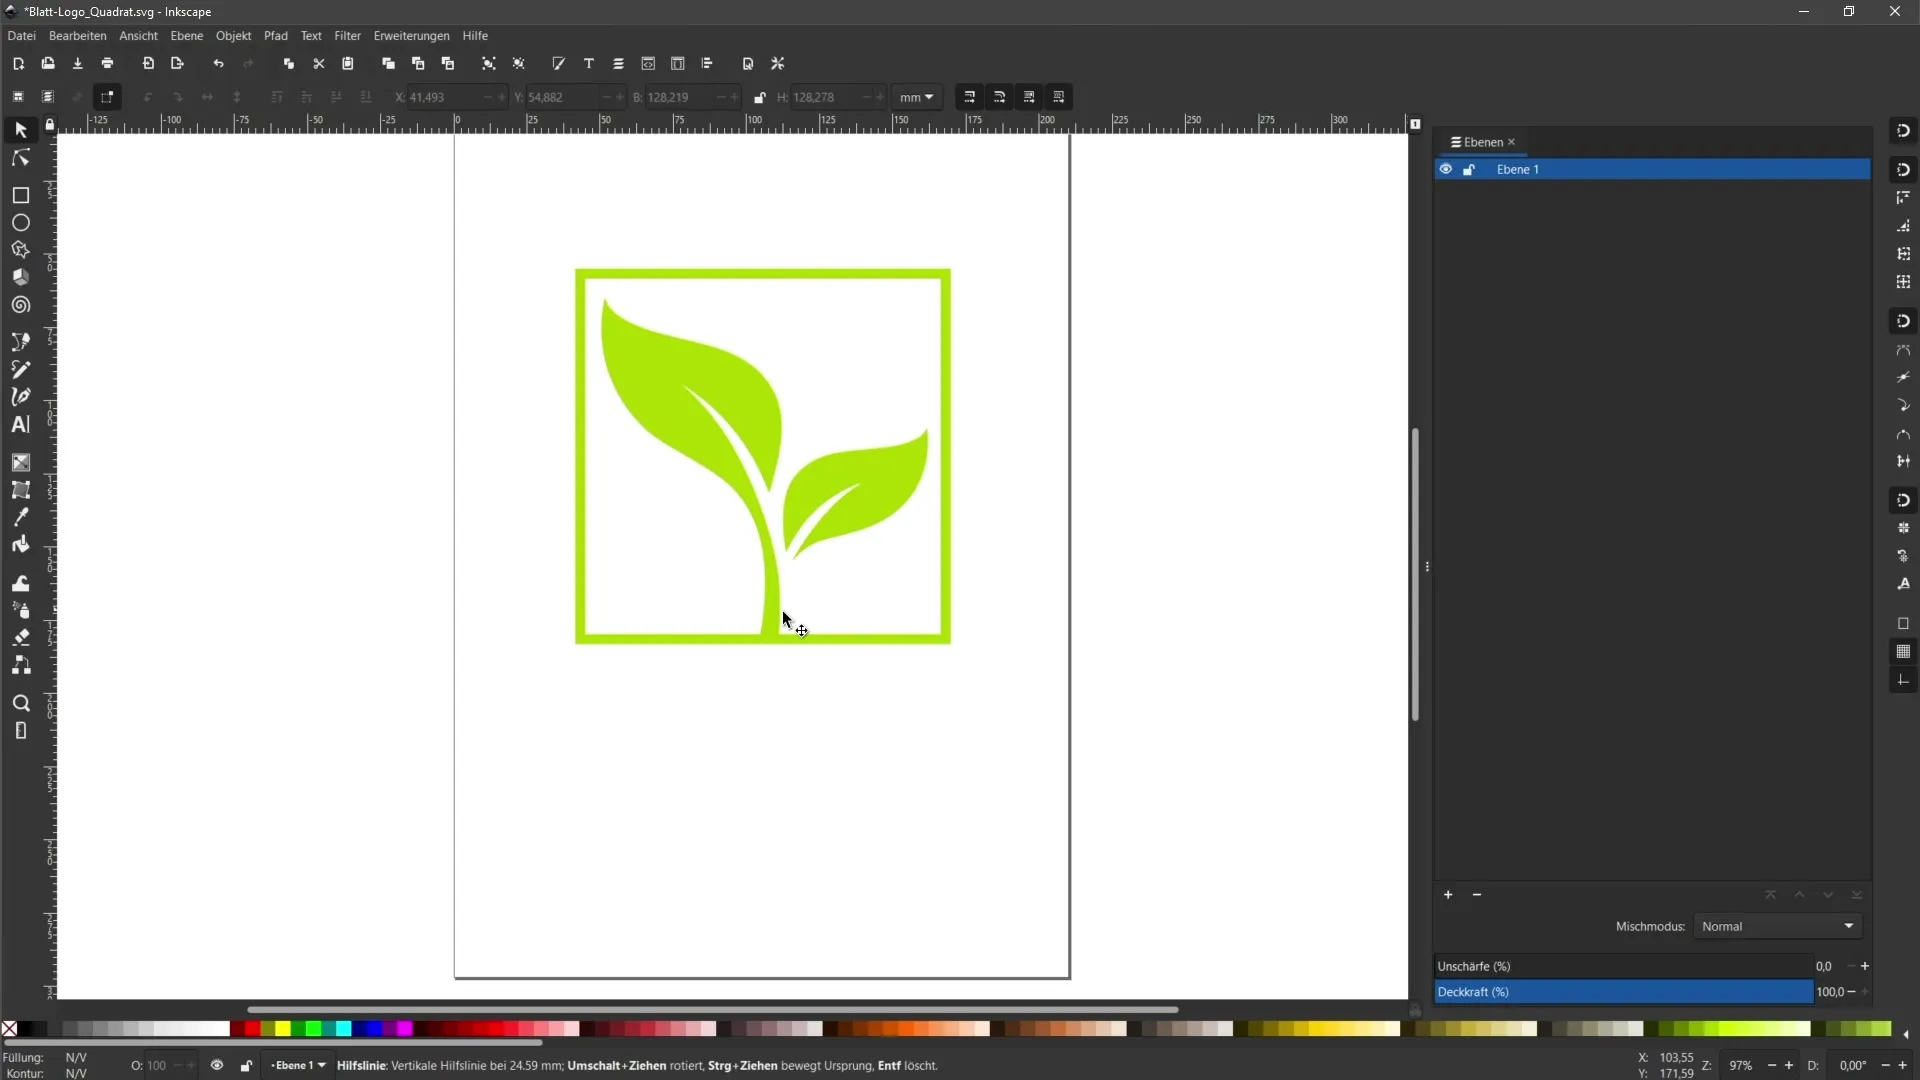
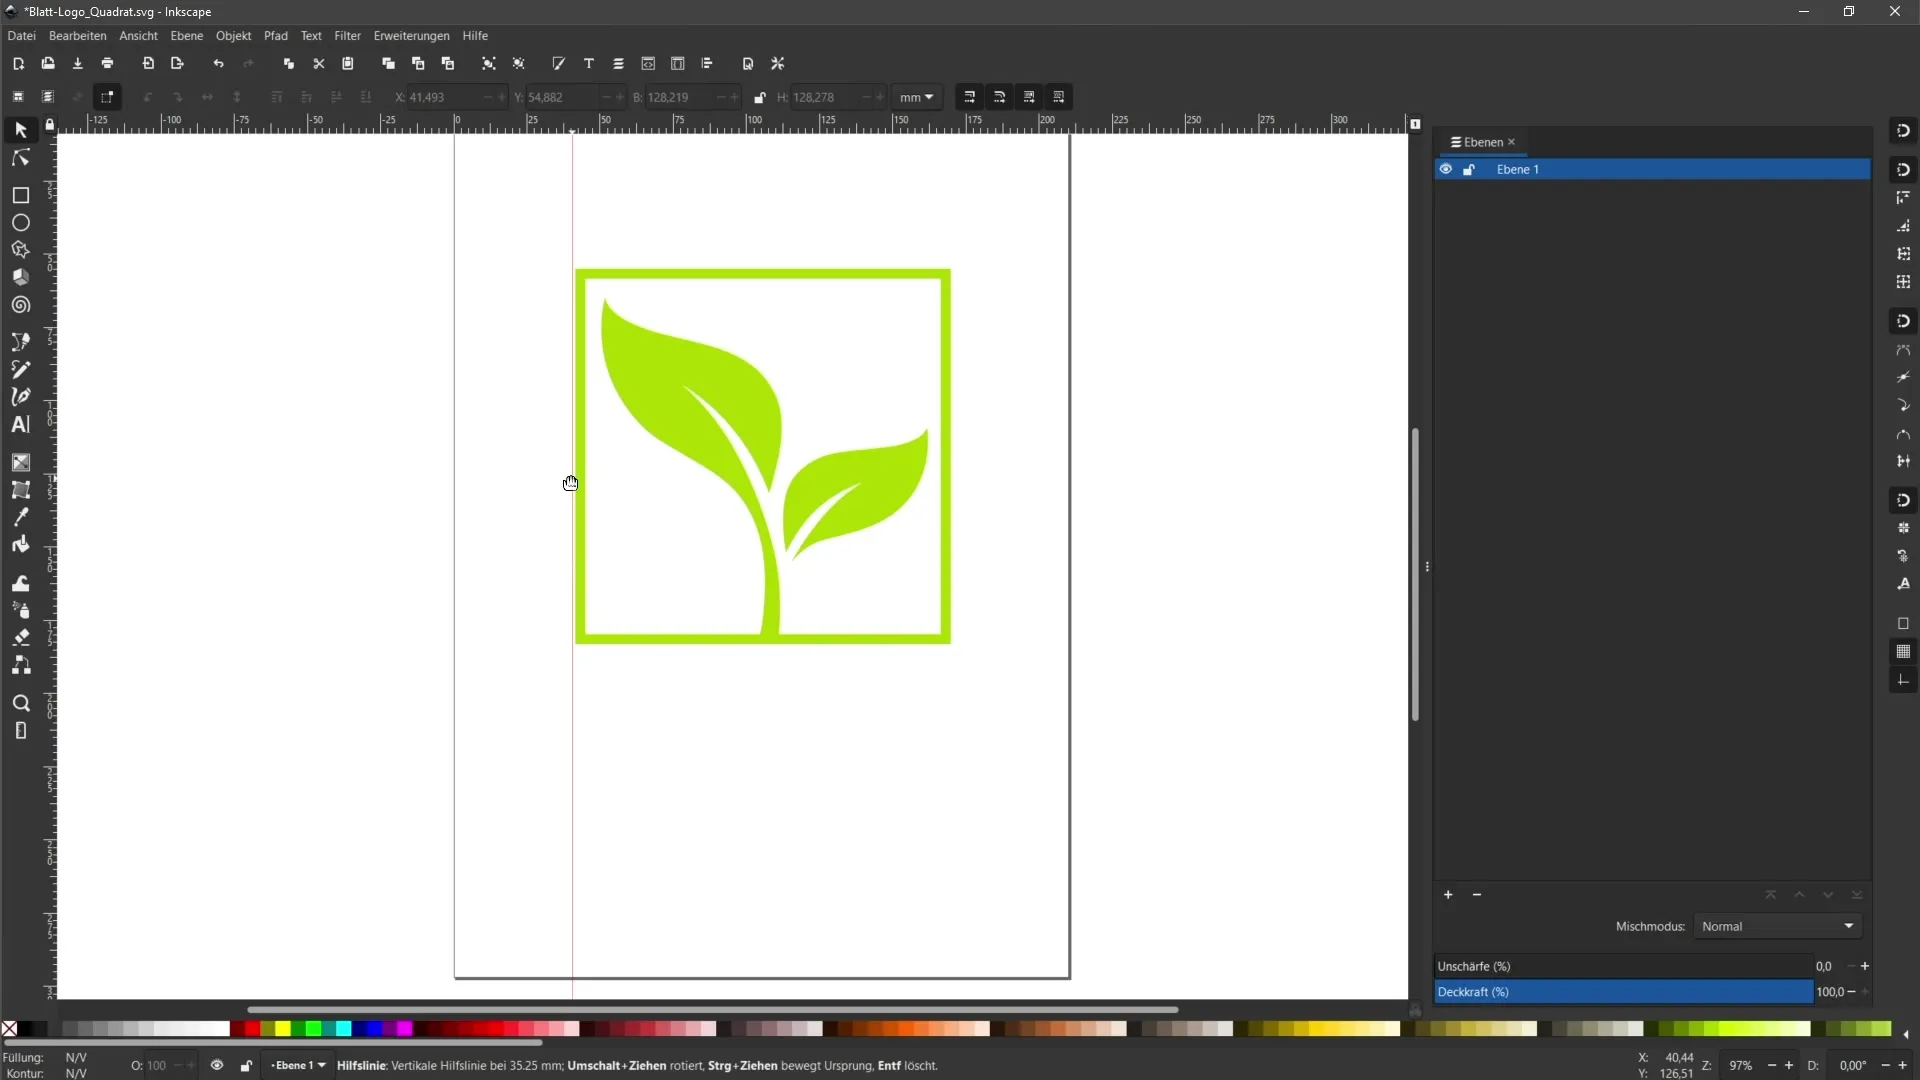
With the rulers visible, simply drag a guideline from the top ruler into the document. Position the guideline according to your preferences, which will help you to precisely place your text later on.
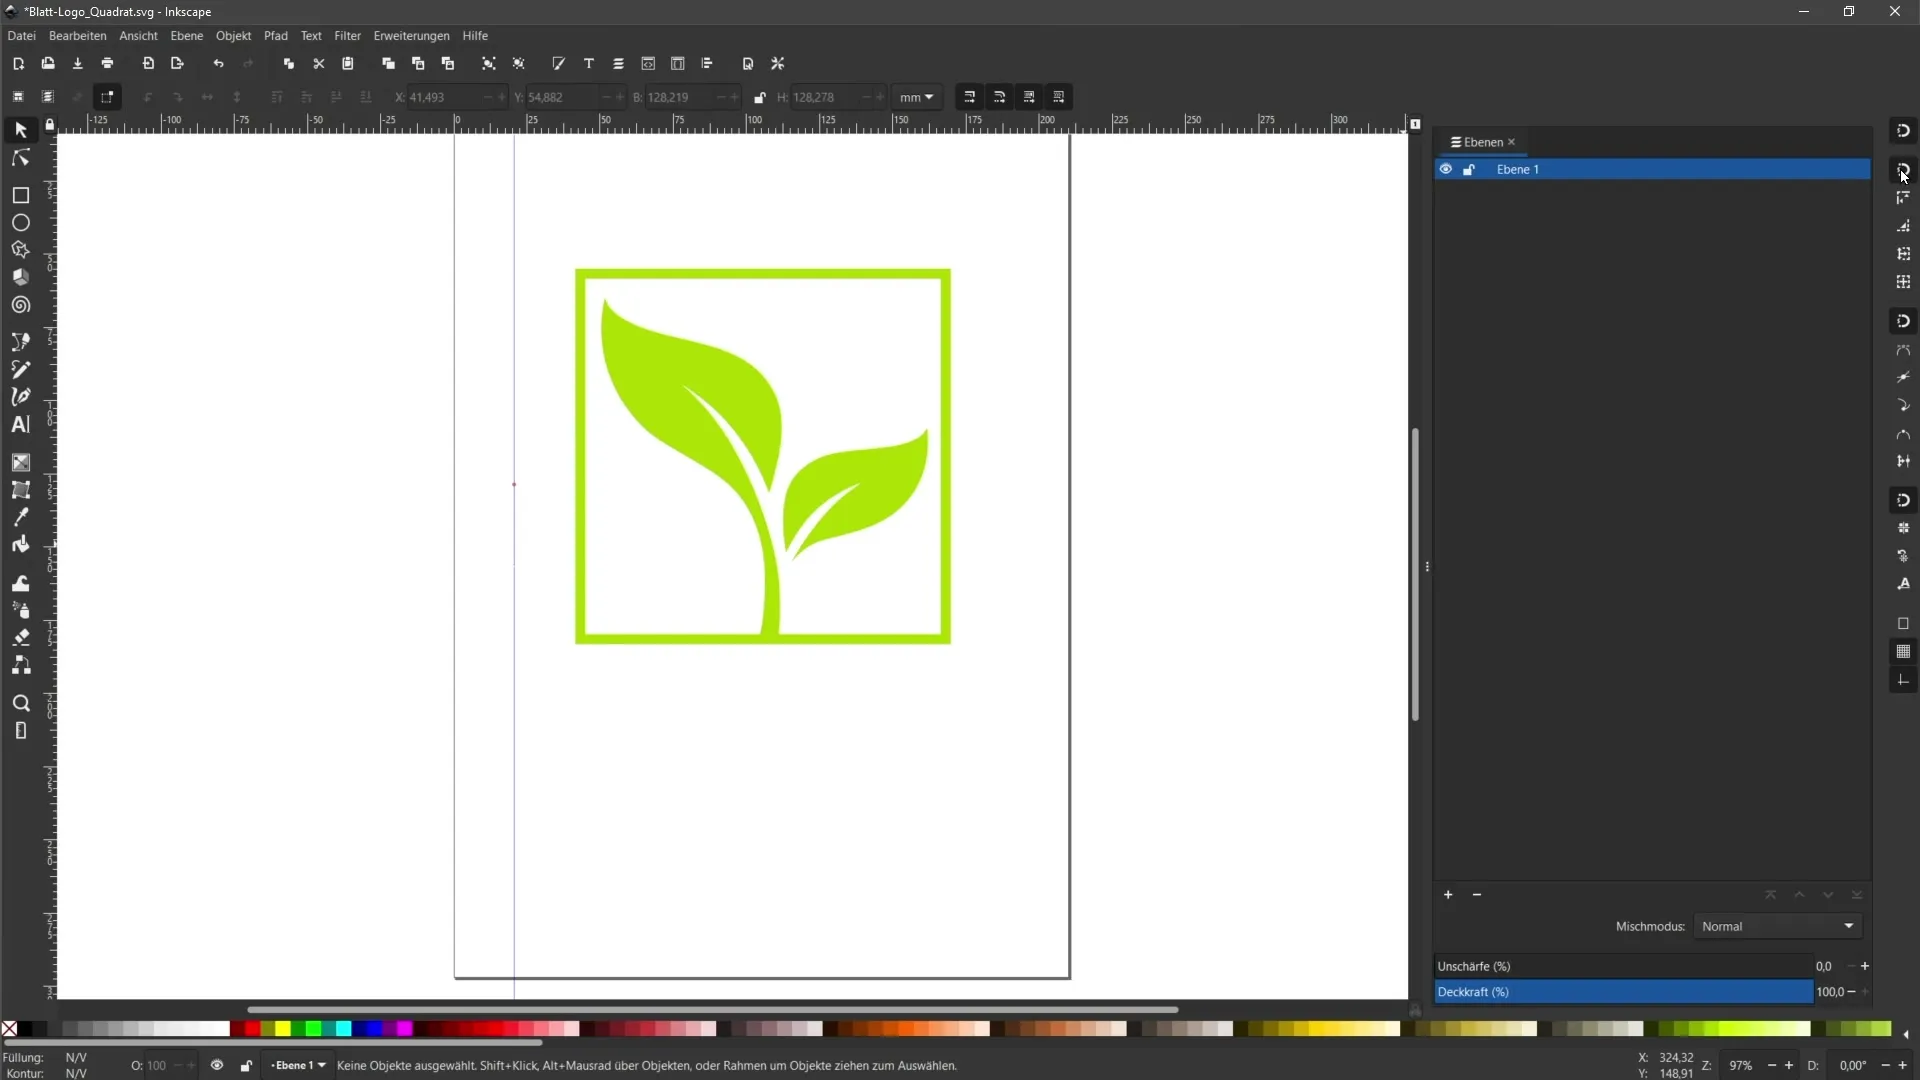
To easily position the guidelines, activate the snapping function. Go to "View" again, click on "Show", and enable the snap control bar.
Now, you can select the text tool and enter a text into your document. For example, you can write the word "Logo" in the text field.
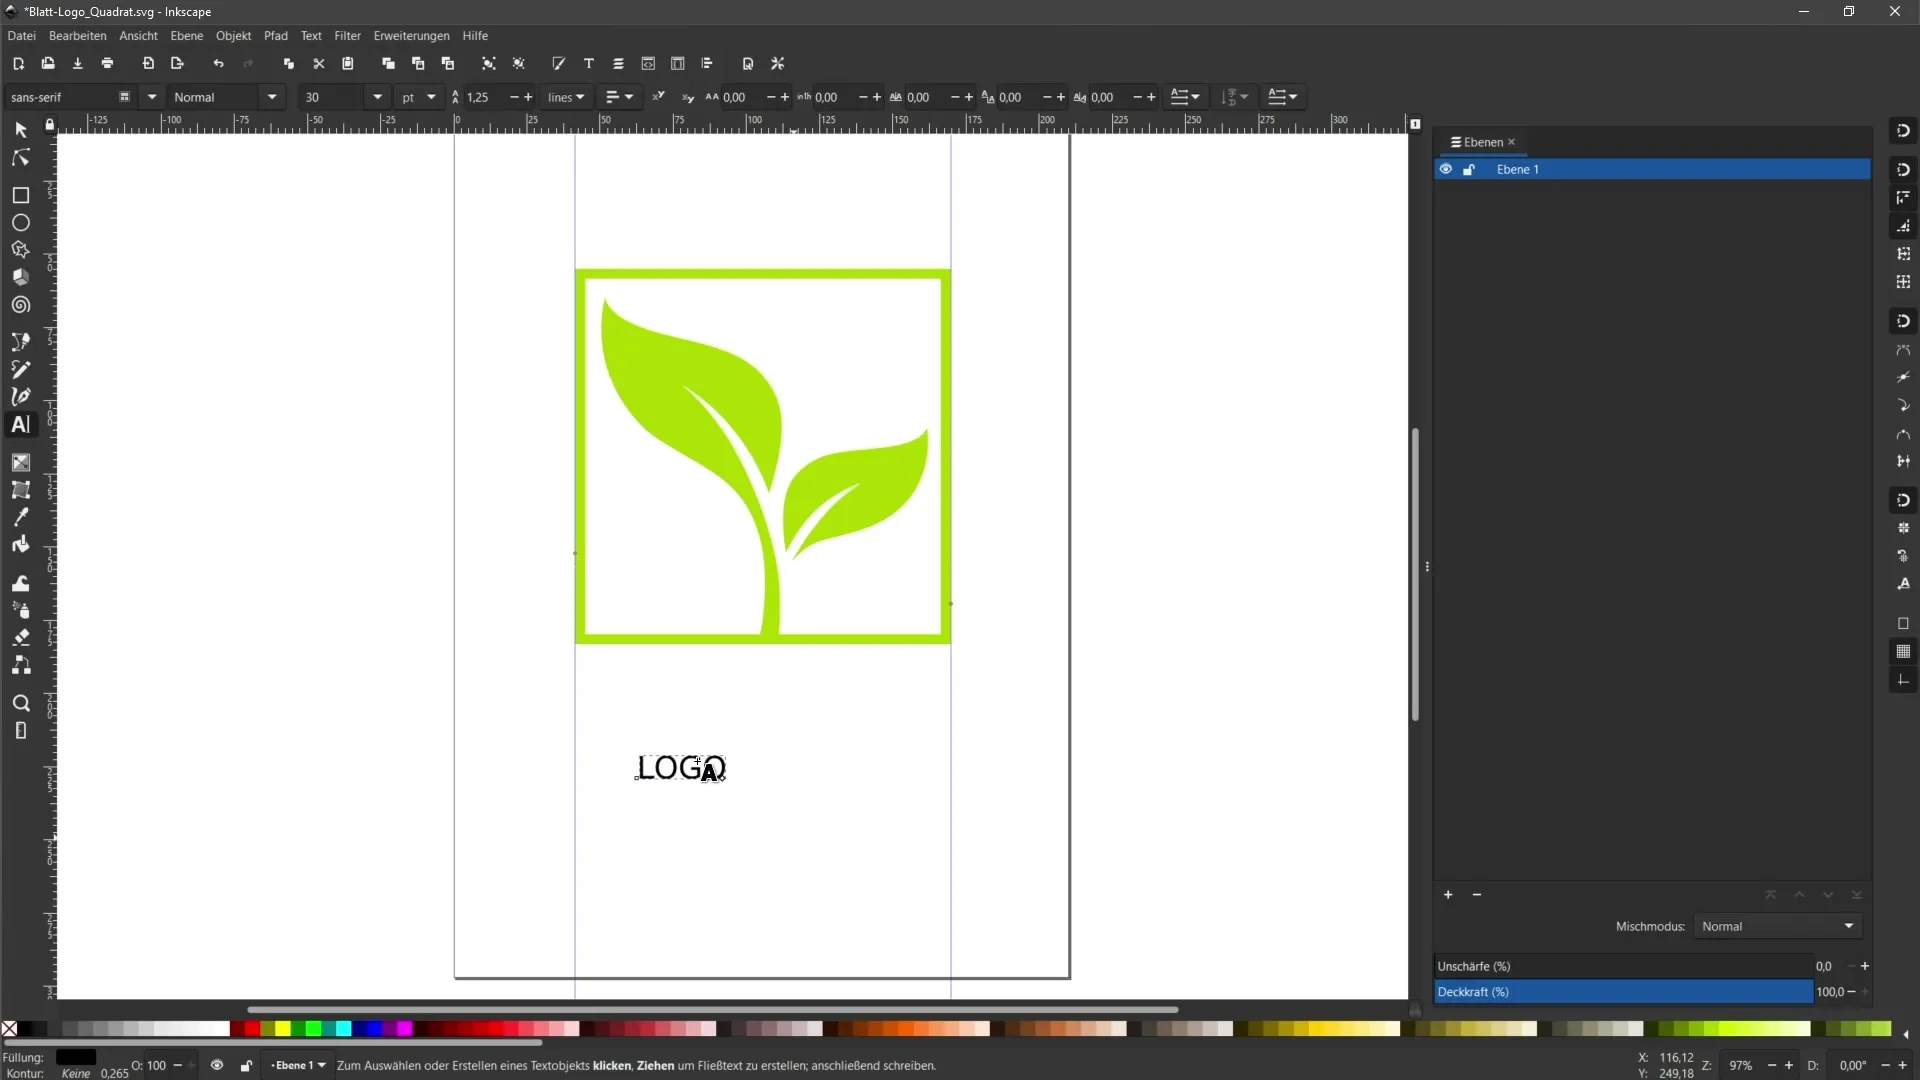
To style the text, you can change the font. Again, select the text tool and click on the text field. In the top bar, you will find options to customize the font; for example, choose "Impact".
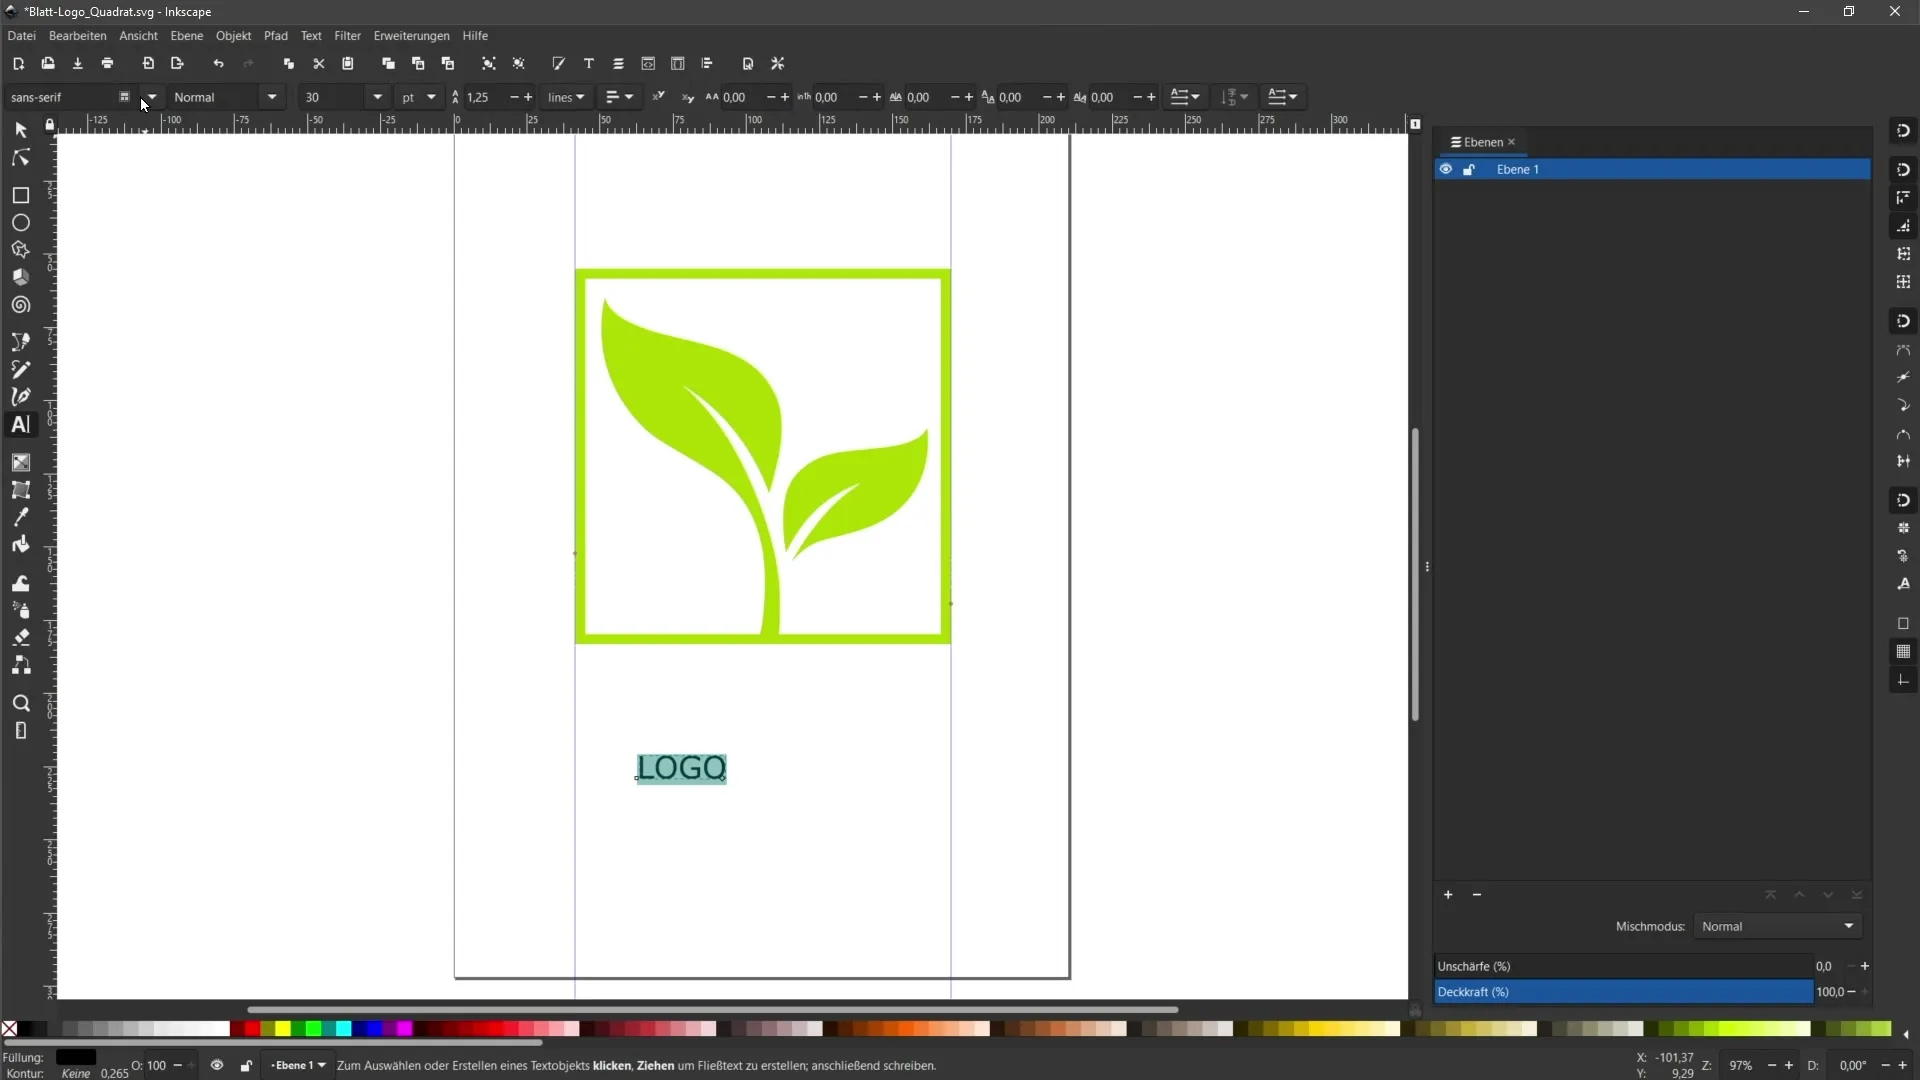
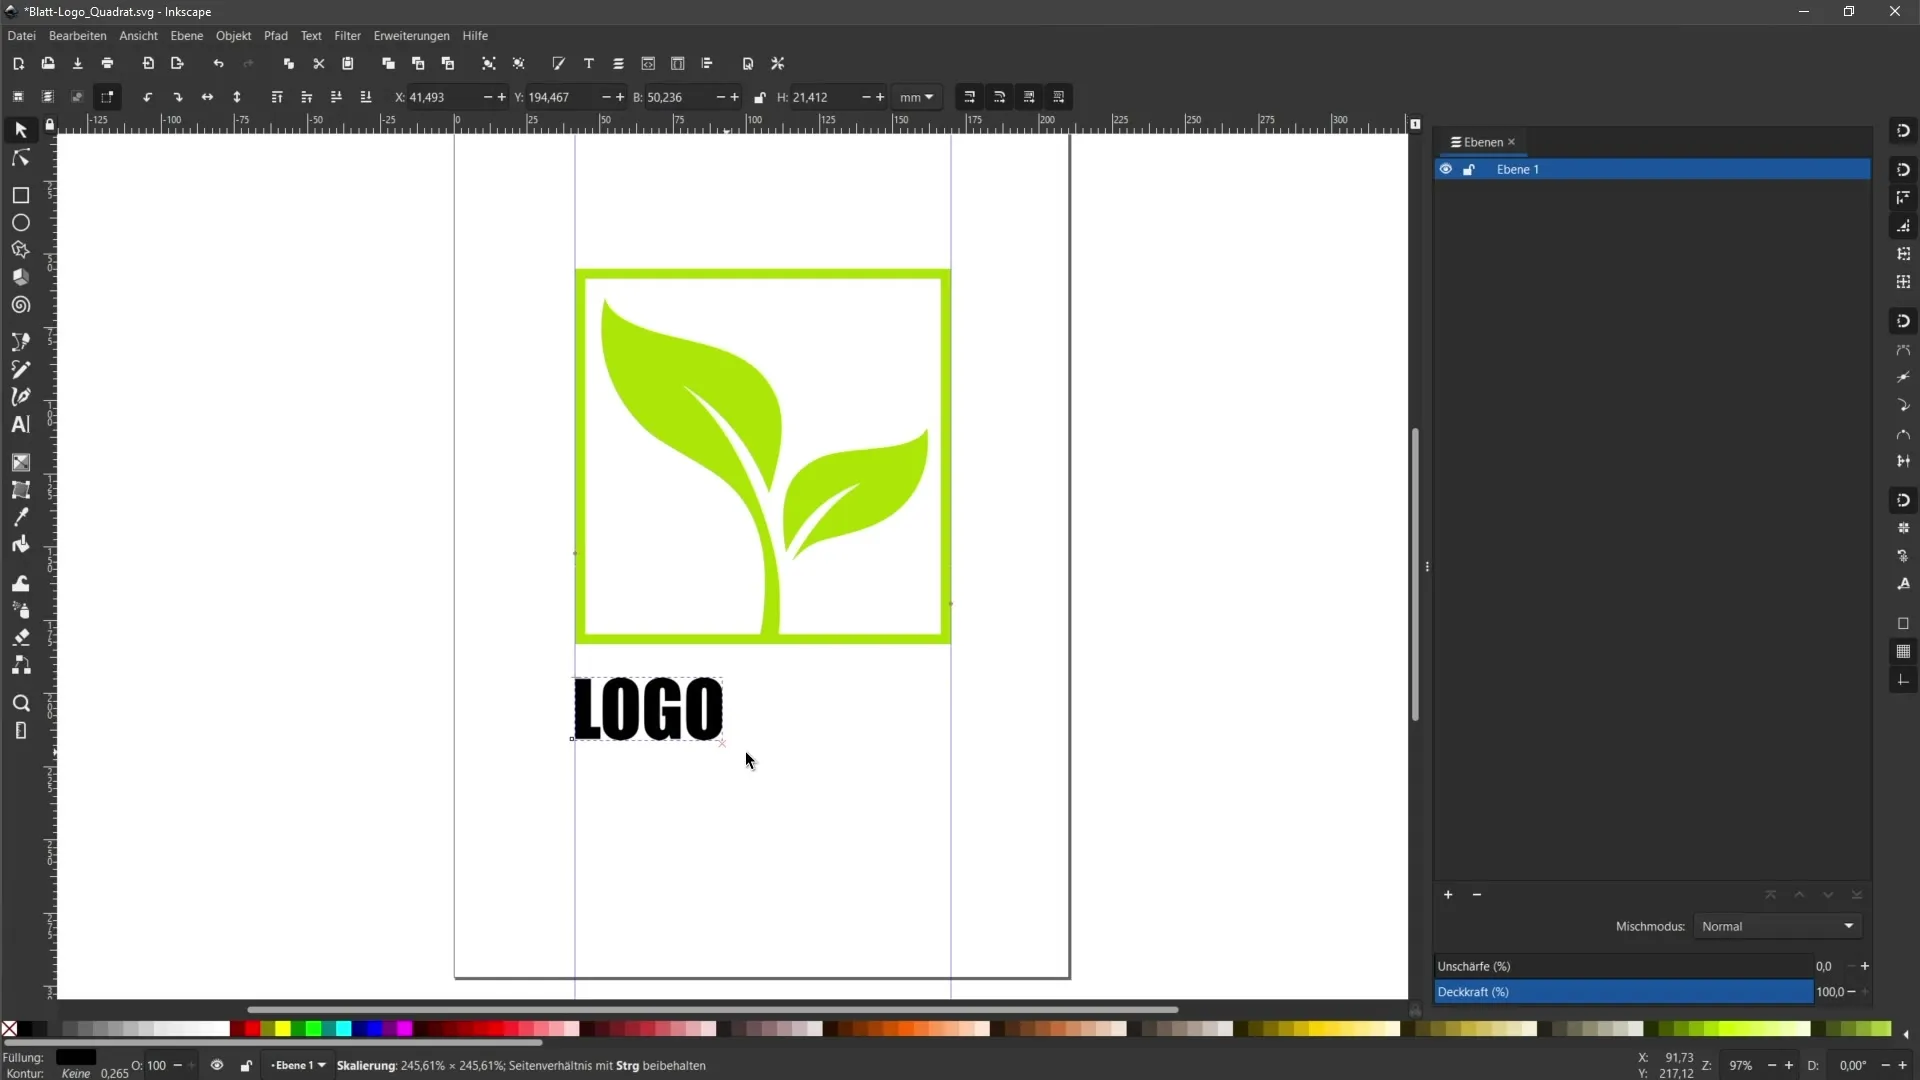
Adjust the size of your text and position it using the guidelines to ensure it appears in the desired location in the design.
If the guidelines are getting in your way, you can temporarily hide them by clicking on "Hide Guides".
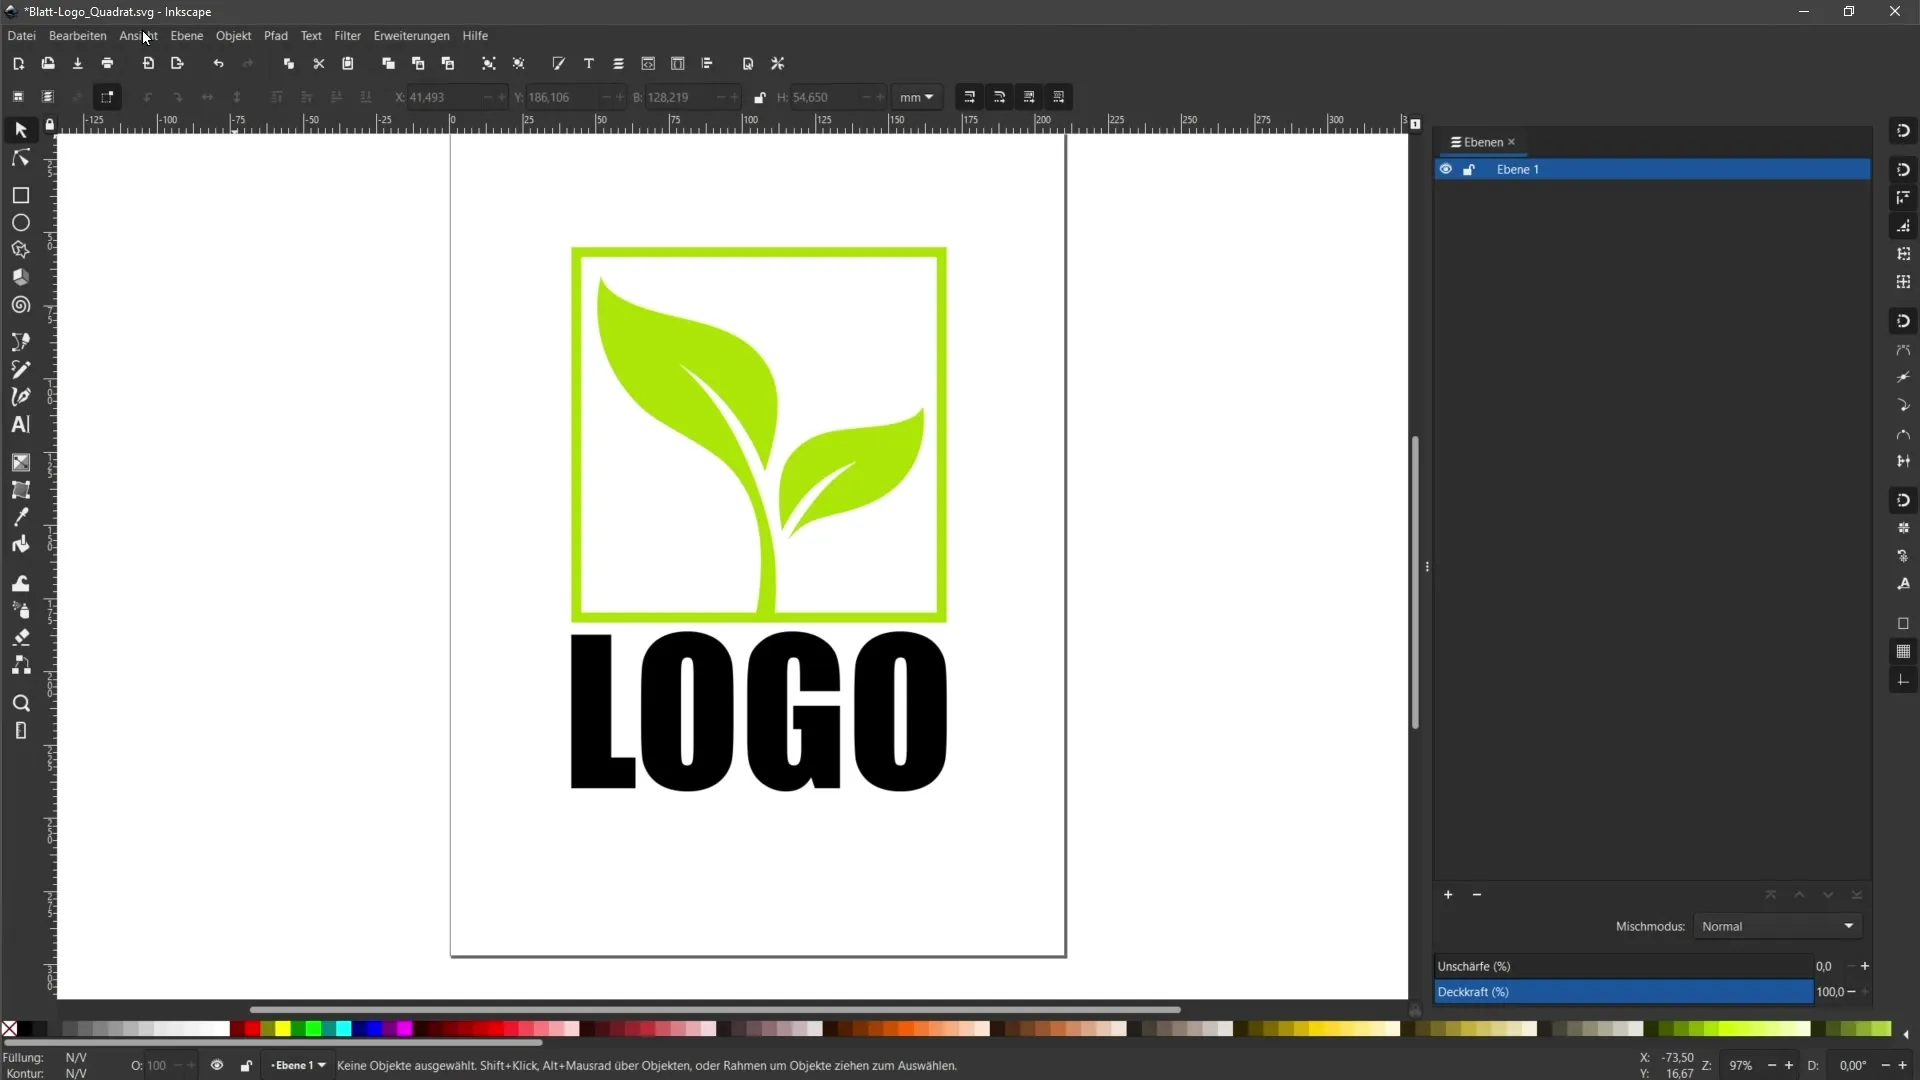
Once you are satisfied with the design of your text, ensure that you save your work before proceeding to the next step. It is important to save a copy of the file in its current state in case you want to edit the text again later.
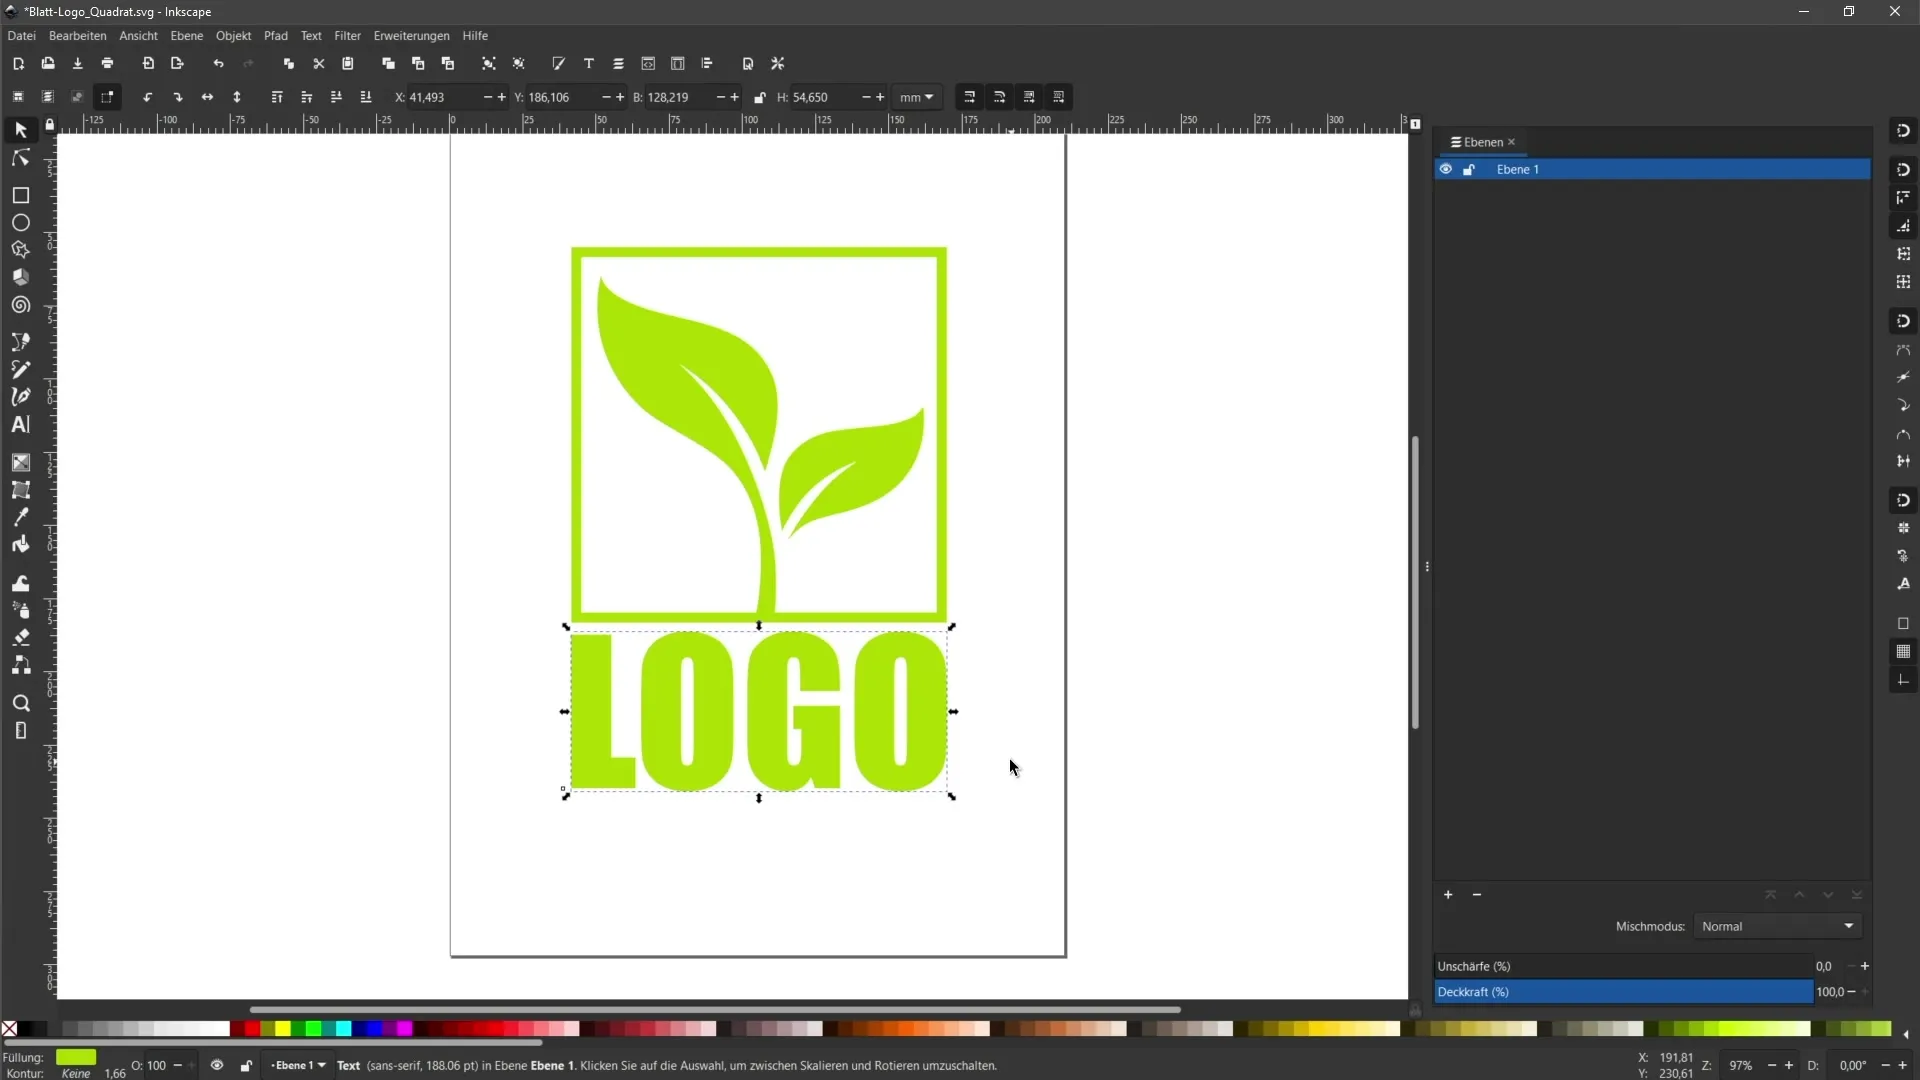
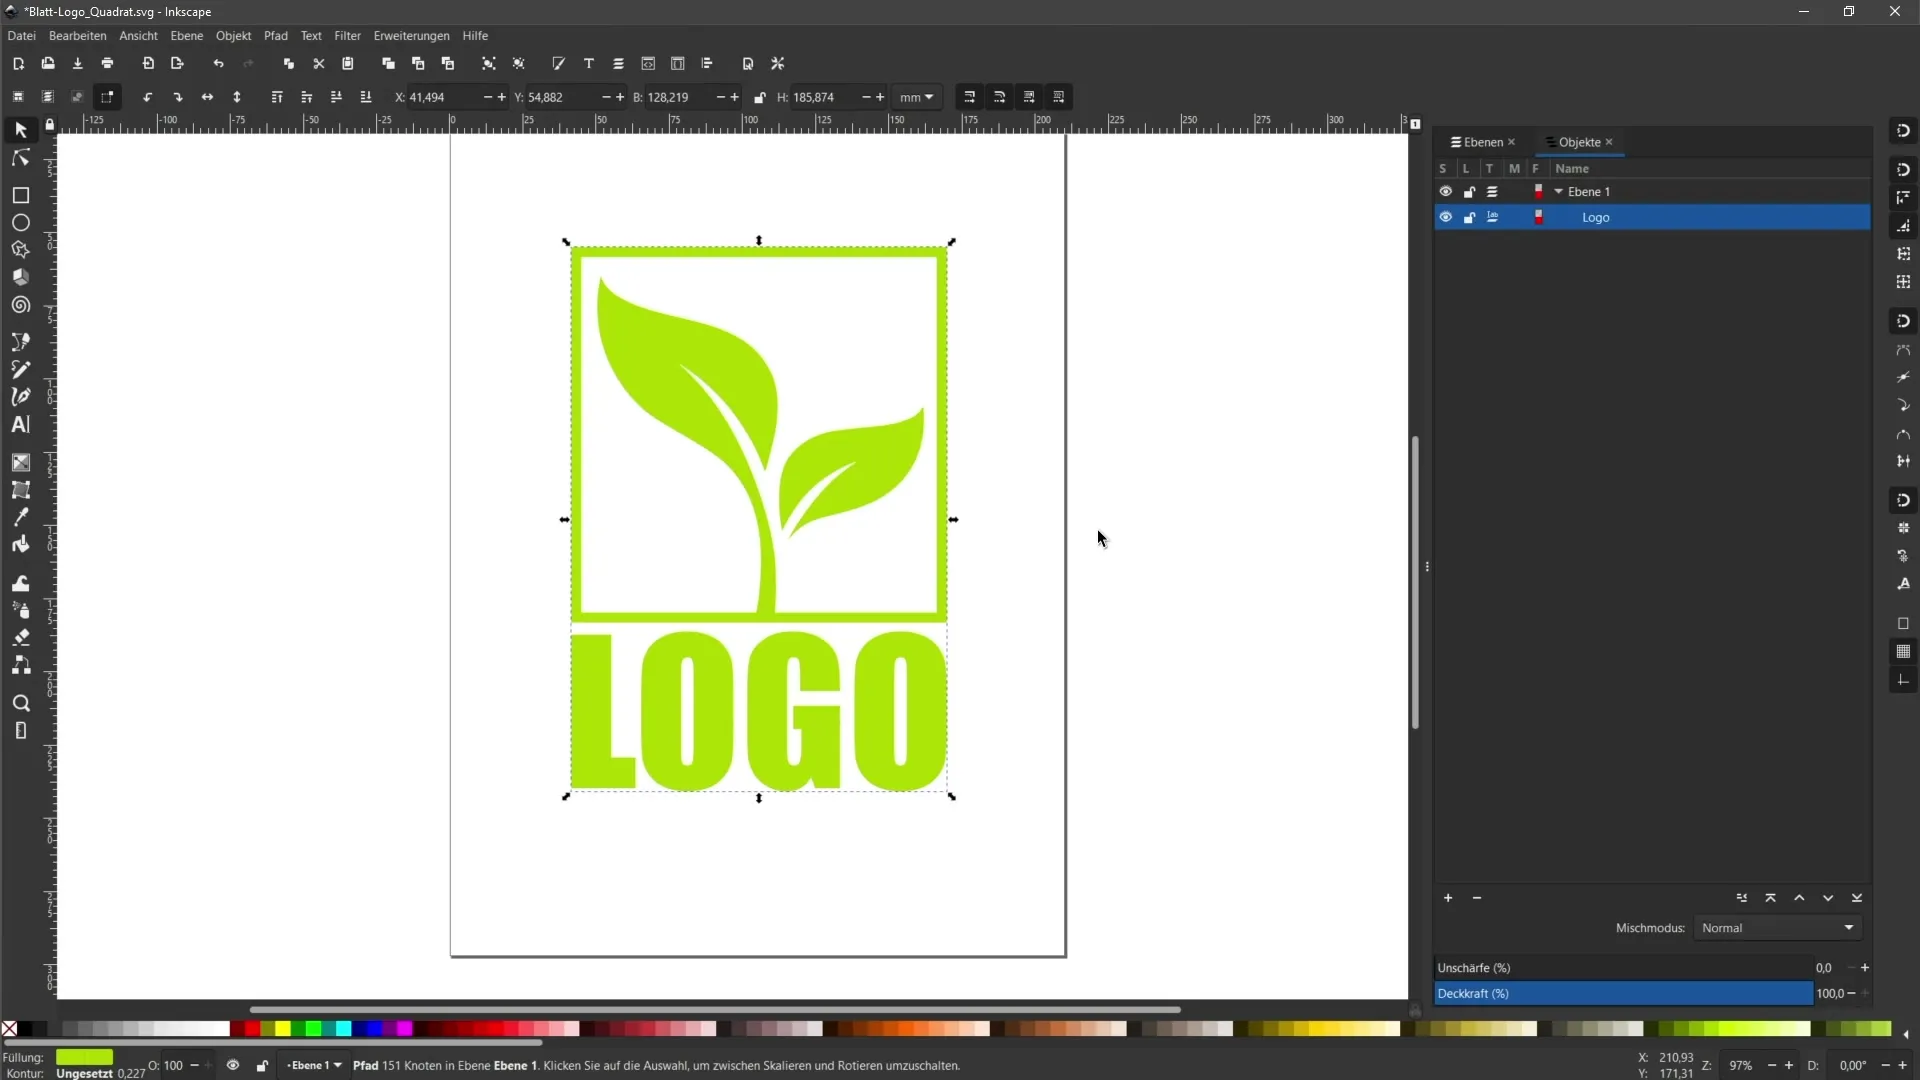
The crucial step now is to convert the text into paths. Select the text you want to convert, go to the menu, and click on "Path" and then on "Object to Path".
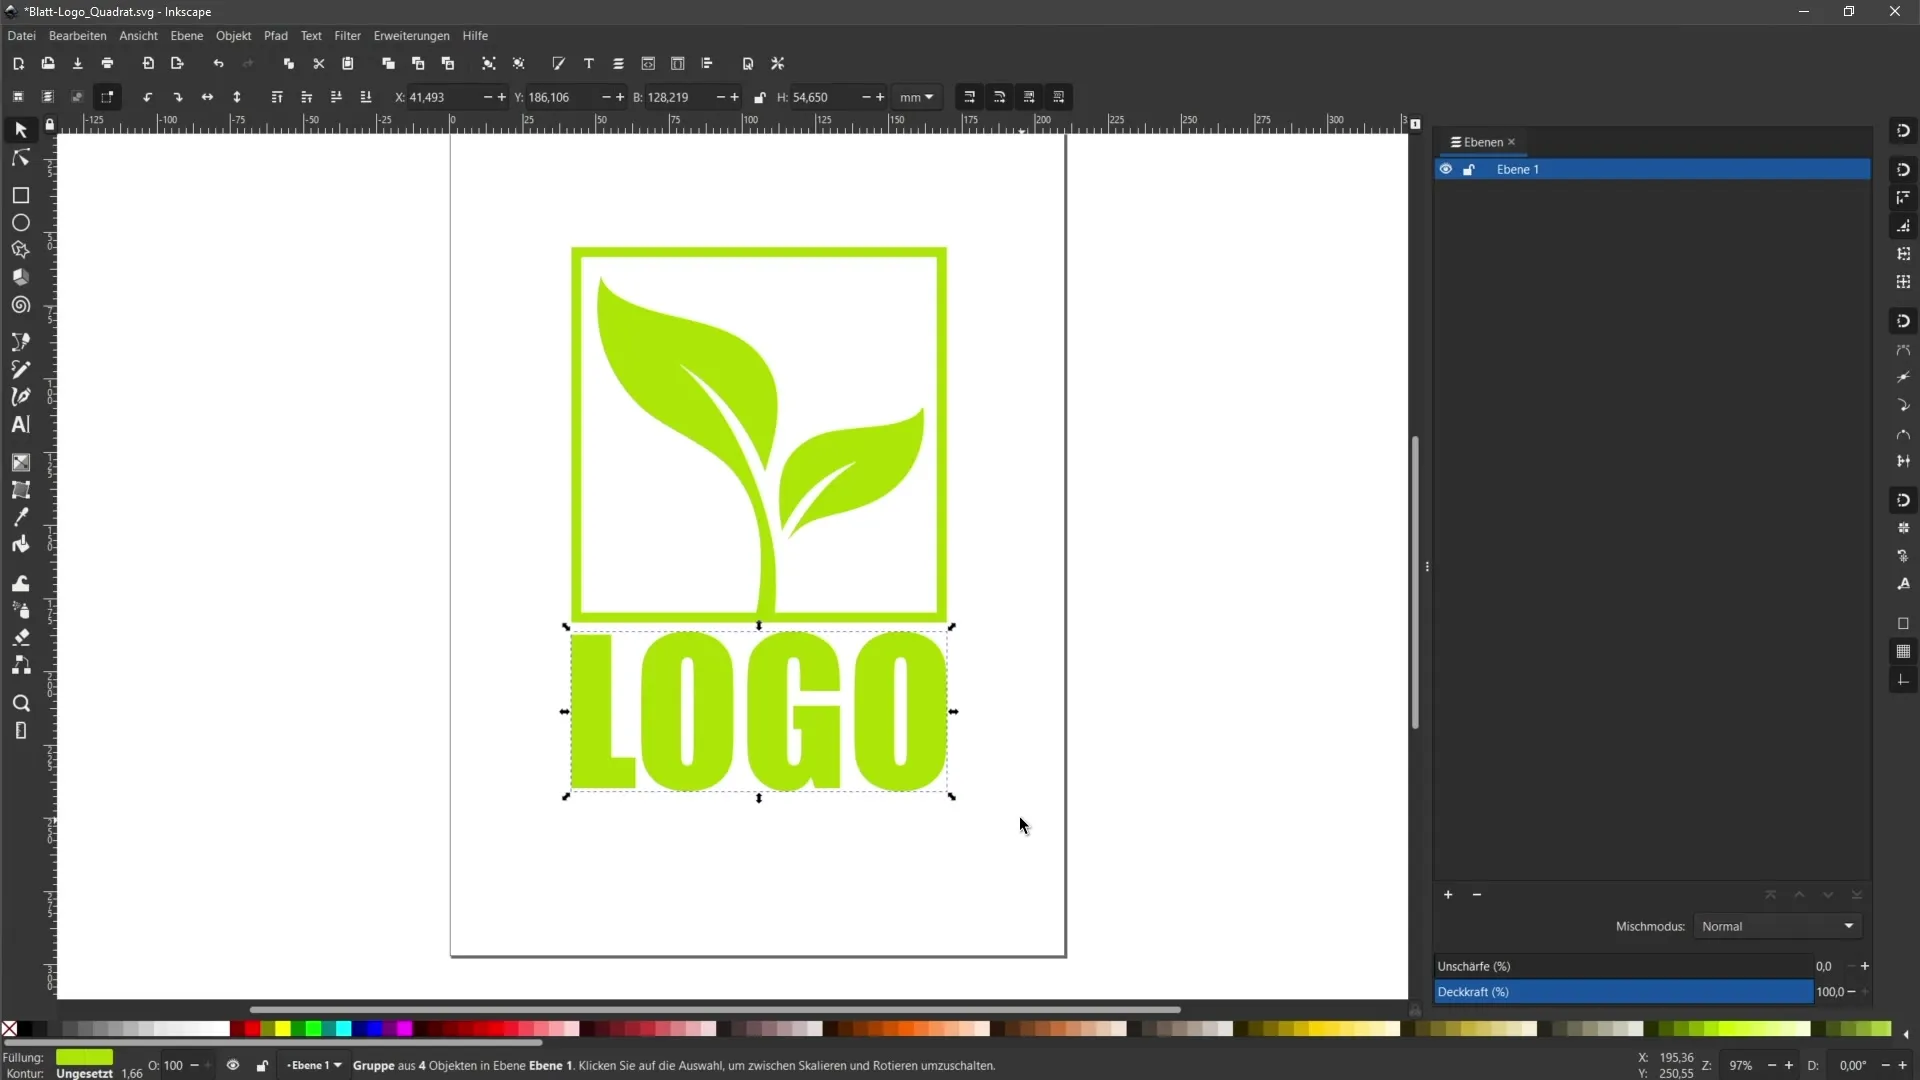
After this step, the editable text will be converted into paths, which means that you can no longer edit the font but instead have the shapes of the letters as vectors.
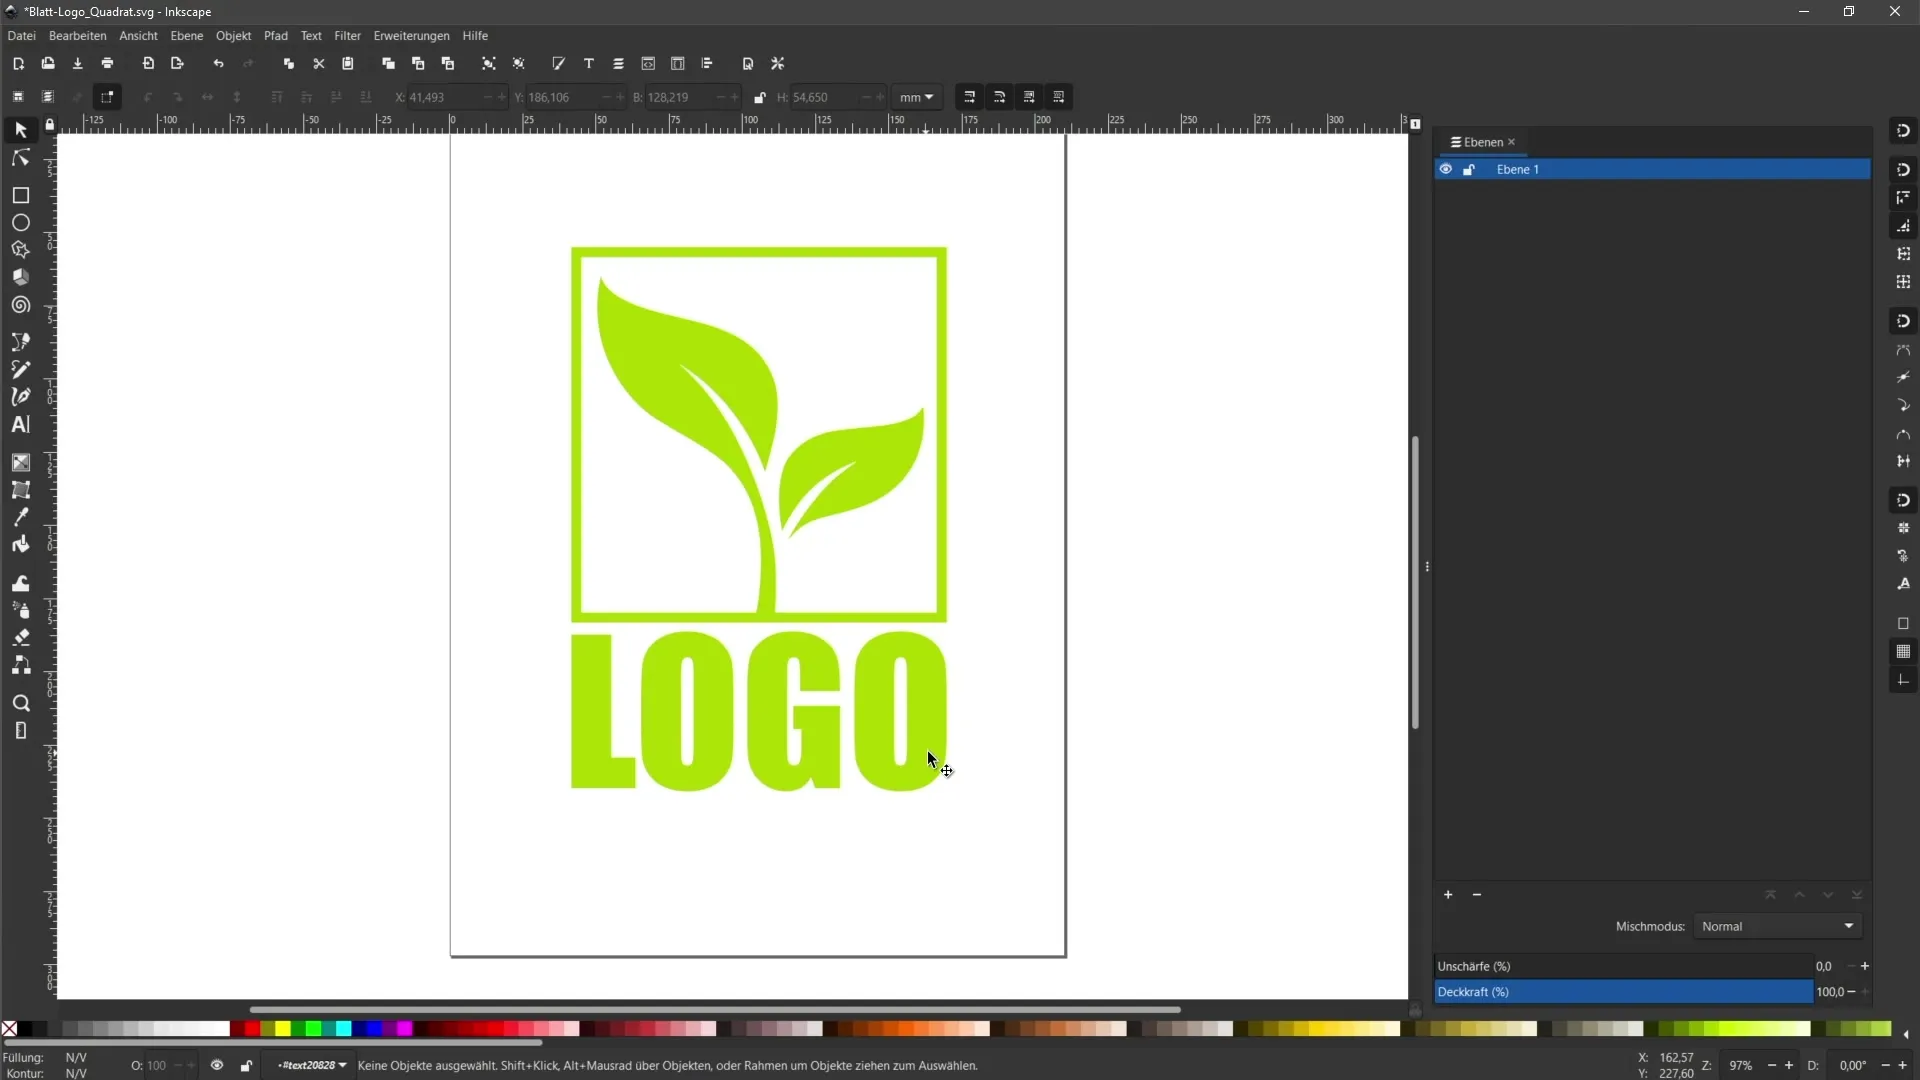
When you now click on the individual letters, you will see that they are paths. To display all objects clearly, you can open the object palette, where you will see the individual elements of your design.
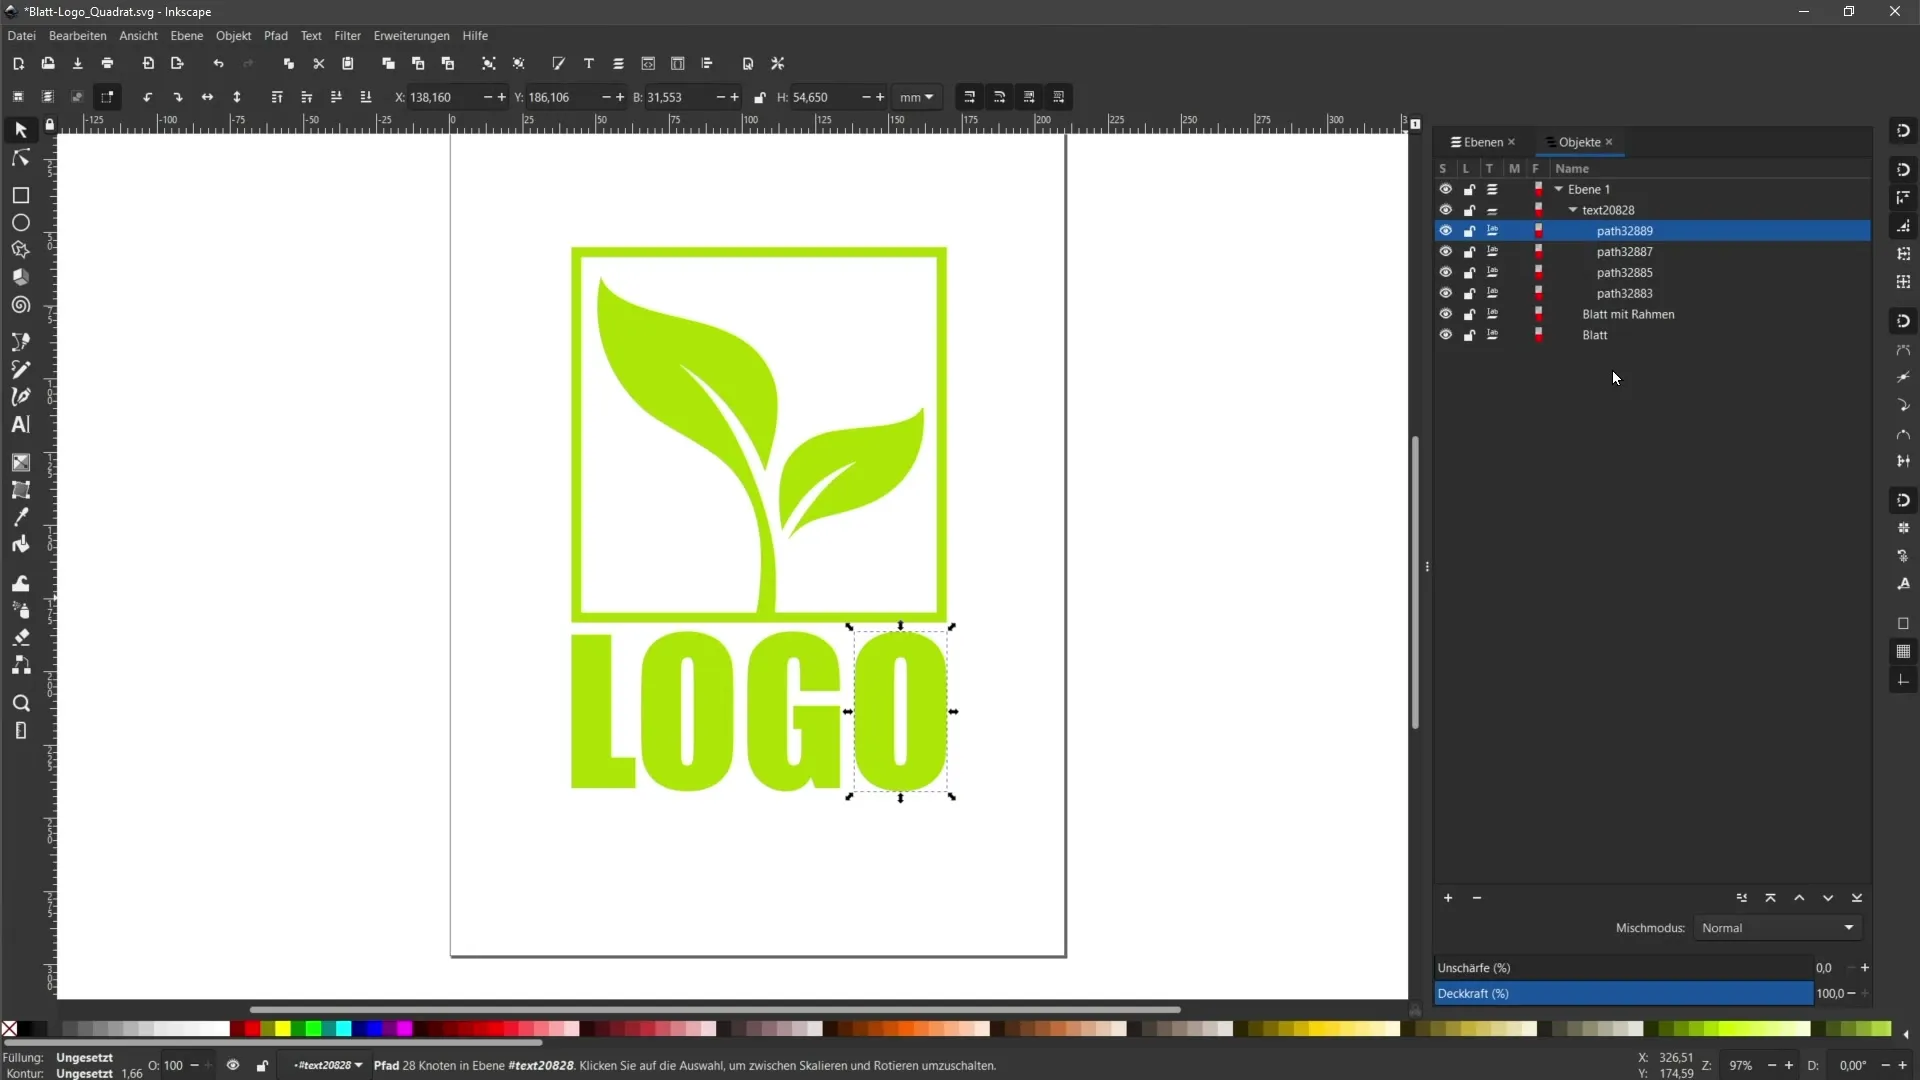
In the object palette, you can select the group of paths and rename them as desired, so that you can keep a better overview in your project.
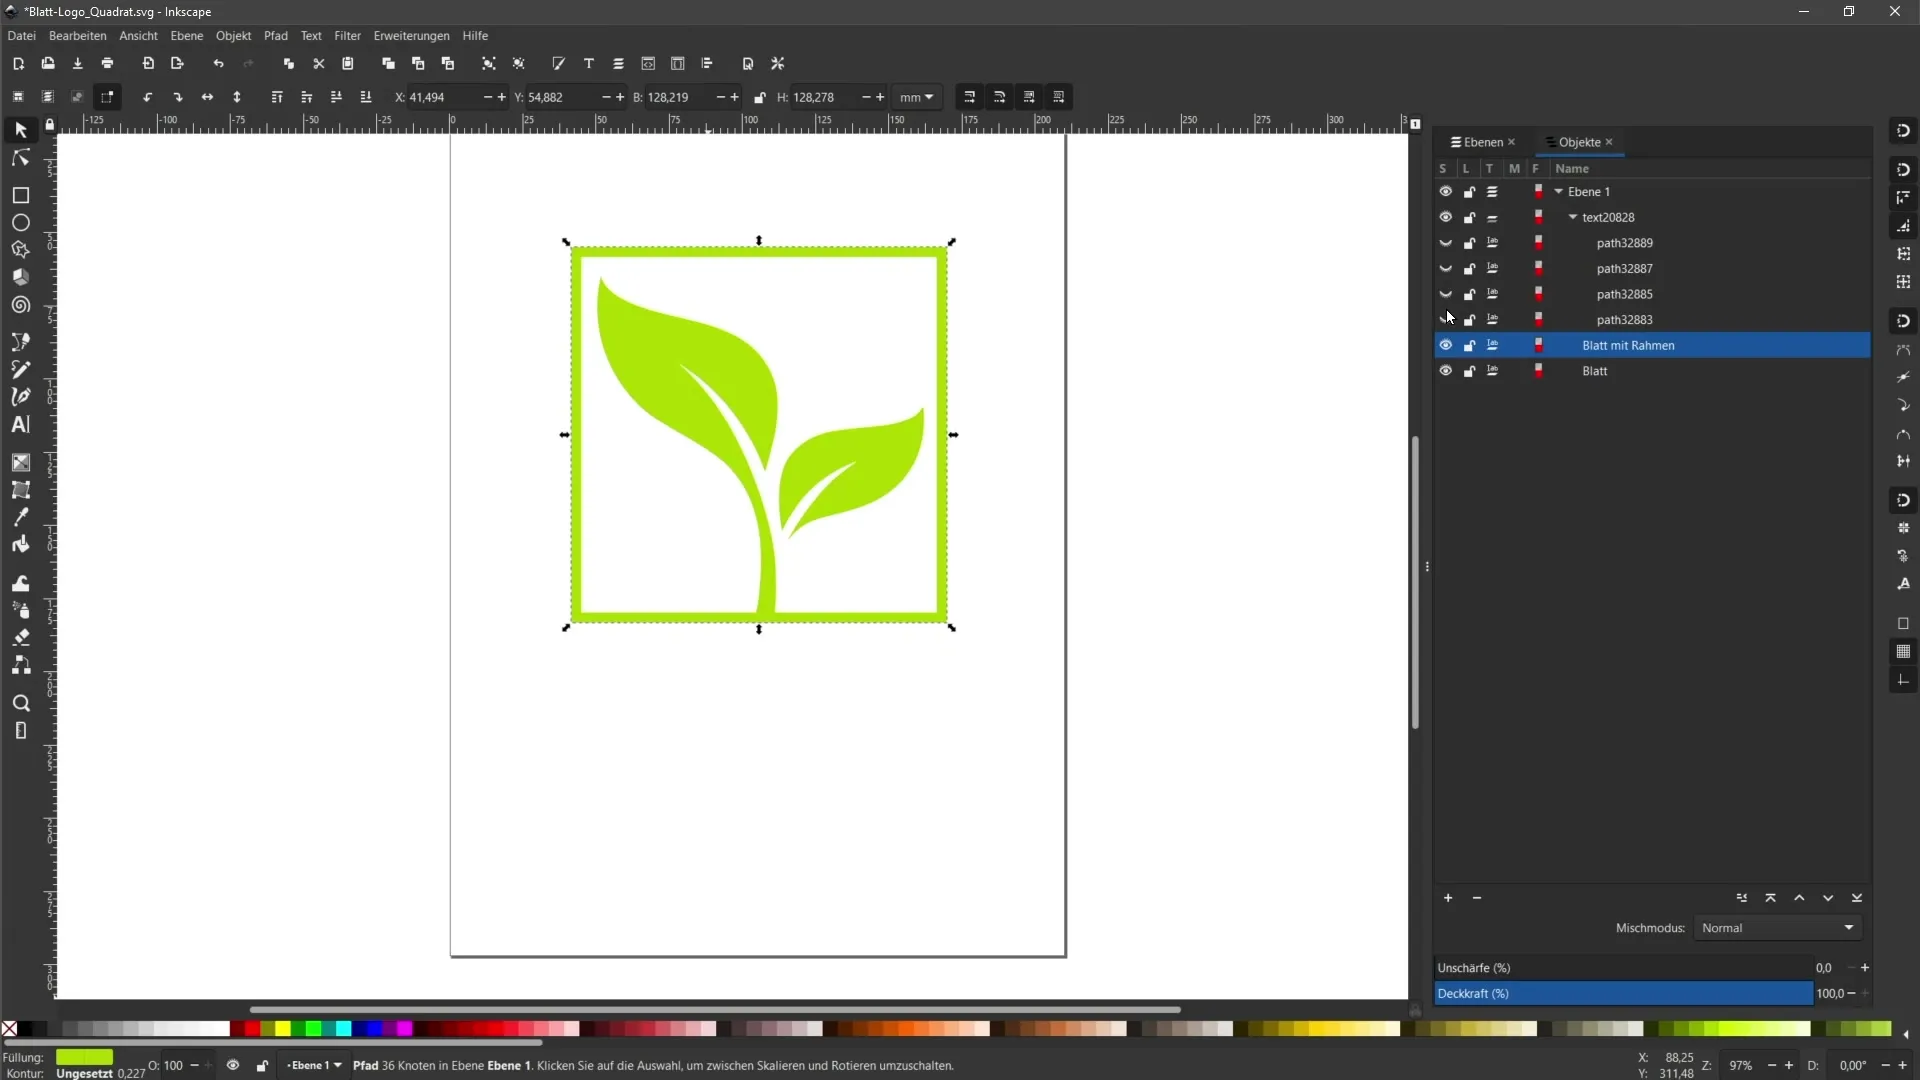
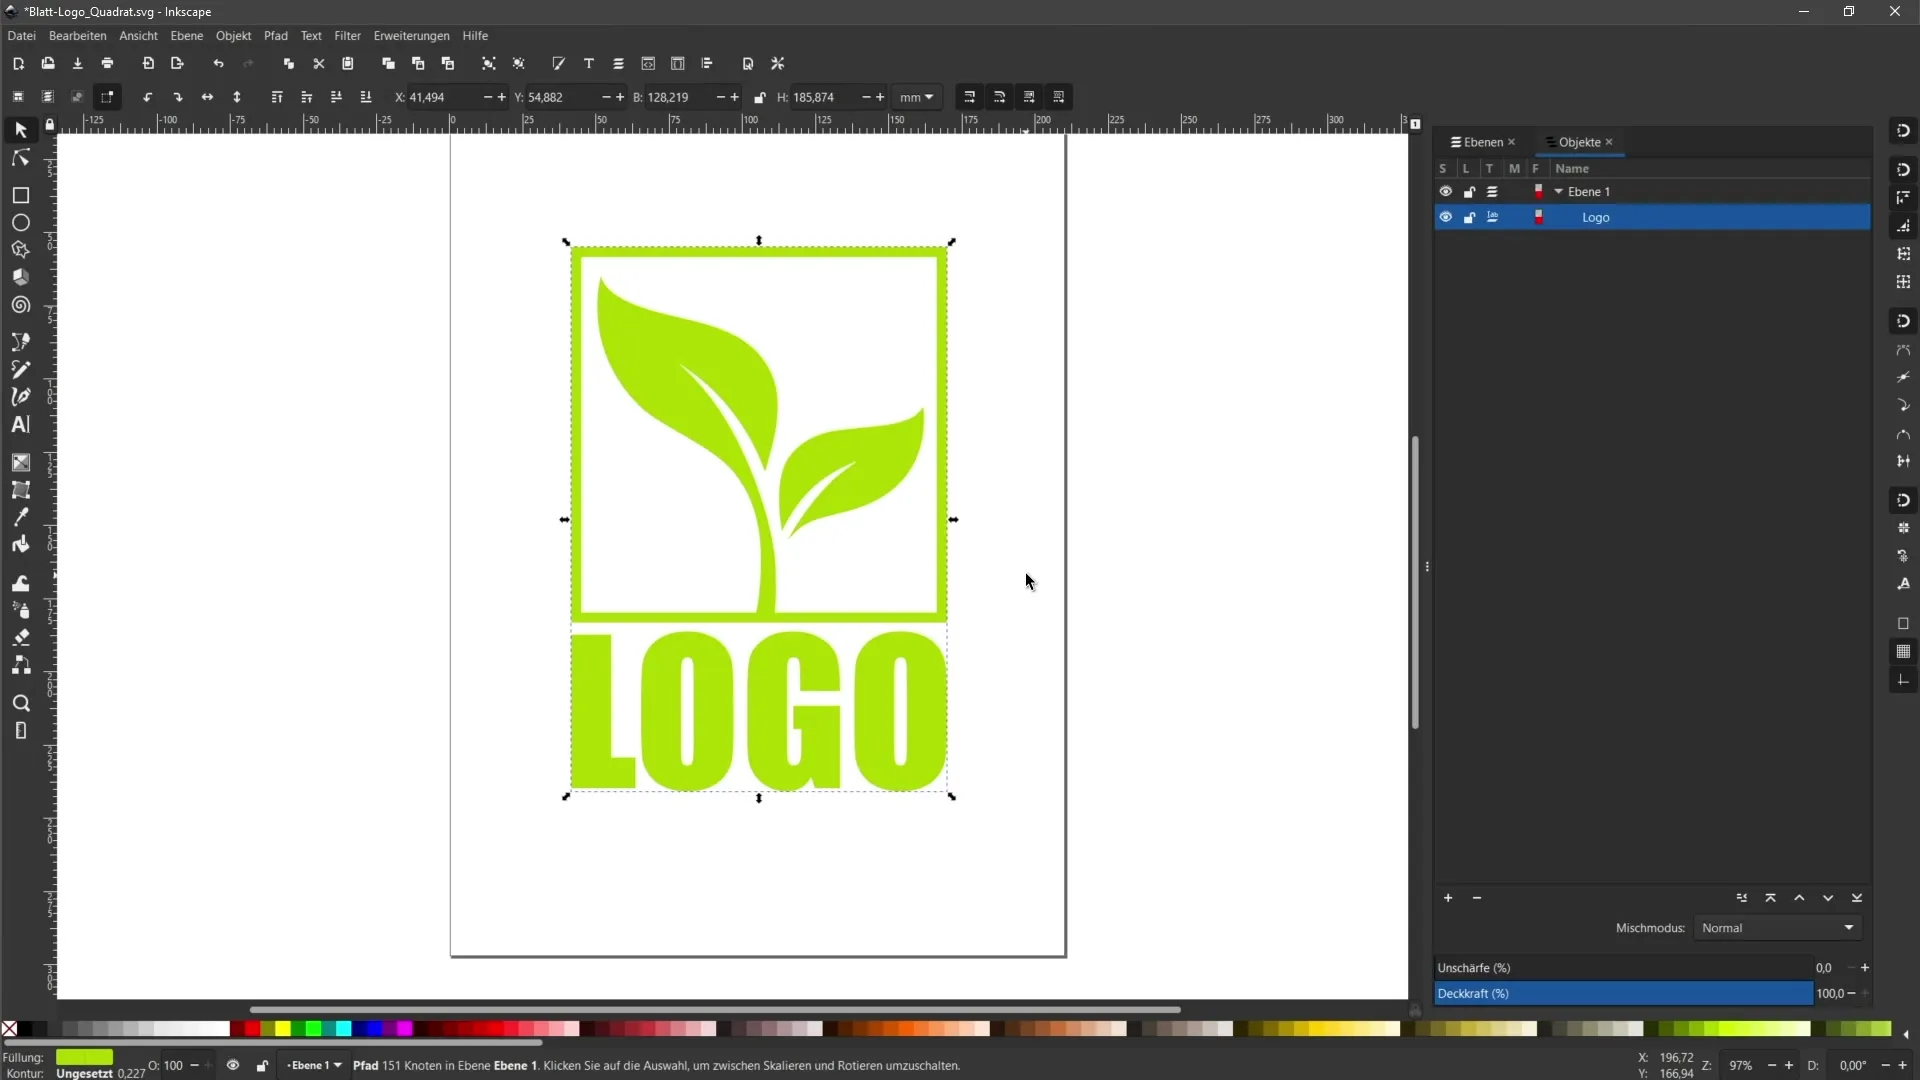
Once you are satisfied with your design and have converted everything into paths, you will notice that you now have a single, compact object. You can change the color of the entire logo at any time.
Remember to always save a backup copy of your file before making changes like these, to ensure that you can revert if needed.
Summary
In this guide, you have learned how important it is to convert text into paths in Inkscape before handing over these designs to a print shop. You now recognize the steps it takes to create, customize, and ensure that your text is accurately represented graphically when it reaches the print shop. With the right techniques, you can maximize the full potential of Inkscape and prepare your designs optimally.
Frequently Asked Questions
How do I convert text to paths in Inkscape?Select the text and click on "Path" in the menu, then on "Convert Object to Path".
Why should I convert text to paths?Because the print shop may not have your font, otherwise the text image would not be displayed correctly.
How can I add guidelines in Inkscape?You can add guidelines by displaying the rulers and then dragging a guideline from the ruler into the document.
What can I do if I no longer need guidelines?You can hide them or drag them back to the ruler, whichever you prefer.
Is it important to make a backup copy of my file?Yes, it is very important to save your file before converting to paths, as this step is destructive.


