In this tutorial, I will show you how to save your created vector graphic in Scalable Vector Graphics (SVG) format. SVG files are particularly suitable for use on the internet as they require little storage space and can be scaled to any size without losing quality. Whether you have your company logo, an icon, or a drawing - after creating your vector graphic in Inkscape, I will guide you through the saving process so you can optimize your work for the web.
Key Takeaways
- SVG files offer high scalability and small file size.
- Inkscape saves vector graphics in SVG format, which contains special information about layers and guides.
- There are different SVG types: the native Inkscape SVG and optimized SVGs, which are better suited for the web.
Step-by-Step Guide
To save your vector graphic in SVG format, please follow these steps:
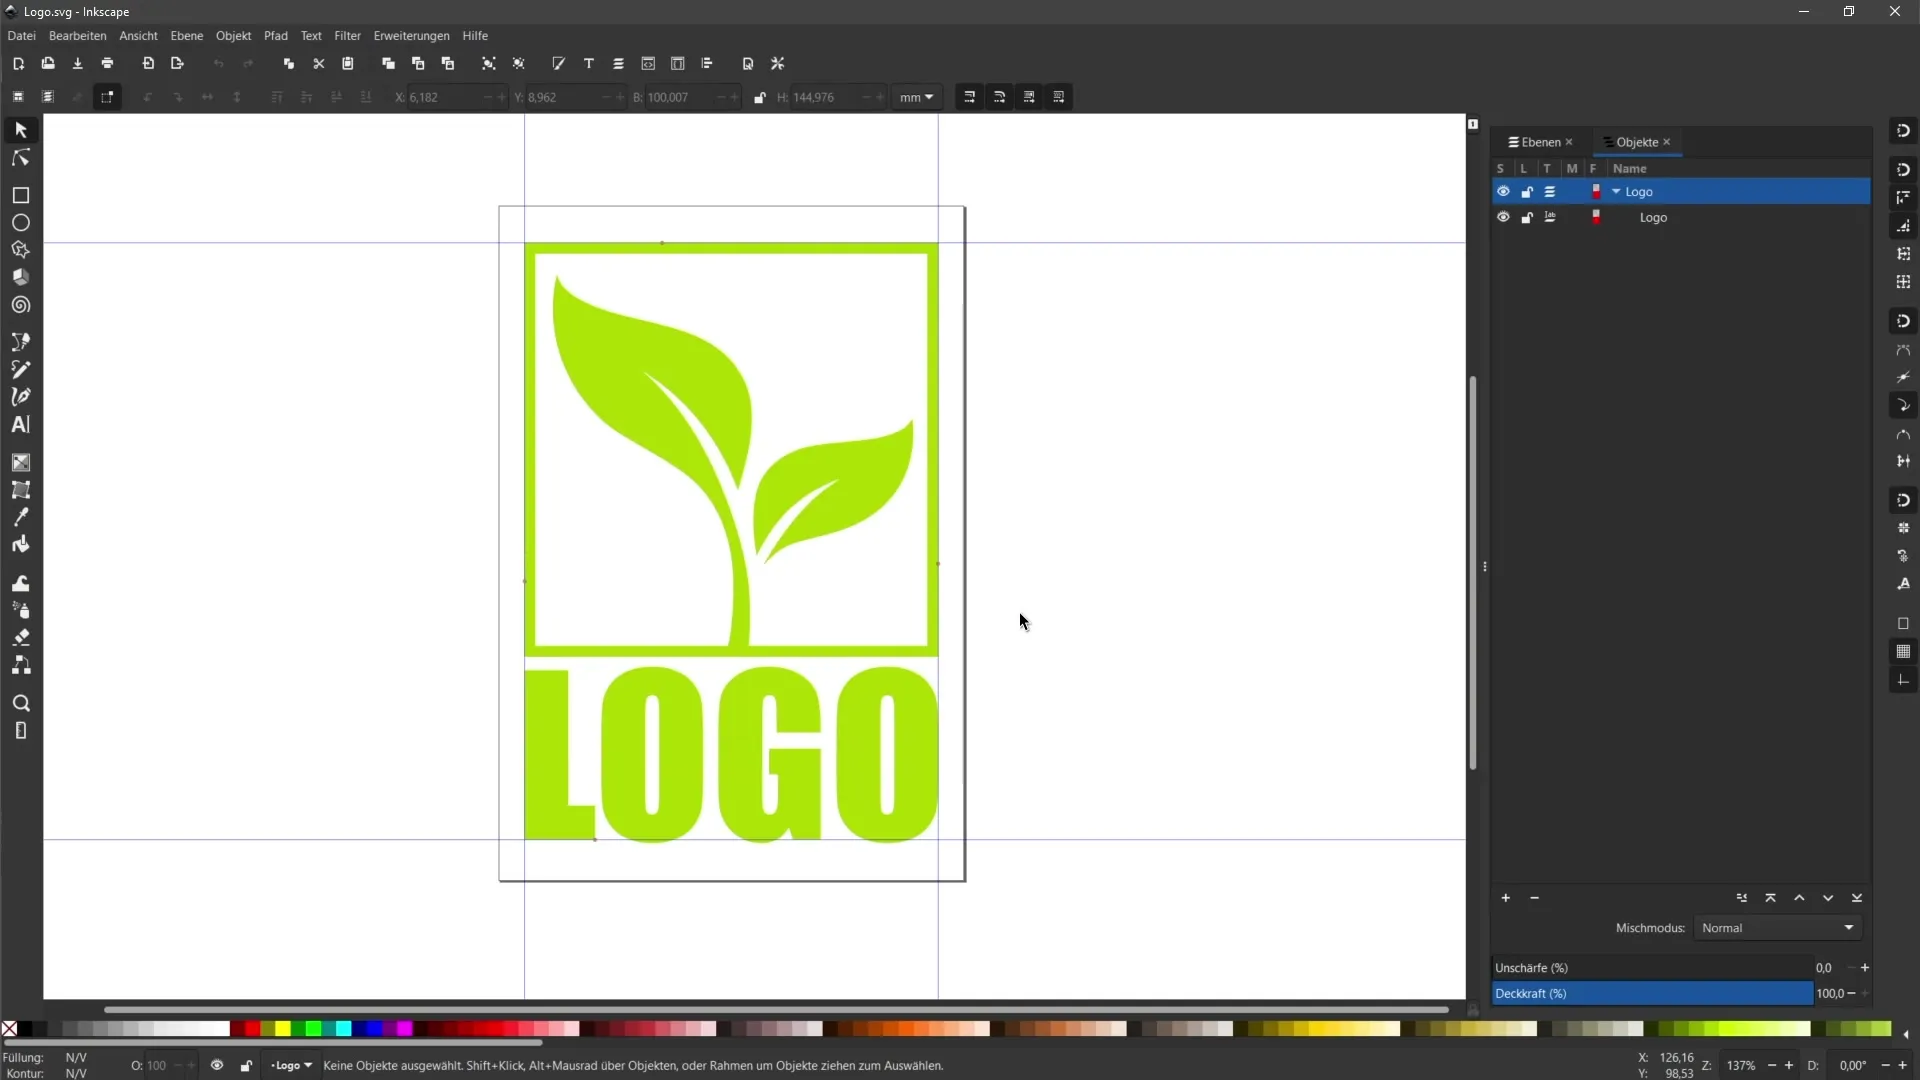
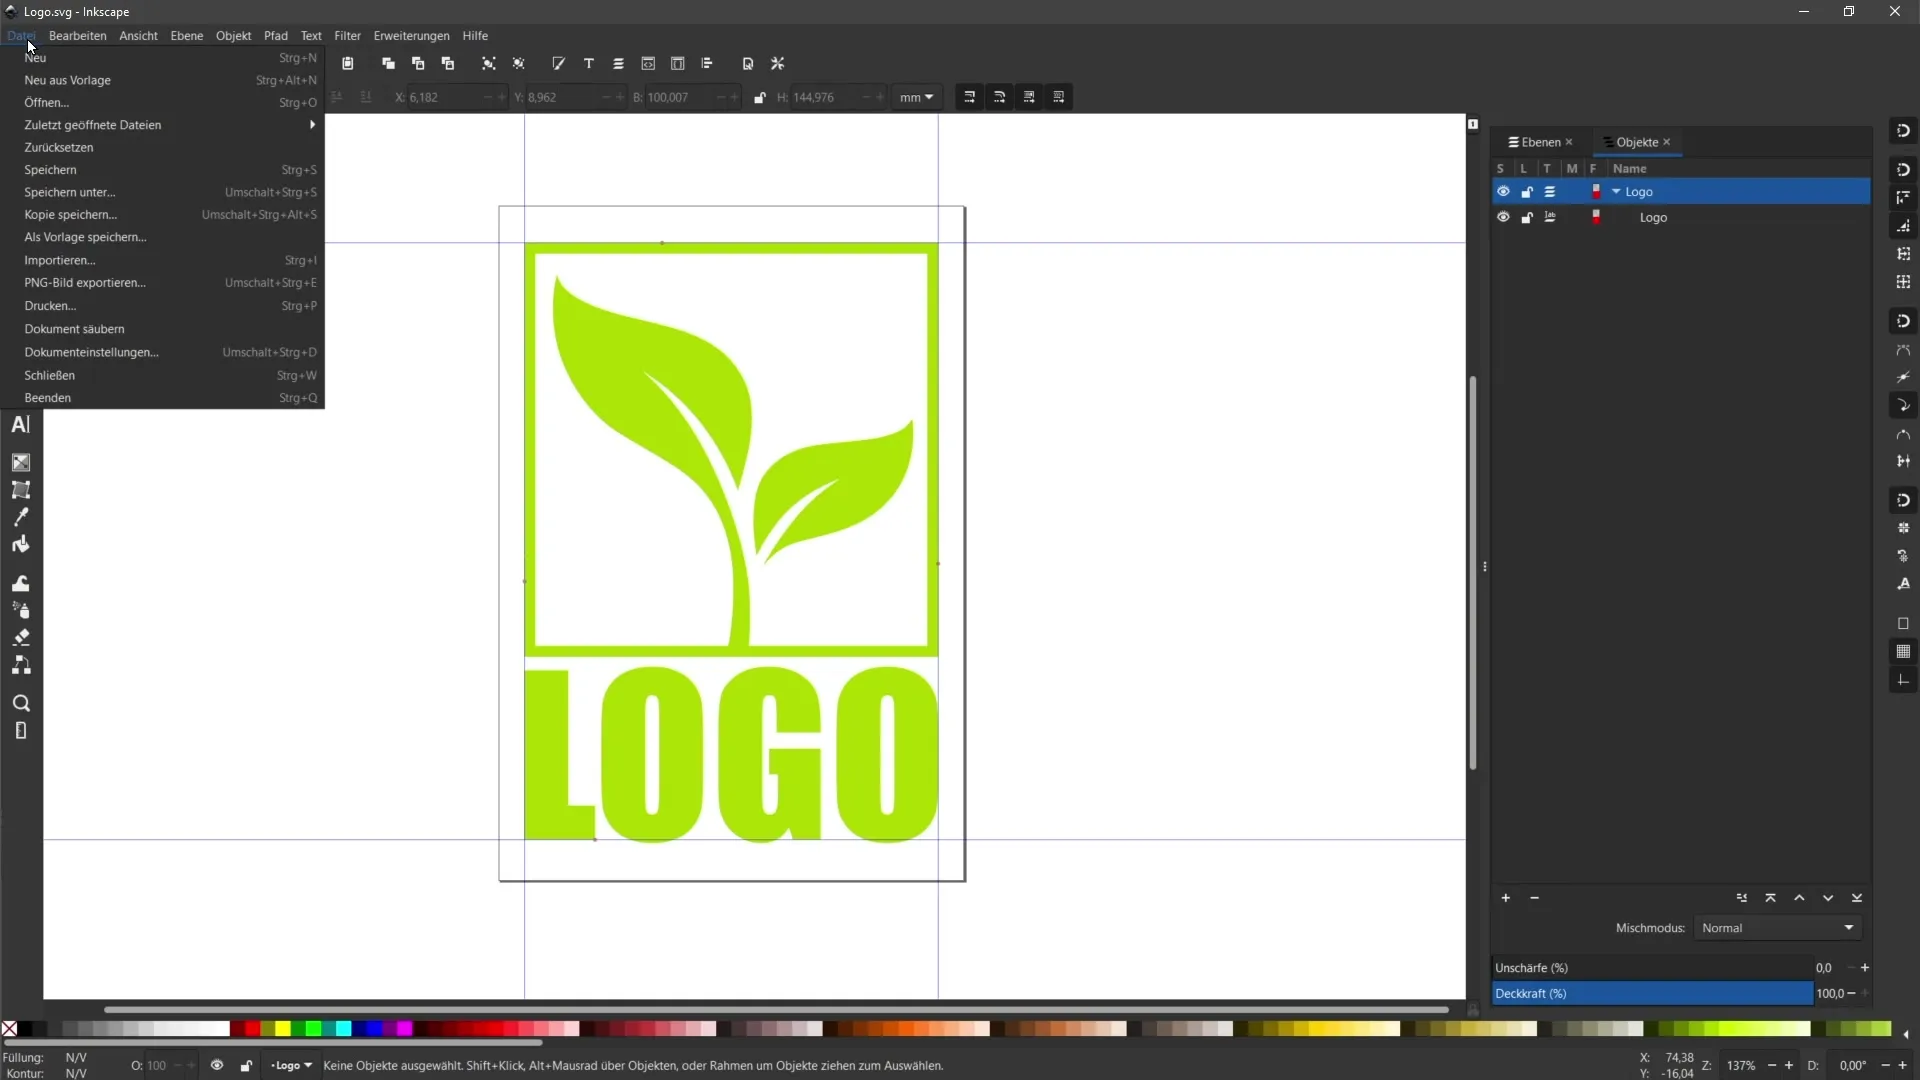
First, make sure your design is completed in Inkscape. Once that's done, click on File in the top menu bar.
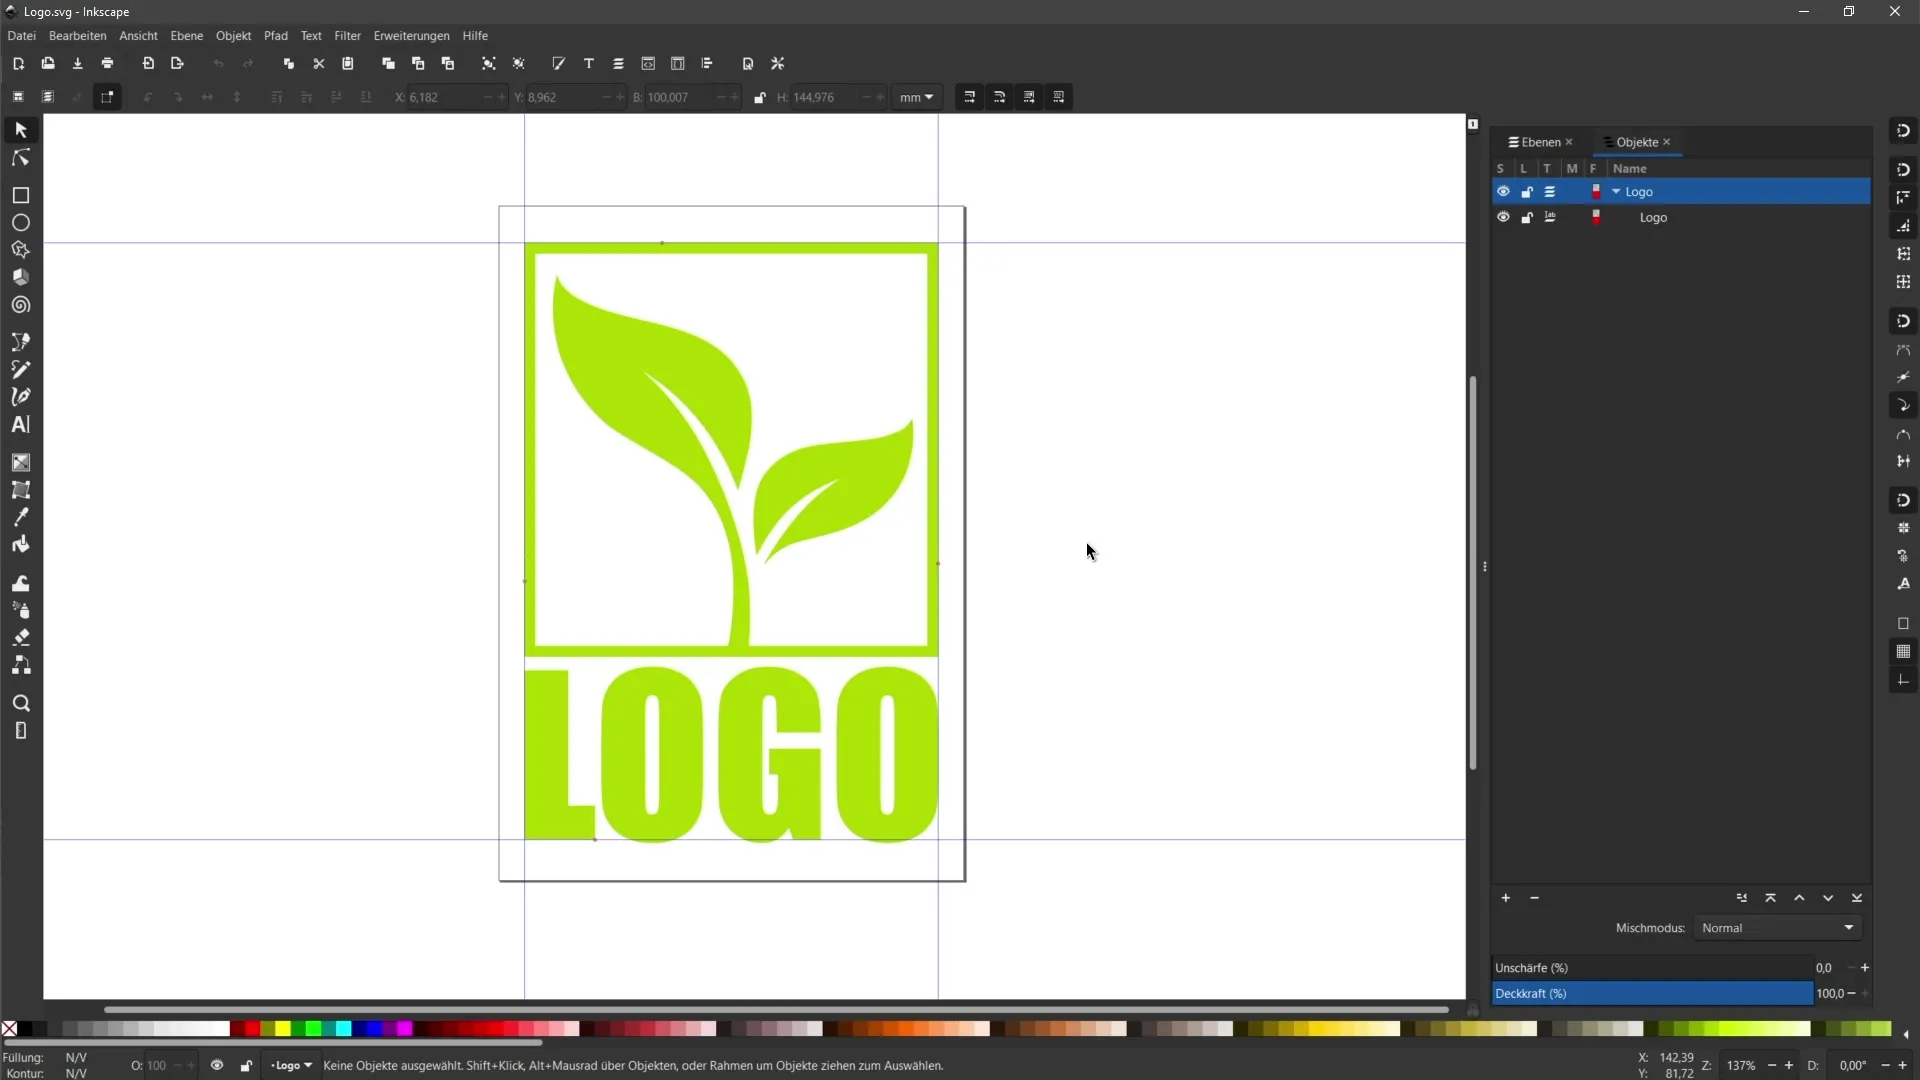
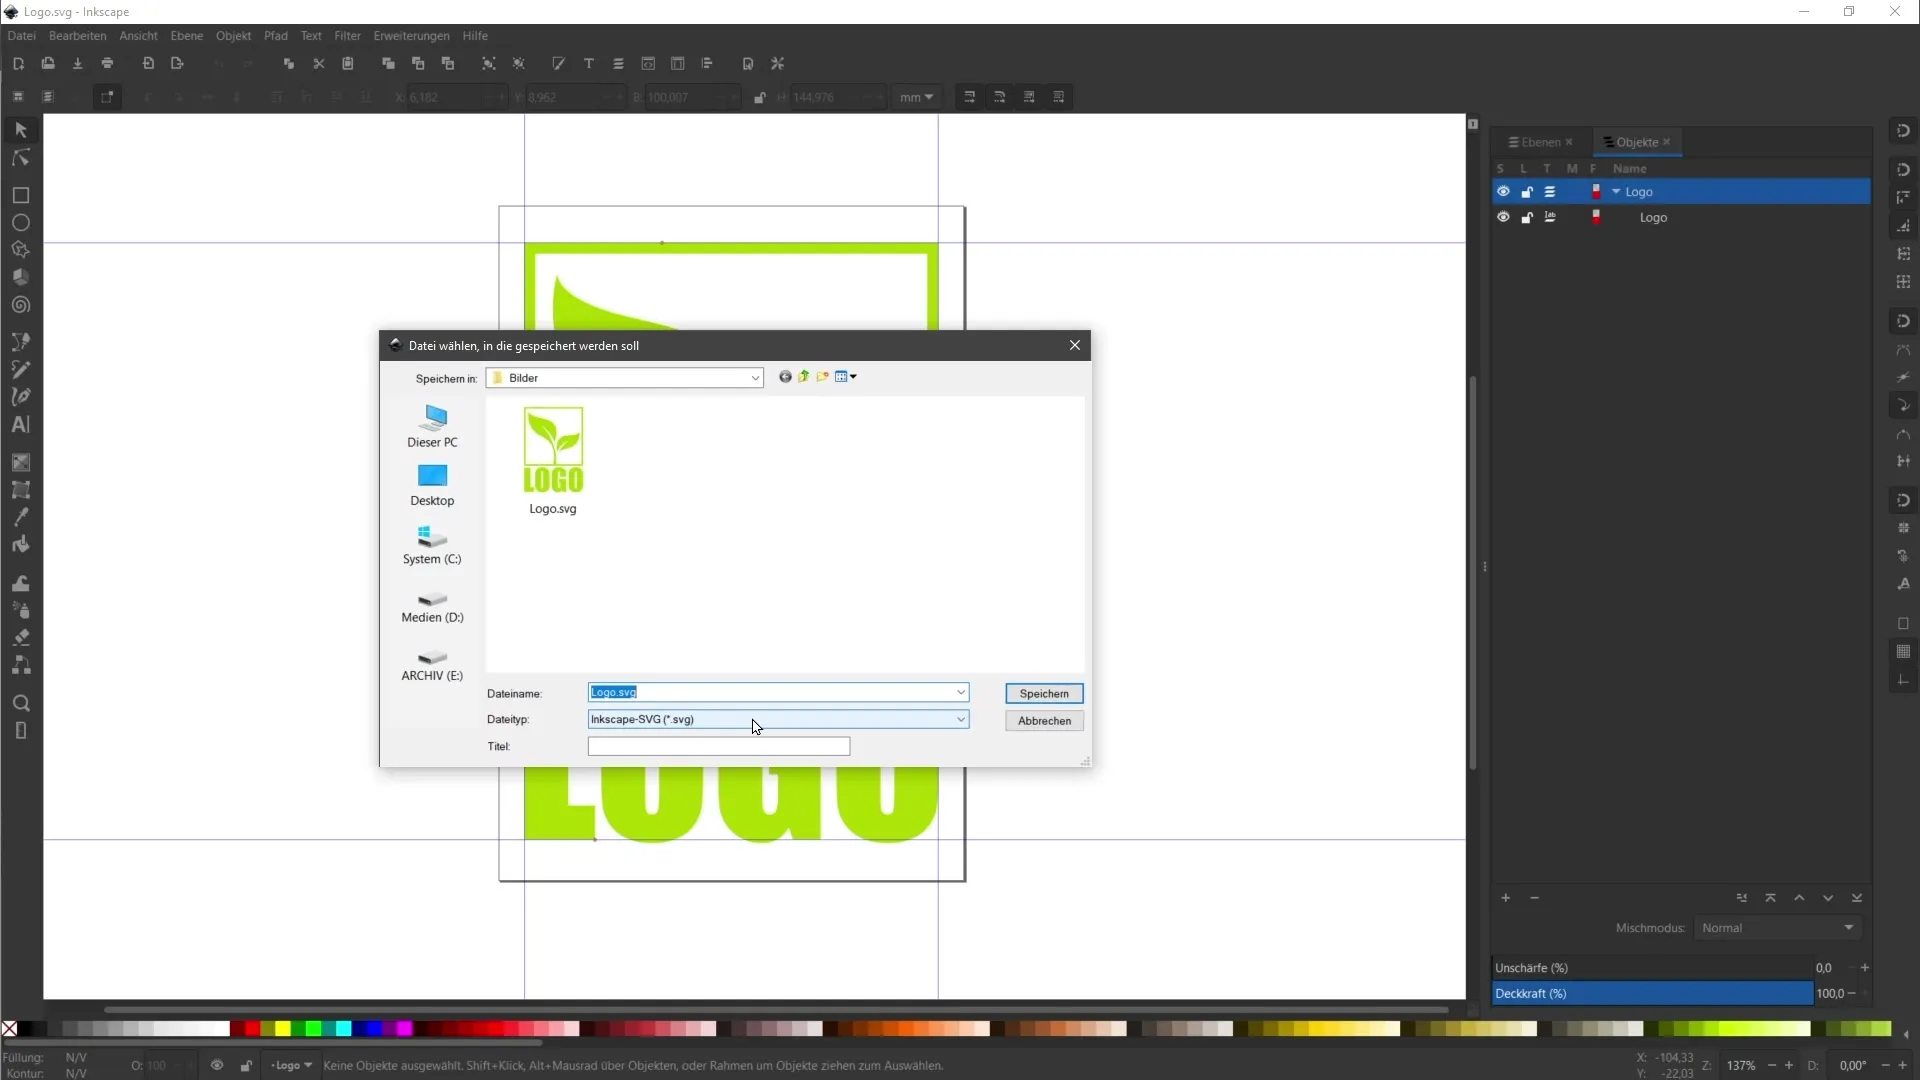
In the dropdown menu, select the option Export. This opens a new window where you can choose the location and file type.
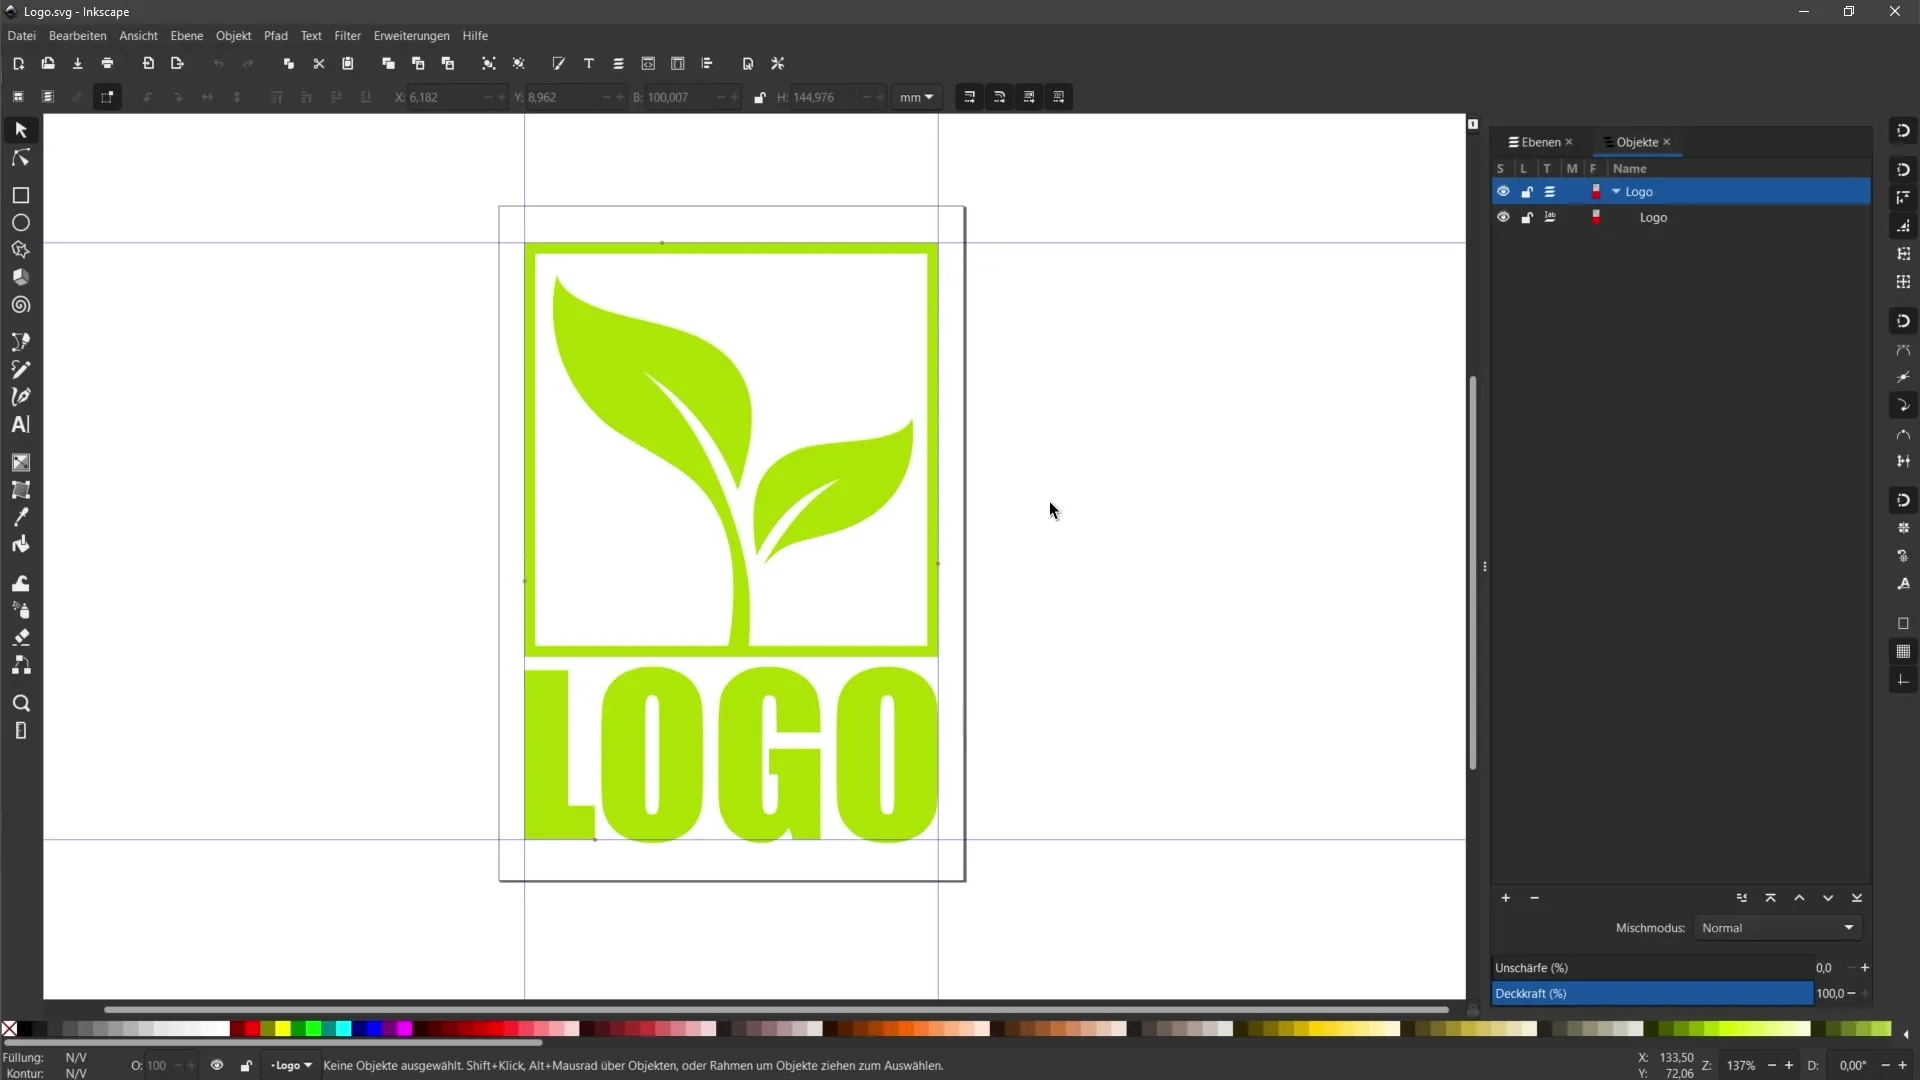
By default, Inkscape saves in its own SVG format, which includes information about the layers and structure of your design. However, for web usage, it is better to use an optimized version. Locate the storage location on your hard drive where you want to save the file.
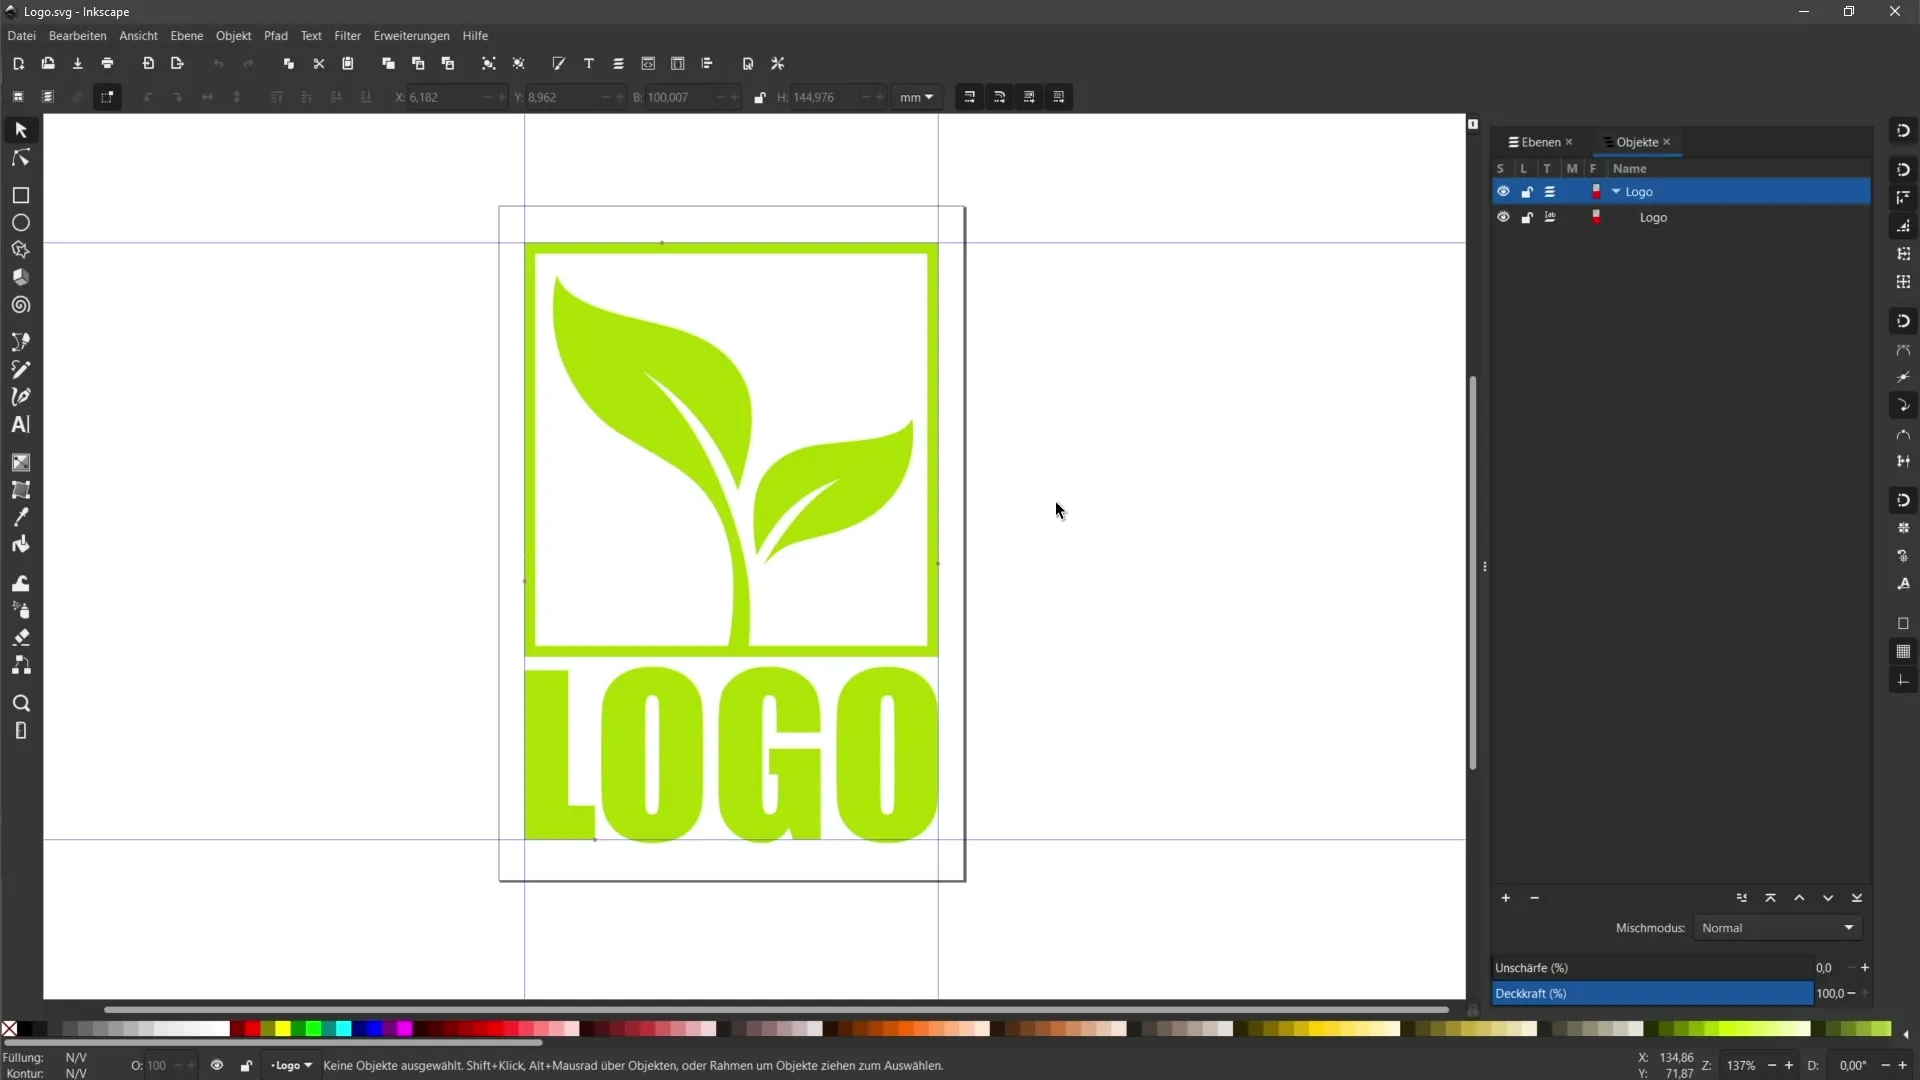
In the dropdown menu for file type, choose either normal SVG or optimized SVG. For the first attempt, choose normal SVG.
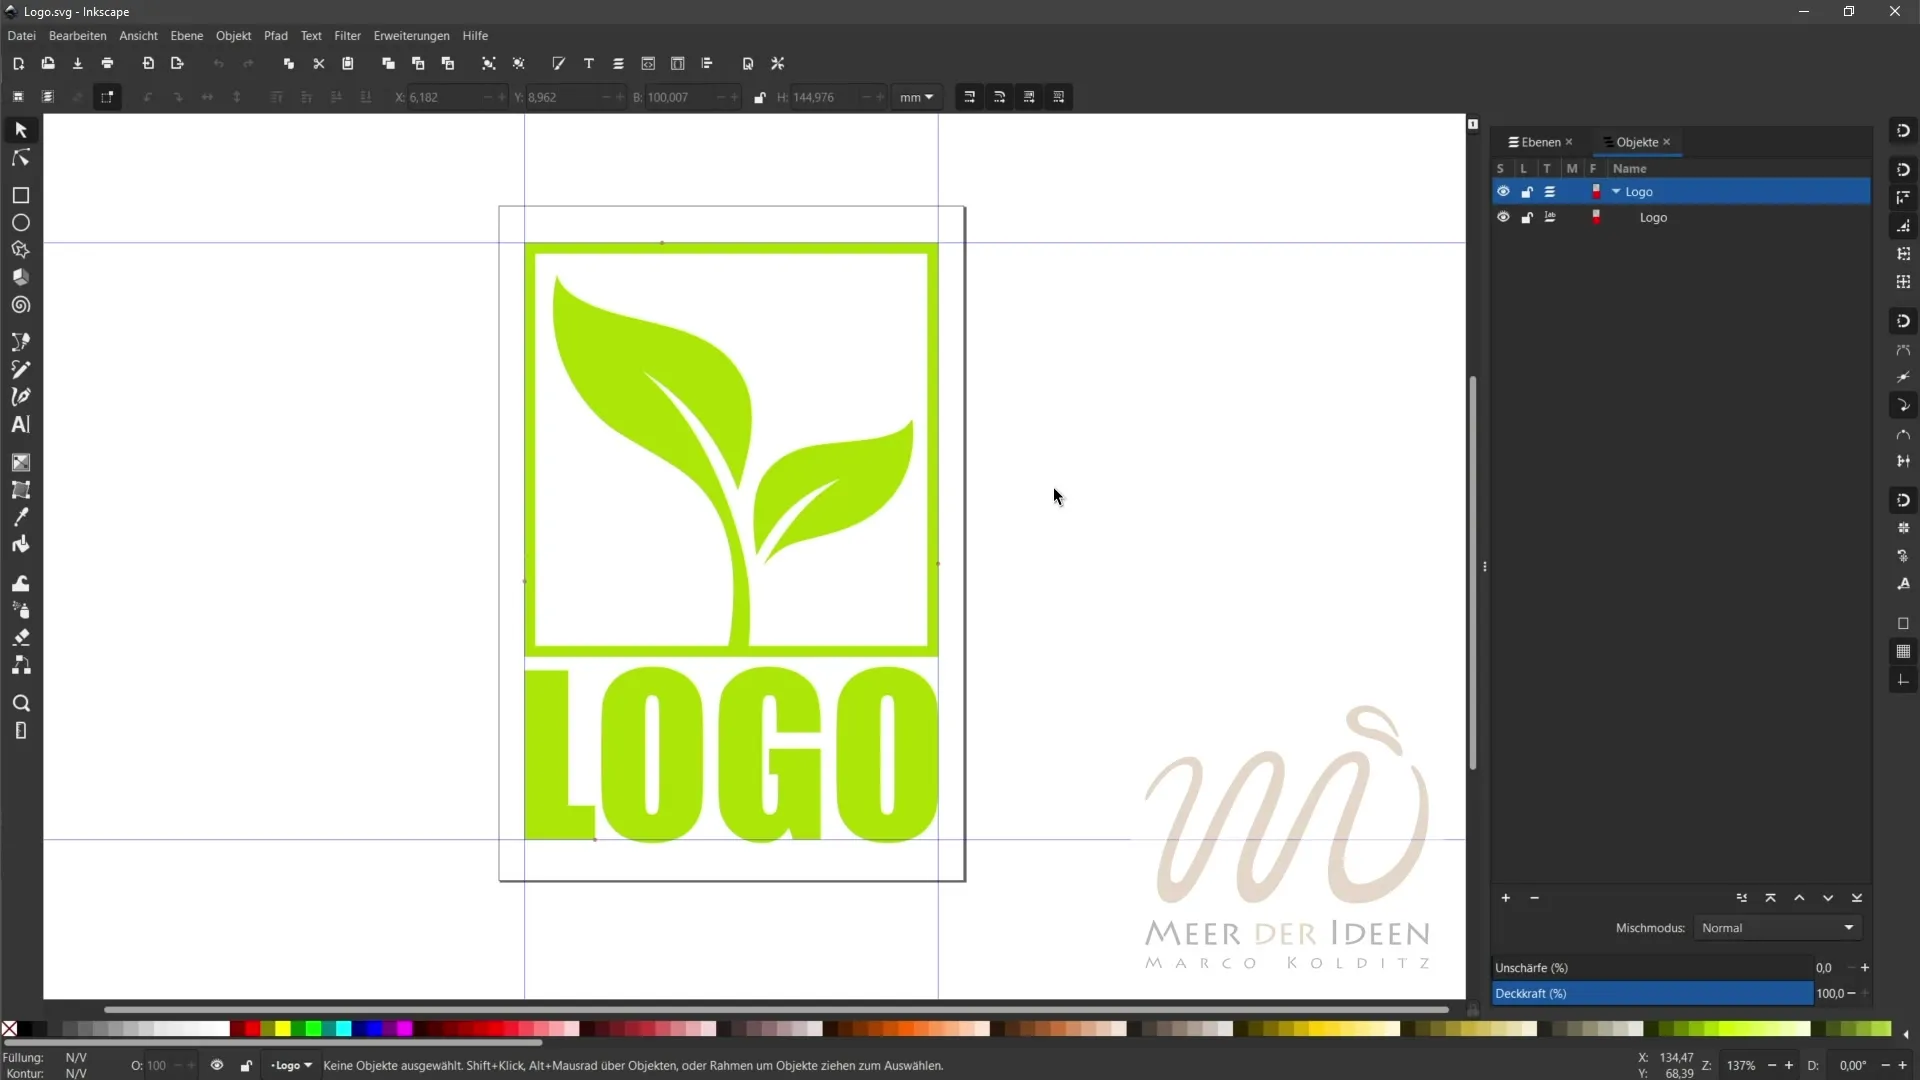
Give the file a name, for example, Logo_normal, and confirm with Save. This file is now saved in the normal SVG format.
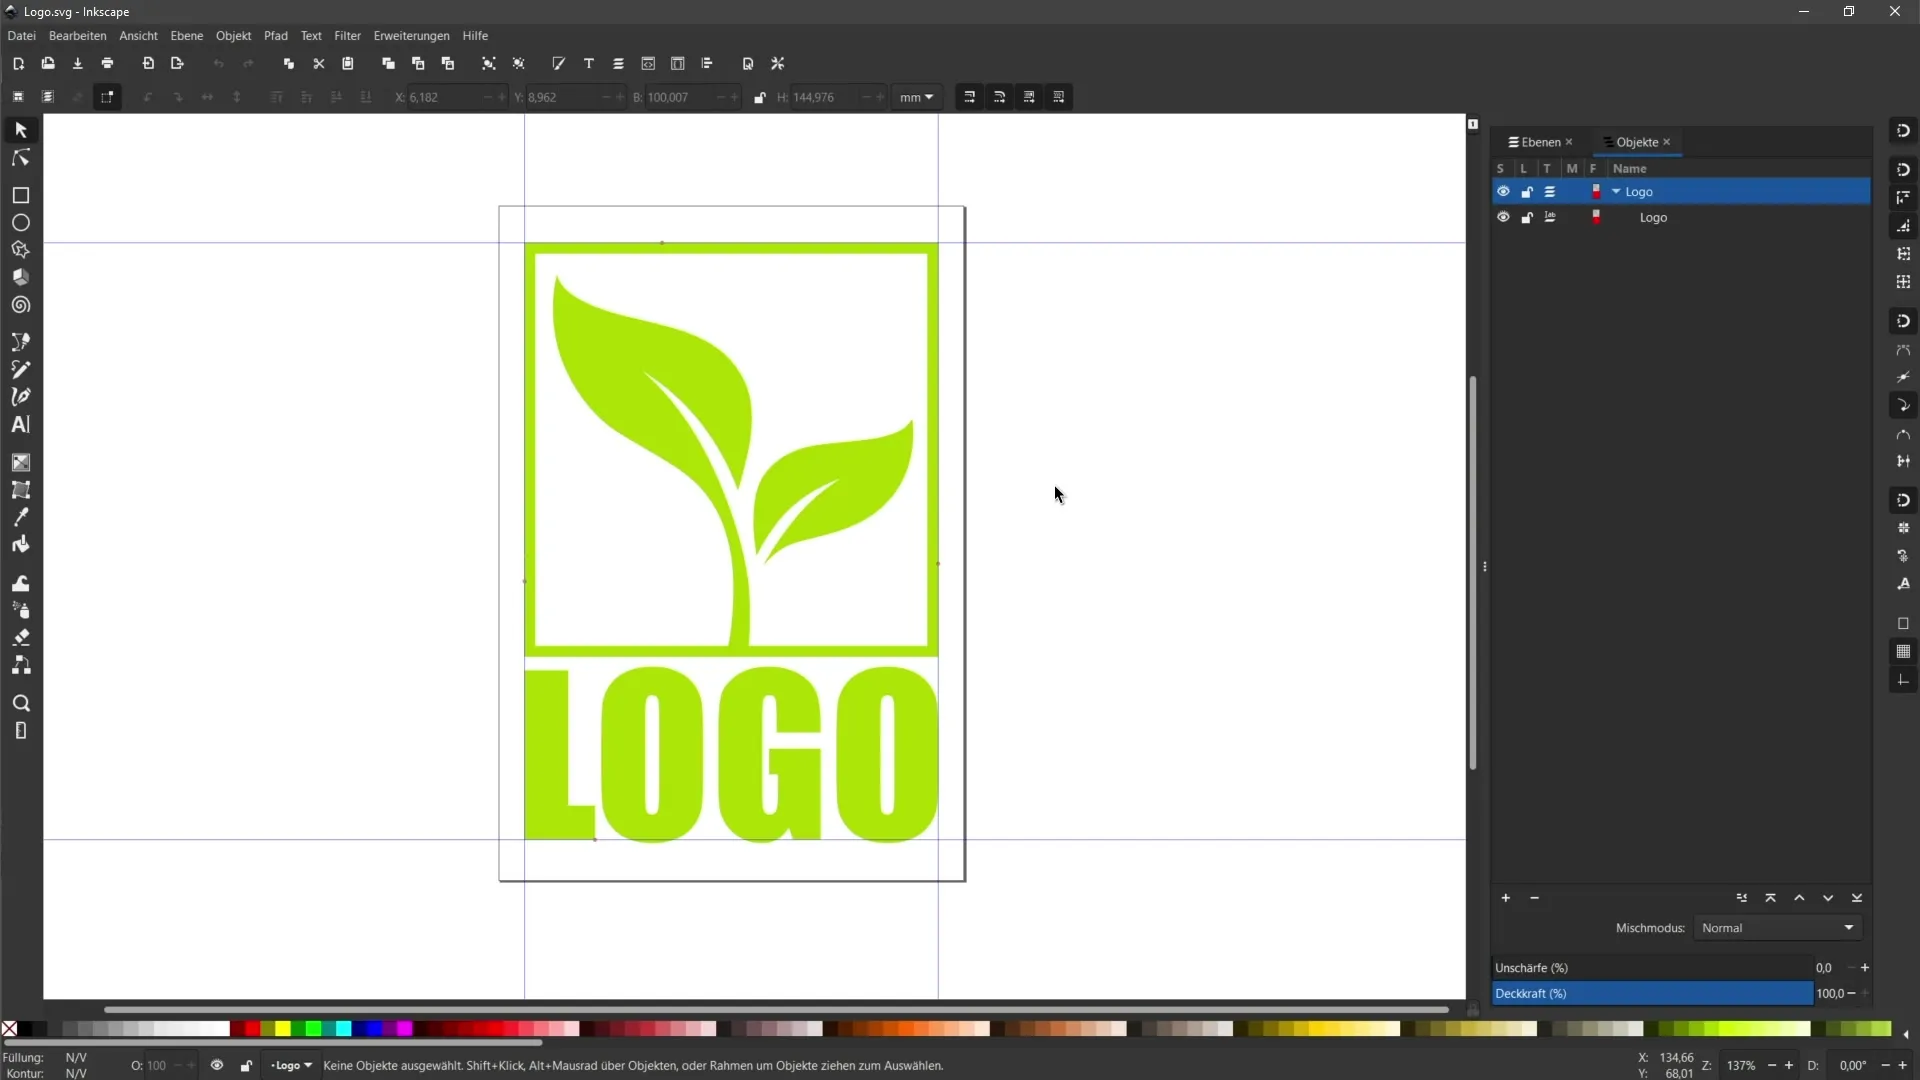
You will see that this file is generally smaller than Inkscape SVG, which can be about 11 KB in size. The normal SVG can be only 6 KB in size, which already significantly reduces storage capacity.
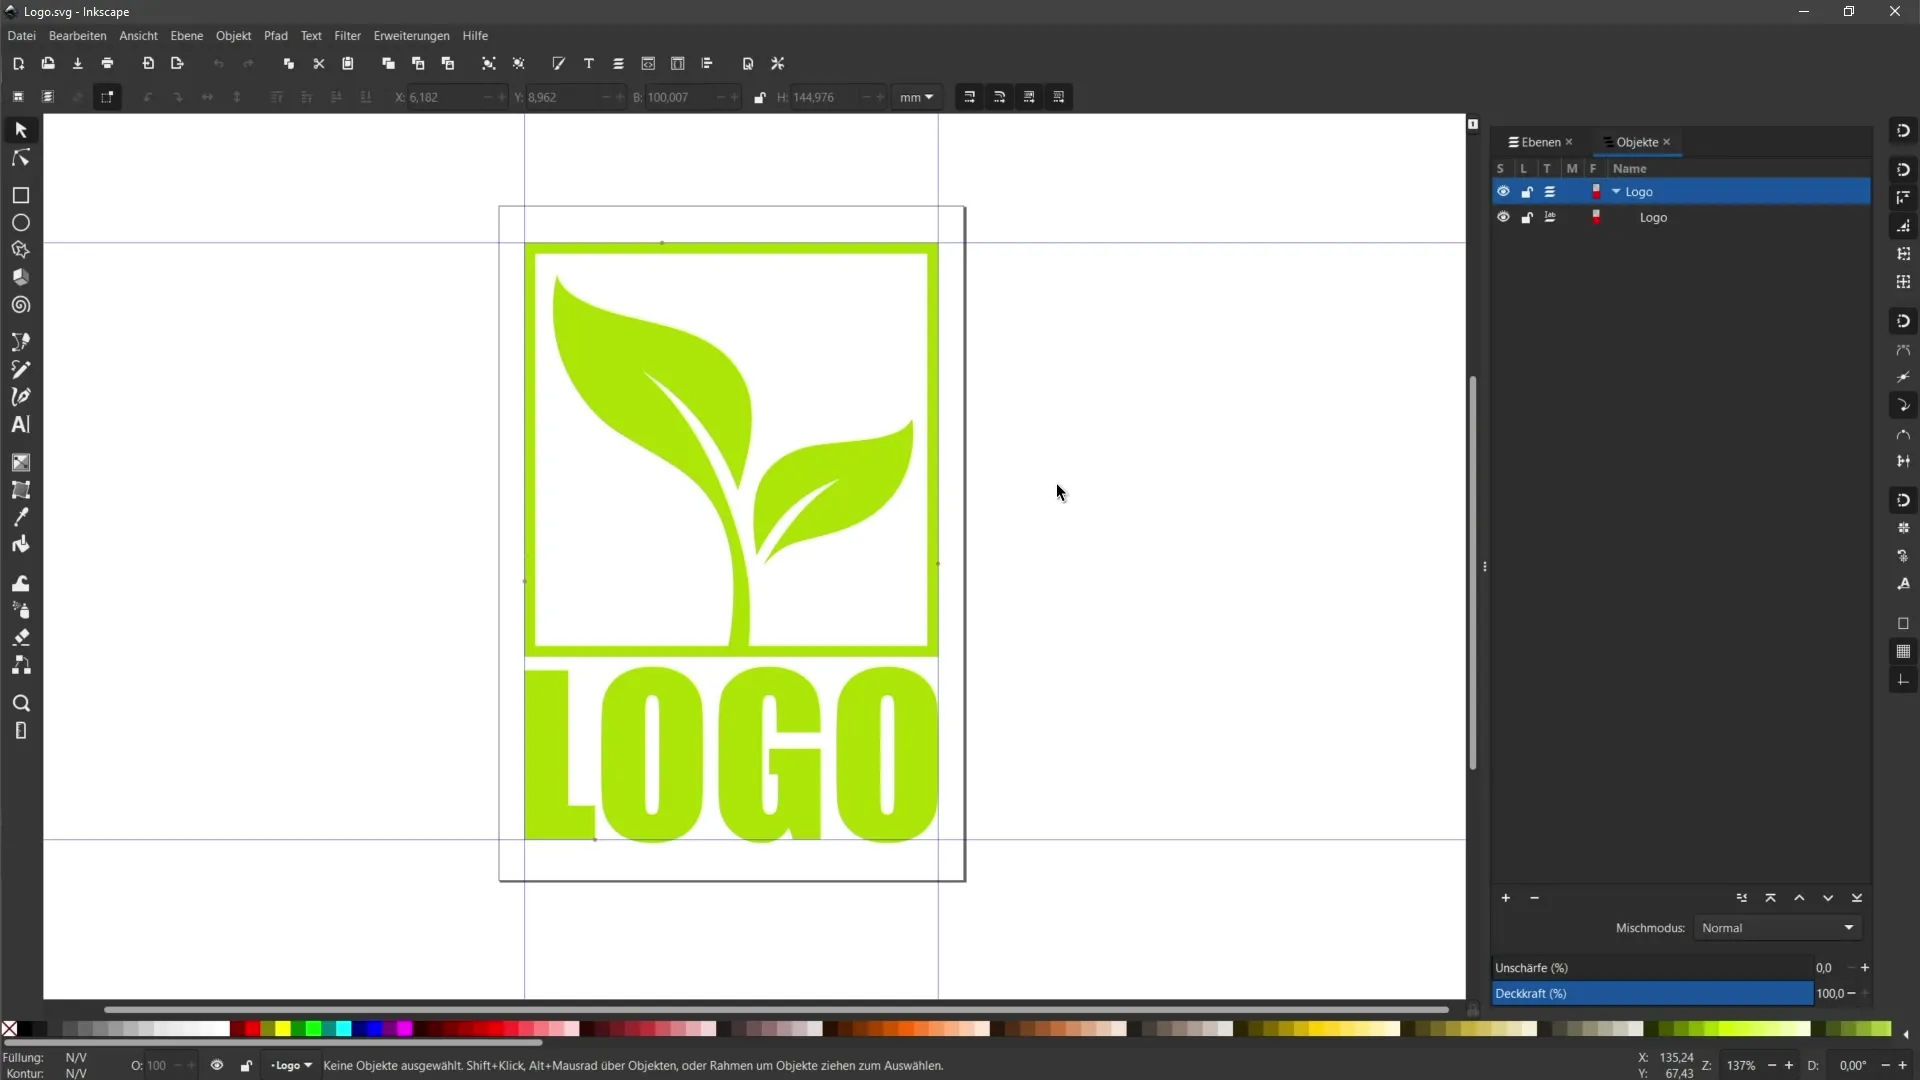
Now repeat the process by clicking on File again and then on Export, but this time choose optimized SVG.
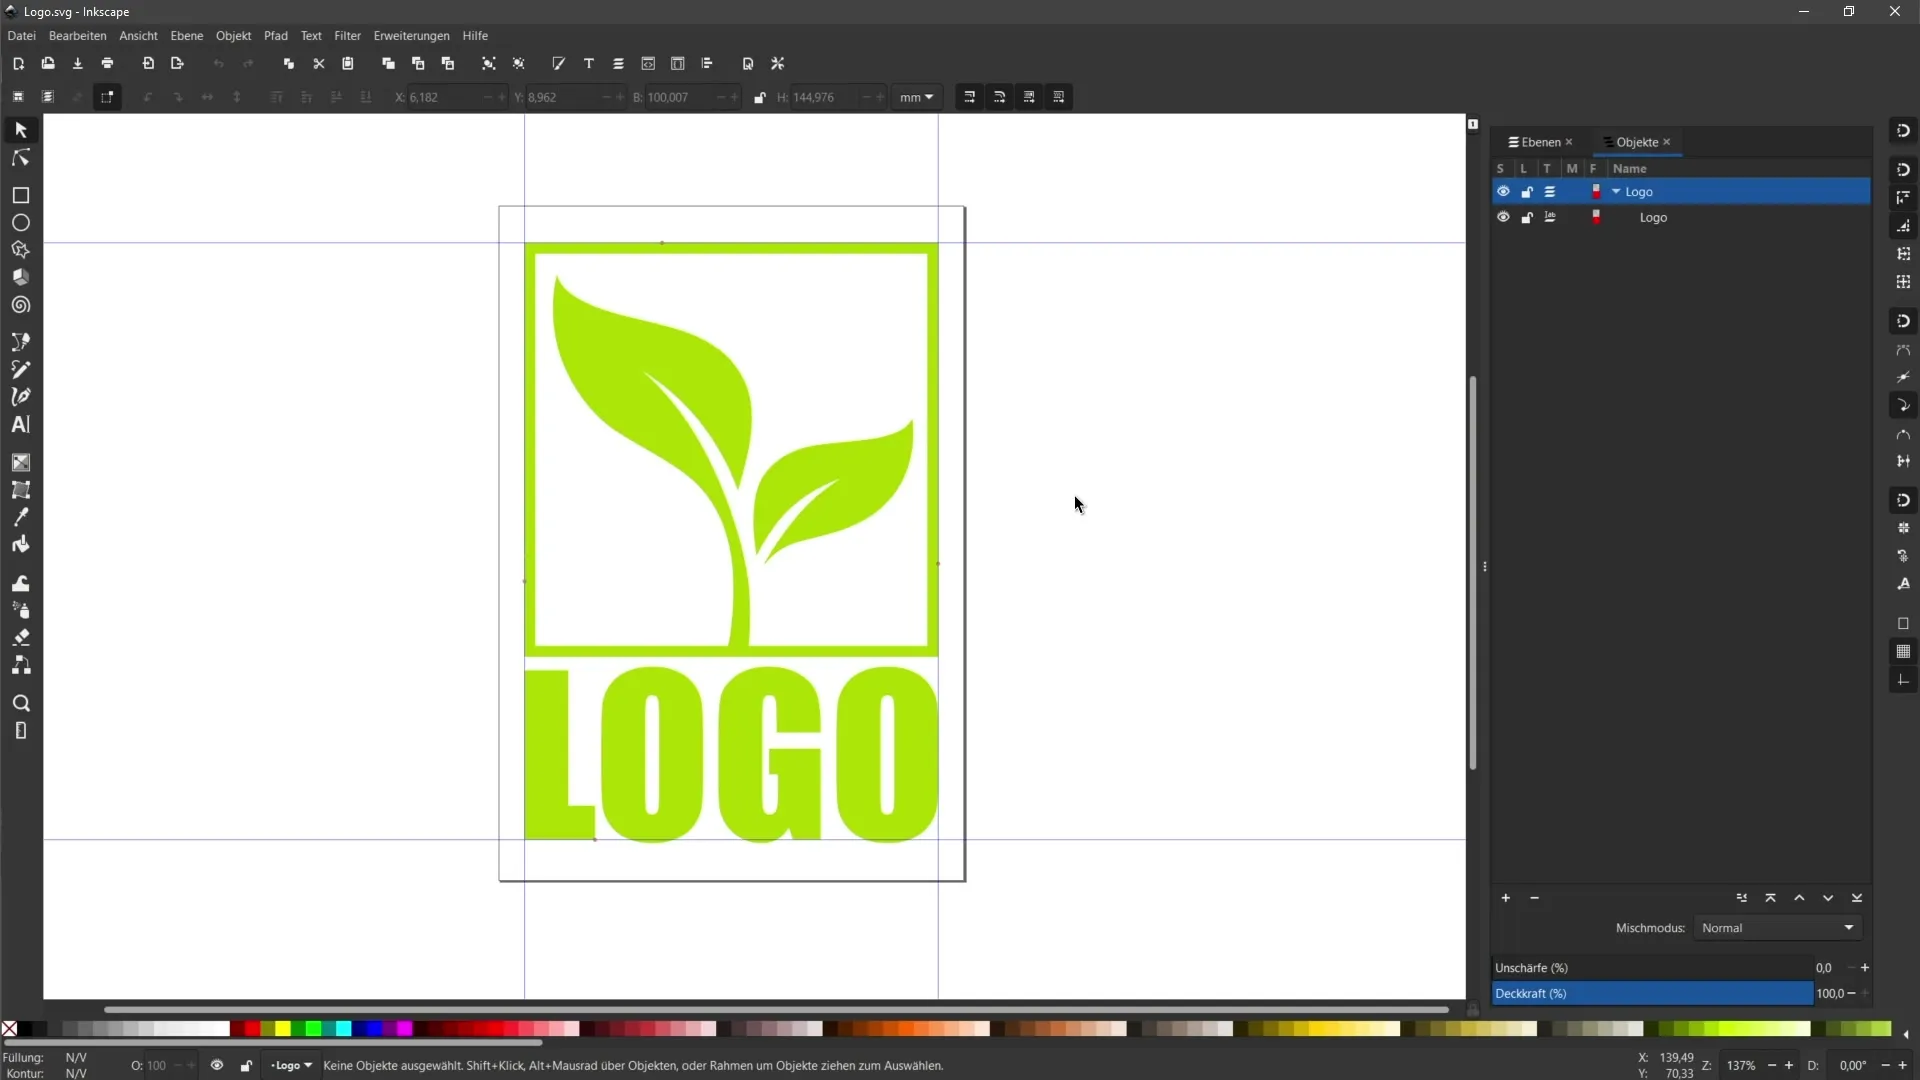
For example, name the file Logo_optimized and save it. You will be asked about some options. Here you can convert CSS attributes to XML attributes and make various optimization settings. I recommend choosing the options that seem best to you.
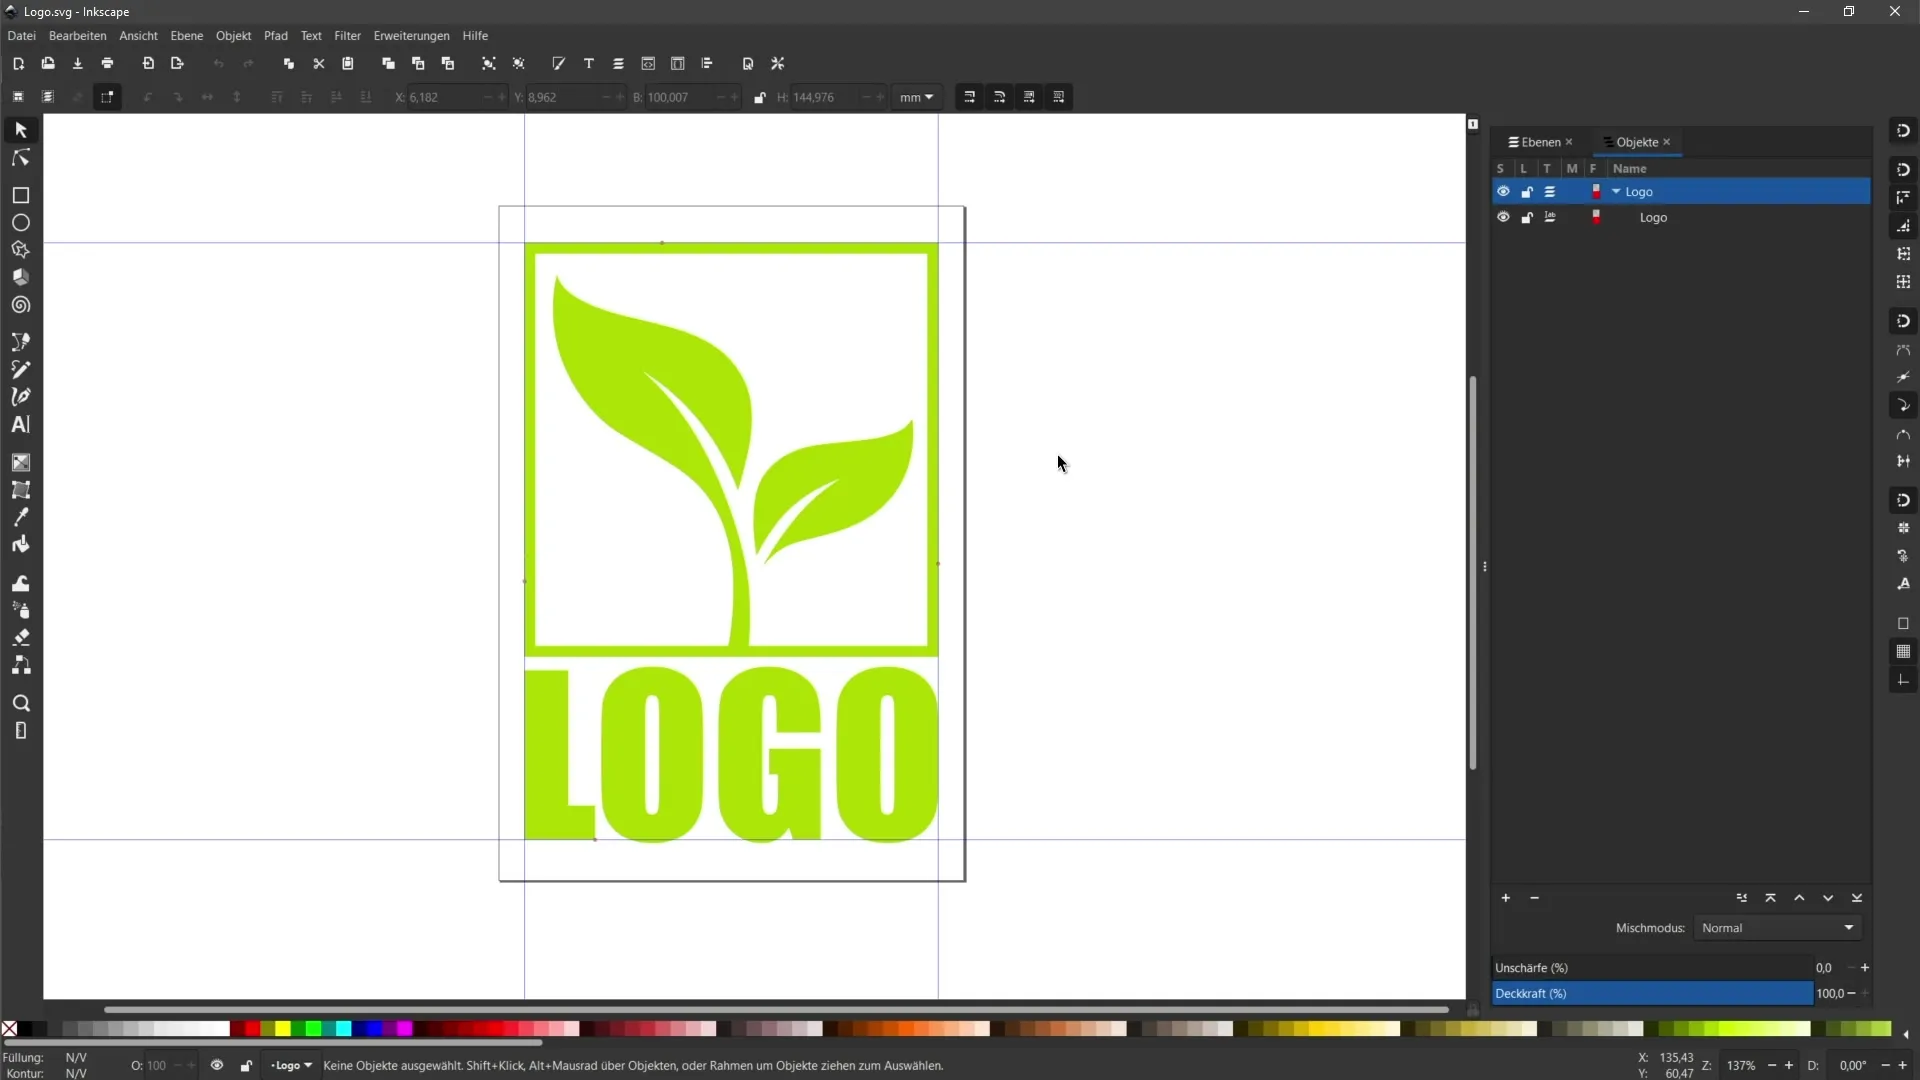
Confirm your selection and check the new file size. Often, the optimized version will only be 4 KB in size. This indicates that this method further compresses the file.
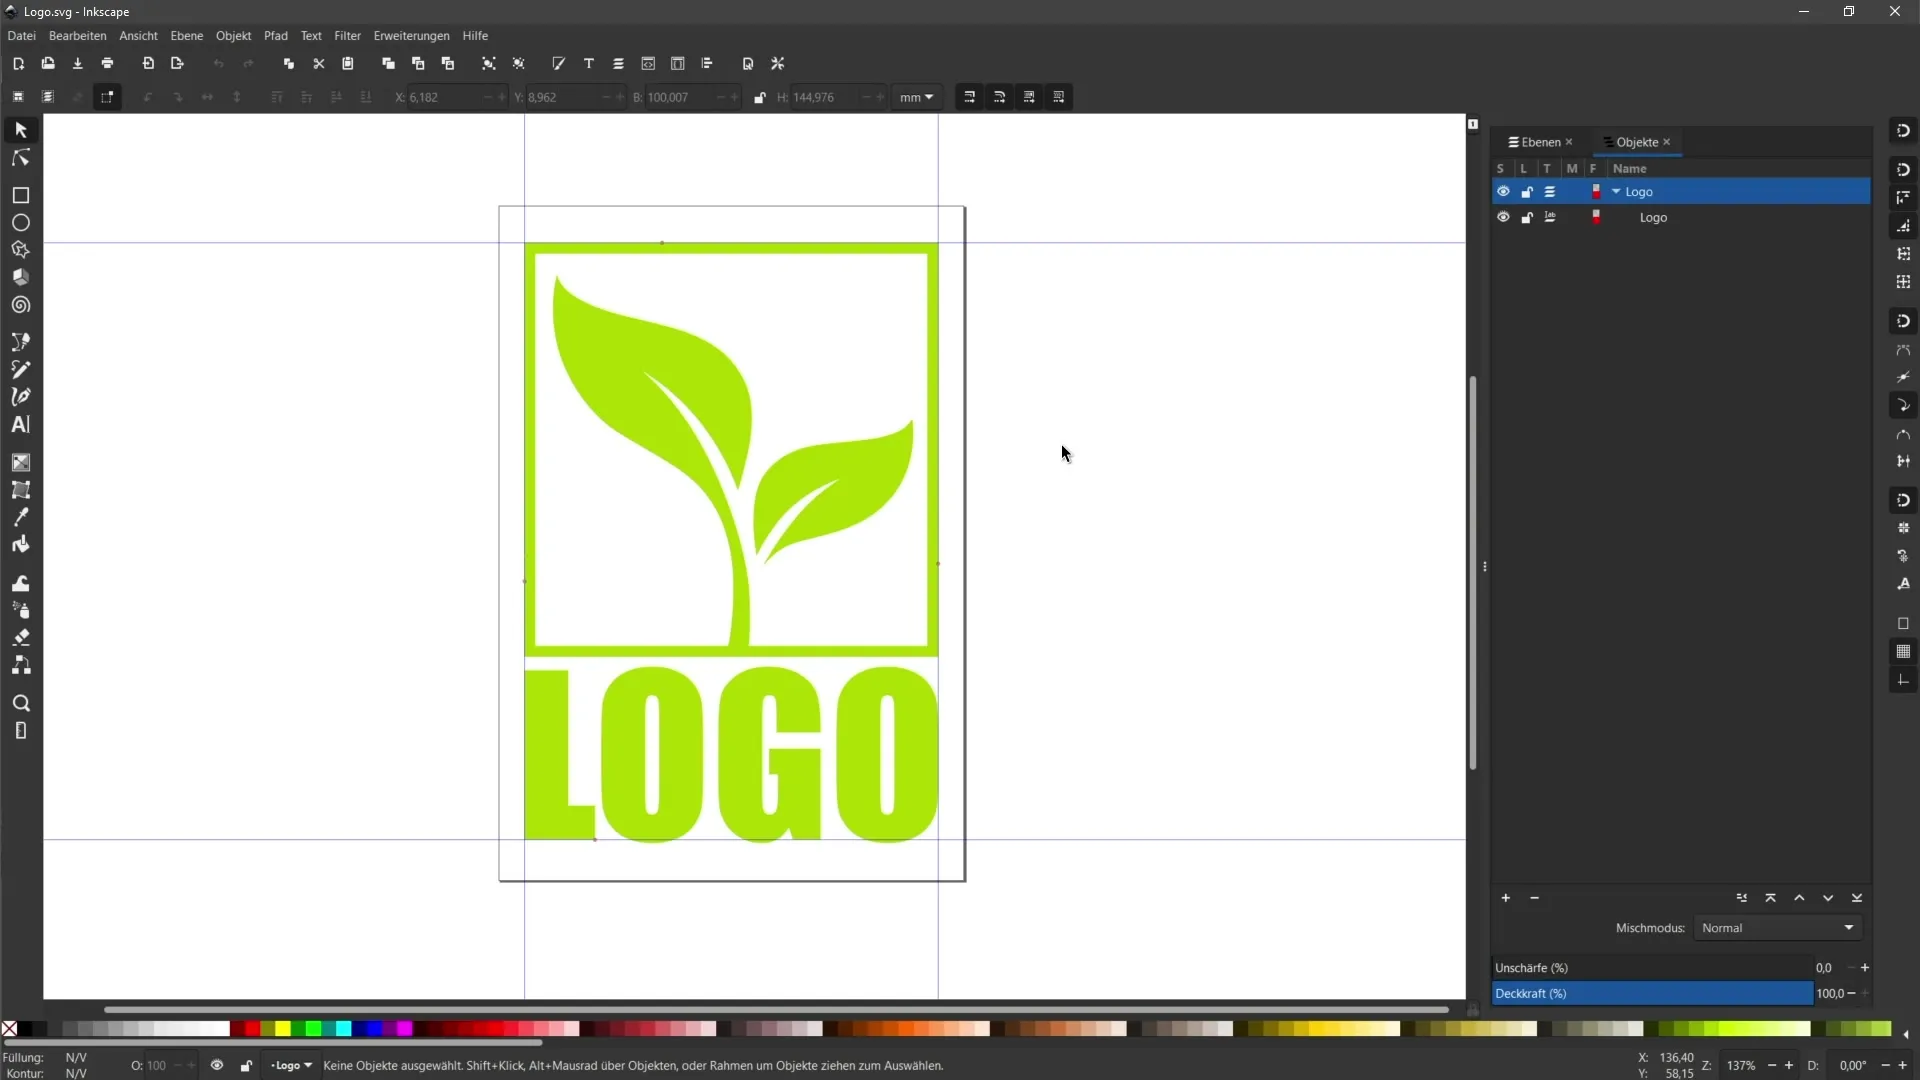
If you open the files in the browser now, you will notice that both the normal and the optimized SVG look identical. Enter the file URLs into your browser's address bar to check the result.
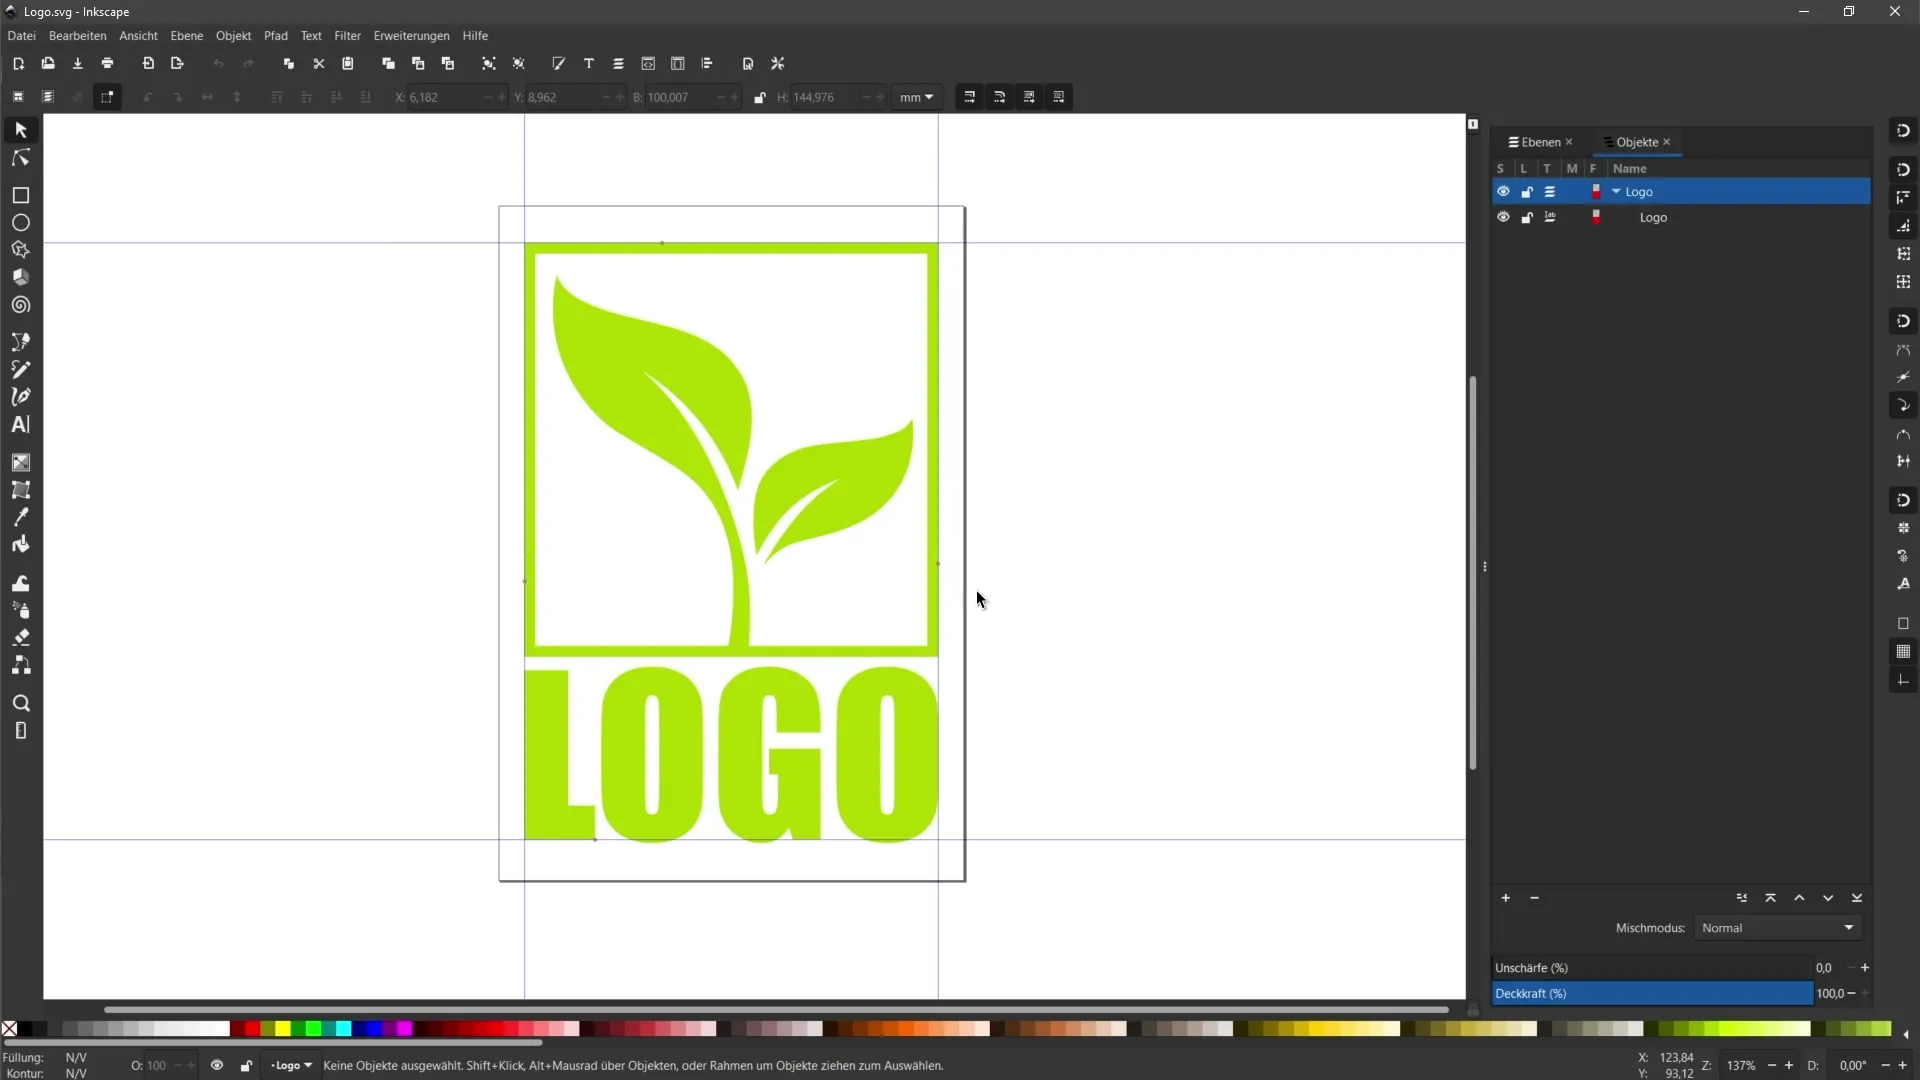
To test their scalability, you can adjust the browser's zoom level. For example, if you zoom in at 50% or zoom in to 300%, you will notice that the edges remain sharp regardless of the zoom level.
These properties of SVG files make them suitable for use on websites. You can be sure that your logo will appear clearly on all devices, no matter how large you display it.
By using the SVG format for your graphics, you not only reduce the file size but also ensure that the quality of your designs remains consistent at every resolution.
Summary
In this tutorial, you have learned how to save your vector graphics in SVG format. This allows you to efficiently use your designs for the web and offers the advantage of scalability and smaller file size.
Frequently Asked Questions
How do I save a vector graphic in Inkscape as SVG?Click on File, then on Save As, choose the SVG format, and enter a filename.
What is the difference between normal SVG and optimized SVG?Normal SVG contains more information about the layers, while optimized SVG is compressed and cleaned for web usage.
How do I test the scalability of my SVG file?Open the SVG file in the browser and adjust the zoom level to check the quality at different sizes.
