Glitter texts are a true eye-catcher that adds shine and glamour to your designs. Whether for greeting cards, posters, or social media graphics – with Photoshop, you can easily create this sparkling effect. In this tutorial, I'll show you how to step by step create an impressive glitter text design that stands out with shimmering highlights and a sparkling texture. Let your text shine and captivate your audience with this glamorous look!
1. Creating a Document with Text Path
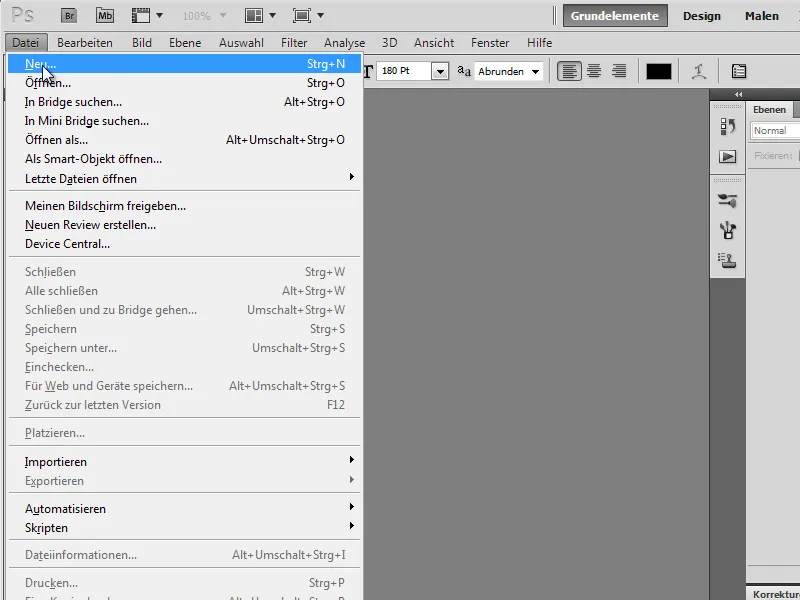
We create a new document and fill it with a black background color.
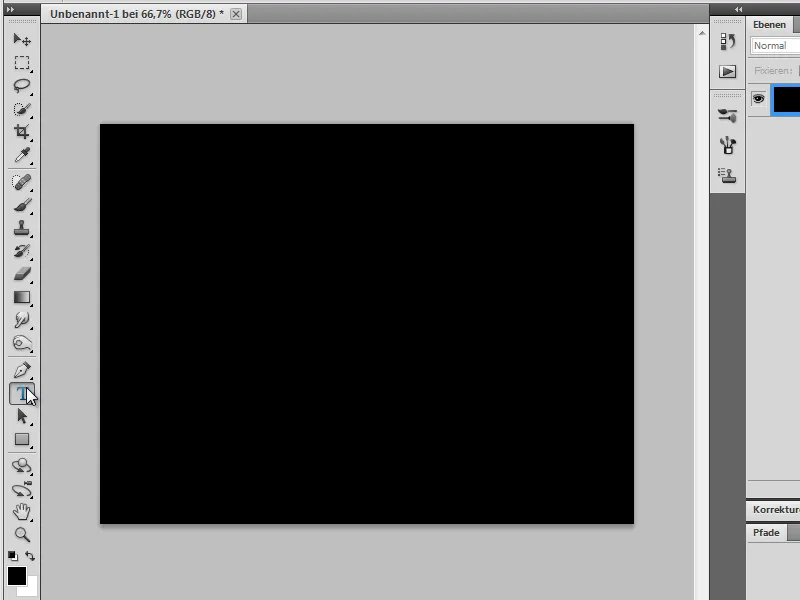
We choose any font, in our case the "Ar BERKLEY", which already has a somewhat thicker stroke weight. We set Anti-Alias to Round, to have a nice even edge. Then we write our text. The color doesn't matter, as long as it's not the same as the background color.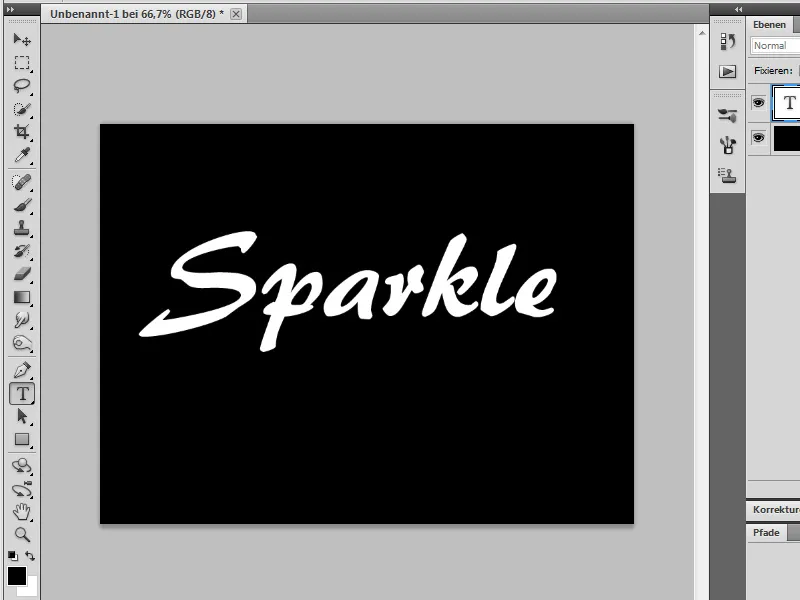
In the Layers panel, we Ctrl+Click on the layer thumbnail of the text layer to select the text.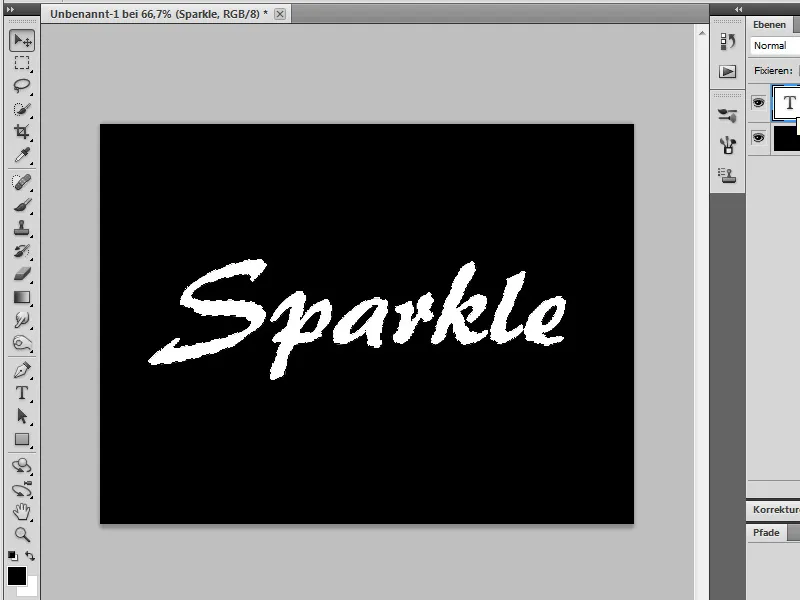
We go to the Paths panel and click on Create Work Path from Selection.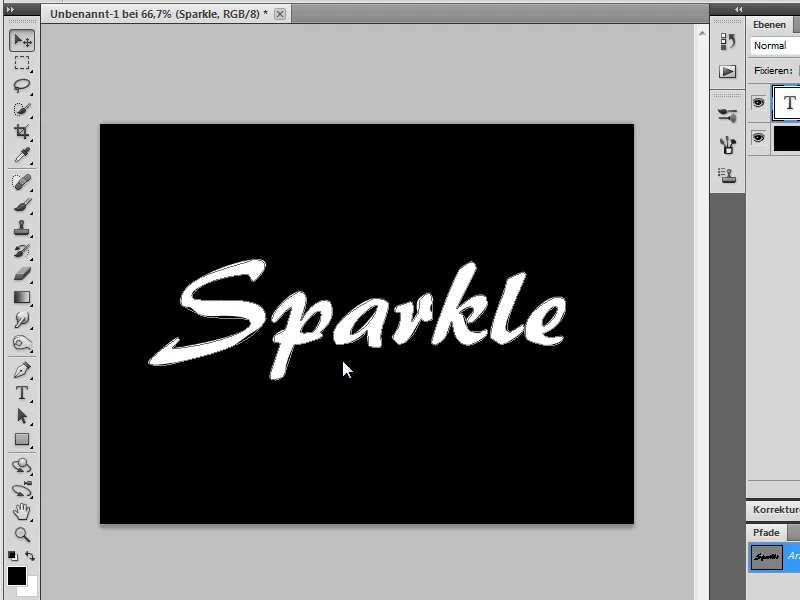
2. Creating Brushes for Sparkles
Now the text is a path, and it's now possible to fill it with a brush. But first, we need to make a few brush settings. Click on the brush icon and go to the Brush Settings. There, select a normal, small round brush (here Size 6 Px). And adjust the Spacing to 123%, so that only individual points are visible.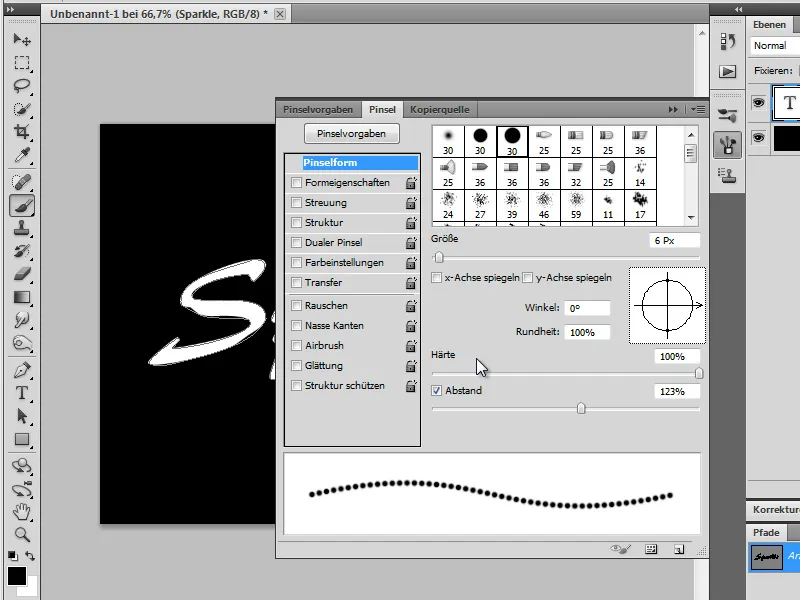
Now, check the Shape Dynamics box and increase the Size Jitter to the highest level to have a large variety of brush tip sizes. Then, set the Roundness Jitter to the highest level so that not all tips are round, but some are also displayed slightly tilted and narrow (see image).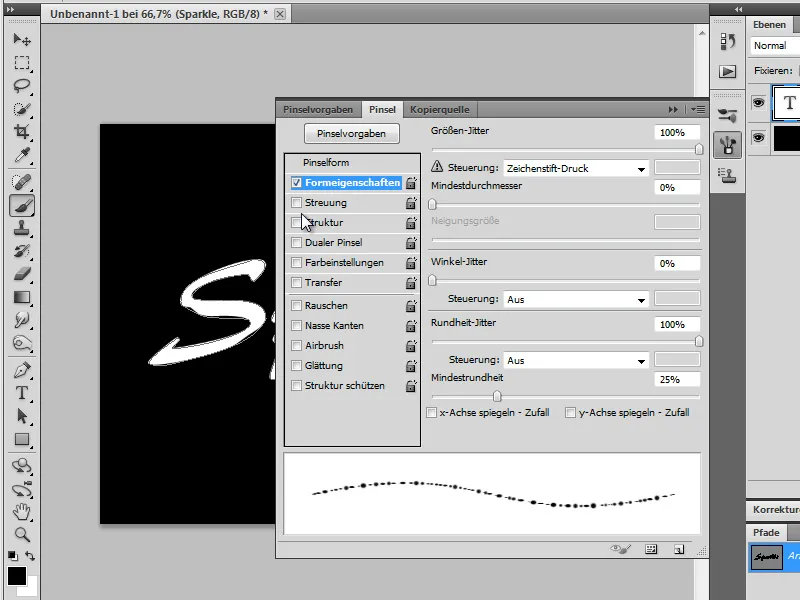
Check Scattering and increase the same slider by a quarter to distribute the brush points well (see image).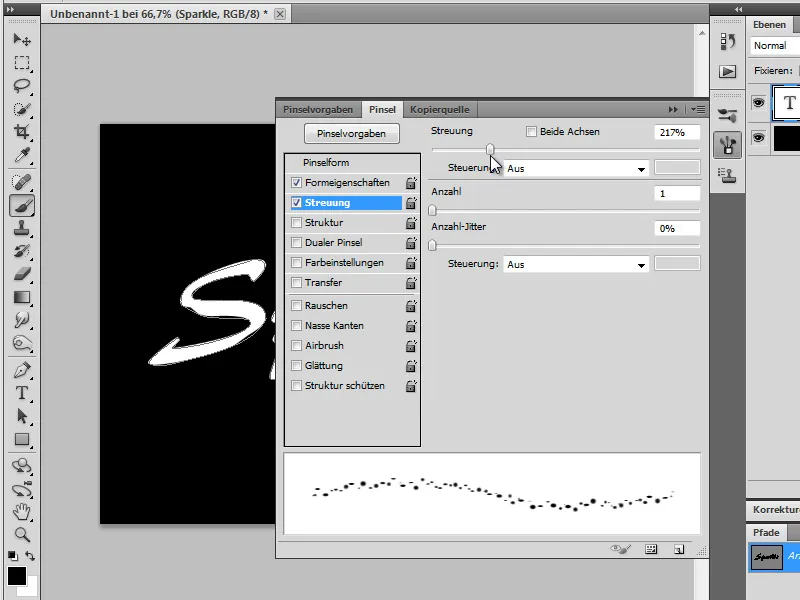
3. Filling the Path with the Brush
Now we can fill the path with the brush. We go to the Layers panel and hide the text layer for now. Create a new layer and set White as our foreground color.
In the Paths panel, right-click on the work path and select Fill Path. Make sure that Simulate Pressure is not checked.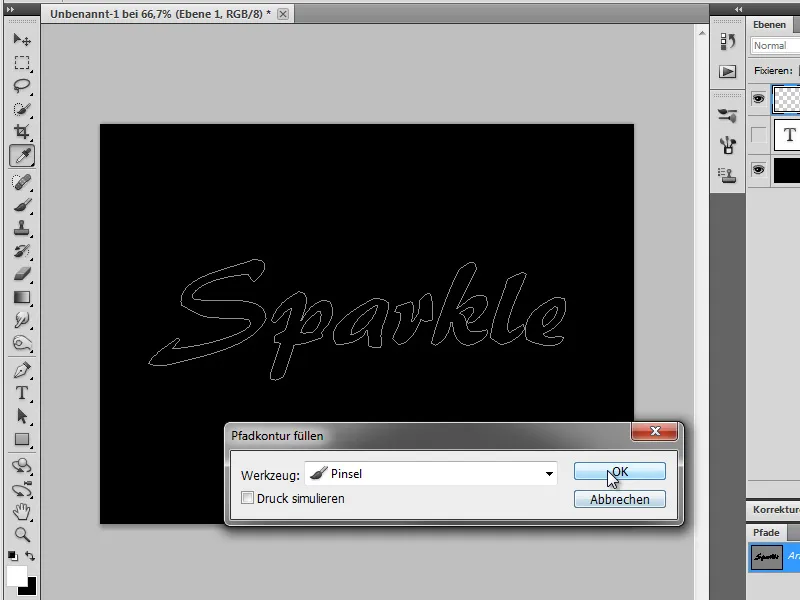

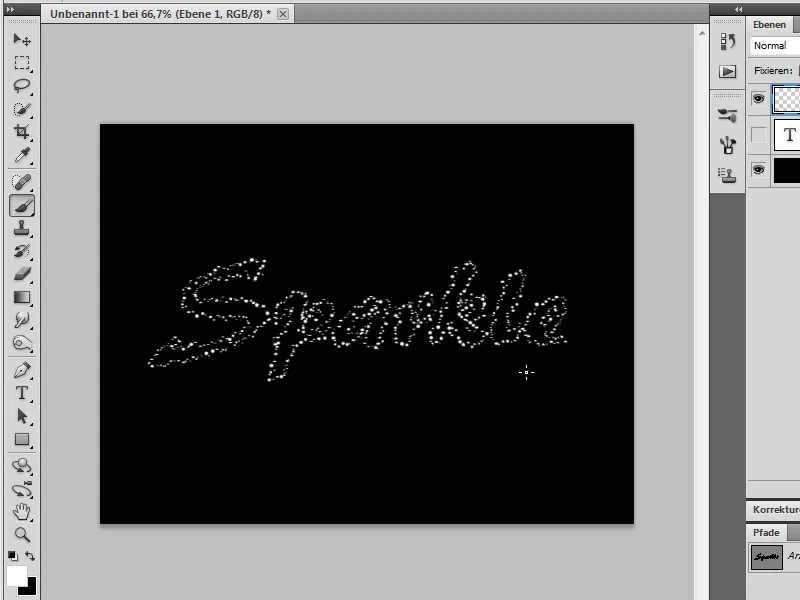
Our brush stroke is still a bit hard. So, let's go back to the Brush Settings and change the following options:
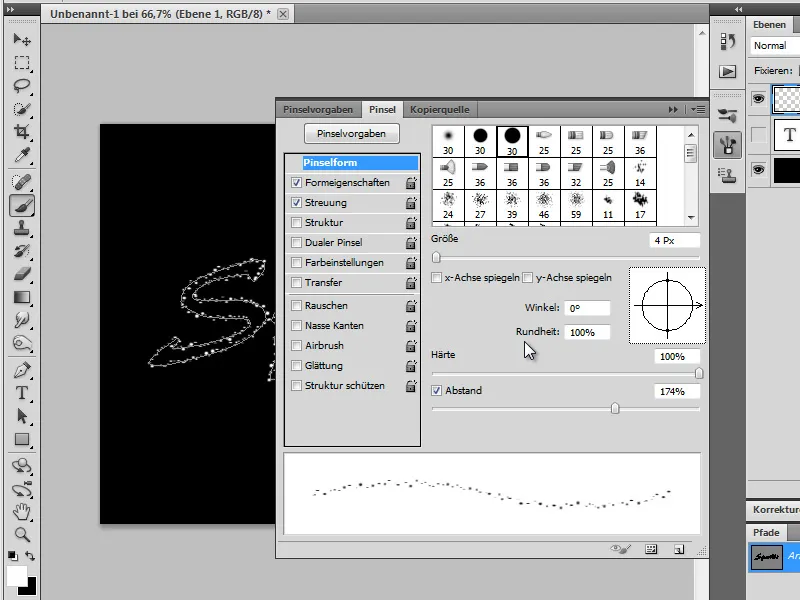
Brush Shape
| Size: | 4 Px |
| Spacing: | 174% |
Scattering
| Scattering: | 618% |
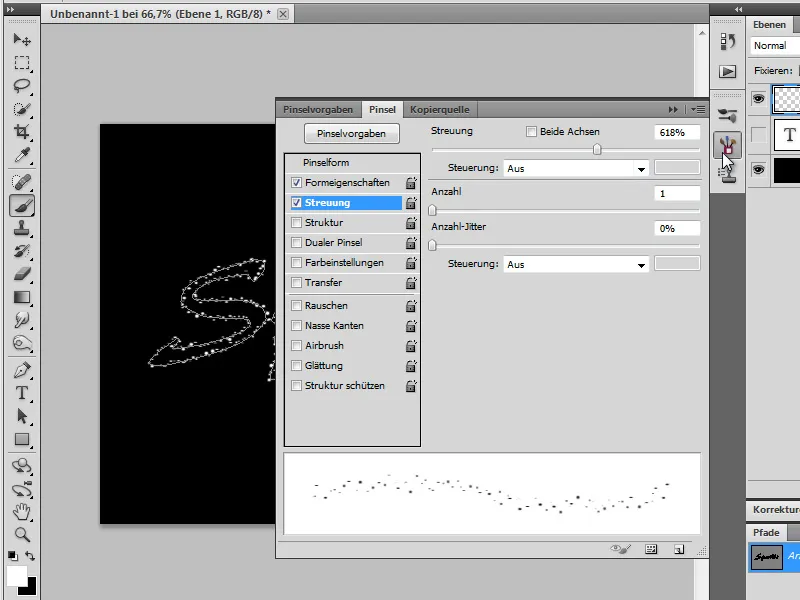
We fill the path again, but this time with Simulate Pressure.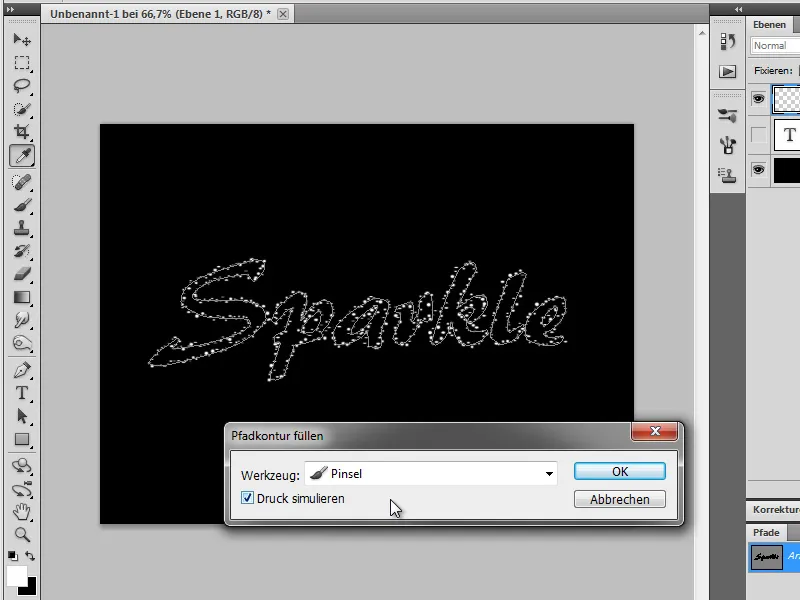
In the Paths panel, click on an empty area to deactivate the path.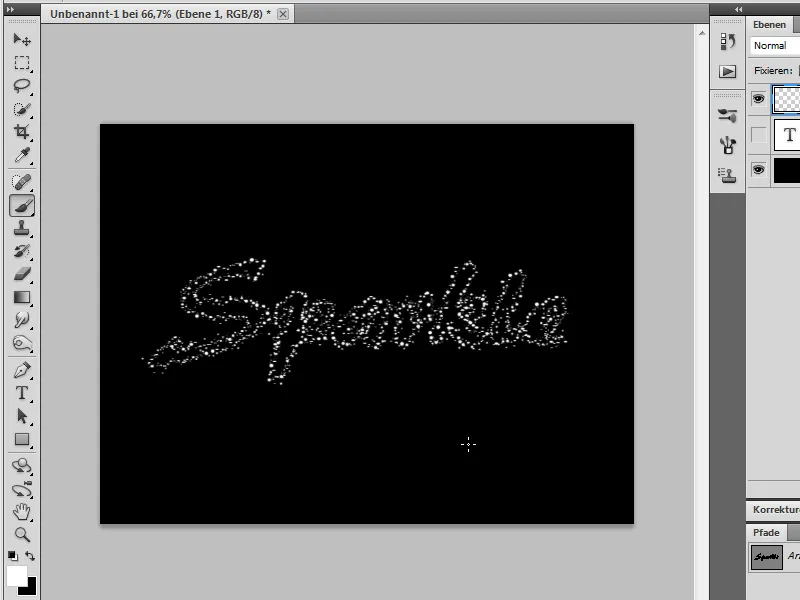
4. Making the Glitter Shine
In the Layers panel, double-click on our layer thumbnail with the glitter to open the Layer Effects. Go to Drop Shadow and enter the following values:
| Fill method: | Lighten |
| Color: | #0049b6 |
| Opacity: | 22% |
| Distance: | 0 Px |
| Overflow: | 38 Px |
| Size: | 40 Px |
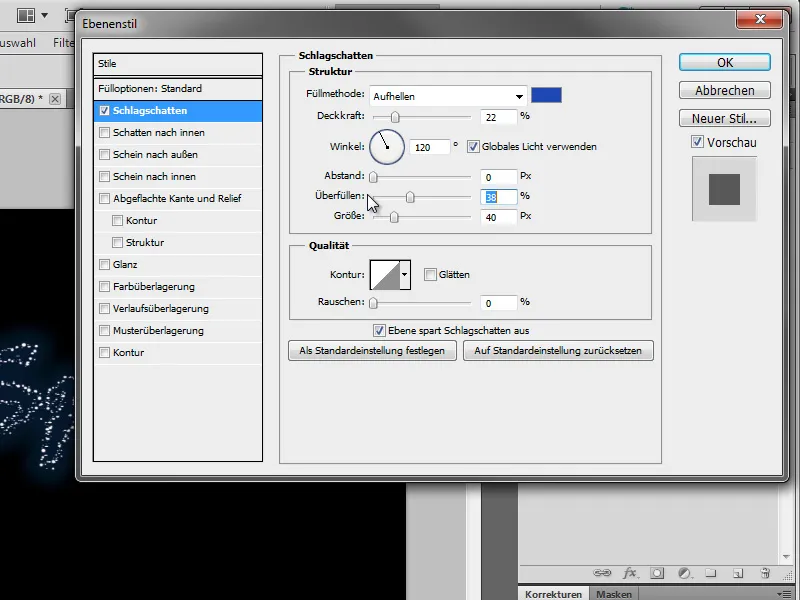
Then on External glow with the following values:
| Fill method: | Lighten |
| Color: | #00f6ff |
| Opacity: | 100% |
| Size: | 3 Px |
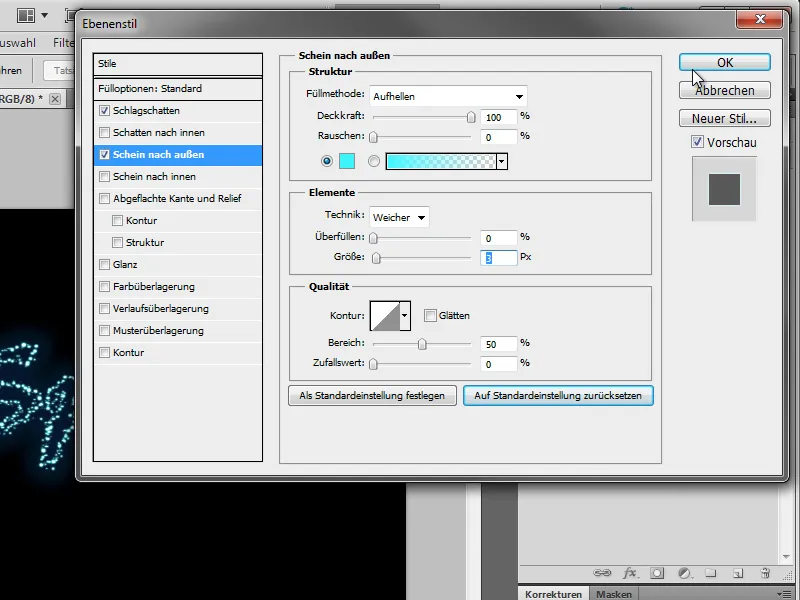
5. The Background
To work more easily, we hide the text layer.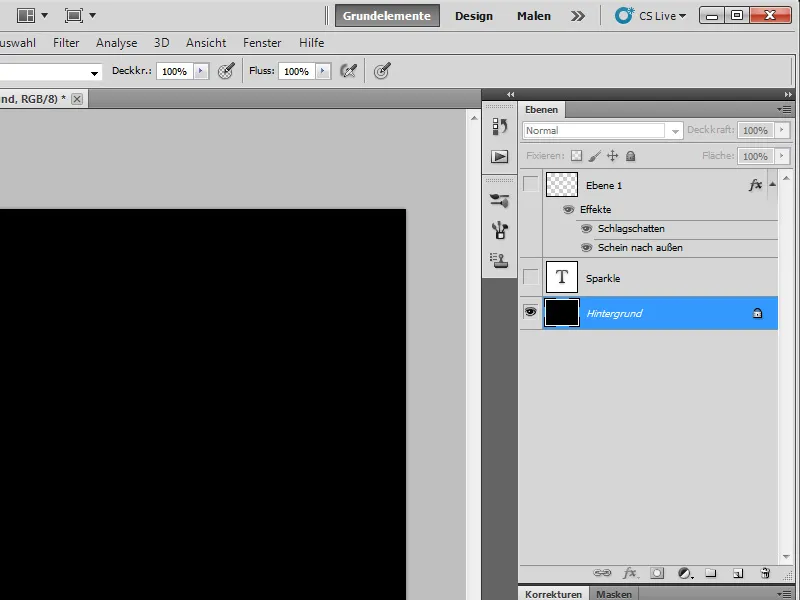
We go to the background layer and set the Foreground color to #9badd5 and the Background color to #05163b. Using the Gradient tool, we go to the Foreground to Background color field…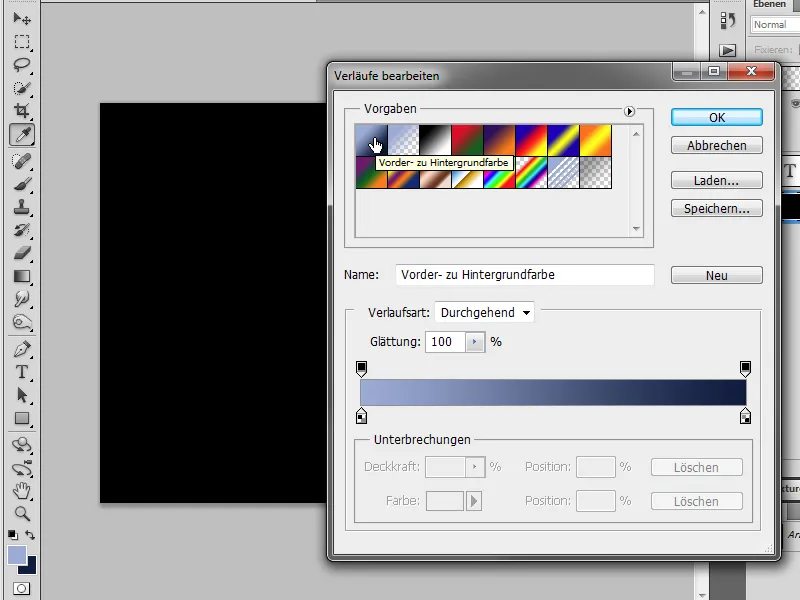
… Type: Reflected Gradient. ..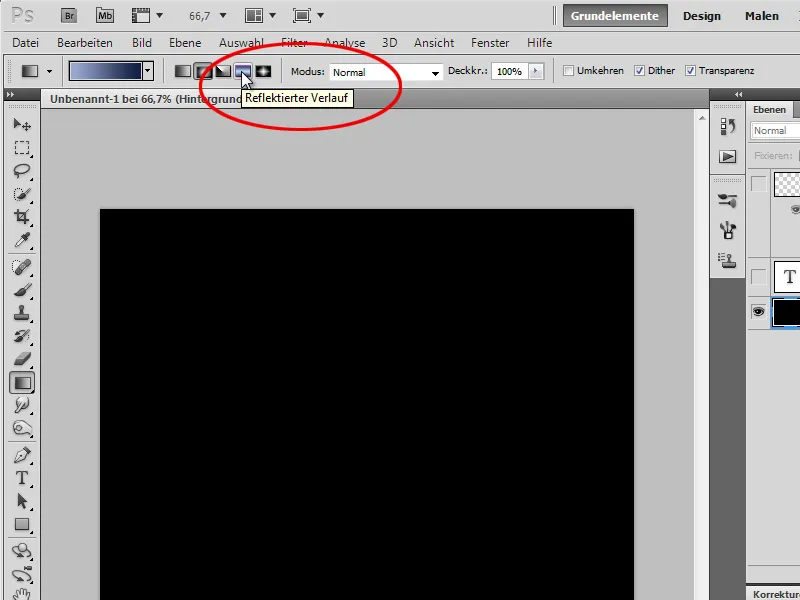
… and fill the area as shown.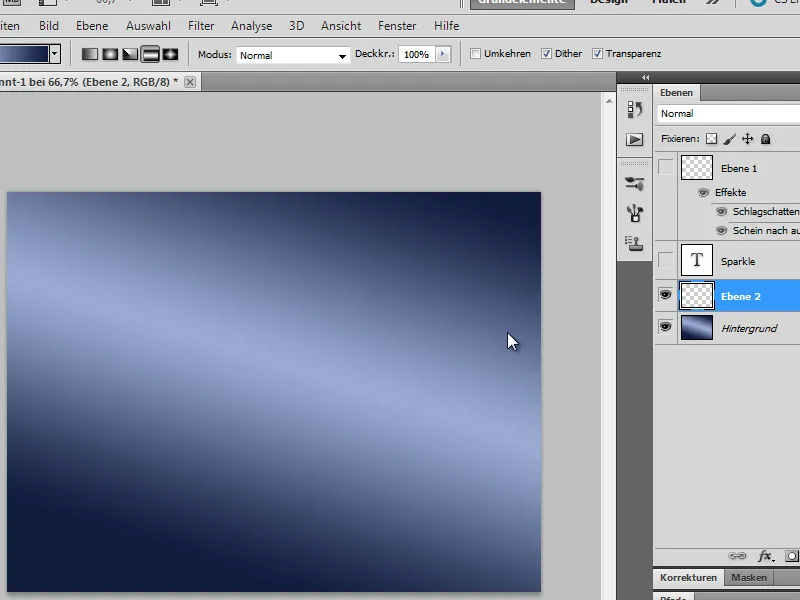
We create a new layer, change the gradient type to Radial Gradient …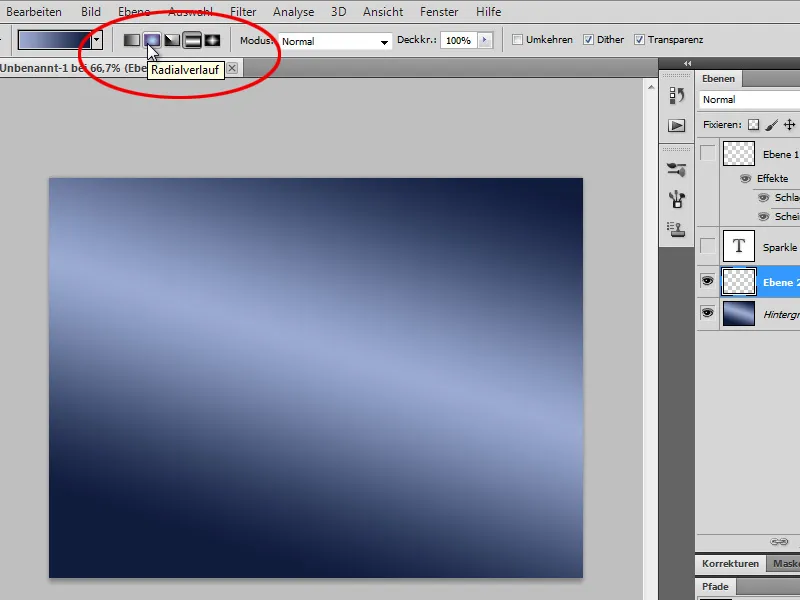
… and fill it on the left as shown. We set the layer's fill method to Overlay …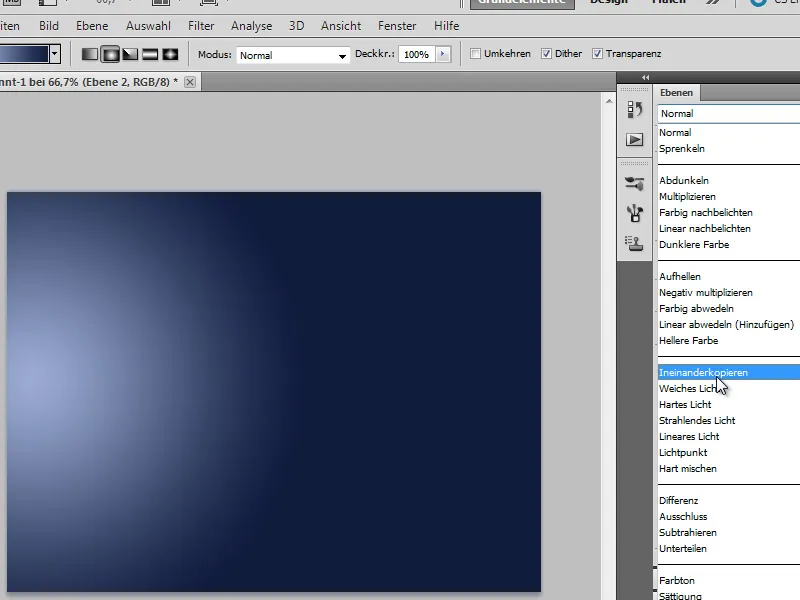
… and activate the text layer, so our glitter text comes back into view.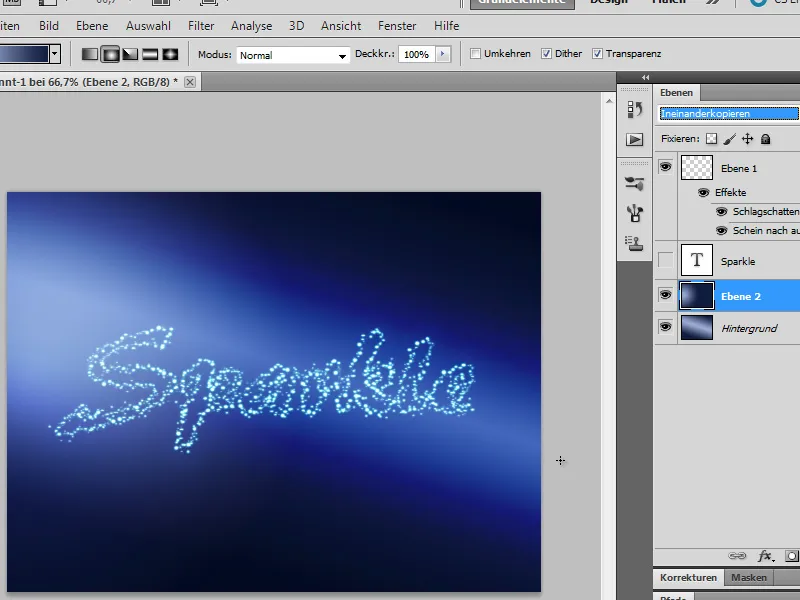
6. The Final Touch
Now we want to add an additional glint to make the text shine even more. Our text layer must be active for this. We create a new layer and fill it with black. The quickest way to do this is to press Shift+Backspace simultaneously to bring up the Fill Layer dialog. There we can specify under the Use option that Photoshop should fill the layer with Black.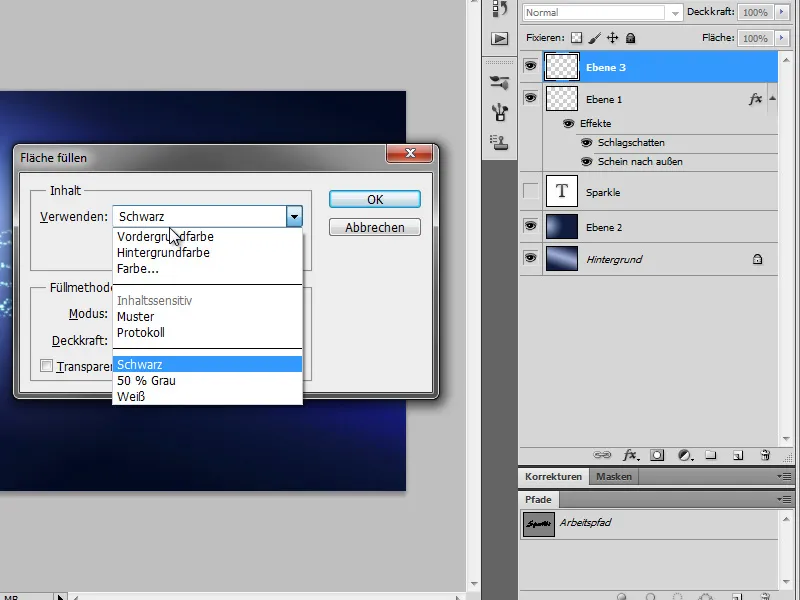
Then we go to Filter>Render>Light Flares …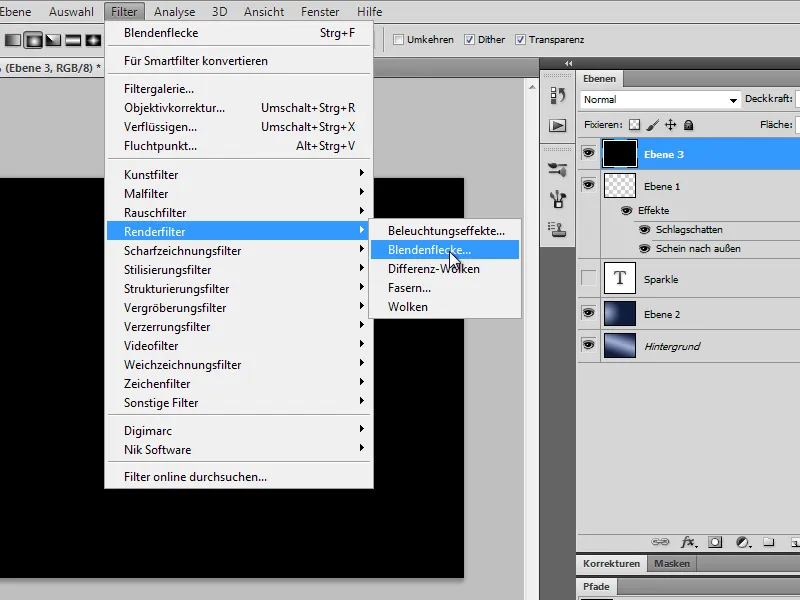
… and move the spot to where the first letter of our text approximately stands. We set the Lens type to 105mm.
We change the fill method to Soft Light, so that the black background disappears and only our light flare shines through.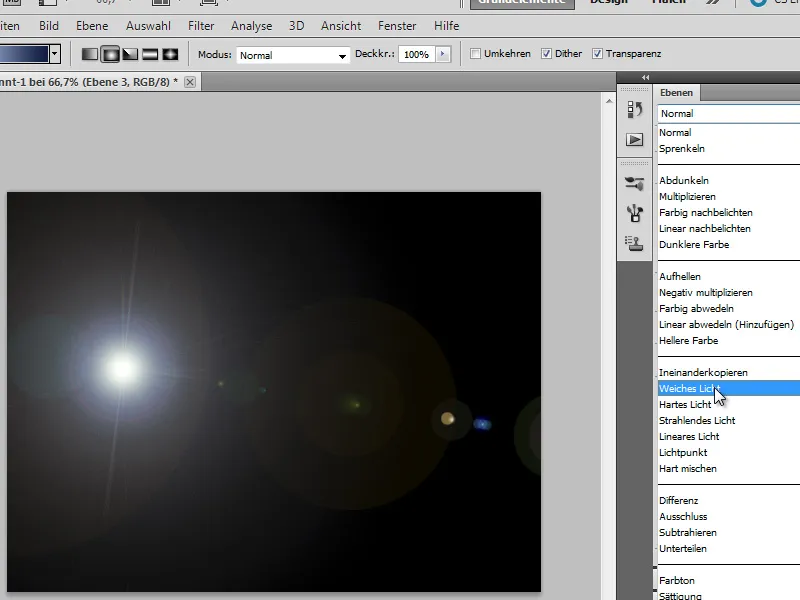
We duplicate the text layer with our glitter sparkle …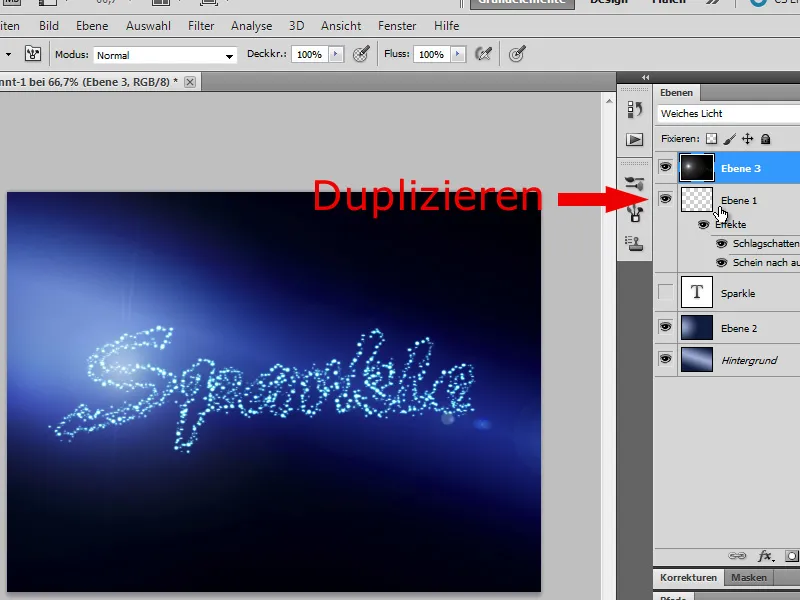
… and place it over the light flare layer, so our glitter text stands out more dominantly.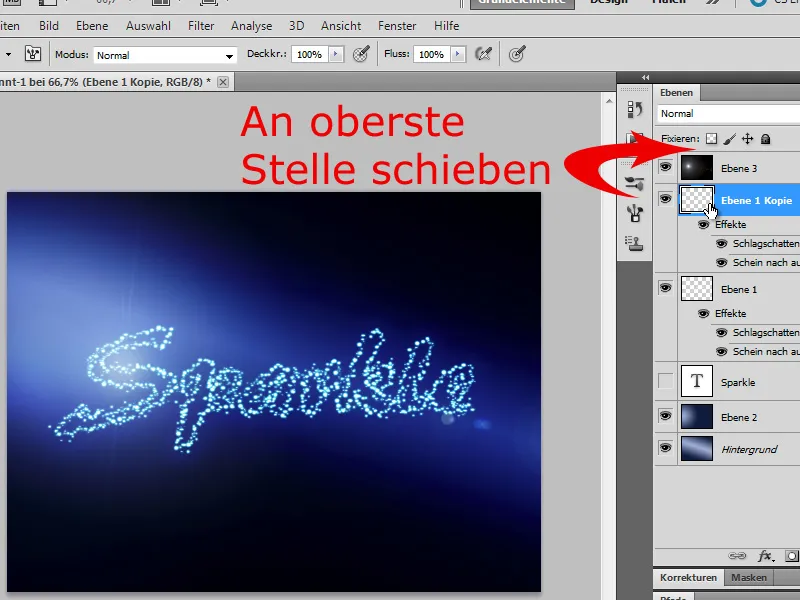
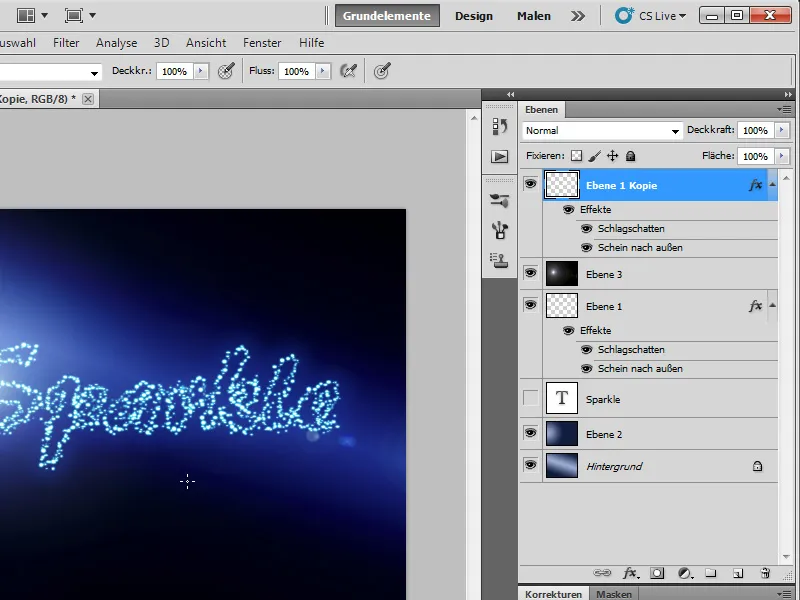
Now this makes our text much more prominent. And our beautiful glitter effect is complete.
This can be especially useful for party flyers. I hope you liked it, and I appreciate every comment.:)


