Displaying a shadow is not a big problem as long as the ground is nice and level. It's a bit different if we don't have a flat floor, but if the shadow is also partially visible on the wall of the house, on a kerb, on a car, etc., and I'd like to show you what you can tend to do there or what you can do in principle.
To do this, we'll get the scene, i.e. the place where I want to install my object. And the best way to do that is with a material.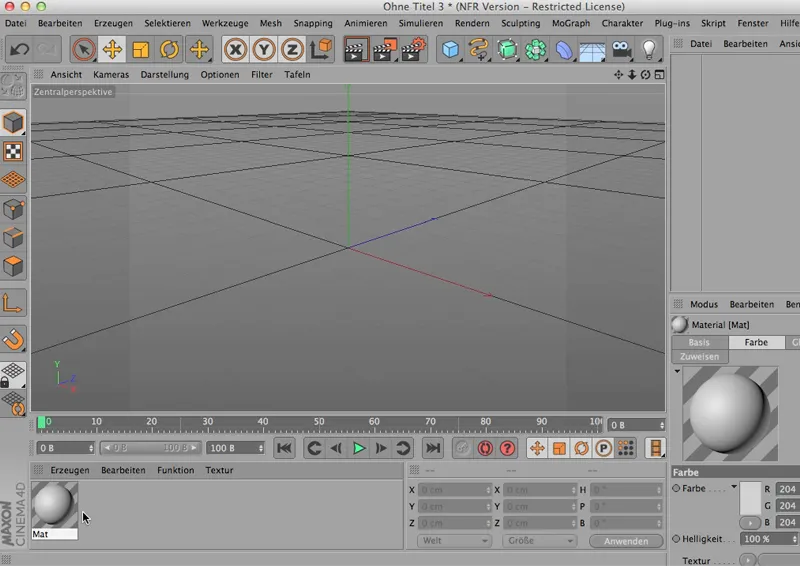
That's where I'll get the image we need: the corner. I put it on there and that's my material.
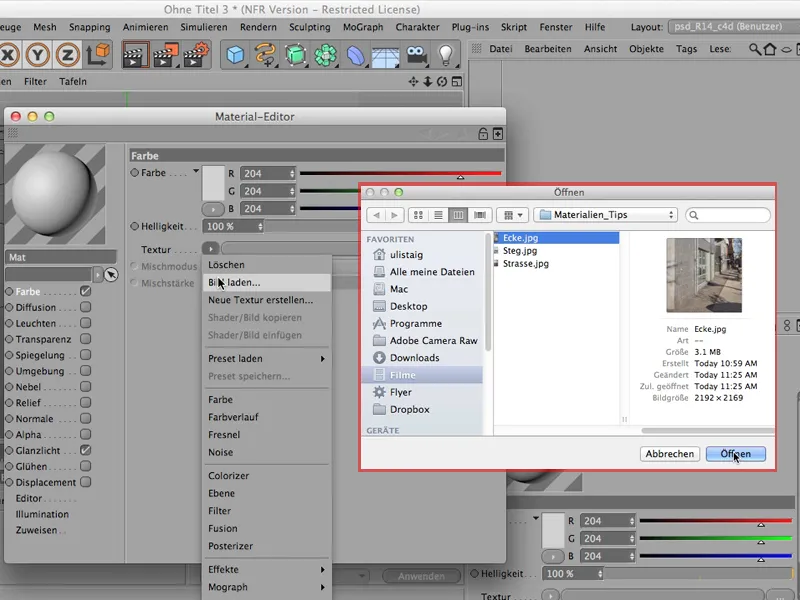
Of course, I don't need a highlight and I'll put the whole thing on a background object,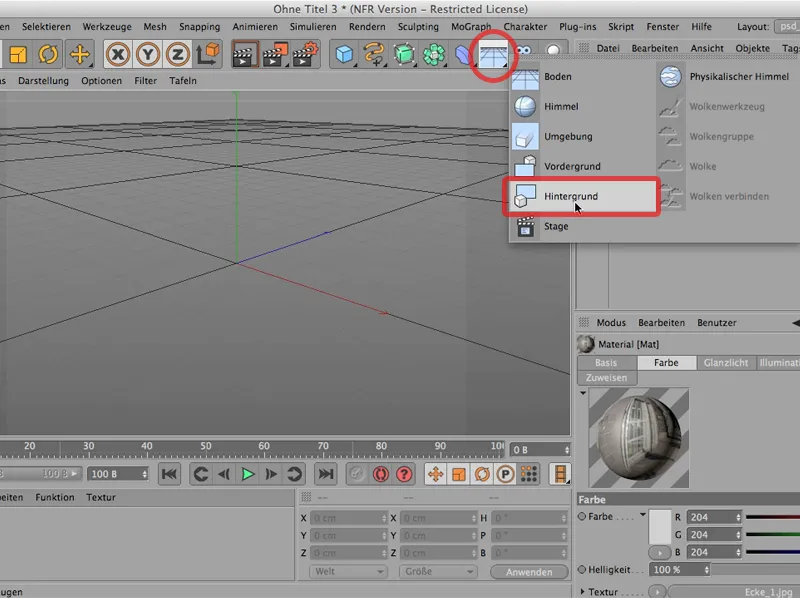
... so that my scene is also visible.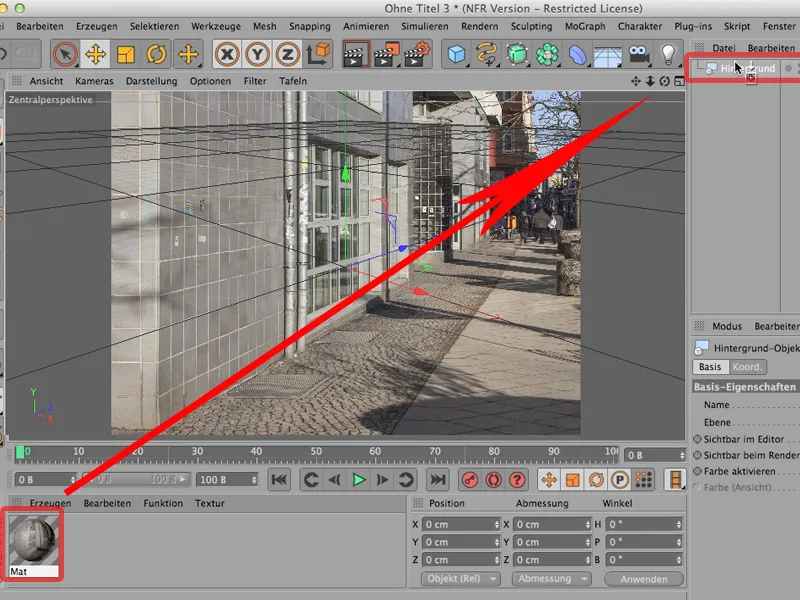
Now, my scene is square; to ensure that it is rendered here without distortion, I also have to set it in the render presets. I'll go to 1000 x 1000, then you can see something.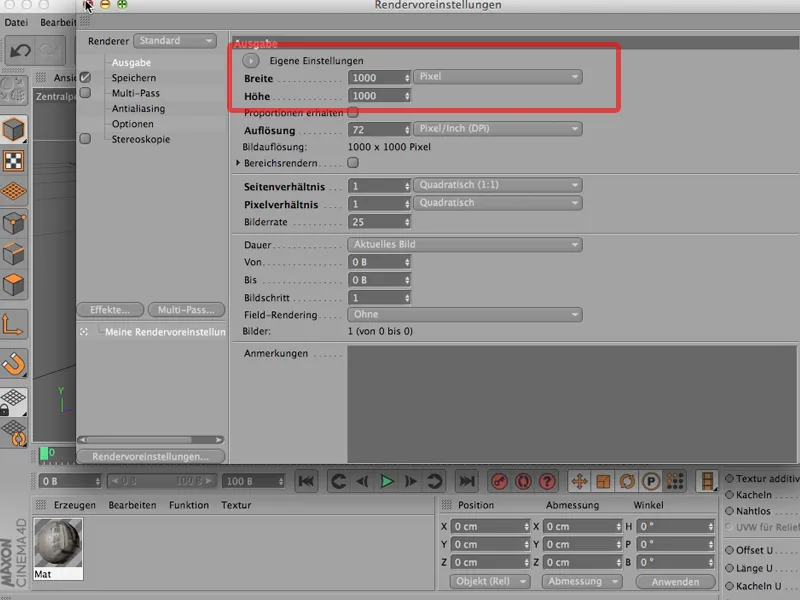
So you can see my scene undistorted. Very nice, that's a start.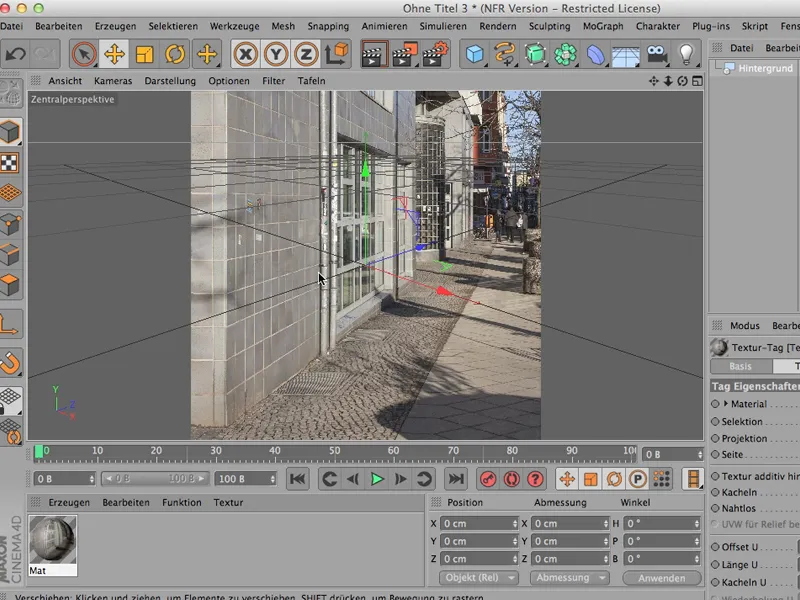
And now I'd like to include a little man here. Something like this figure,...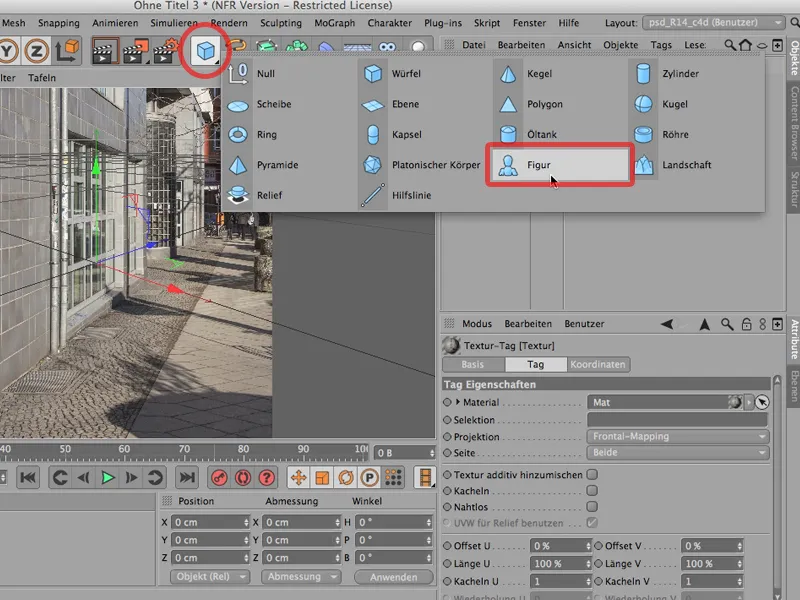
... and you'd first have to put it in roughly the right place in terms of perspective, so that the horizon is roughly on the horizon. Because, as we can see in the shot at the back, you can see this quite well by extending the vanishing lines of these tiles a little further back. I'll take the male a little further forward. A little further out perhaps. We can leave it like that for now.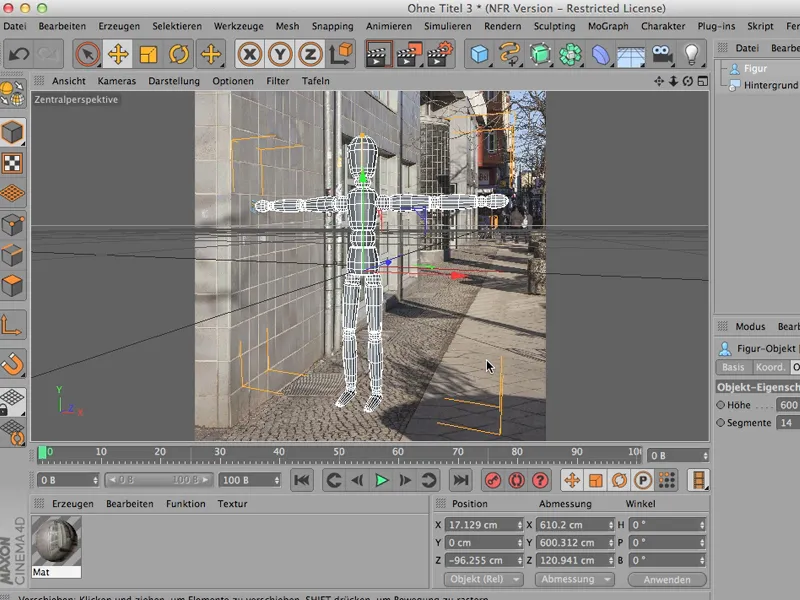
My aim is not to recreate the scene perfectly, but to show you how to do it with a shadow.
Of course, we first need a floor or an object that can catch the shadow. In this case, that will probably be a plane; ...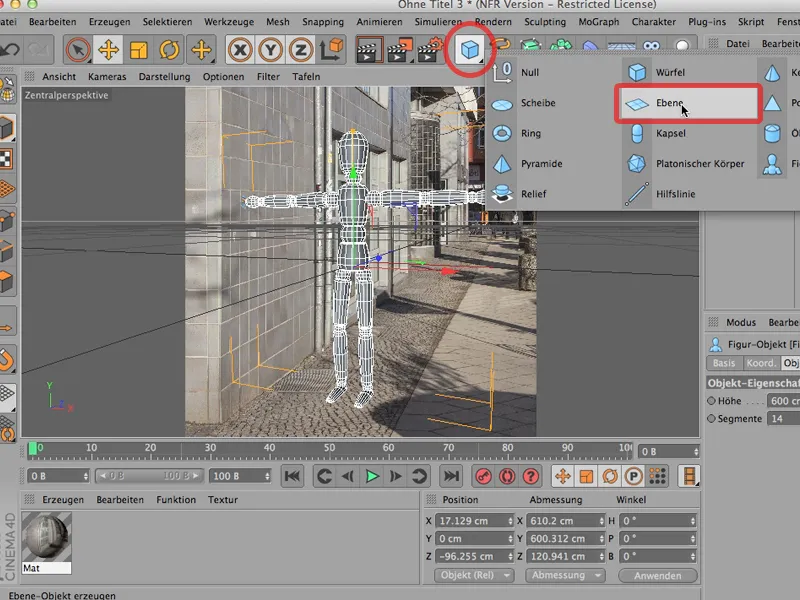
... which here has the segments 20x20 - we don't need that. That will work in any case. And because I know that my little man here is 600 cm high, I put the plane, my floor so to speak, on Y-300 so that the thing can be seen exactly on the floor.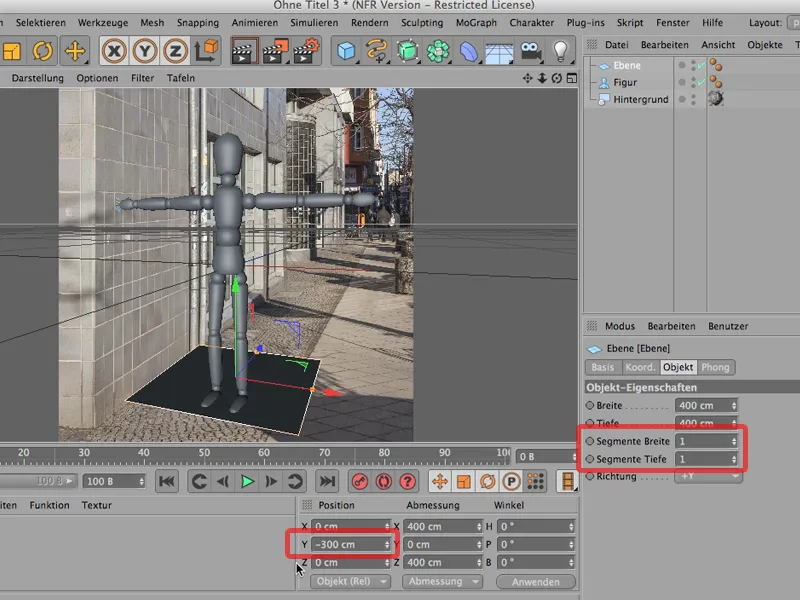
It can stay there for the time being; I change the width and depth a little so that I can get exactly to this corner here - that's important and I'm almost there ... so it's quite good. It wouldn't hurt to do a bit more in the depth.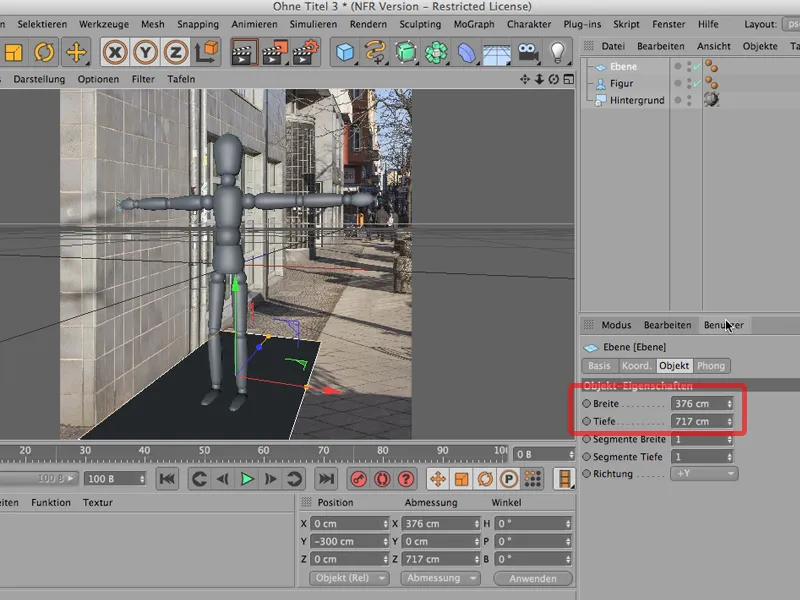
Ok - that's one object; now I need another one, because the shadow has to be visible on the wall too, of course. So I'll copy this layer and paste it again.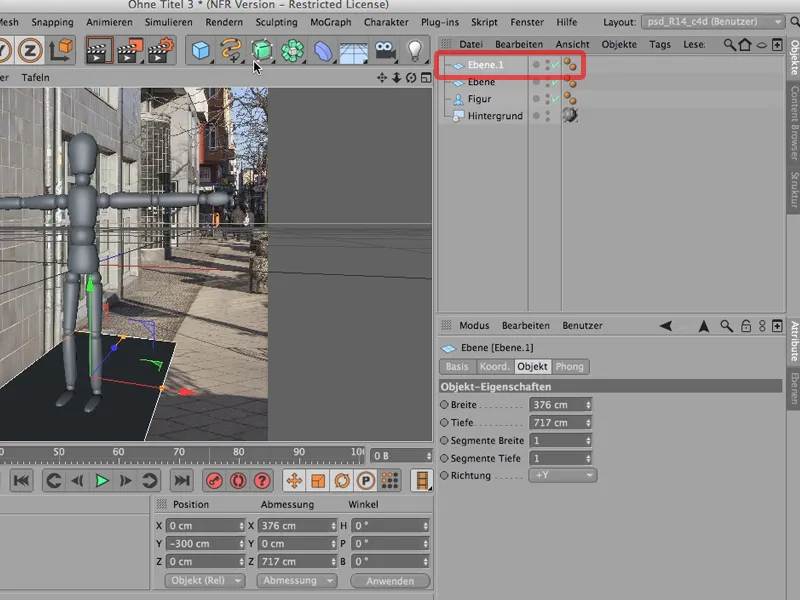
And now we can simply rotate it, preferably just around the Z axis with the Shift key pressed until we've reached 90 degrees.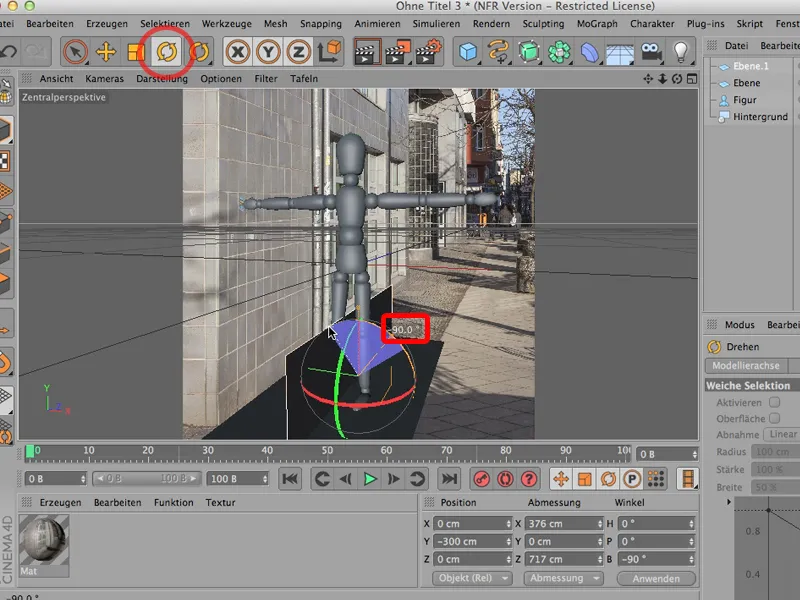
Now I can simply drag the thing to where I want it to be - exactly on the edge, a little further up and a little deeper, so I would like to change the width so that it also reaches down. Upwards is not an issue at all - it can go that far.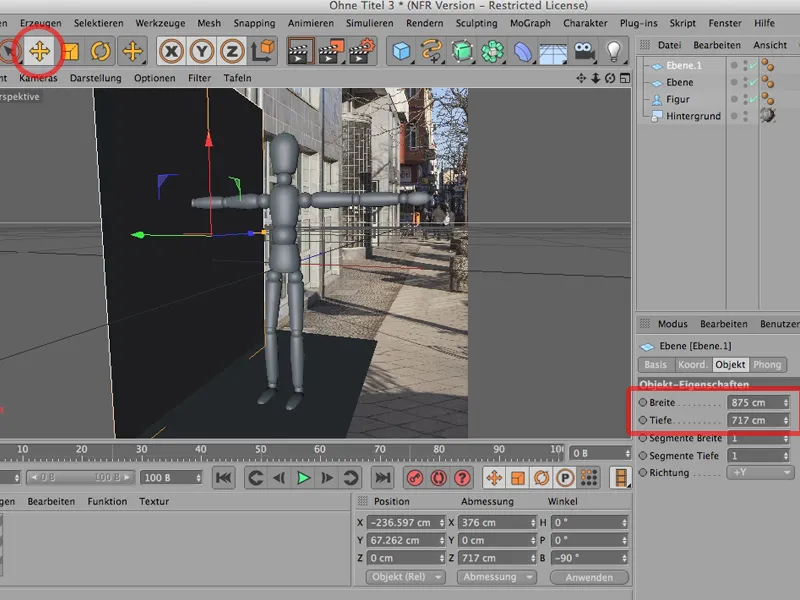
Now we can also see that the hand extends straight into the wall. So I take my little figurine and pull it a little further over so that it's practically resting on it and doesn't have to reach into the wall with its hand.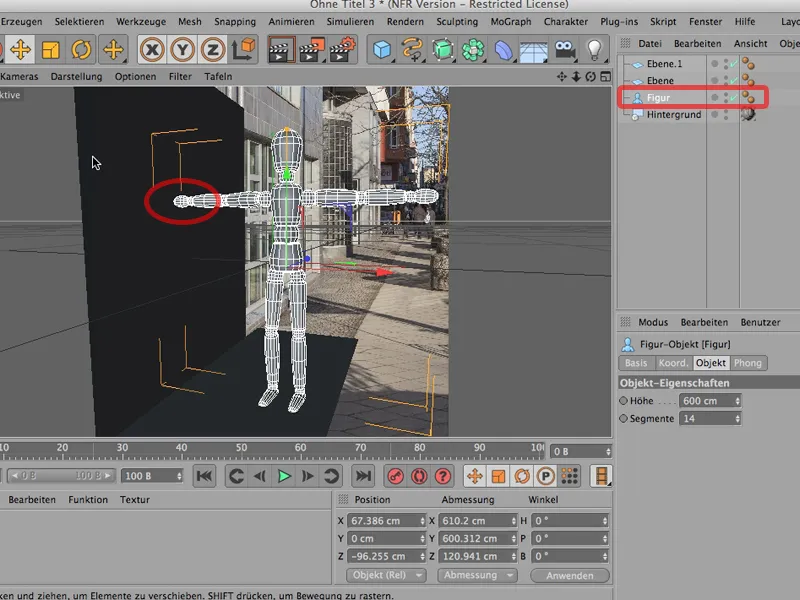
Of course, it would be nice if you couldn't see all that now, and if I click these layers away again, then unfortunately I don't have a surface that can catch the shadow, so I do the following: I mark both or select both, put them in a null object,...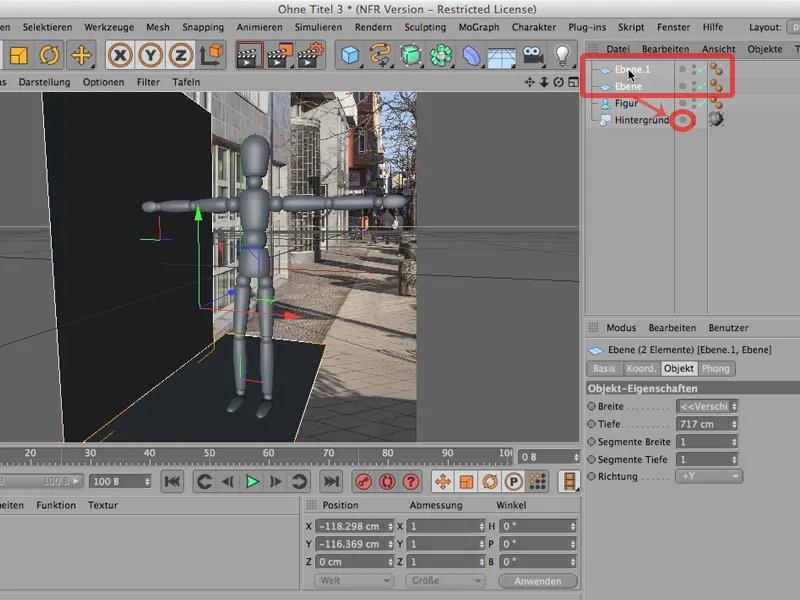
... take my material and place it here, ...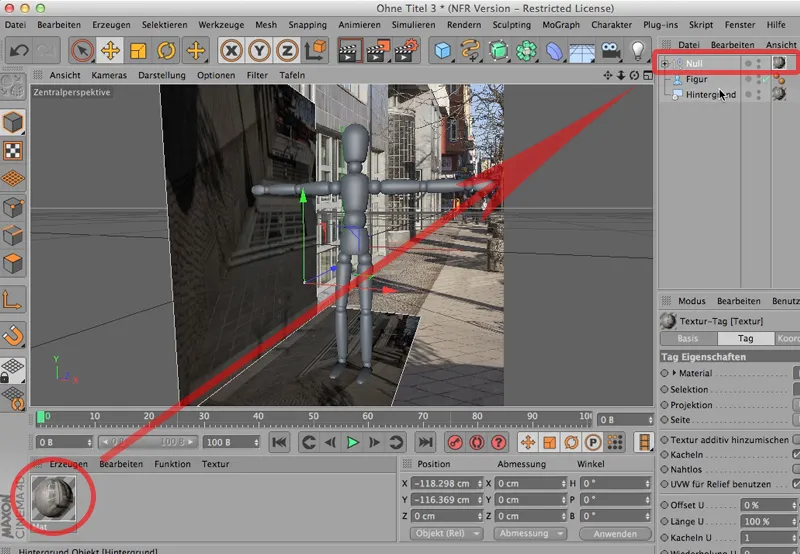
... and to make sure that my material is placed on it correctly so that I can't see it, at least not here in the editor, I give it a frontal mapping, then it's mapped directly onto it frontally from the camera view and it's almost no longer visible when we render now. At least the textures fit quite well.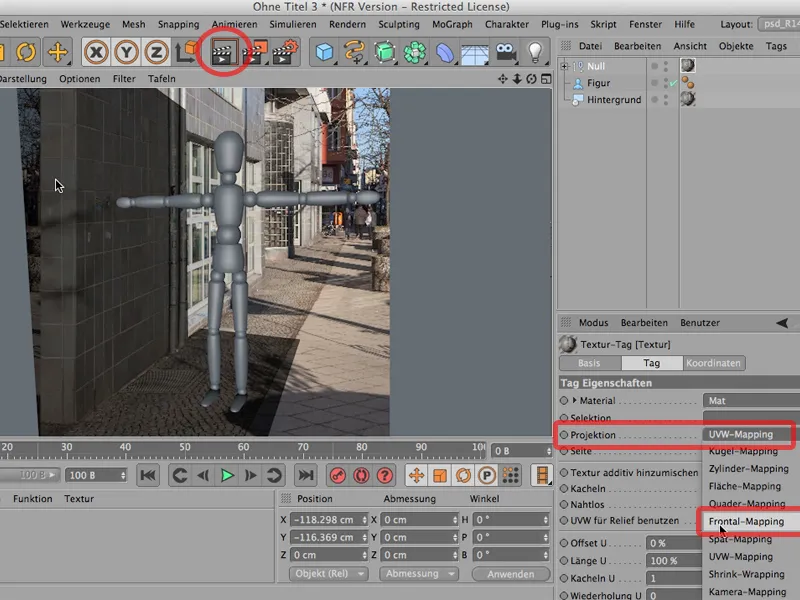
If we now give it a background compositing tag, we're basically halfway there. Background compositing means I go to my Tags>CINEMA 4D tags here, and - you can't see it right now, but you know exactly where you'll find the render tag.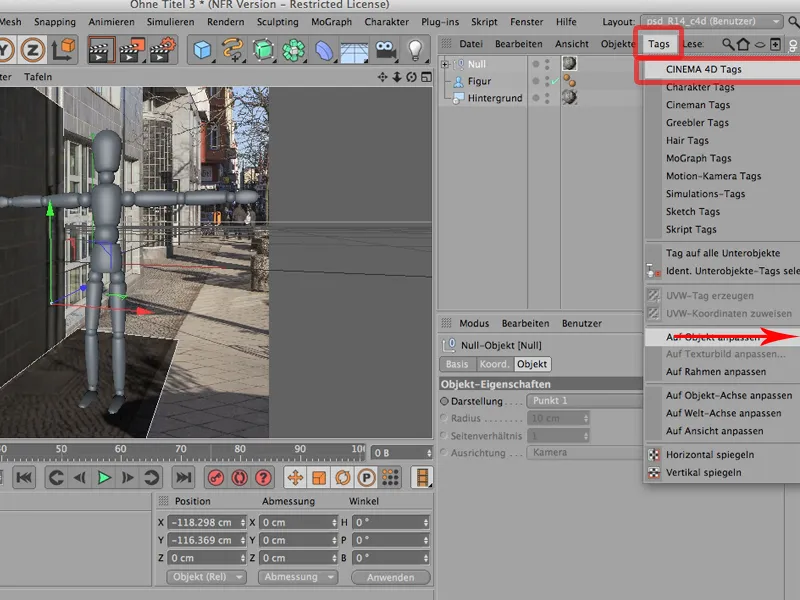
I'll click on that and give it a background compositing. And if I render it again now, you won't be able to see anything, but my preparations are basically already done.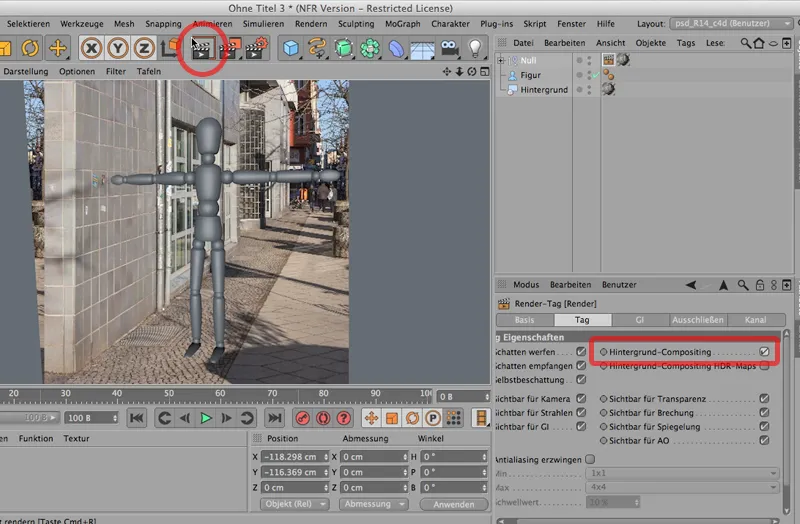
Don't mind this piece of sky; it's a copy of what we see here. CINEMA simply continues this at this point, but we know that our renderer will crop it later, so it doesn't matter.
So, now we really have to get to work on the shadow, i.e. what we actually want. The preparations have been completed so far. The shadow isn't there yet, and you saw how to actually transfer it to Photoshop in the tutorial earlier, but now I want to put it on this corner here first.
To do this, of course, we first need something that casts a shadow, and for the sake of simplicity I'm going to use a sky, namely the physical sky.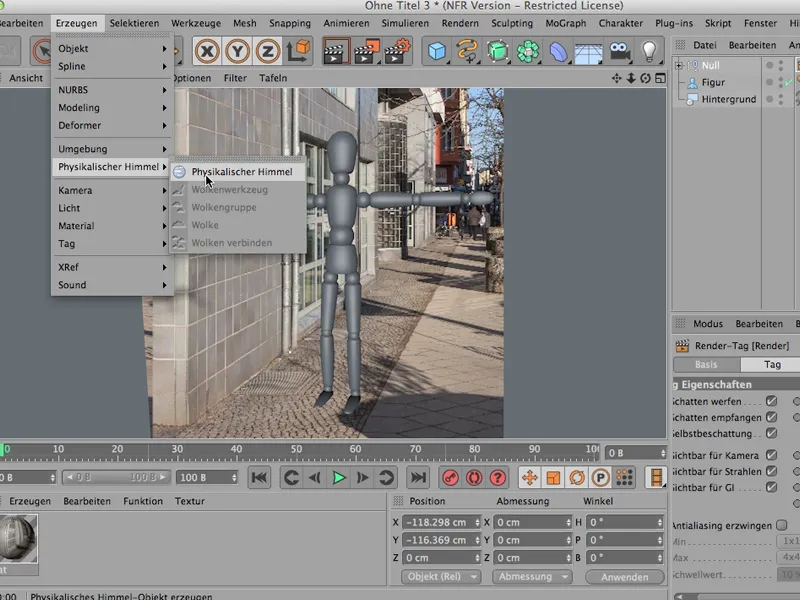
Of course, I don't want the physical sky to be visible, logically. After all, I want to see my scene behind it. So I need another render tag. But now I just tell it: Please not visible for camera. This leaves my scene as we saw it earlier, only now with one big advantage: now we have exactly the lighting we want.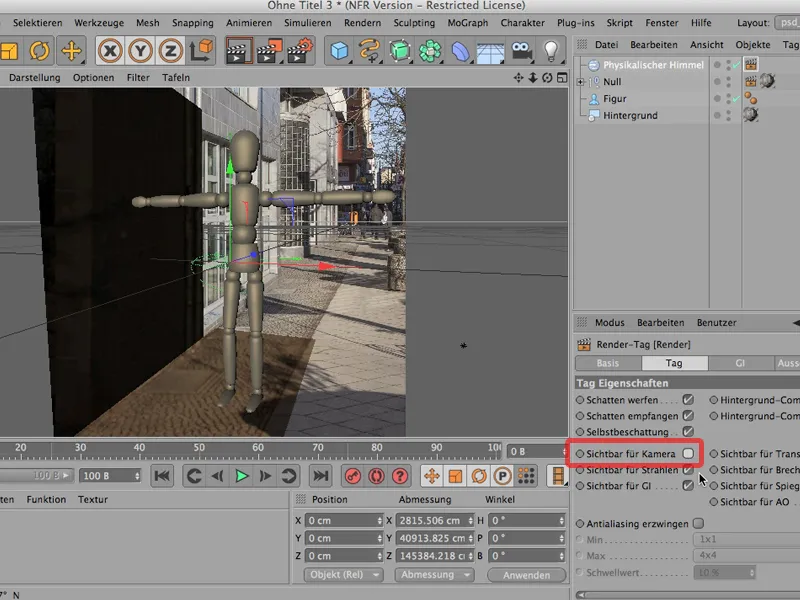
Now I can still shoot the thing. The question is: where exactly? And that's why it's really clever now - as you already know - that you can display the shadow via the options: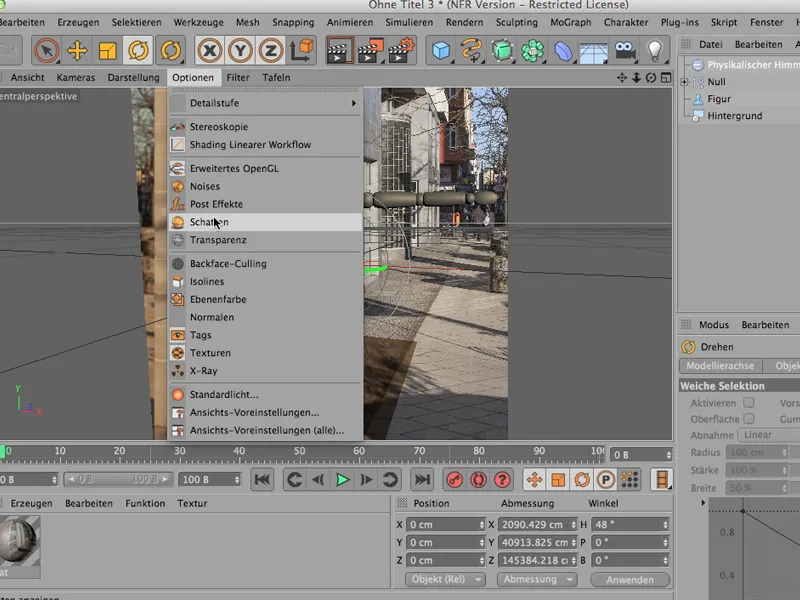
So, and now I can also set my shadow to run perfectly as it should.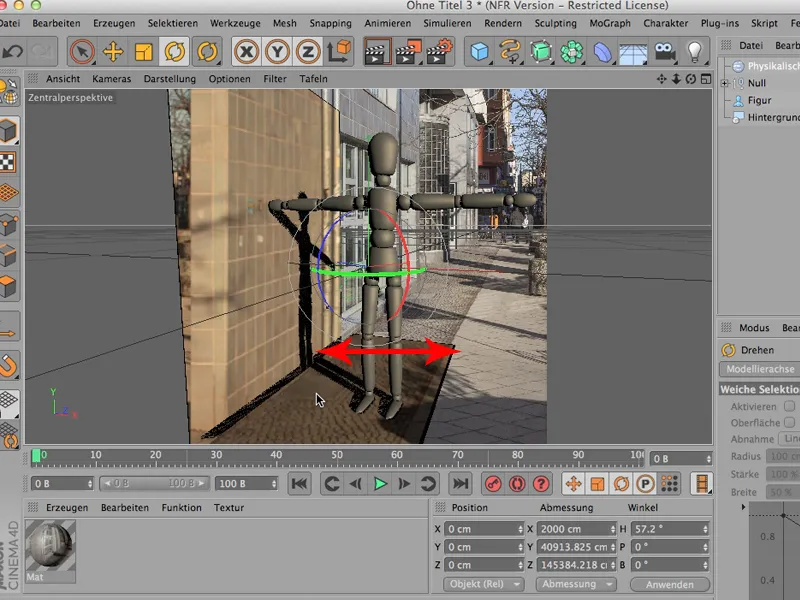
We could now change the time a little so that the shadow is a little longer - no problem. I would first like to show you how it basically works, so I can render the thing now.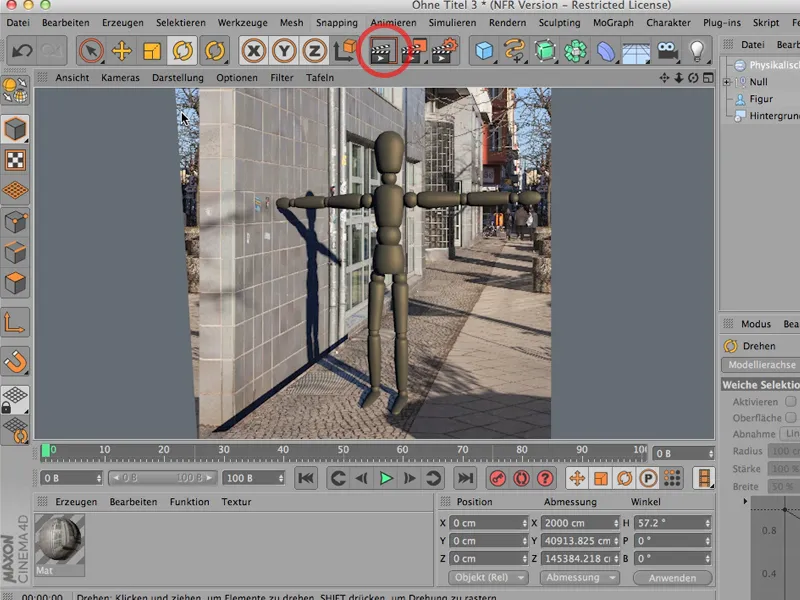
Then it looks like this and the shadow is basically there. One little thing: we can see these pipes here. Of course, you could simply do the following: call up a cylinder, make this cylinder correspondingly smaller and now move it towards the wall until it disappears into it. Drag it to the position where this pipe is located ...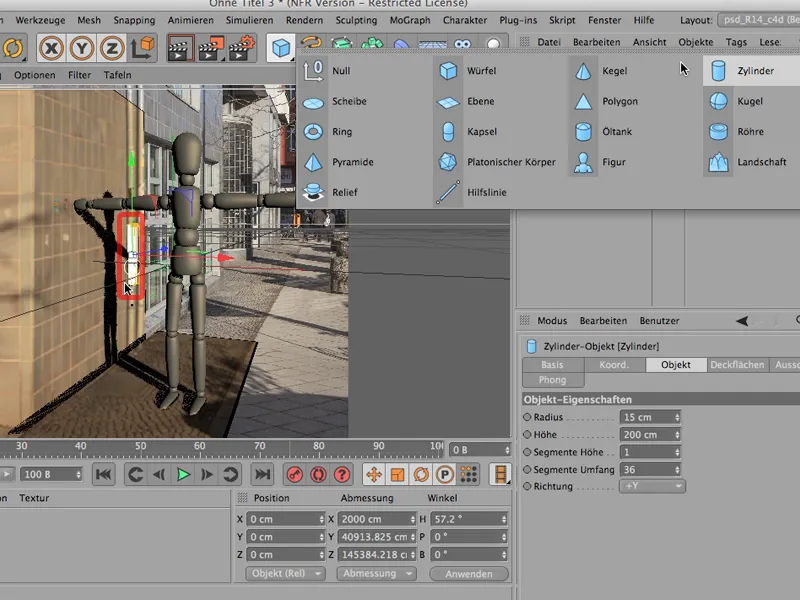
... and so that it is also hit by the correct material, I simply drag this cylinder, i.e. this gutter, into the null object here. If I now render again, the shadow even goes over this pipe. Perfect! And so I try to recreate my scene bit by bit.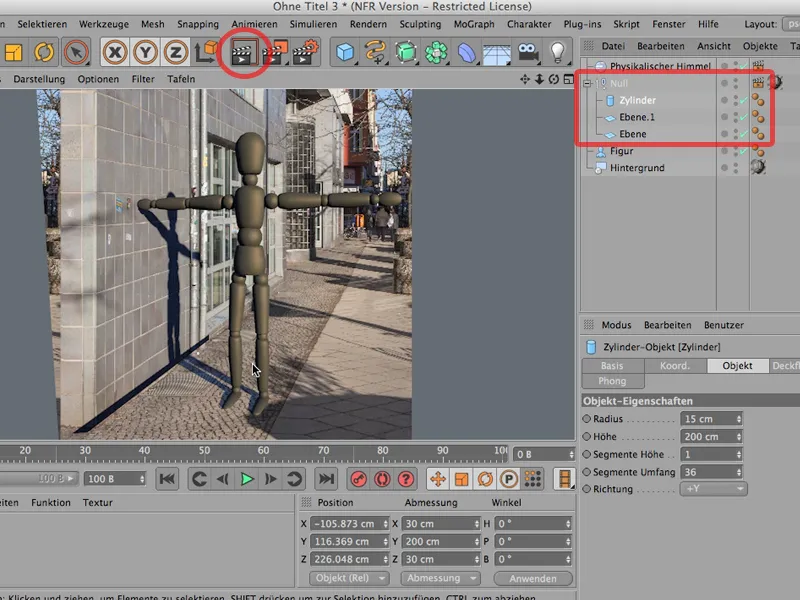
One more thing: You'll notice that the other shadows in the picture have a different color and also seem to be a little blurrier. You can see this in the flower pot, for example. My shadow here of the Männeken is just a tad too sharp.
So - we need to take a quick look at the physical sky. I'll double-click on it. Firstly, we find that it's already a physical sky. And now we can do a few more things to the sun and the sky. I first have to change the size ratio on the sun: as long as my object casts a shadow that is too sharp, I simply have to - I'm exaggerating here - really increase the size ratio.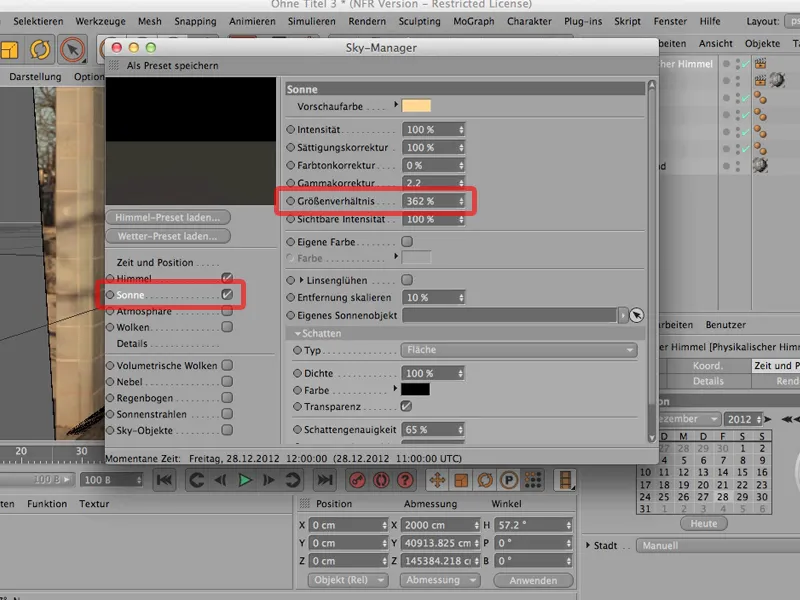
And if I render again now, you'll see that the shadow is much less sharp.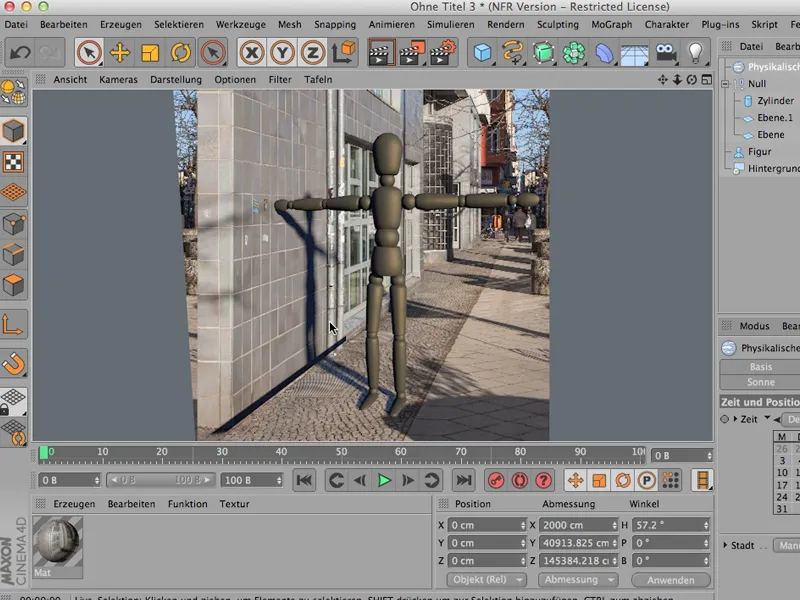
Now, of course, it's too blurred, but I can use it to adjust my shadow so that its sharpness matches the shadow of the surroundings. That was over 300%, so I think we're doing quite well with 150. That's one thing. The other thing is the shadow color; it's still too blue at the moment. We can do two things: Firstly, we can of course correct the saturation down a little, to about 50%, and the hue correction, I'll put that up to about 50% to give the shadow a different color. You'll just have to try it out to see what works best; what percentage for the hue correction.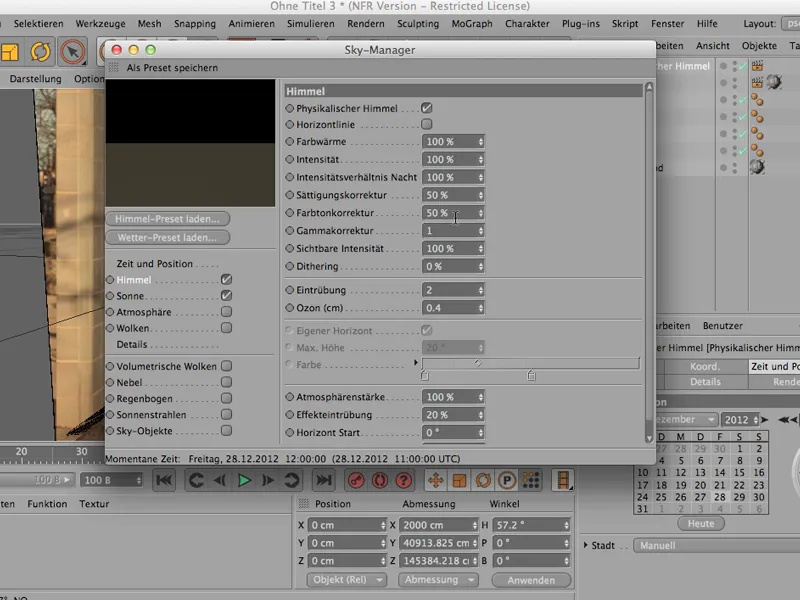
And now we render the whole thing again, and then we should actually be there.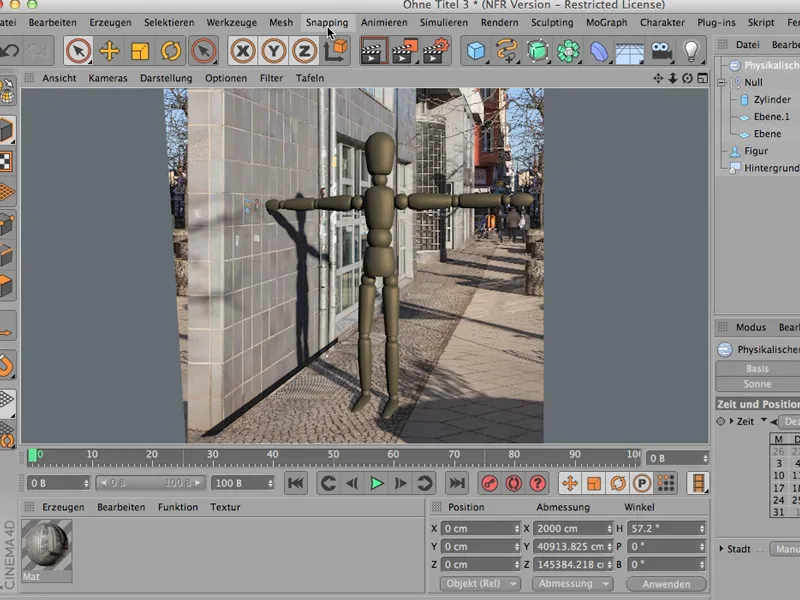
That's exactly how it works - as I said, you've seen how to transfer the whole thing into Photoshop in the previous tutorial, but this way we've first determined how you can basically produce a shadow cast from an object that is not just on the plane, but in front of a wall, for example.
There are many ways to render objects so that they can be seen against a neutral background. One possibility, for example, would be to build a very simple cove. But then you have all the shadows on it again and ... it's often not the solution if you don't want it to look exactly as if it was really photographed in a photo studio. And that's why there's the option of depicting objects in front of a white background, for example, in such a way that it appears virtually infinite.
What do we have here? First of all, we have a device. This is this device with all these cables - it's an iPad charger. Then I have light here : there's a main light and a fill light, each designed as a polygon light. Then there's an auxiliary light here (light), then - as you can see from the material - a holder that ensures that we get a black edge here. And, to add a bit of reflection to the number, a sky object. So basically a relatively clearly defined lighting situation.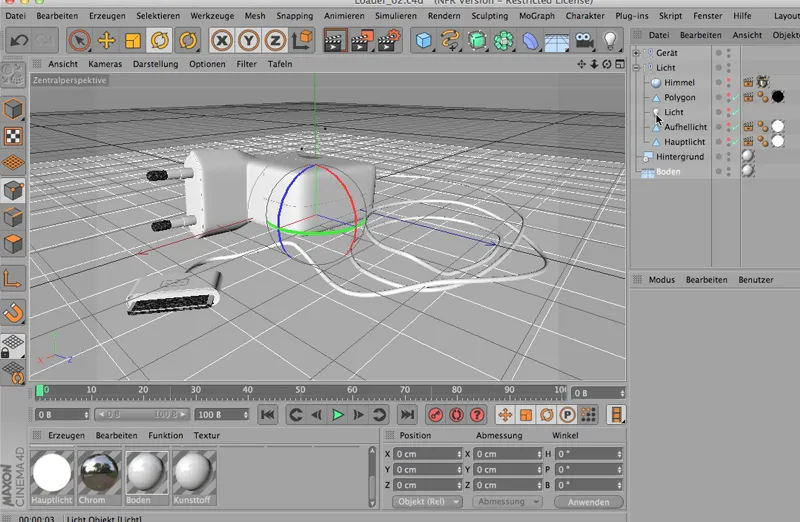
Then I have a background object here, so that everything in the background is also white, and I have a floor, and if I render that now, then let's just take a look at how it looks.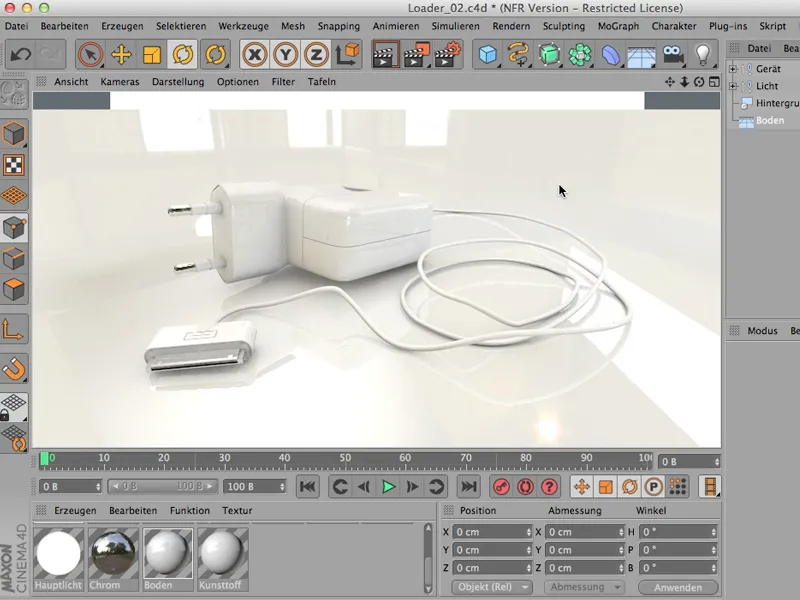
Maybe you know that - hm, quite nice, but not what you want, because it's definitely just really not a white floor and we see all these many reflections from the background object.
Of course, you could now say - let's go into the light and turn off the sky. Then the whole thing looks like this: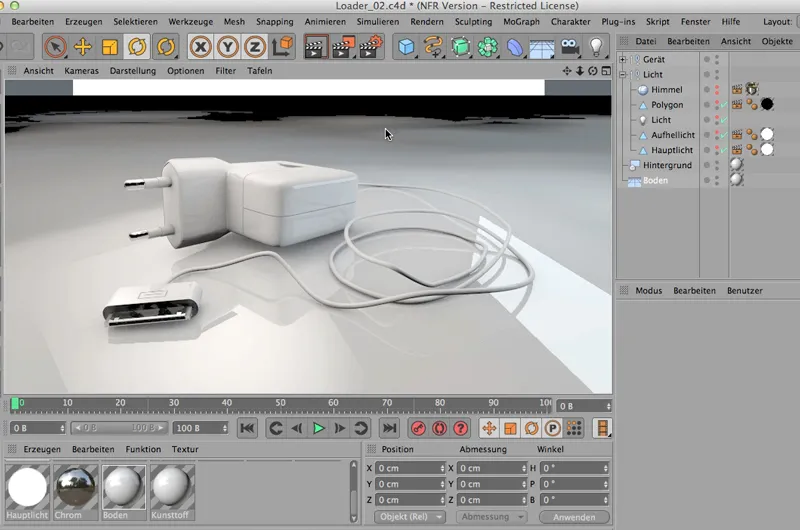
At least we no longer have all the lights in the background, but you may also be familiar with these many strange shadows that form behind it, and it's definitely not what you want either.
What I would like to have is the shadow and this reflection, but not much more, because I want the whole thing to be visible against a white background.
It's actually super simple; you just have to know where to find something like this and how to do it. And that's why I'm going to click on the bottom here and go to Tags>CINEMA 4D Tags to get the much-vaunted and repeatedly used render tag, which is once again invisible to you - you can find it at about this height. So: Render tag - click on it.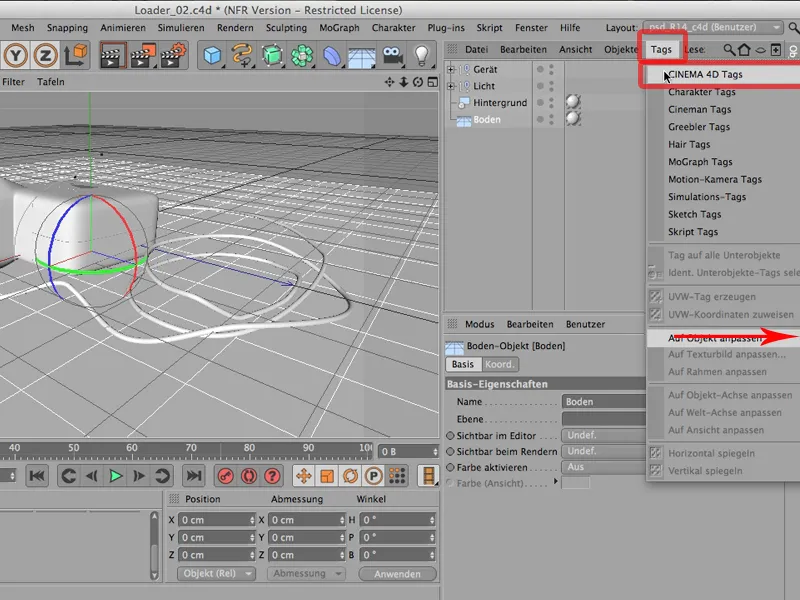
This is what it looks like, this render flap. And I only have to tell it one thing, namely that it should please create a background compositing. So here I set a checkmark ...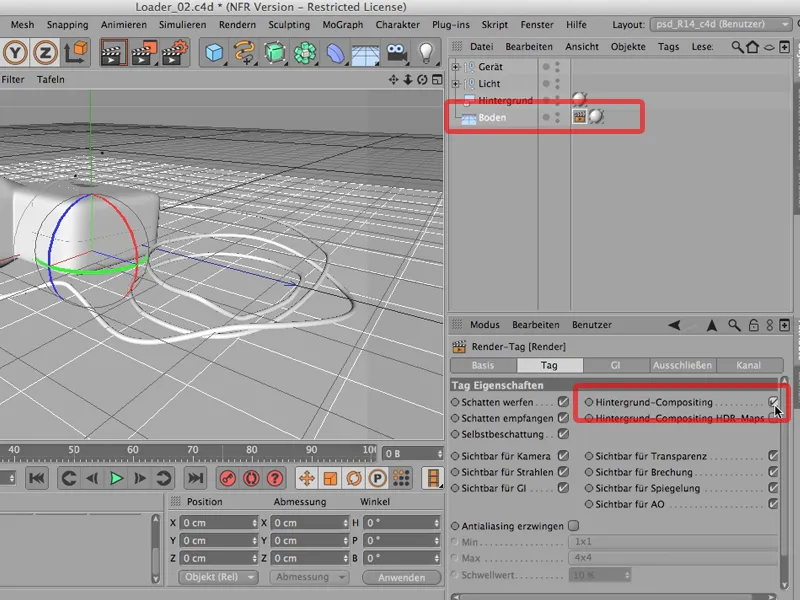
... and now I'll render the whole thing again. You can either render it in the editor or, of course, in the image manager. I'll just render it here for the sake of simplicity. And now look what happens:
I get a shadow and a completely white background. As white as I want it to be. The shadows are a bit grainy, but the rendering was relatively quick.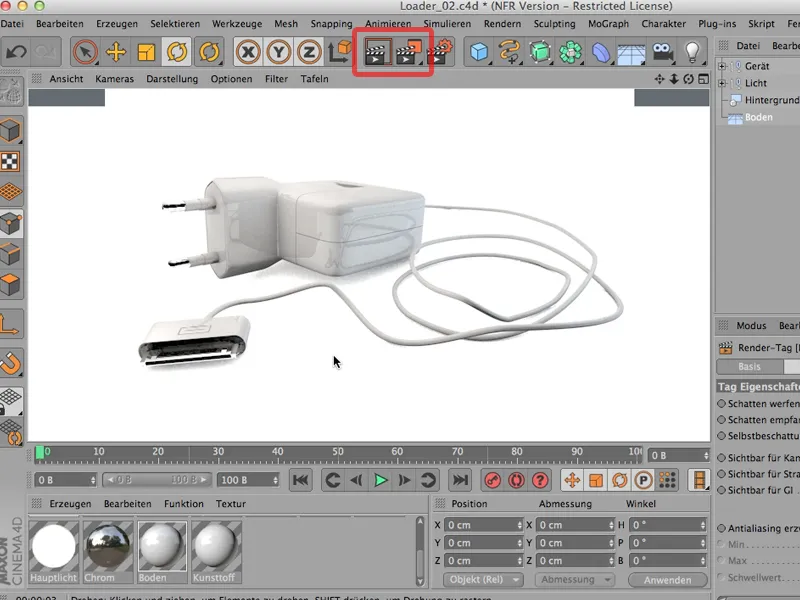
What you have to say goodbye to if you render out a single channel directly here in a single pass is the reflection - you can also see that this is a weak point in the number. You would then have to render a mirroring again and add it later in Photoshop. But for a representation of an object on a white background, this is the quickest and easiest way, using the render tag and background compositing.
