In this guide, I will show you how to create your own Facebook group in a few simple steps. Facebook groups are a powerful tool for forming communities around common interests. They allow you to interact with like-minded individuals, share content, and engage in discussions. Let's get started on building your group!
Main Insights
- Choose a memorable and keyword-rich group name.
- Set privacy settings wisely to avoid spam.
- Ensure your group is visible for easy discovery.
Step-by-Step Guide to Creating a Facebook Group
To create your Facebook group, follow these straightforward steps:
Step 1: Navigate to the Groups Feature
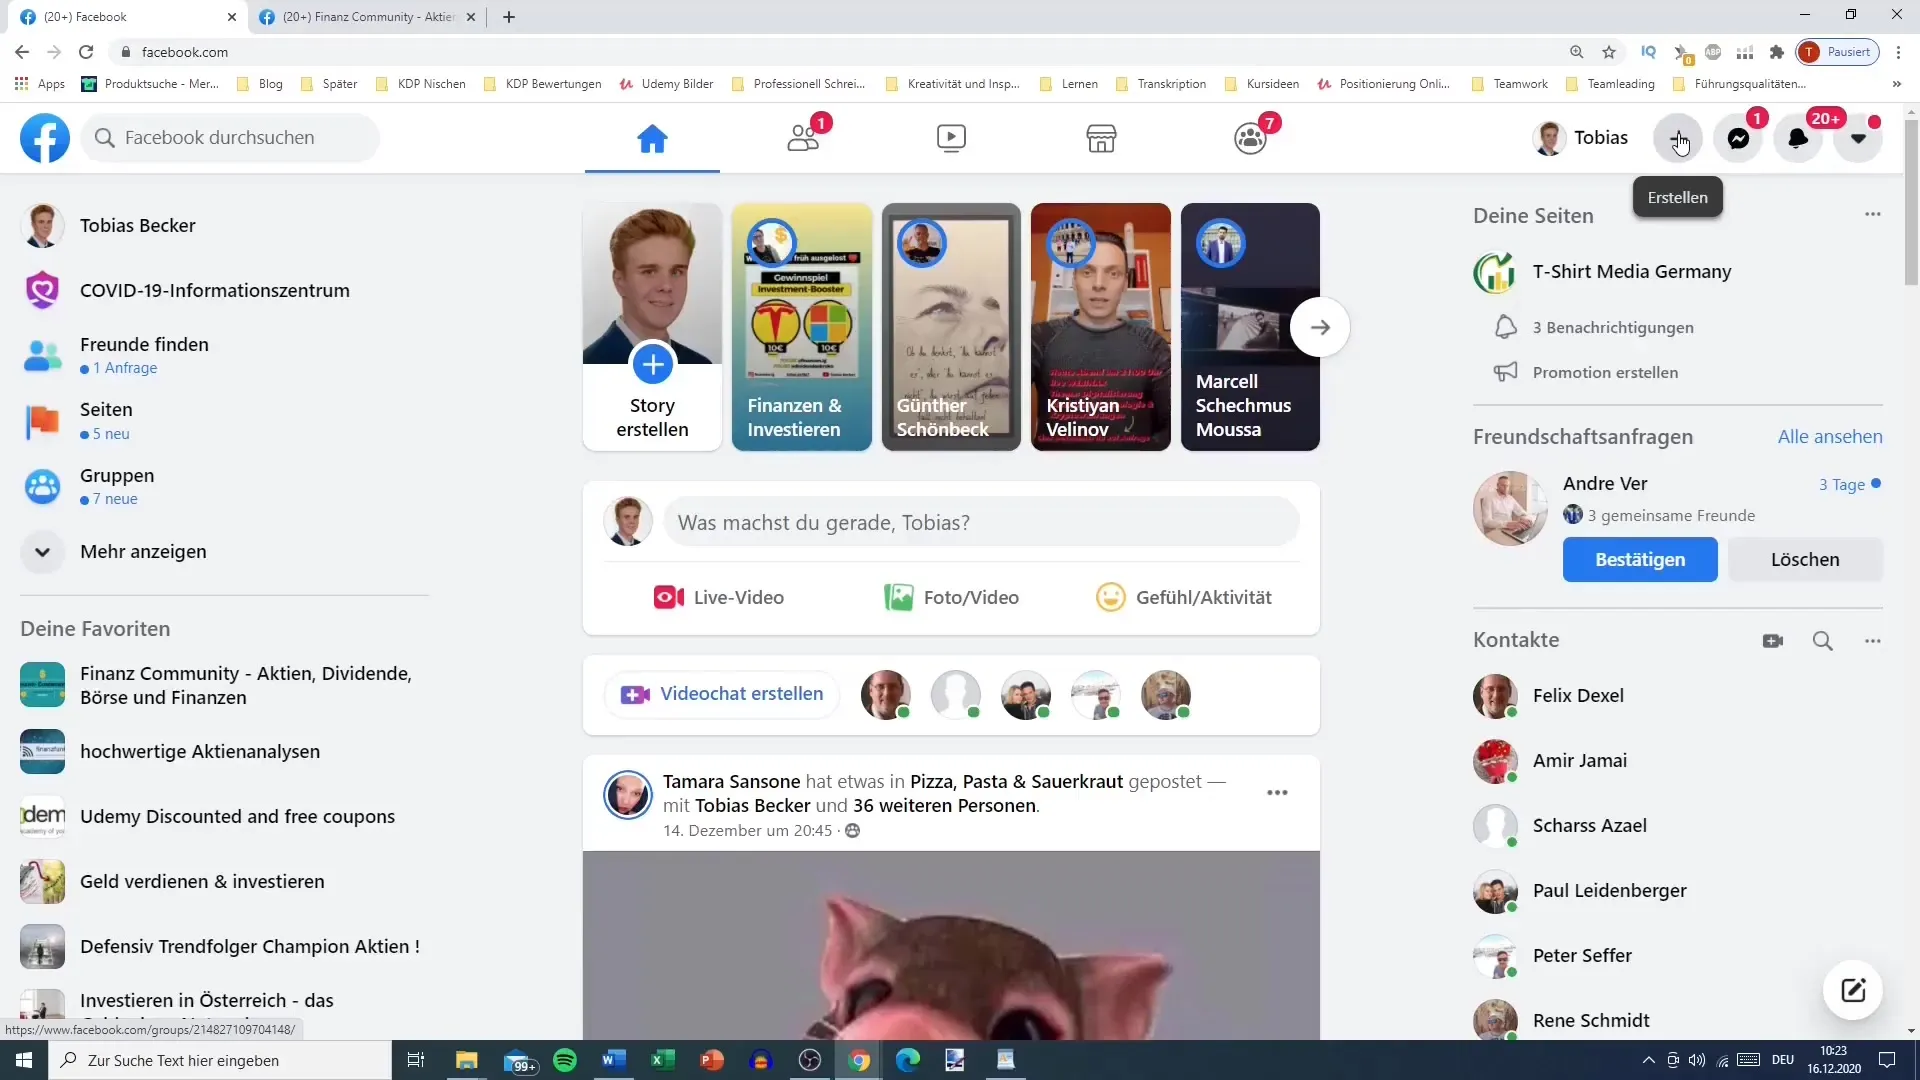
Open Facebook and look at the main page. At the top, you will see a plus sign. This sign is your starting point to create a new group. Click on the plus sign and select the "Group" option.
Step 2: Fill Out the Group Details
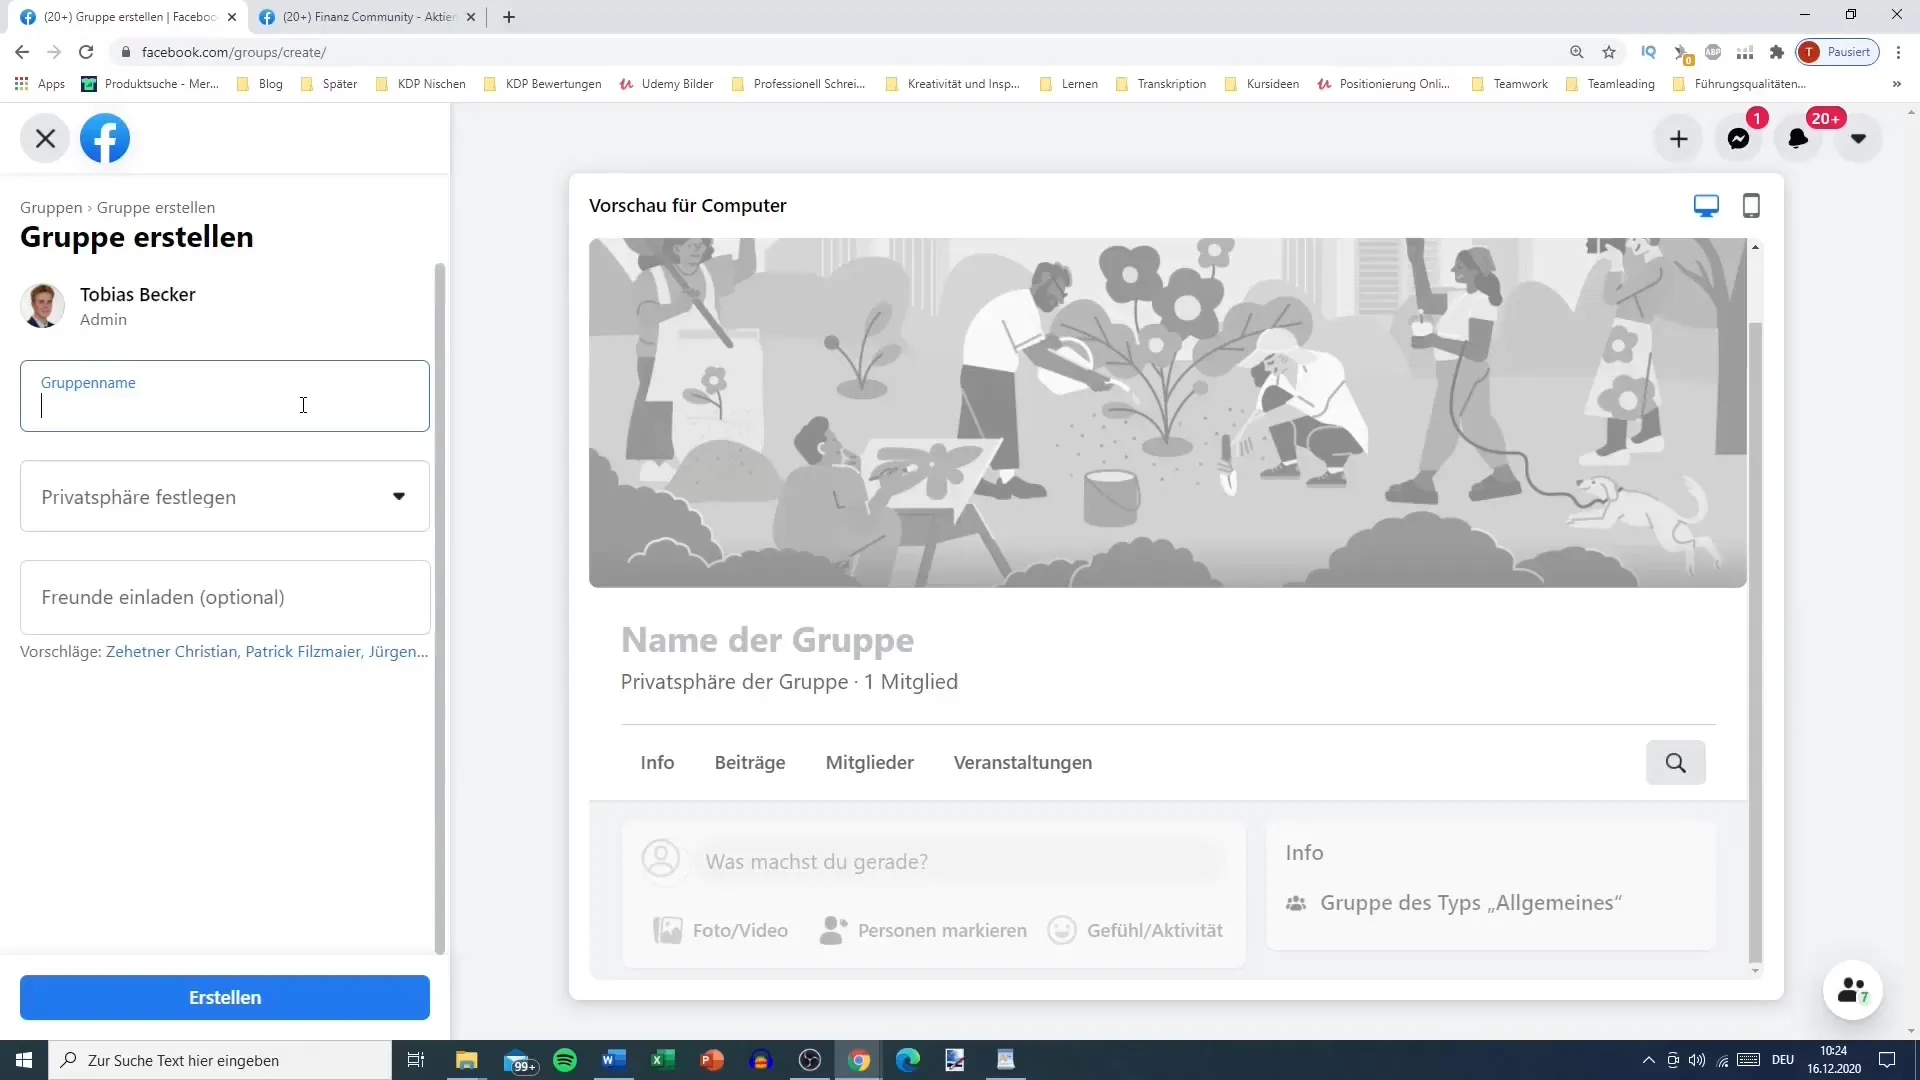
Next, a window will open where you can enter the details of your group. On the left side, you have fields to fill out, and on the right, you will see a preview of your group. Begin by entering the group name. You can give your group a name like "Media GmbH" or "T-Shirt Media Company." Remember to choose a catchy and easily memorable name. If possible, optimize the name for search engines by including relevant keywords like "stocks," "dividends," and "finance."
Step 3: Set Privacy
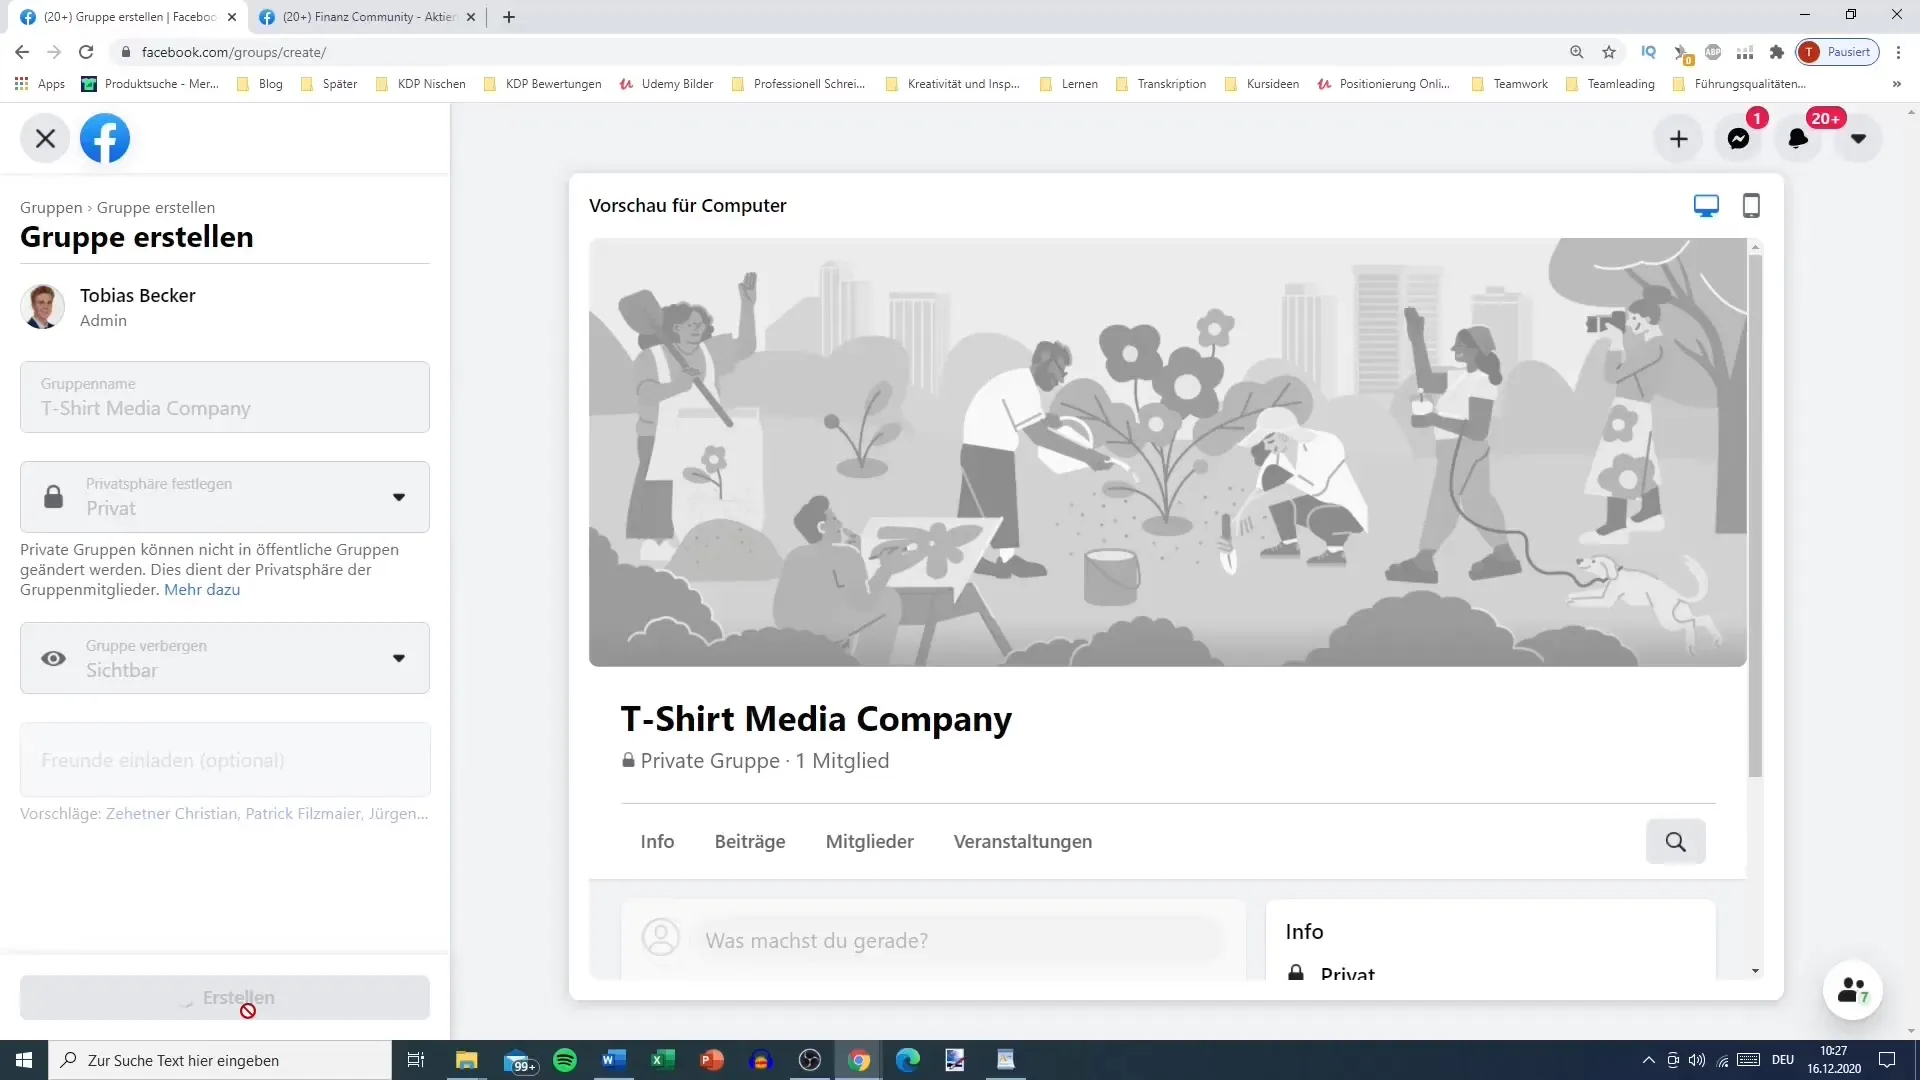
Next, you must decide whether your group should be public or private. I recommend setting the group to private. This way, only members of the group can see the content and members. If the group is public, external users can potentially spam or post inappropriate content, which can be unpleasant for the members. This means you will receive requests that you need to approve before new members can join.
Step 4: Set Group Visibility
Here comes the next important decision: Should the group be visible or hidden? I recommend the "visible" option so that new members can easily find the group. This is important for search engine optimization and to attract new members. Choose this option so that members can also find the group in search queries and enable friends to invite others.
Step 5: Preview the Group
Before finalizing the group, you can preview it. On the top right, you will find the option to switch between the preview for the computer and the mobile device. Check if everything looks as you envisioned. It is advisable to check on your phone to see how the group is displayed if necessary.
Step 6: Create Group
Now you are ready to create your group. Simply click on "Create". The Facebook platform will now set up the group for you, and depending on network congestion, it may take a moment for the creation to be completed.
Step 7: First Steps After Creation
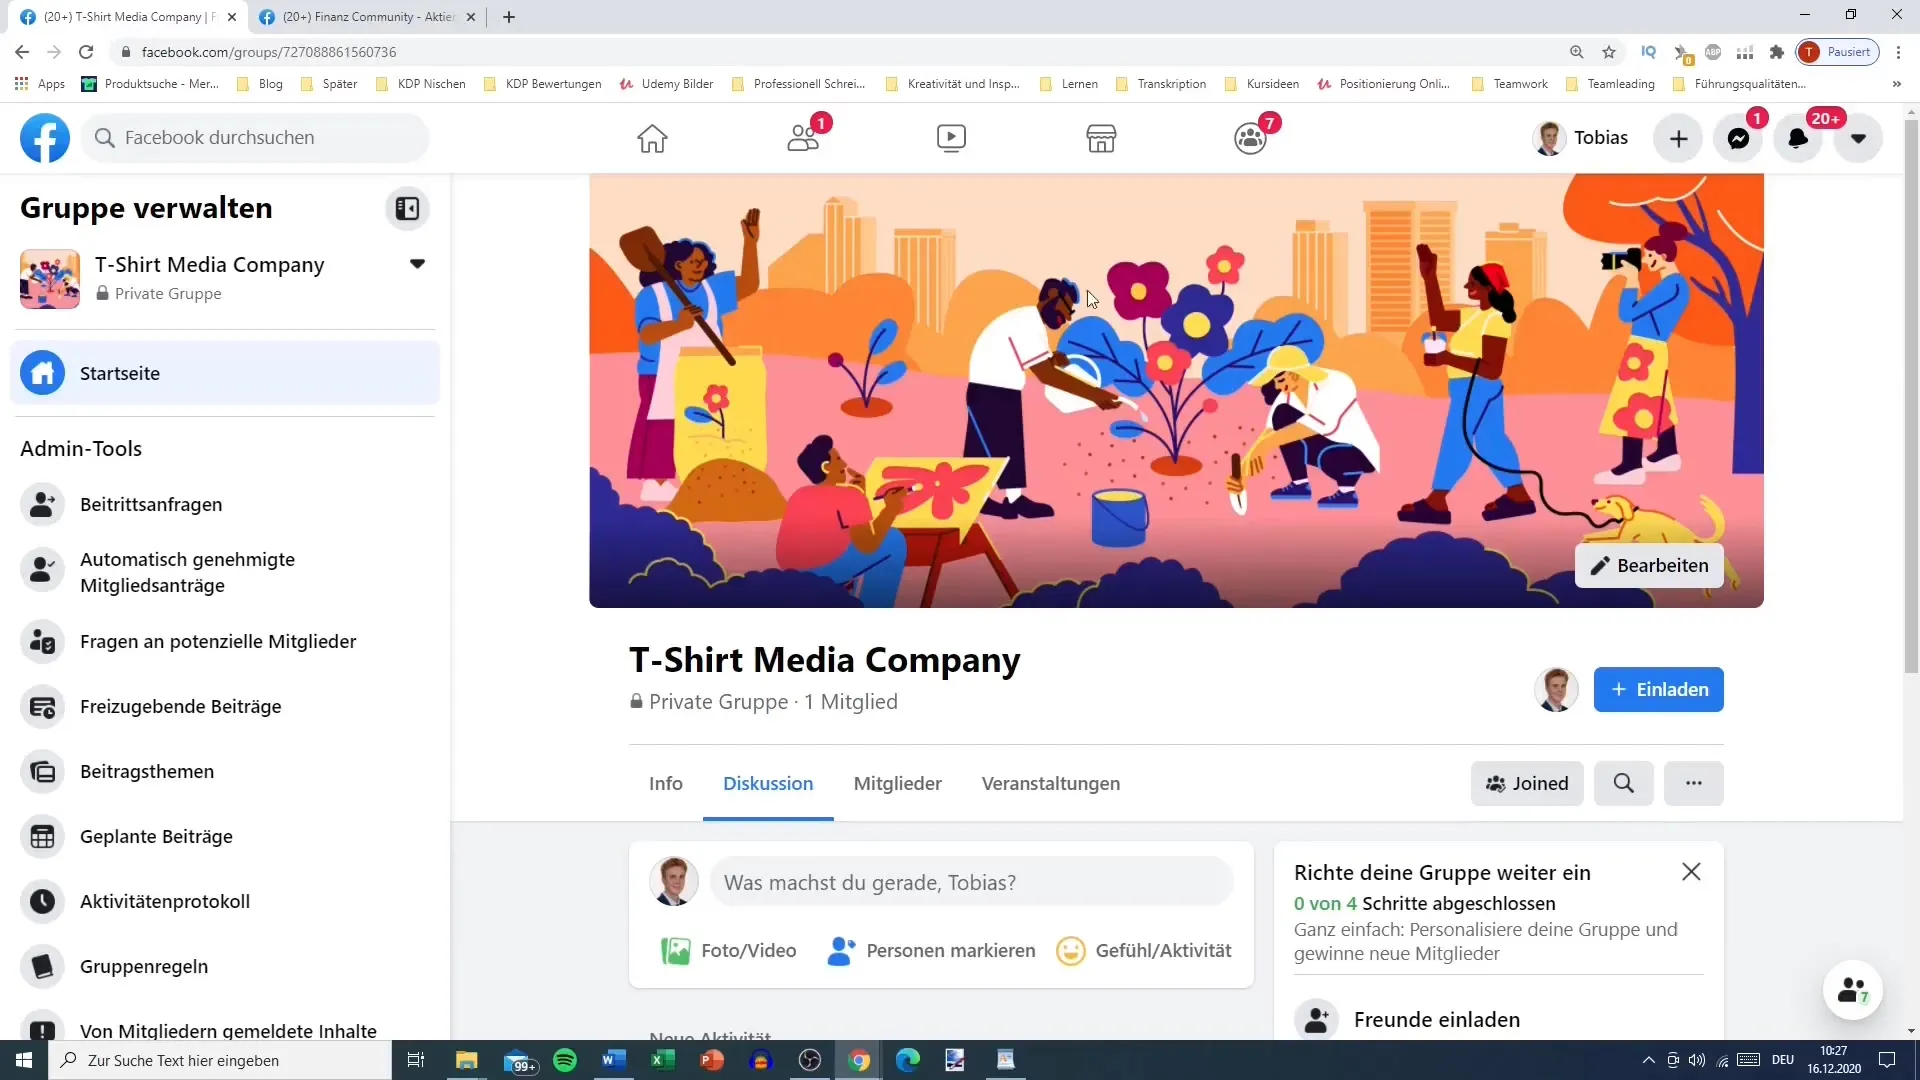
You should now see that your group has been successfully created. Now you can start making further adjustments, such as adding a group image or logo, creating rules for the group, and inviting members. Begin by customizing your group to make it an inviting space for your target audience.
Summary
In this guide, you have learned how to create a Facebook group. From choosing the group name to setting privacy settings and visibility, you have gone through all the steps to create an attractive and functional group. Now it's up to you to populate your group and make it a lively meeting place for like-minded individuals.
Frequently Asked Questions
How do I change the group name after creation?You can change the group name in the group settings.
What can I do if my group is affected by spam?Set the group to private and remove problematic members.
How do I invite members to my group?Go to the group and use the "Invite Members" function to add friends.
Can I change the visibility of my group later?Yes, you can adjust the visibility in the group settings.
