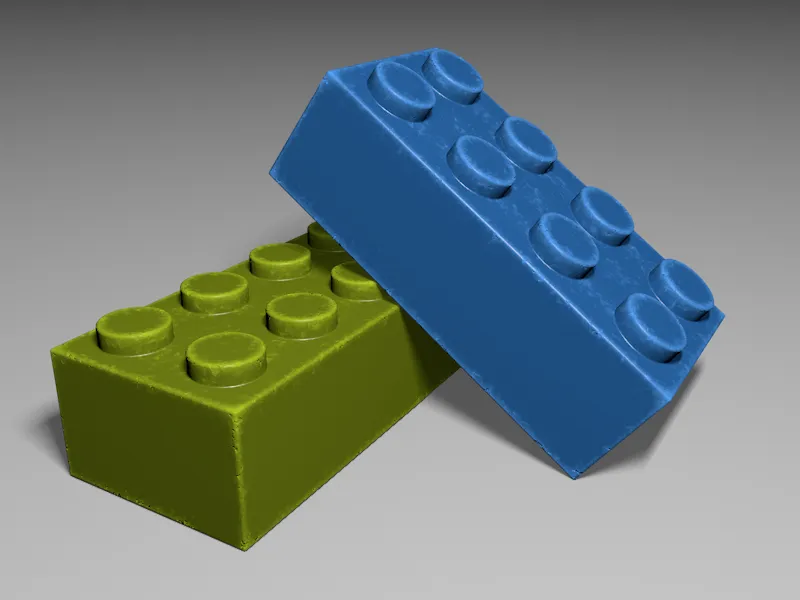
The starting point for this tutorial are two Lego bricks from a previous modeling workshop. You can find the source file in the package of working files for this tutorial. There is actually nothing wrong with the modeling of the Lego bricks, but toys look much more authentic if you can see signs of use such as small scratches, worn edges and dull spots on them.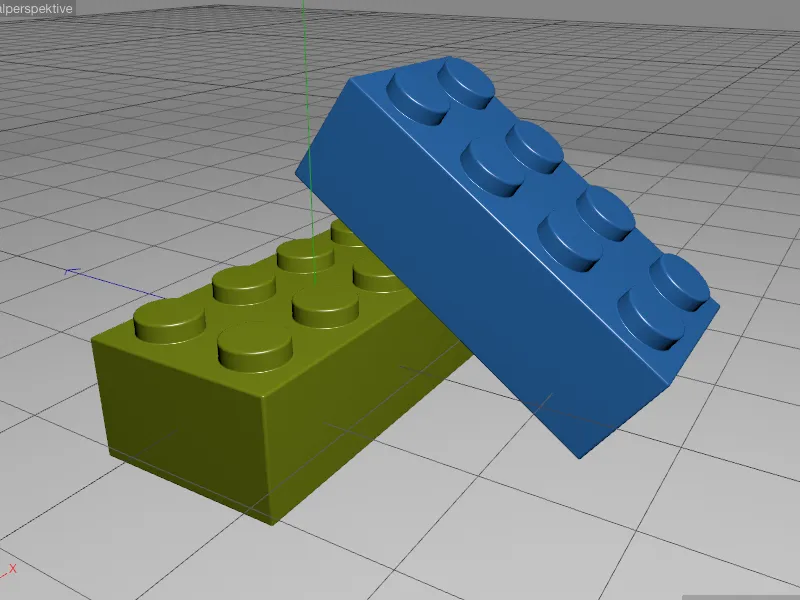
Adjusting the inverse AO shader
As mentioned at the beginning, the Inverse Ambient Occlusion (IAO) should provide us with the areas particularly affected by signs of wear. So that we can properly assess the work of the shader, we will initially concentrate entirely on the IAO. The green Lego brick is a natural choice, which is why we temporarily deactivate all active material channels in the corresponding green material of the brick on the base pageand activate the light channelinstead.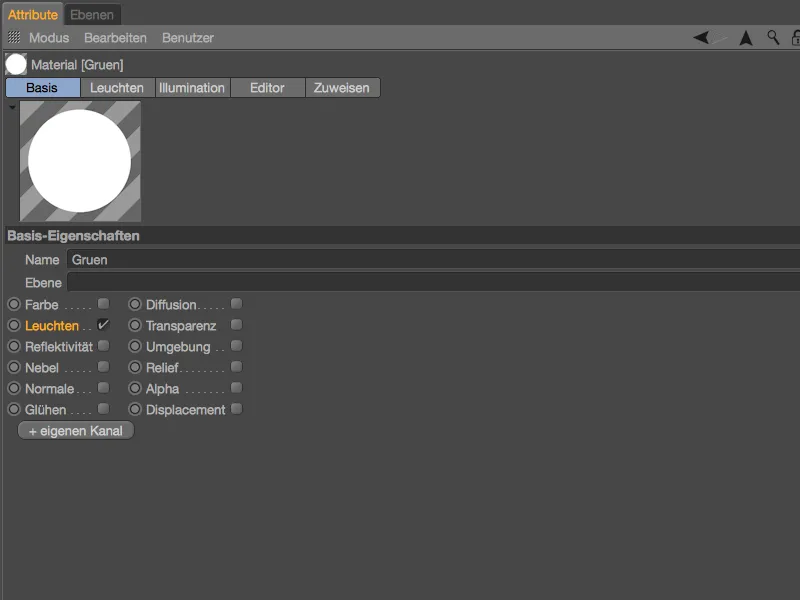
In the material's glow channel, we open the shader menuvia the texture buttonand select the ambient occlusion shaderin the Effects submenu. The inverse AO is therefore not available as a separate shader, but as a small but fine setting in the normal ambient occlusion shader.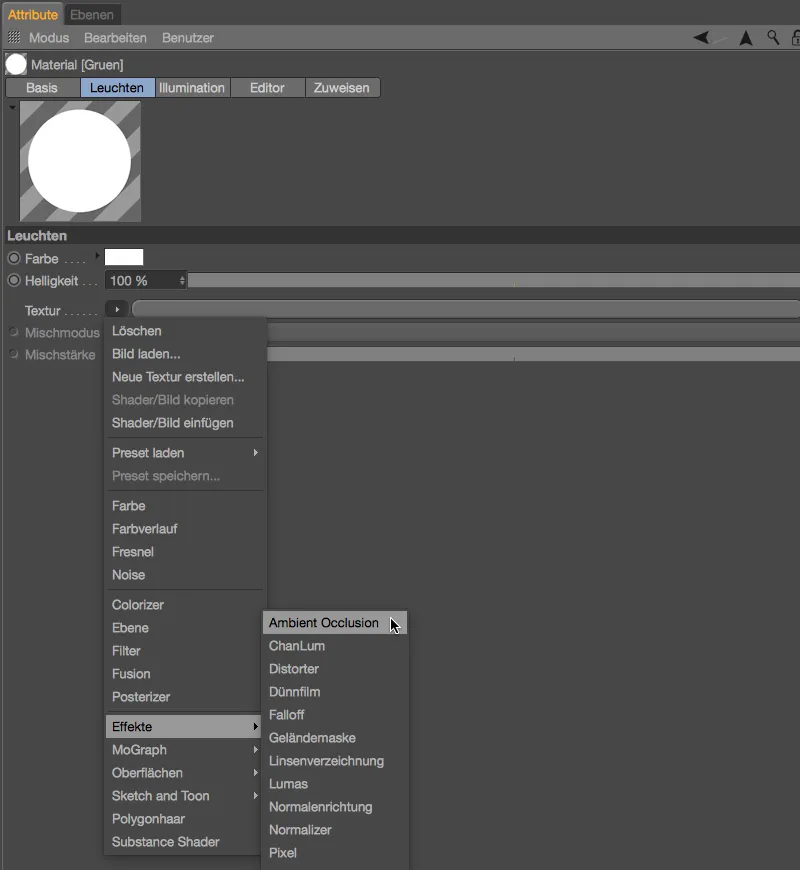
After loading the ambient occlusion shader, we zoom in a little closer to the Lego brick in the editor viewand start a first test rendering. As the AO shaderworks in normal mode, we are of course still getting the shadow areas of the Lego brick at the moment.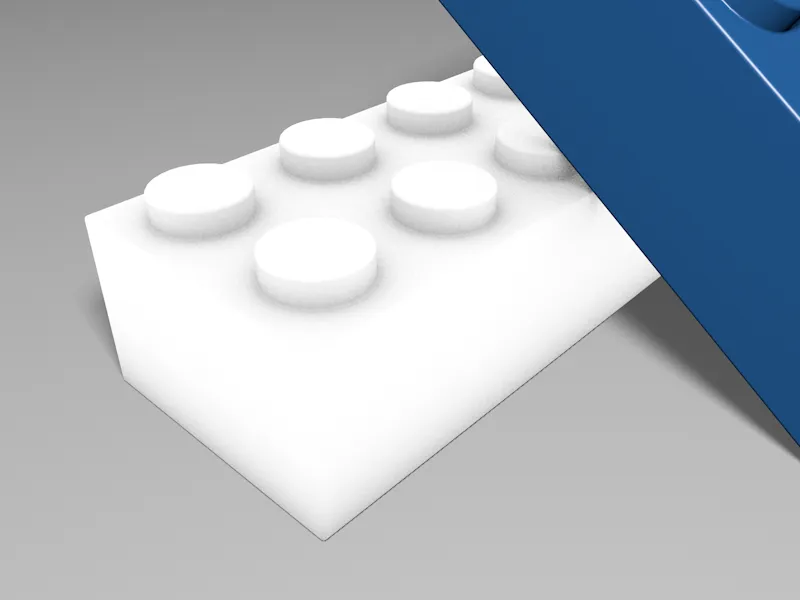
To illustrate the difference between the two working methods, we open the ambient occlusion shader by clicking on the shader buttonor by expanding the texture areaand first activate the opposite direction option.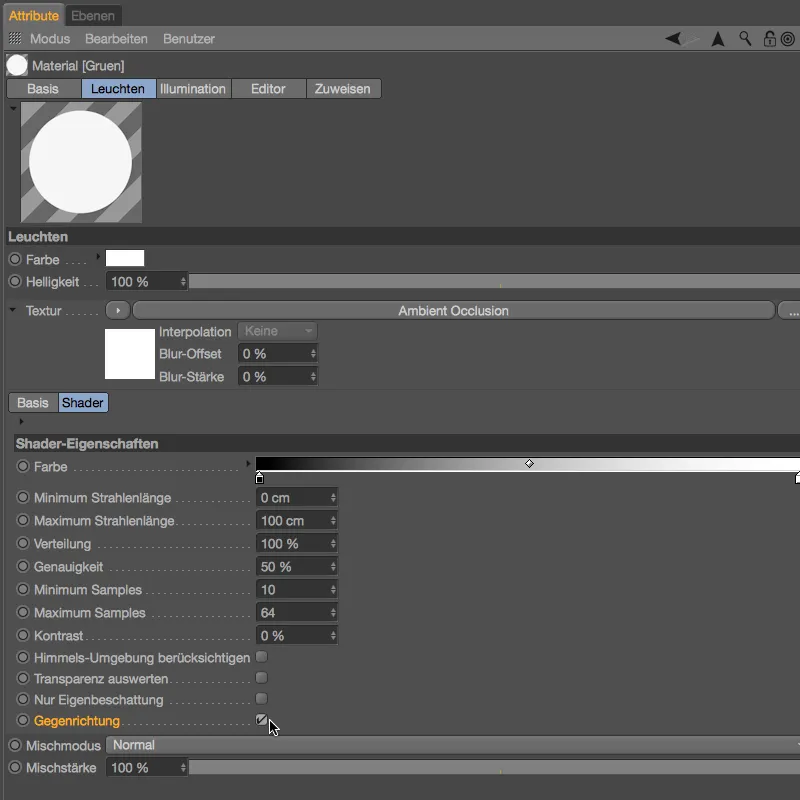
We start another test rendering in the editor viewand are now shown the Ambient Occlusion working in the opposite direction. As the comparison of the two renderings makes clear, the IAO is not simply an inverted AO, but a completely different way of working. However, the IAO determined is not yet really usable for our purposes, which is why we are now taking care of the fine-tuning.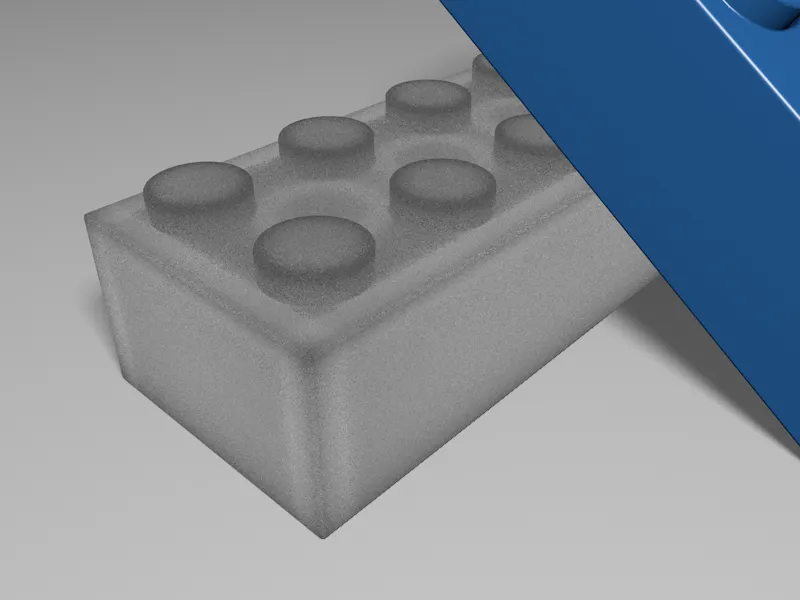
As our Lego bricks should primarily show signs of wear at the corners and edges, the pronounced gray areas on the surfaces are disturbing. As a first step, we therefore reduce the maximum beam length to 30 cm.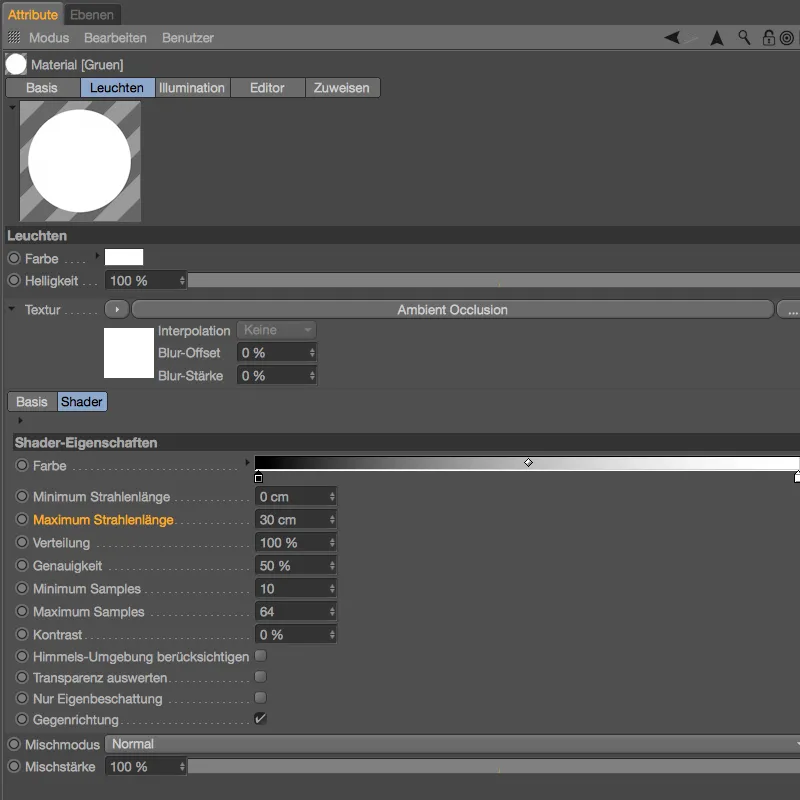
To assess the effect of this change, we create another test rendering in the editor view. As desired, the dark areas are now almost exclusively at the corners and edges of the Lego brick, although the gray areas could be a little darker.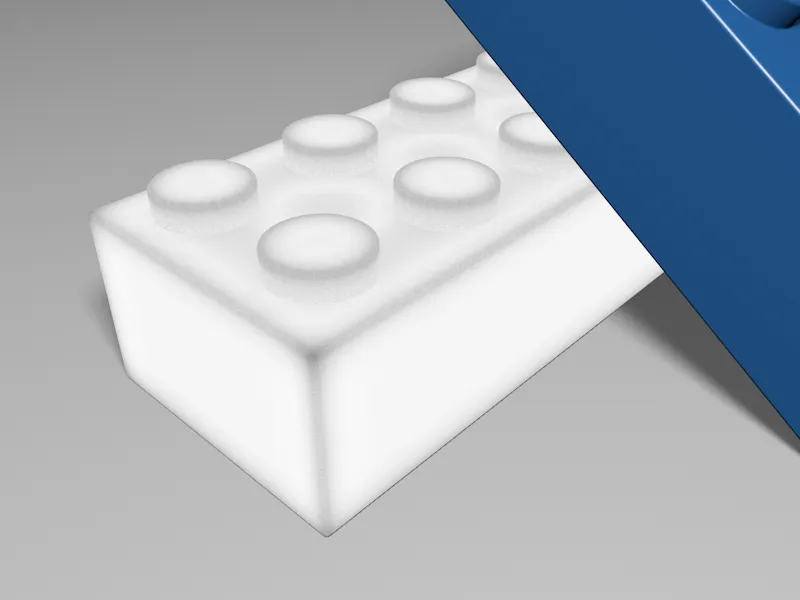
We do this using the color sliderin the ambient occlusion shader. We move the black slider of the gradient a good bit to the right in order to specifically intensify the dark areas.
We also take this opportunity to activate the self-shadowing only option. As the blue stone rests on the green stone, this would have an undesirable effect on the calculation of the AO.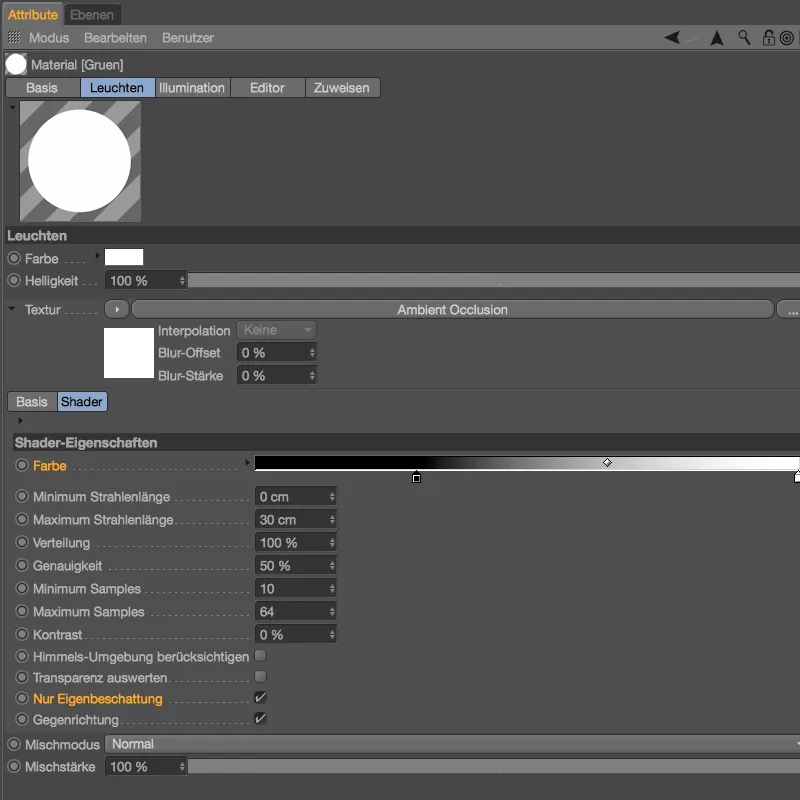
As a new test rendering shows, the changes have worked as desired, so that we can now tackle the creation of the traces of use with the completed inverse AO shader.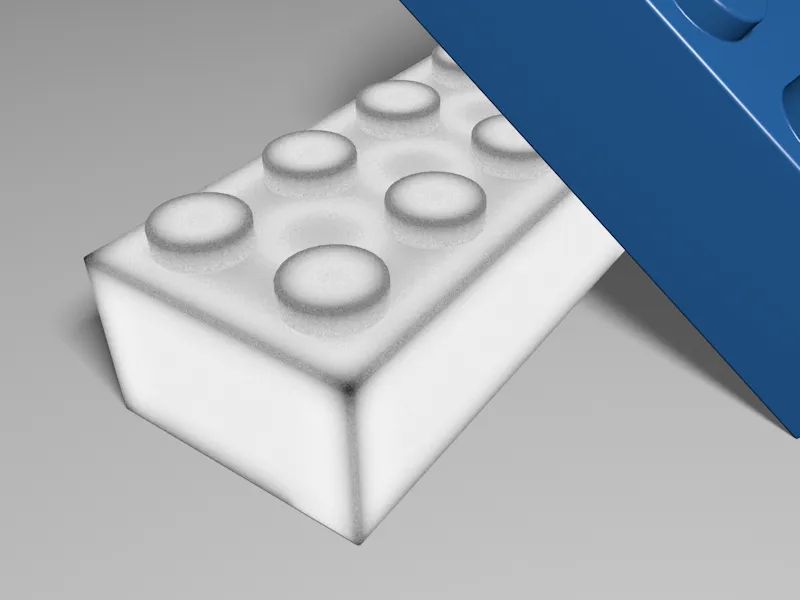
Extending the shader for the traces of use
We will remain in the light channelfor the time being, as this type of display has already proven itself for the evaluation of the IAO shader. So that we can process the completed IAO shaderwith additional shaders, we call up a layer shadervia the texture buttonon the ambient occlusion shader.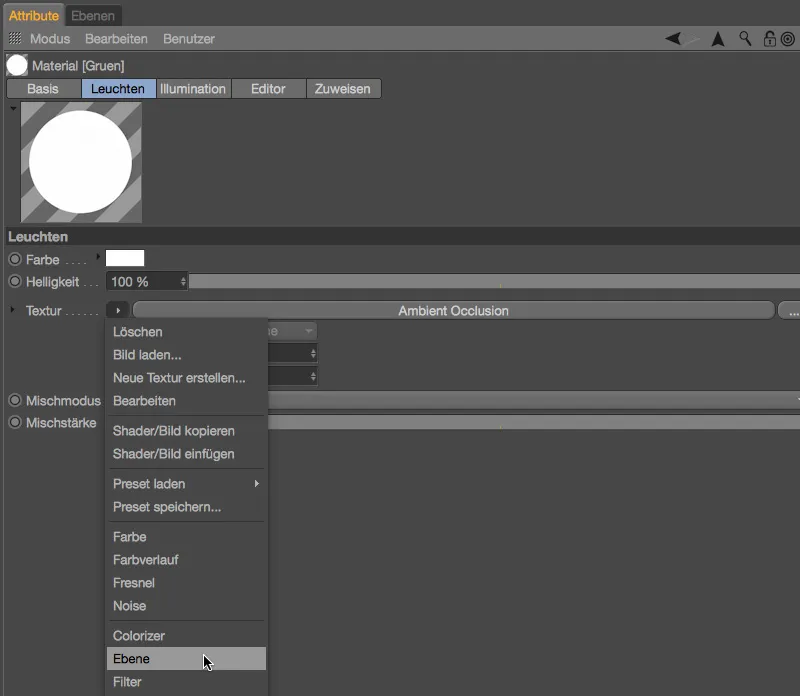
After clicking on the shader buttonof the layer shader, we land in the layer management of the shader. The IAO shaderwe have created is already available there as a layer. Using the Shader... button, we create a second layer with a noise shader.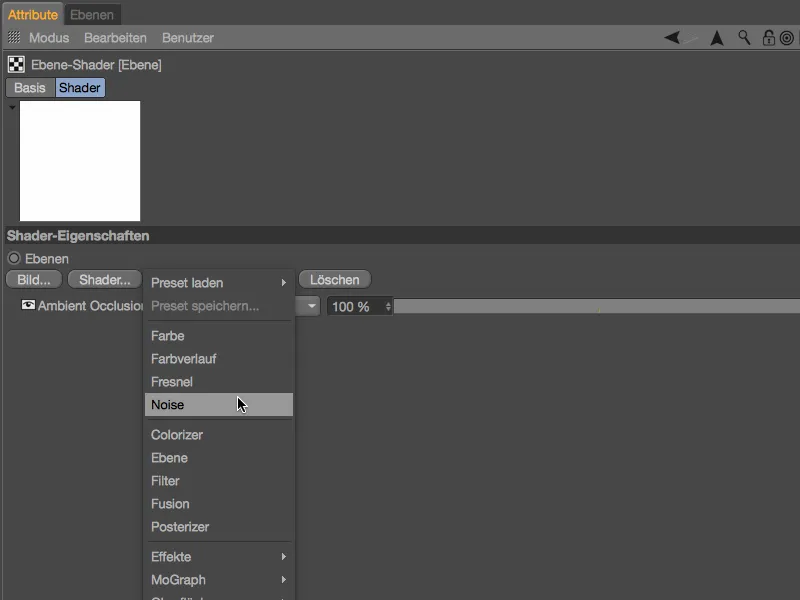
Of course, we won't be happy with the standard noise for our traces of use. By clicking on the small shader preview, we can access the noise shadersettings and select the Nutous noise type, which is much more suitable. We use 80 % as theglobal size and leave the other parameters at their default values.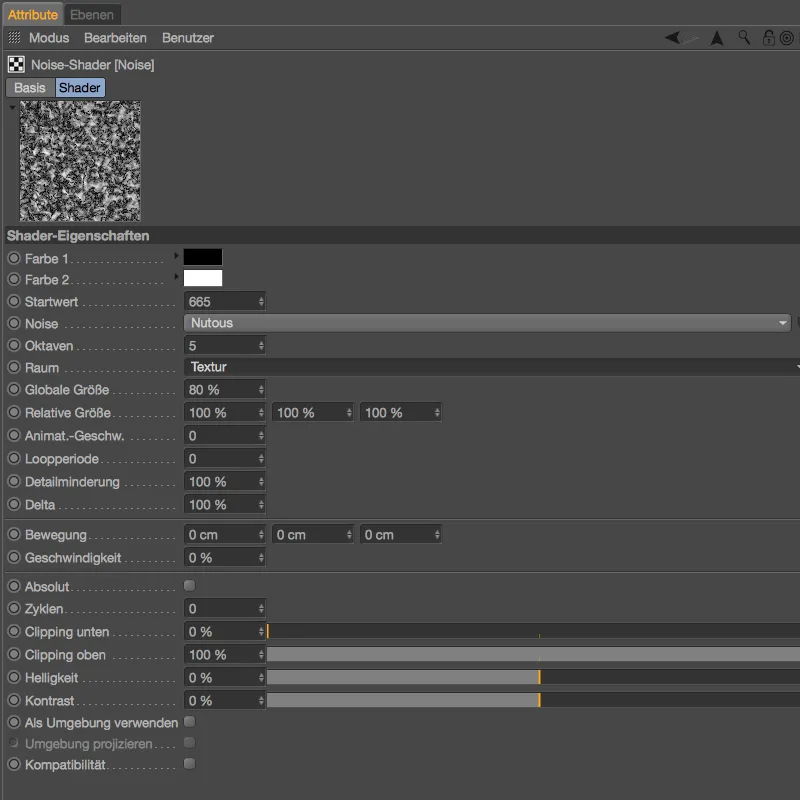
Using the upward-pointing arrow at the top right-hand edge, we switch back to the layer management and see that the noise shader completely covers the ambient occlusion shaderdue to its blend mode.
However, we actually need the noise shaderto specifically modify the contrast of the IAO shader- this task is performed for us by the Levr glare mode.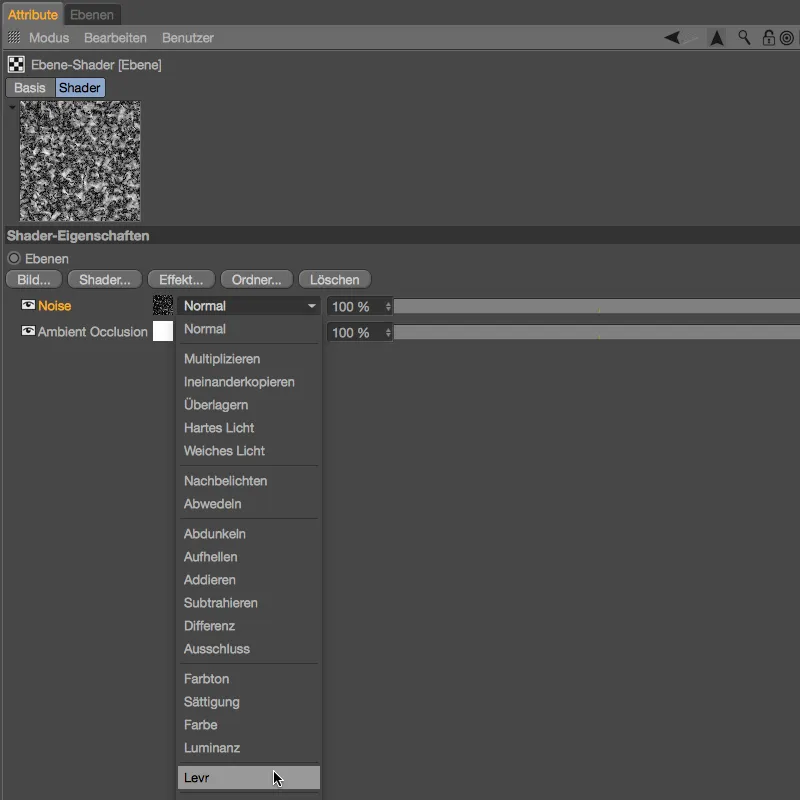
We determine exactly what effect this has on the inverse ambient occlusion shaderin a test rendering. As the noise shaderacts on the IAO shader at 100 %, the result is too rich in contrast and there are no midtones at all.
Back in the settings dialog of the layer shader, however, this is quickly corrected. A value of 40 % for the Levr blend mode still leaves enough of the middle gray areas.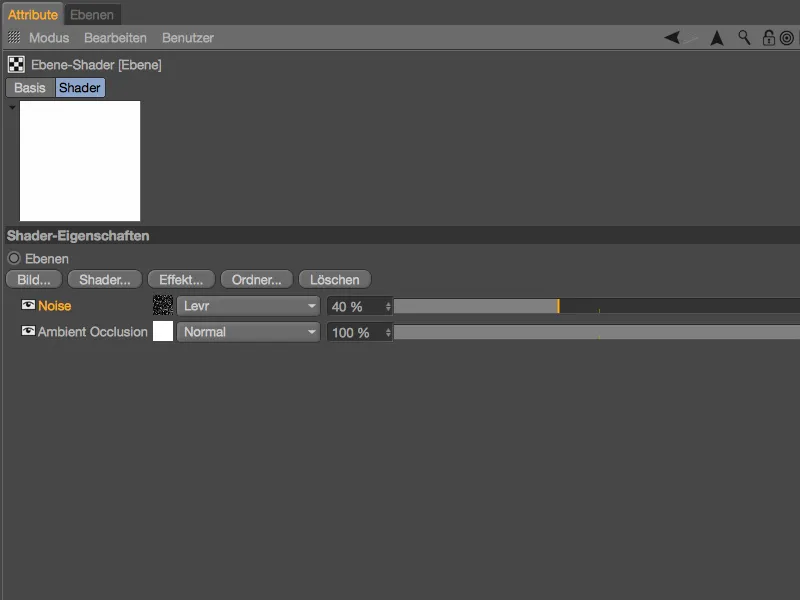
With this finished shader combination, we now finally want to apply the traces of use to our 3D Lego bricks.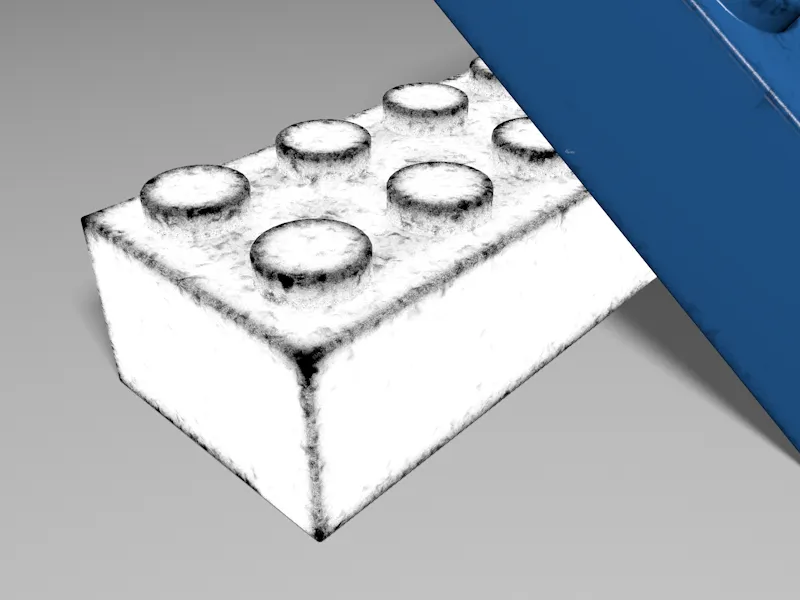
As we are still in the glow channelat the moment, but want to use our traces of use shader in other material channels, we copy it via the shader menuin the texture buttonwith the command Copy shader/image.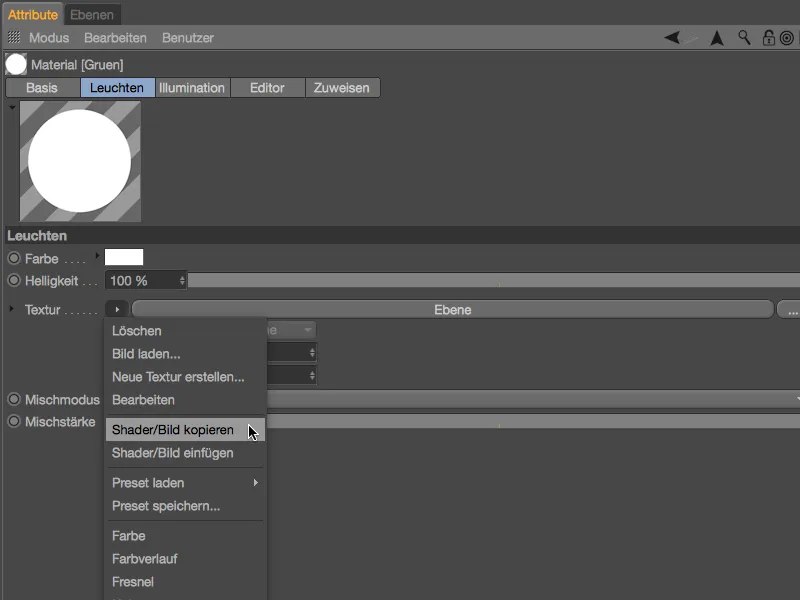
Creating the traces of use via the alpha channel
In Cinema 4D, there are many ways to reach your goal. For example, we could also use our traces of use shader as a layer in the color channel. In this tutorial, I have opted for the alpha channel so that we can work just as flexibly by overlaying different materials.
On the base sideof the green Lego brick material, we deactivate the glow channel, which is no longer required, and reactivate the color and reflectivity channels. For both Lego brick materials, we activate the alpha channelfor our traces of use shader.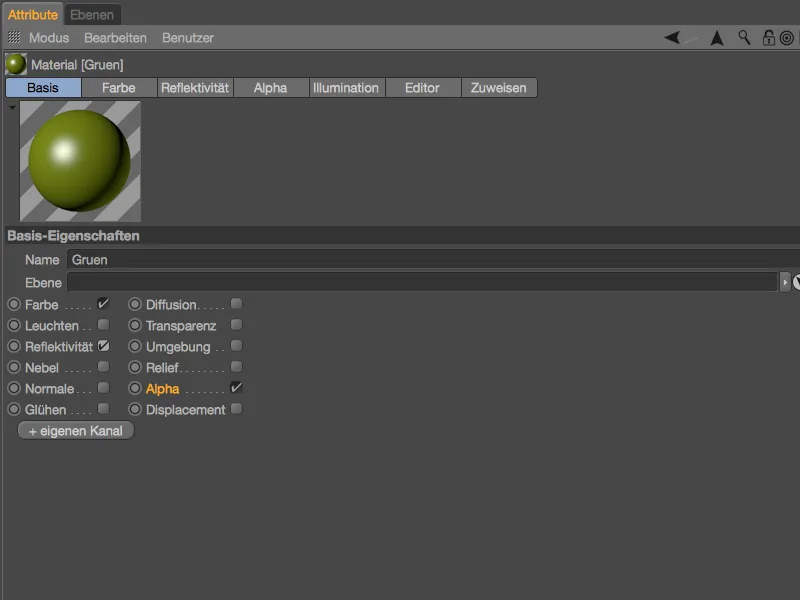
As we want to use the traces of use shader for both Lego bricks, we select both Lego materials in the Material Managerso that we can edit them at the same time. In the activated alpha channel, we insert our traces of use shader using the Insert shader/image command from the Shader menuof the Texture button.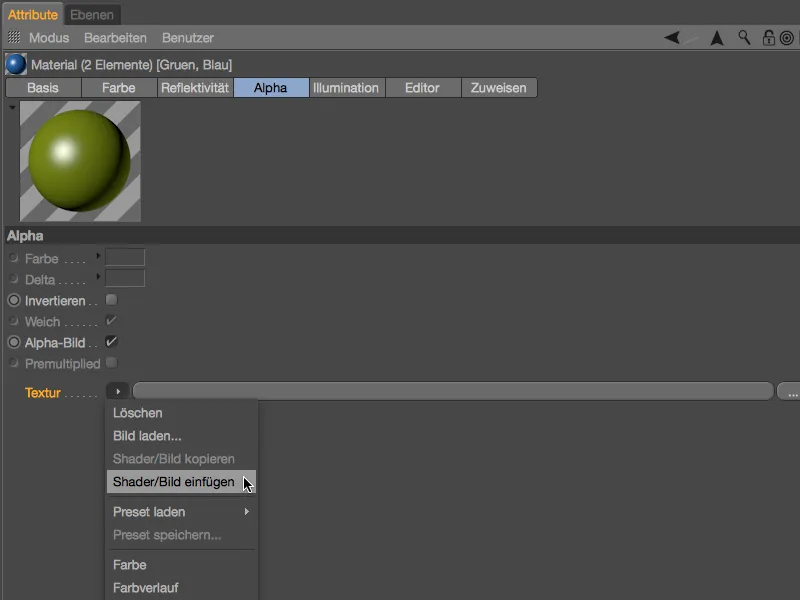
After inserting the traces of use shader for both materials, we need to deactivate the alpha image option so that the layer shaderloaded as a texture is interpreted correctly.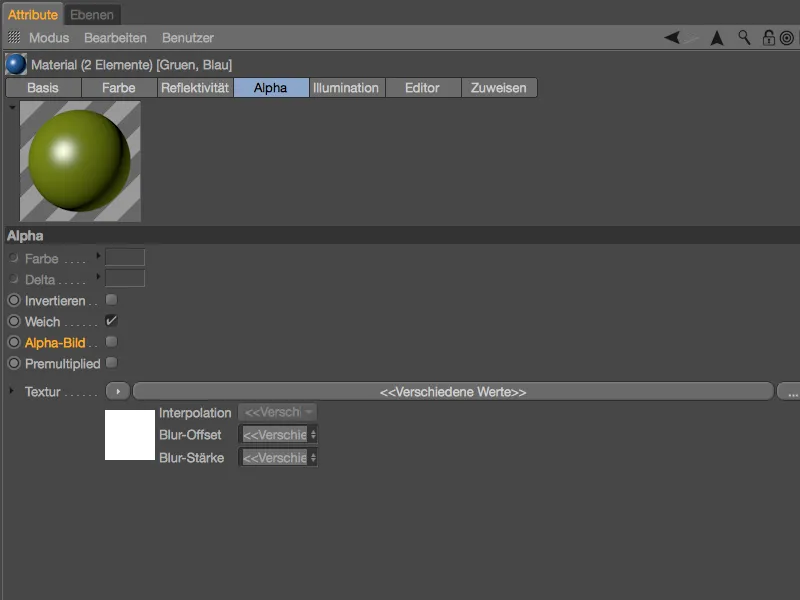
The main materials for the traces of use on our Lego bricks are now complete. If we now trigger a test rendering, we can see that there is no material on our Lego bricks in the exposed areas determined by IAO. In principle, this would be enough for a credible dirt application.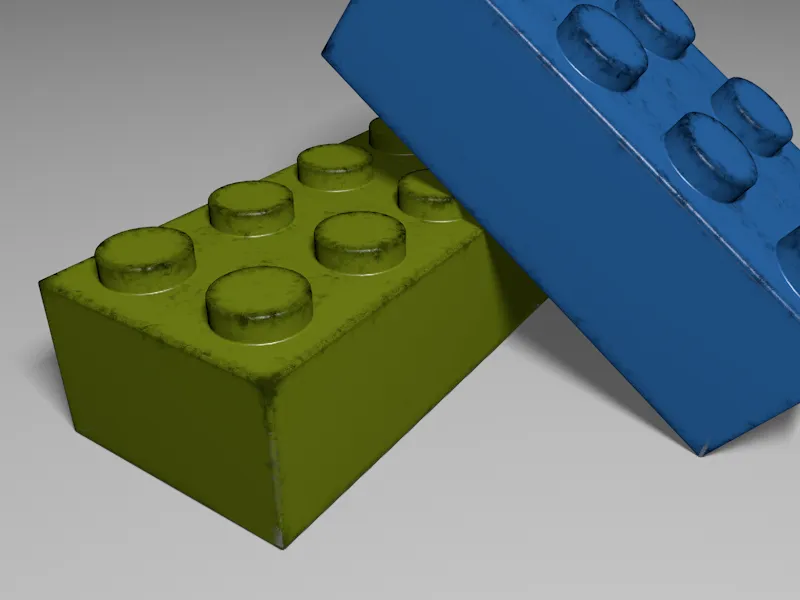
Material for the traces of use
But this tutorial is about scuffed areas and scratches. While the first two Lego materials cover the undamaged surface, two other materials will now be used for the signs of wear. I have already provided two slightly lighter green and blue materials in the Material Managerfor this purpose. For both materials, we are dispensing with the highlights generated by the reflectivity channelin order to emphasize the matt, worn look.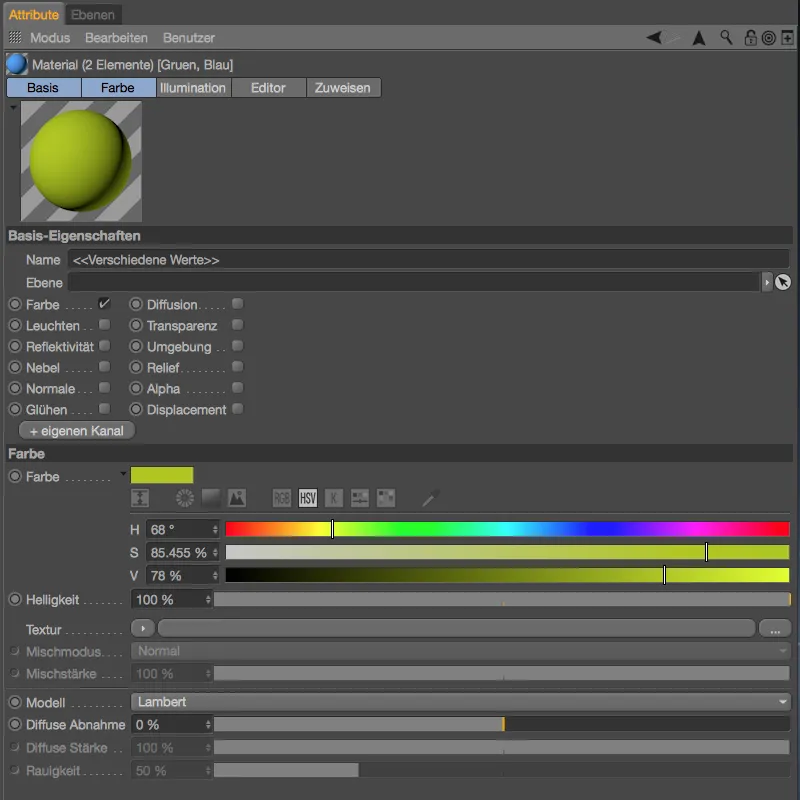
We assign both Lego materials to the respective Lego bricks by dragging and dropping them from the Material Managerinto the Object Manager, paying attention to the correct tag order. As the used track material we have just assigned is to be placed as a layer below the undamaged Lego material, its texture tag is on the left in the Object Manager.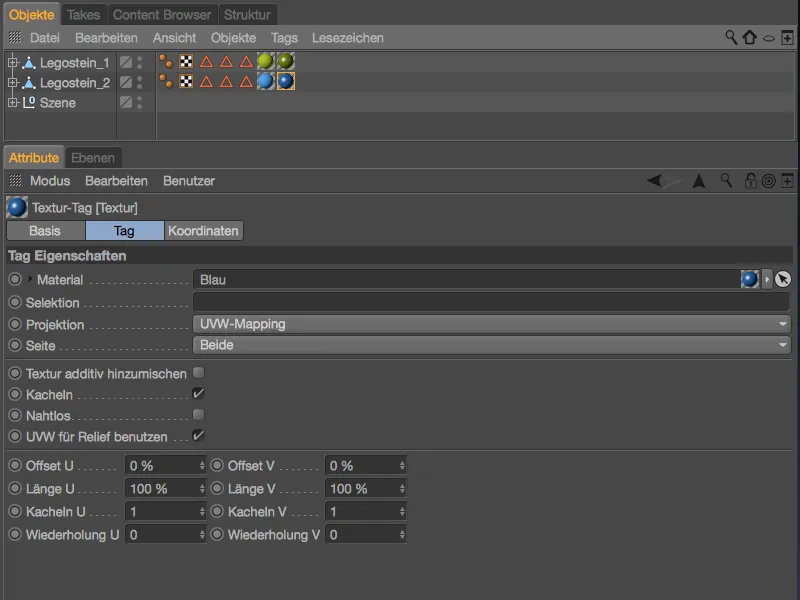
The next test rendering clearly shows that our slightly lighter Lego material can be seen in all exposed areas. Now our Lego bricks no longer look dirty, but worn from playing.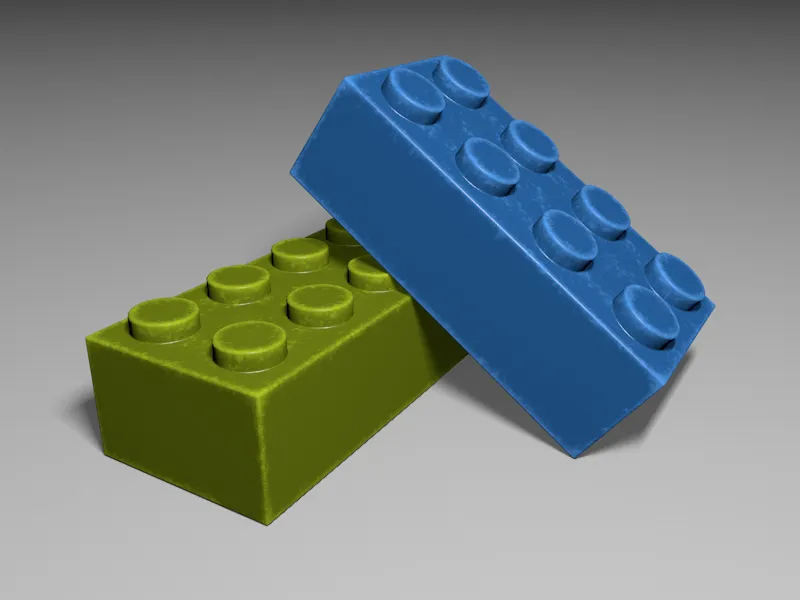
Now we have taken care of the plastic abrasion caused by playing, but it is supposed to happen that toys are exposed to a rougher gait and are decorated with dents and scratches. This is where the traces of uselayer shader we created comes in handy again.
In the event that the layer shaderis no longer in our clipboard, we simply copy it from the alpha channelof a Lego brick material using the Shader/Copy Image command from the Shader menuof the Texture button.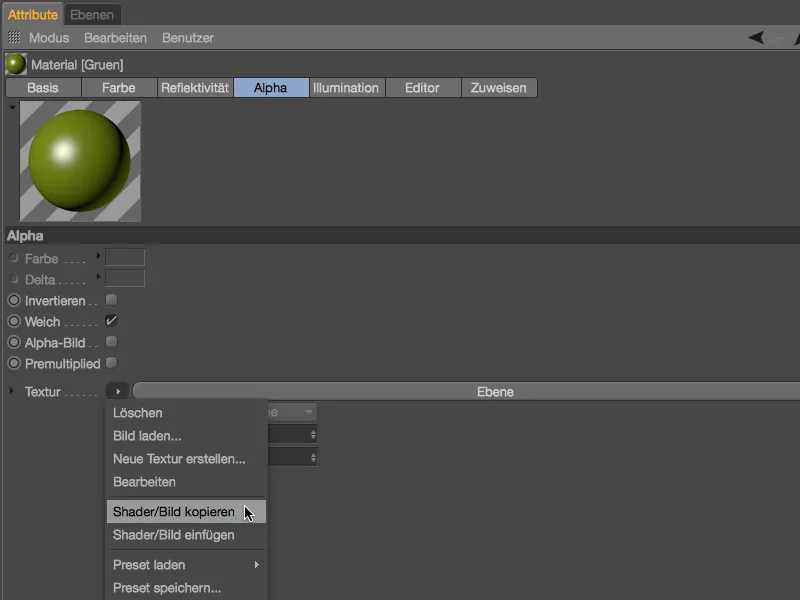
We then select the two lighter materials of the worn material version via the material managerand activate the relief channelfor both materials on the base pageof the settings dialog.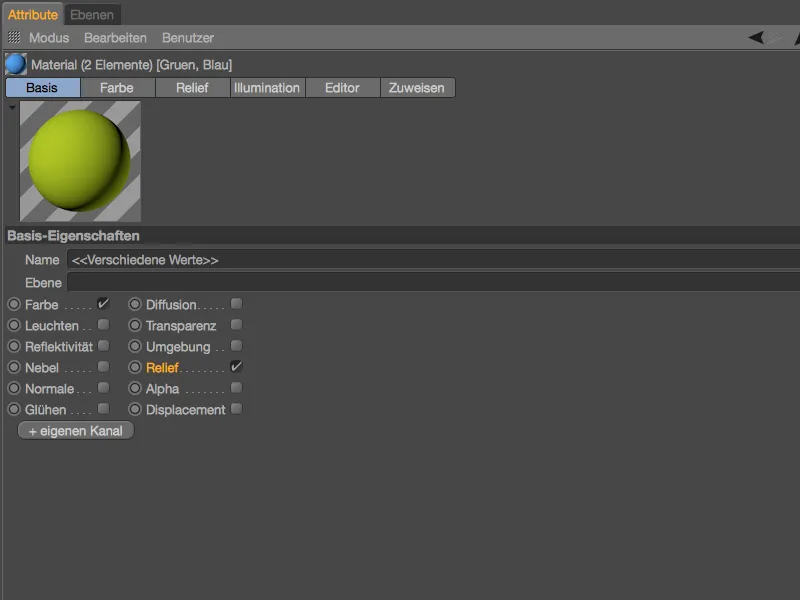
Using the Paste shader/image command from the Shader menuof the Texture button, we insert the copied shader as a texture into the relief channelof both materials.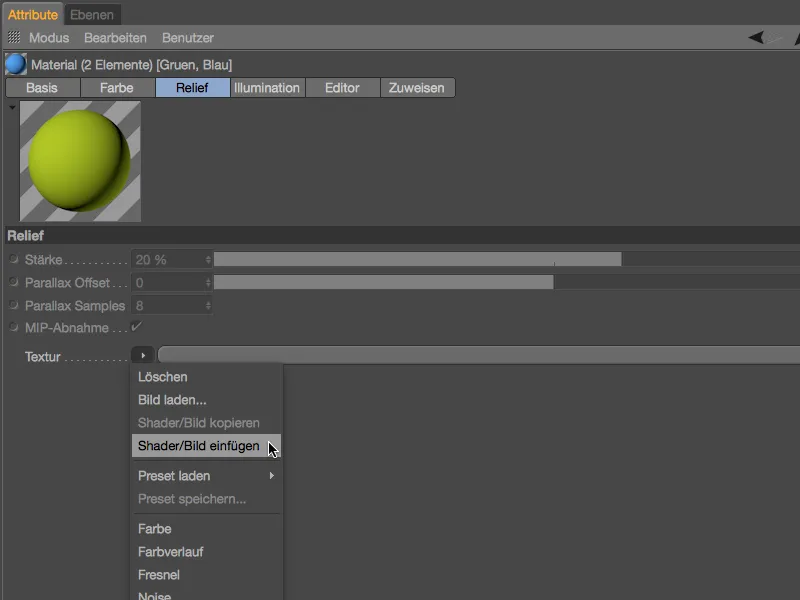
Based on the shader for the wear marks, we can easily create a variant for the dents and scratches generated by the relief channel. We know how the Levr blending mode works, so we should increase the contrast slightly to reduce the bump map generated in this way to scratches. Let's raise the Levr layer to 60%.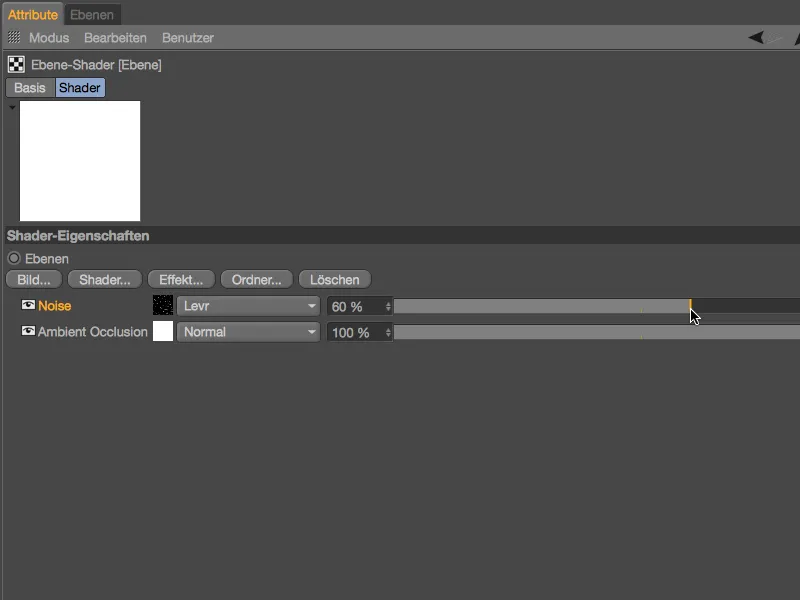
To separate the scratches even further, open the noise shadersettings and set the clipping at the bottom to 30%. As you can already see in the preview, this will cut off or reduce the lighter areas.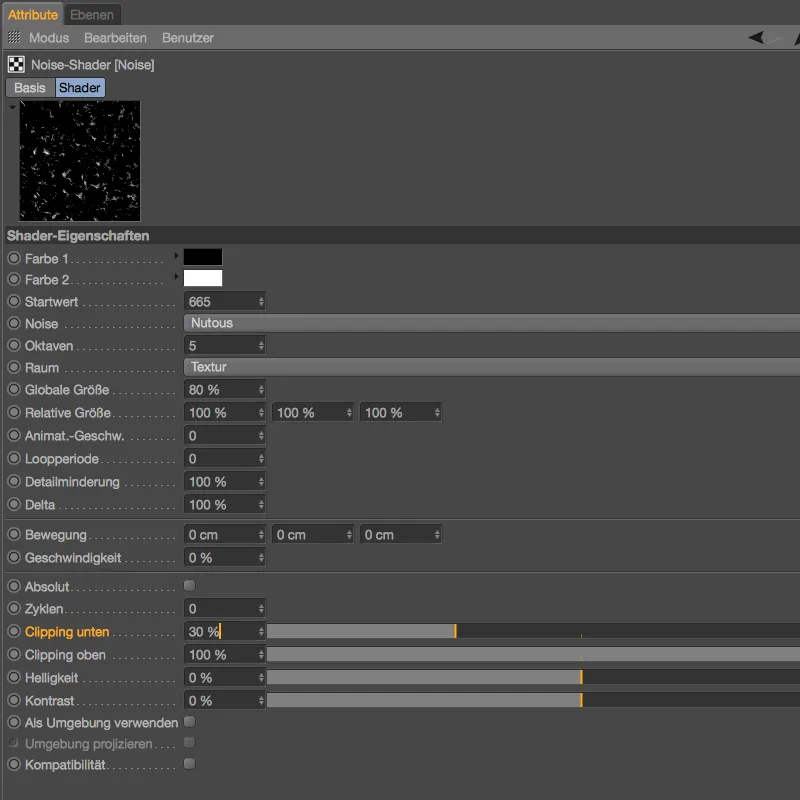
The shader offshoot intended for the dents and scratches is already set, so we only have to set the strength of the relief channel- I have stuck with the default setting of 20 %. The new parallax functionsin Release 18 are only mentioned for the sake of completeness; there is no visible difference in quality for this application.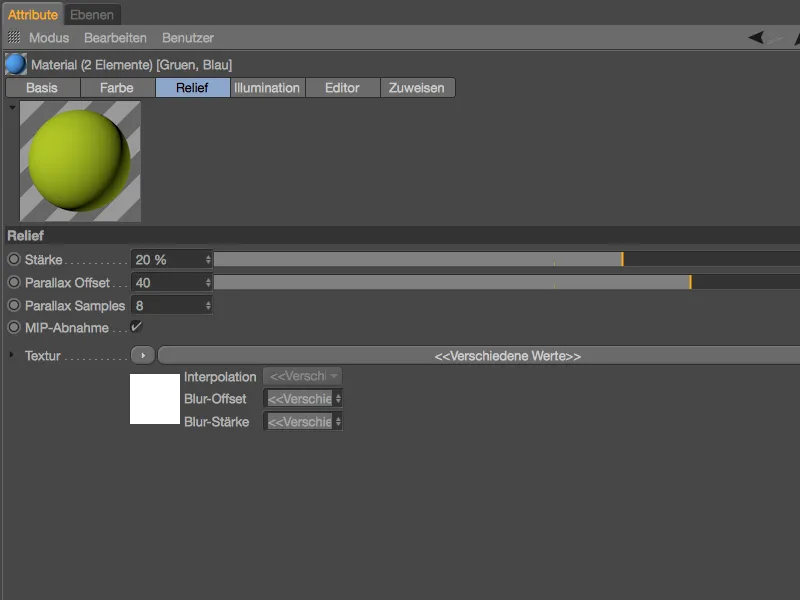
I don't want to maltreat the Lego bricks any further in this tutorial. As the close-up shows, the small scratches and chips give the Lego bricks the desired finishing touch ...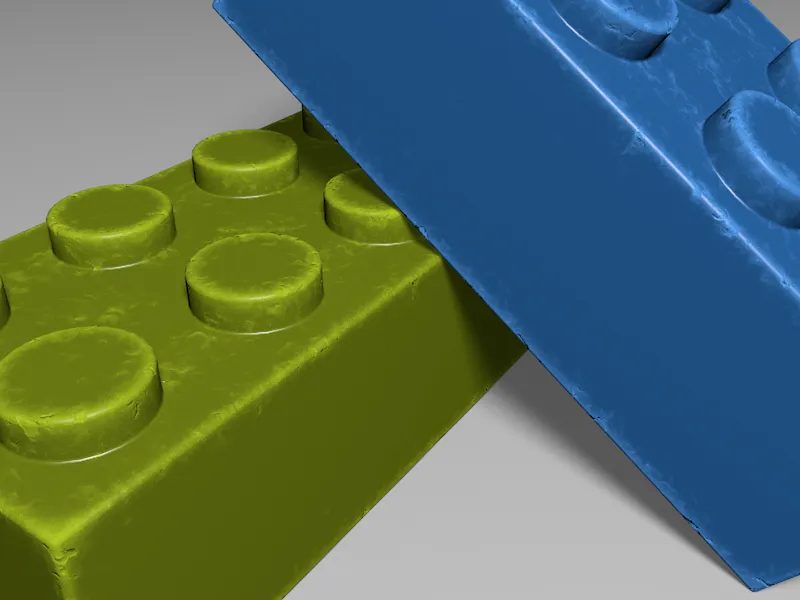
... which considerably increases the credibility of our final rendering.