Nowadays, visual communication plays a crucial role, and Canva provides you with the tools to easily and effectively upload and edit photos, videos, and other media. In this tutorial, you will learn how to upload photos in Canva, manage videos, and upload your own media content. After reading this guide, you will be able to start your own creative project and visually enhance your content.
Key Insights
- You can choose from a variety of free and paid photos and videos.
- Media can be uploaded easily by drag and drop.
- It is important to use only the media for which you have the proper usage rights.
Step-by-Step Guide
Let's start by uploading photos in Canva.
Step 1: Browse Photos
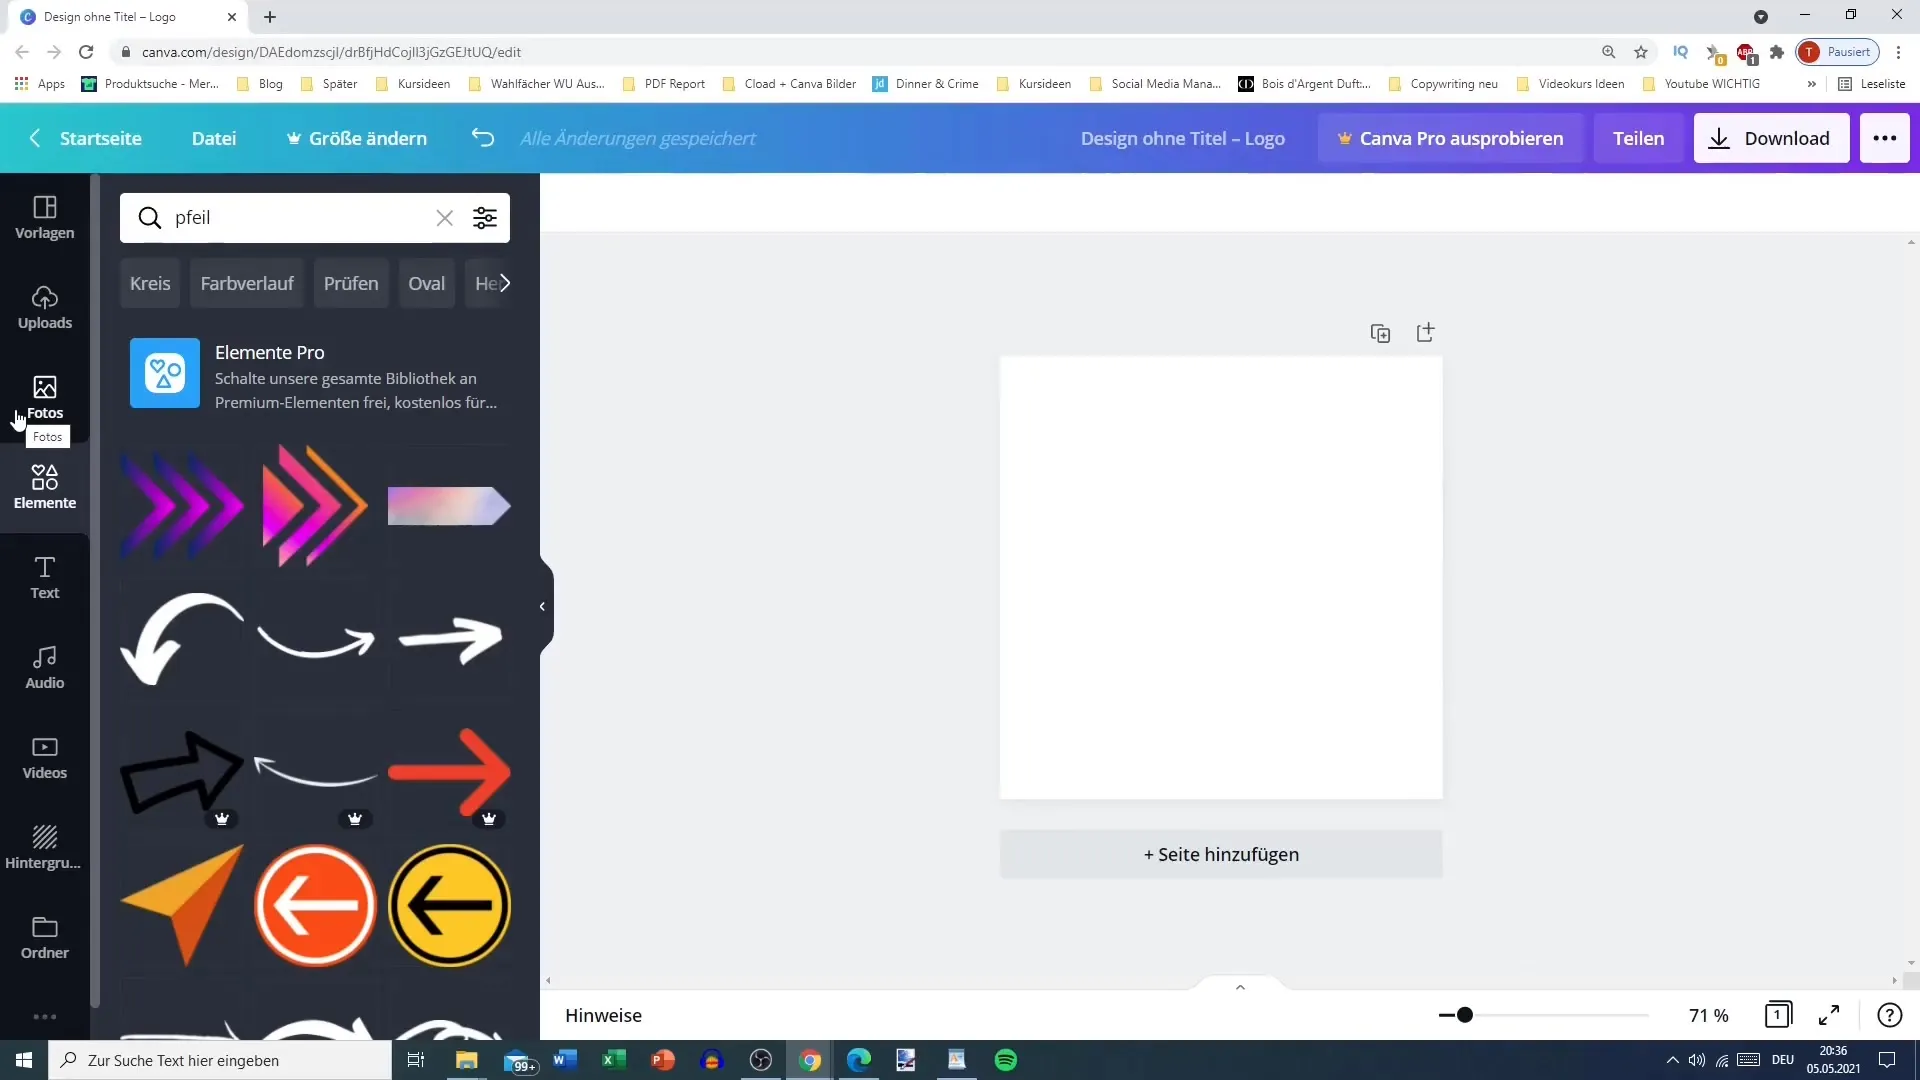
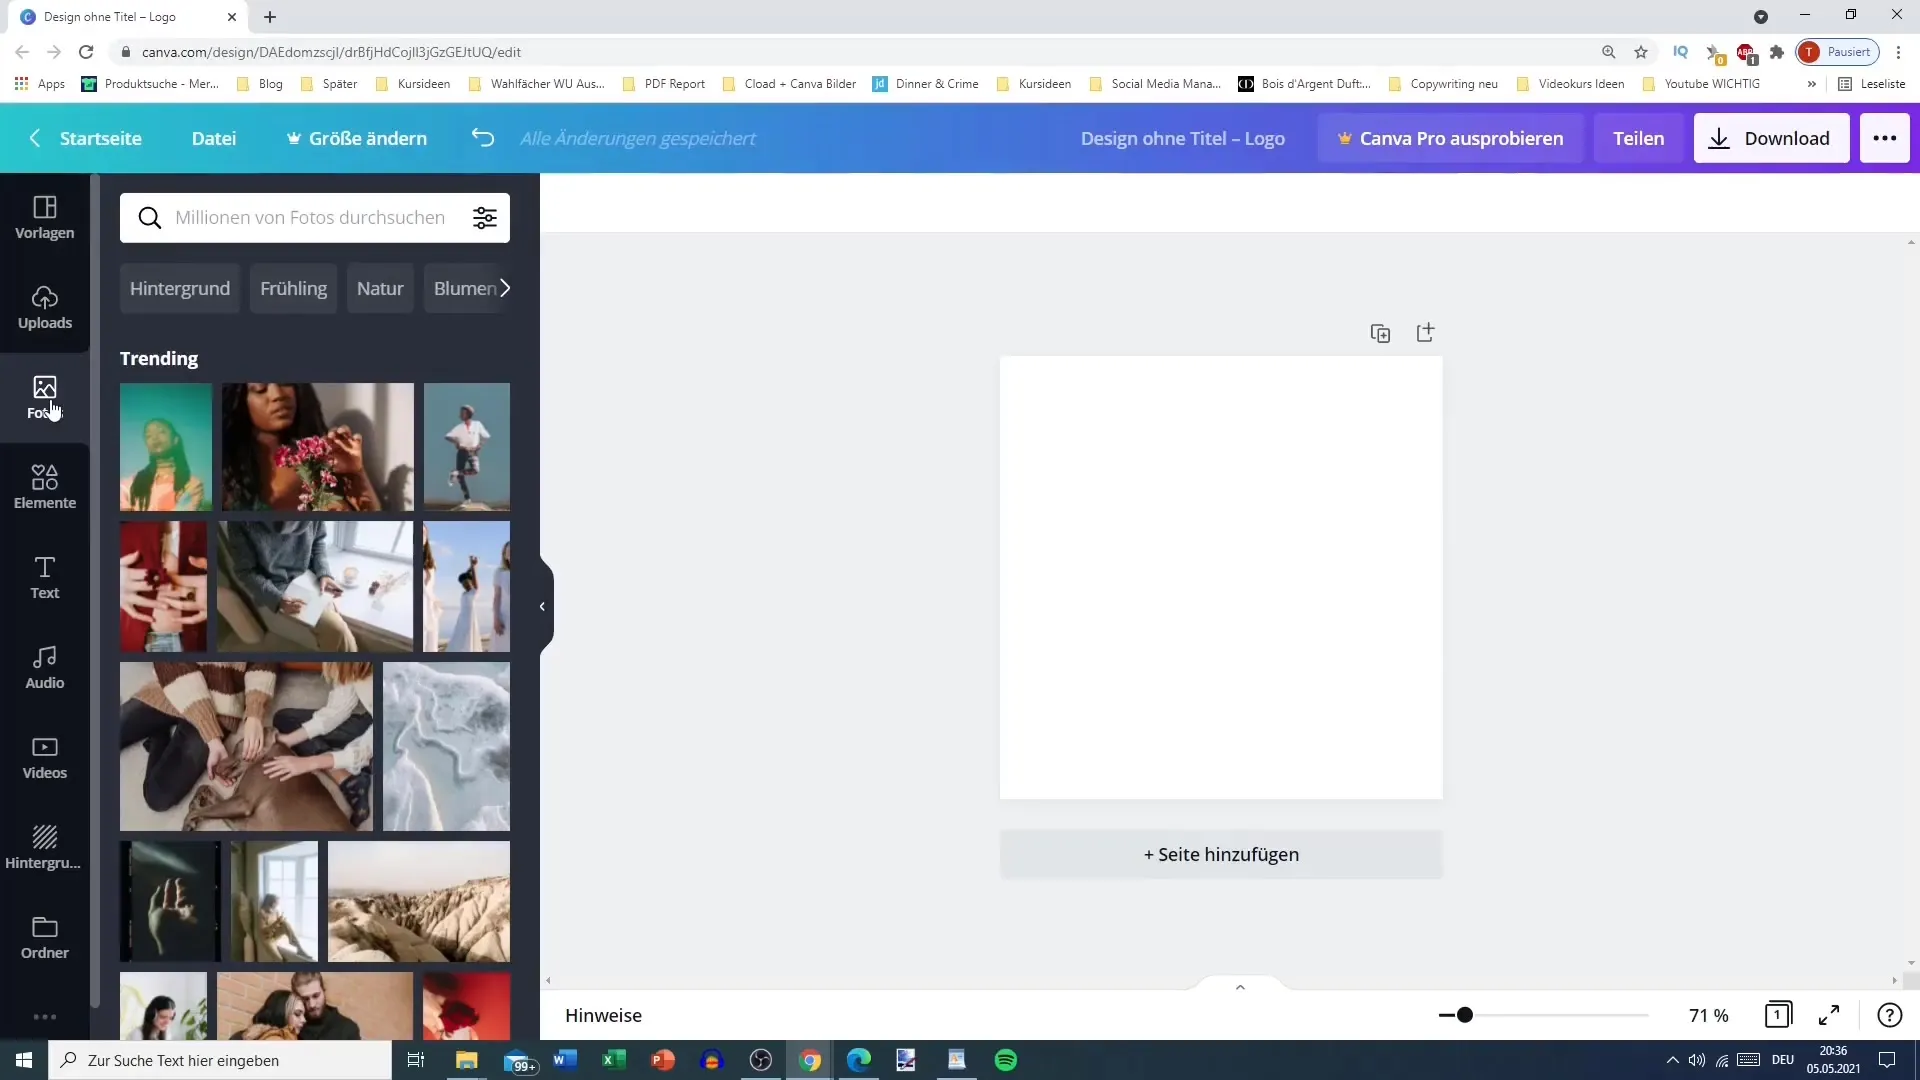
To begin your journey into the world of photos, go to the sidebar located on the user interface in Canva. Simply click on "Photos." This will open up a wide selection of real photos. Note that Canva displays real camera photos, not illustrations.
Step 2: Select Free Photos
Many of the photos displayed are free. You can check this by hovering over a photo with your mouse without clicking. The word "gratis" appears when the image is available for free. Choose a photo you wish to use by simply clicking on it. The image will be pulled into your design in its original size.
Step 3: Adjust Image Position and Size
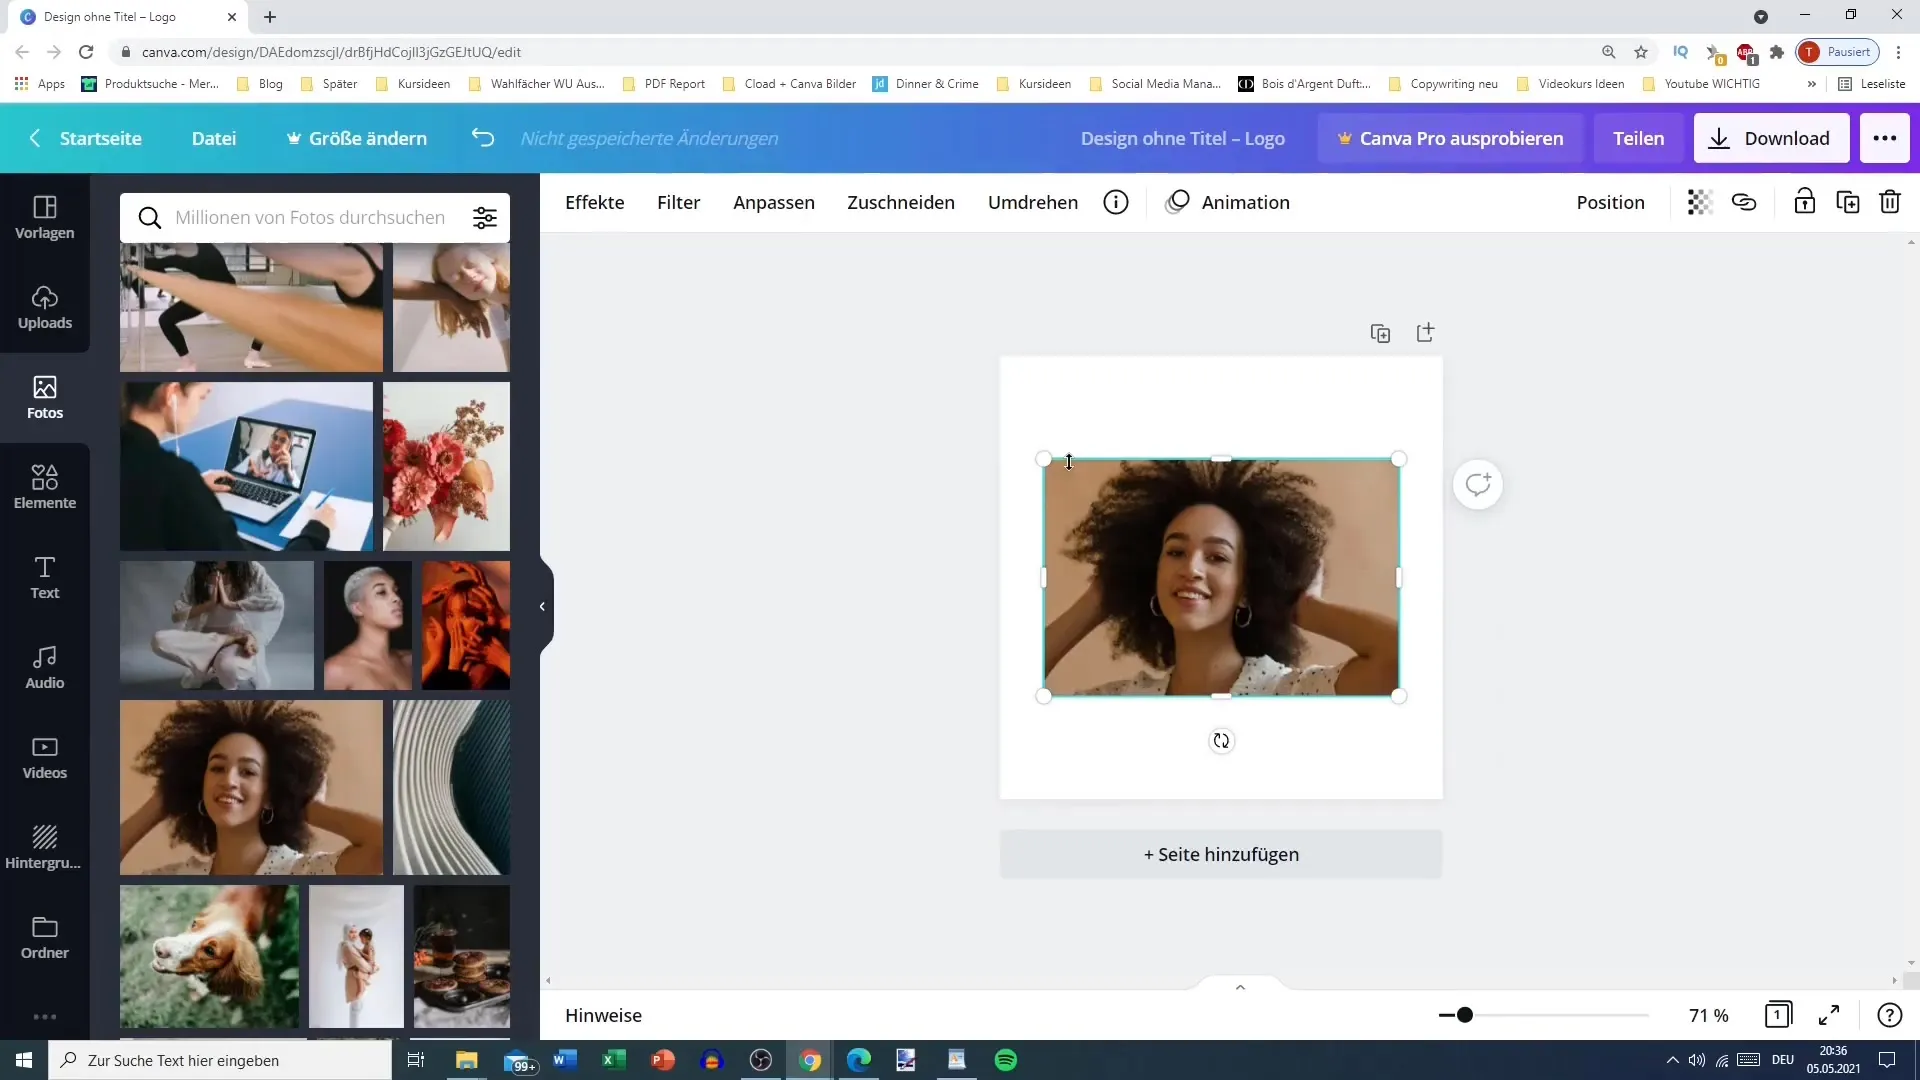
Once the image is on your design, you can move it around or directly drag it onto your image to adjust its size. Canva makes it easy for you to customize the image to your liking. You can enlarge it or reduce it to a smaller size.
Step 4: Search for Images
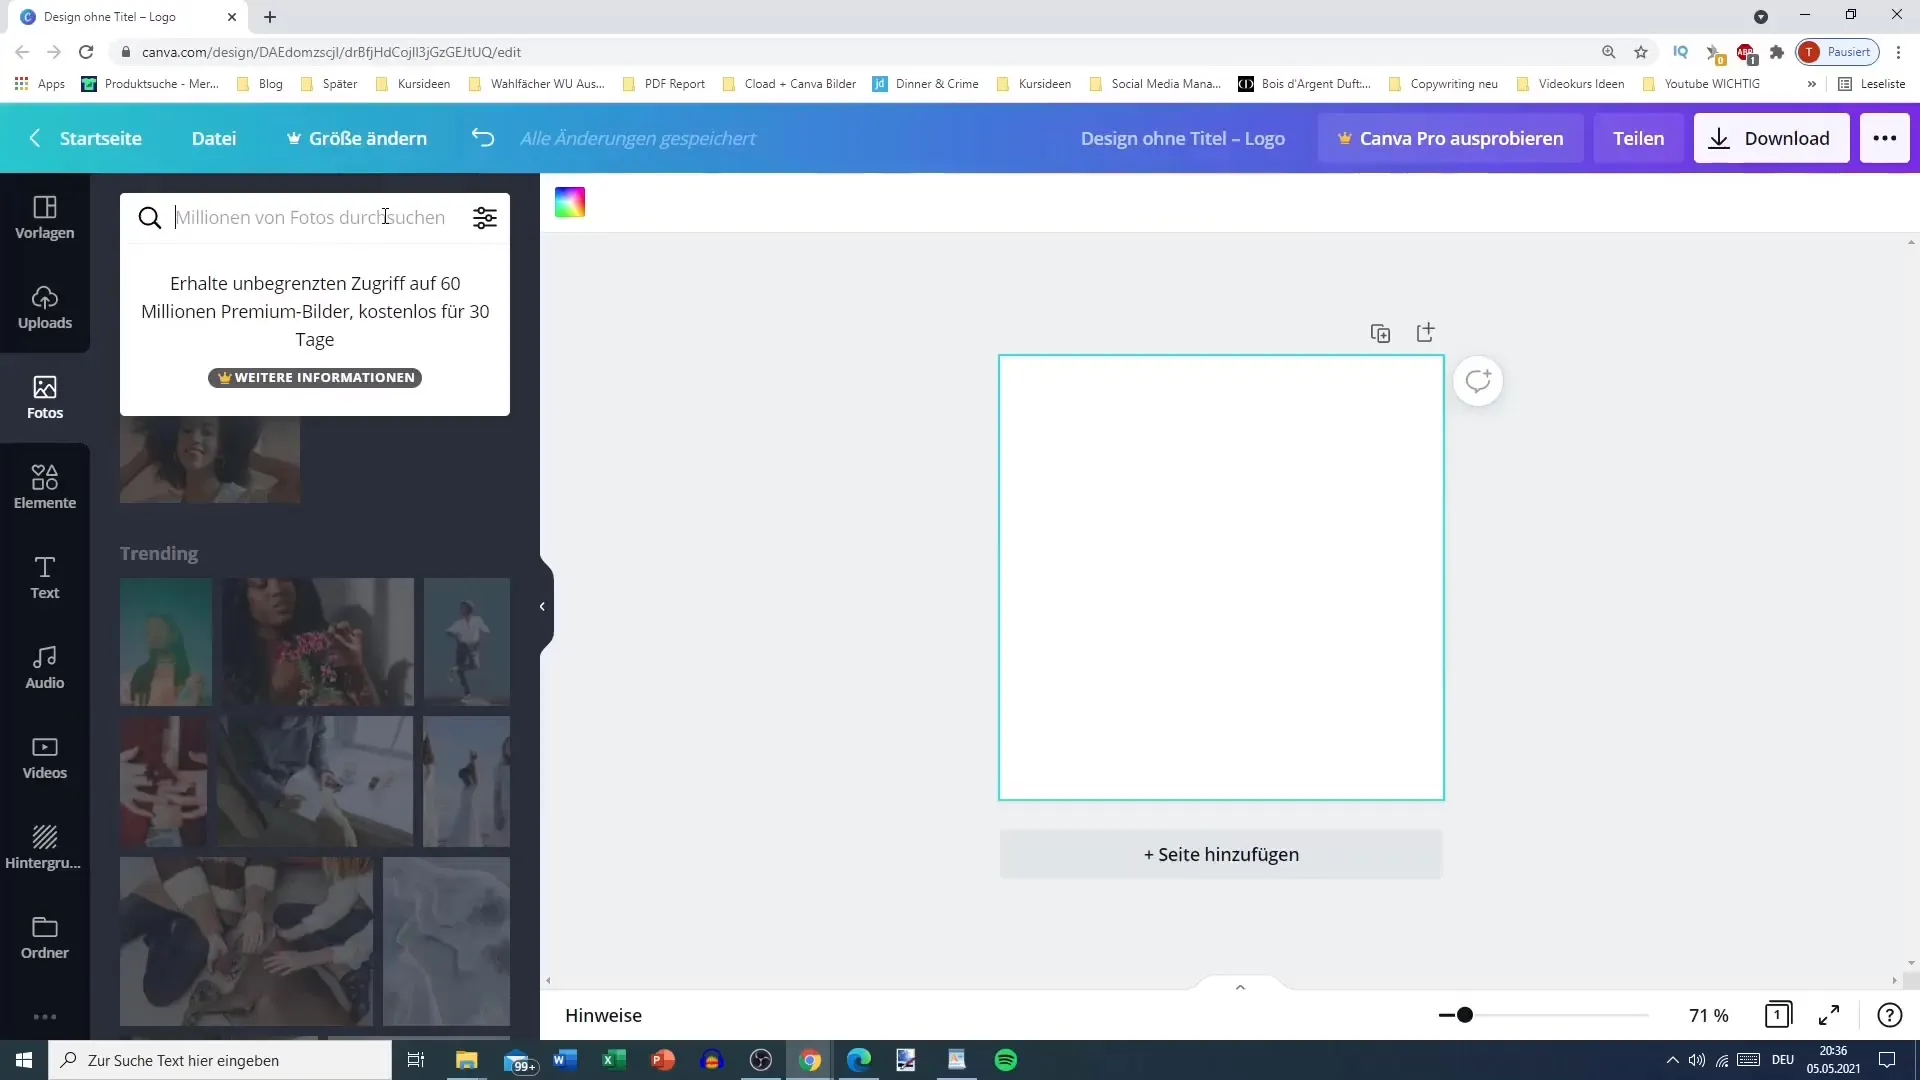
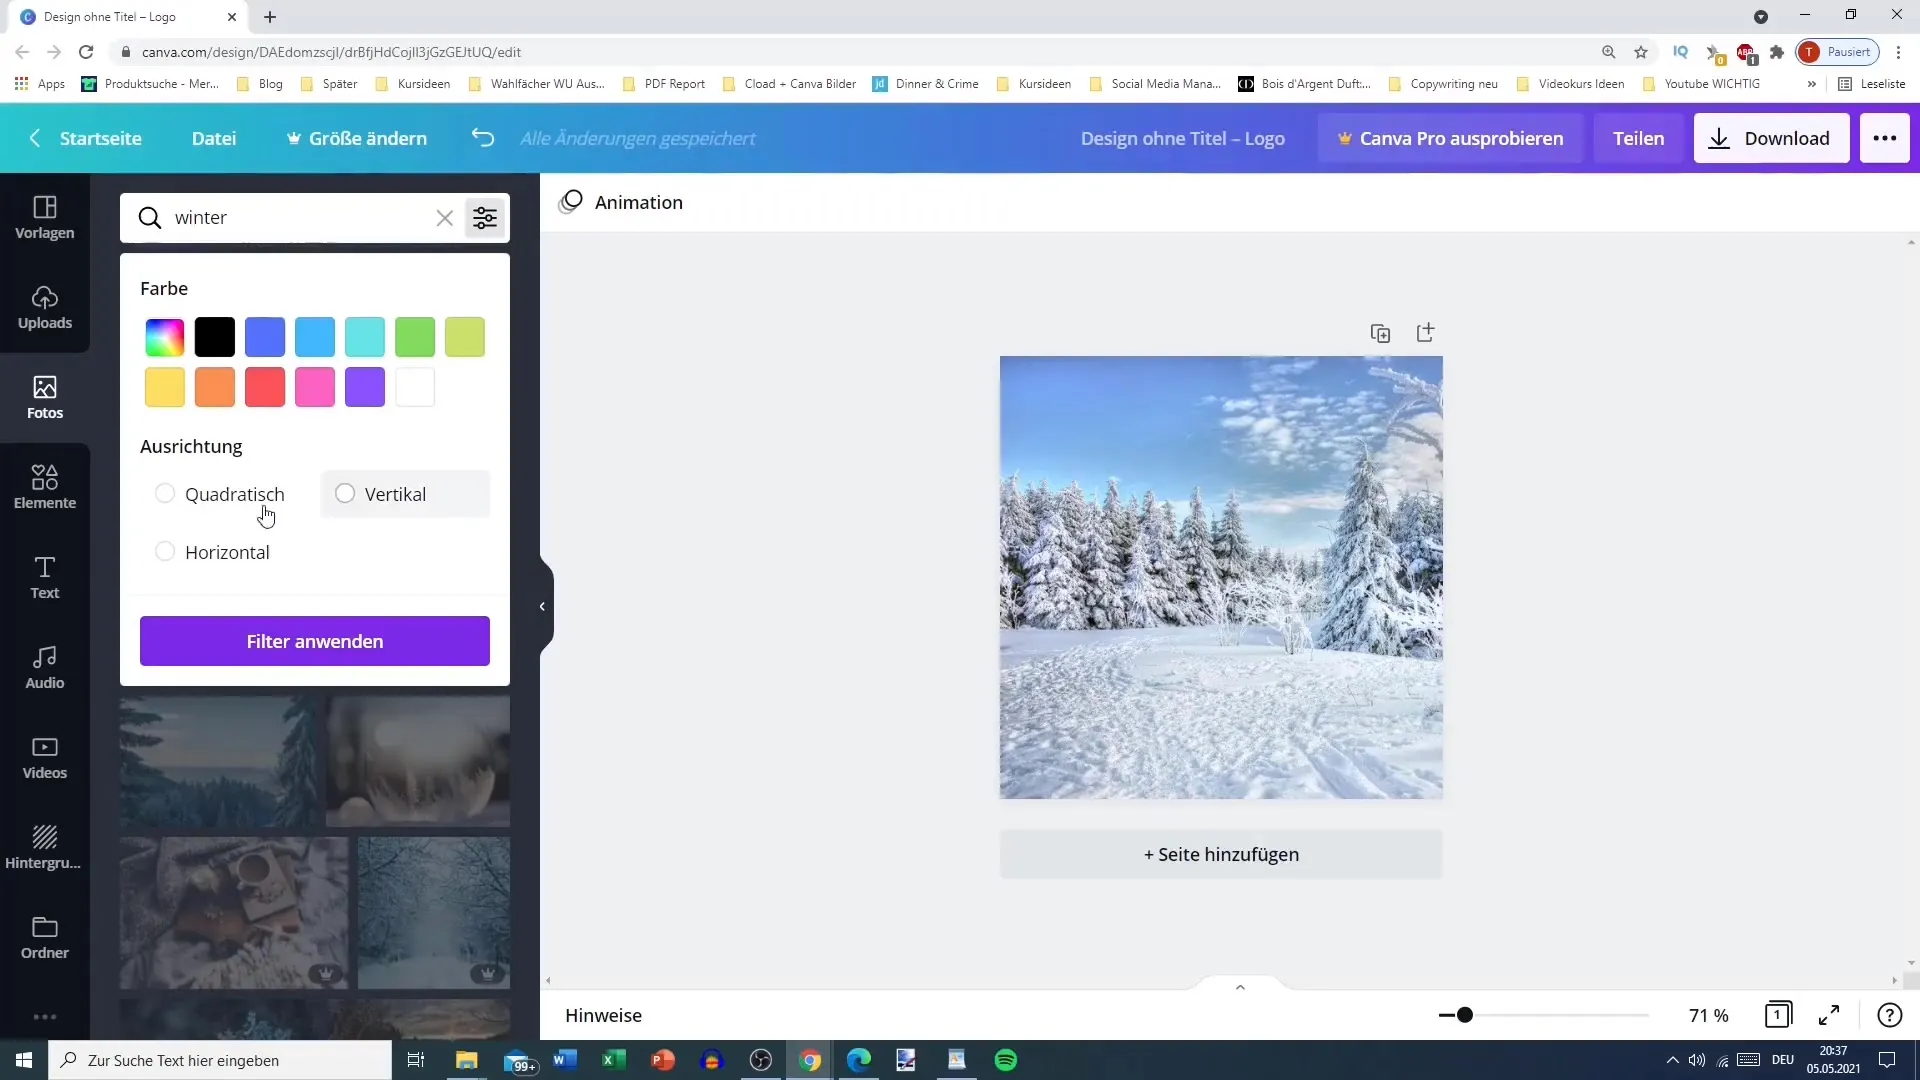
To search for specific images, you can use the search field at the top of the sidebar. Simply enter the keyword, e.g., "Winter." Canva will show you a mix of paid and free graphics. Select the images you like.
Step 5: Filter Image Types
You also have the option to filter the images by format. You can search for only horizontal images, square images, or vertical images. This makes the search for your specific project easier and more targeted.
Step 6: Browse and Use Videos
Now switch to the "Videos" section. Here too, there is a wide selection of videos that you can use. However, most videos in Canva are paid. You can search for "Winter" to find specific video content, but you will notice that the selection is limited.

Step 7: Adjust Video Quality
Once you have chosen a video, you can adjust it as needed. You can crop the video to keep only the sections that are important to you. Select the "Crop" section in the top bar to edit the video according to your preferences.

Step 8: Create Uploads
To upload your own media, go to the "Uploads" tab in the sidebar. Here, you can upload both images and videos and audio files simply by drag-and-drop.
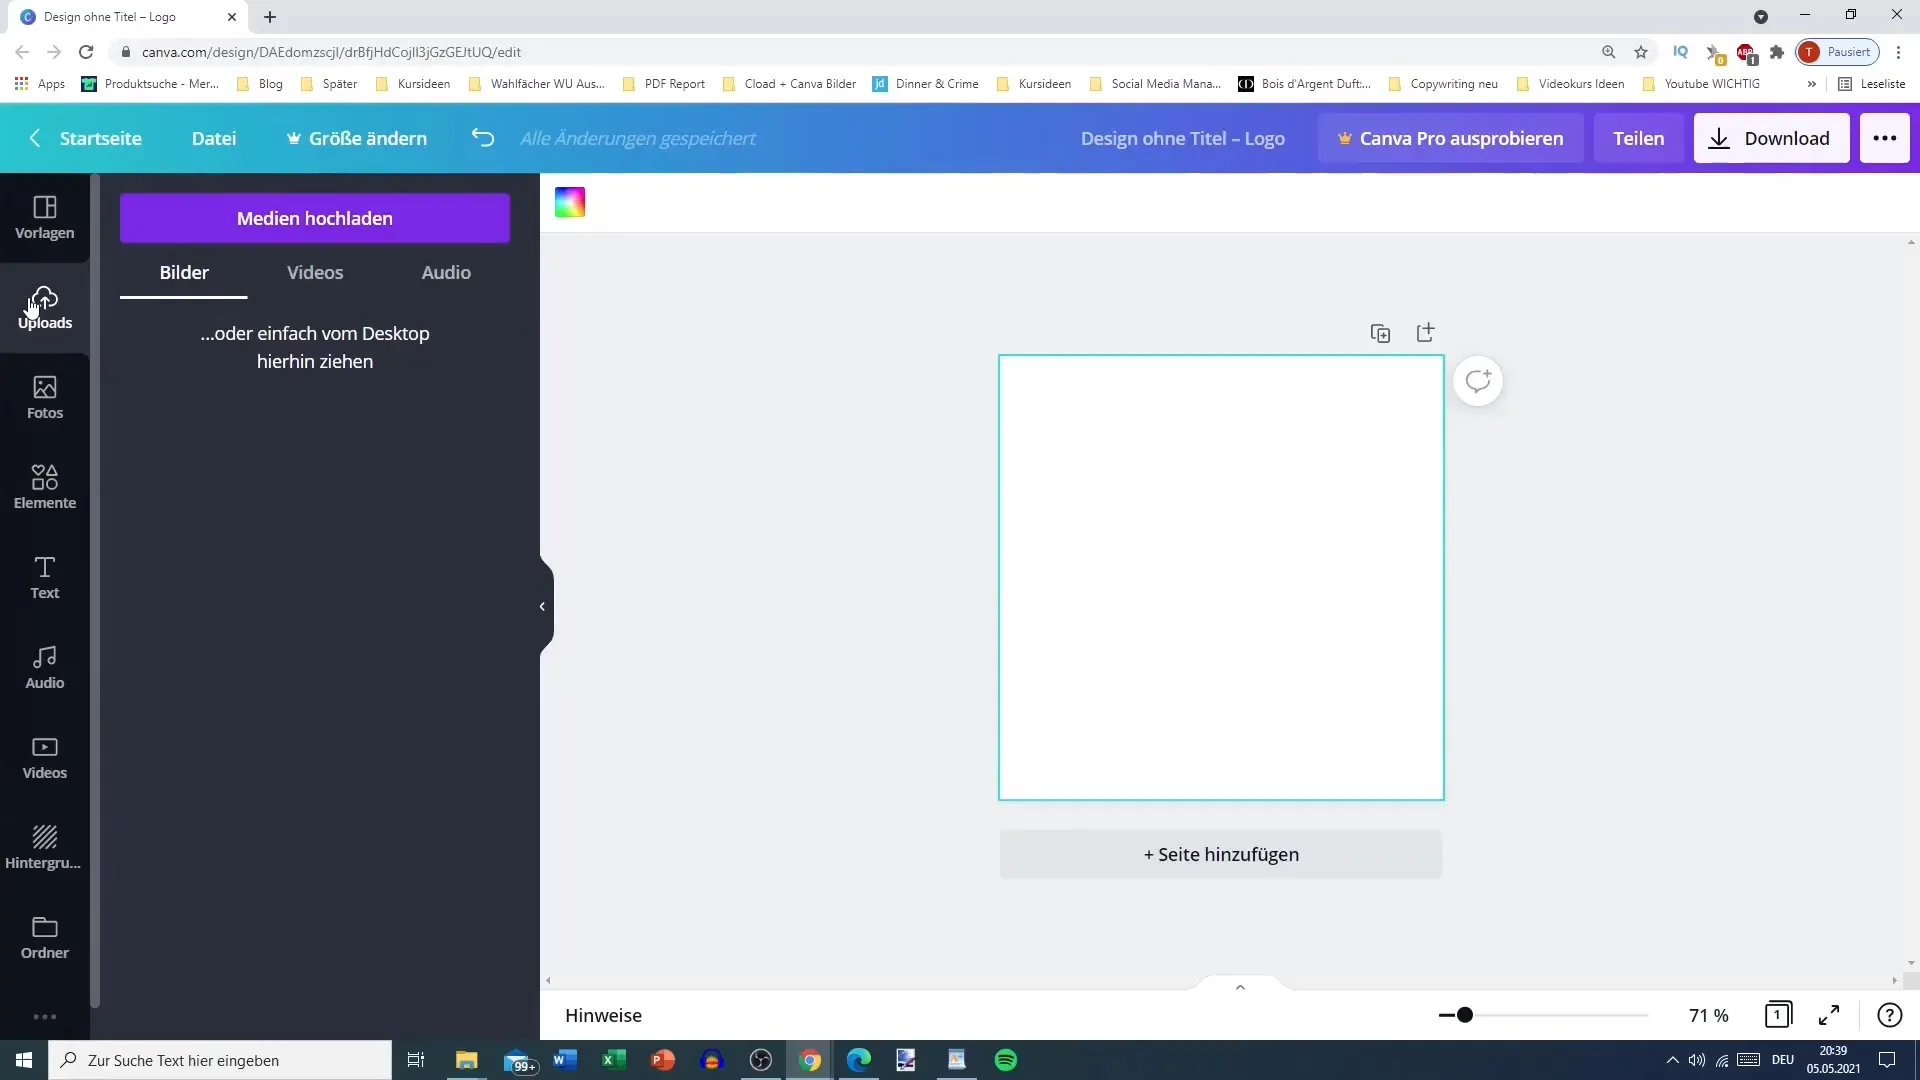
Step 9: Upload via the computer
To upload an image, open your download folder and drag the desired file into it. Alternatively, you can take the longer route via "Upload media" and select the image directly from your device.
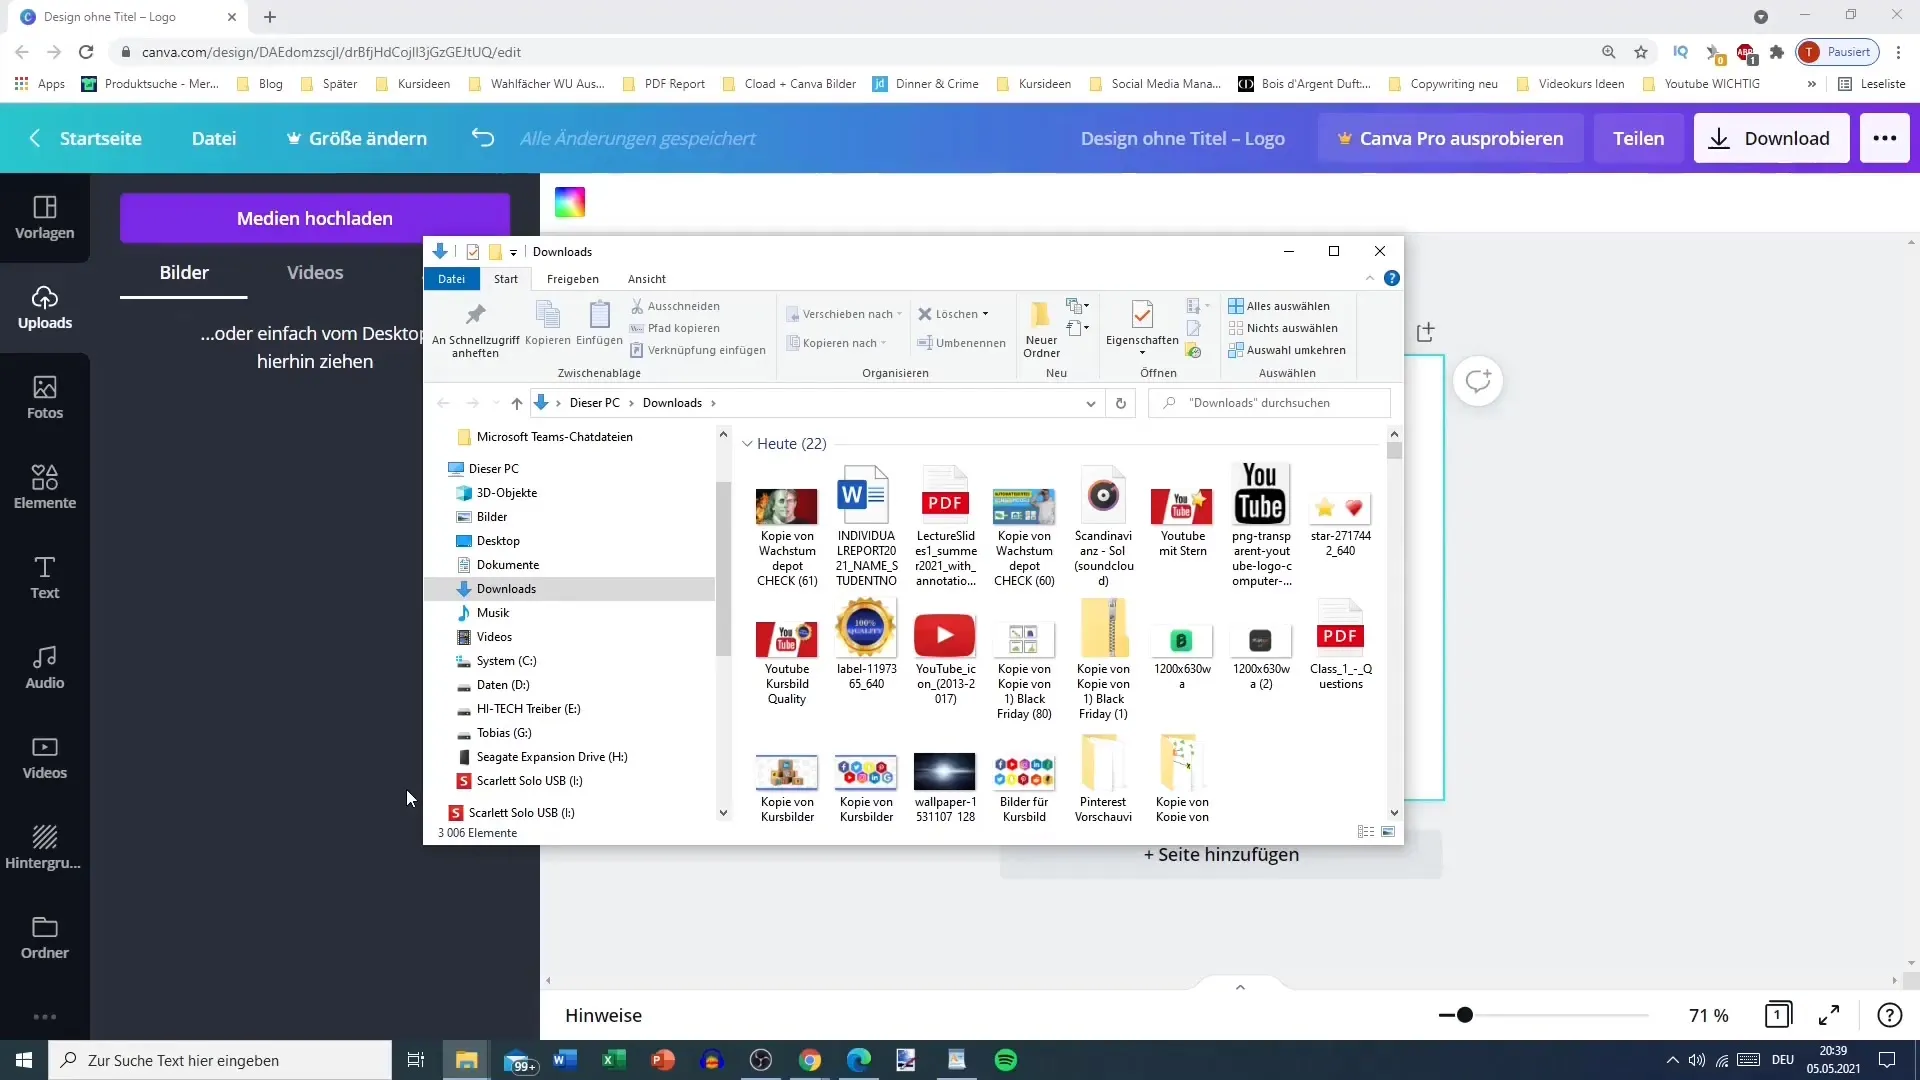
Step 10: File formats and rights
Make sure you are using the correct file formats. Canva supports a variety, including PNG, JPG, MP4, and GIF. And most importantly: ensure that you have the usage rights for the media you upload. Only use media that you own or have permission to use.
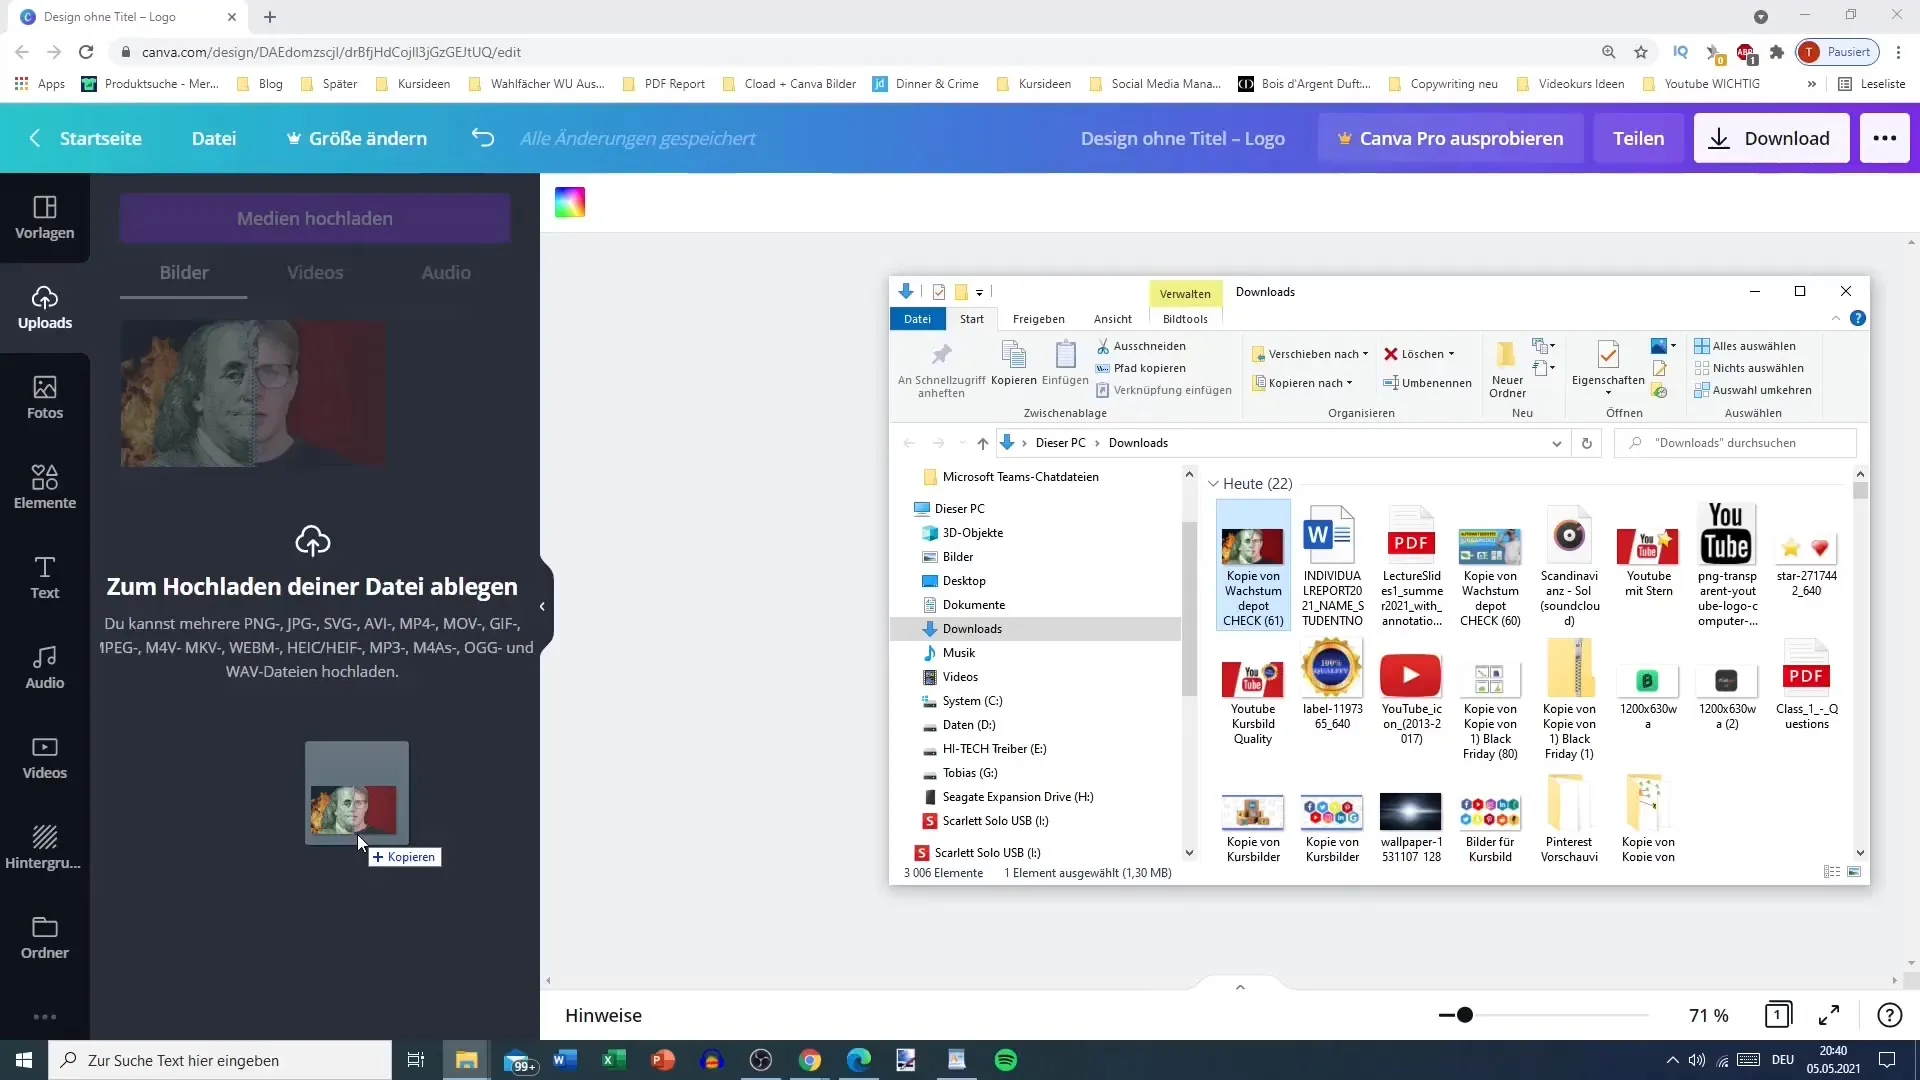
Step 11: Manage media
After uploading, you have the option to manage the media. You can simply select them, delete them, or click on the white area and remove them. This is simple and helps you keep your project organized.

Summary
In this tutorial, you have learned how to upload and edit photos and videos in Canva. With the steps you now know, you are ready to bring your creative ideas to life and create impressive designs. Use the many possibilities that Canva offers you and turn your content into visual masterpieces.
Frequently Asked Questions
How do I upload an image in Canva?You can upload an image in Canva by going to the Uploads section and dragging the file in or by selecting your device via the upload option.
How do I find free images in Canva?You can identify free images by hovering the mouse over them to see the word "free" displayed.
Can I trim videos in Canva?Yes, you can trim videos in Canva by selecting the video and using the trim function in the top bar.
Are the images in Canva copyrighted?Yes, you should ensure that you have the rights to the images you upload or use.
Which file formats does Canva support?Canva supports file formats such as PNG, JPG, SVG, MP4, MOV, GIF, and many more.


