In this tutorial, I will show you how you can effectively use the different frames and mockups in Canva. Canva is a user-friendly design software that allows you to create creative graphics, whether it's for social media, marketing materials, or personal projects. The strategic use of frames can give your design projects a professional touch and help showcase your images optimally. Let's go through the steps together!
Main Takeaways
- Frames can structure and highlight images and designs.
- Mockups allow you to showcase designs in realistic scenarios.
- Canva offers a variety of shapes and effects to customize your designs.
Step-by-Step Guide
Step 1: Creating a New Page
To start with your design, first create a new page in Canva. Go to "Create a design" and choose your desired template or create a blank page.
Step 2: Elements and Searching for Frames
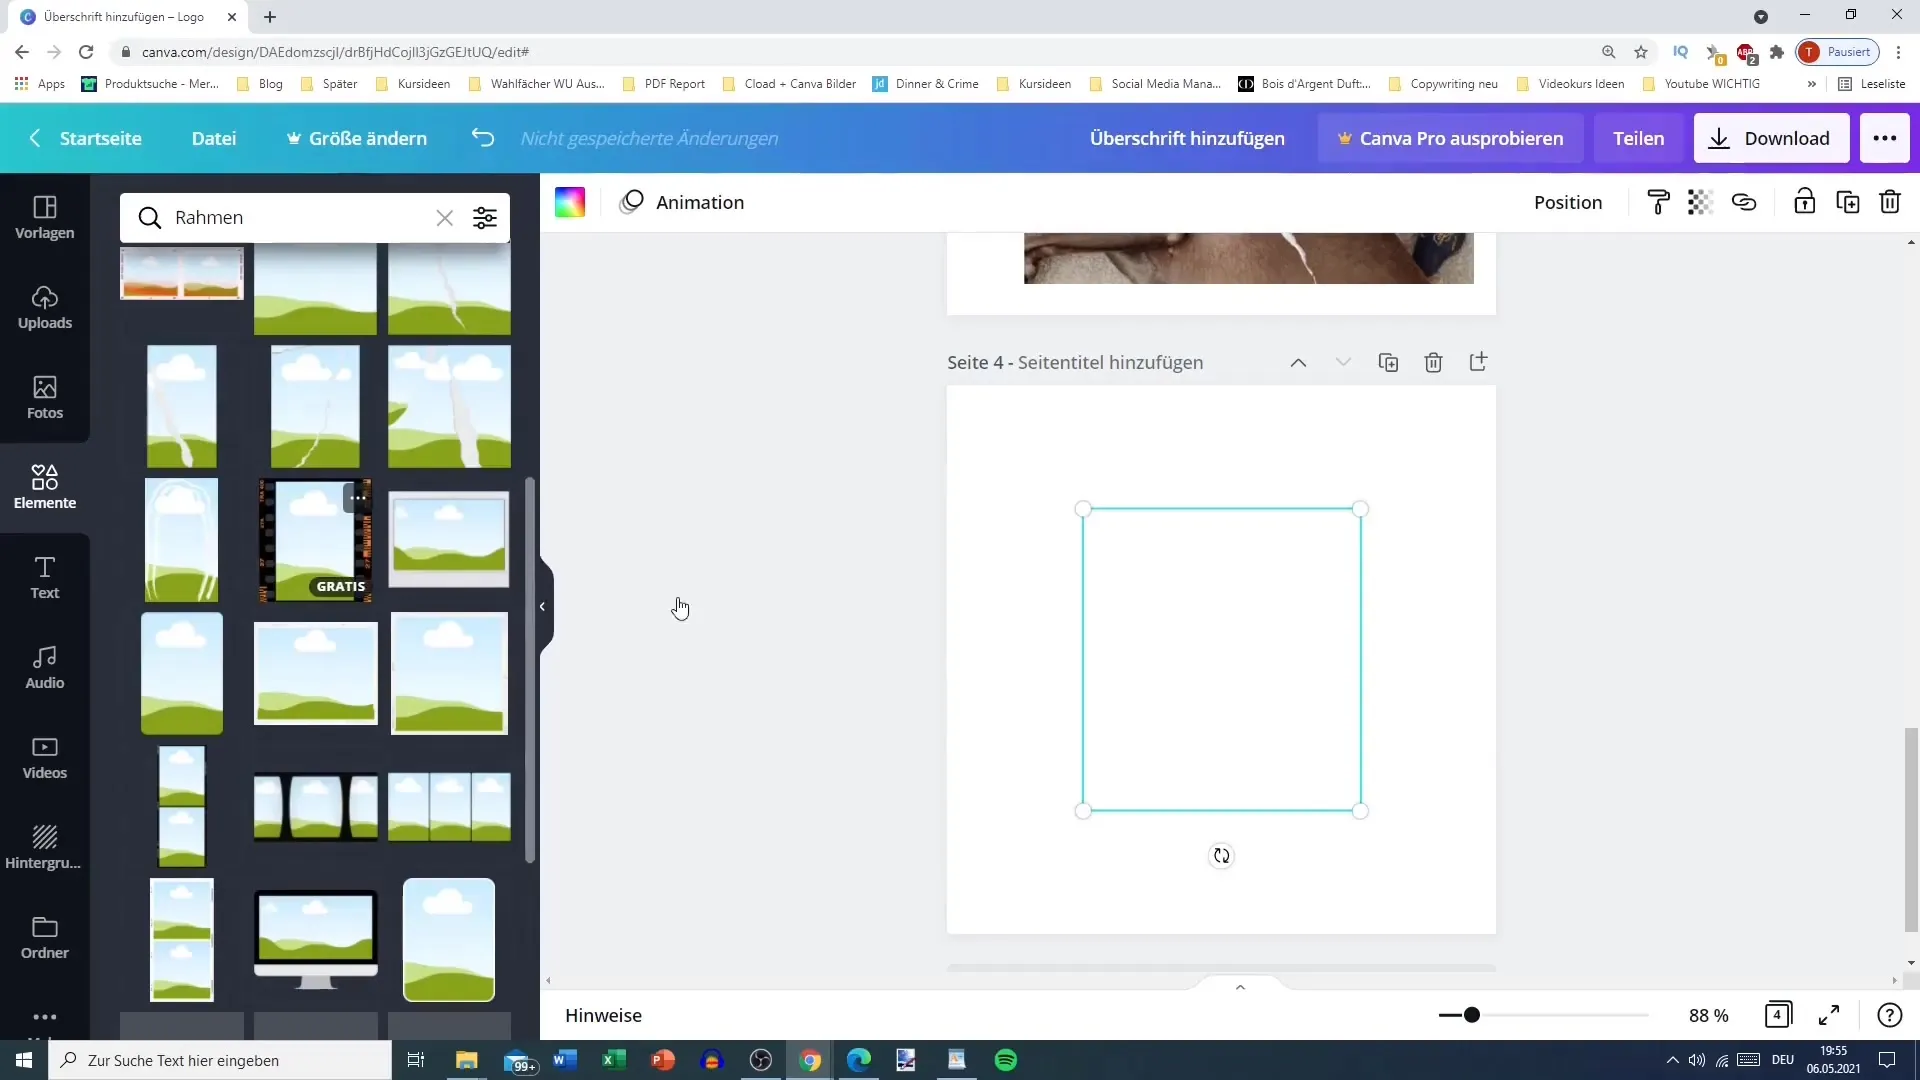
Next, navigate to "Elements" in Canva. There you should find the option for "Frames." You can either scroll down to find it or use the search function by typing "Frames" in the search bar.

Step 3: Choosing Your Frame
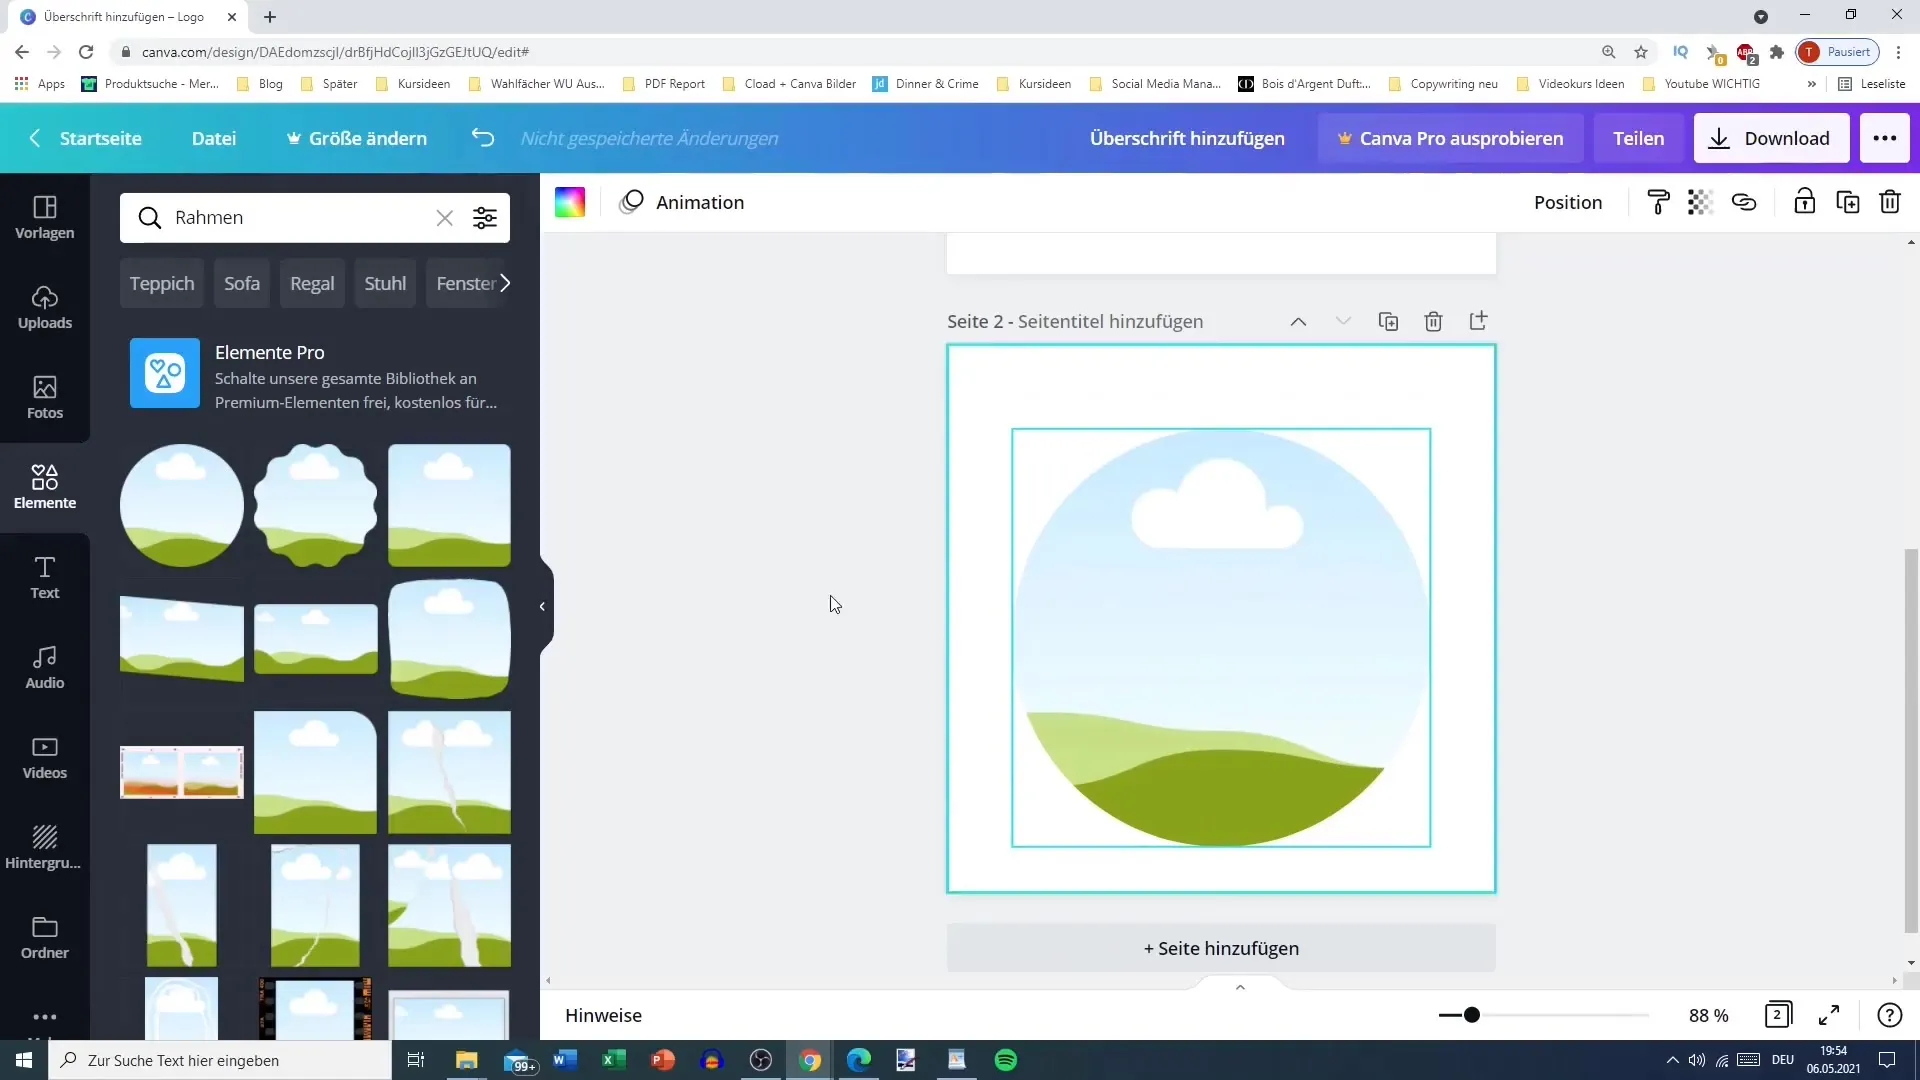
Once you see a selection of available frames, choose one that appeals to you. Consider the different shapes like circles, stars, and torn images. Select a frame and add it to your design.
Step 4: Dragging a Photo into the Frame
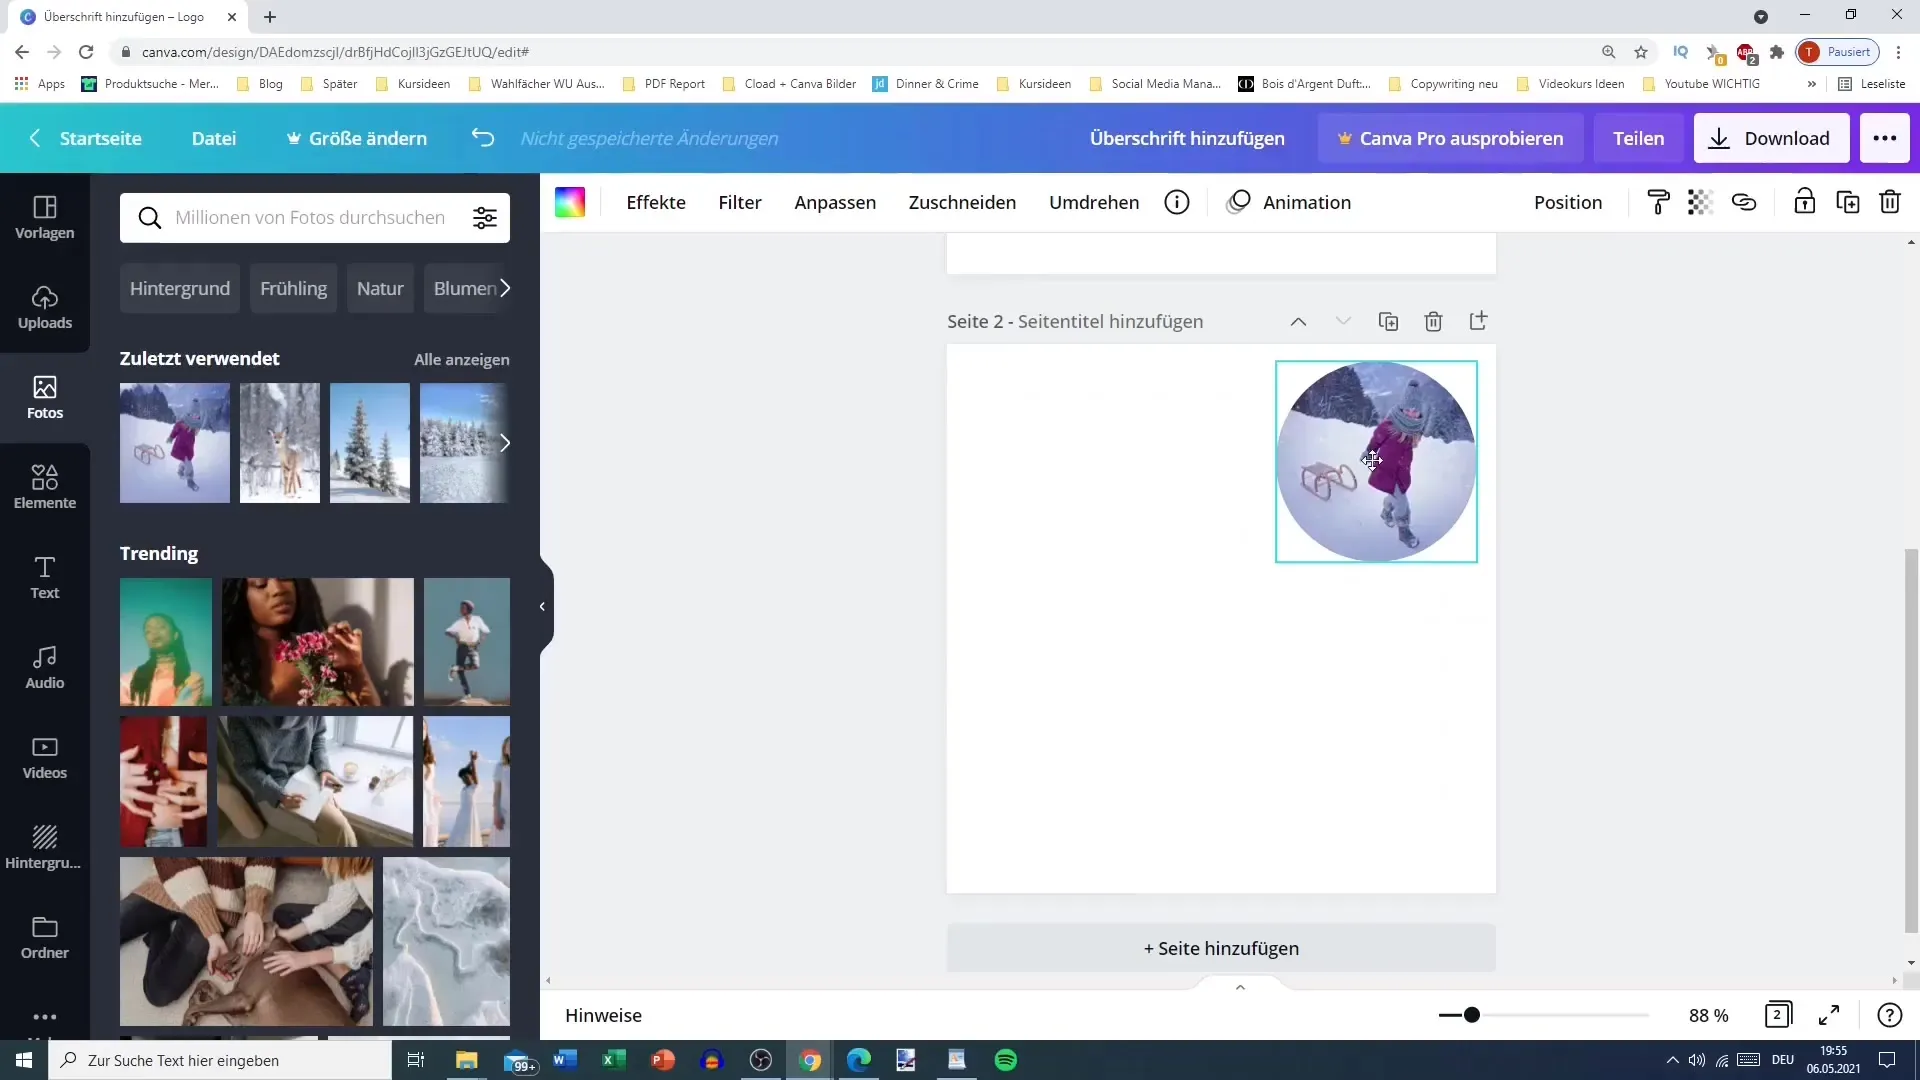
Now it's time to insert your photo. Choose a photo that you want to combine with the frame. Drag the photo into the frame using drag-and-drop and adjust it to get the desired composition.
Step 5: Using Additional Frames
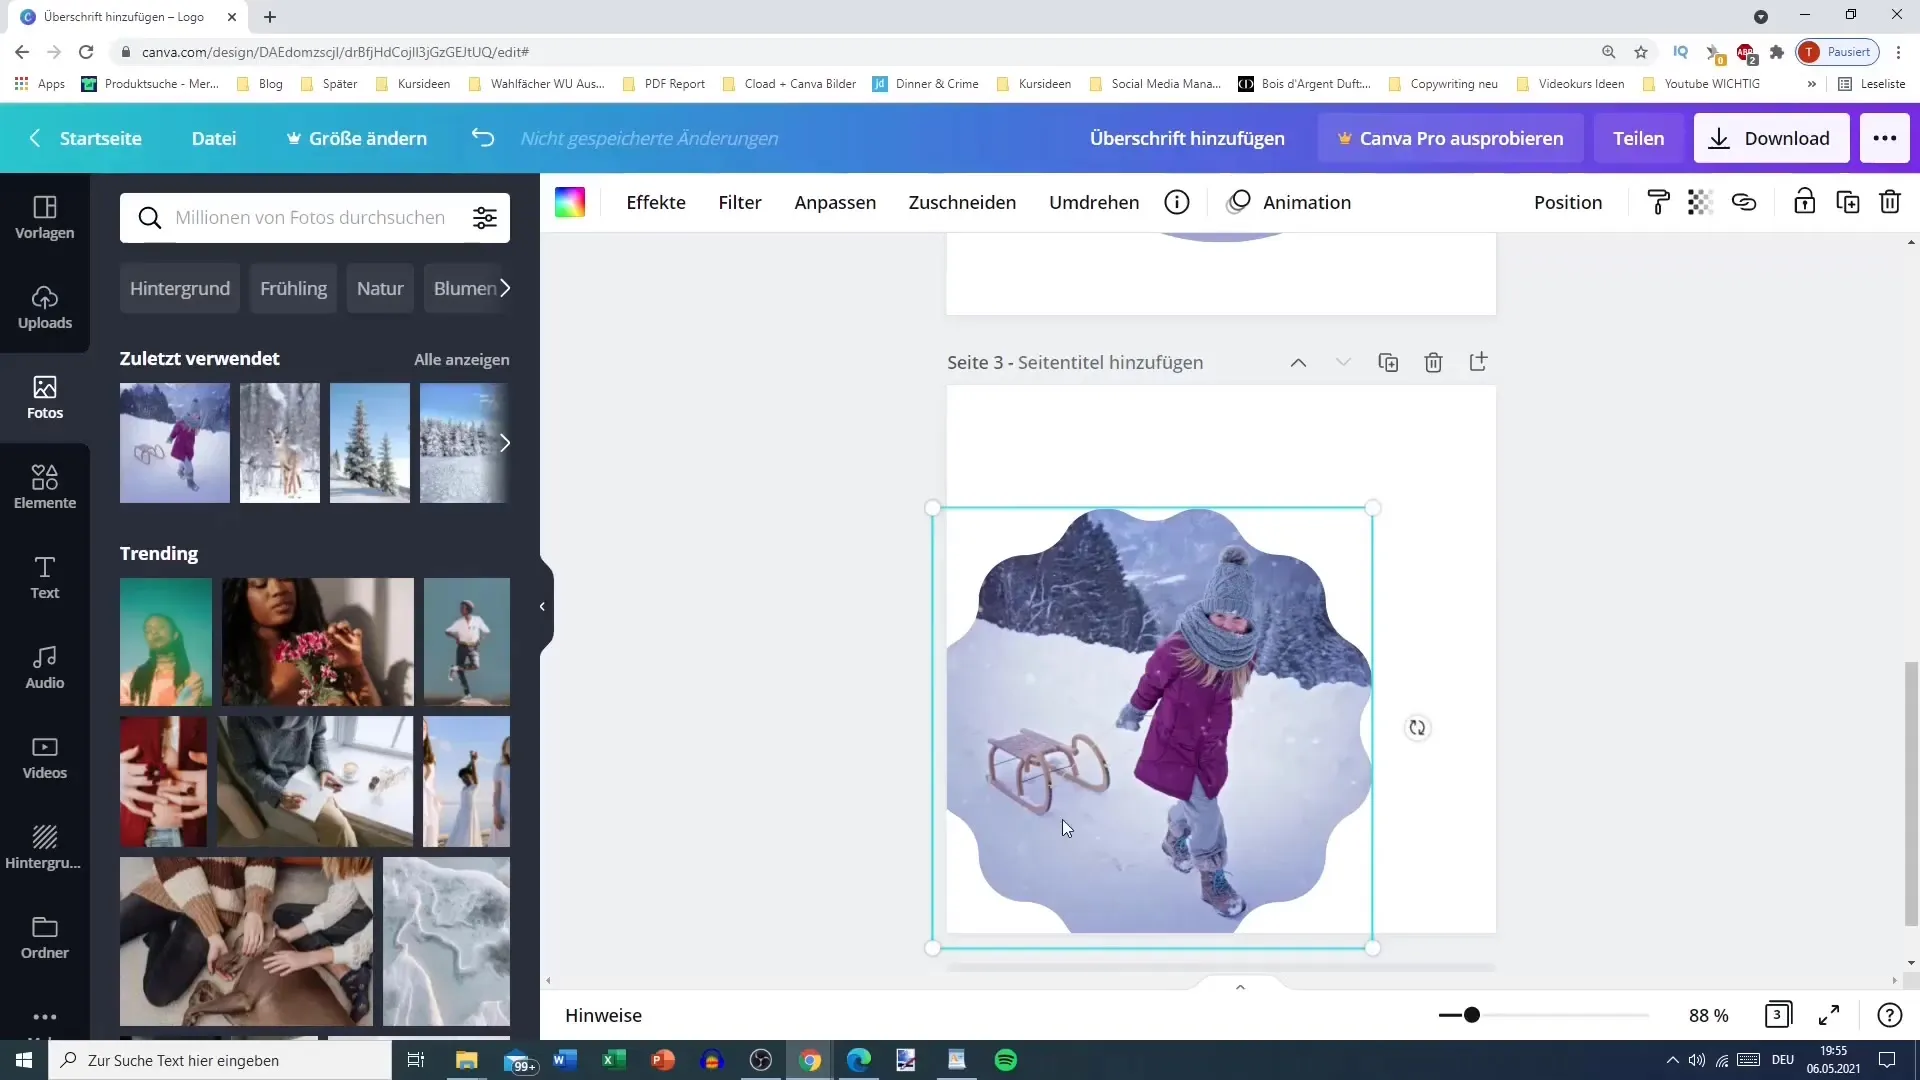
Canva offers numerous frames with different shapes and designs. Use these to enhance the visual interest of your graphic. You can even use multiple frames for different images you want to incorporate into your design.
Step 6: Collages and Creative Designs
Experiment with collages. Combine different images and select variously designed frames to create a creative and visually appealing design. Remember that the colors and styles should complement each other.
Step 7: Creating Mockups
Now let's move on to mockups. Mockups help you present your designs in realistic contexts. Upload an image you want to use for your mockup. Then move to the effects.

Step 8: Using Smart Mockups
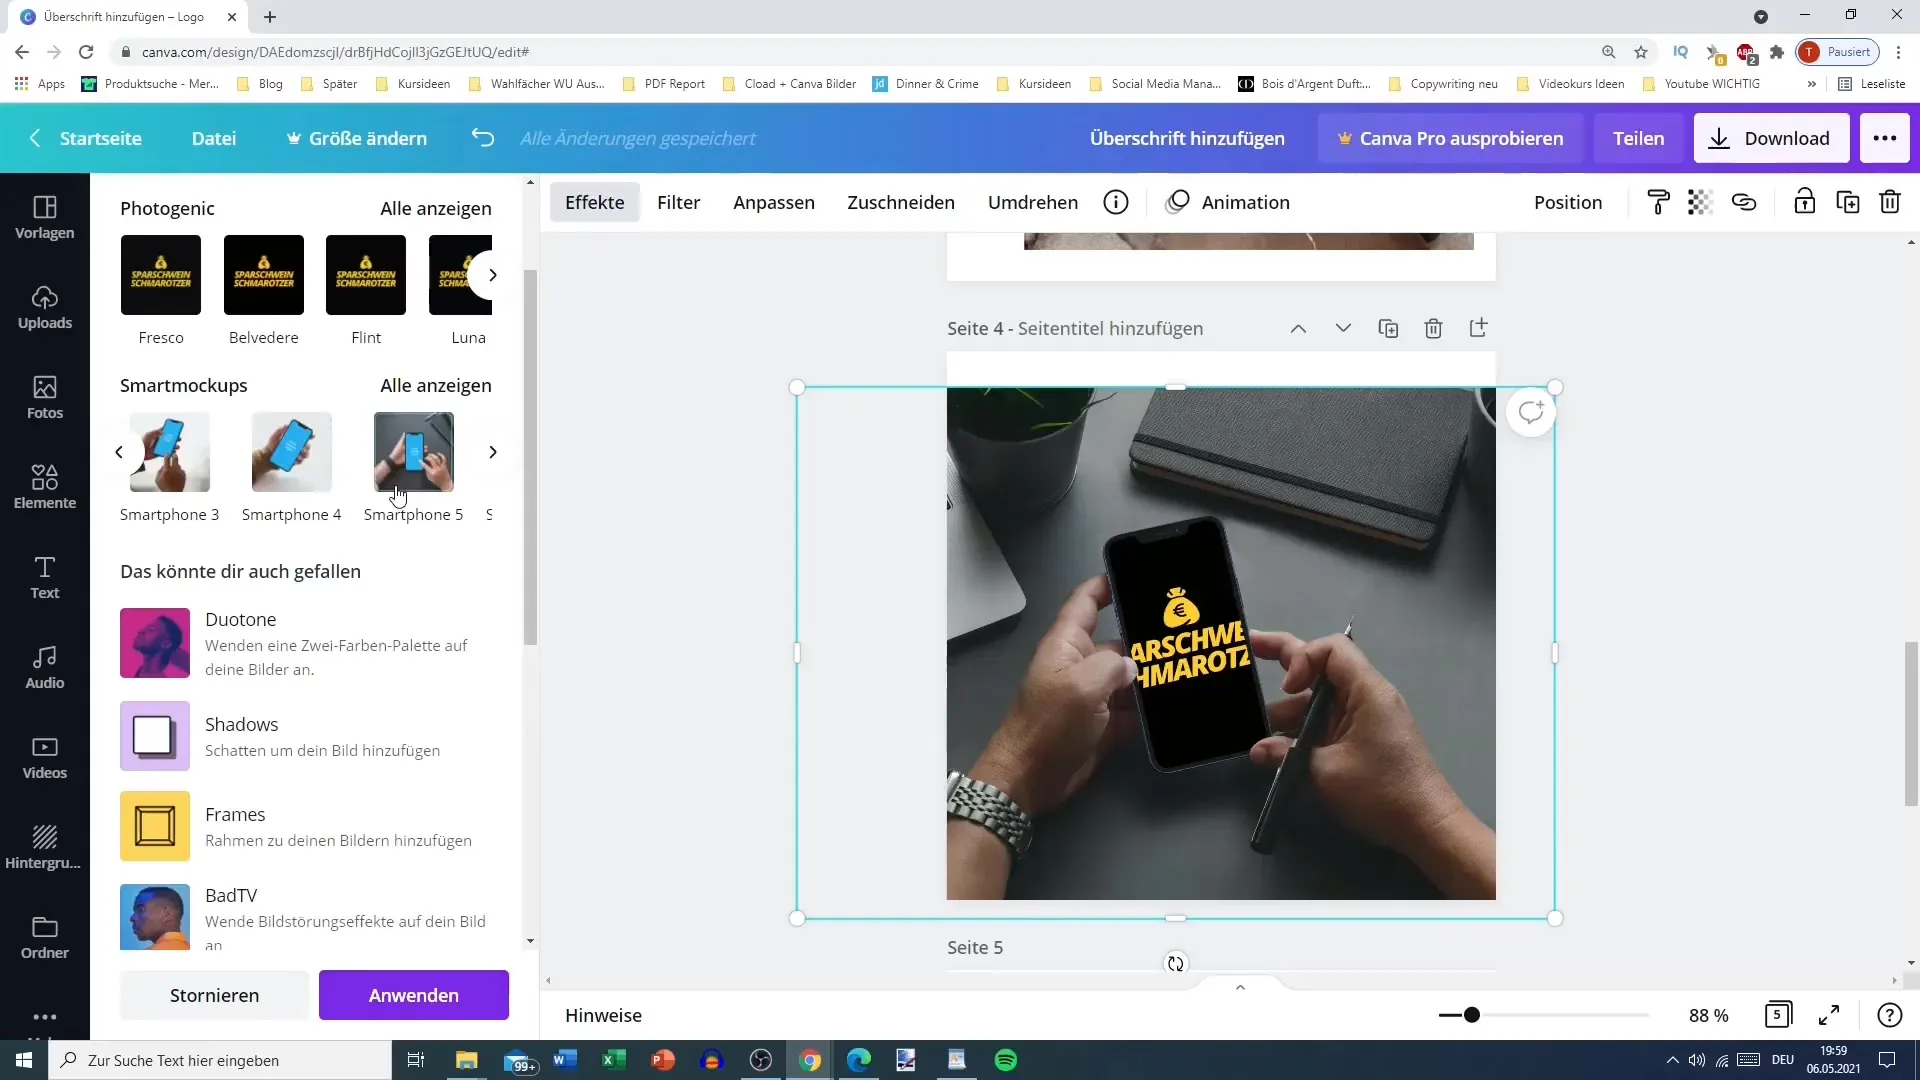
In the effects, you can select the option for "Smart Mockups." This feature allows you to automatically insert your image into various mockups. Choose the mockup that best suits your design.
Step 9: Adjustments and Resizing
Once you've selected your mockup, you can make adjustments. You can either resize the image or modify the mockup to better fit your design. There are no limits to your creative process here.

Step 10: More Mockup Options
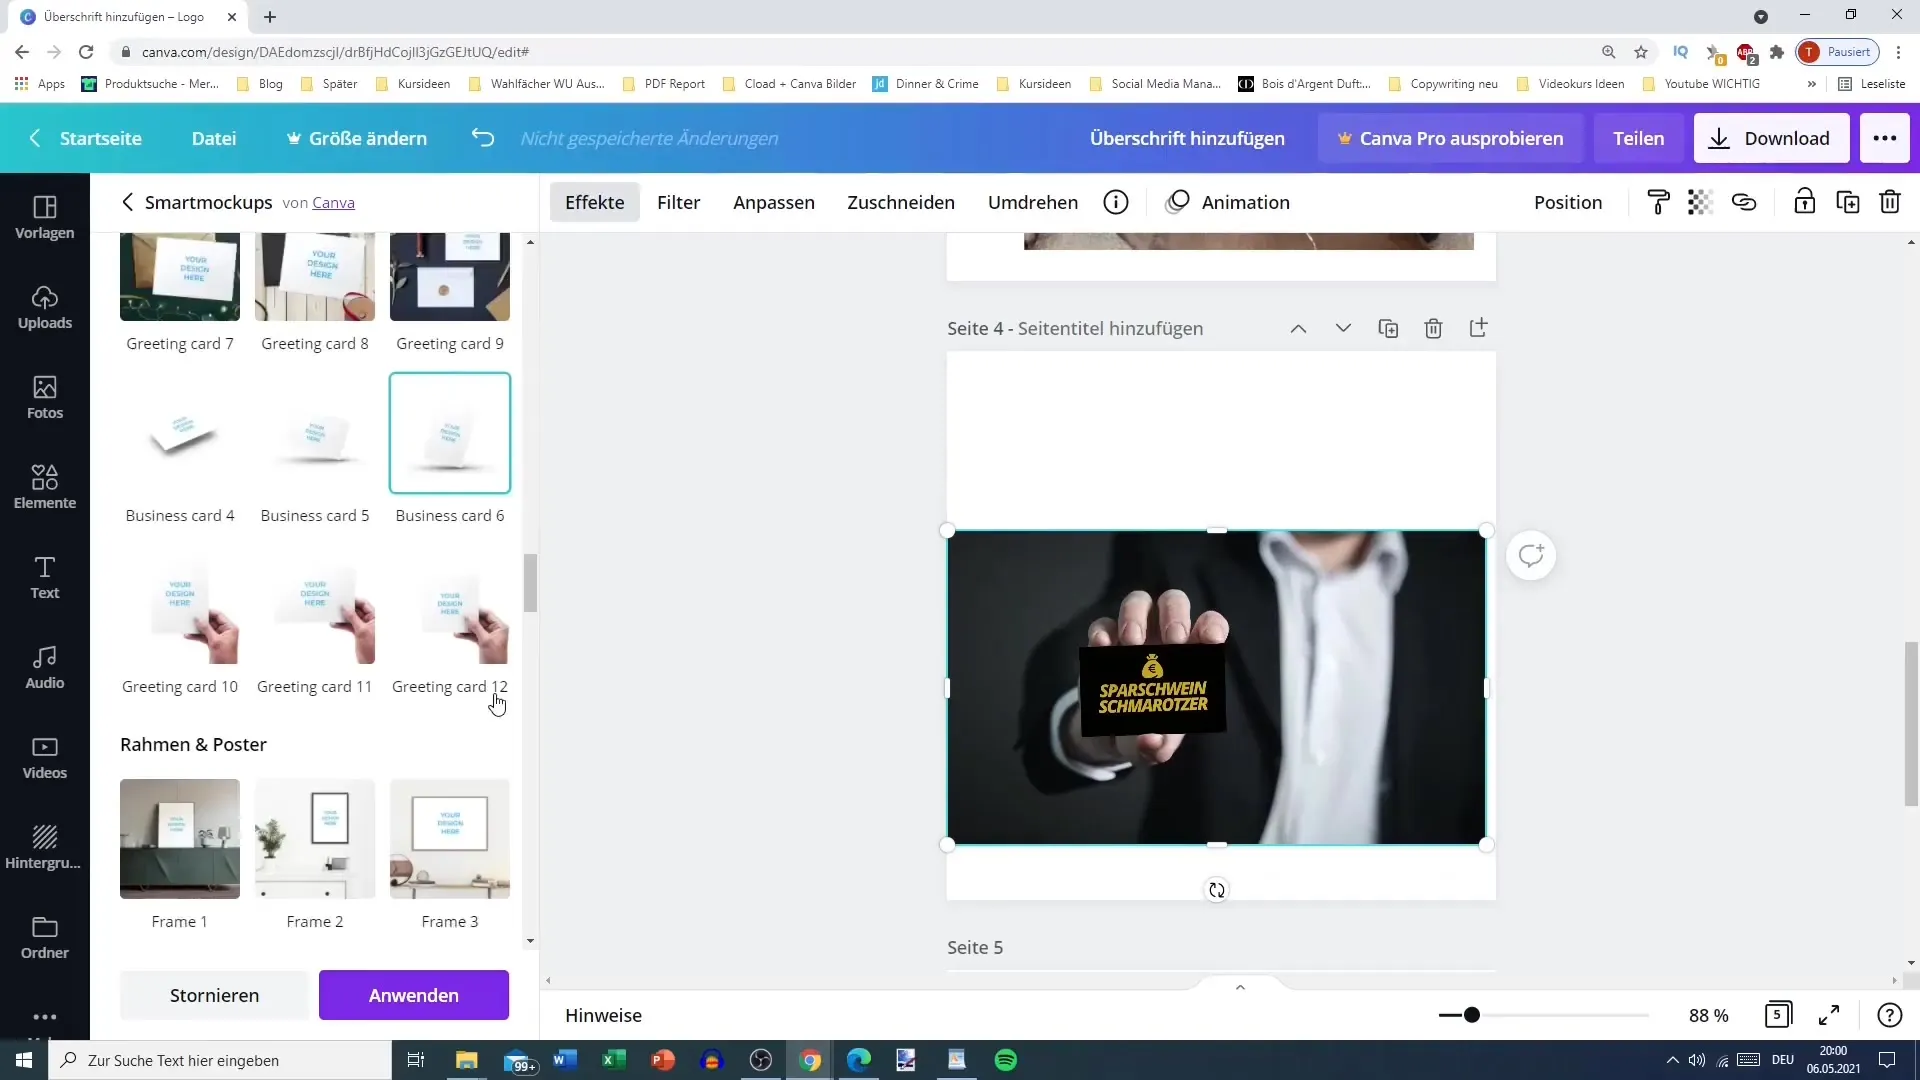
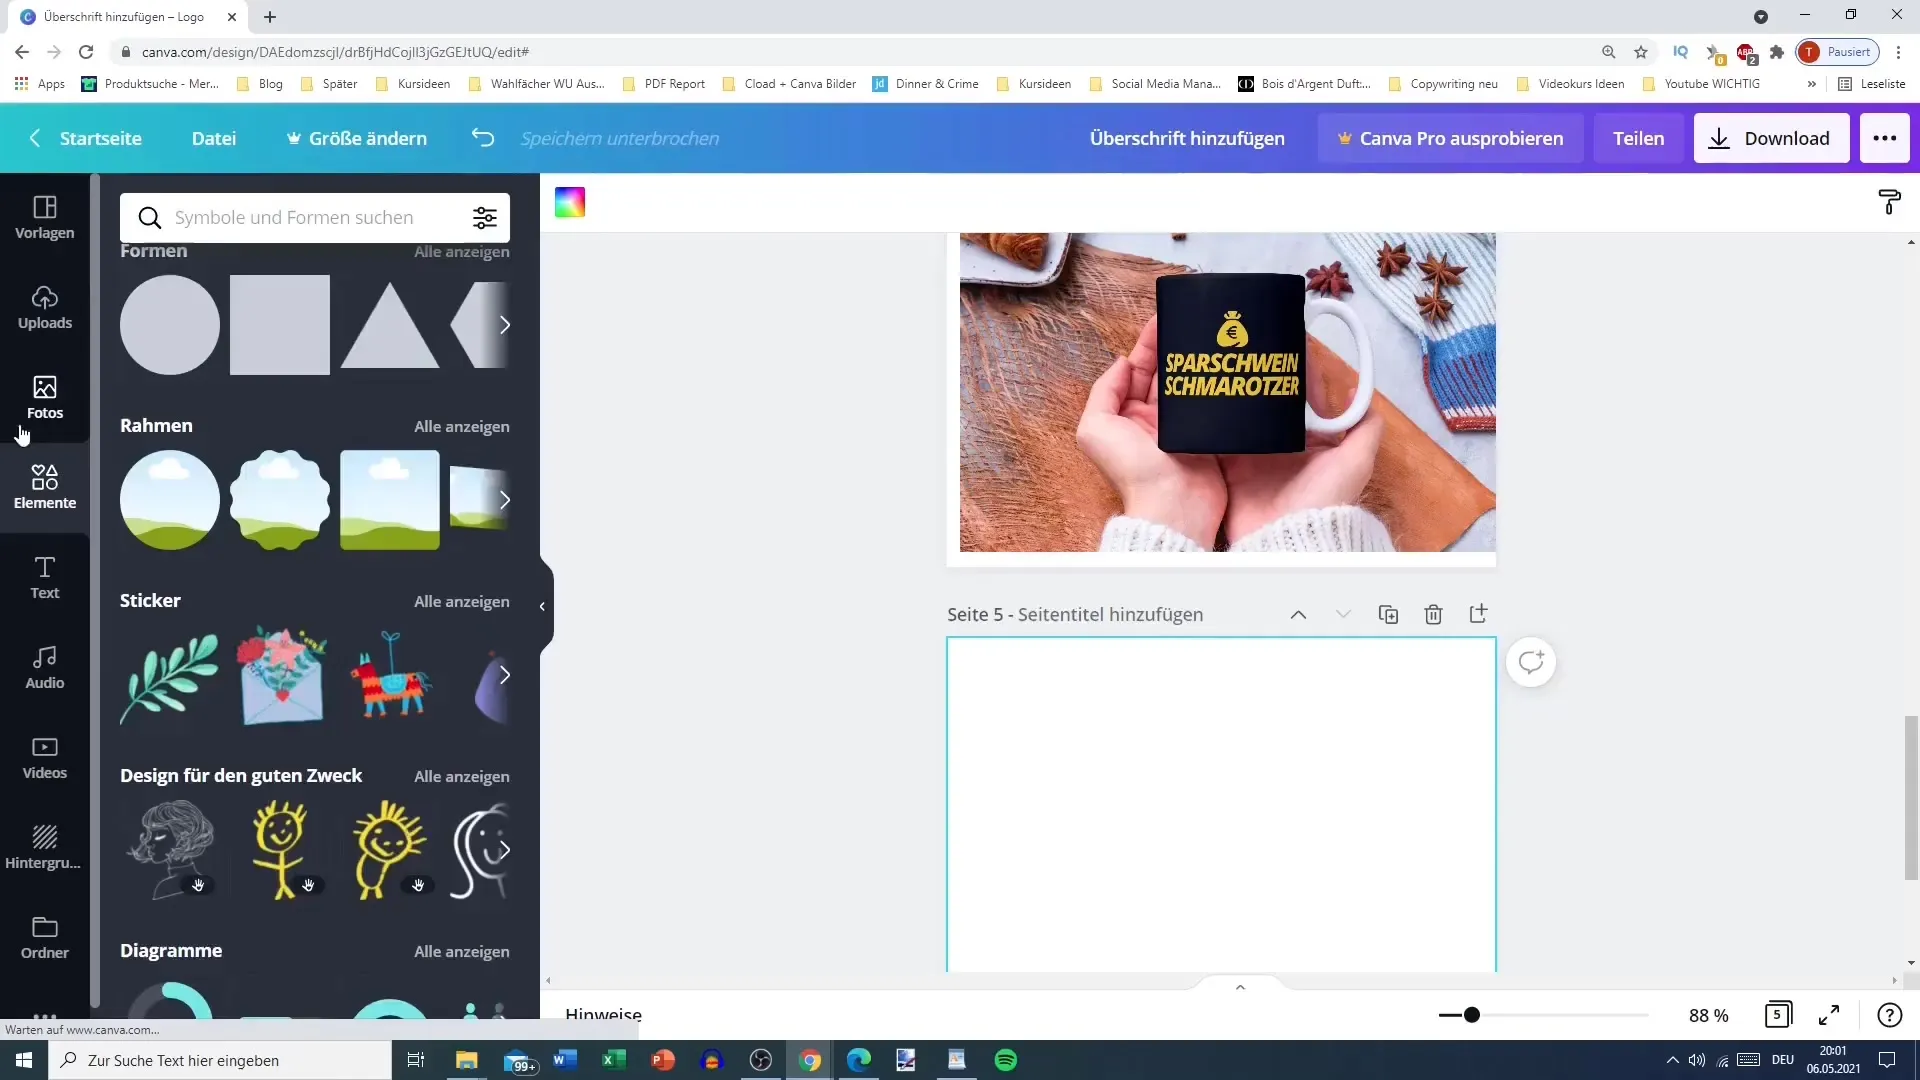
In addition to smartphones, you can select mockups for laptops, t-shirts, mugs, and more. This makes the use of mockups particularly versatile and appealing, especially when it comes to creating branding materials.
Step 11: Create Your Own Mockups
If you have more specific requirements, you can also create your own mockups. Simply drag an image into Canva, choose effects, and add shadows or other stylistic elements.
Step 12: Finalize Overall Design
Once you have customized all elements and mockups to your satisfaction, review your entire design. Ensure that everything looks harmonious and that the colors and fonts go well together.
Summary
In this tutorial, you have learned how to effectively use frames and mockups in Canva to create appealing and creative designs. With the right tools and a bit of creativity, you can create impressive visual content suitable for various applications.
Frequently Asked Questions
How do I find frames in Canva?You can find frames in the "Elements" section and either scroll down or use the search function.
Can I use my own images in the mockups?Yes, you can upload your images and insert them into the mockups.
What mockups are available in Canva?Canva offers a variety of mockups, including ones for smartphones, laptops, mugs, and t-shirts.
