In this tutorial, we will focus on the possibilities of fonts and text in Canva. Canva is a powerful design tool that helps you create engaging graphics. Whether you want to design a bold text or a shopping list, choosing the right font and text styling is crucial for the visual impact. In the following sections, you will learn how to enter, edit, and customize texts to suit your needs.
Key Takeaways
- Canva offers a variety of fonts and templates.
- You can customize font sizes, colors, and styles individually.
- Text alignment and list formatting are important tools in text creation.
Step-by-Step Guide
Step 1: Accessing text tools
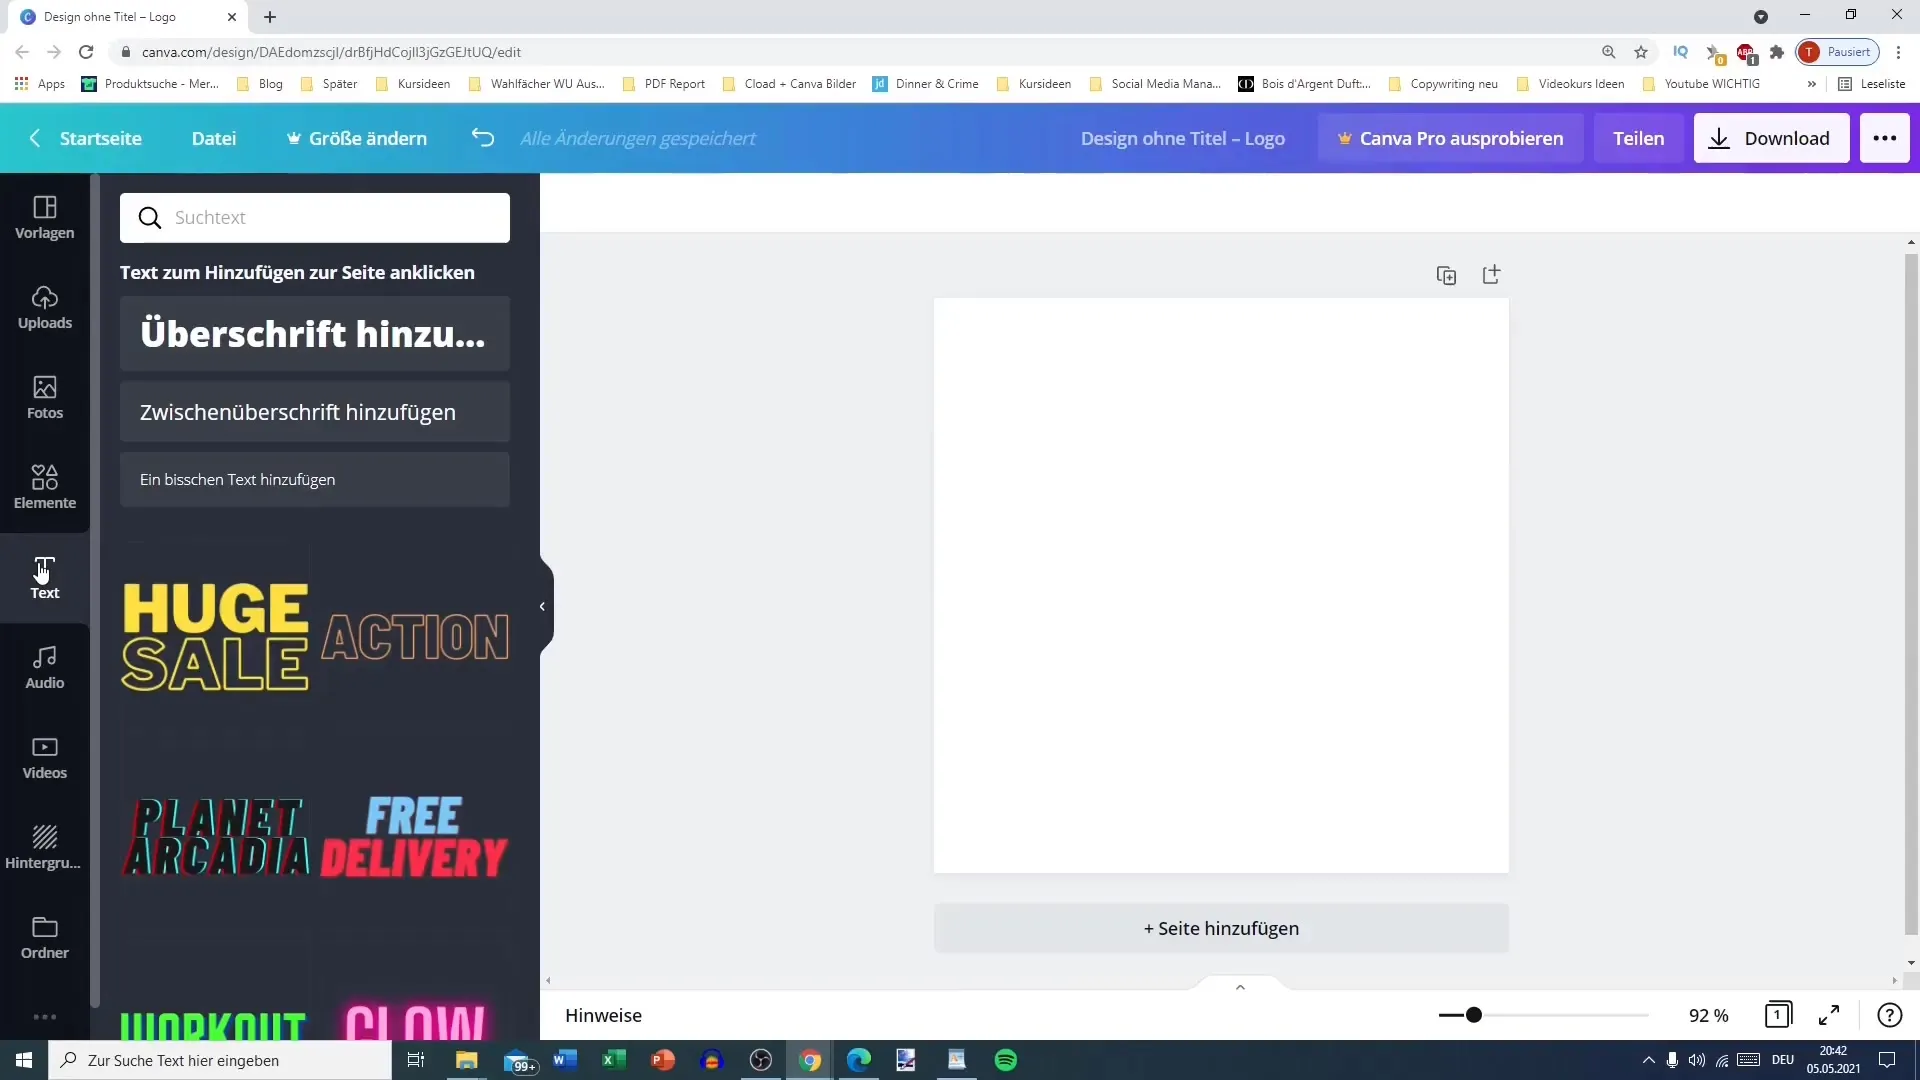
To start working on your text, go to the "Text" section in the left sidebar. Here you will find a variety of text templates to help you get started. You can add headlines, subheadings, and body text.
Step 2: Selecting templates
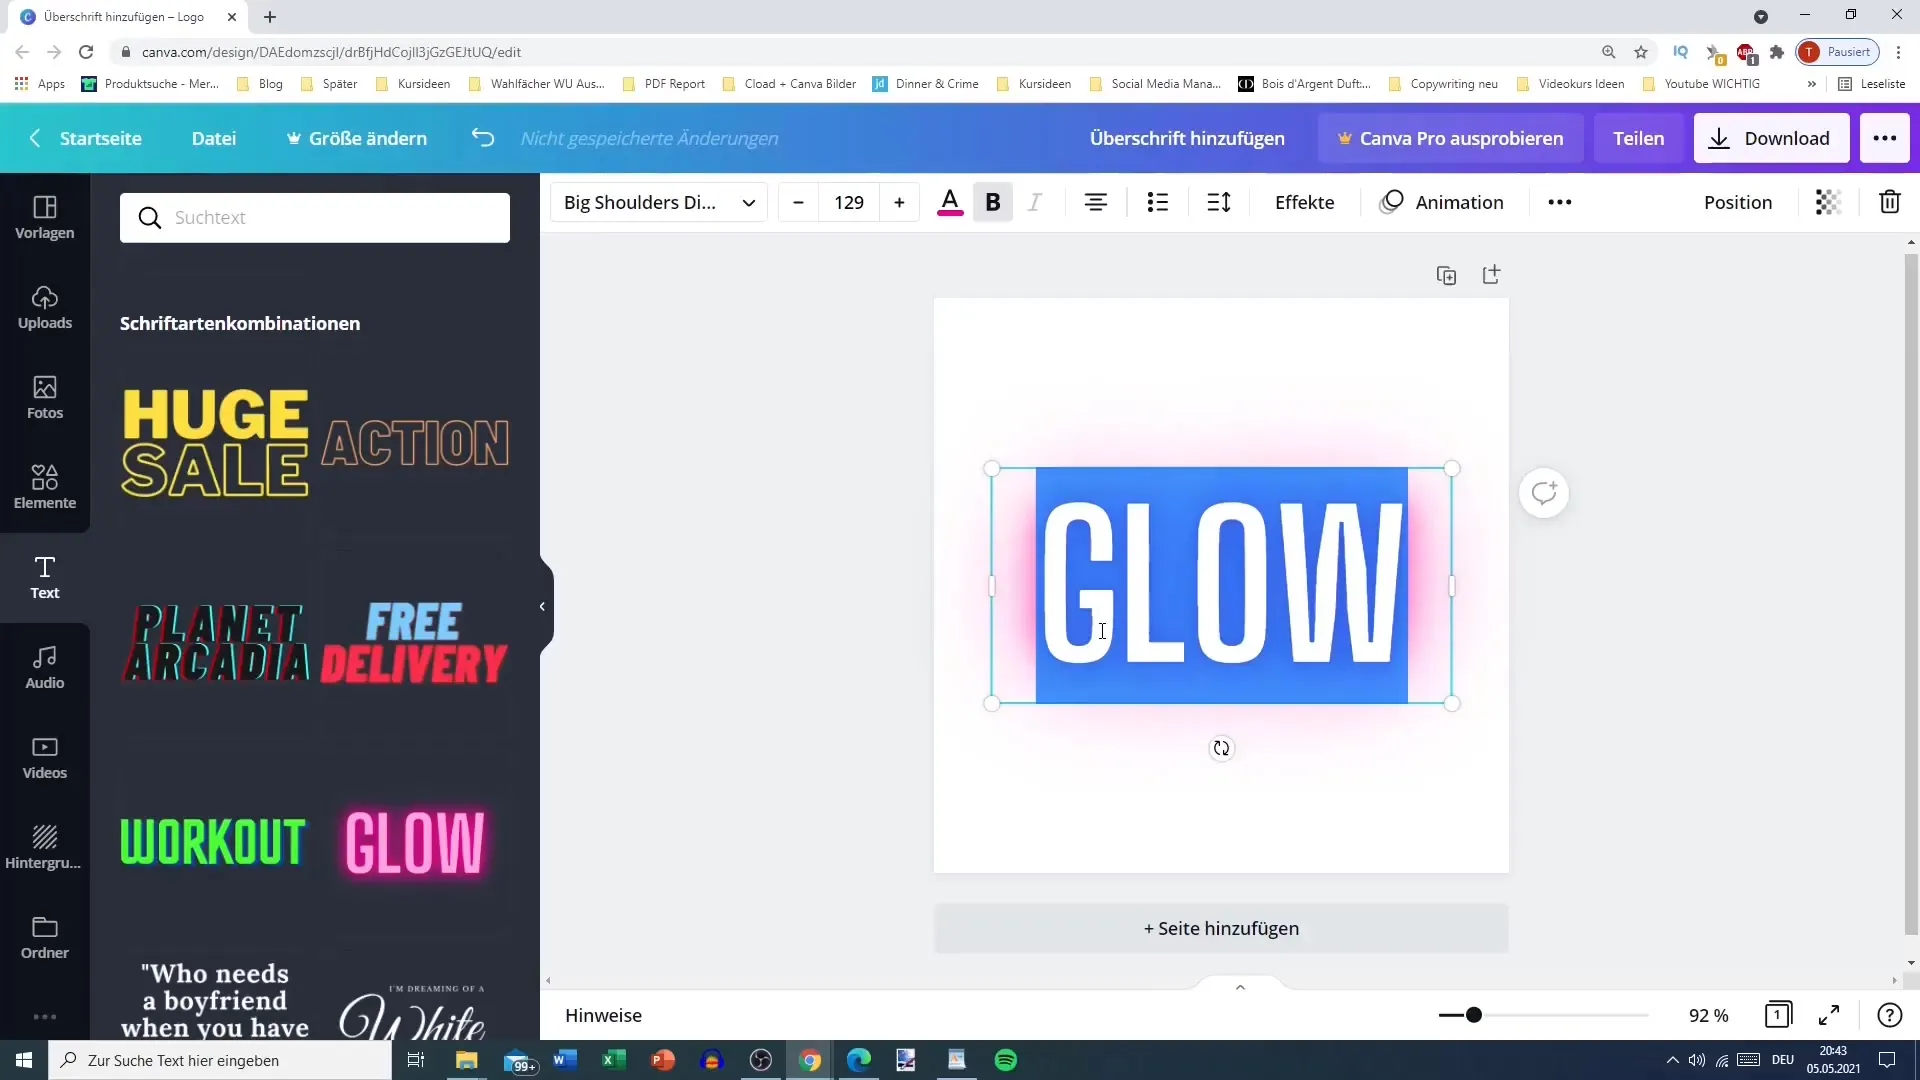
Choose one of the templates displayed. For example, if you want to use a larger headline, click on it to insert it into your design. You can then enter the text twice and edit it as needed.
Step 3: Adjusting text
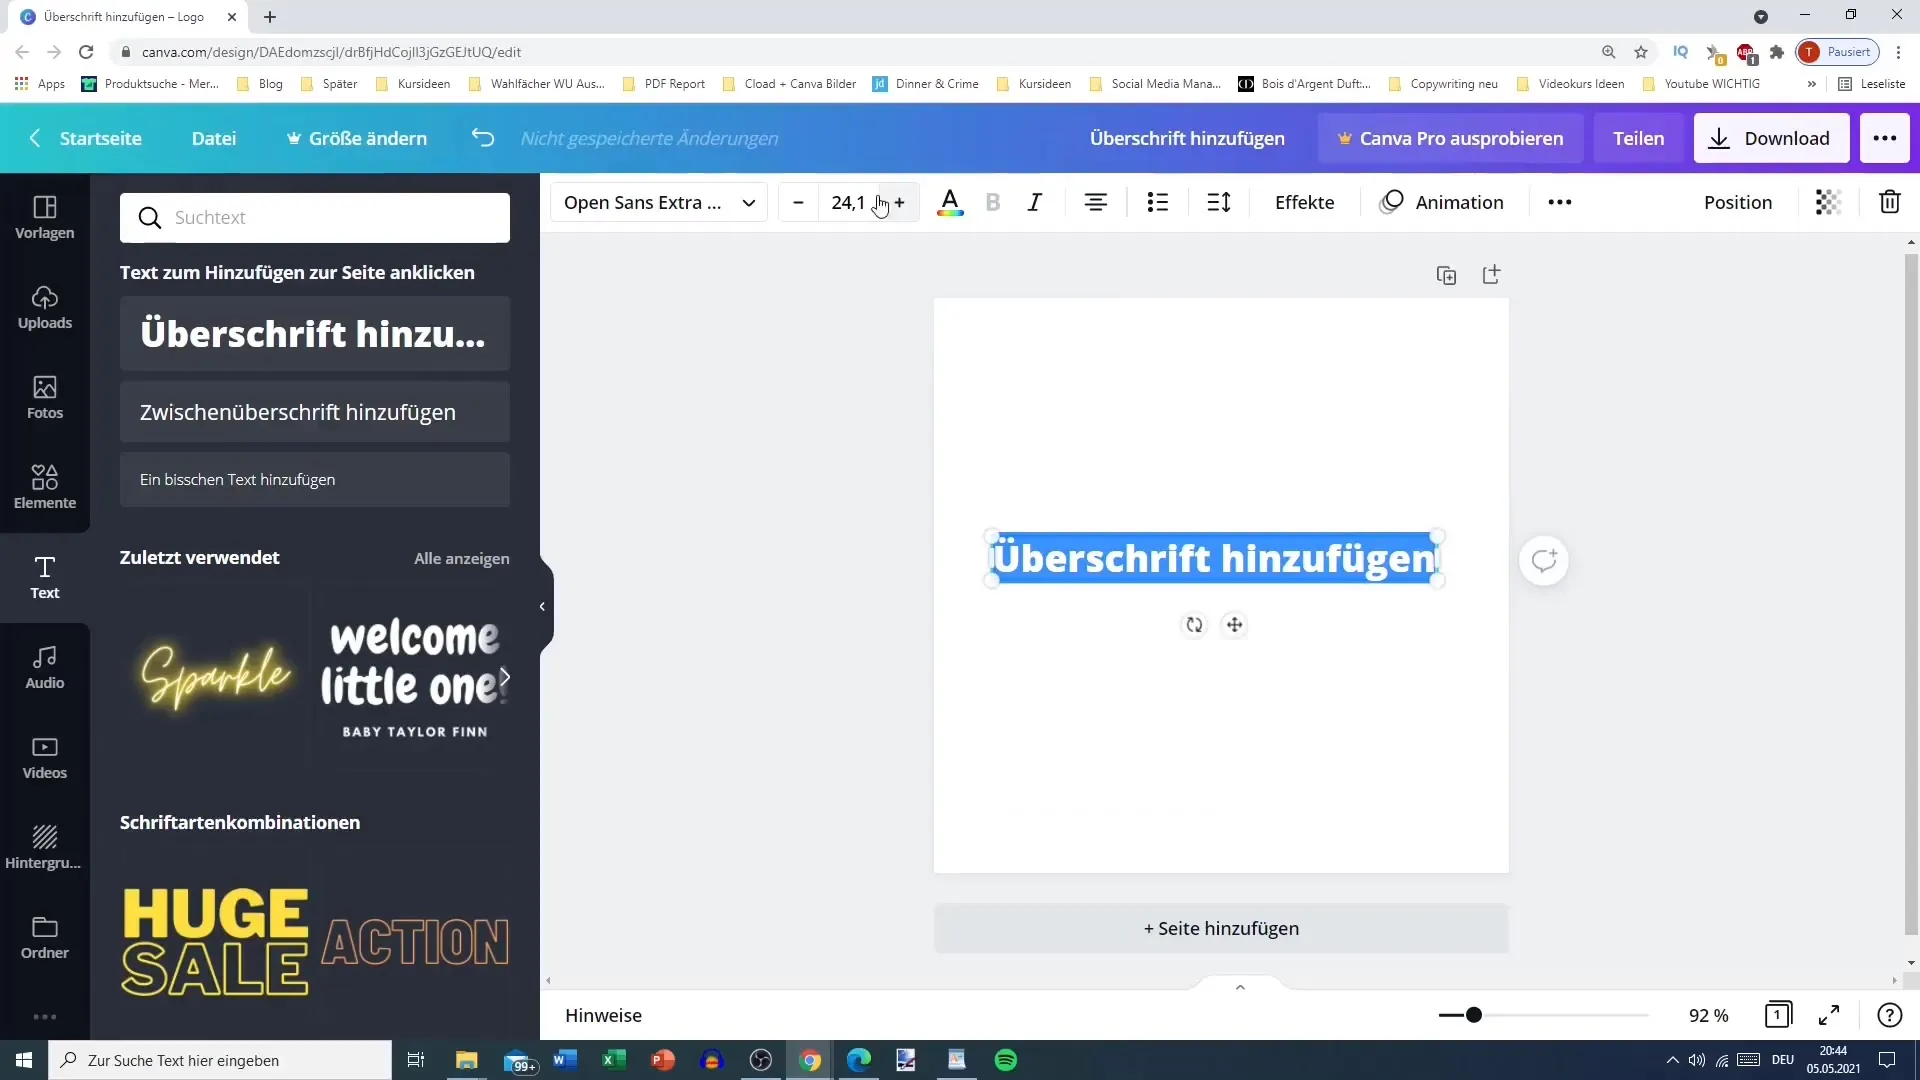
Once your text is inserted in the design, you can customize it. In Canva, you can easily modify the text size. Click on the text and drag the corners to change the width, or use the options at the top of the menu to specify exact measurements in points.
Step 4: Changing font
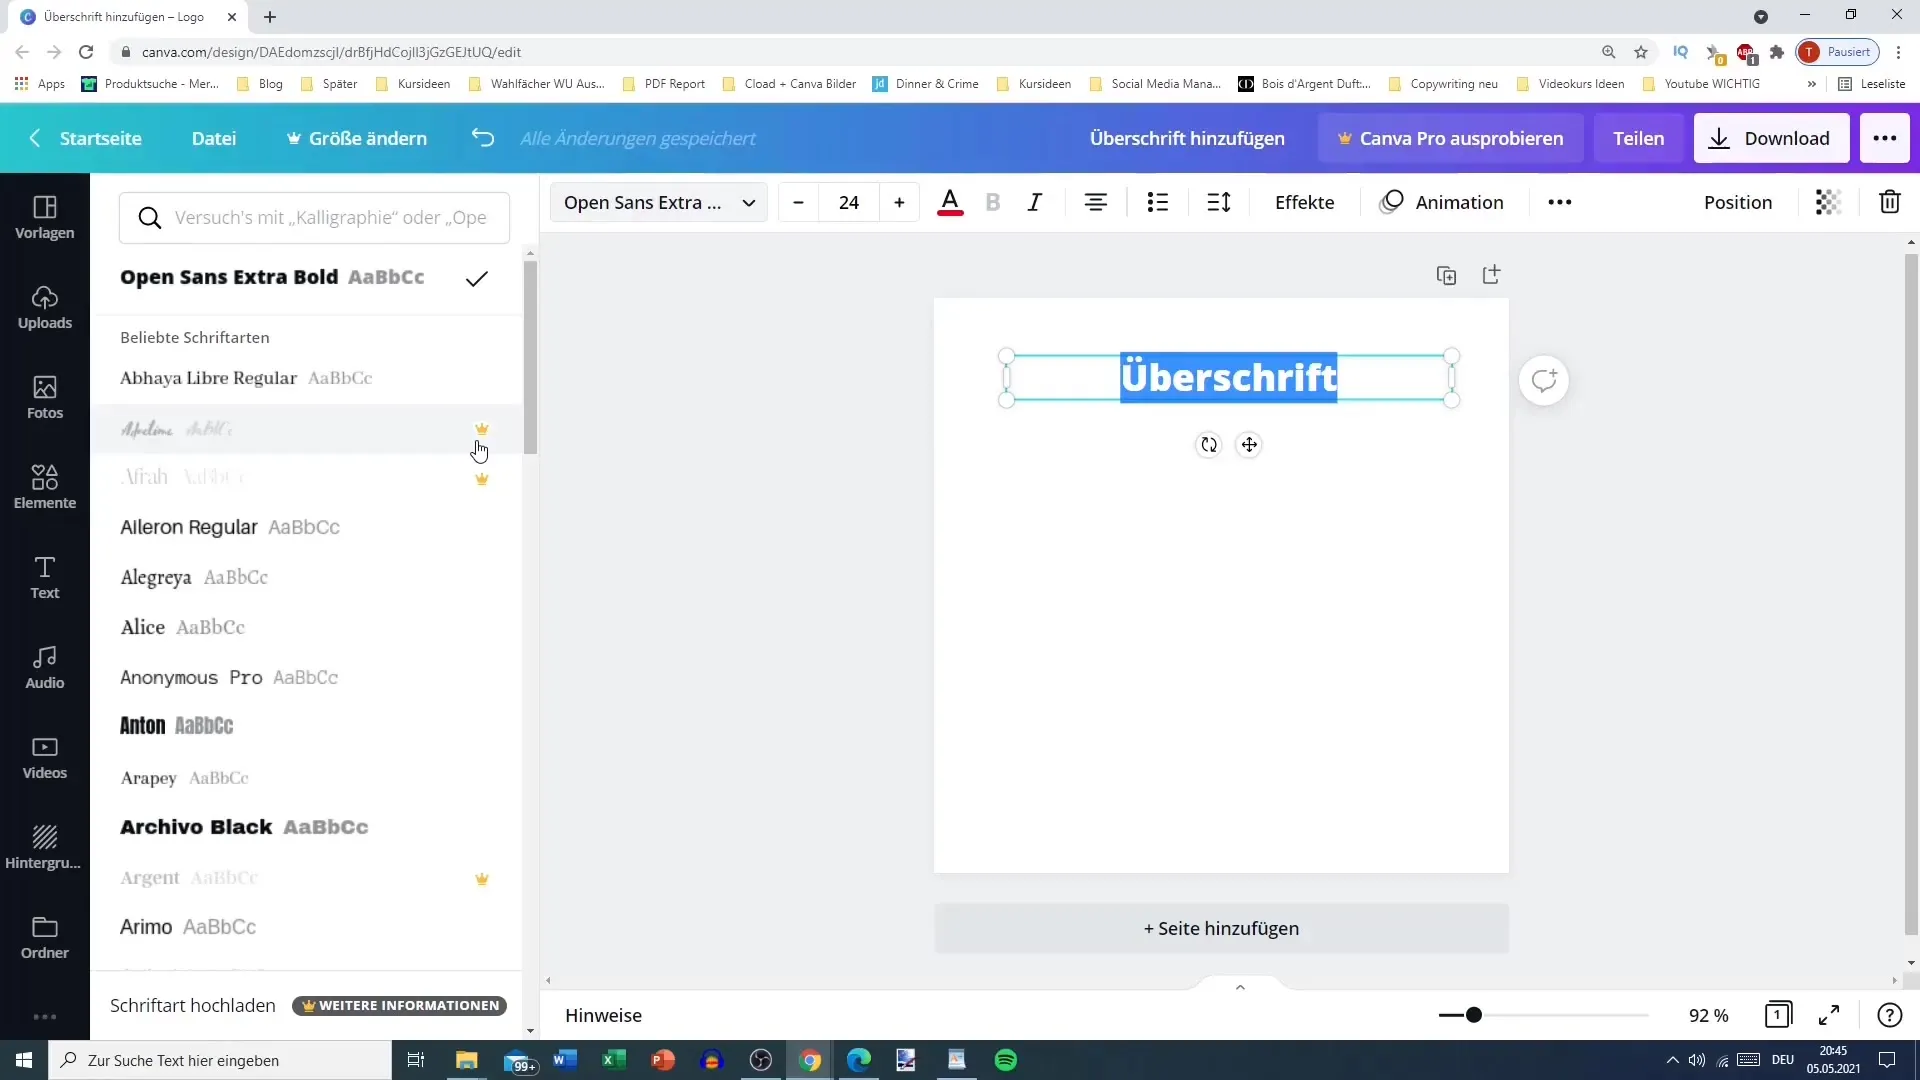
To change the font, click on the font dropdown menu at the top of the editing toolbar. You will see a selection of fonts, including premium options. Choose the font that best suits your design.
Step 5: Text formatting
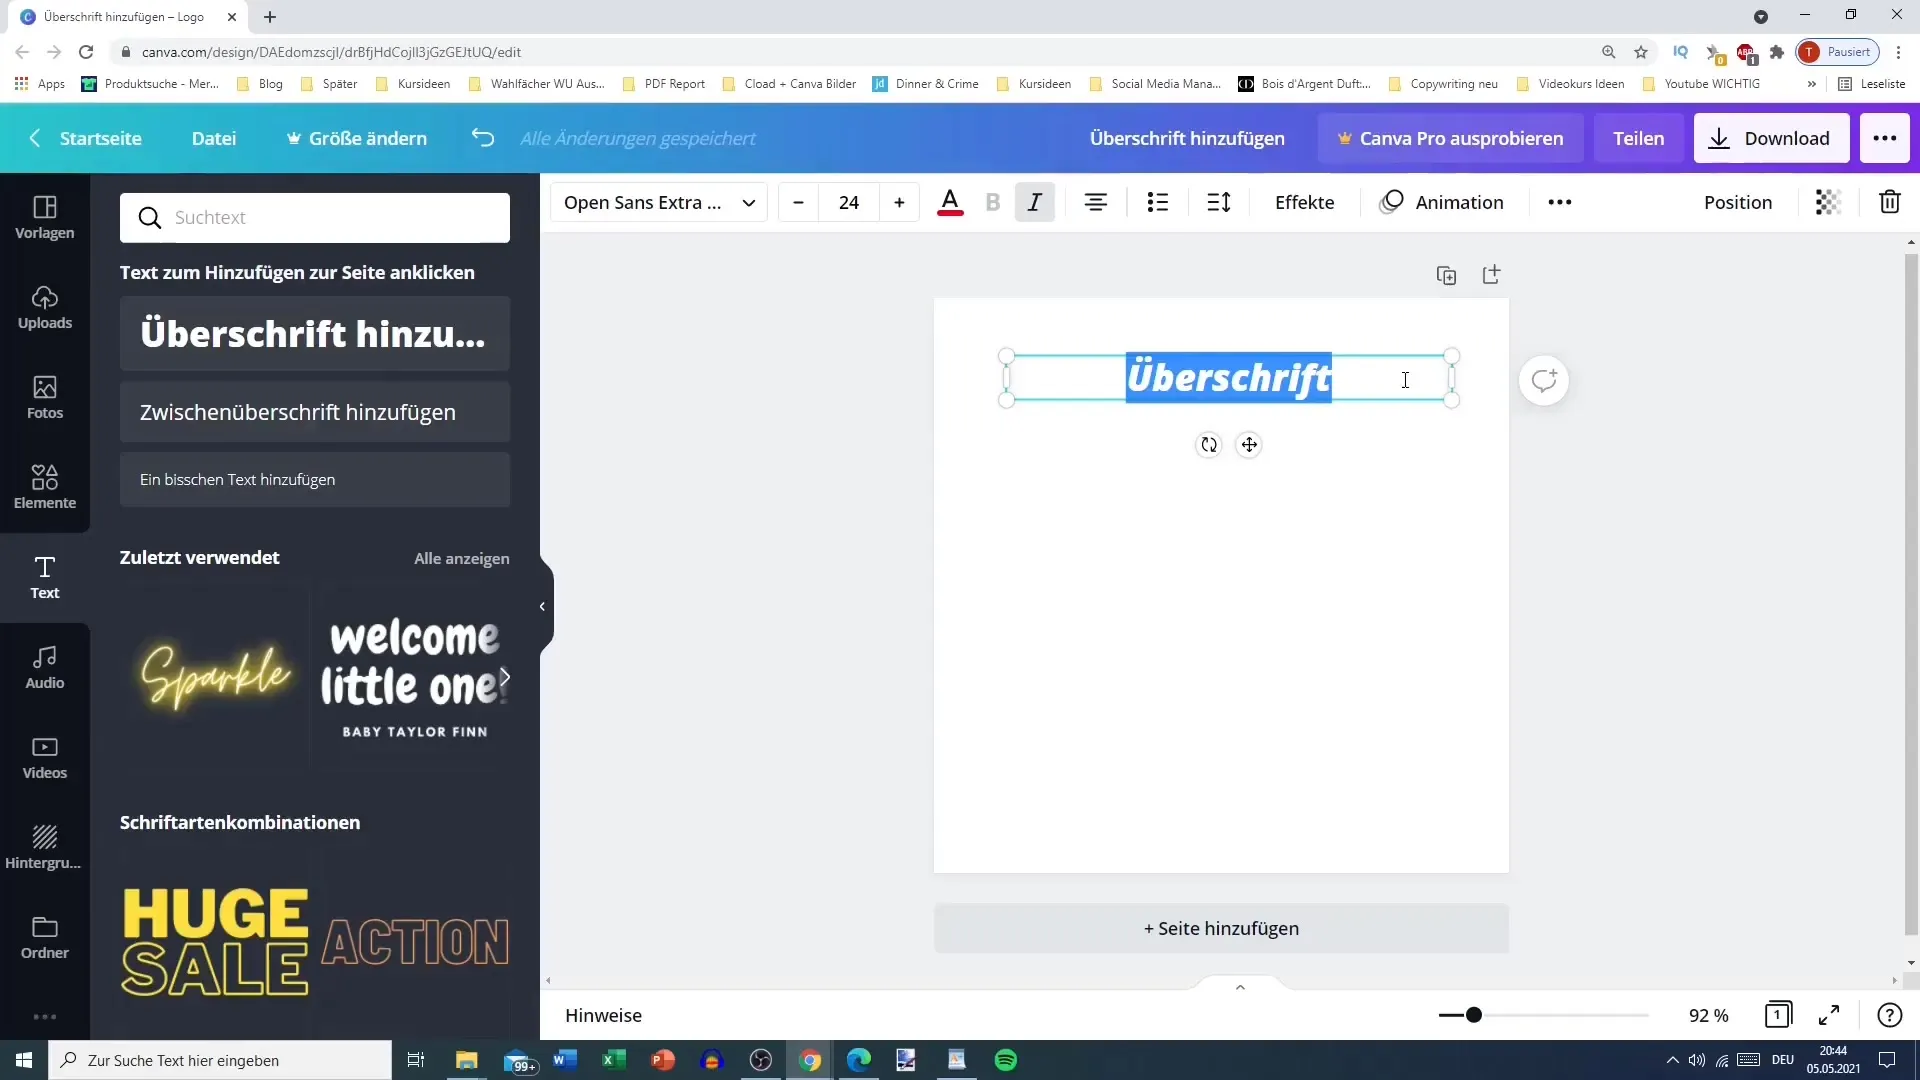
You can format your text by making it bold, italic, or underlined. This is done through the buttons in the editing toolbar. Make sure you choose the right formats to clearly communicate your message.
Step 6: Bullets and lists
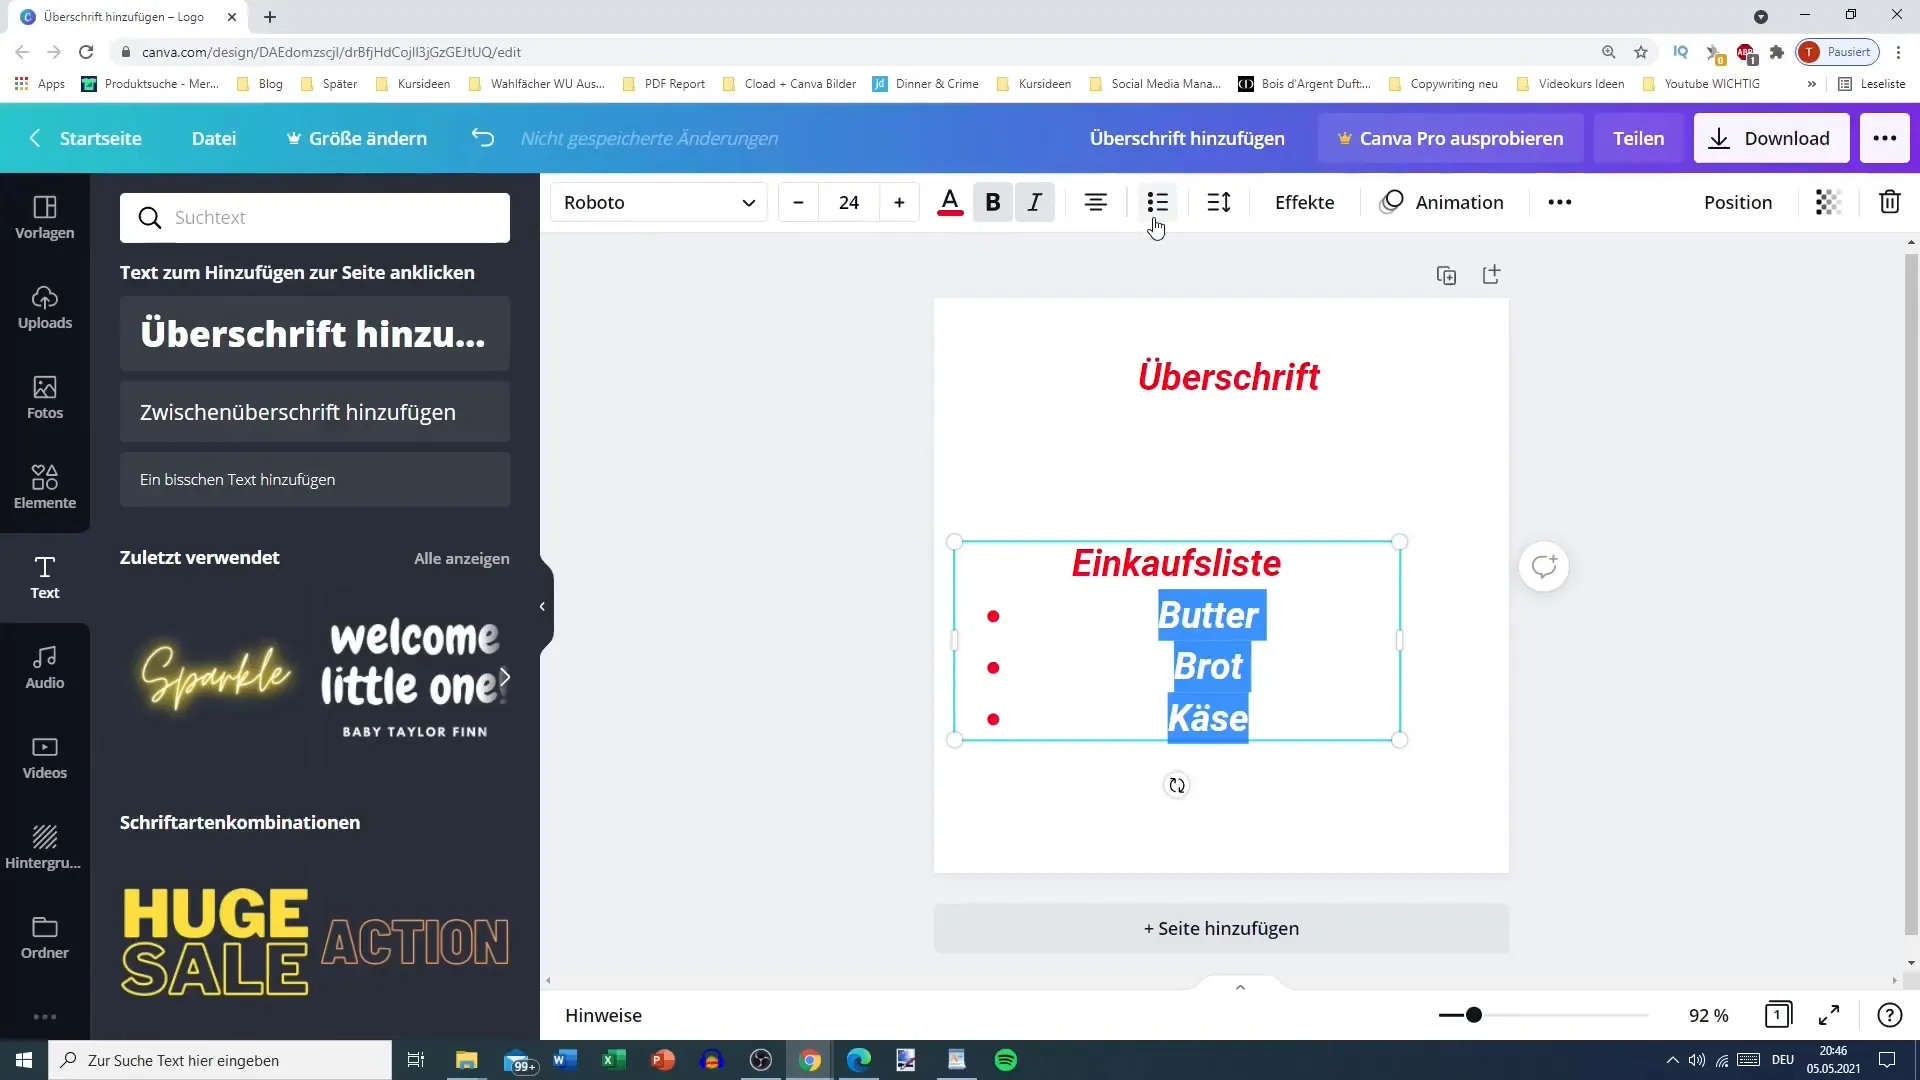
If you want to create a list, highlight the text and choose the subpoint option. You can choose between a bullet or numbered list. This helps to organize the text better and make it more readable.
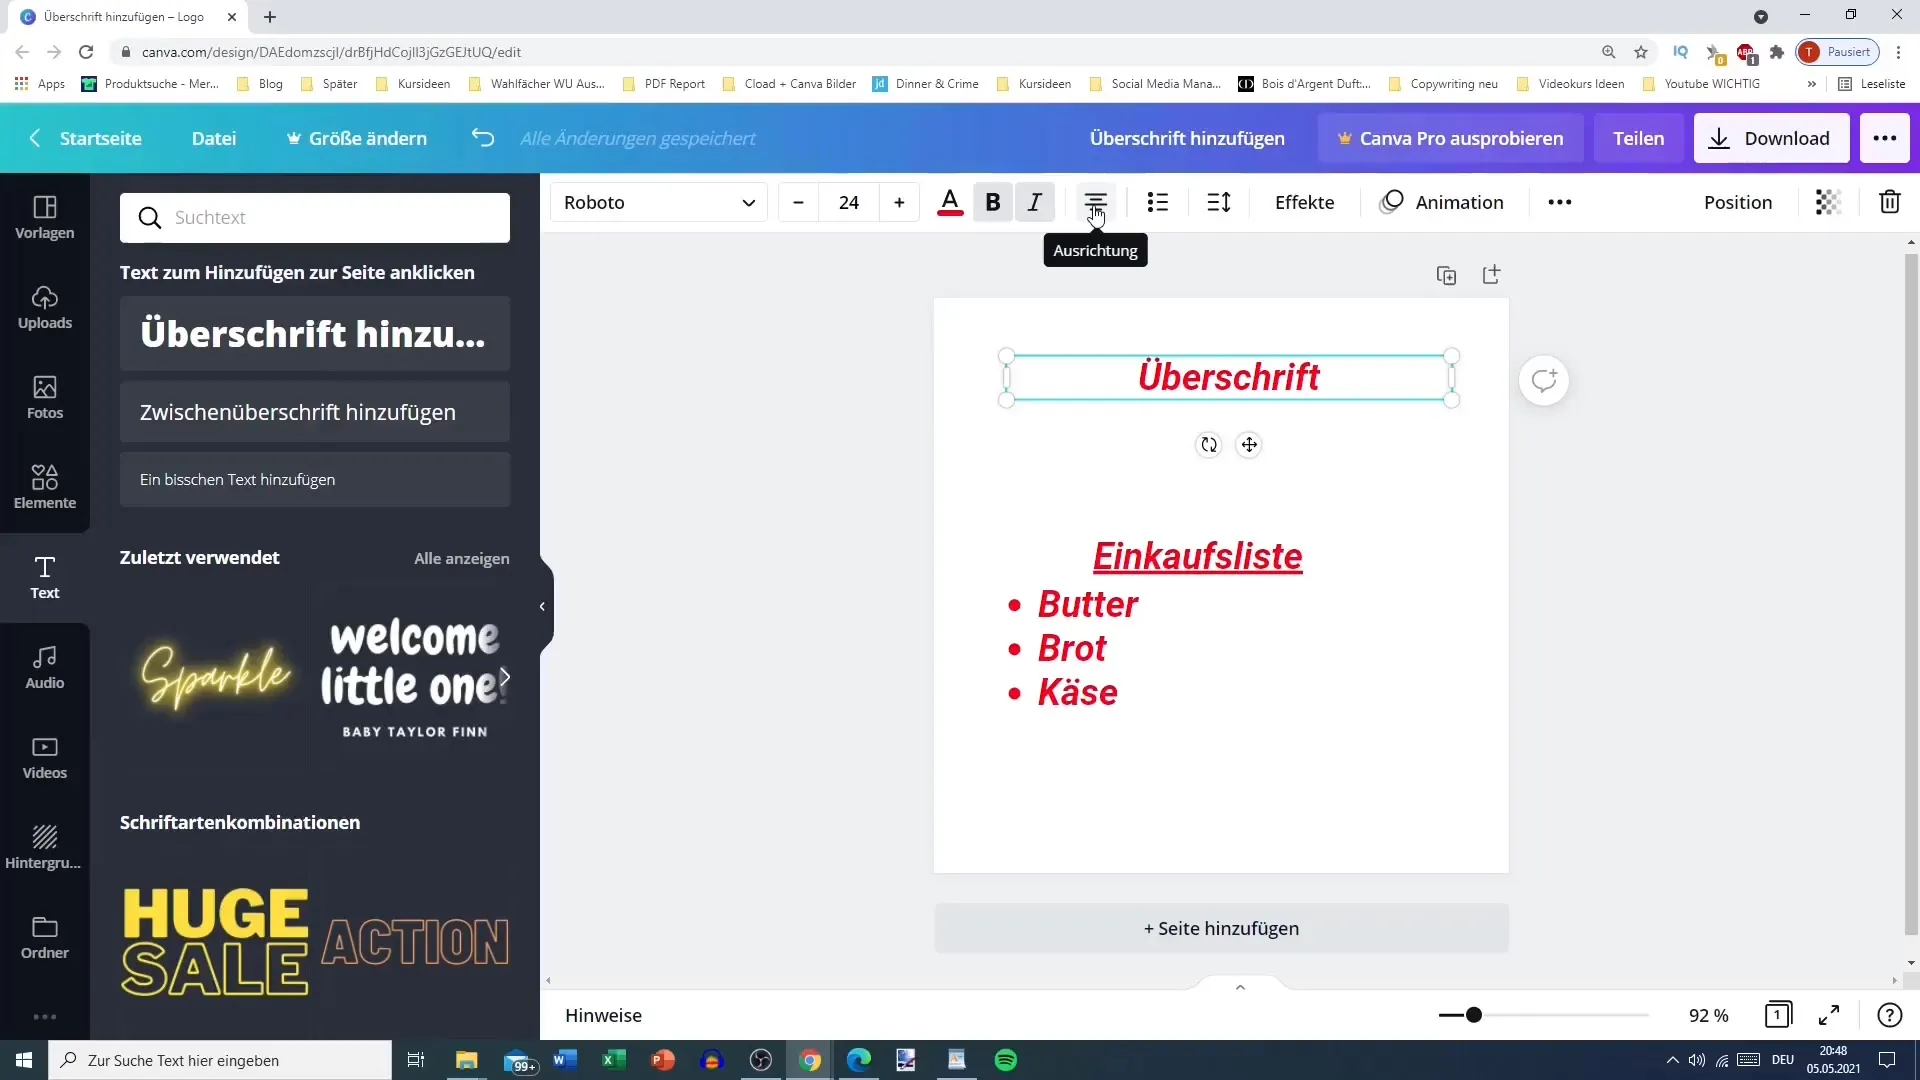
Step 7: Adjusting text alignment
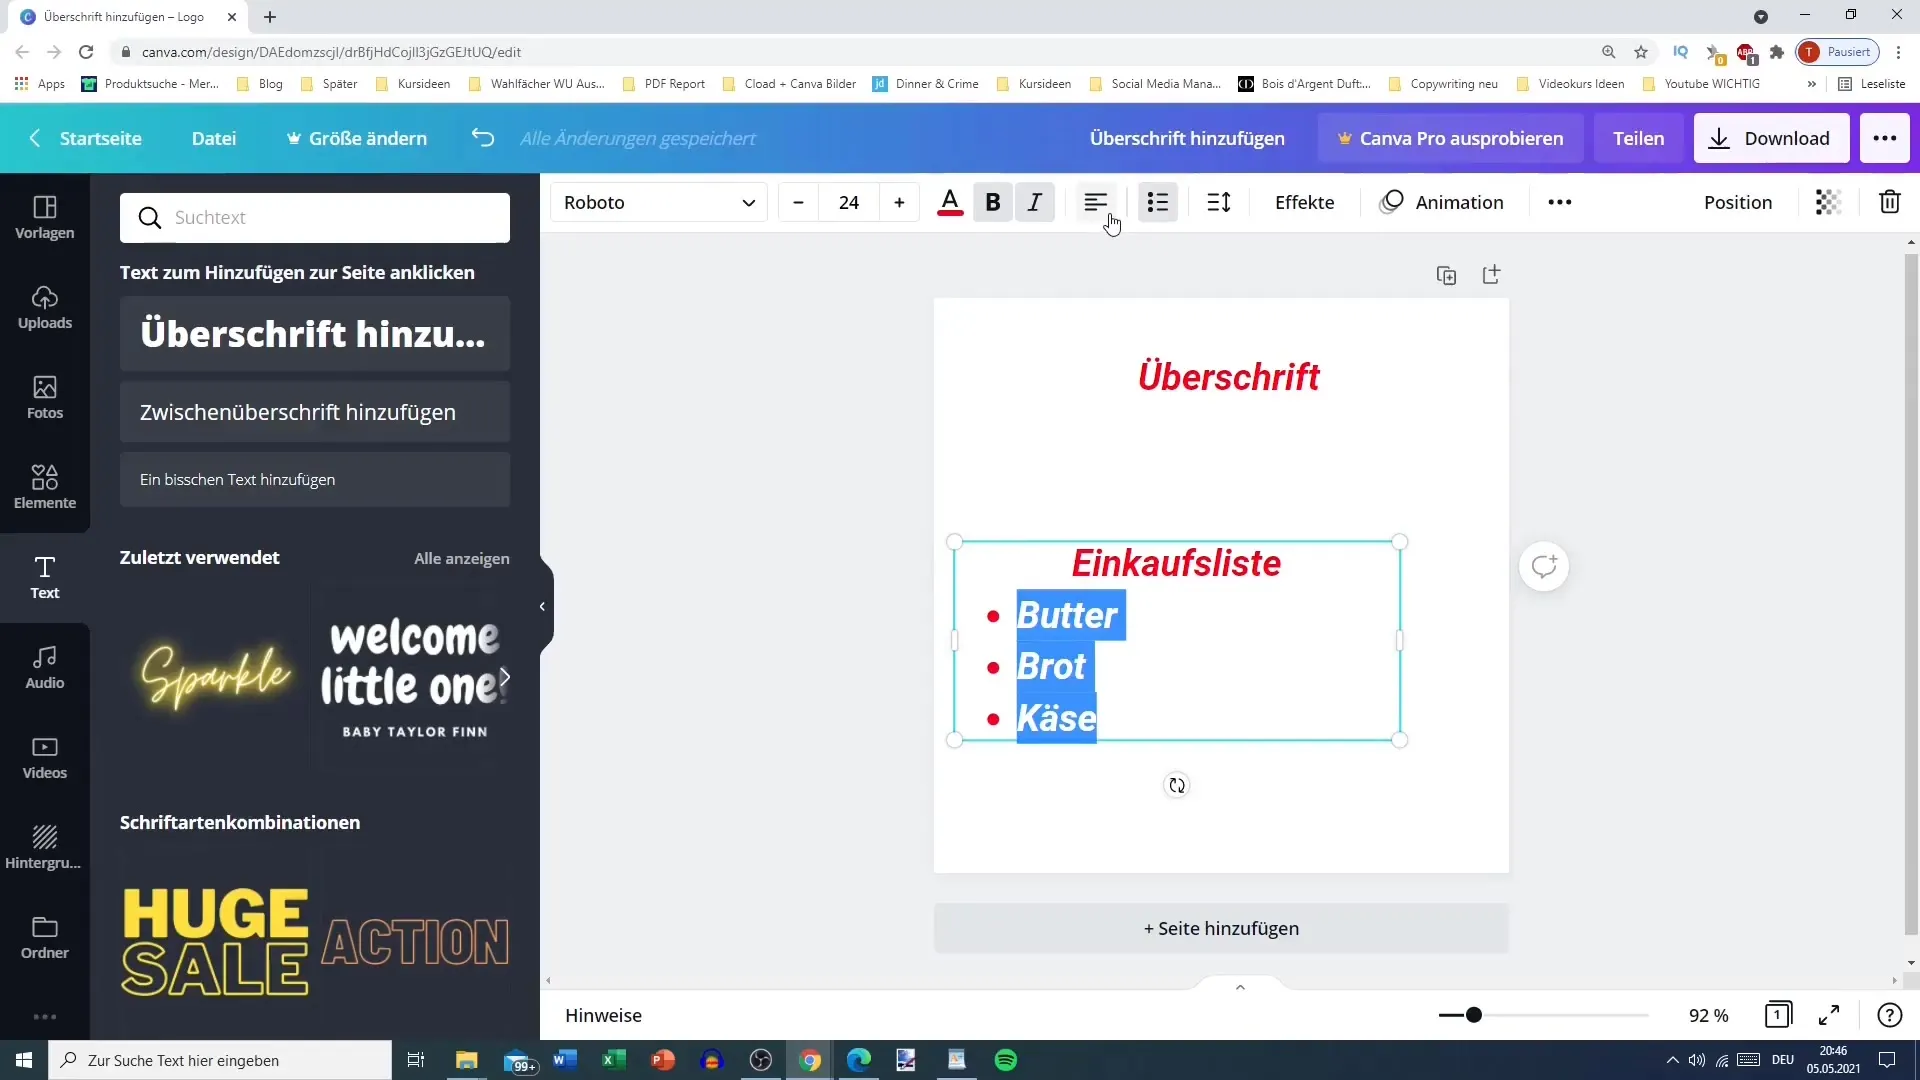
The alignment of the text is important for the appearance. You can choose between left-align, center, and right-align. Make sure the alignment fits your design.
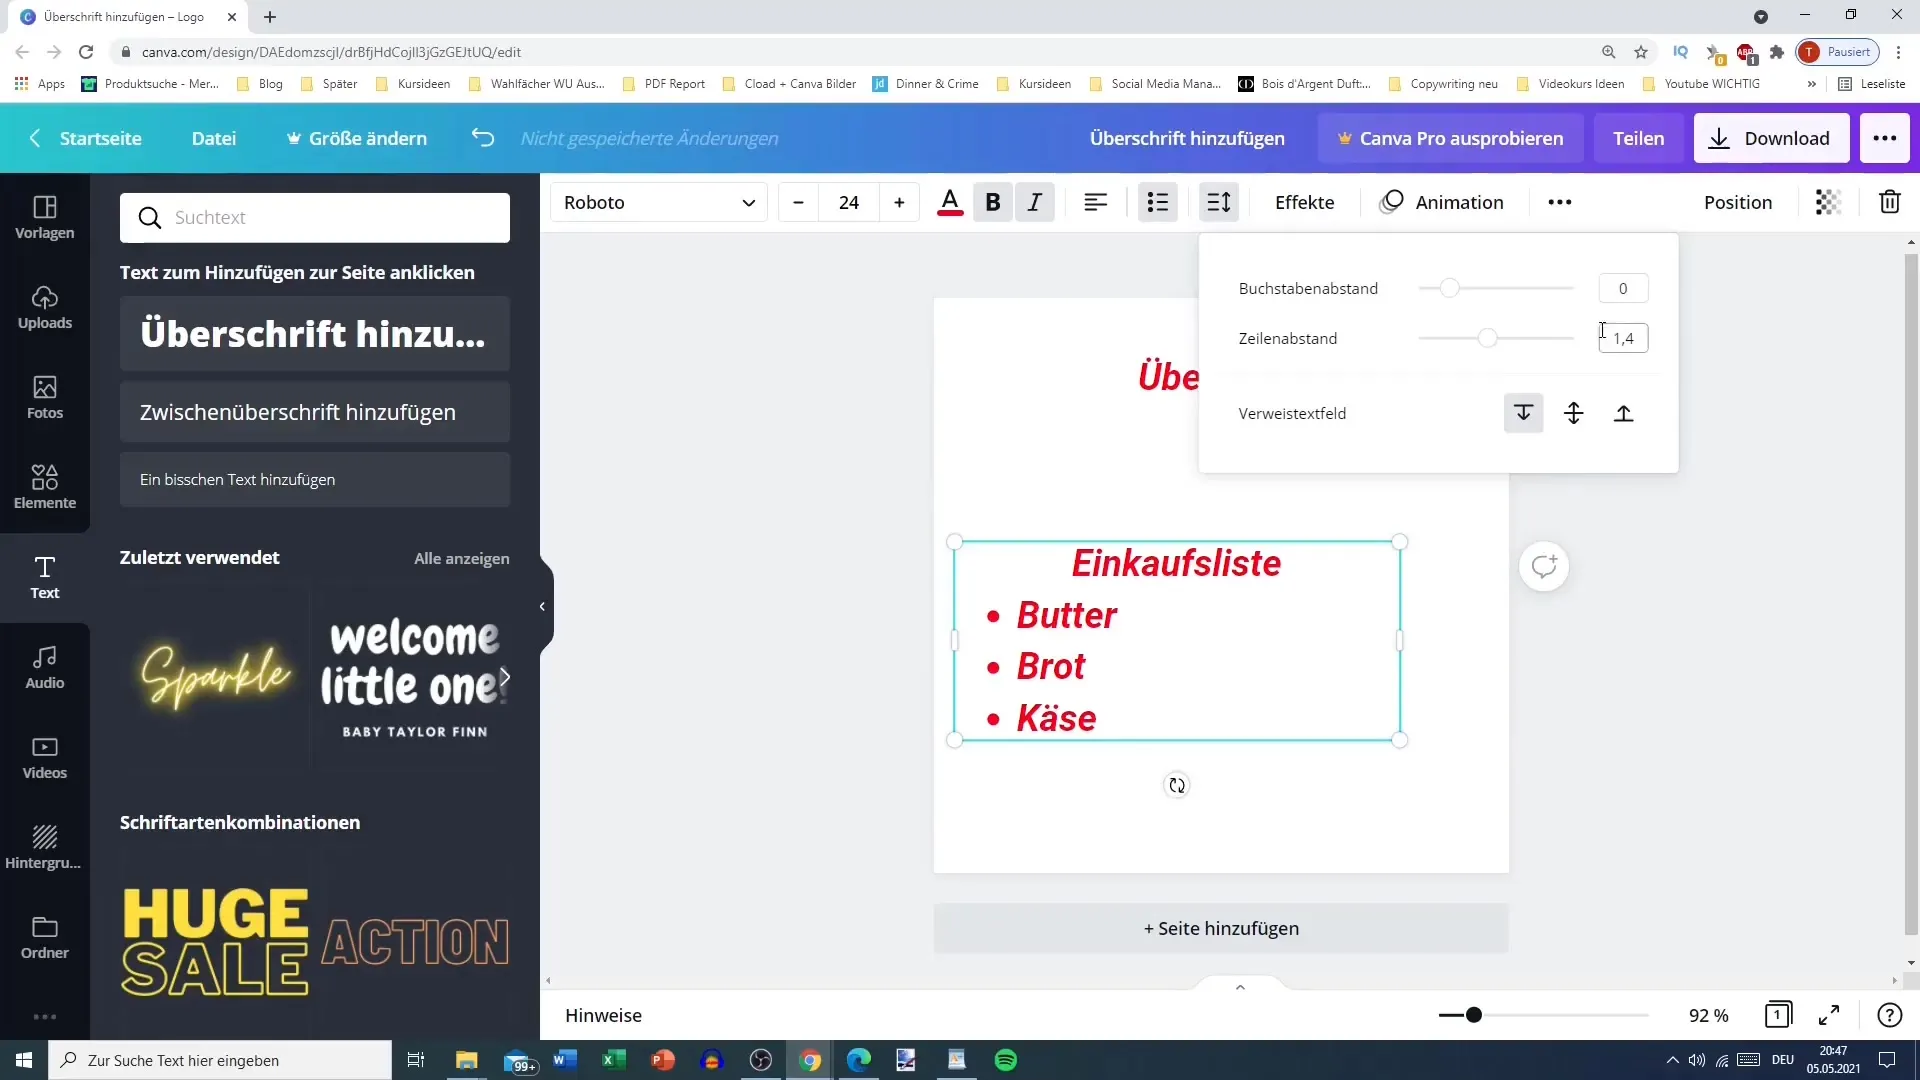
Step 8: Spacing and layout
To optimize the layout, you can adjust the letter and line spacing. A larger distance provides more clarity, while a tighter distance allows for a compact presentation. Try different settings to find the best one for your design.
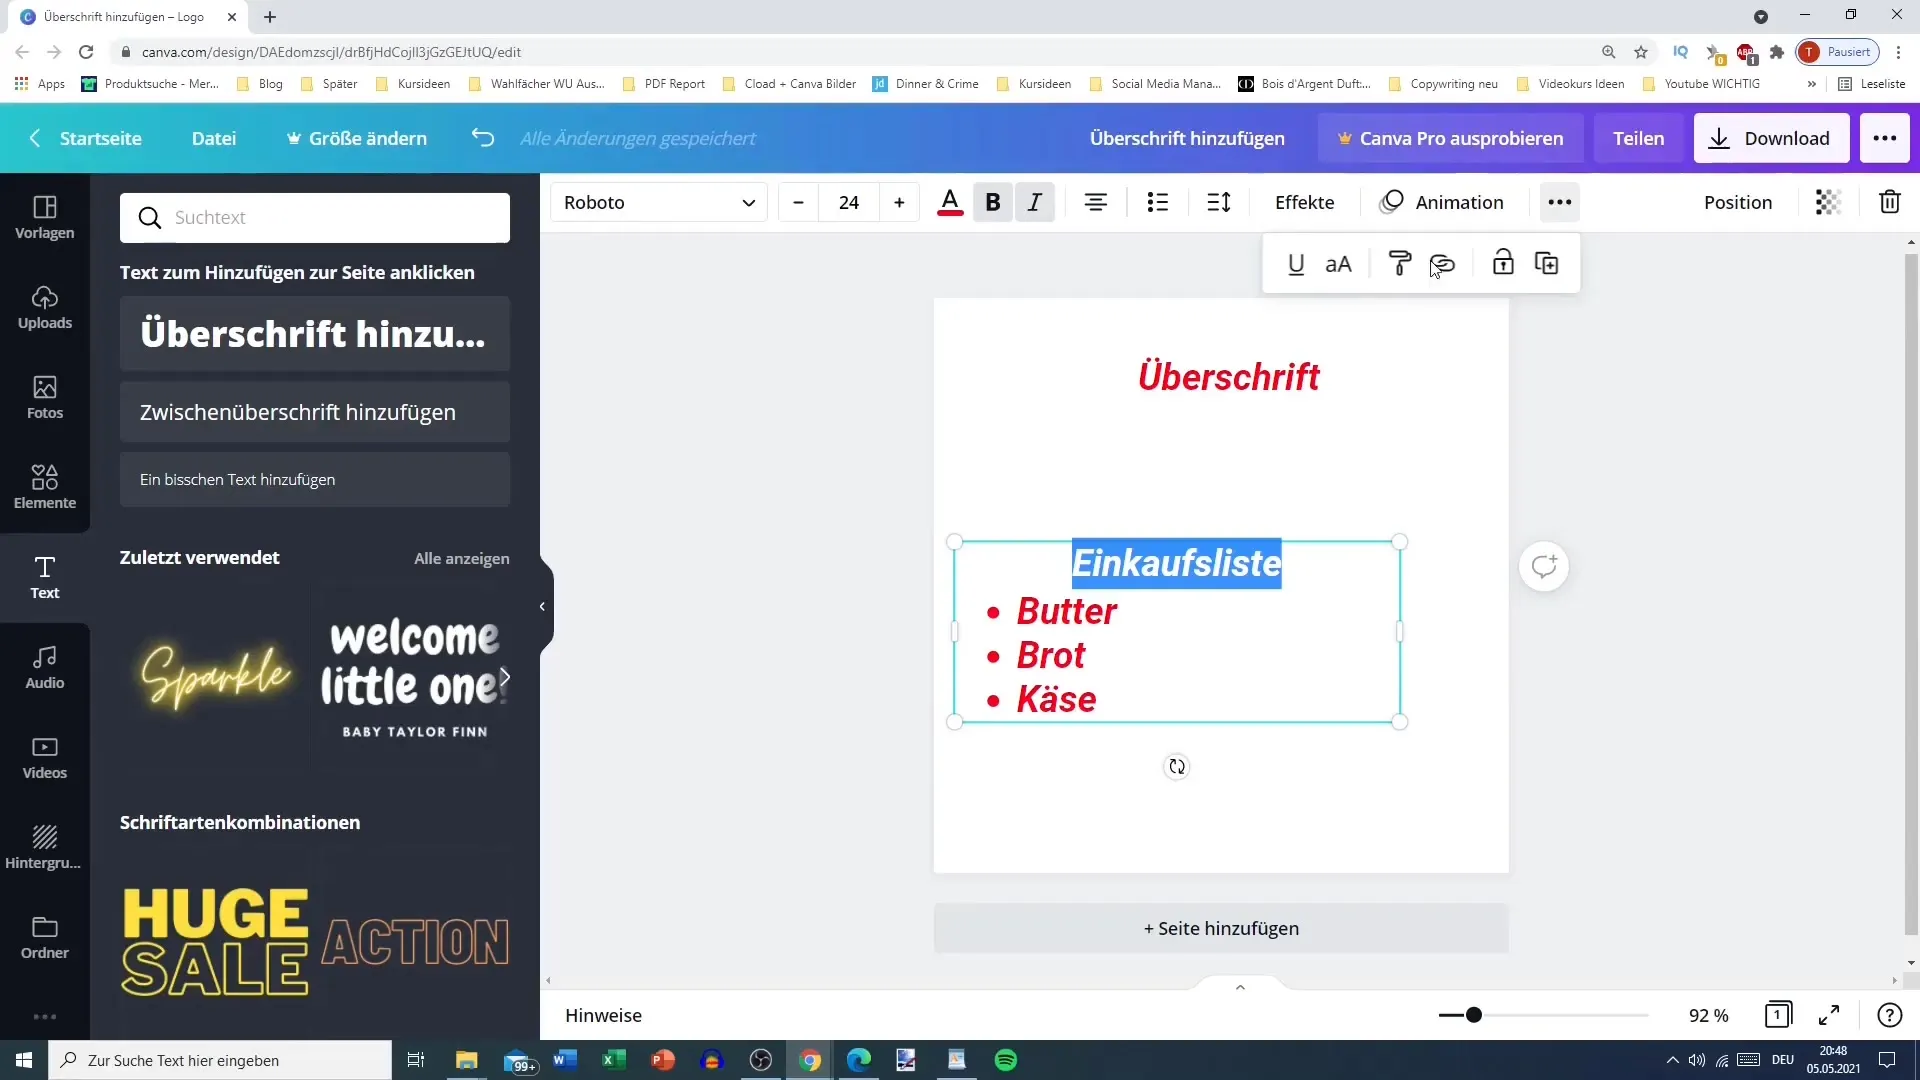
Step 9: Adding effects
Use the effect options to emphasize your text. Possibilities include capitalization, underline, or special effects that give your text more dynamism. You can find these options in the editing area as well.
Step 10: Completion and Export
Once you are satisfied with your design, save and export your project. Canva offers various formats to ensure that your design remains as intended.
Summary
In this tutorial, you have learned how to add, customize, and format text in Canva. With the available templates and formatting options, you can create engaging designs that effectively convey your message.
Frequently Asked Questions
How can I add a new font in Canva?You can add new fonts by using a Canva Pro subscription and uploading your own fonts.
Can I change the font size of my text?Yes, the font size can be changed through the respective settings in the editing toolbar.
Are there free fonts available in Canva?Yes, Canva offers many free fonts that you can use in your designs.
