Nowadays, designing appealing content is crucial for success in Content Marketing. Canva offers you a variety of features to enhance your designs with effects and animations. In this guide, I will show you step by step how you can use the different effects in Canva to take your graphics and images to the next level.
Key Takeaways
- Canva offers a wide range of effects for text and graphics that give your designs a special touch.
- The variety of available filters and effects allows you to be creative and create individual designs.
- Understanding how to use effects in Canva is essential to fully leverage the platform's potential.
Step-by-Step Guide
To effectively use effects in Canva, follow these steps:
Step 1: Access Effects
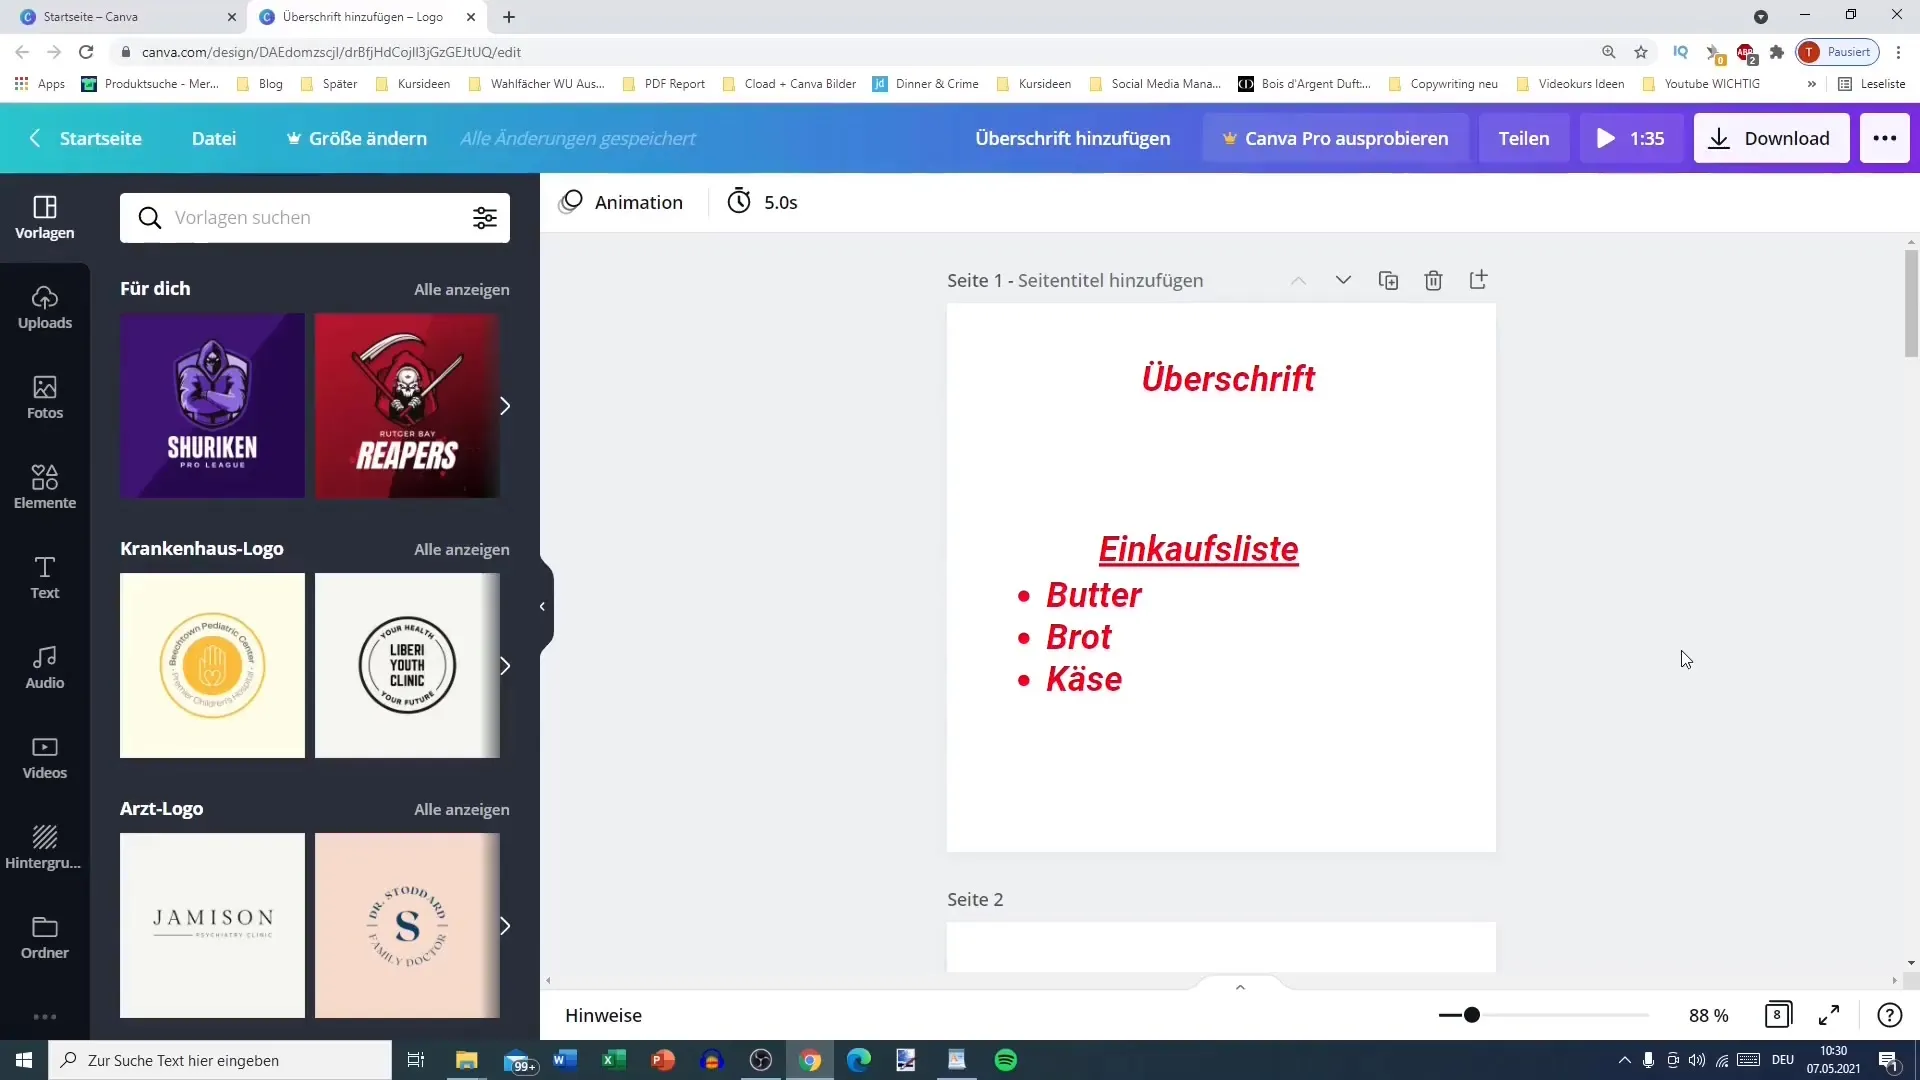
First, you need to open Canva and create a new design or select an existing project. Look in the toolbar for an element you want to edit.
Step 2: Select an Element
Choose an element, such as an image or text. You have various options available, including cropping and other editing possibilities.
Step 3: Upload an Image
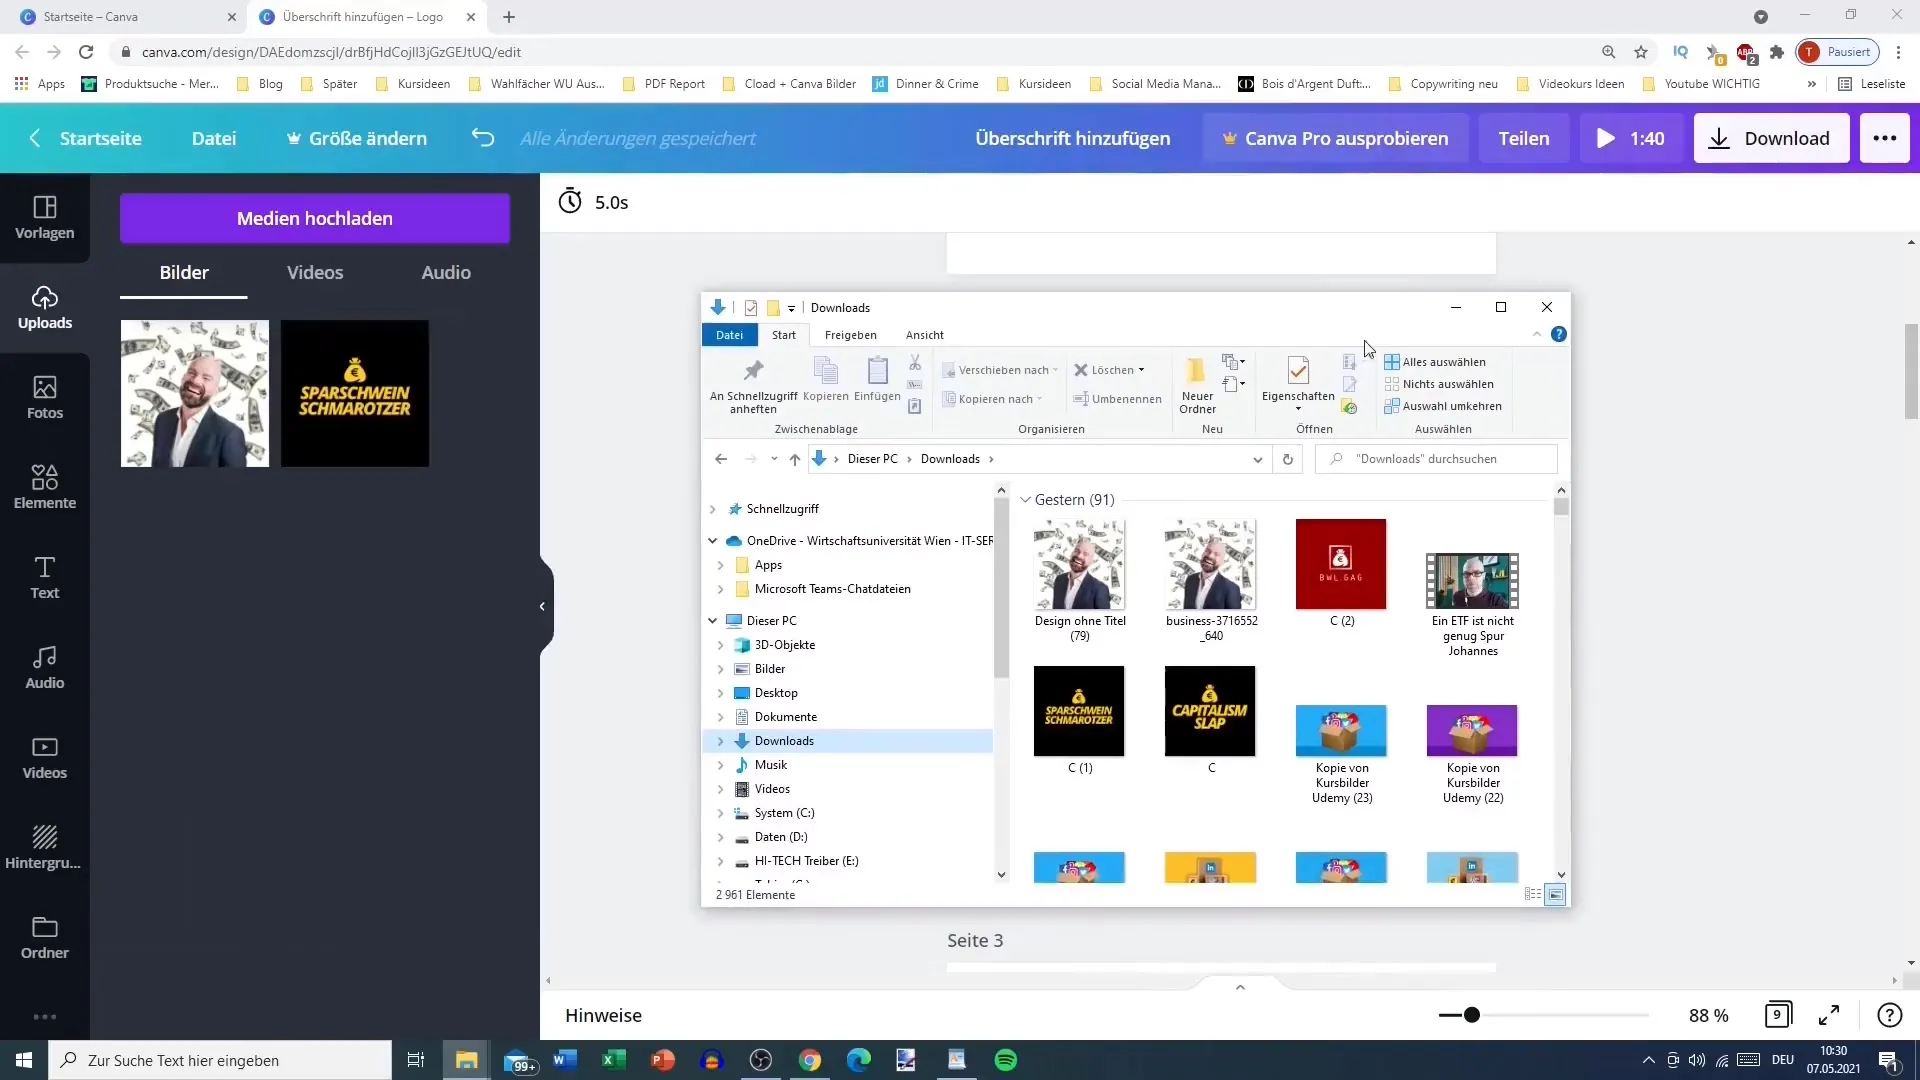
If you want to use your own images, you can simply upload them. Go to your download folder and select the image you want to use.
Step 4: Apply Effects and Filters
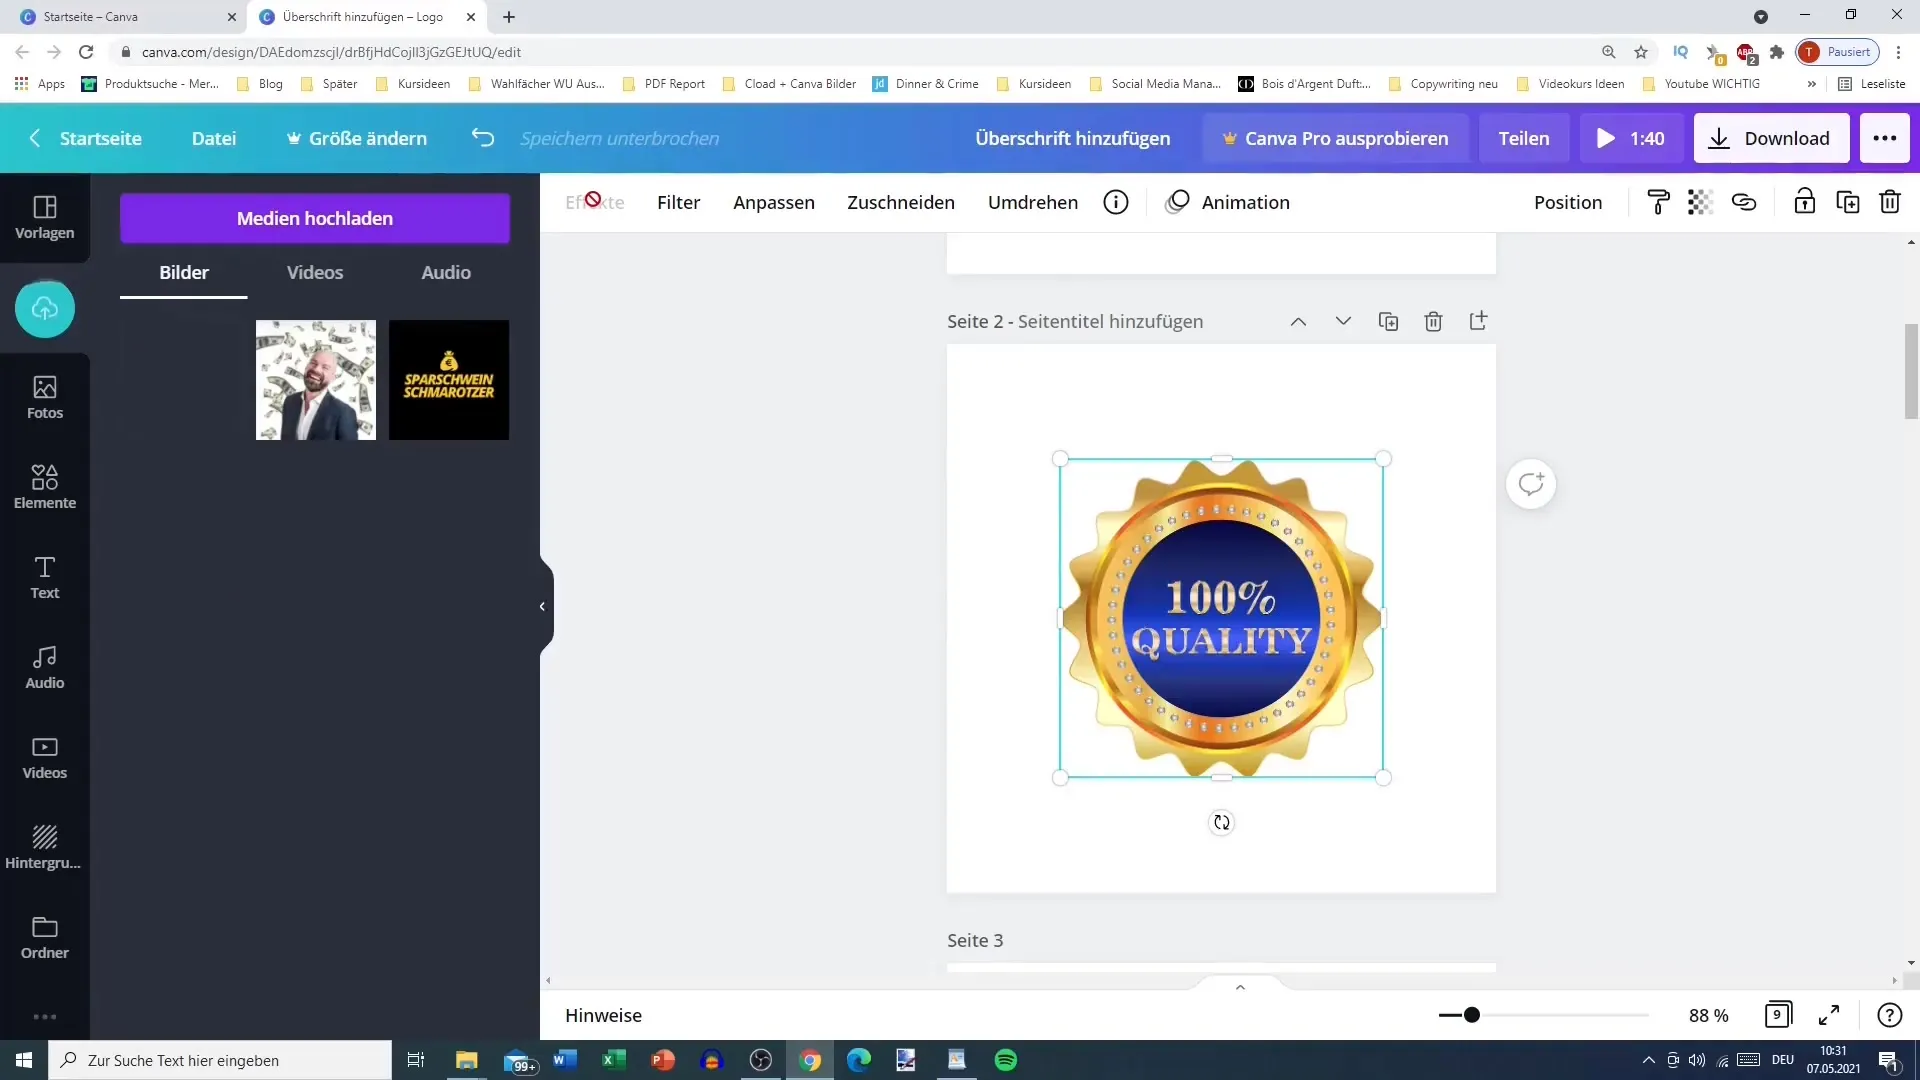
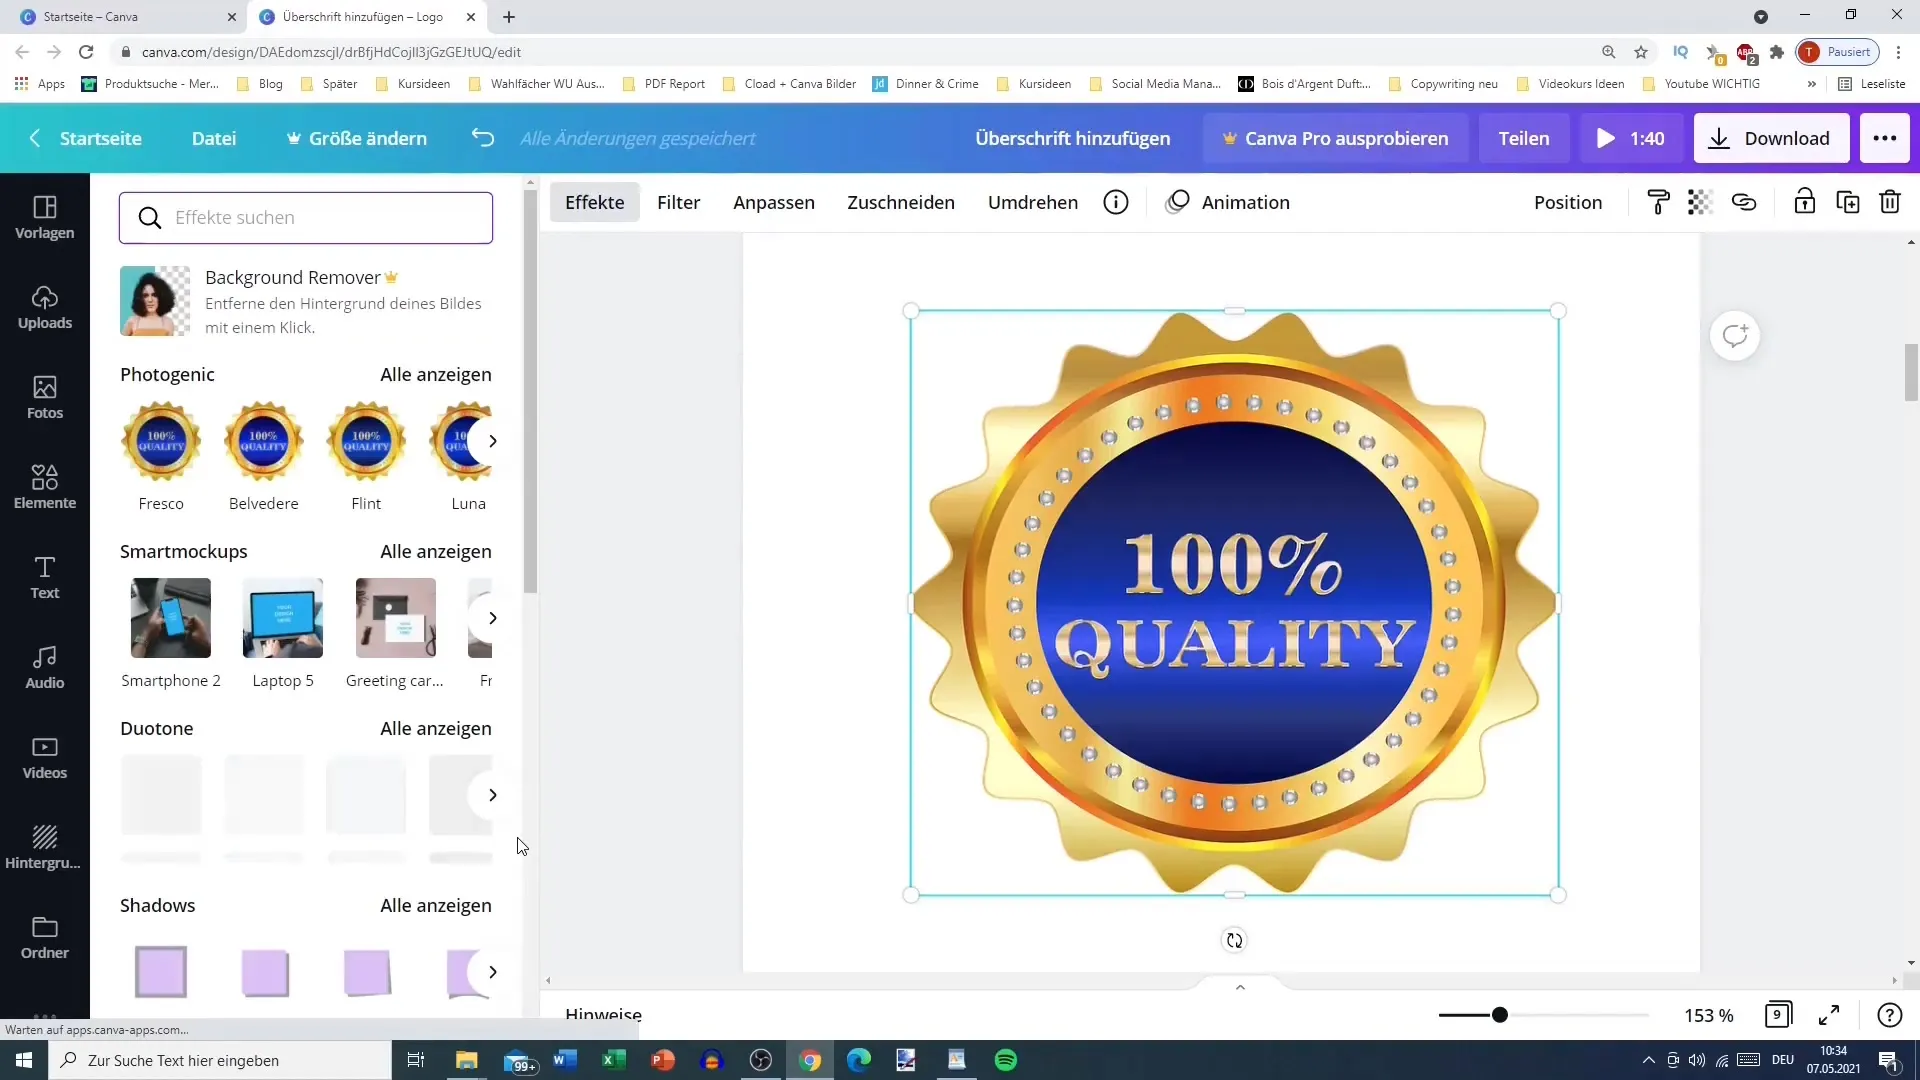
After uploading your image, click on the element to see the options for effects and filters. Here you will find a variety of ways to enhance your image.
Step 5: Apply Filters
Start by choosing one of the pre-installed filters, such as "photogenic," to mimic typical Instagram films. You can customize the filter type by clicking on "Edit" and adjusting the intensity of the filter.
Step 6: Adjust Shadows and Frames
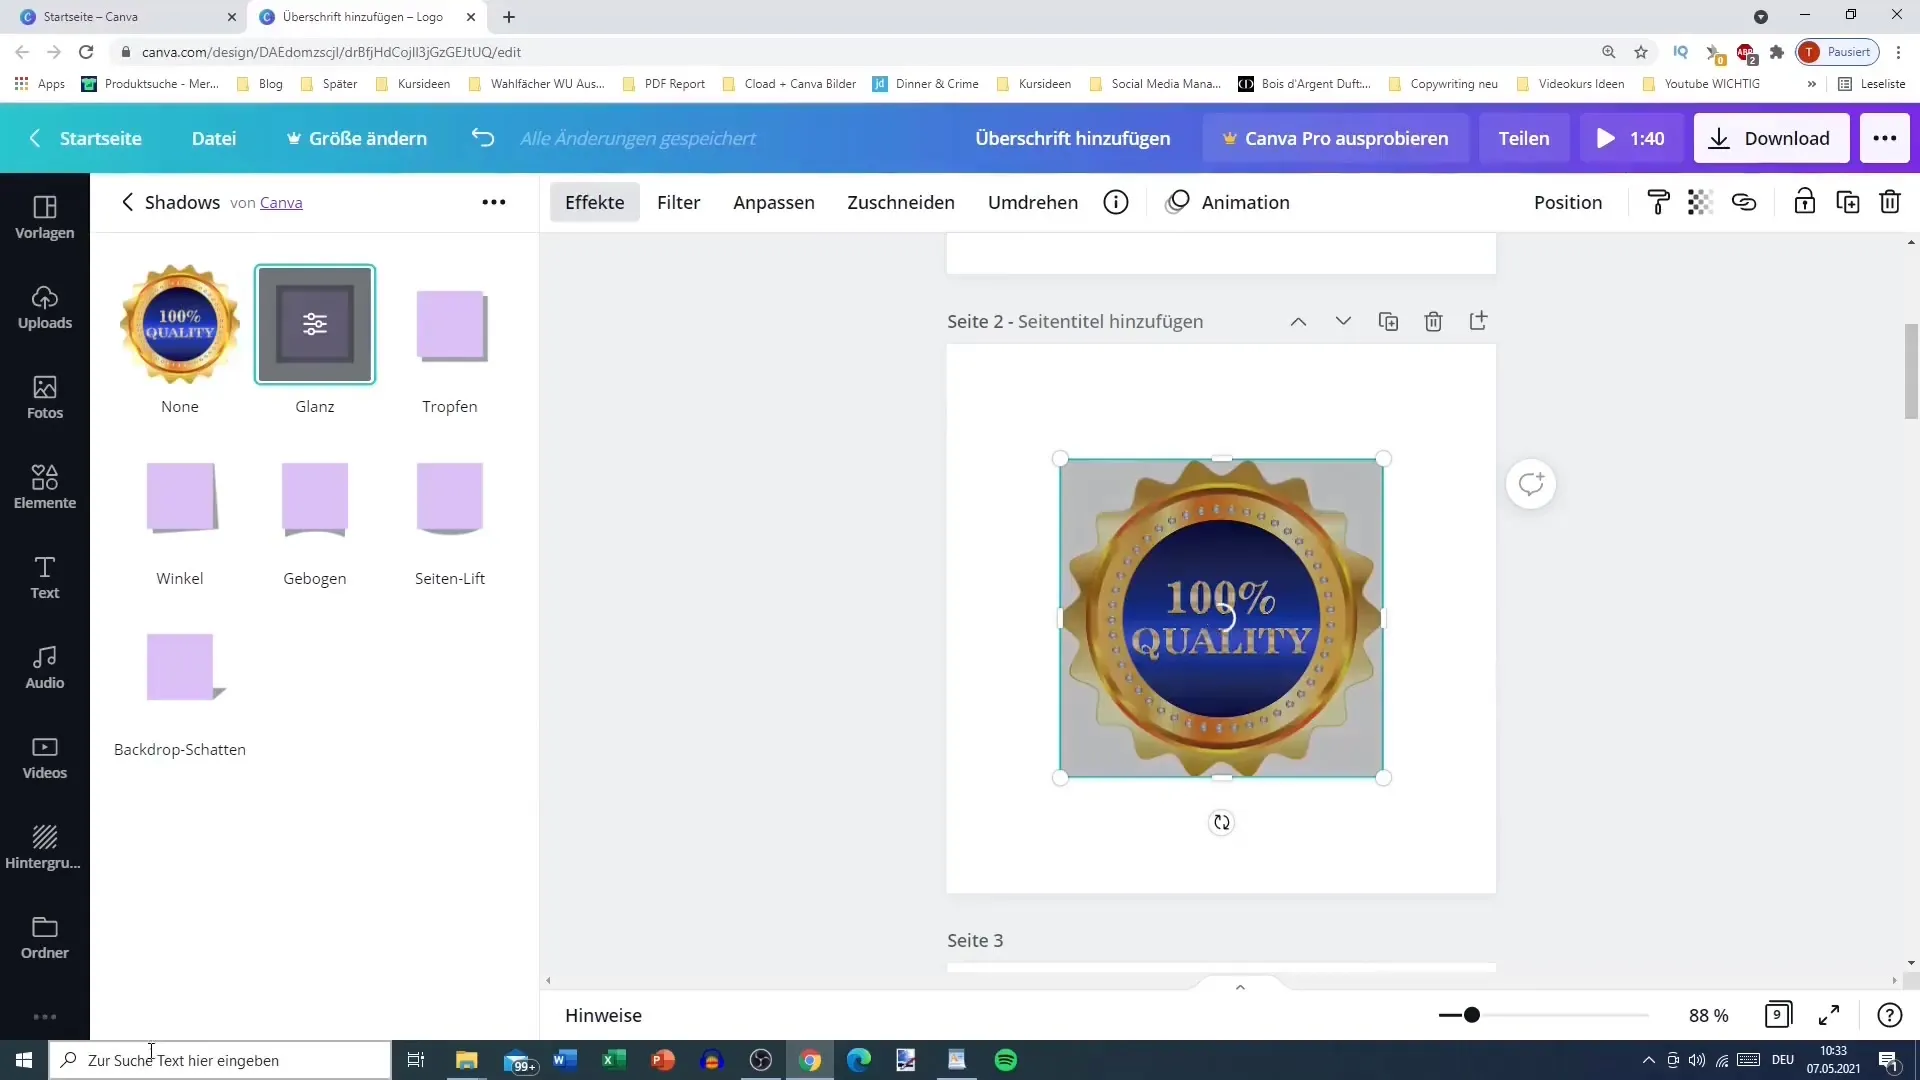
You can also add shadows to your image to achieve a three-dimensional effect. Choose the "Shadow" option and experiment with different settings like softness, transparency, and size.
Step 7: Use Glow and Other Effects
If desired, you can also add the glow effect. Adjust the color and intensity to achieve the desired end result.
Step 8: Experiment with Additional Effects
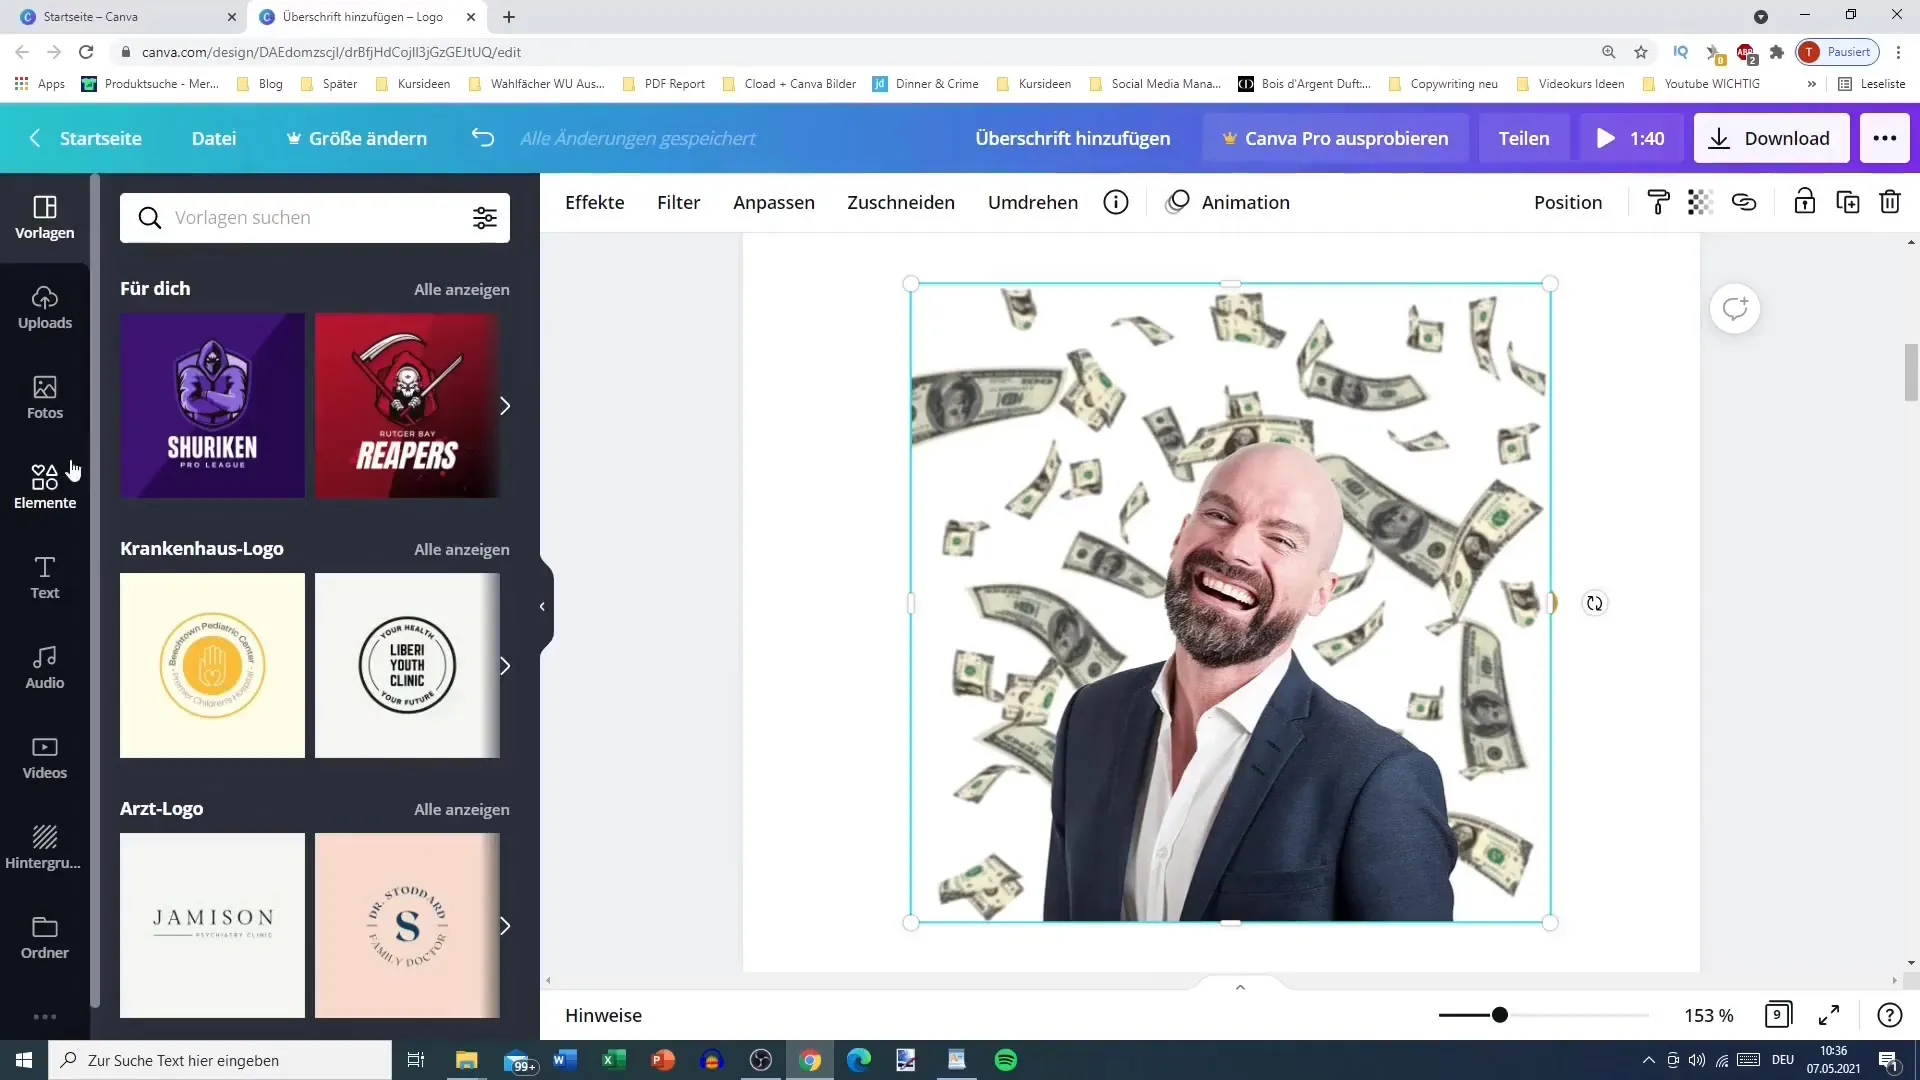
Try other effects like "Bad TV" to create distortion effects. These effects are particularly useful when editing an image of a person to create a nostalgic style.
Step 9: Use Glitch and Pixel-8 Effects
Try creative effects like the glitch or pixel-8 effect to make your graphics more interesting. Be adventurous and discover which combinations you like best.
Step 10: Undo and Fine-Tune
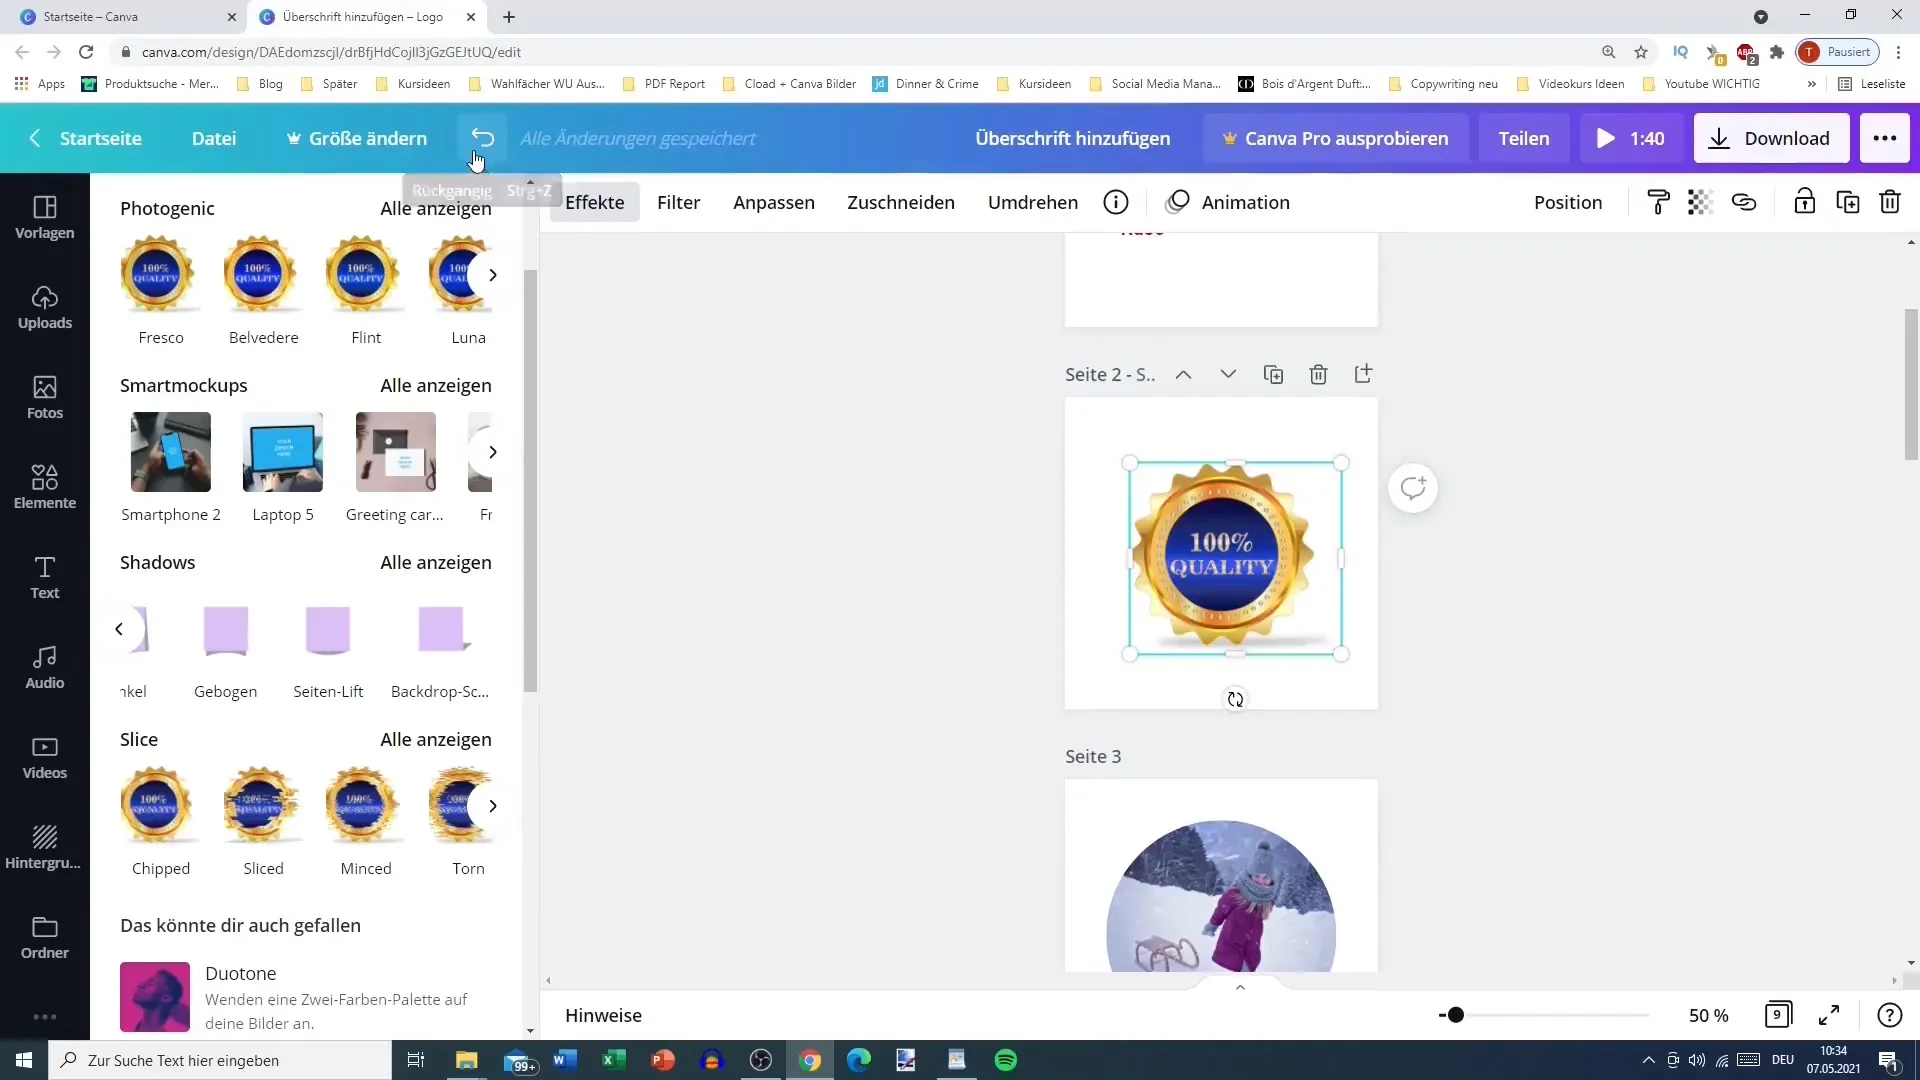
If you are not satisfied with an adjustment, you can use the undo button or the Ctrl+Z keyboard shortcut to remove changes. This is particularly useful for quickly correcting mistakes.
Step 11: Completion and Saving
Once you are satisfied with your effects, save your design. Click on "Download" and choose the desired file format to save your project and keep it ready for future use.
Summary
In this tutorial, you have learned how to effectively use Canva's effect and filter functions. By strategically using effects, you can personalize and enhance the appeal of your designs.
Frequently Asked Questions
What are the best effects to enhance images?The best effects are filters, glare, and shadow. These give your images depth and style.
Can I upload my own images in Canva?Yes, you can upload your own images to edit them according to your preferences.
How can I undo an effect?You can undo changes by using the Undo button or Ctrl+Z.
Are there filters like on Instagram?Yes, Canva offers many filters inspired by popular Instagram looks.
Can I apply multiple effects to an image?Yes, you can combine different effects to achieve unique results.
