YouTube offers you the opportunity to schedule your videos in advance, so you can proactively provide content without having to be online at the right time. In this tutorial, you will learn how you can schedule YouTube videos and the benefits this has for your content marketing.
Main Insights
- You can schedule videos on YouTube for a specific time so they go online automatically.
- The visibility settings allow you to upload your videos privately, unlisted, or publicly.
- A premiere feature allows you to add a live chat and promotional option to your video.
- When planning, you should differentiate between evergreen content and current news content.
Step-by-Step Guide
Follow the steps below to schedule your videos on YouTube.
Step 1: Upload Video
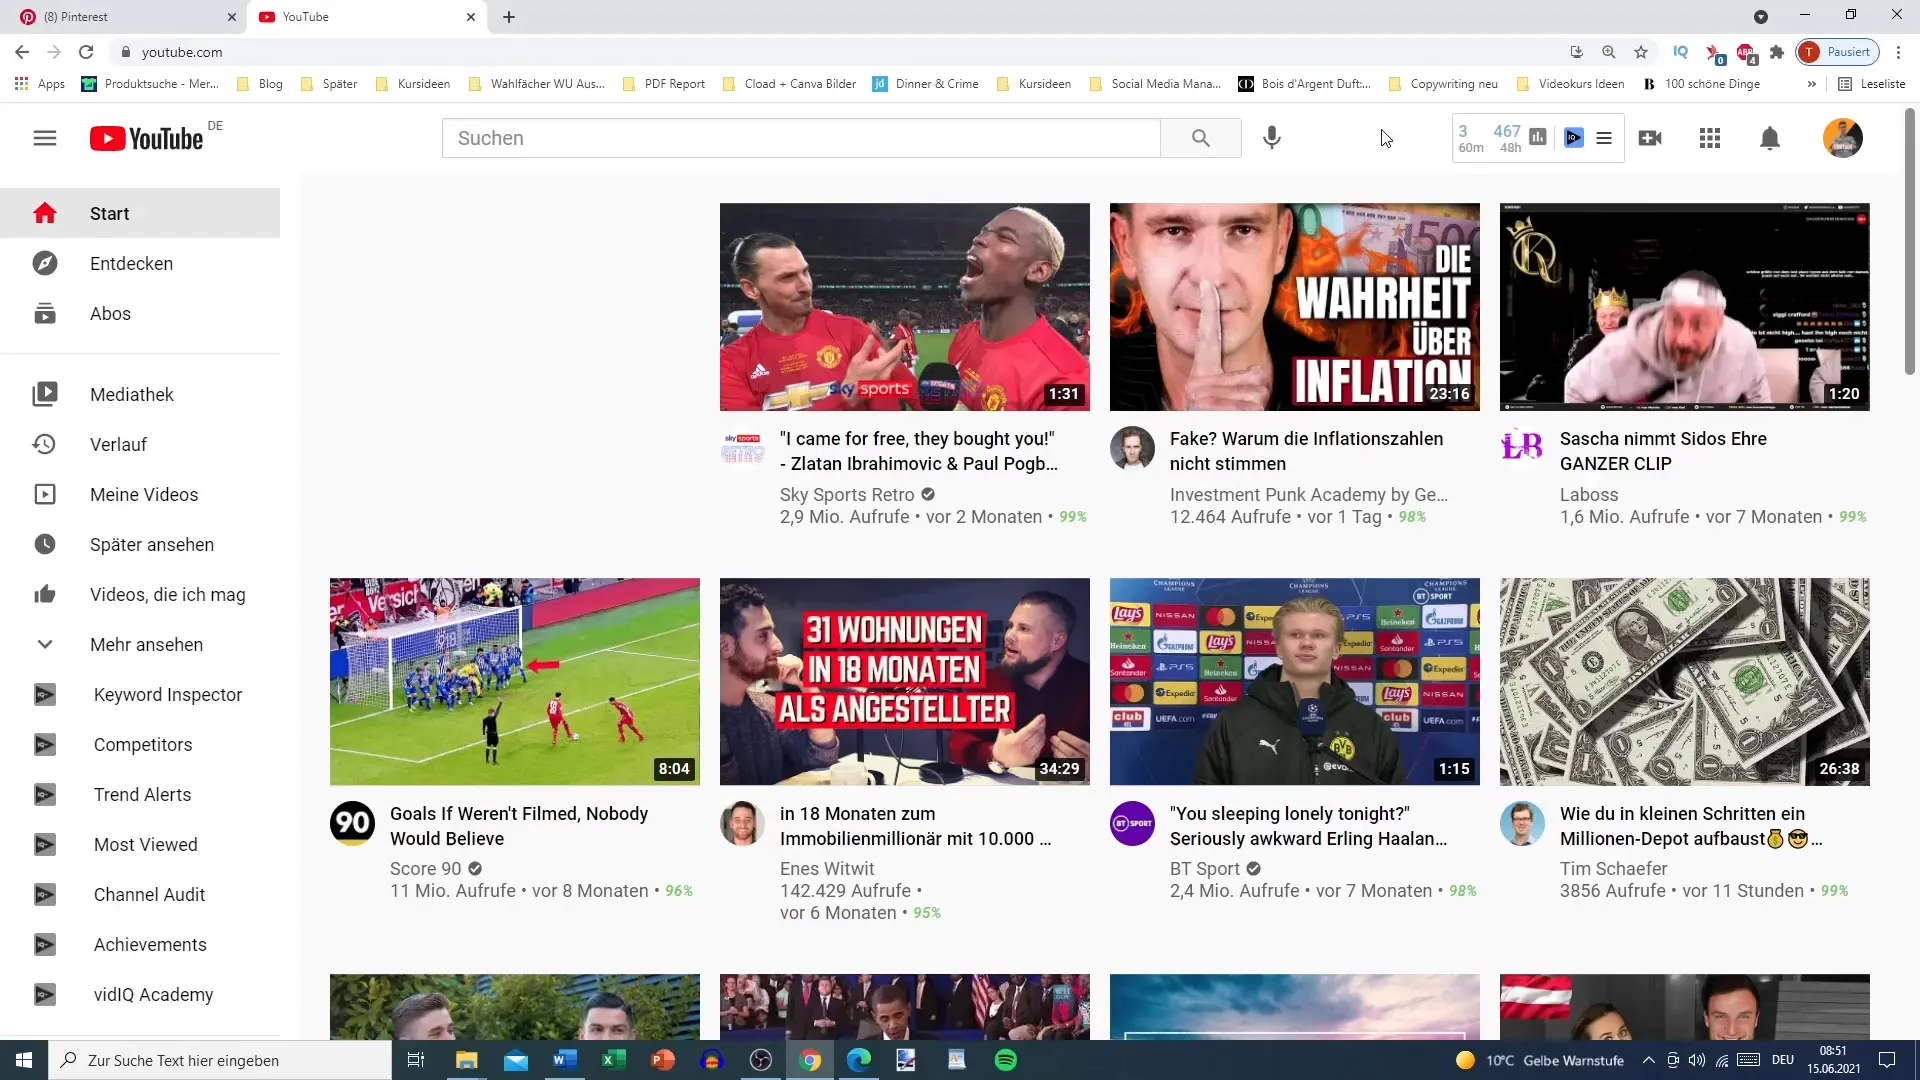
First, open YouTube and click on the plus sign to upload a new video. Here, select an existing video that you want to schedule.
Step 2: Edit Video
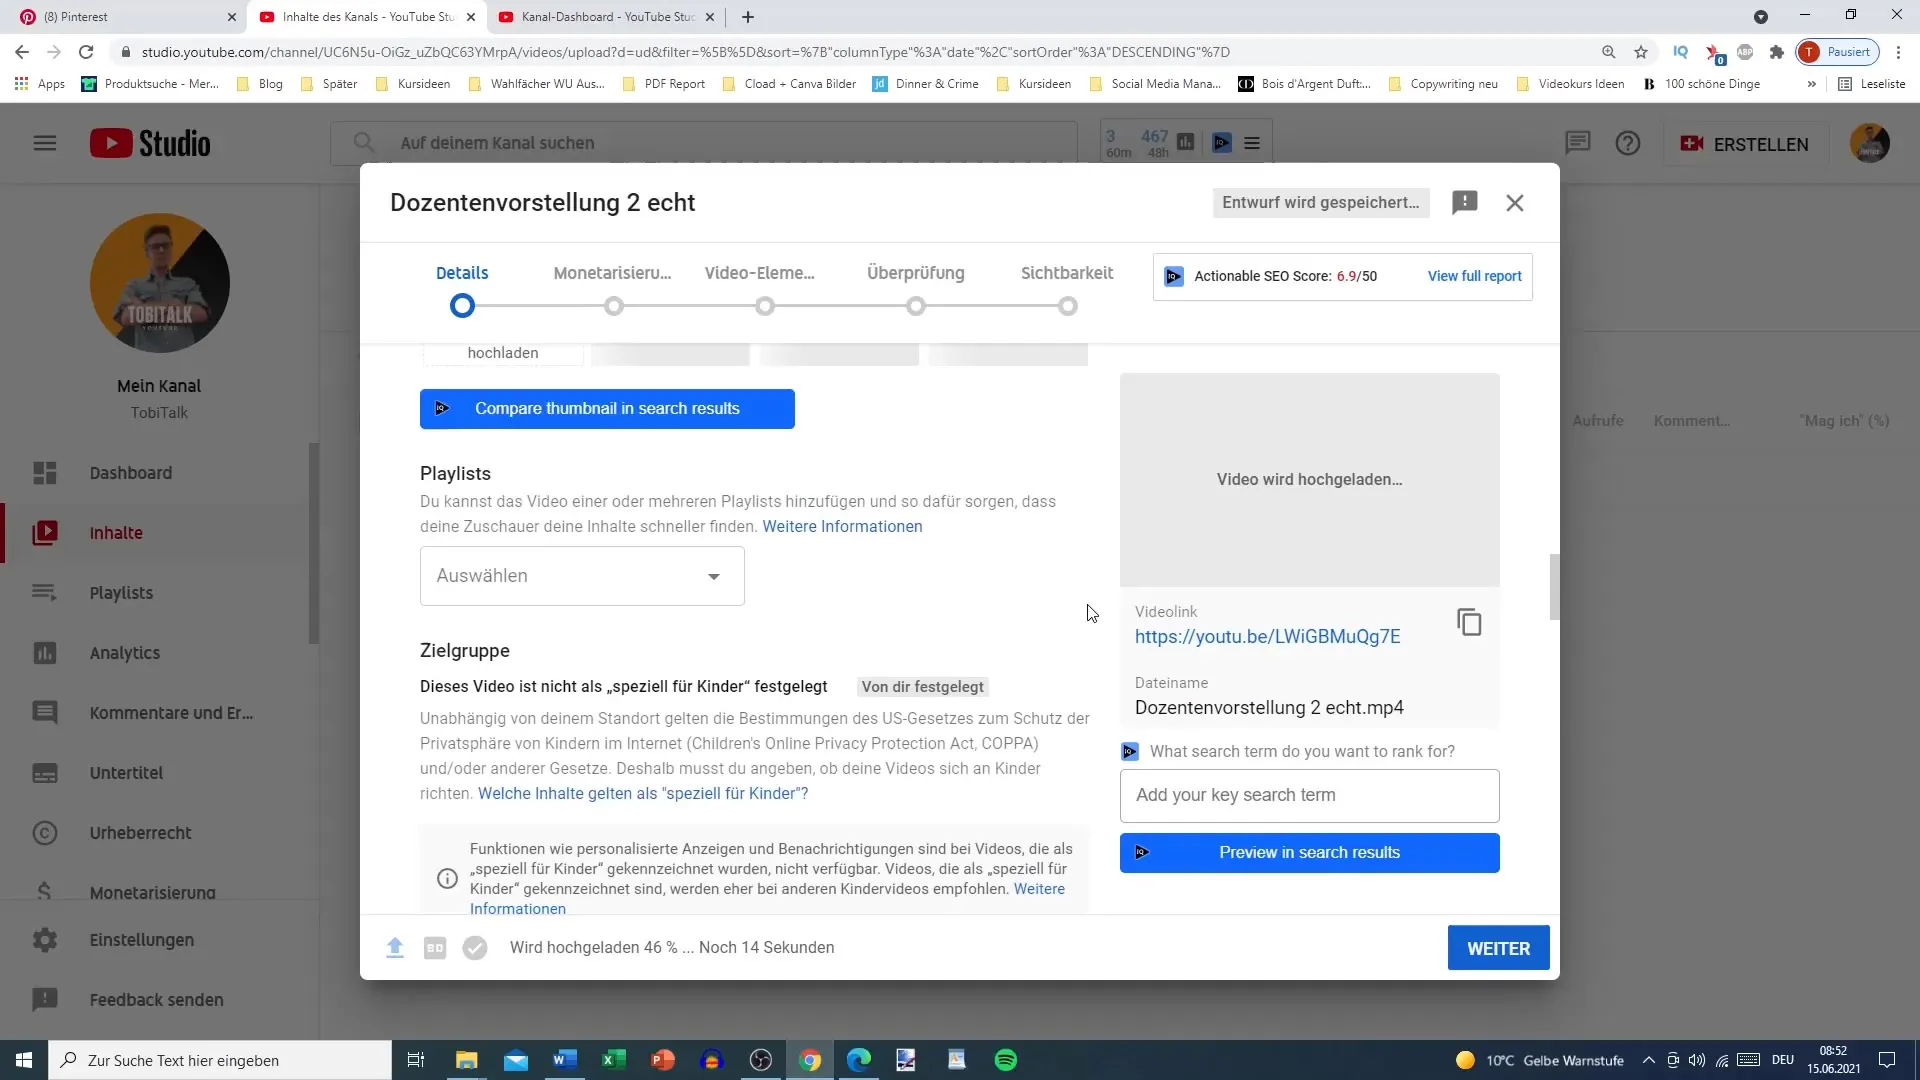
After uploading the video, it is important to give it a title, a good description, and relevant tags. These elements help ensure that your video is found by the right viewers. Make sure the tags are well thought out to maximize your video's visibility.
Step 3: Monetization Settings
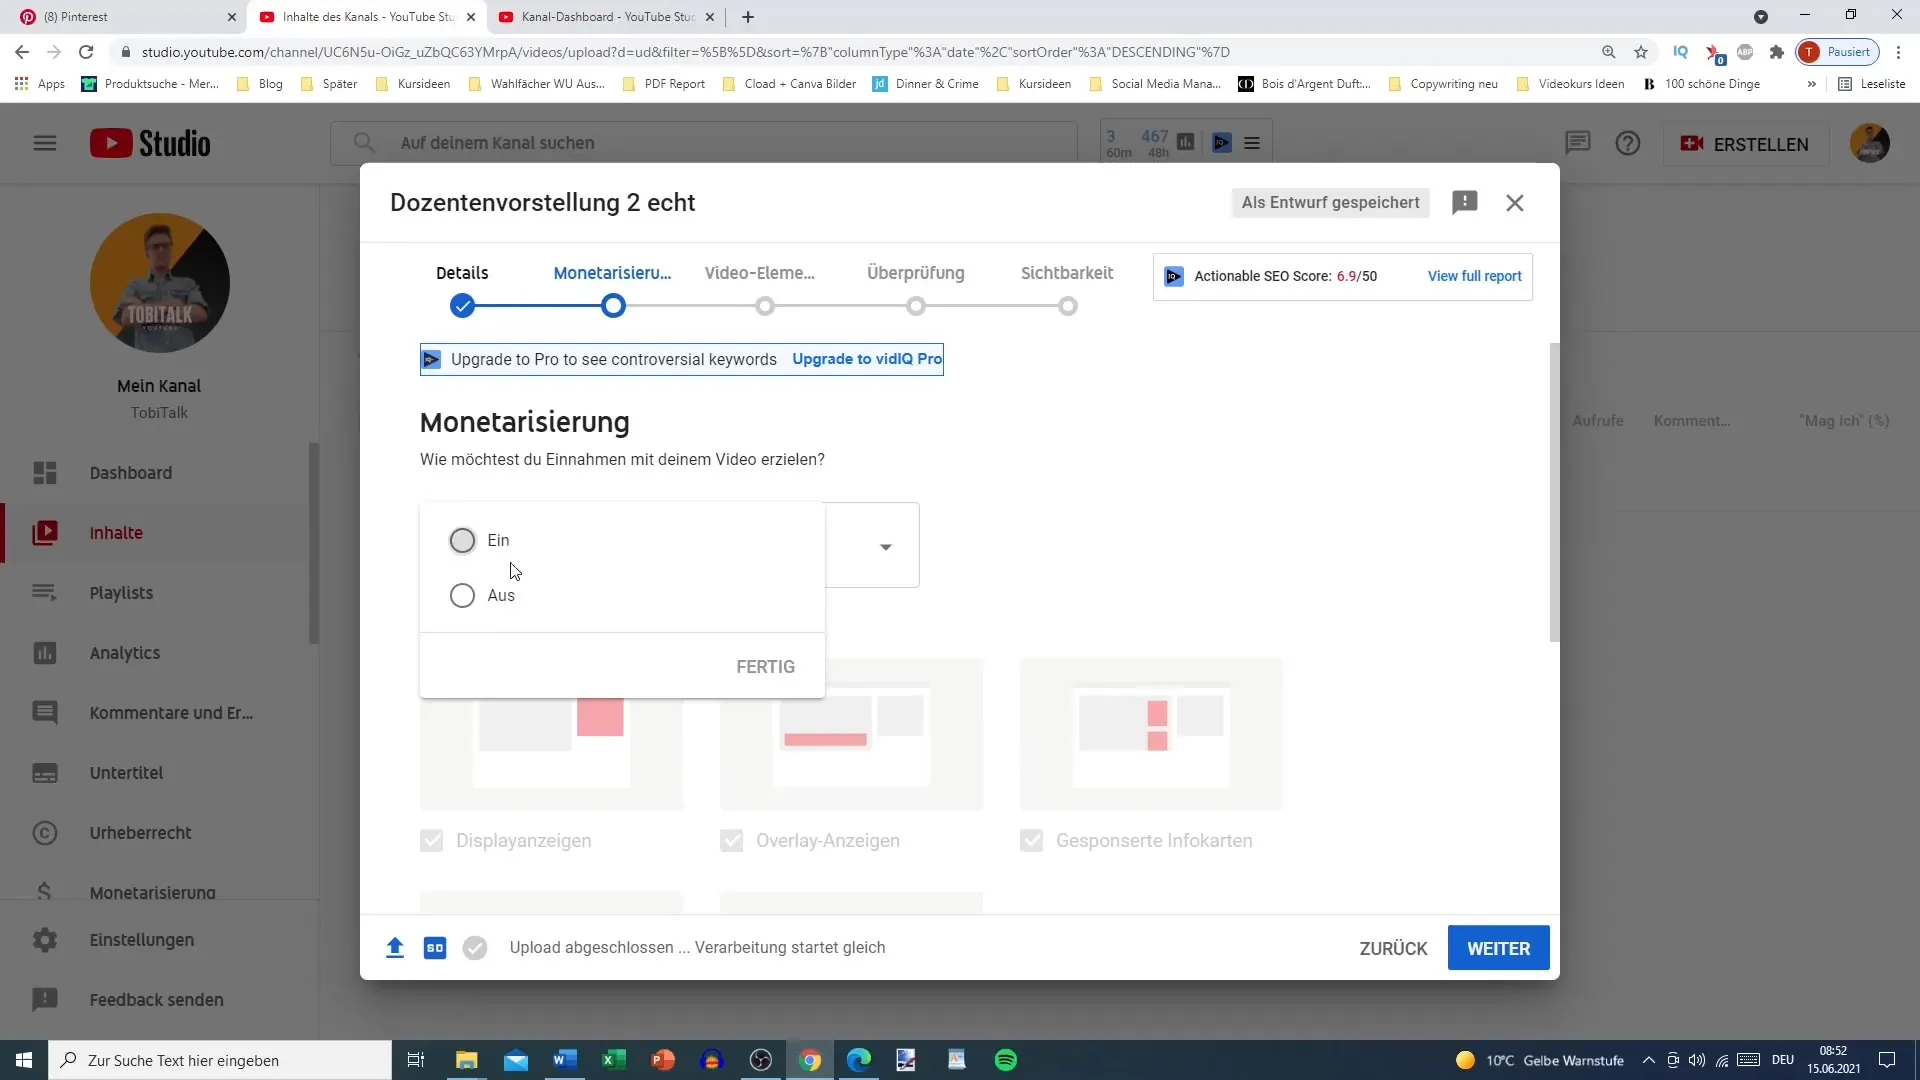
In this step, you can adjust the monetization settings. If you do not have monetization enabled, you can simply skip this step and move on to the next phase.
Step 4: Choose Visibility Options
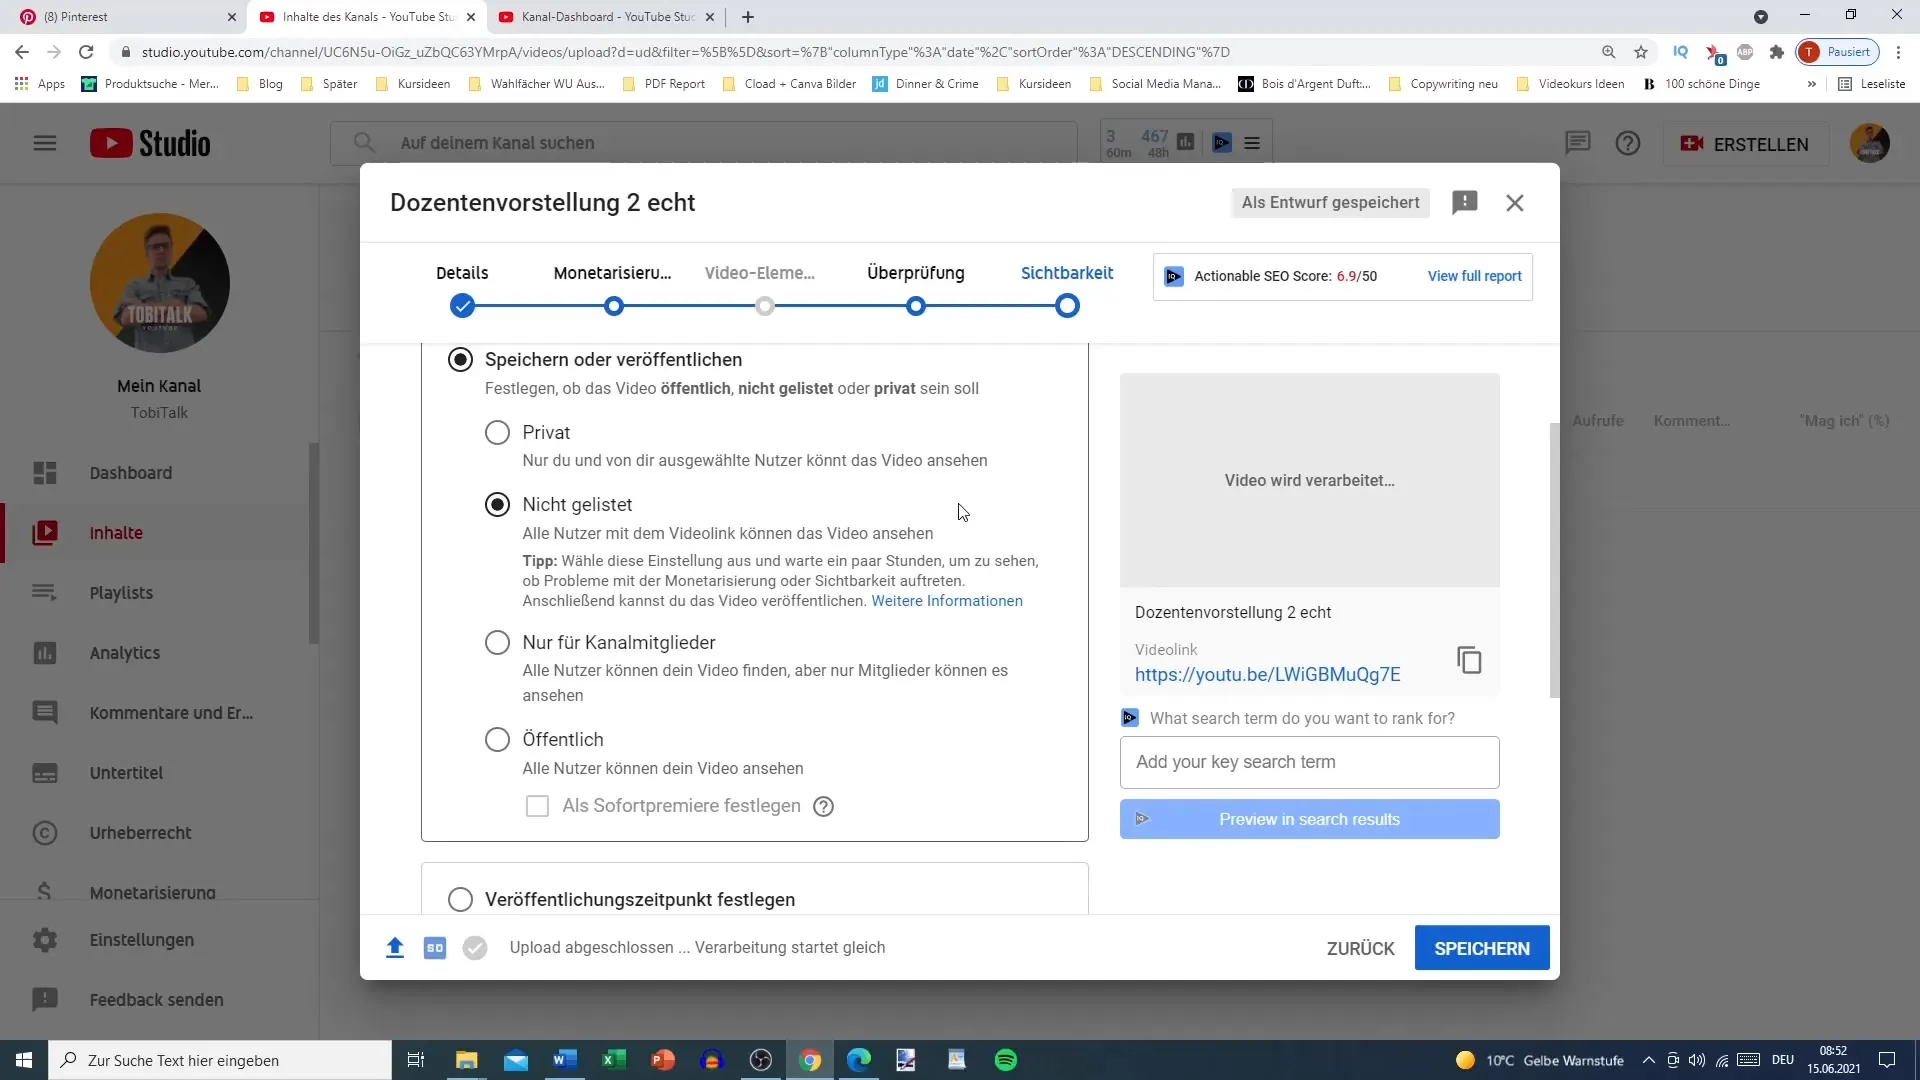
For visibility settings, you have various options: you can upload your video as "Private," "Unlisted," or "Public." If you want your video to be accessible only to a certain audience, choose "Private" or "Unlisted."
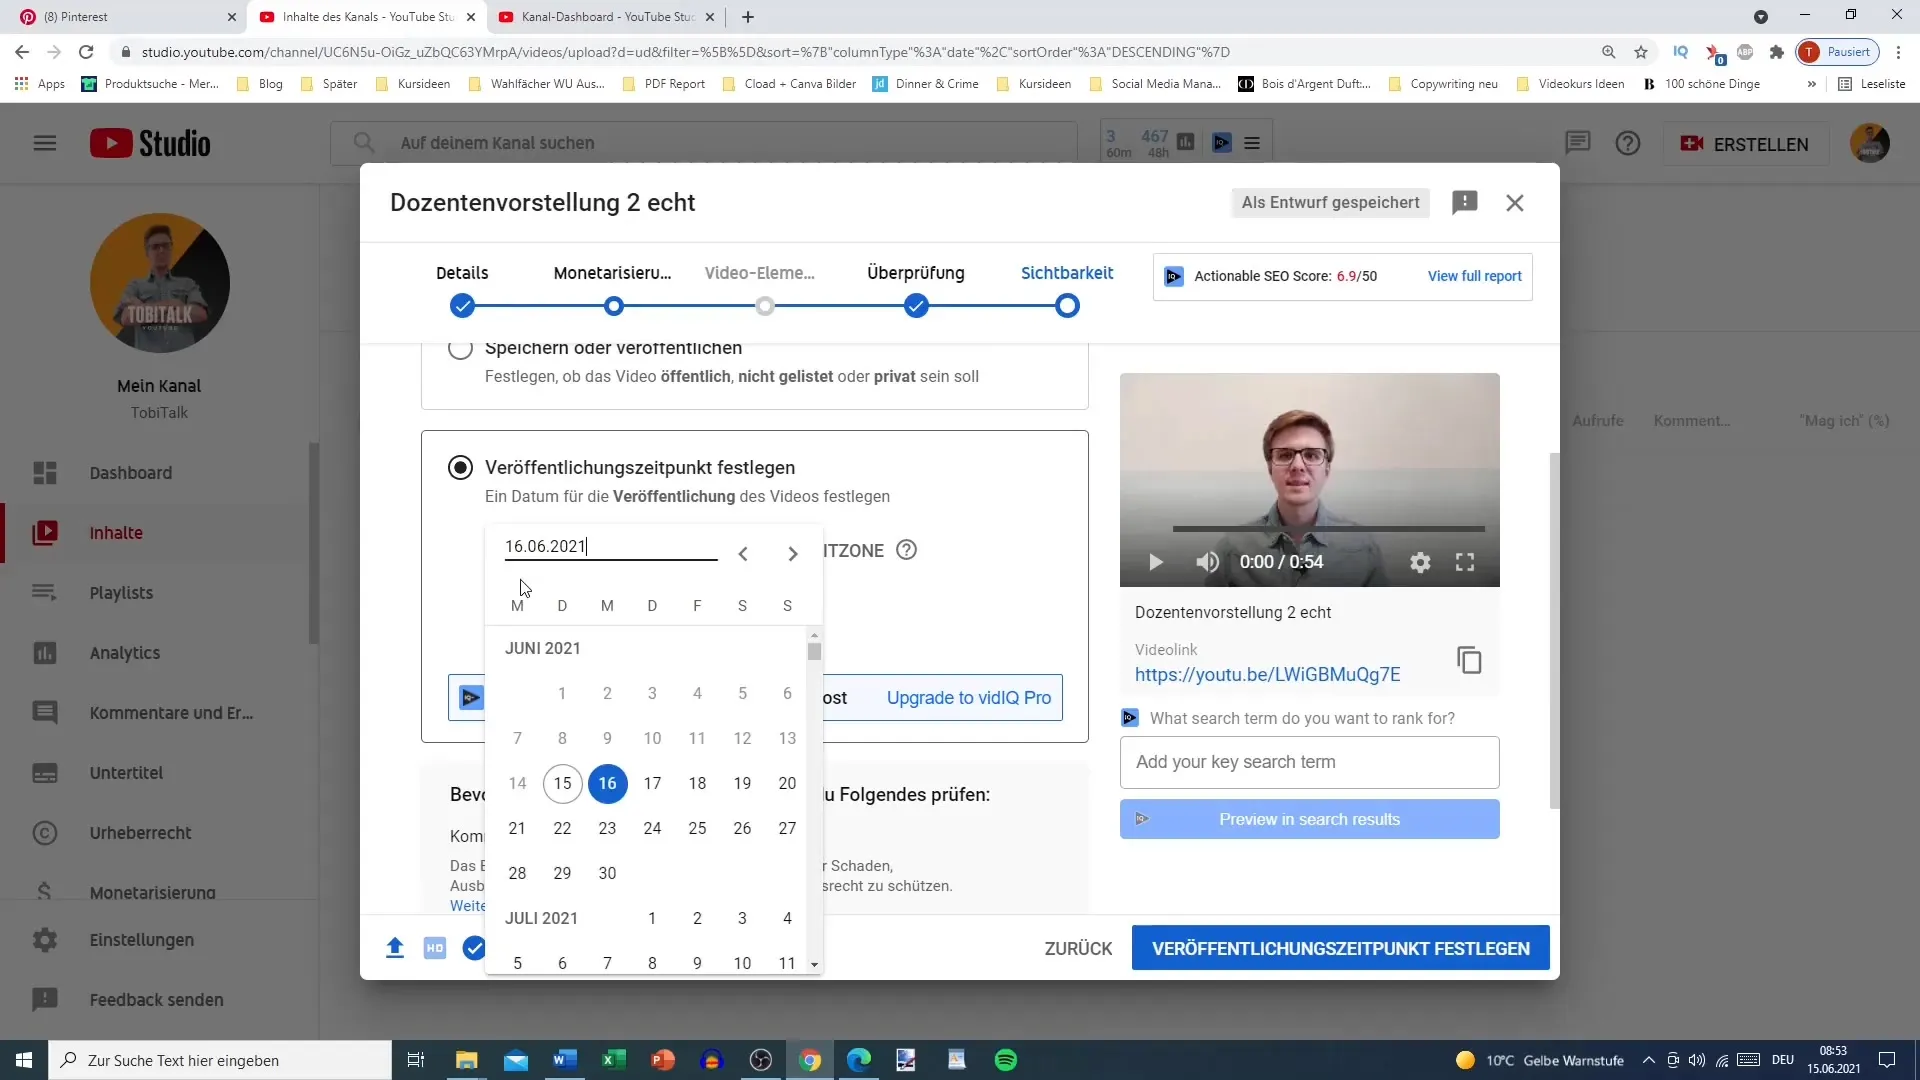
Step 5: Set Publication Date
To schedule a video, you need to set the publication date. Choose the date and time for when the video should be published, and then click "Schedule." This function is especially useful if you want to maintain a consistent upload schedule.
Step 6: Use Premiere Feature
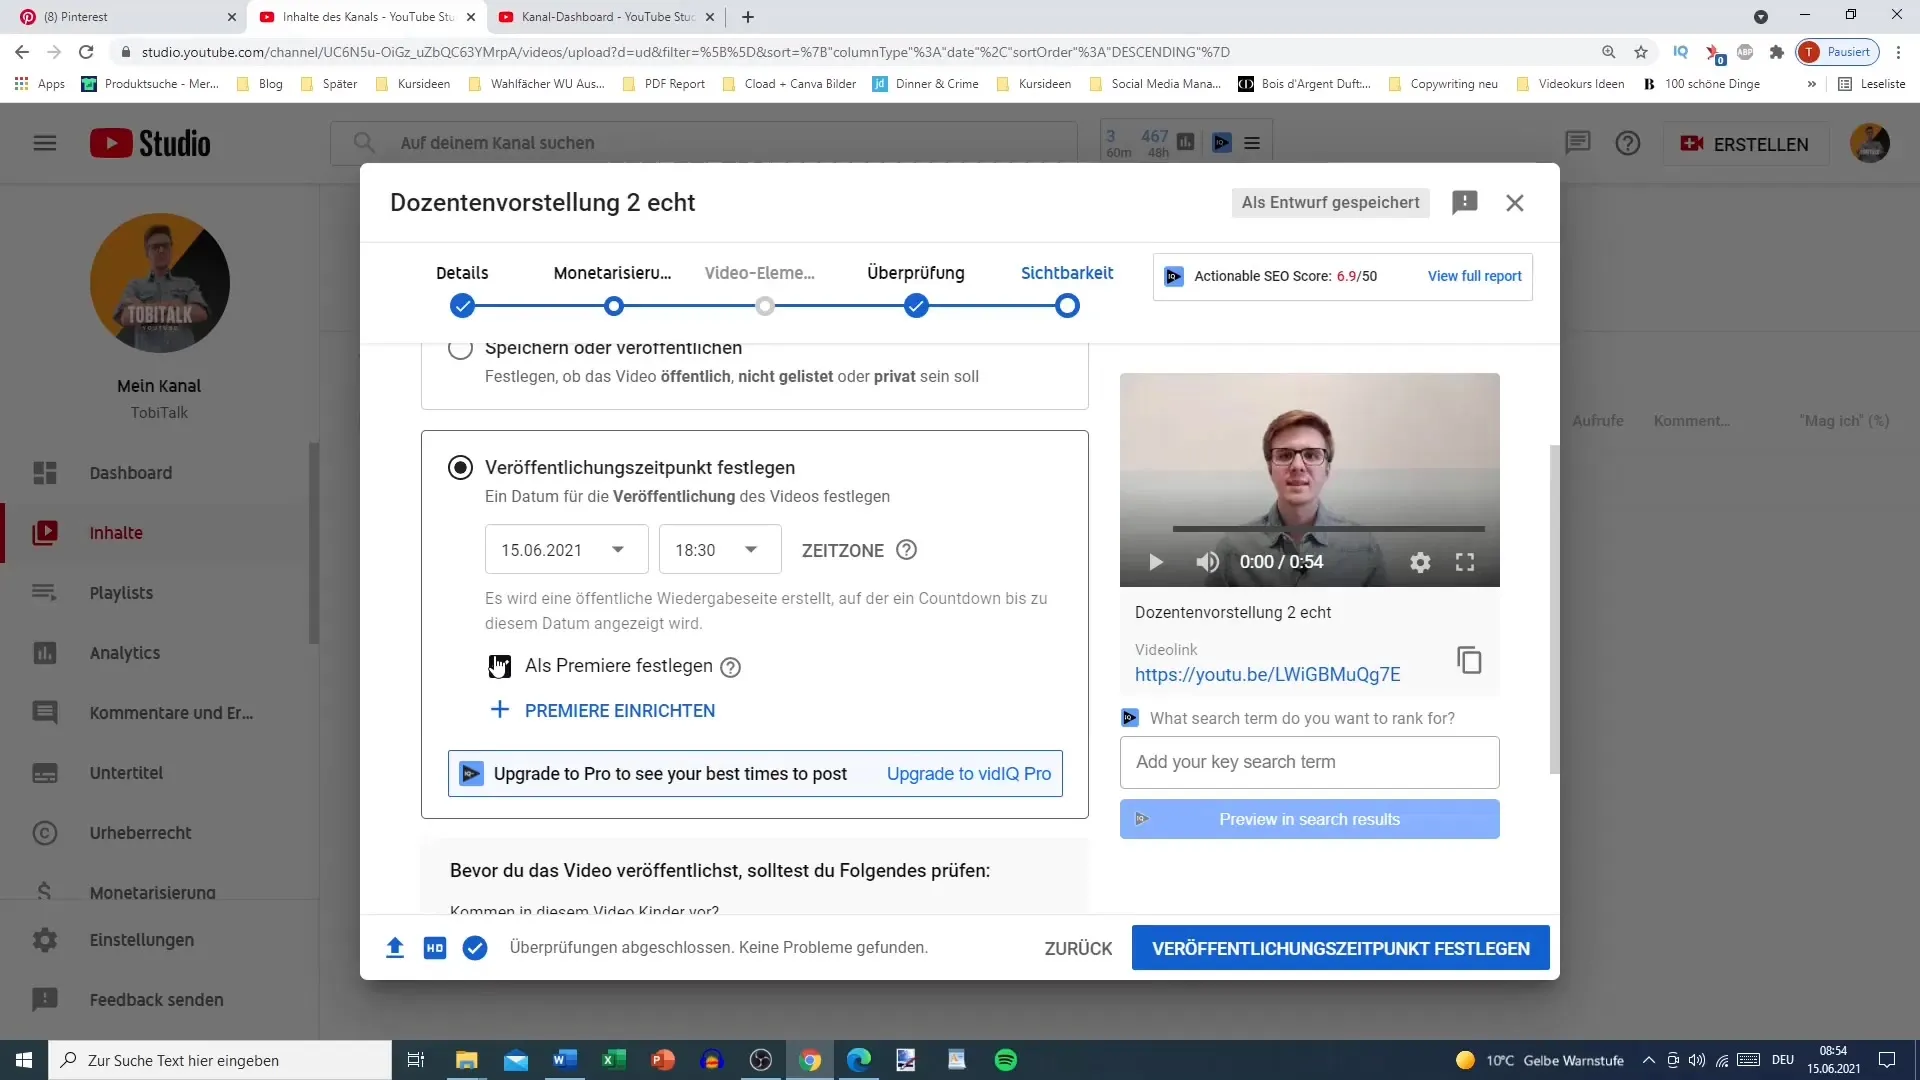
If you want to publish the video in the near future, you can also use the Premiere feature. This option allows viewers to access your video early, so they can read the title and activate the live chat function. This can be particularly useful for interacting with your audience while the video is playing.
Step 7: Review in YouTube Studio
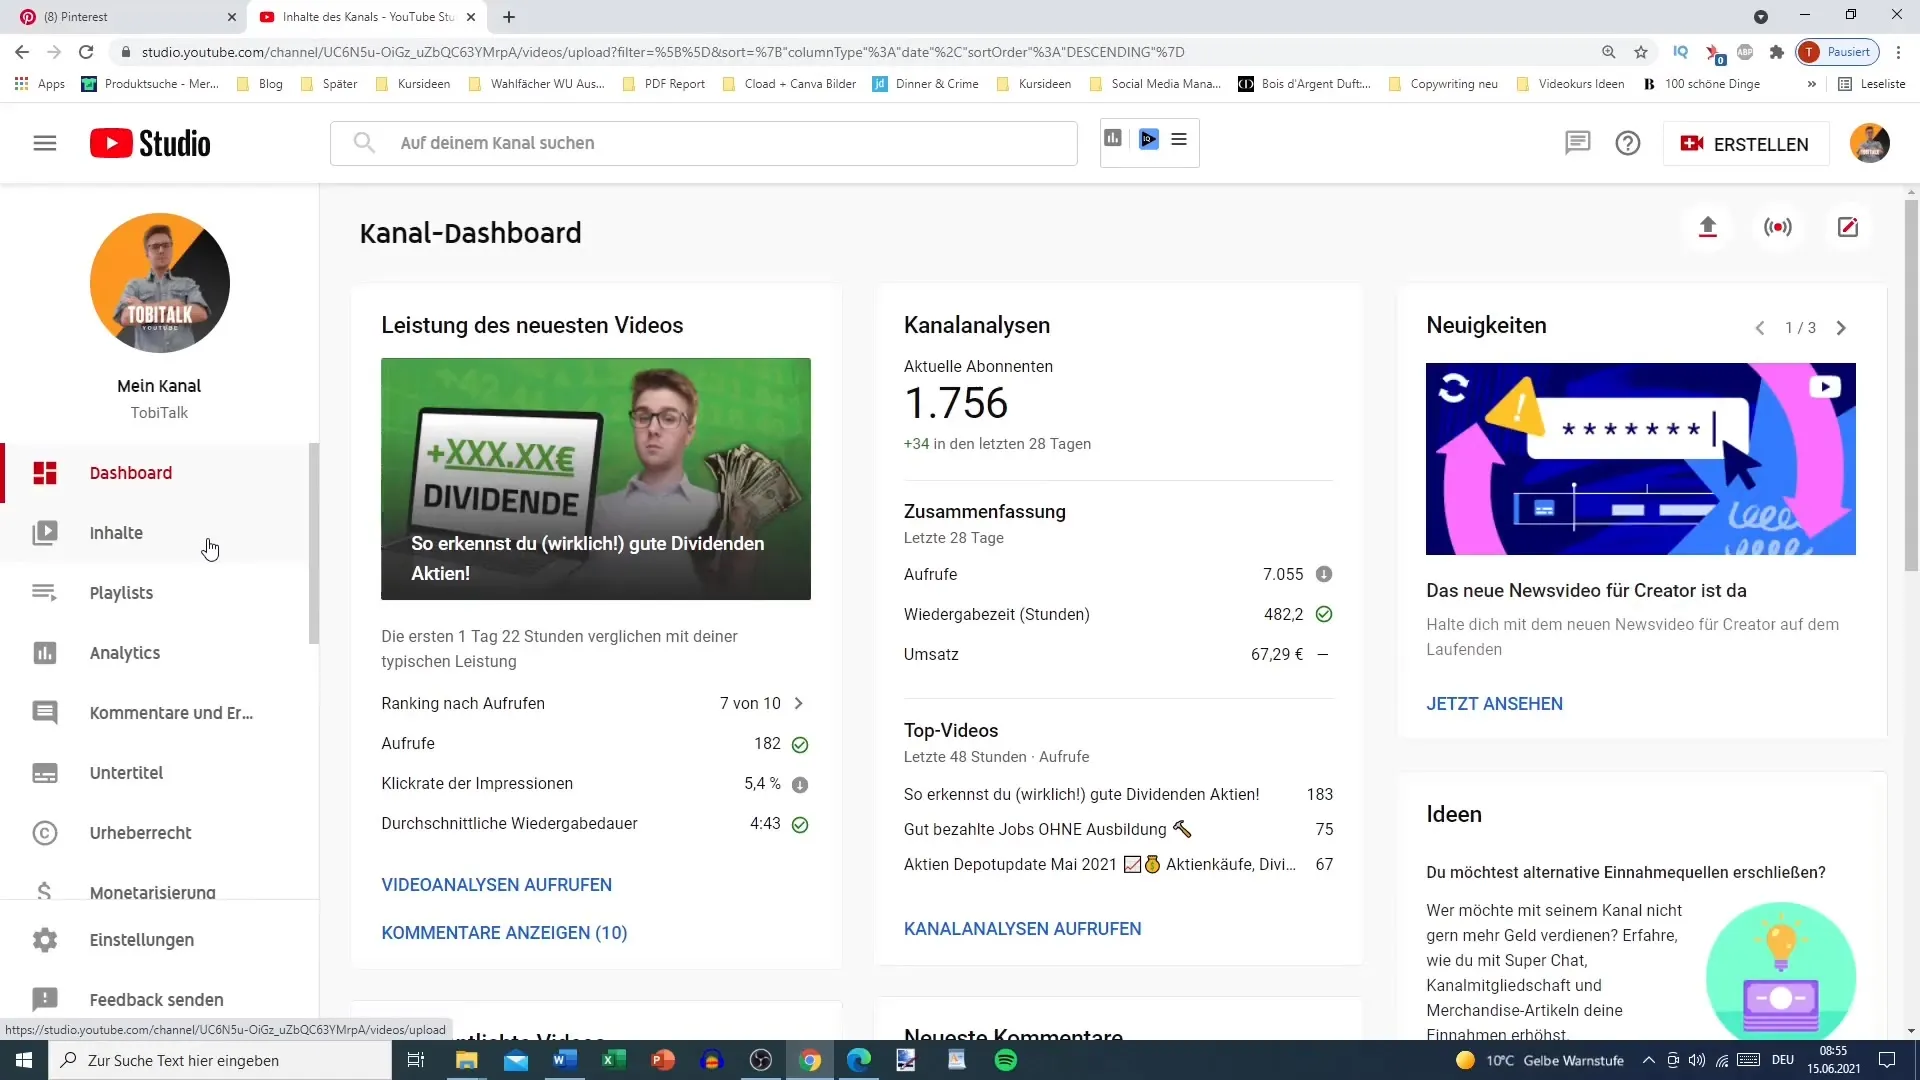
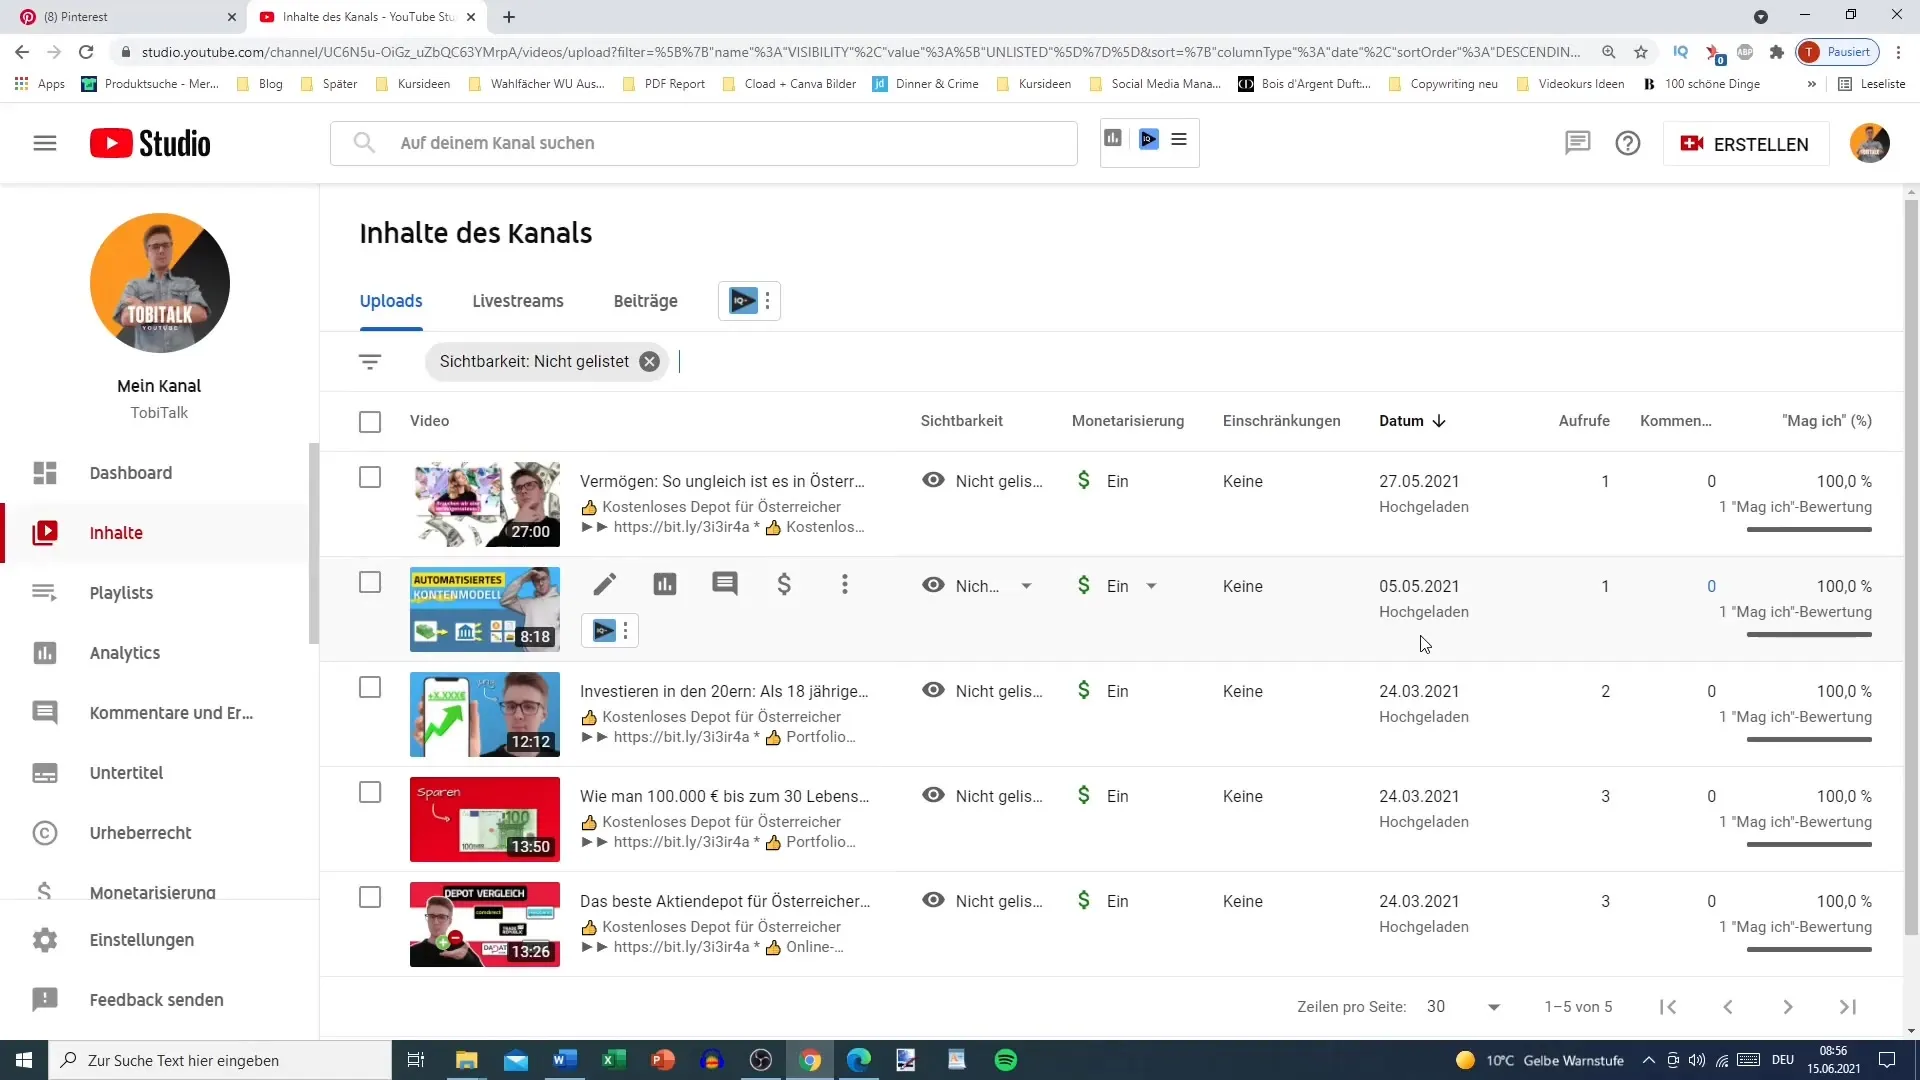
Once you have scheduled your video, go to your YouTube Studio and navigate to "Content" to ensure everything is correct. Here you can see which videos are scheduled and at what times they will be published.
Step 8: Schedule More Videos
If you have already uploaded more videos, you can also schedule these. Make sure to allocate enough time for planning to ensure a consistent content strategy.
Summary
By scheduling your YouTube videos, you can strategically provide content without having to be always online. This allows you to maintain consistent communication with your audience and furthermore better respond to current trends and events. You are thus able to effectively organize your content cycle and improve your visibility on YouTube.
Frequently Asked Questions
How do I upload a video to YouTube?Click on the plus sign in your YouTube account and select a video to upload.
How do I schedule a video on YouTube?You can select a publication date and time after setting the visibility options.
What is the difference between "Private" and "Unlisted"?A private video can only be seen by selected users, while an unlisted video can only be viewed by people who have received the link.
What are the benefits of the Premiere feature?The Premiere feature allows for a live chat and gives your audience the opportunity to look forward to the video.
How many videos can I schedule in advance?You can schedule as many videos in advance as you can manage in your YouTube Studio.
