Pinterest provides an excellent platform for sharing and spreading visual content. One of the most efficient methods to maximize your posts is by scheduling pins in advance. In this guide, I will explain step by step how to successfully plan your Pinterest pins and what you should consider. This way, you can strategically publish your content and achieve the best possible impact on your target audience.
Main Insights
- Pins must be assigned to a pinboard to be visible.
- You can schedule posts up to 14 days in advance.
- Use existing graphics, such as thumbnails, to generate additional traffic.
Step-by-Step Guide
To pre-schedule your Pinterest pins, follow the steps below.
Setting up your Pinterest account
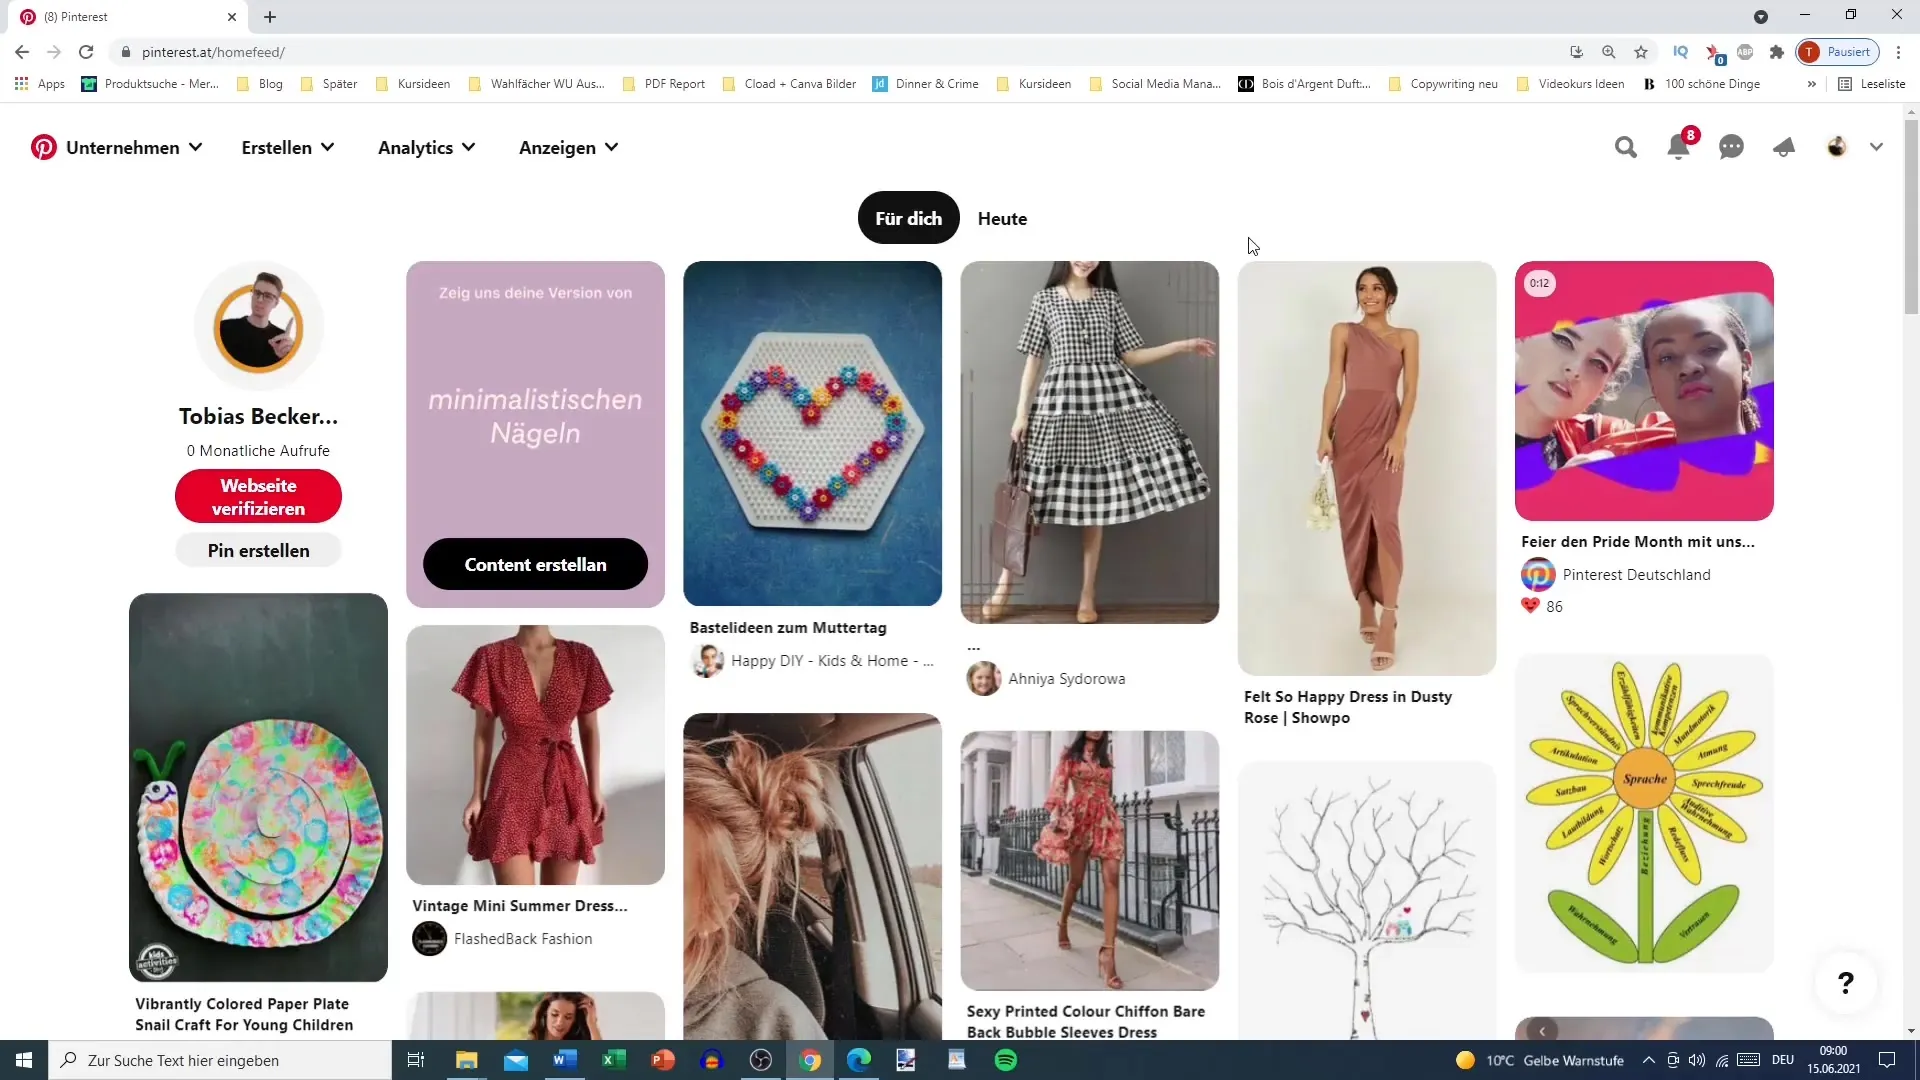
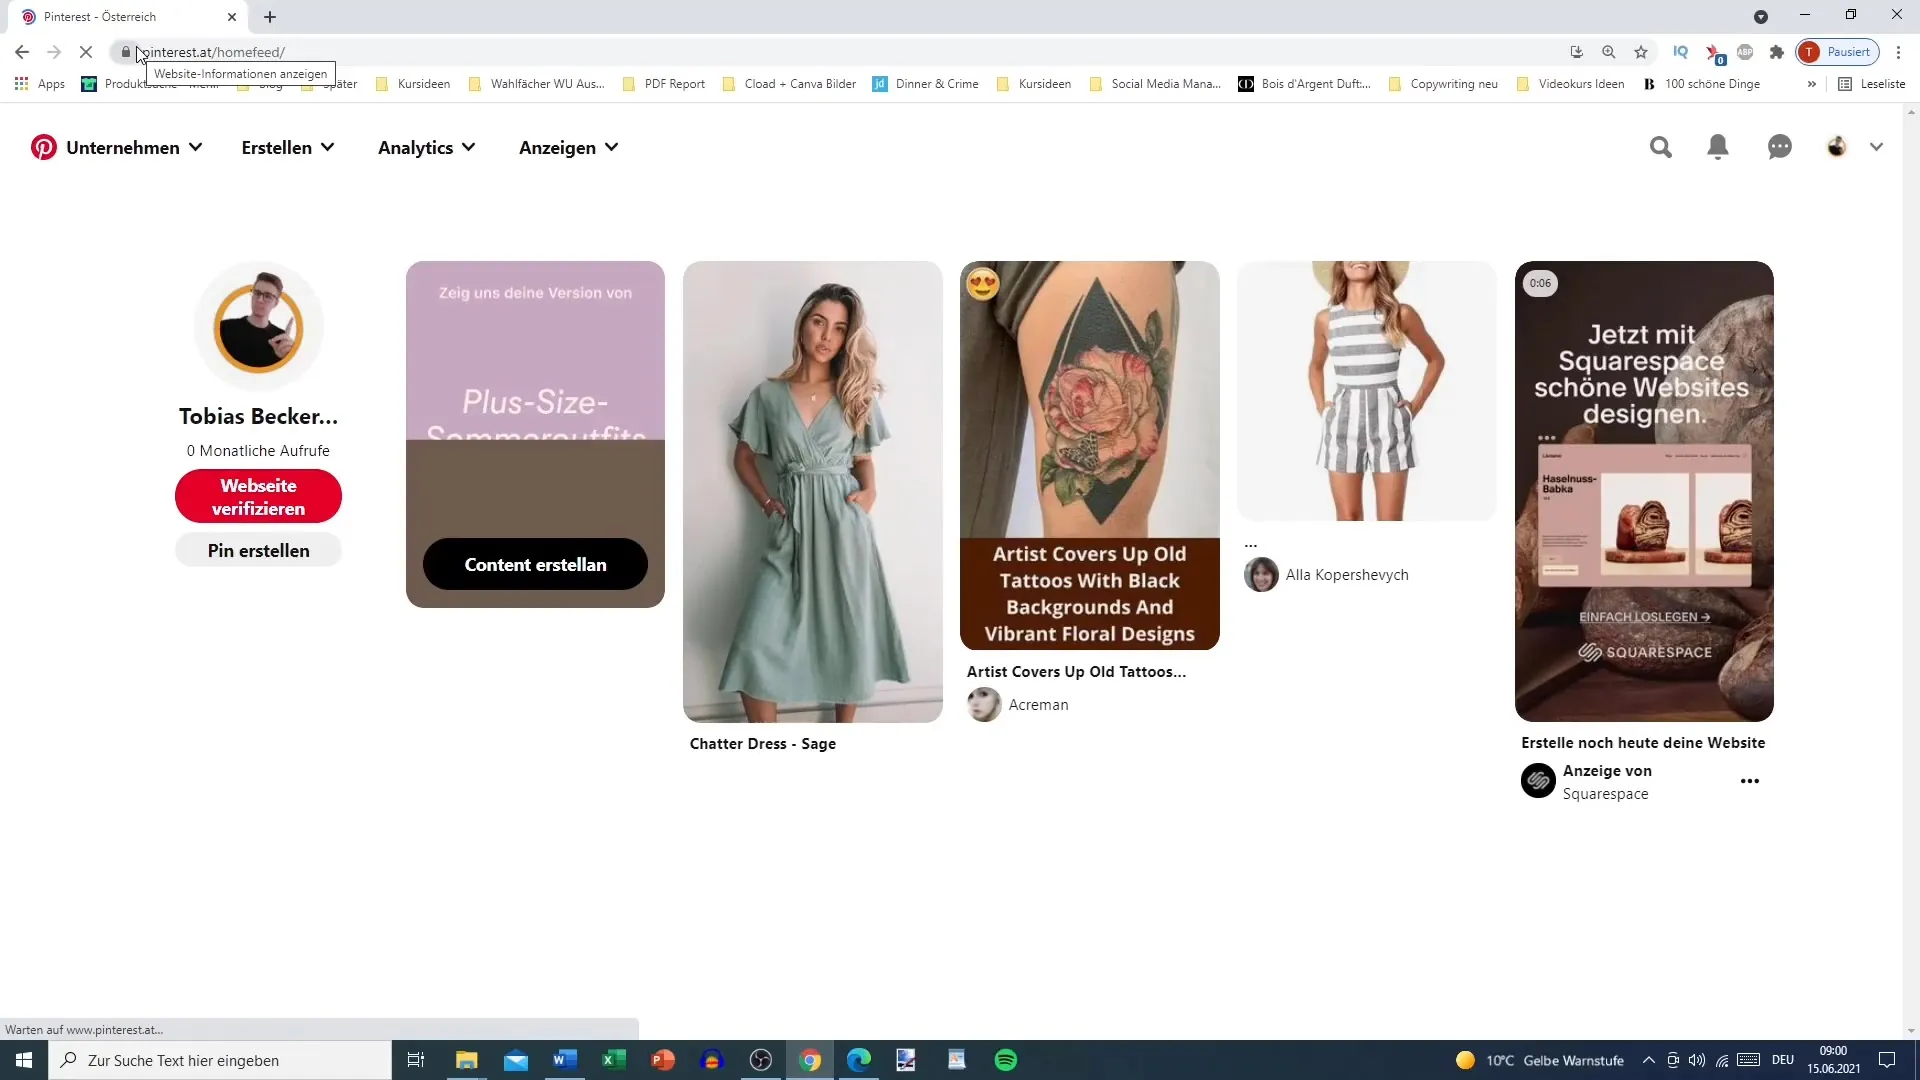
First, you need to log in to your Pinterest account. From there, you will initiate all further steps from the homepage. Make sure you have access to your pinboards before you begin.
Choosing the right pinboard
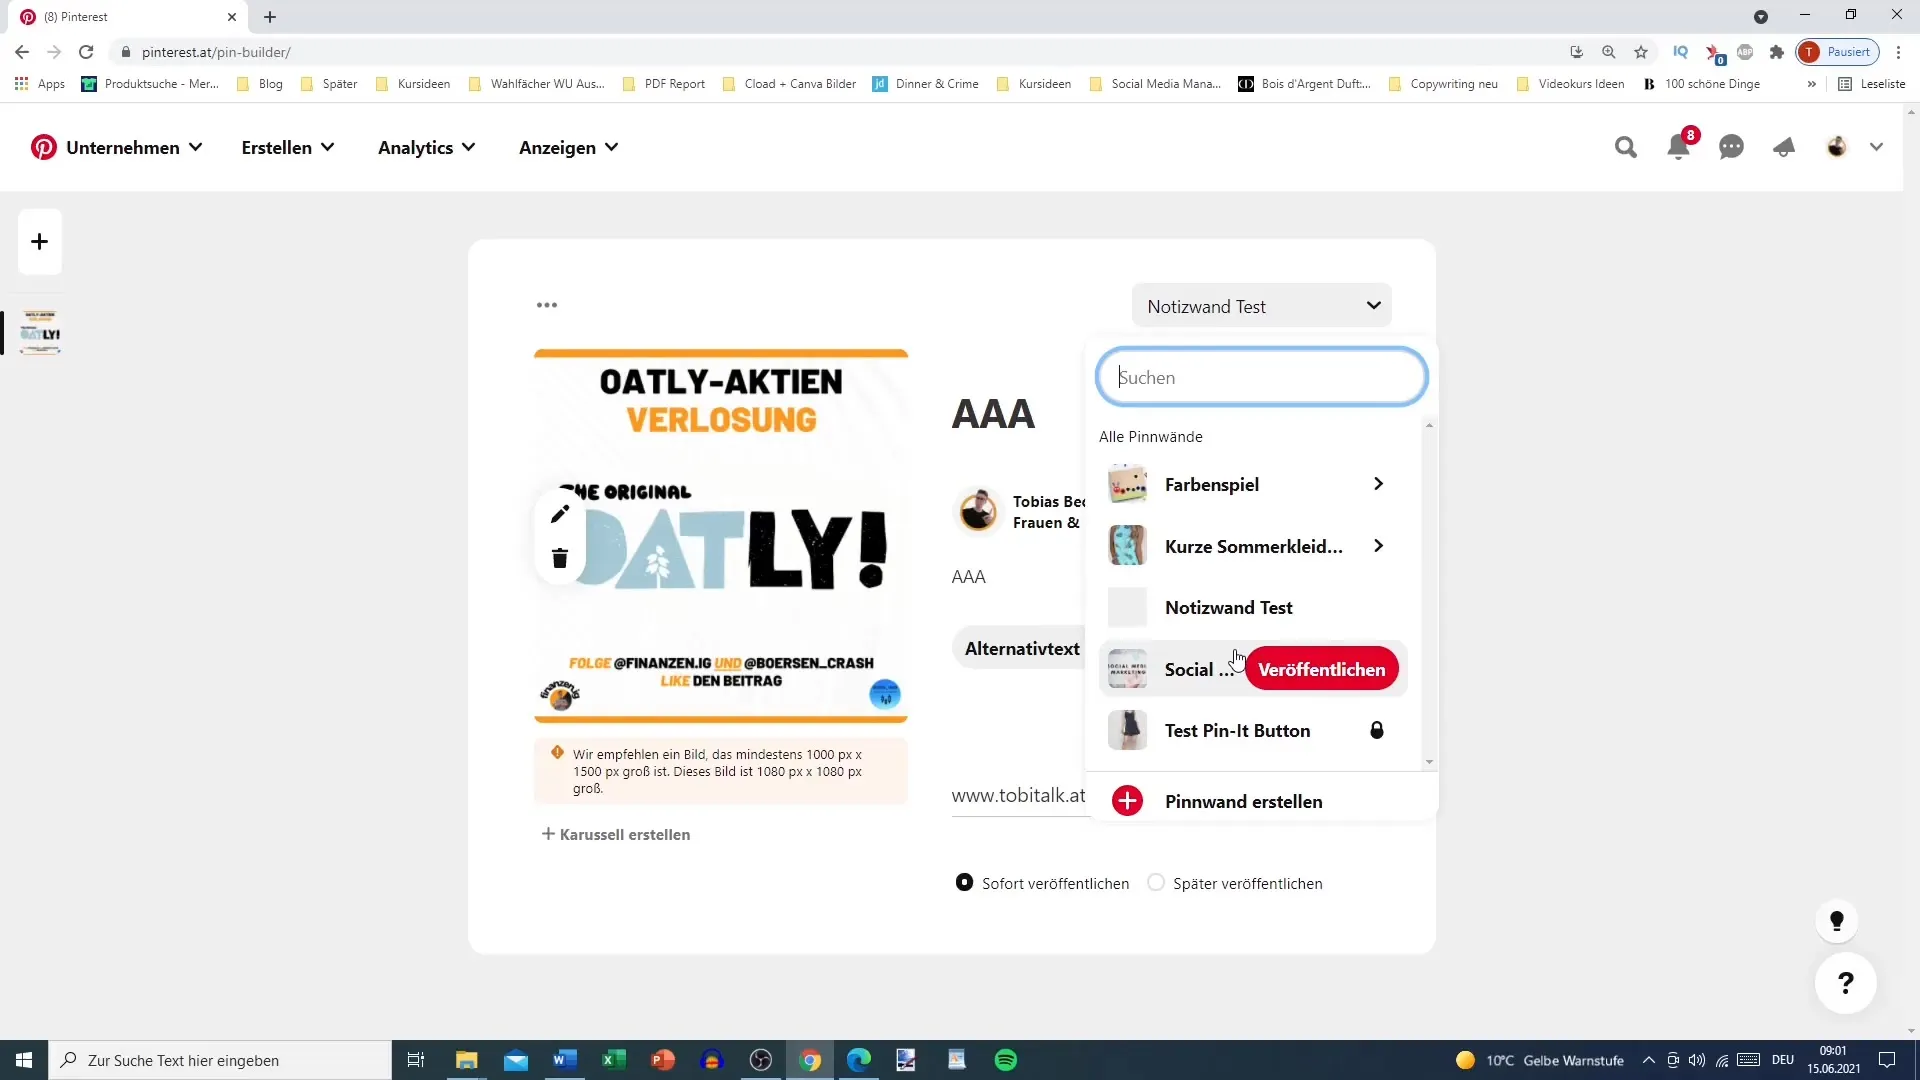
You need a pinboard to publish your pins. If you have already created pins, make sure you have a specific place for your new post. If you have not yet created a pinboard, you can do so directly in your profile.
Creating a new pin
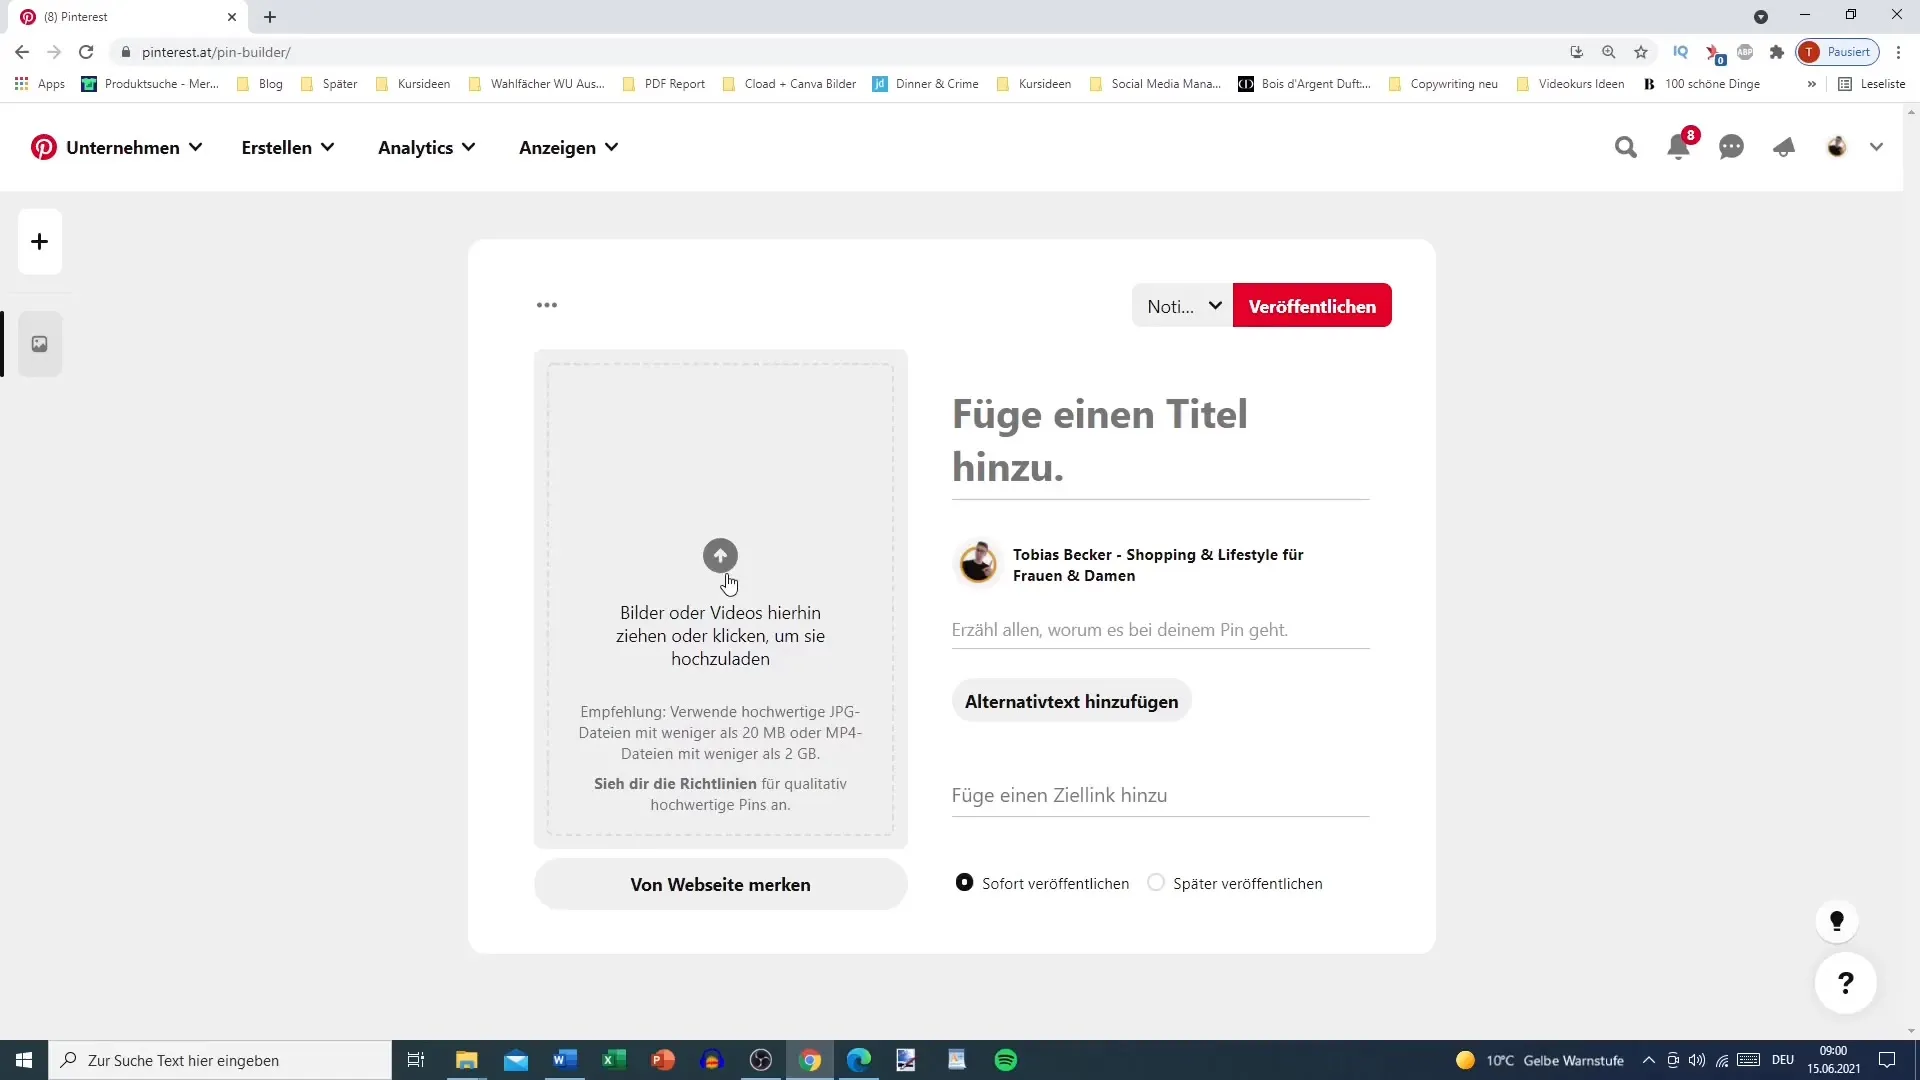
After selecting the appropriate pinboard, you can create a new pin. Click on "Create Pin" and drag the desired image into the designated area. Pay attention to the image quality. Ideally, the image should have dimensions of 1000 x 1500 pixels, even though you can initially use other formats as well.
Adding a title and description
Now you can enter a title and description for your pin. These elements are important so that users know what your post is about. Don't forget to add a link to your blog or another social media to increase traffic to your site.
Choosing the publication time
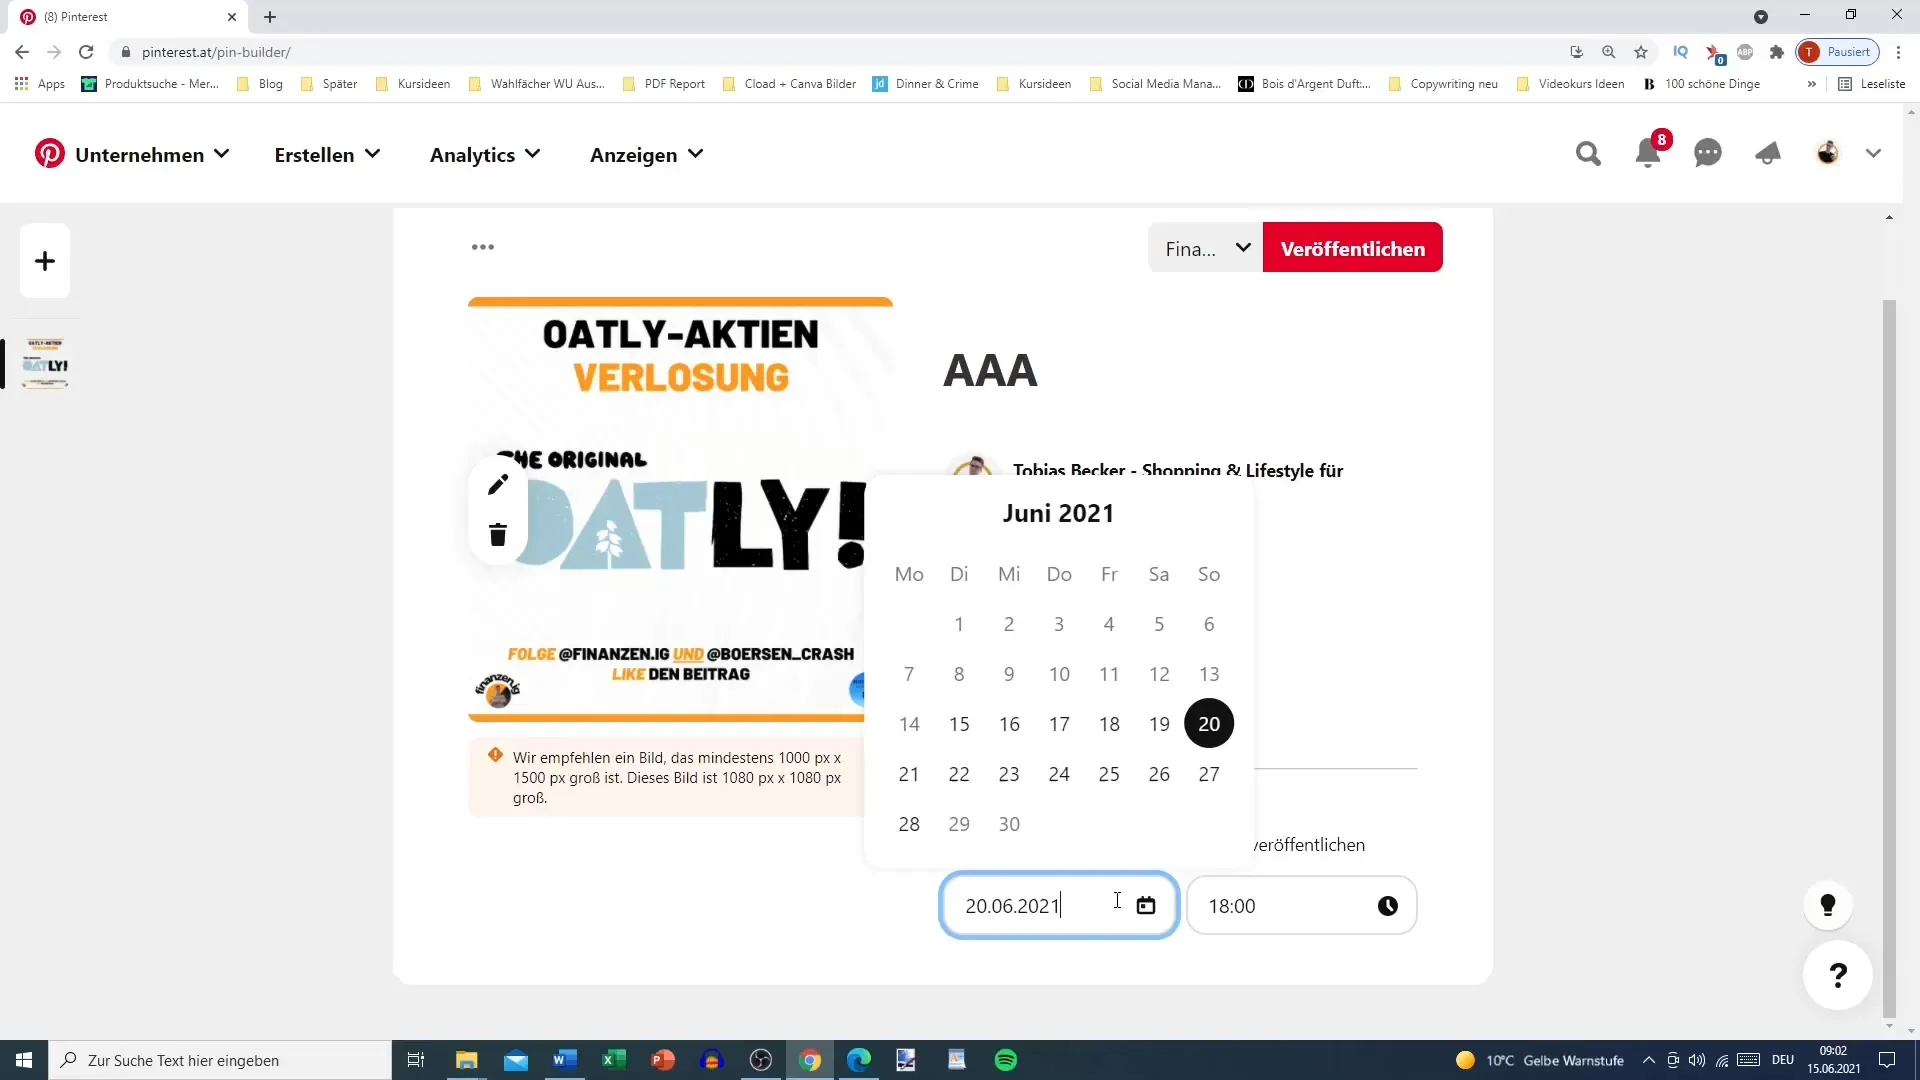
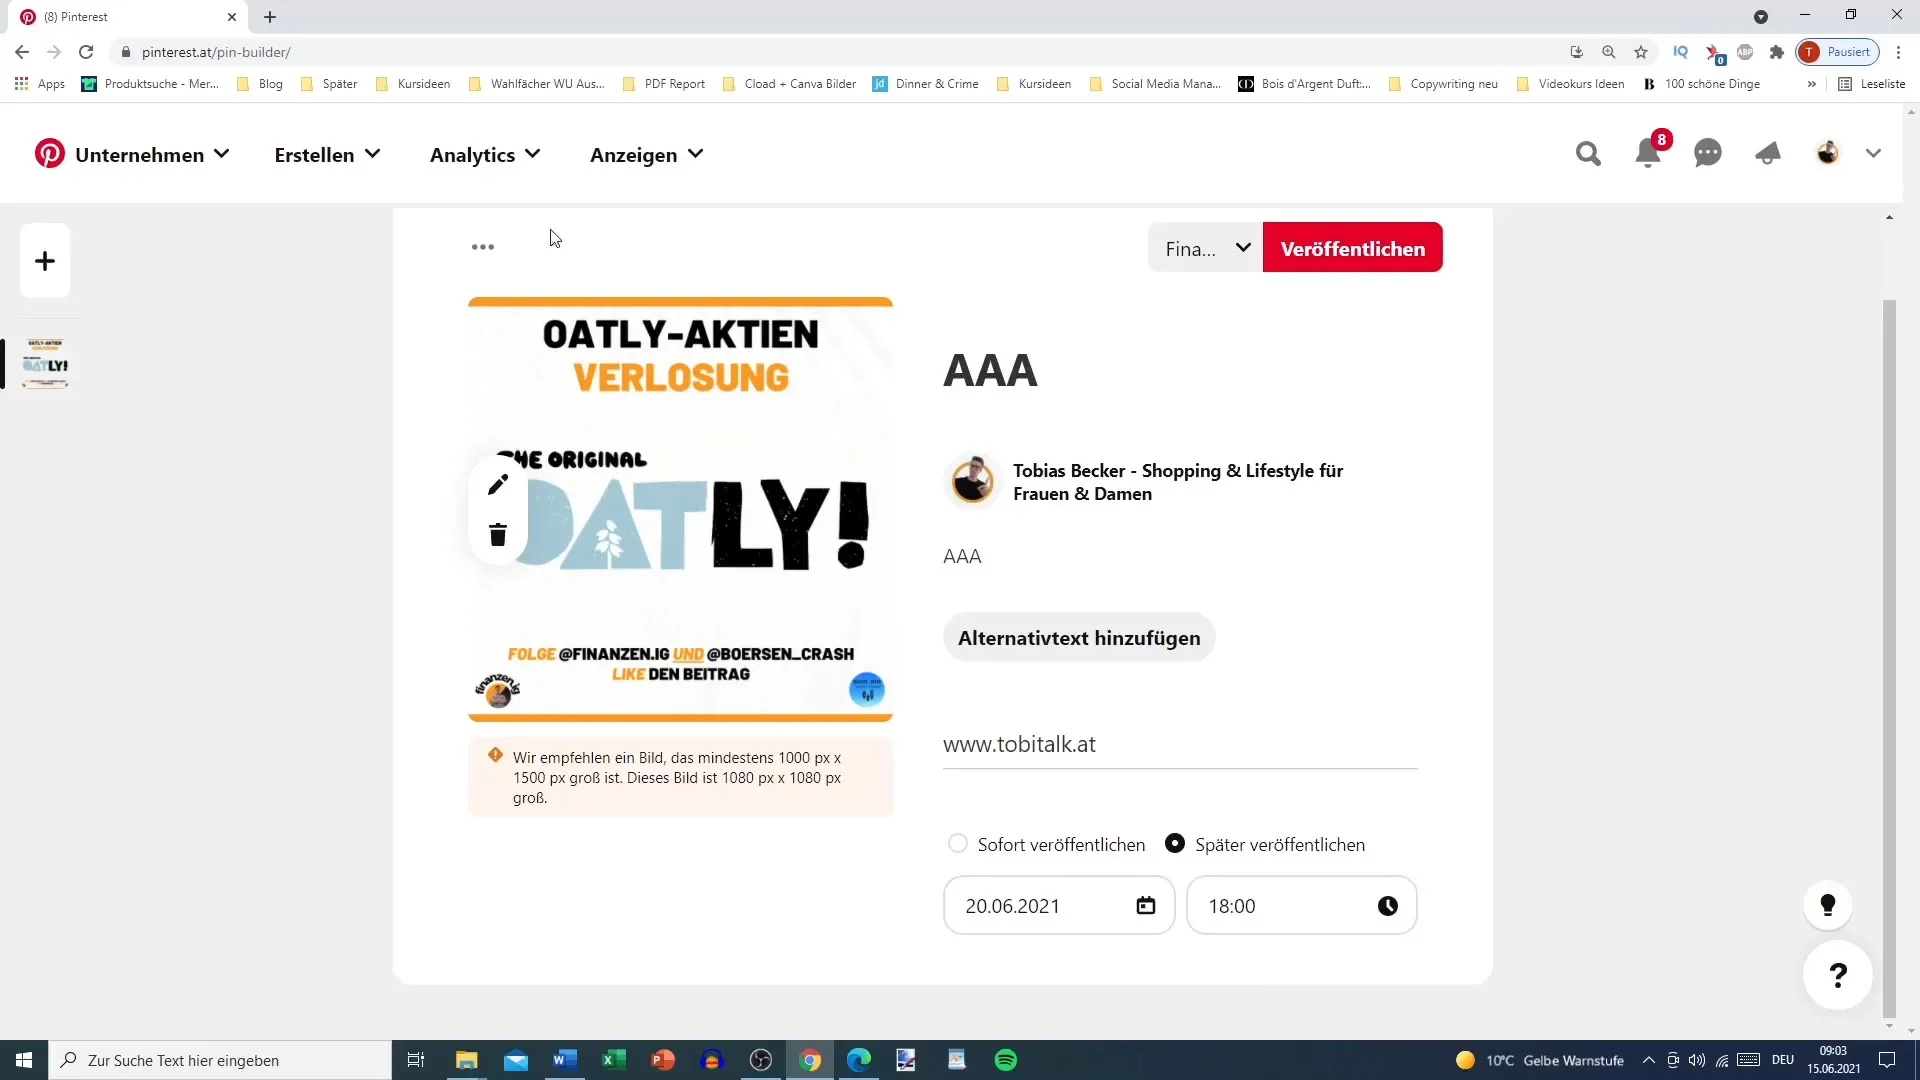
An important step is deciding whether to publish the pin immediately or schedule it for a later time. If you opt for later publication, you can select a date and time. Pinterest allows you to schedule pins up to 14 days in advance.
Planning the publication
In this step, you can set the exact date and time for the publication of your pin. You should be aware that Pinterest does not offer the same flexibility as other social networks when it comes to advance planning – you have a maximum of 14 days here. Therefore, regularly schedule times to create your content for the platform.
Publishing the pins
After entering all the information and choosing the publication time, press "Publish." Your pin will now be published at the scheduled time you set.
Monitoring your pins
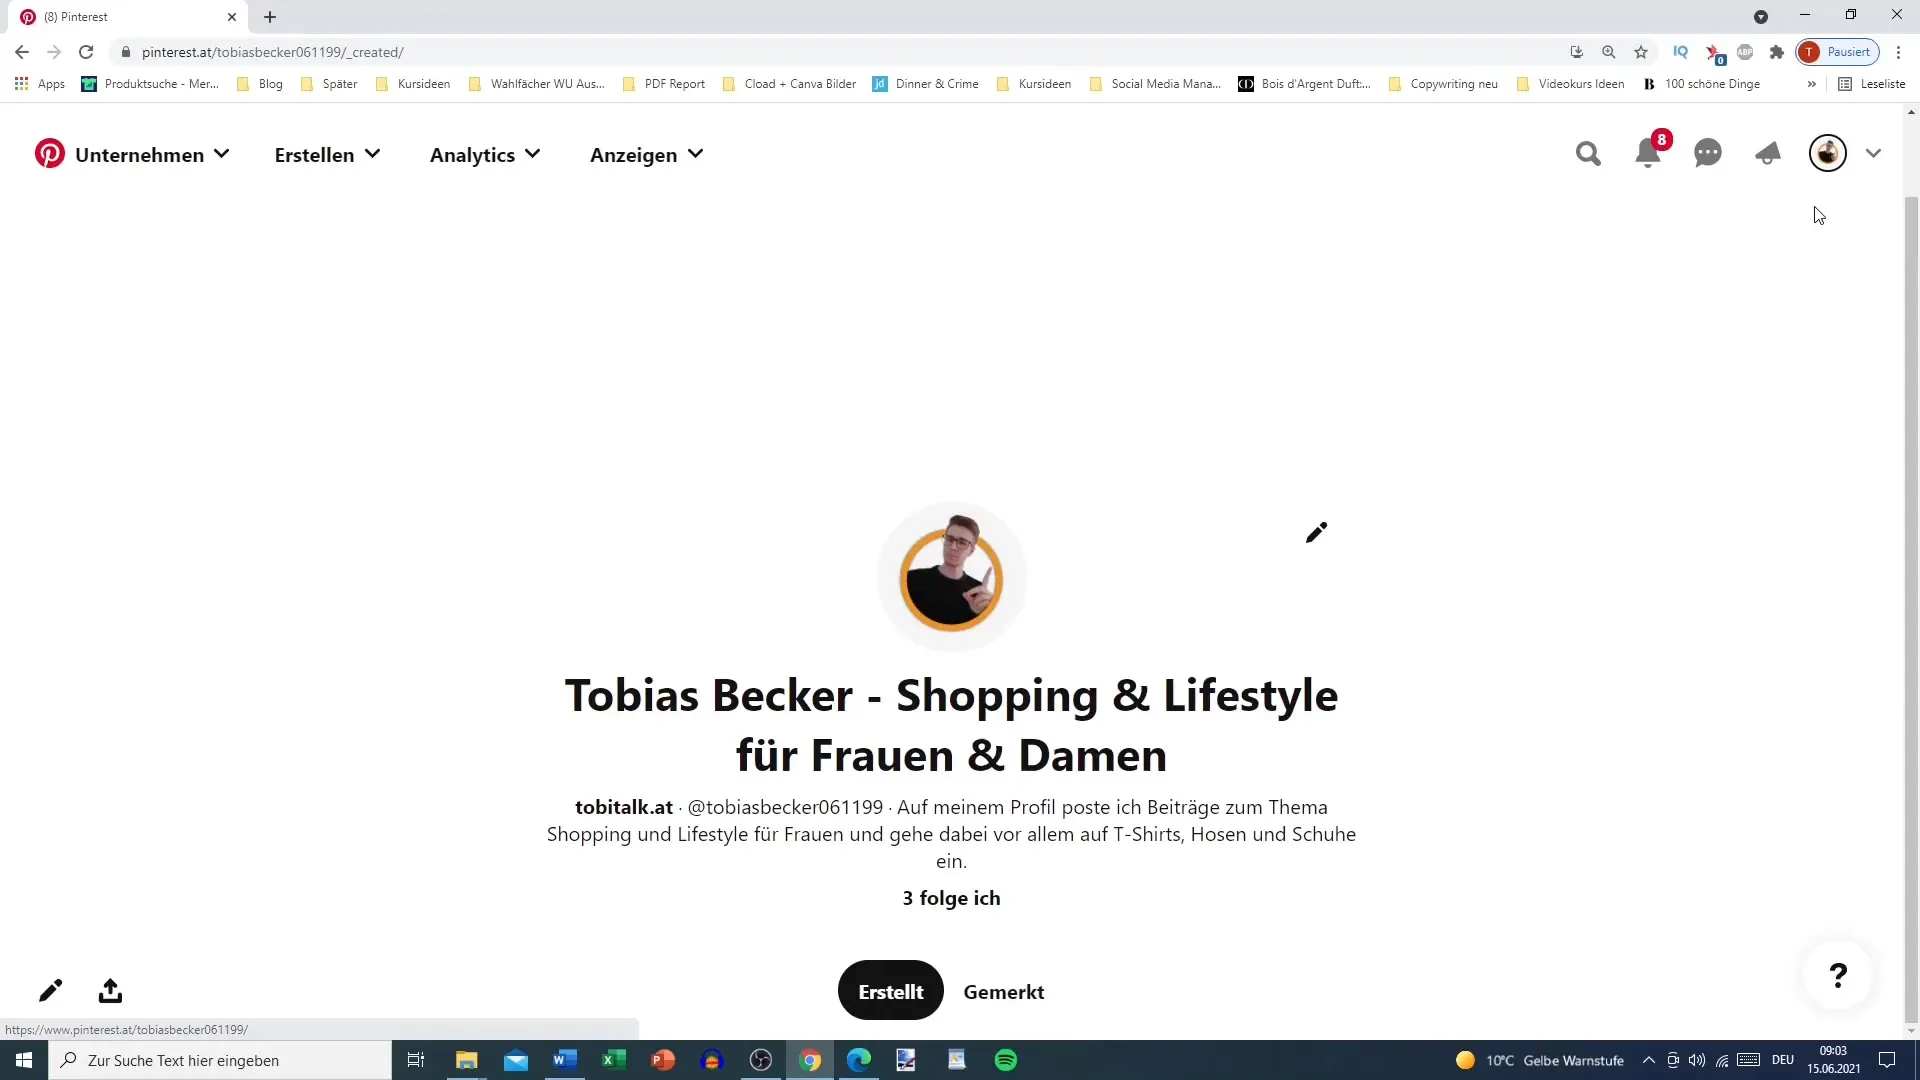
After publication, it is important to monitor the success of your pins. See how many interactions your pins receive and then experiment with different designs or publication dates to find out what works best for your target audience.
Content recycling
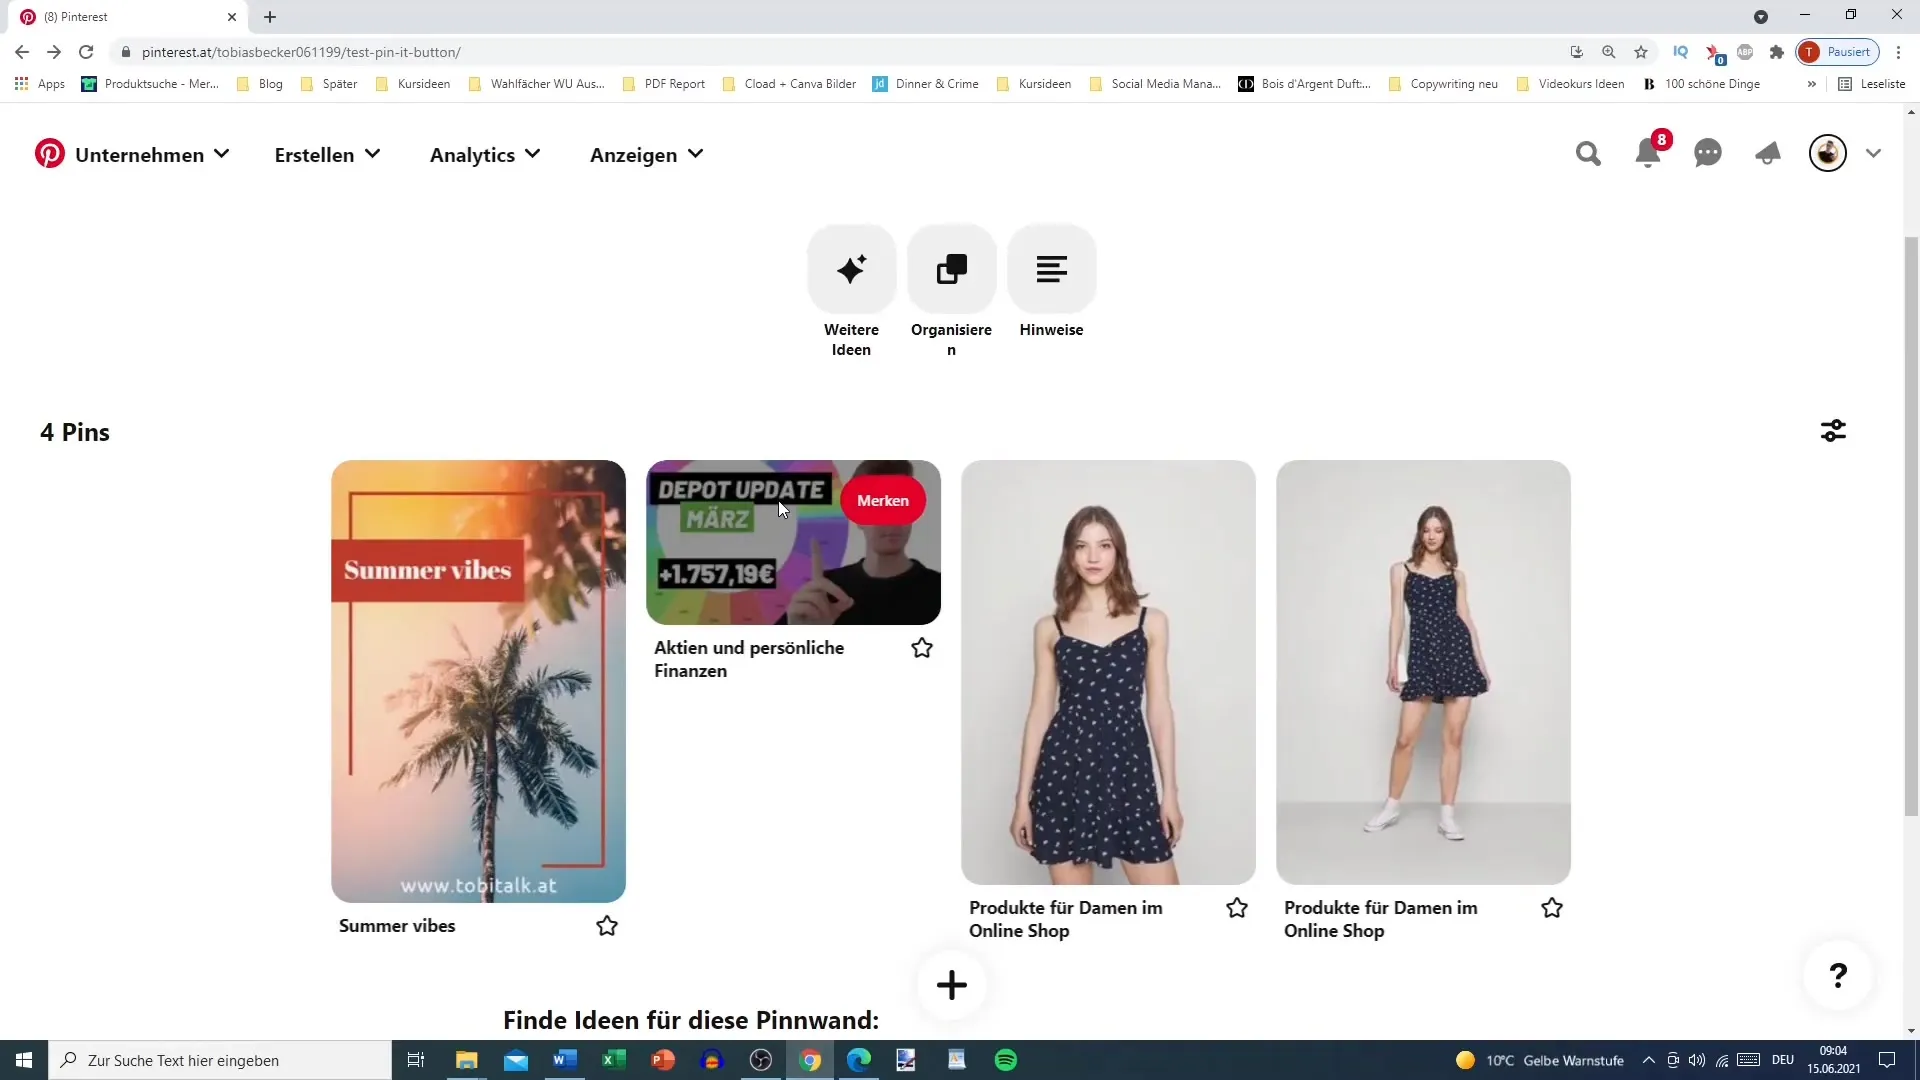
A great way to increase your reach is to repurpose content you have already used. For example, you can reuse thumbnails from YouTube videos or graphics from Instagram pins. Often, this content is viewed multiple times, which can lead back to your site.
Summary
Preplanning Pinterest pins is an effective way to strategically manage your content. By carefully creating and planning, you can ensure that your pins are published at the optimal time and thus achieve the desired reach.
Frequently Asked Questions
How far in advance can I plan pins?You can plan pins up to 14 days in advance.
What are the optimal image sizes for Pinterest pins?The optimal size is 1000 x 1500 pixels.
Can I use previously used graphics for Pinterest?Yes, you can re-upload previously used thumbnails or graphics.
