There is a small, simple alignment trick that I saw at ulrich-media.
Step 1
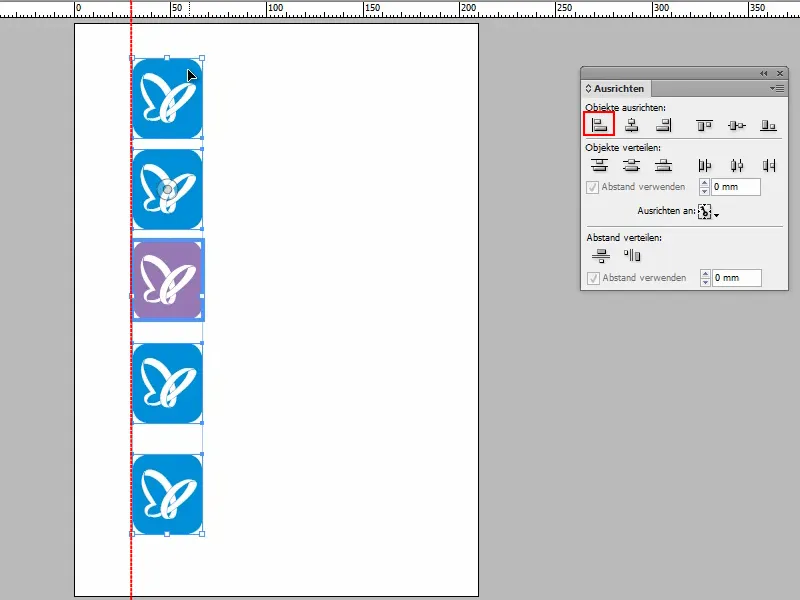
I want all objects to be nicely aligned to the left.
You'd think I'd just select everything and then open the Align panel...
.webp?tutkfid=60712)
Step 2
... and then I say that I want everything aligned to the left..webp?tutkfid=60713)
All well and good - but ...
Step 3
... now comes the trick:
I undo this again with Ctrl+Z. Because I want the purple object to determine the alignment.
I select everything again.
And then I hold down the Ctrl keyand click on the purple object. This creates a thick frame..webp?tutkfid=60714)
Step 4
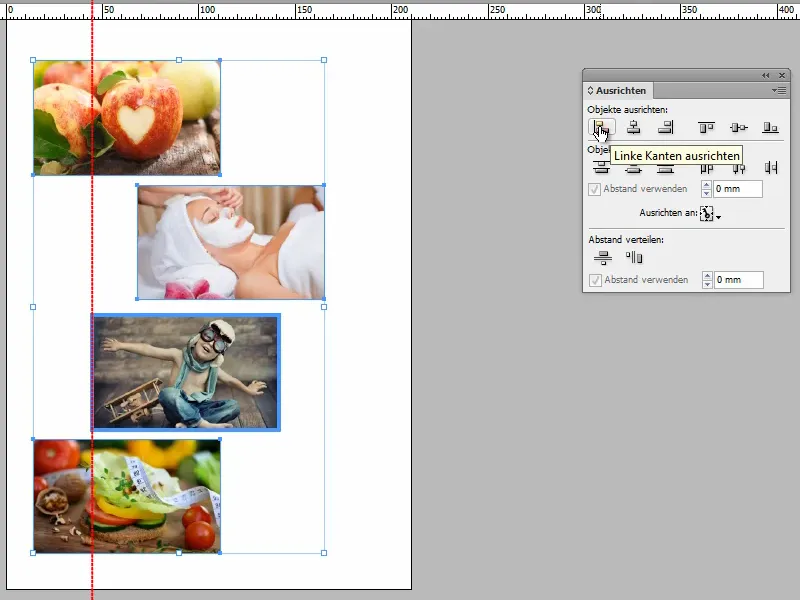
And if I now click on Align left edges, everything will line up with my purple object.
Step 5
Of course, this also works with photos:
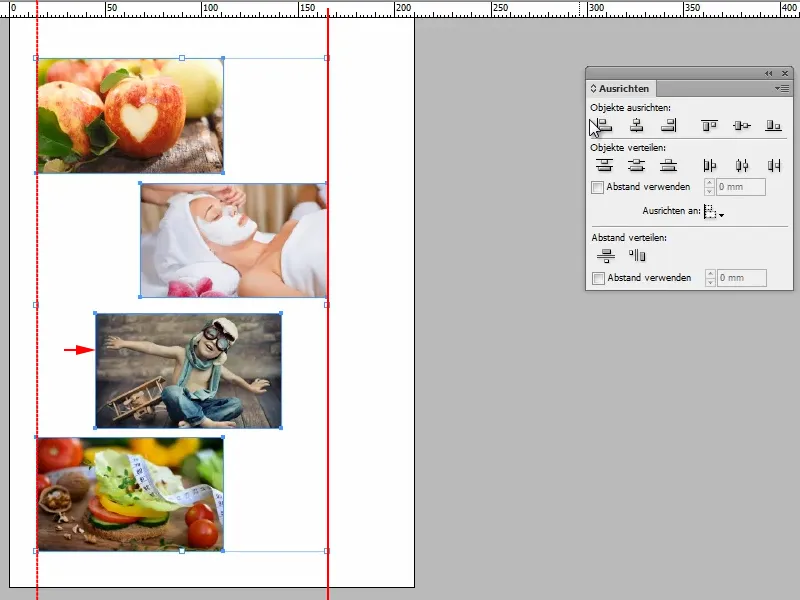
I could simply select all of them and then click on Align left or Align right, but then this only ever works from the object that is on the far left or far right.
But I would like photo no. 3 to be decisive here.
Step 6
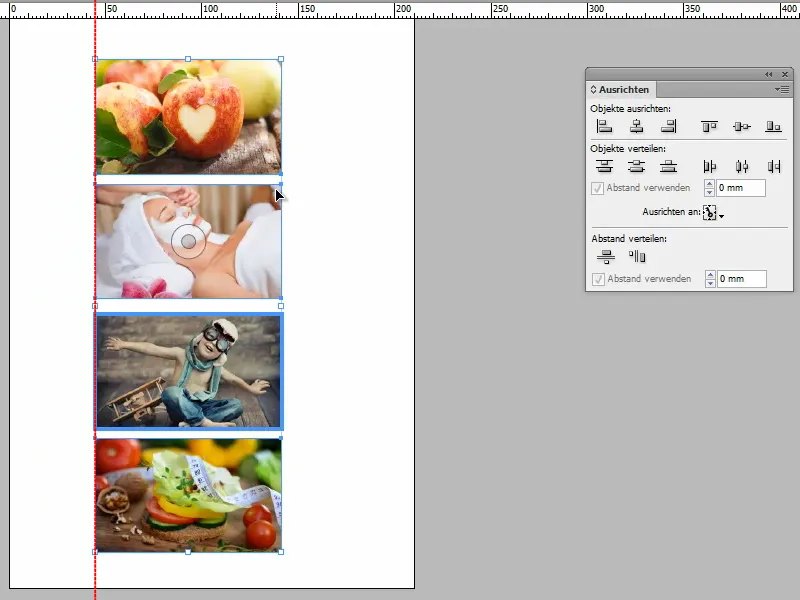
Then I have to select everything, click on the relevant photo with Ctrl and then say Align left edges.
And there you have it.
Isn't that cool? I think so, don't you?


