The Page Tool in Adobe InDesign is a practical tool that allows you to flexibly move, scale, or adjust page frames within your layout. It enables you to precisely edit individual pages independent of the overall document size – ideal for creative projects that require different page sizes or orientations. In this guide, I will show you step by step how to effectively use the Page Tool to customize and professionalize your layouts. Let's get started and optimize your designs!
With the Page Tool (Shortcut Shift+P), you can change the format of a page or print sheet afterwards. Let's say you've designed the cover for a brochure and now an additional flap needs to be added, where additional content or e.g. also postcards for replies should be accommodated.
You can easily achieve this with the Page Tool: First, select the print sheet to be edited in the Pages panel.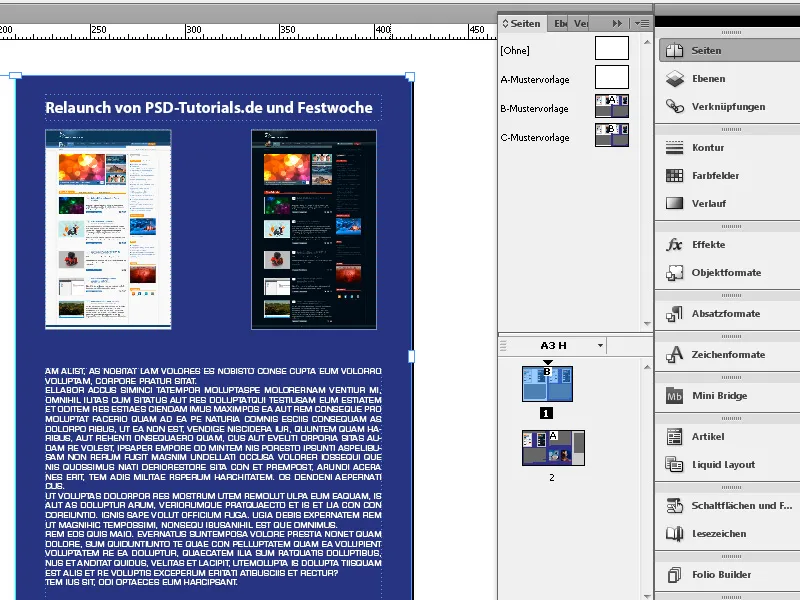
Then select the Page Tool and click on the print sheet. This will mark it, and new adjustment options will appear in the Control palette.
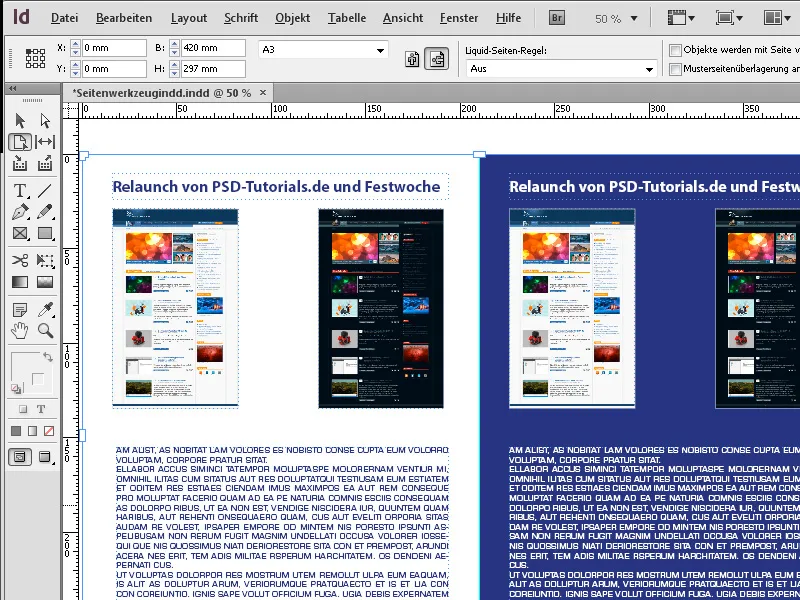
Now, in the Control palette, you edit the width of the print sheet - e.g., to 520 mm. However, the setting Liquid Page Rule must be set to Off in the field, otherwise the elements on the print sheet would be proportionally moved as it resizes.
The print sheet now changes its size, starting from the marked reference point in the Control palette, to the entered value…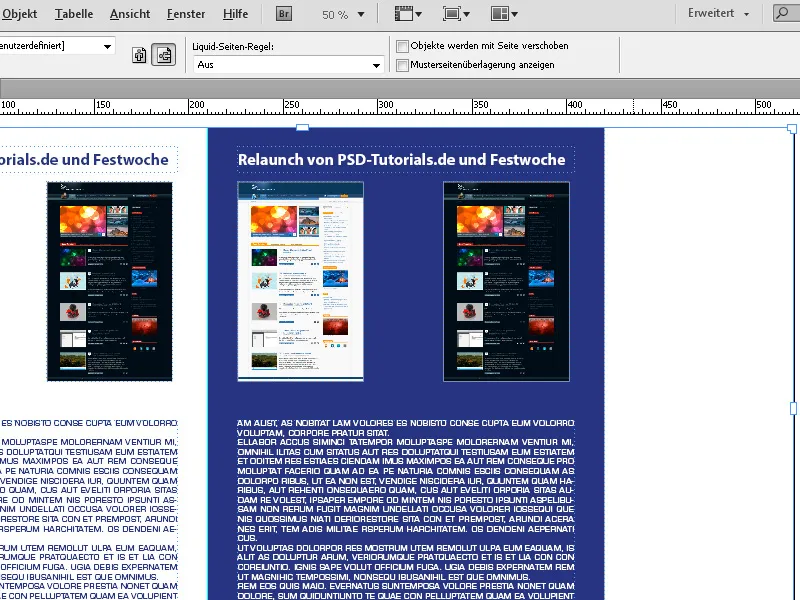
… and can be filled with the desired content.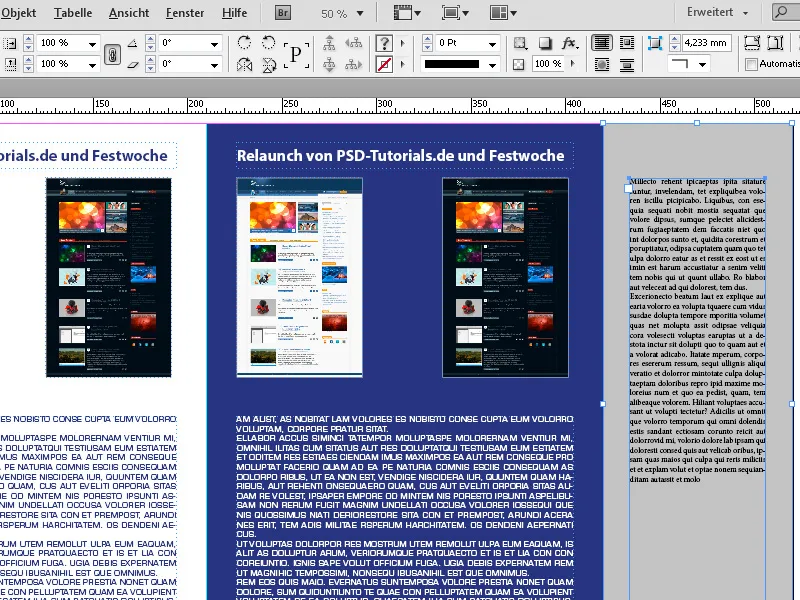
Using the functions of Liquid Layout, you can easily try an alternative to the existing layout by selecting the Scale setting.
In the Control palette, choose the Scale setting for Liquid Page Rule. Now, with the Page Tool and the mouse button pressed, you can move the handlers of the marked print sheet to smoothly change the format.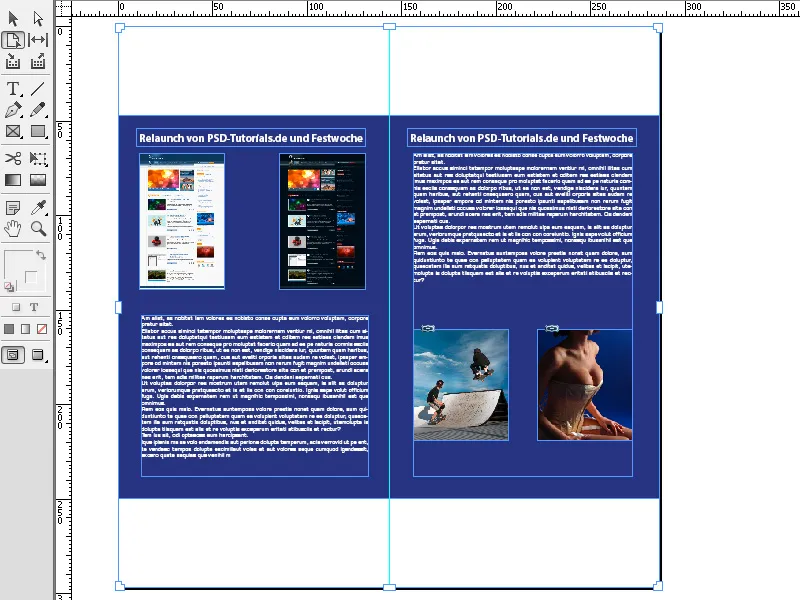
When you release the mouse, the layout will jump back to its previous size. To apply the new layout, you must simultaneously press the Alt key.
If you want the shapes or objects used in the layout to adapt to the new layout, select the Object-Based setting for Liquid Page Rule. To do this, open the Liquid Layout panel from the Layout menu.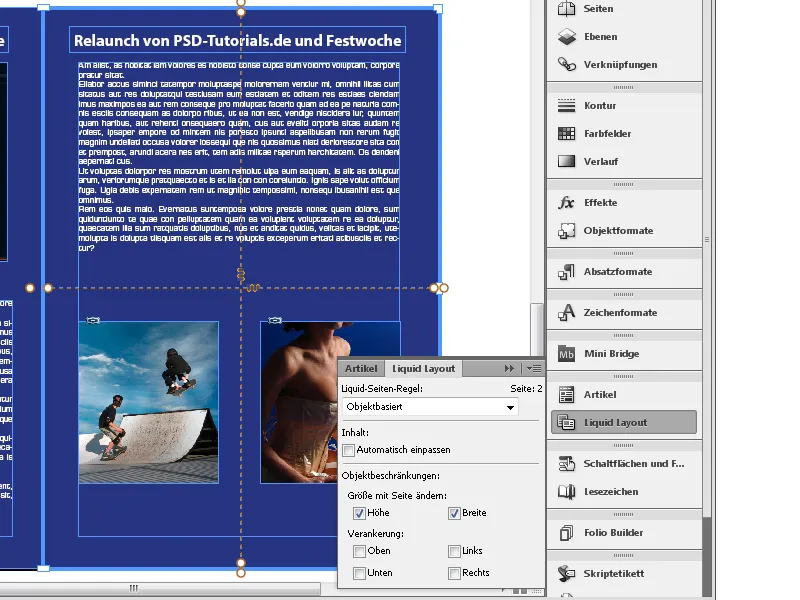
Now activate the checkboxes for Height and Width. Then, with the Page Tool, select the object that should adapt to the new layout. It will then receive a thick blue border. Inside, a dashed line indicates the object's expansion on the X and Y axes. At the ends of these lines, there are filled or unfilled points.
Depending on the icon at the intersection of the lines, with a spring, the shape smoothly adapts to the layout or with a lock, it does not change its size. By clicking on the inner end points, you can select the other setting. With adaptation activated, the shape now changes its size analogously to the layout.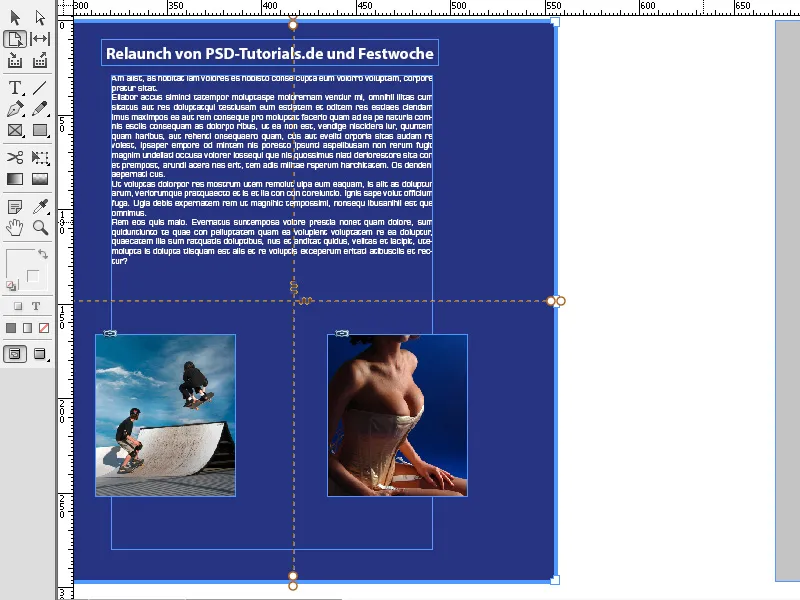
The Page Tool in Adobe InDesign is a helpful tool to flexibly edit individual pages in a document. Here are the best tips to optimize the use of the Page Tool:
1. Scale Pages Individually
The Page Tool allows you to adjust the size of individual pages independently of the rest of the layout:
- How to: Select the Page Tool (Shortcut: Shift+P) and click on the desired page. Then drag at the corners or edges to change the page size.
- Tips: Enter precise measurements in the Properties Panel → Page → Width/Height for accurate adjustments.
- Advantage: Ideal for layouts with different page sizes, such as brochures with fold-out pages or presentations.
2. Adjust Page Position Within a Document
With the Page Tool, you can move pages relative to other objects in the layout:
- How to: Drag the page within the document to the desired position using the Page Tool.
- Tips: Use Smart Guides to ensure the page is positioned accurately.
- Advantage: Helpful for documents with creative layouts, such as magazines with overlapping elements or designs with unconventional page cuts.
3. Adjust page layout for folding and bleed
If you work with printing projects, you can make layout adjustments for fold lines, bleed marks, or special formats using the page tool:
- Tip: Adjust the page size to correctly account for the fold or bleed areas.
- Shortcut: Press Ctrl+Alt+Shift+P (Windows) or Cmd+Option+Shift+P (Mac) to quickly access the page sizing setting.
Additional Pro Tip: Mix of Standard and Special Pages
If your project requires different types of pages (e.g., portrait and landscape):
- Combine the page tool with the Pages panel (Window → Pages).
- Tip: First, set up the standard size in the Pages panel and only change the special pages using the page tool.
The page tool provides creative freedom and ensures a professional and versatile design – perfect for sophisticated layouts!


