In this tutorial, I will show you how to customize Canva to better suit your personal needs. Although the free features of Canva are limited, you can still take advantage of the opportunity to personalize your design experience. Premium users have many options available, but even as a free user, there are some interesting possibilities. Let's go through the steps together to customize your Canva account.
Key Takeaways
- In the free version of Canva, you can make some basic customizations.
- Premium users have advanced customization options.
- Adding brand colors is one of the most important steps for customization.
Step-by-Step Guide to Customizing Canva
First, log in to your Canva account. Regardless of whether you are using the free or premium version, it is important to understand the features available to you.
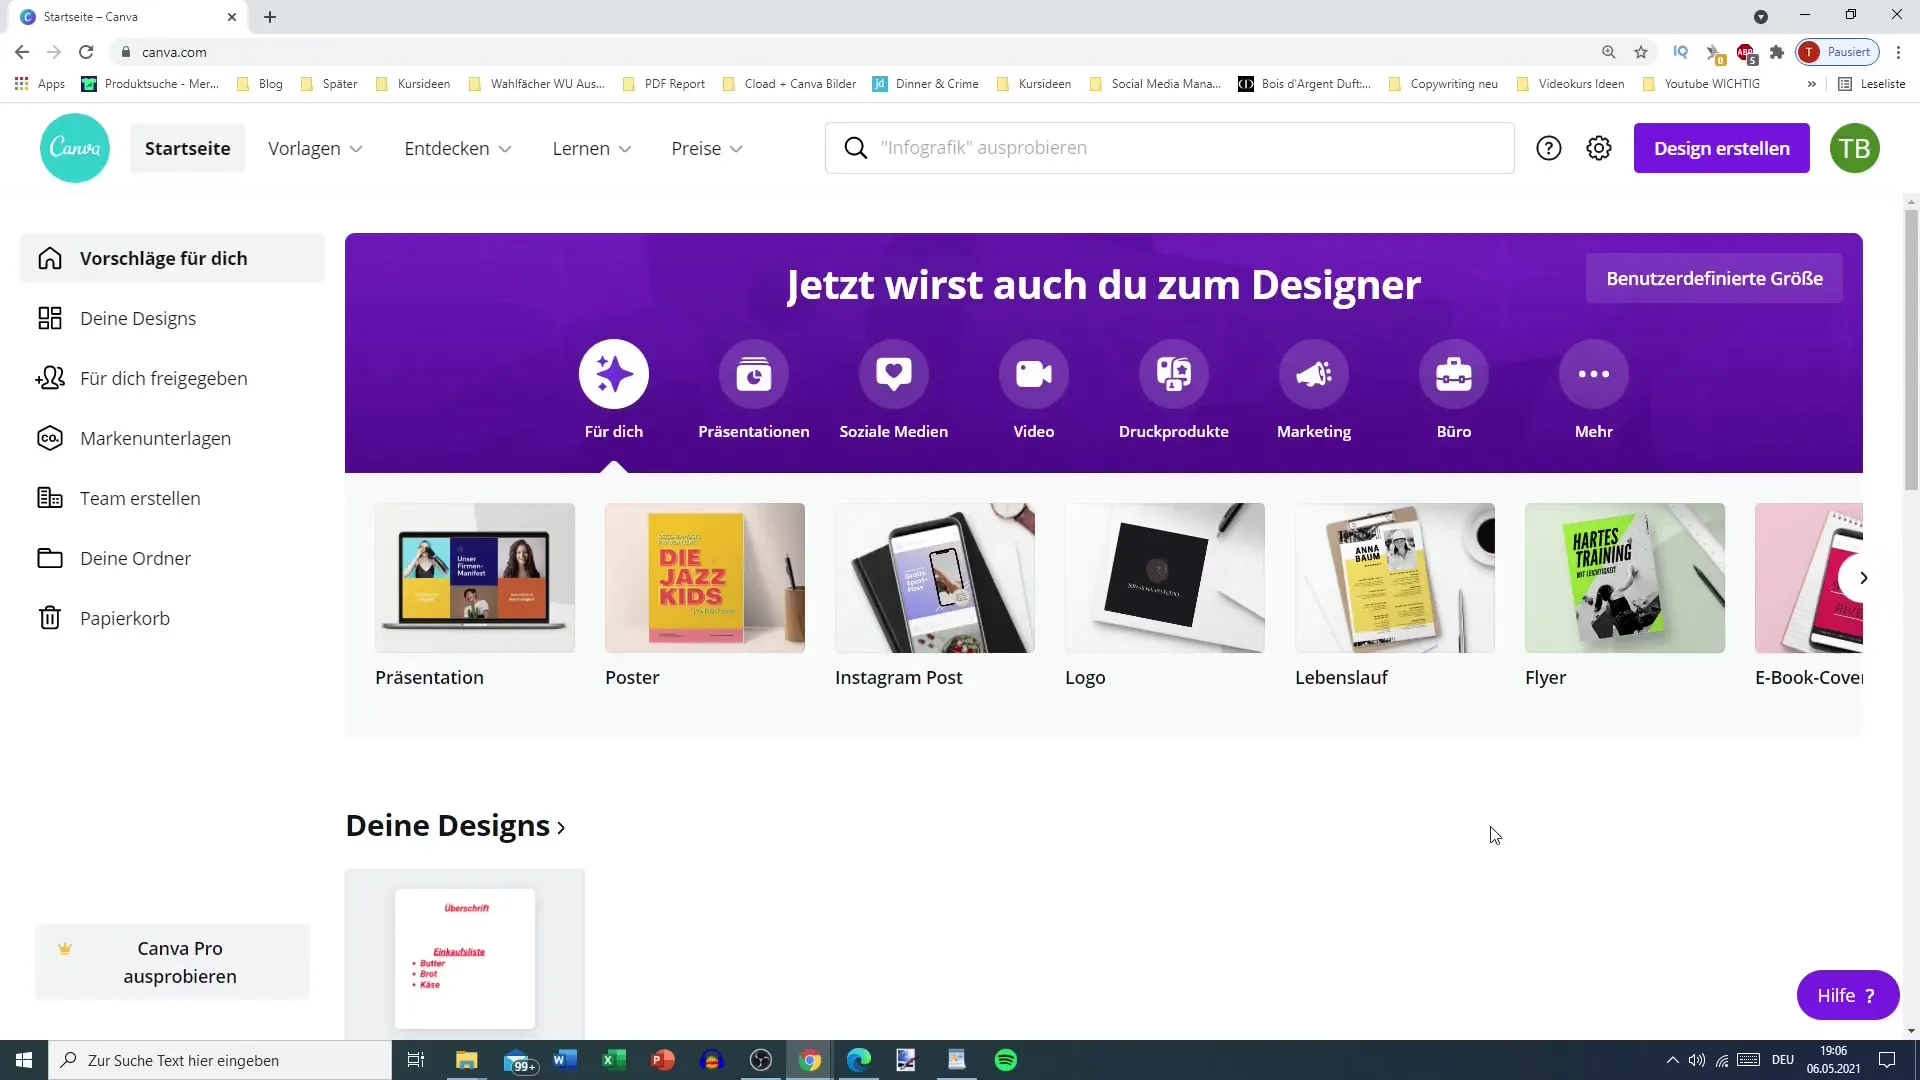
To customize your design, go to the "Home" tab. There you will find the section "Brand Kit" where you can start your crafting adventure.
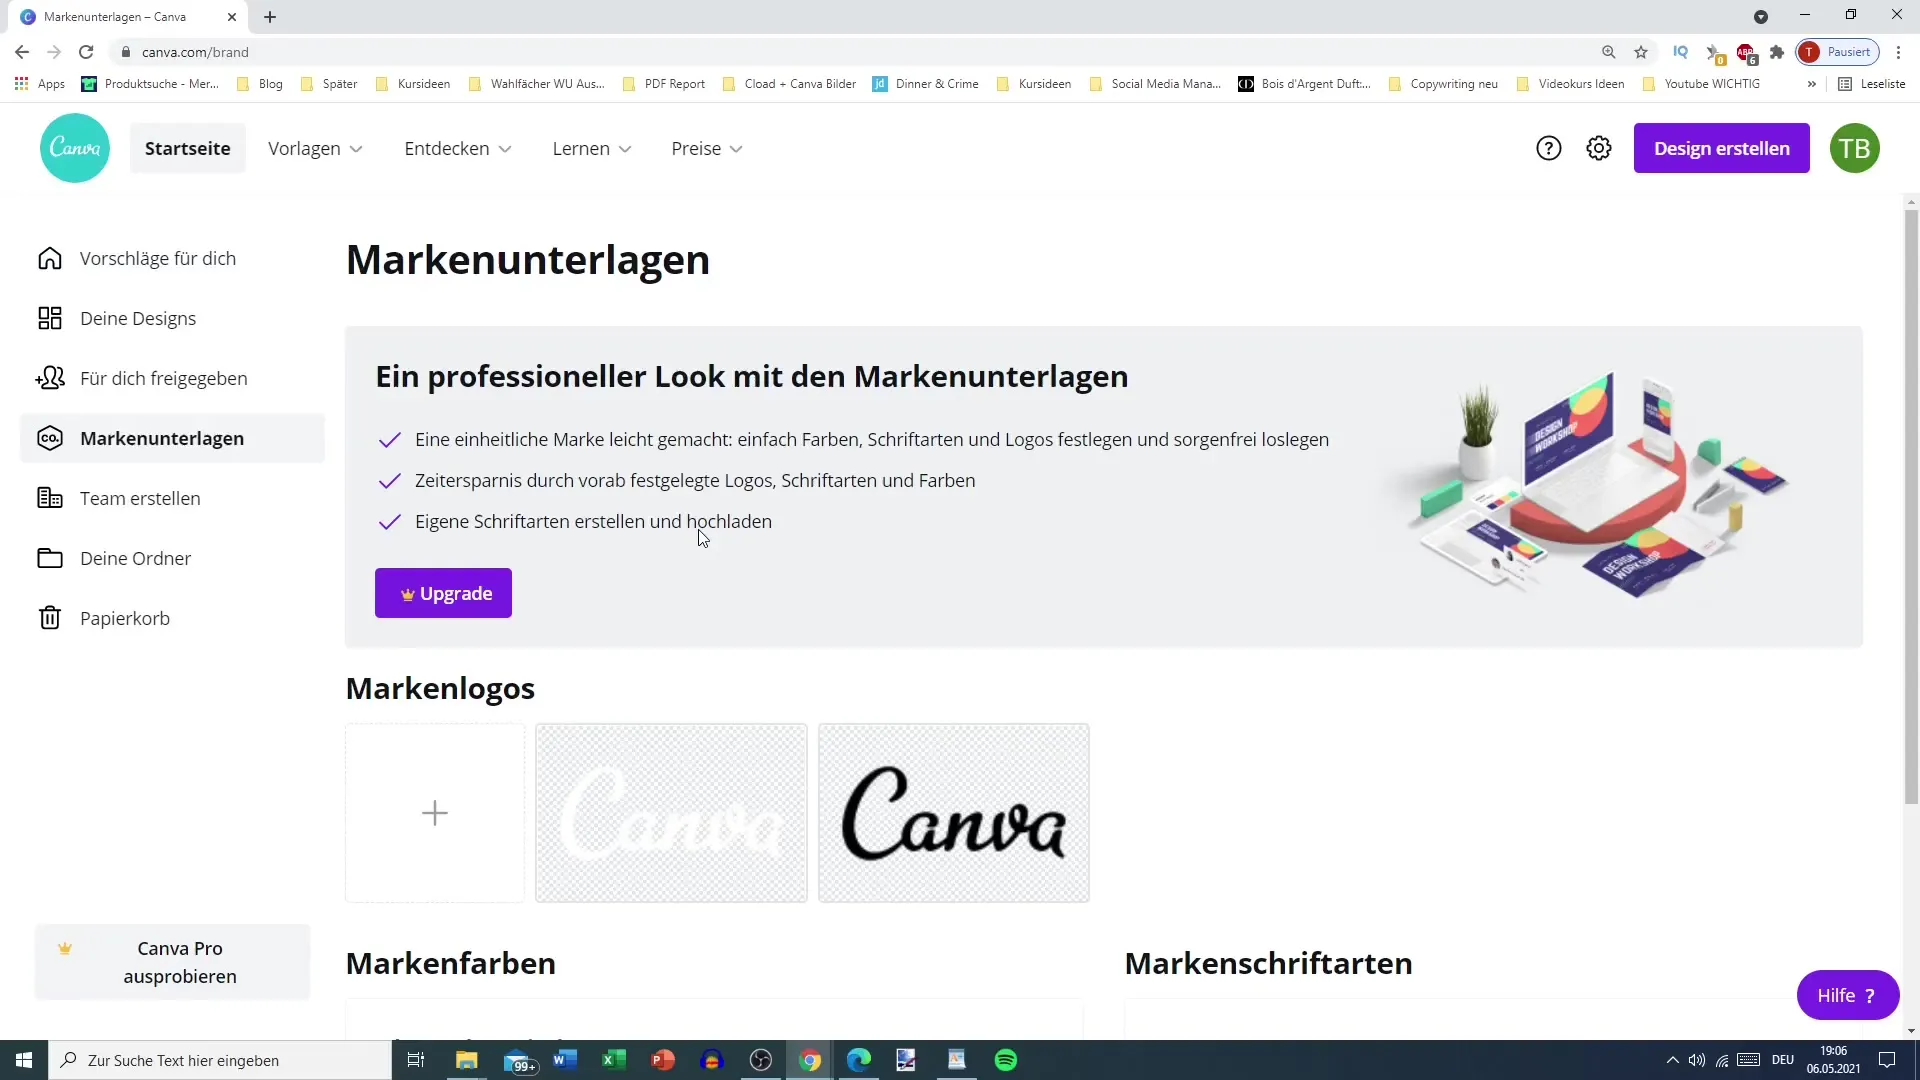
You have the option to upload a brand logo. If you have a personal logo, you can easily integrate it into Canva, making it easier to select it quickly for each design.
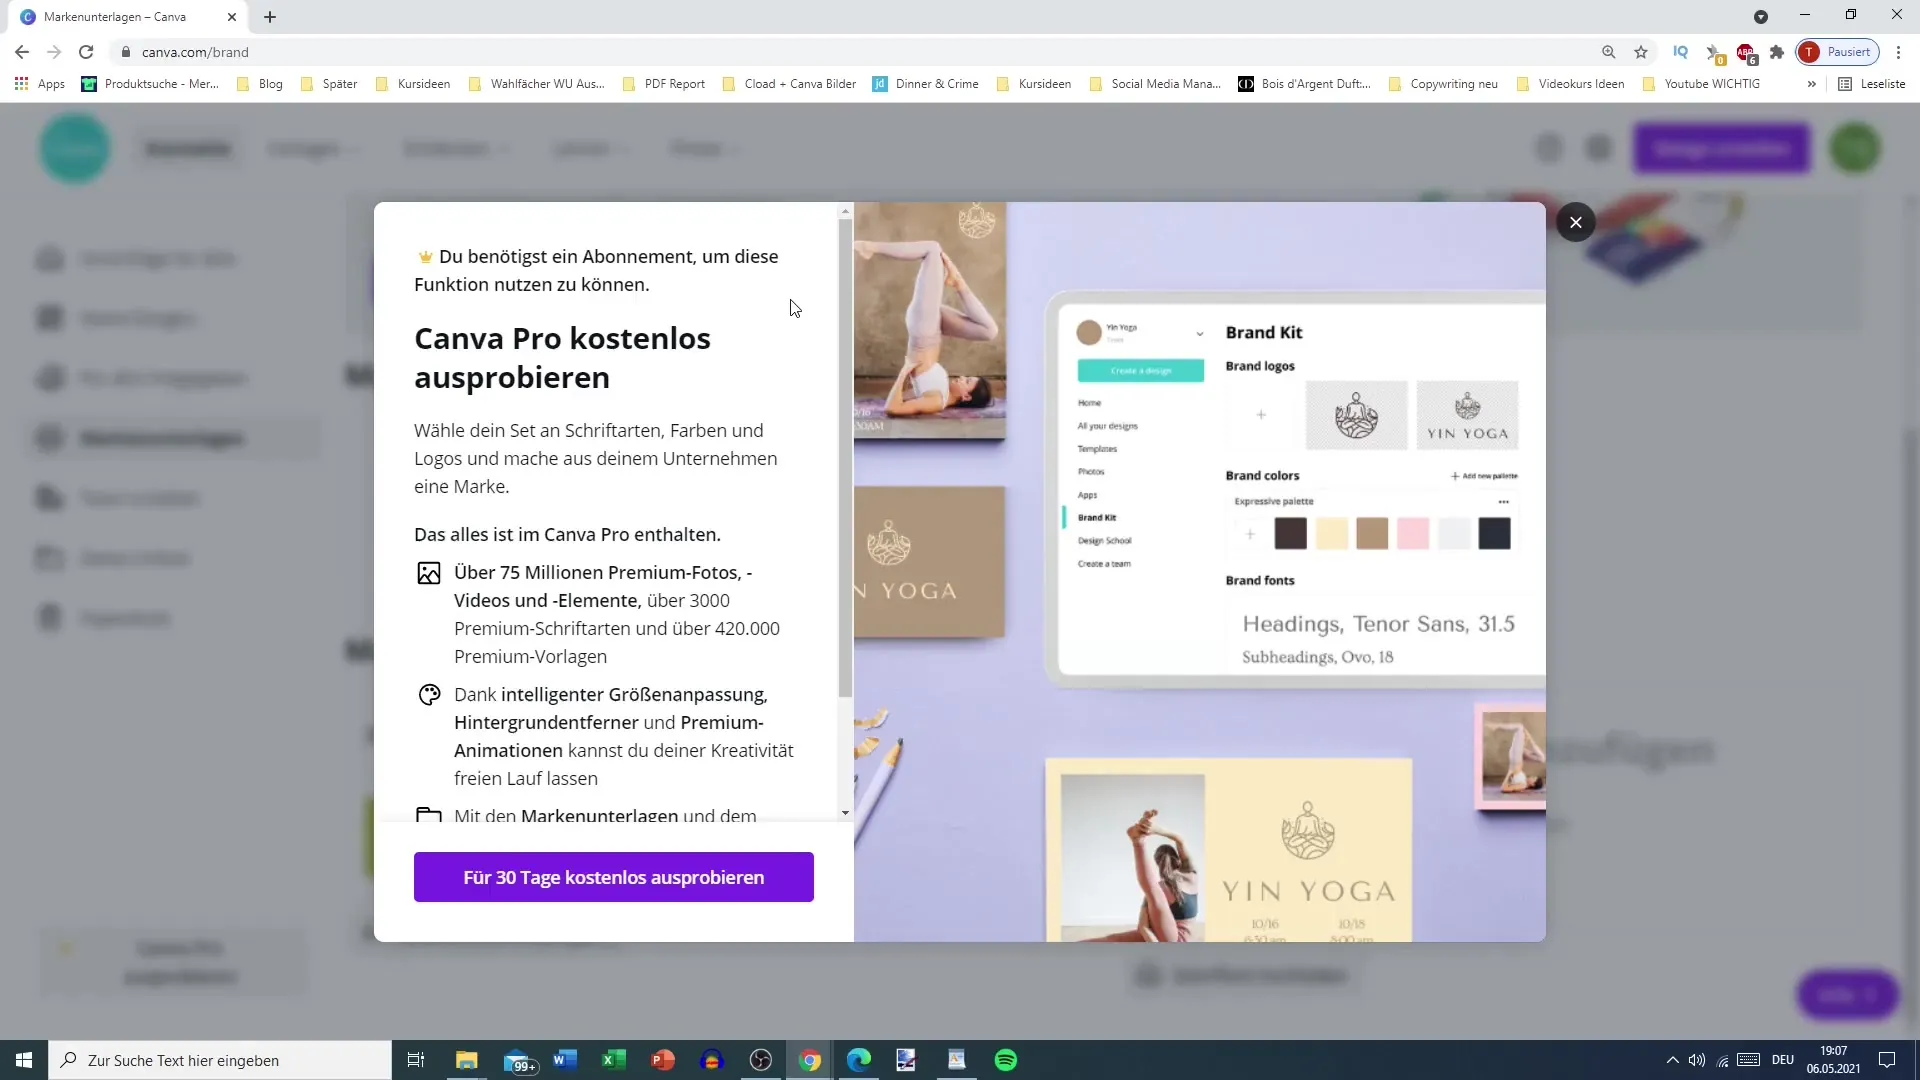
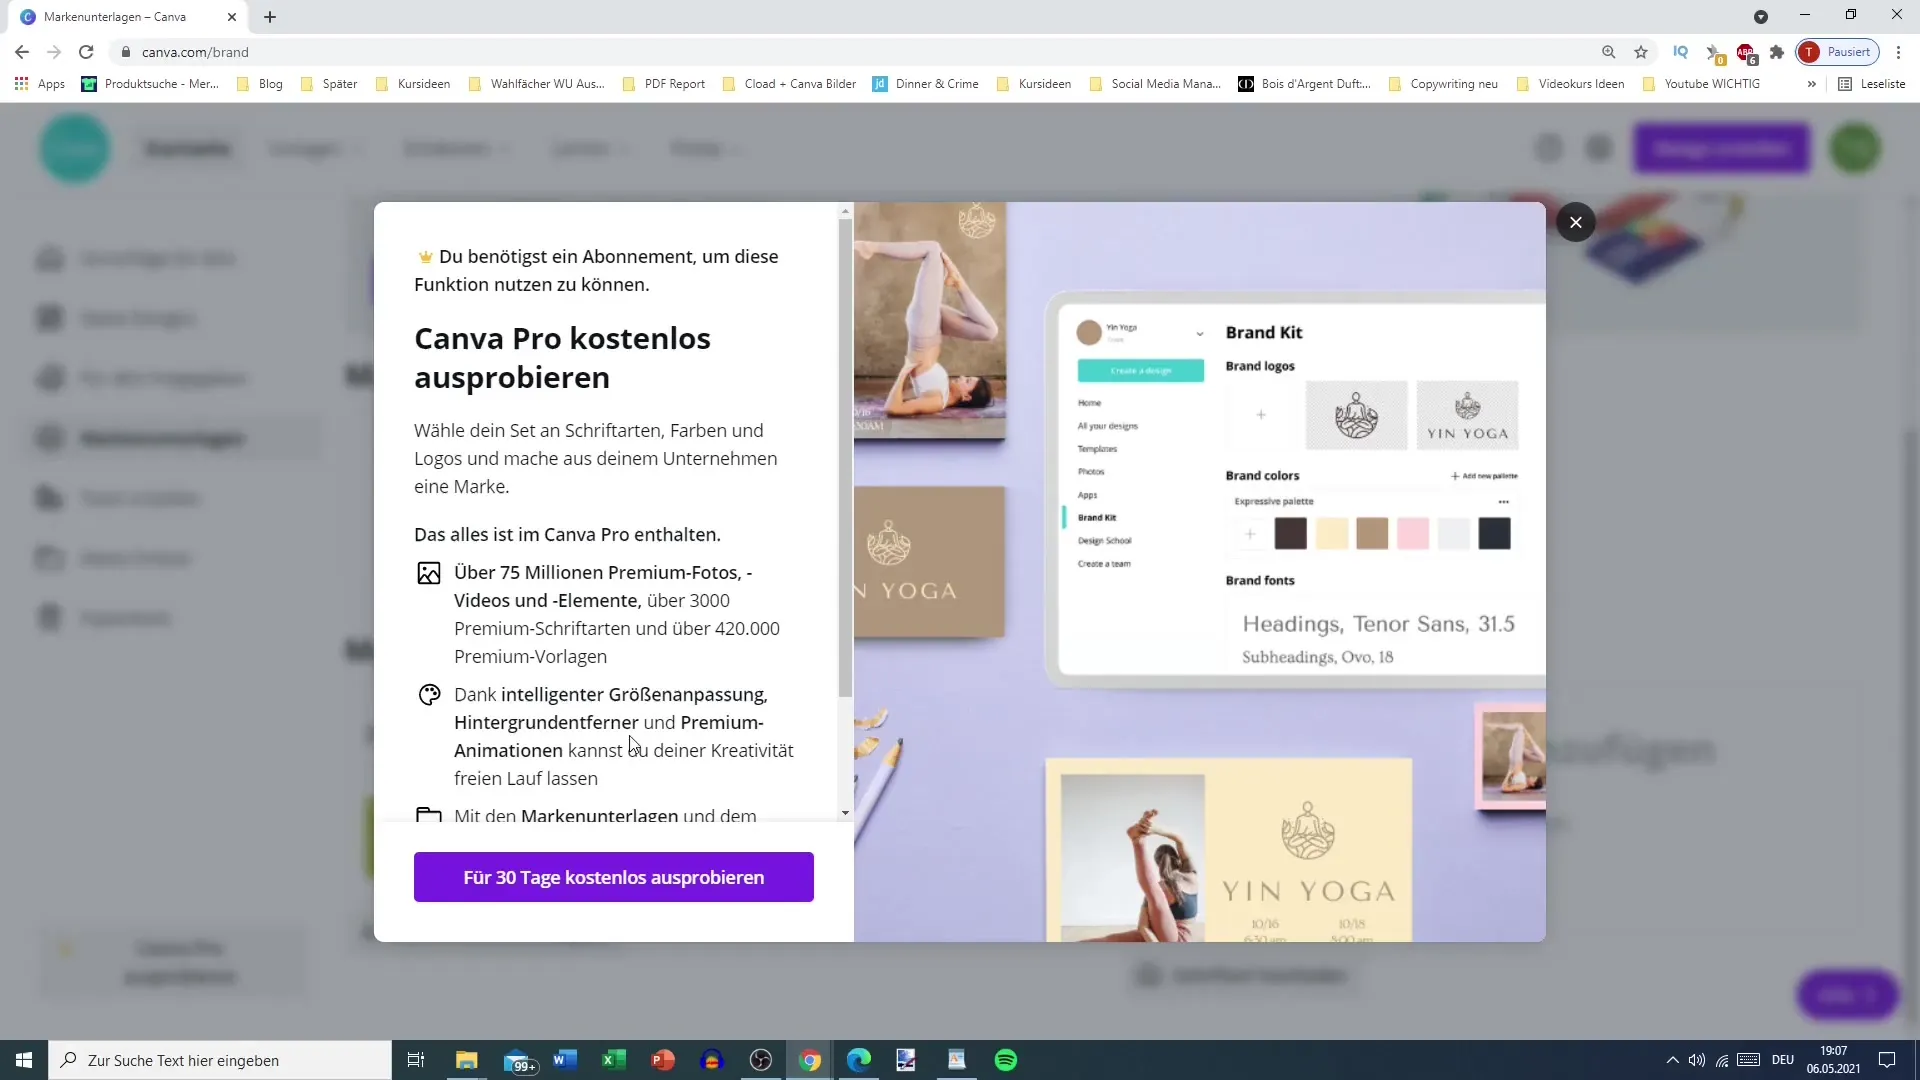
In addition, you can upload brand fonts. This is especially important if you want to maintain a uniform look for your brand. However, please note that the font and logo upload feature is not available in the free version.
However, you can add brand colors even if you are using the free version. Simply click on the plus sign and enter the color code you want to use. This is a simple yet effective way to customize your designs to your brand.
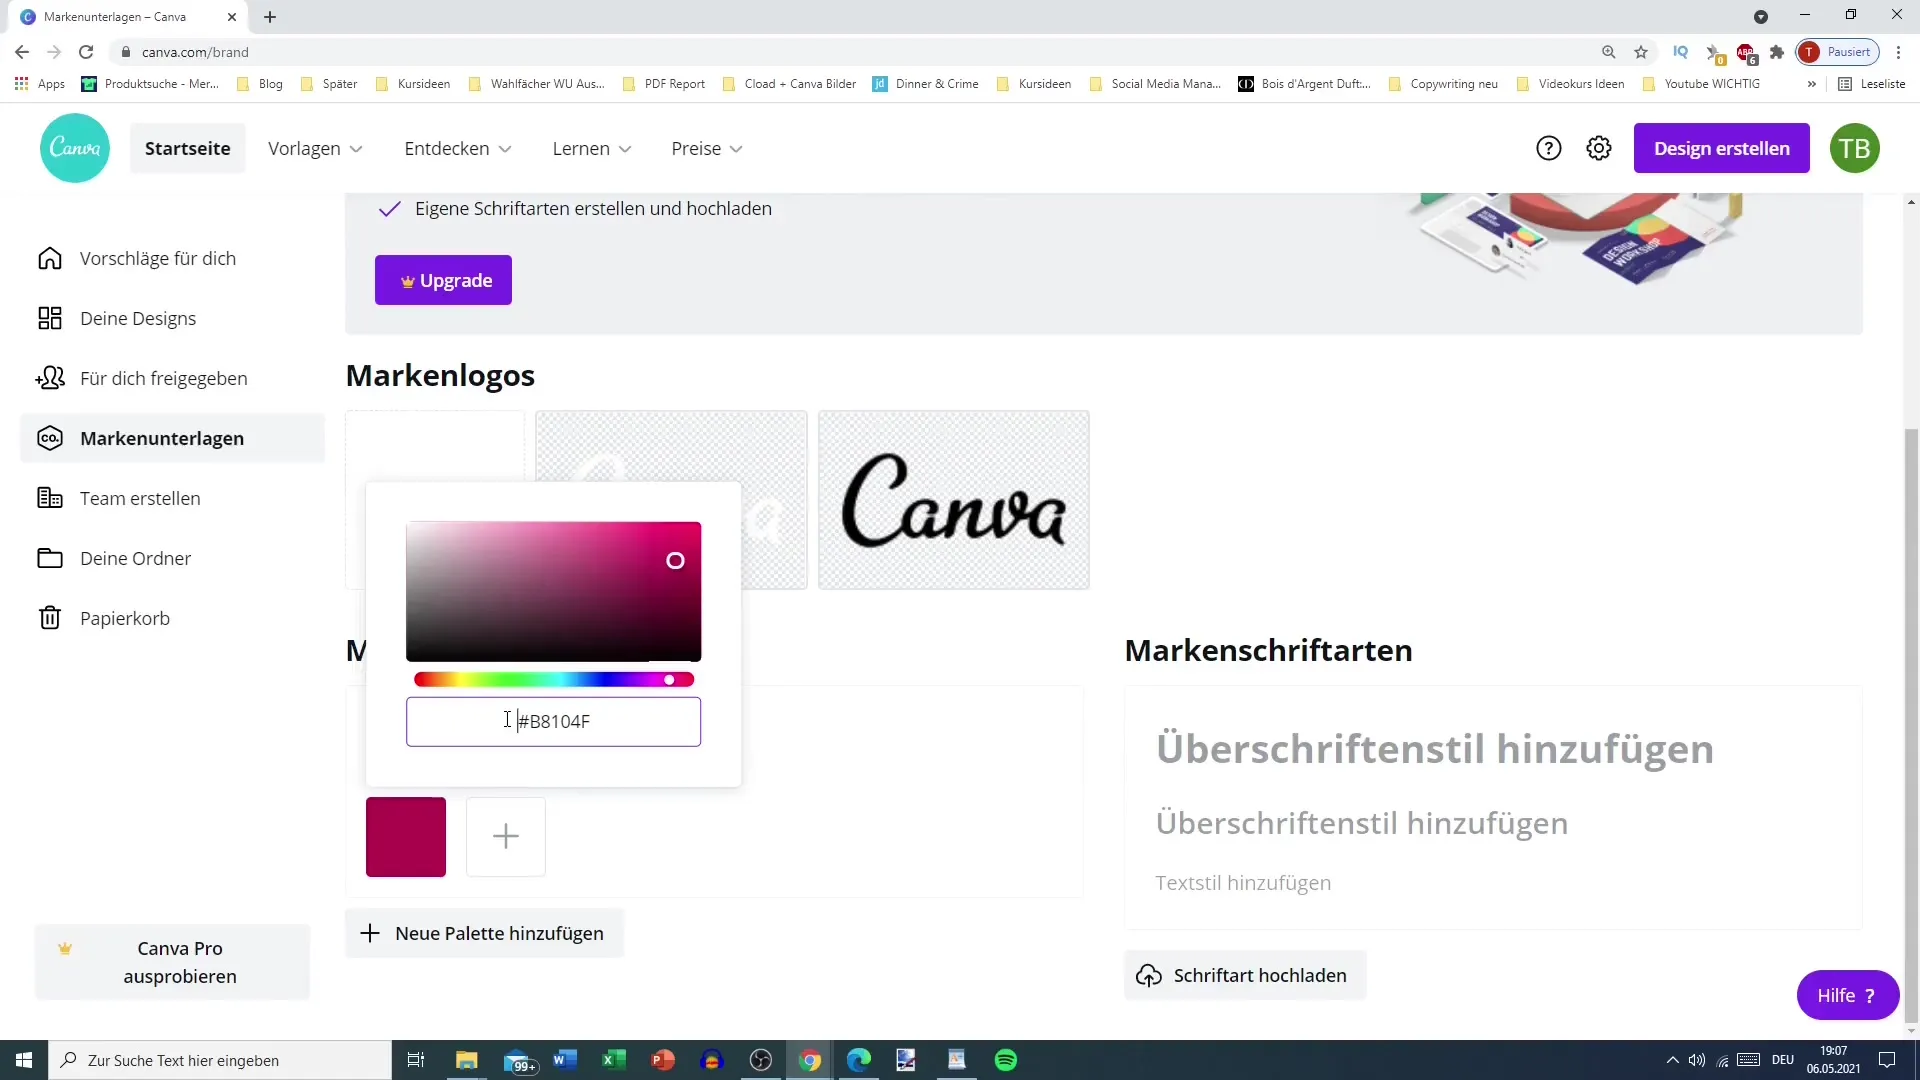
For example, if you have a specific shade that you use frequently, you can create it here. It is a good idea to create a color palette to ensure consistency in your designs. With the premium version, you can create multiple color palettes.
For the free version, you will work with a single color palette that you can name as you wish. For example, add your primary color and click again on the plus sign to add a second color of your choice. This adds variety without much effort.
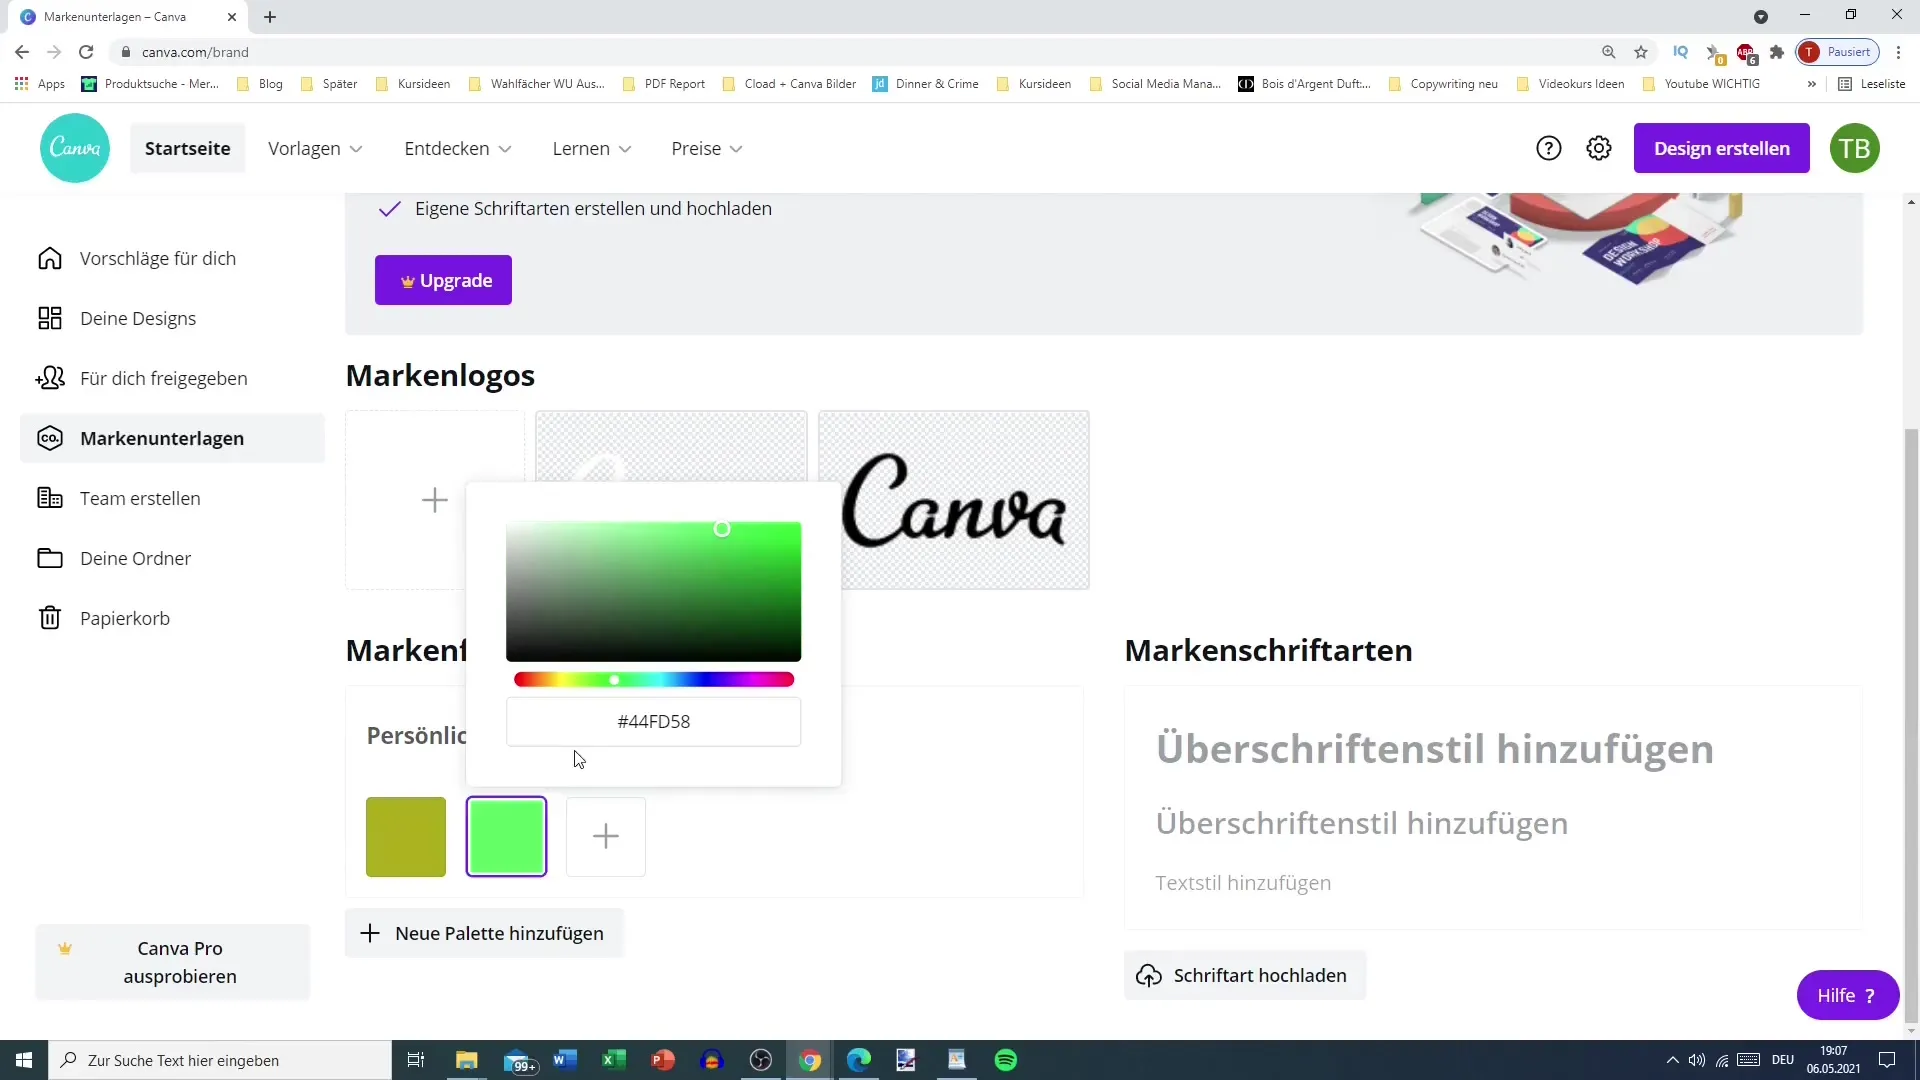
Now you have the option to choose a third color that you would like to add as well. These steps are the basics of color customization in Canva. Unfortunately, these are the only customization options available in the free version.
Now that you have set your colors, go back to your work. I have already created a post for demonstration purposes. When you click on text or colors, you should immediately see the "Personal" tab. This is a new approach to customization available to you now.
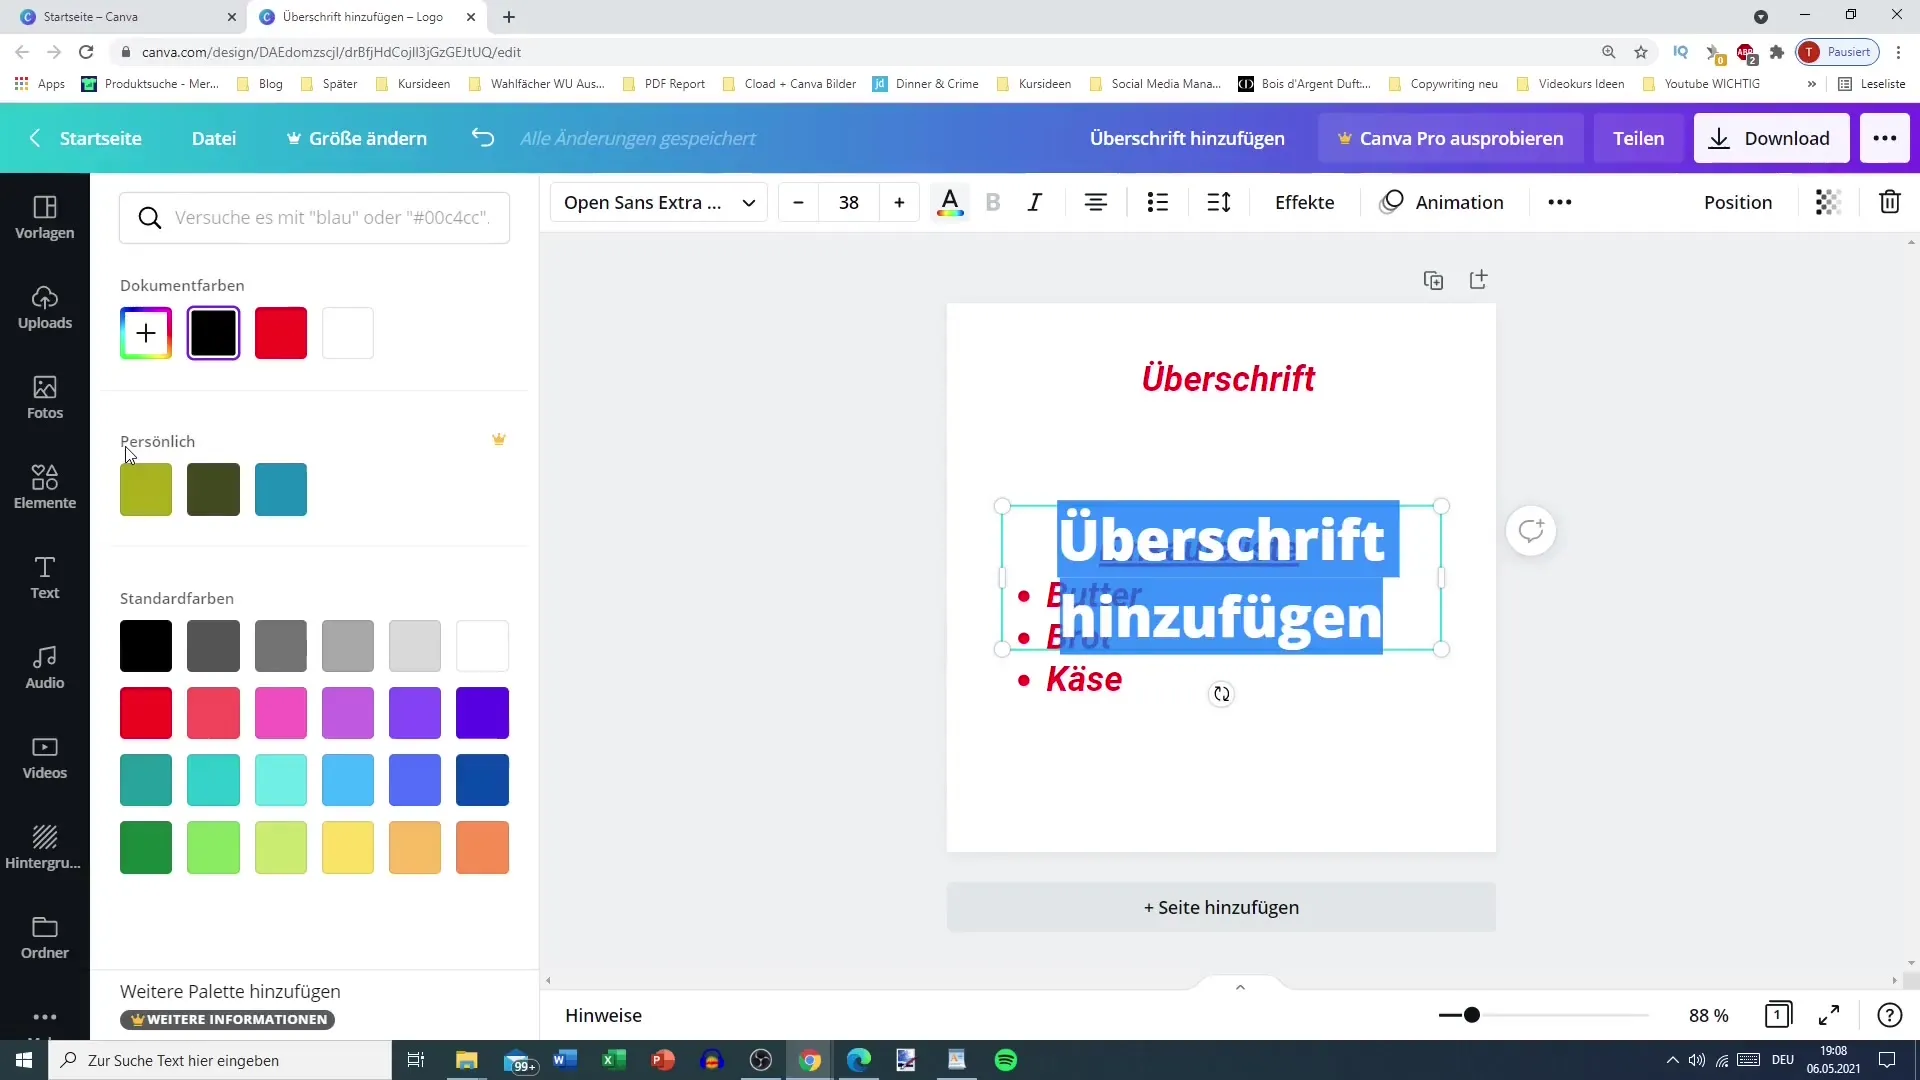
Note that this "Personal" tab did not exist before you set your own brand colors. This feature enhances the level of customization and makes your design unique.
In conclusion, I want to mention that customization on Canva is important not only for premium users; even free users can make some helpful adjustments. It was important for me to convey these details to ensure that you are familiar with all the relevant steps while using Canva.
Summary
In this guide, I have shown you how you can customize Canva to suit your individual needs. Whether you use the free or premium version, with a few simple steps, you can design your layout and more effectively represent your brand.
Frequently Asked Questions
How can I add my brand colors in Canva?You can add your brand colors by clicking on the plus sign in the "Brand Kit" section and entering your color code.
Can I upload my own fonts in the free version of Canva?No, you cannot upload your own fonts in the free version.
How many color palettes can I create in Canva?In the premium version, you can create multiple color palettes, while in the free version, only one palette is available.
