In this tutorial, you will learn how to effectively use the positioning and transparency of objects in Canva . These two functions are essential for creating appealing graphics and will help make your designs look more professional. Whether you want to adjust an image, text, or button, knowledge of these tools will greatly facilitate your creative process. So let's get started right away!
Key Insights
- Positioning helps you precisely arrange objects in relation to each other.
- Transparency allows you to create lighter, appealing blends and achieve exciting visual effects.
Step-by-Step Guide to Positioning and Transparency
To efficiently use positioning and transparency in Canva, follow these steps:
First, open Canva and select a new or existing design. Make sure you have at least two objects in your design to work with. These could be images, text boxes, or buttons.

In the upper right area, you will find tabs for working with objects. The first step is to select one of these objects. Let's take a button for example that you want to position in a specific spot in your design.

Now, using the position tab, you can specify how and where this object should be aligned. You have various options available: top, middle, bottom, left, right, or center. Experiment with these options and observe how your design changes.
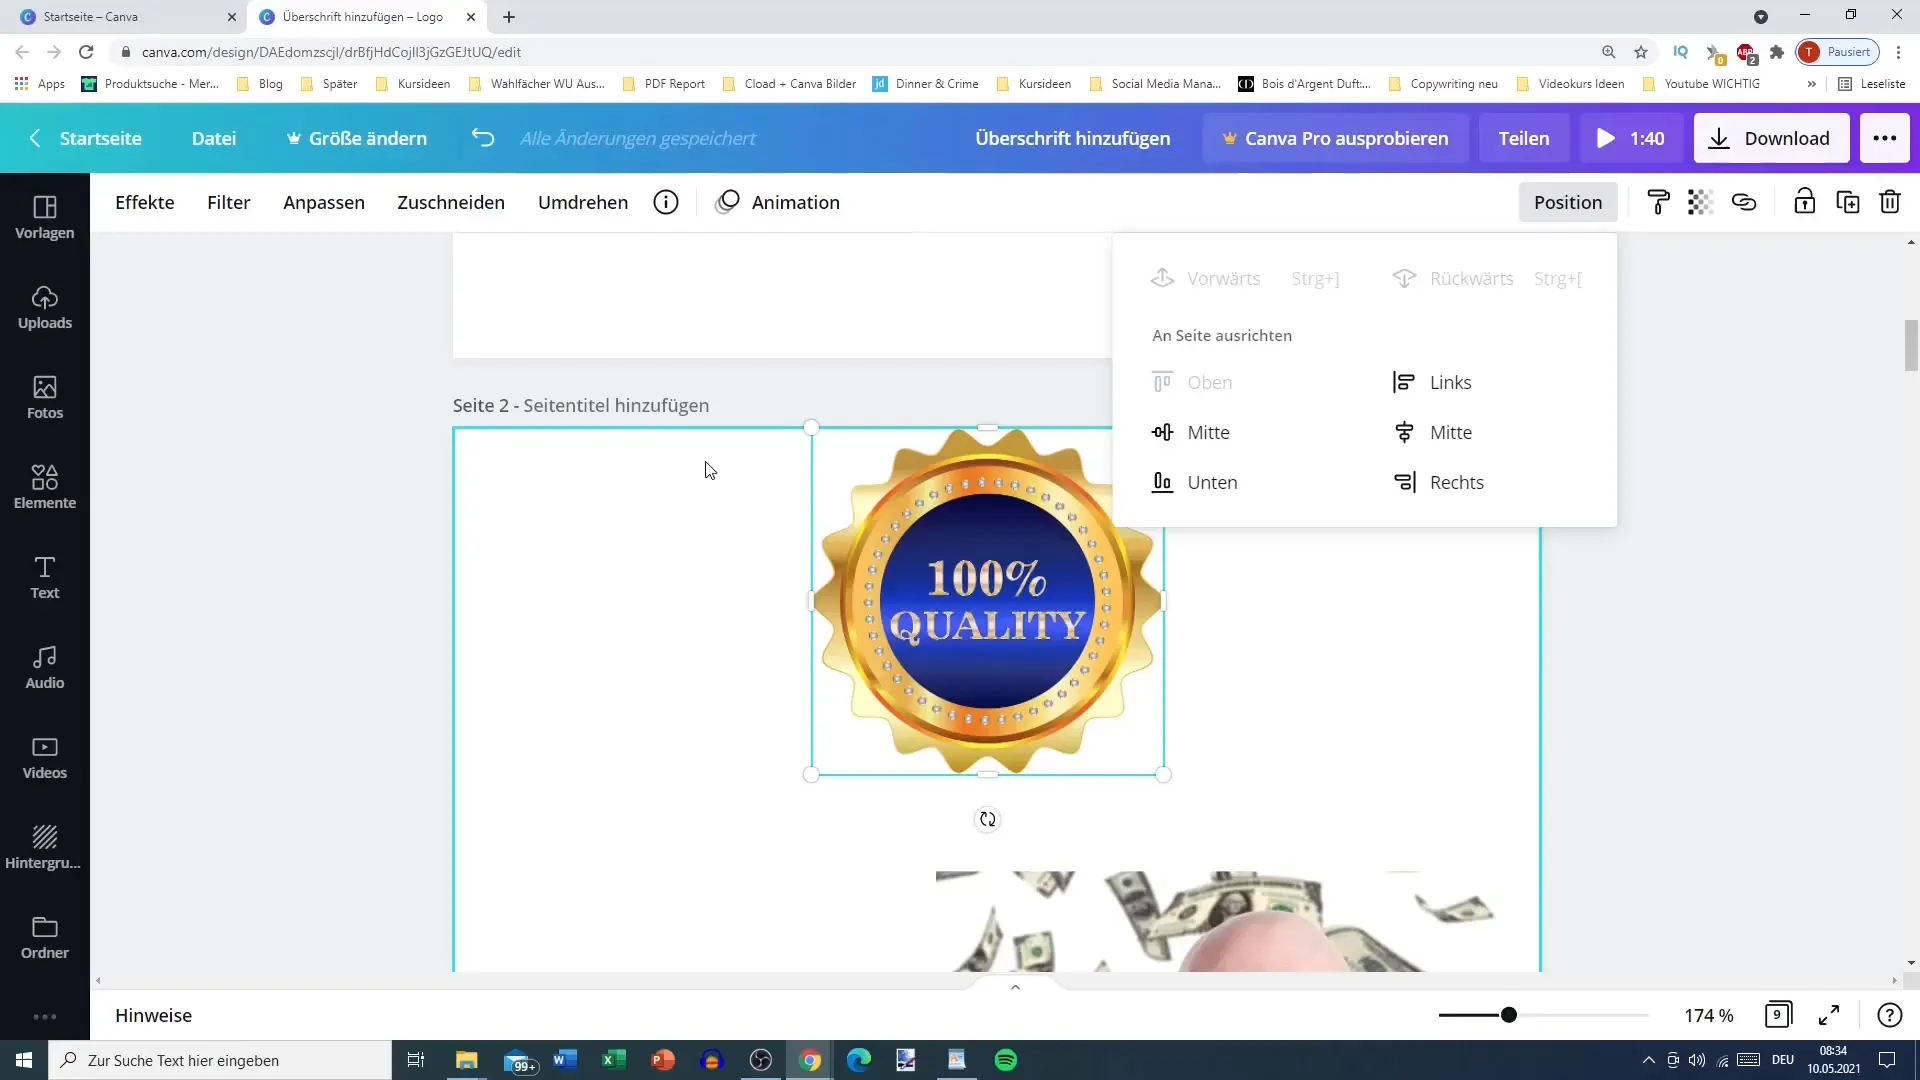
If you want to exchange the position of an object with another object, you can use the "Backward" and "Forward" functions. For example, you can move a button one level backward so that the image above it floats.

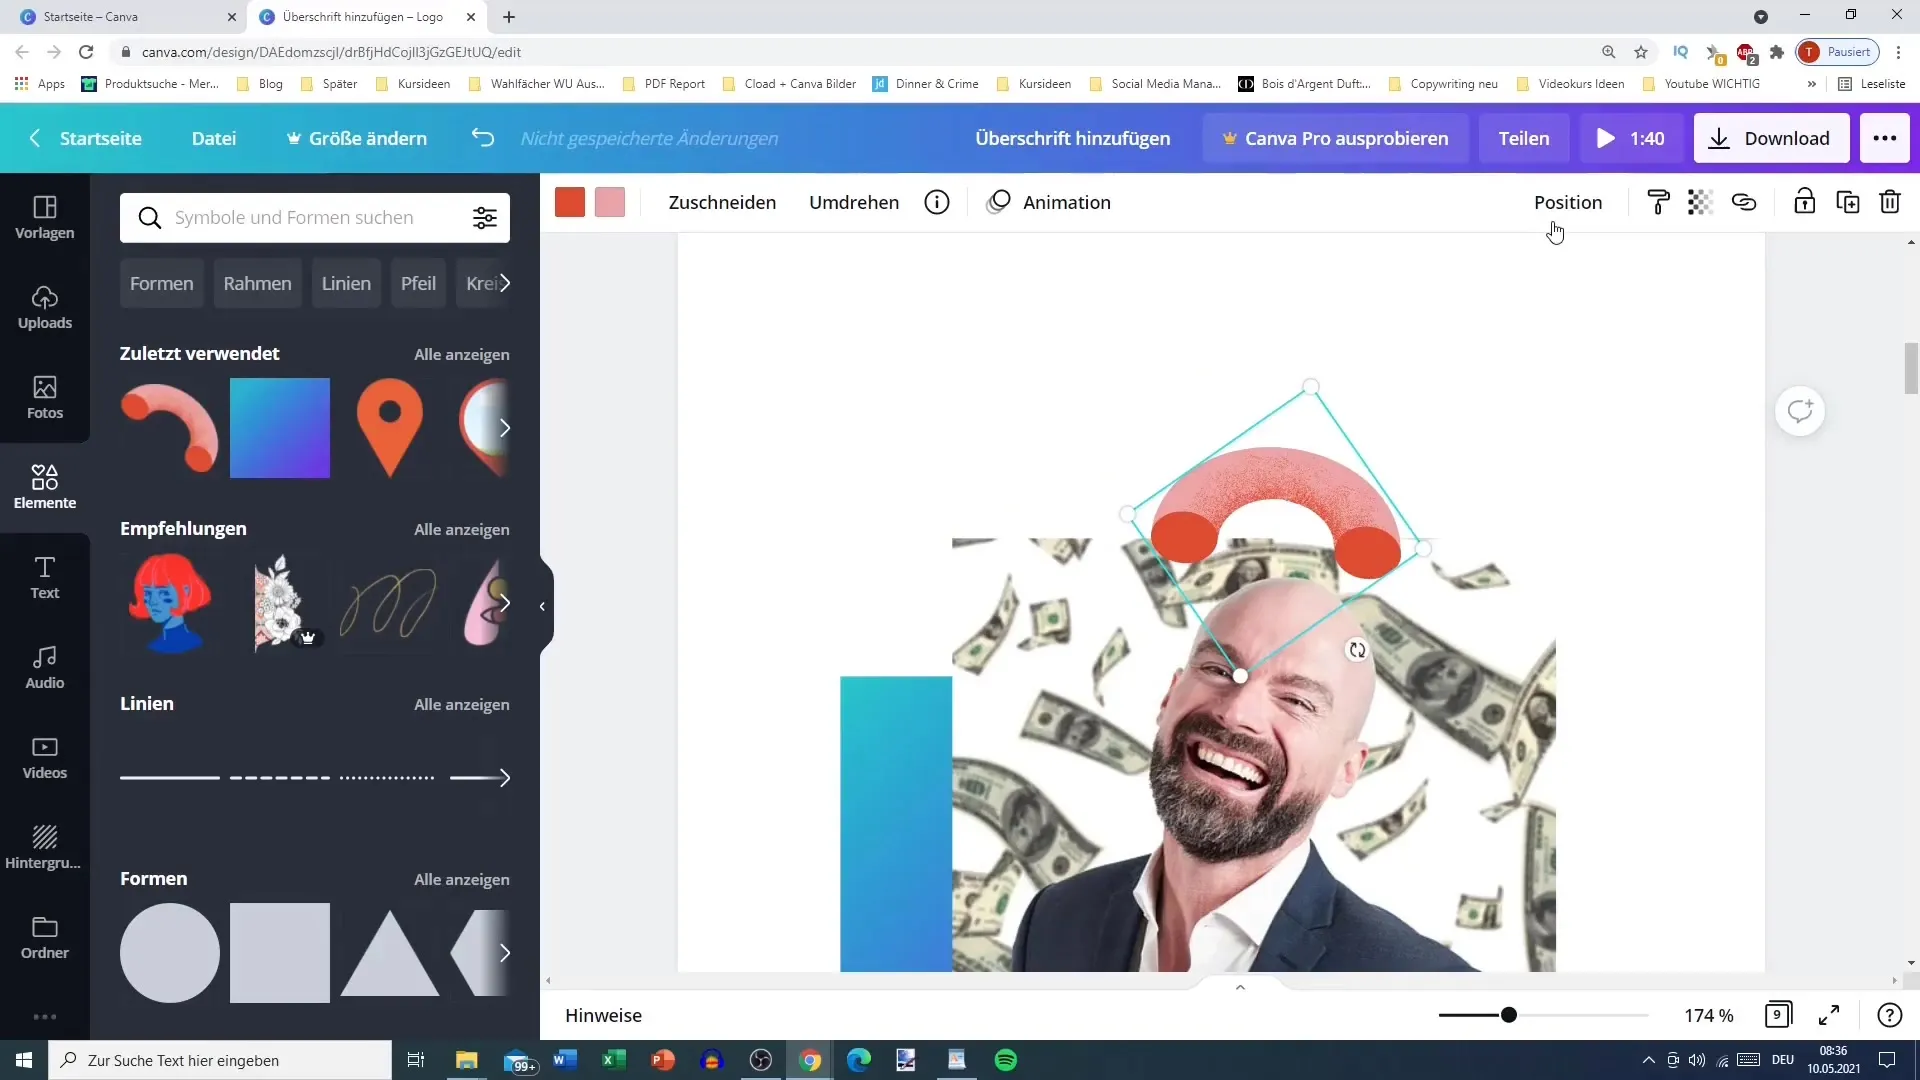
In the next step, you can also move text objects to the background. Select the text you want to move back and use the backward function until it is behind the other objects.

To optimize the layer structure, you could also move various objects to the foreground or background to create a harmonious layout. For example, grab your image first and place it as the first object, followed by a color or text element.

An interesting technique is to hide objects. For example, if you have an element that should not be visible, you can move it to the background. This is useful for using certain design elements only hiddenly.
Now let's talk about transparency. You will find transparency next to the position tab. Select an object whose transparency you want to adjust. The slider allows you to vary the transparency from 0 to 100 percent. 100 means fully visible, while 0 is invisible.
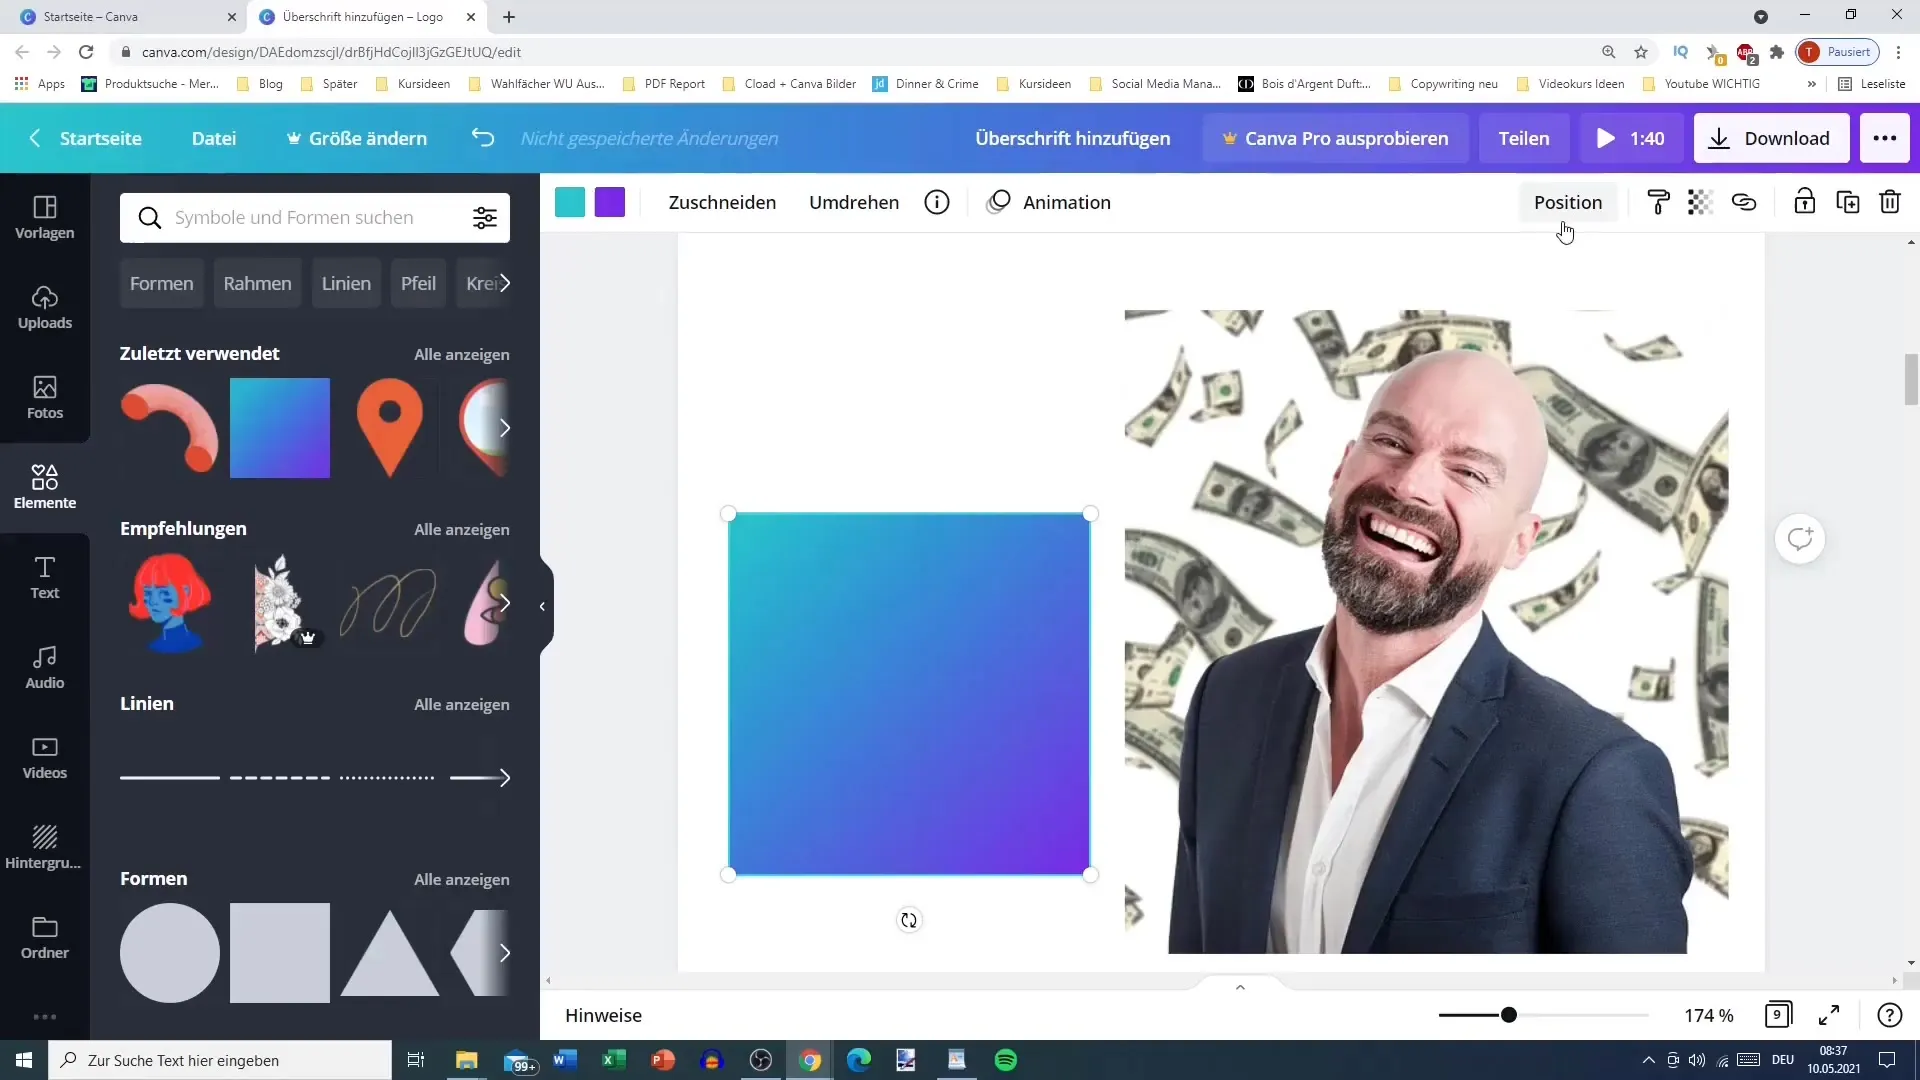
Now you can let an object slightly show through to achieve interesting effects. For example, if you place an image on top, the background will remain faintly visible, creating a beautiful visual depth.
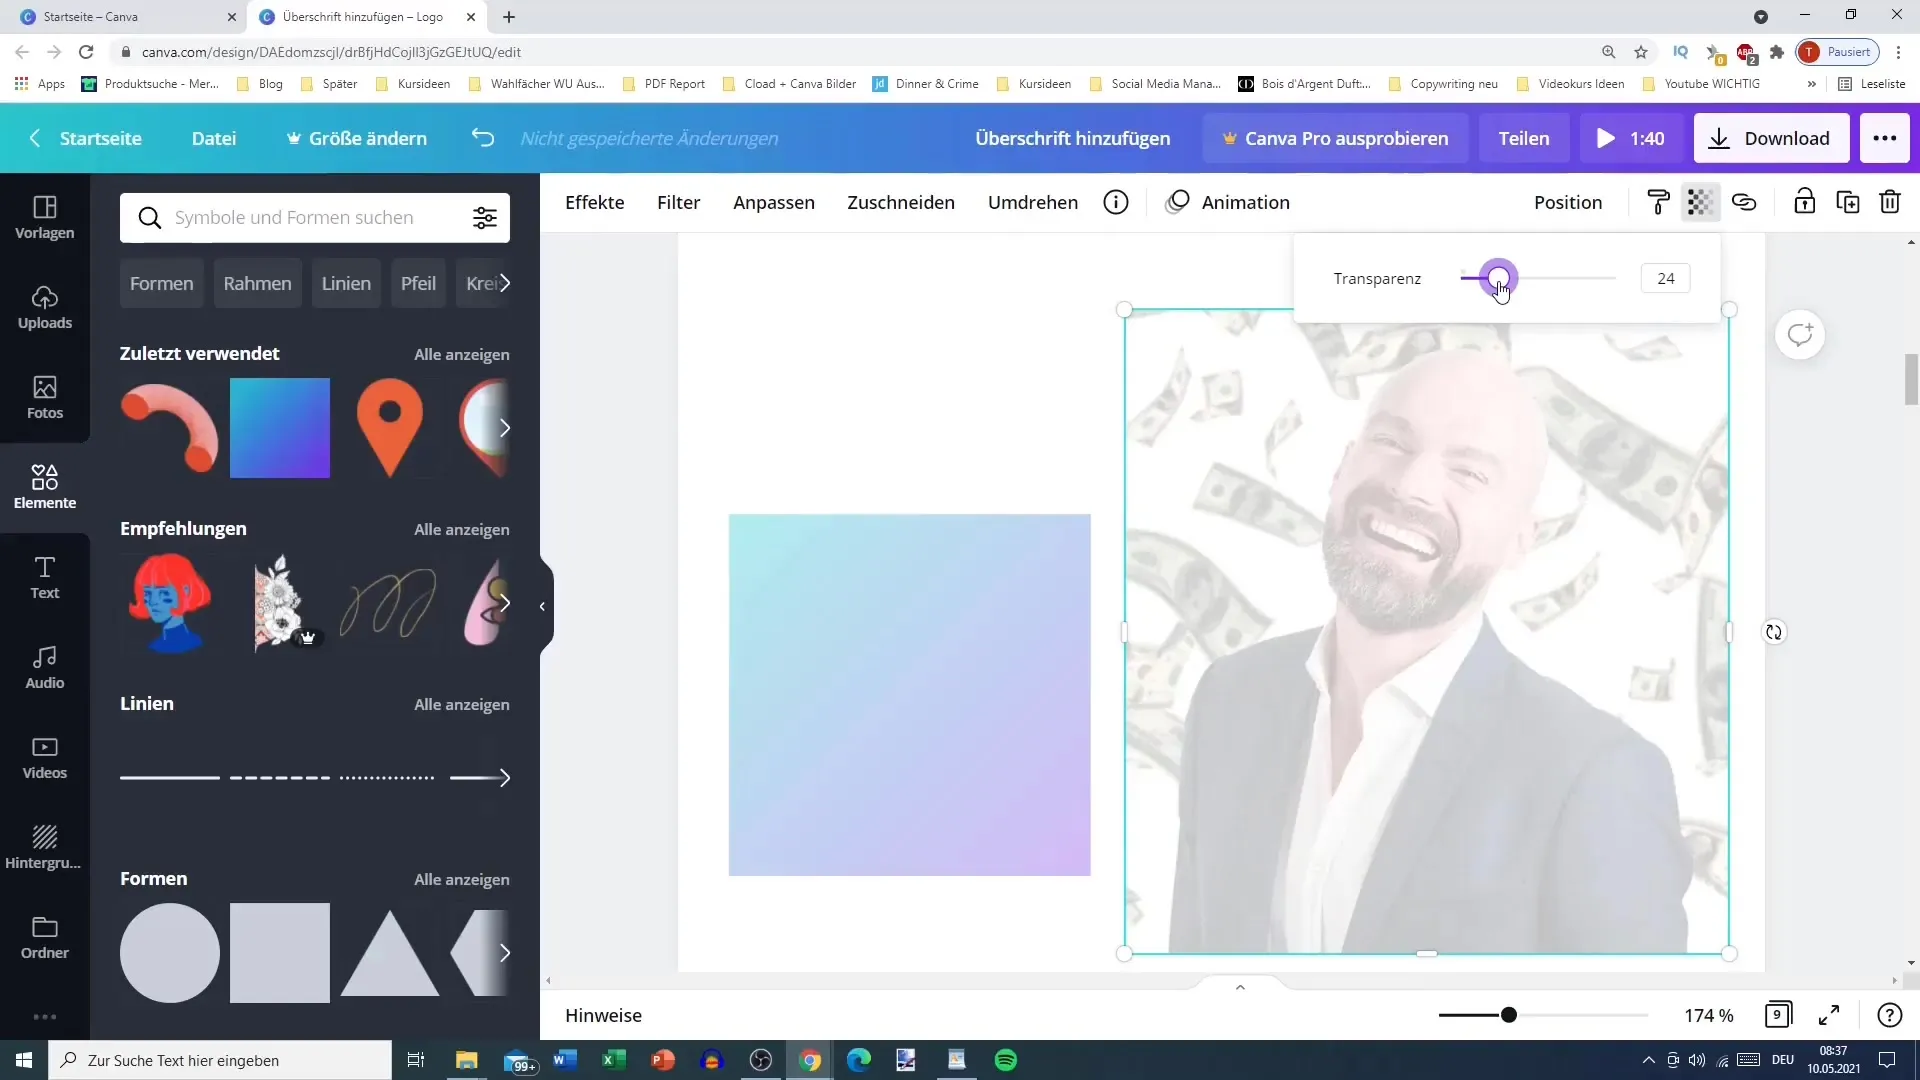
For special effects, adjust the transparency to create a subtle connection between different design elements. This can be particularly effective if, for instance, you want to make a texture or pattern flash behind an image.
Remember that these techniques are particularly useful when creating social media content or thumbnails for videos. They help to focus on specific elements and create longevity in your designs.
Summary
This guide explained how to optimally use the positioning and transparency tools in Canva. By correctly positioning objects and applying transparency effects, you create impressive designs that stand out from the crowd.
Frequently Asked Questions
What is the difference between positioning and transparency in Canva?Positioning determines the arrangement of objects to each other, while transparency controls the visibility and blending effects of objects.
How can I move a text to the background?Select the text and use the Send Backward or Bring Forward function to place it behind other objects.
Can I adjust the transparency of an image?Yes, select the image and use the transparency slider to adjust the visibility according to your preferences.
Does this work for videos too?The same principles can be used for designing videos in Canva, although customization may be limited.
Which design elements can I customize?You can customize images, text boxes, buttons, and many other design elements in Canva.
