Content Marketing is indispensable, especially on platforms like Instagram. Instagram Reels offer you the opportunity to create creative and engaging content that appeals to your target audience. In this tutorial, I will show you step by step how to create an animated Instagram Reel. We will focus on using video templates and animated graphics to give your content that certain something.
Key Insights
- You can create simple, animated Reels that are informative.
- Video templates and animations help you make your content look professional.
- Pay attention to the correct formatting (1080 x 1920) for Instagram.
Step-by-Step Guide
Step 1: Insert Base Video
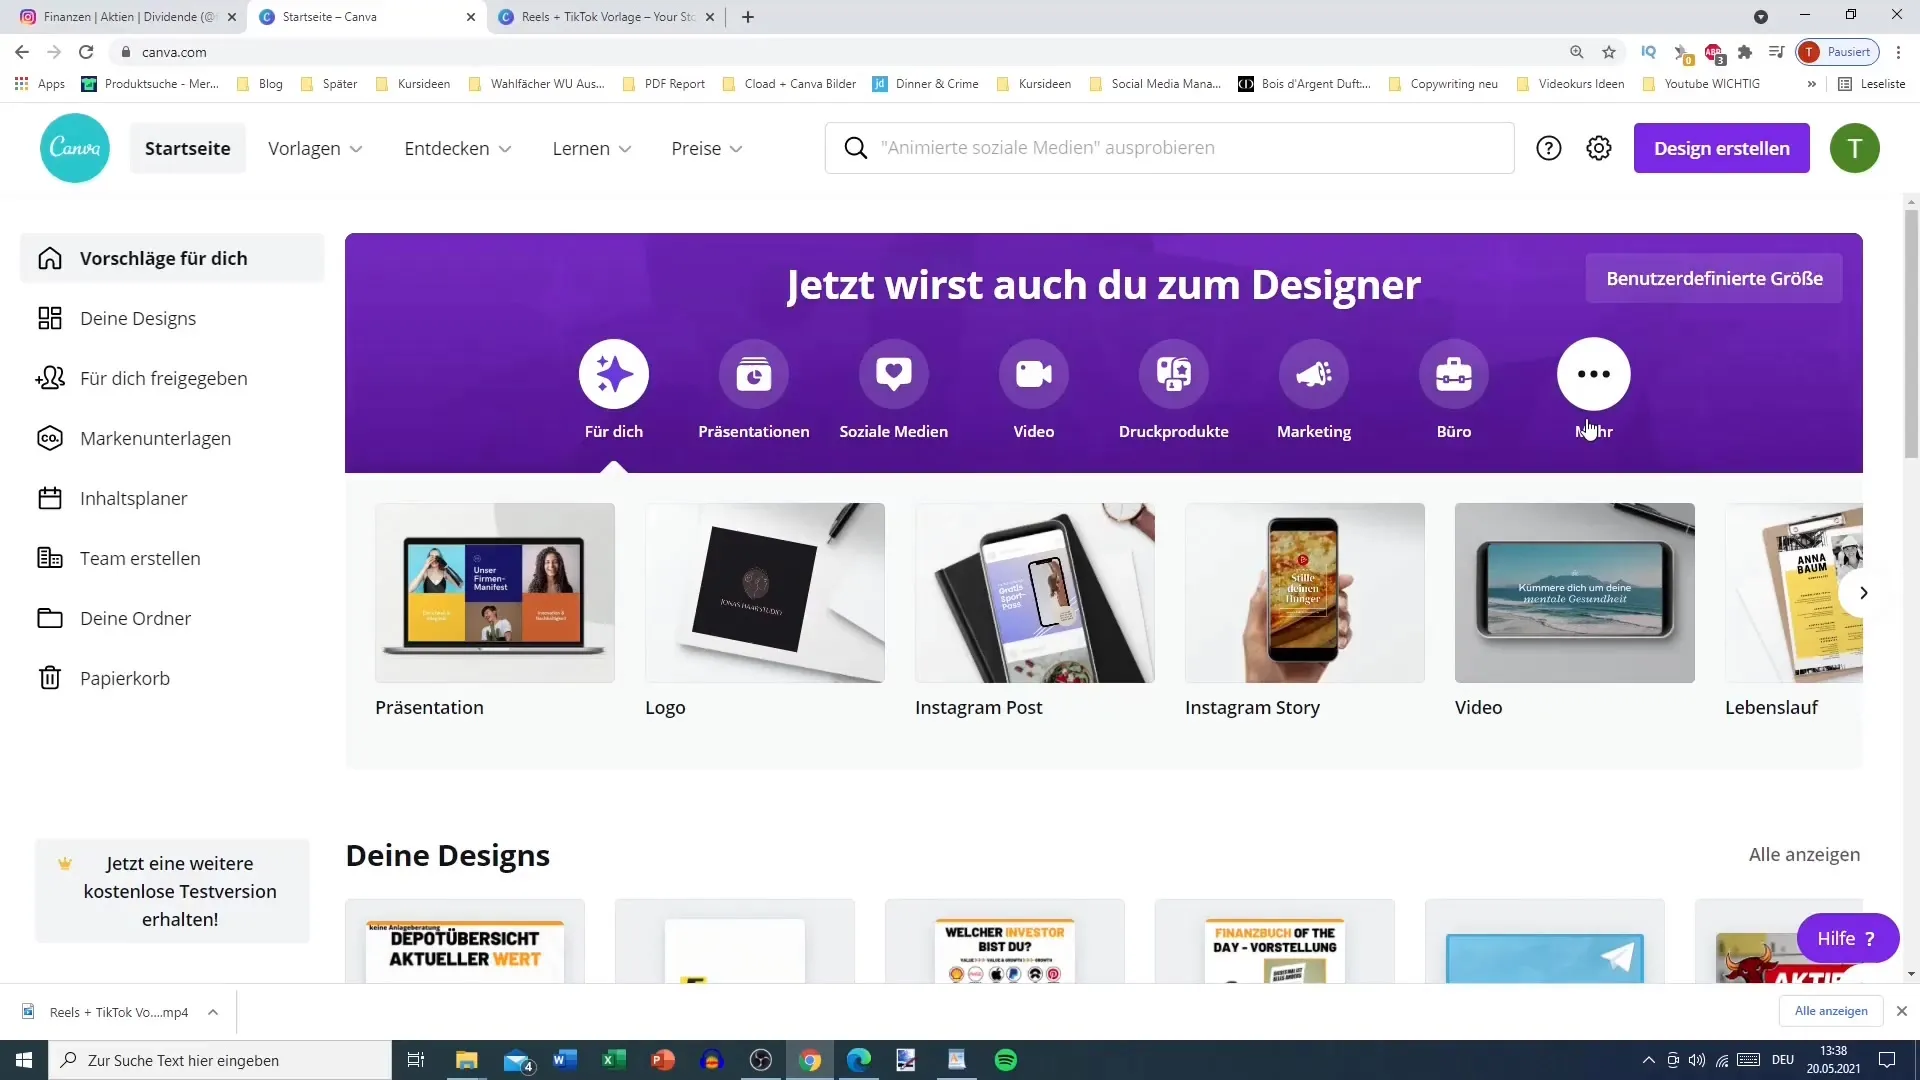
First, you need to prepare the base video that you want to use in your Reel. In our case, we have already created an Instagram post. You upload this post to the editing software to add the animations. Make sure to pause the sound to avoid distractions during editing.
Step 2: Choose Video Template
To make your Reel attractive, choose a video template created in portrait mode (1080 x 1920). This dimension is perfect for Instagram Reels and Stories. The template should include structured animation to help you present your content clearly and focused. Select the appropriate template and enlarge it.
Step 3: Add Animated Graphics
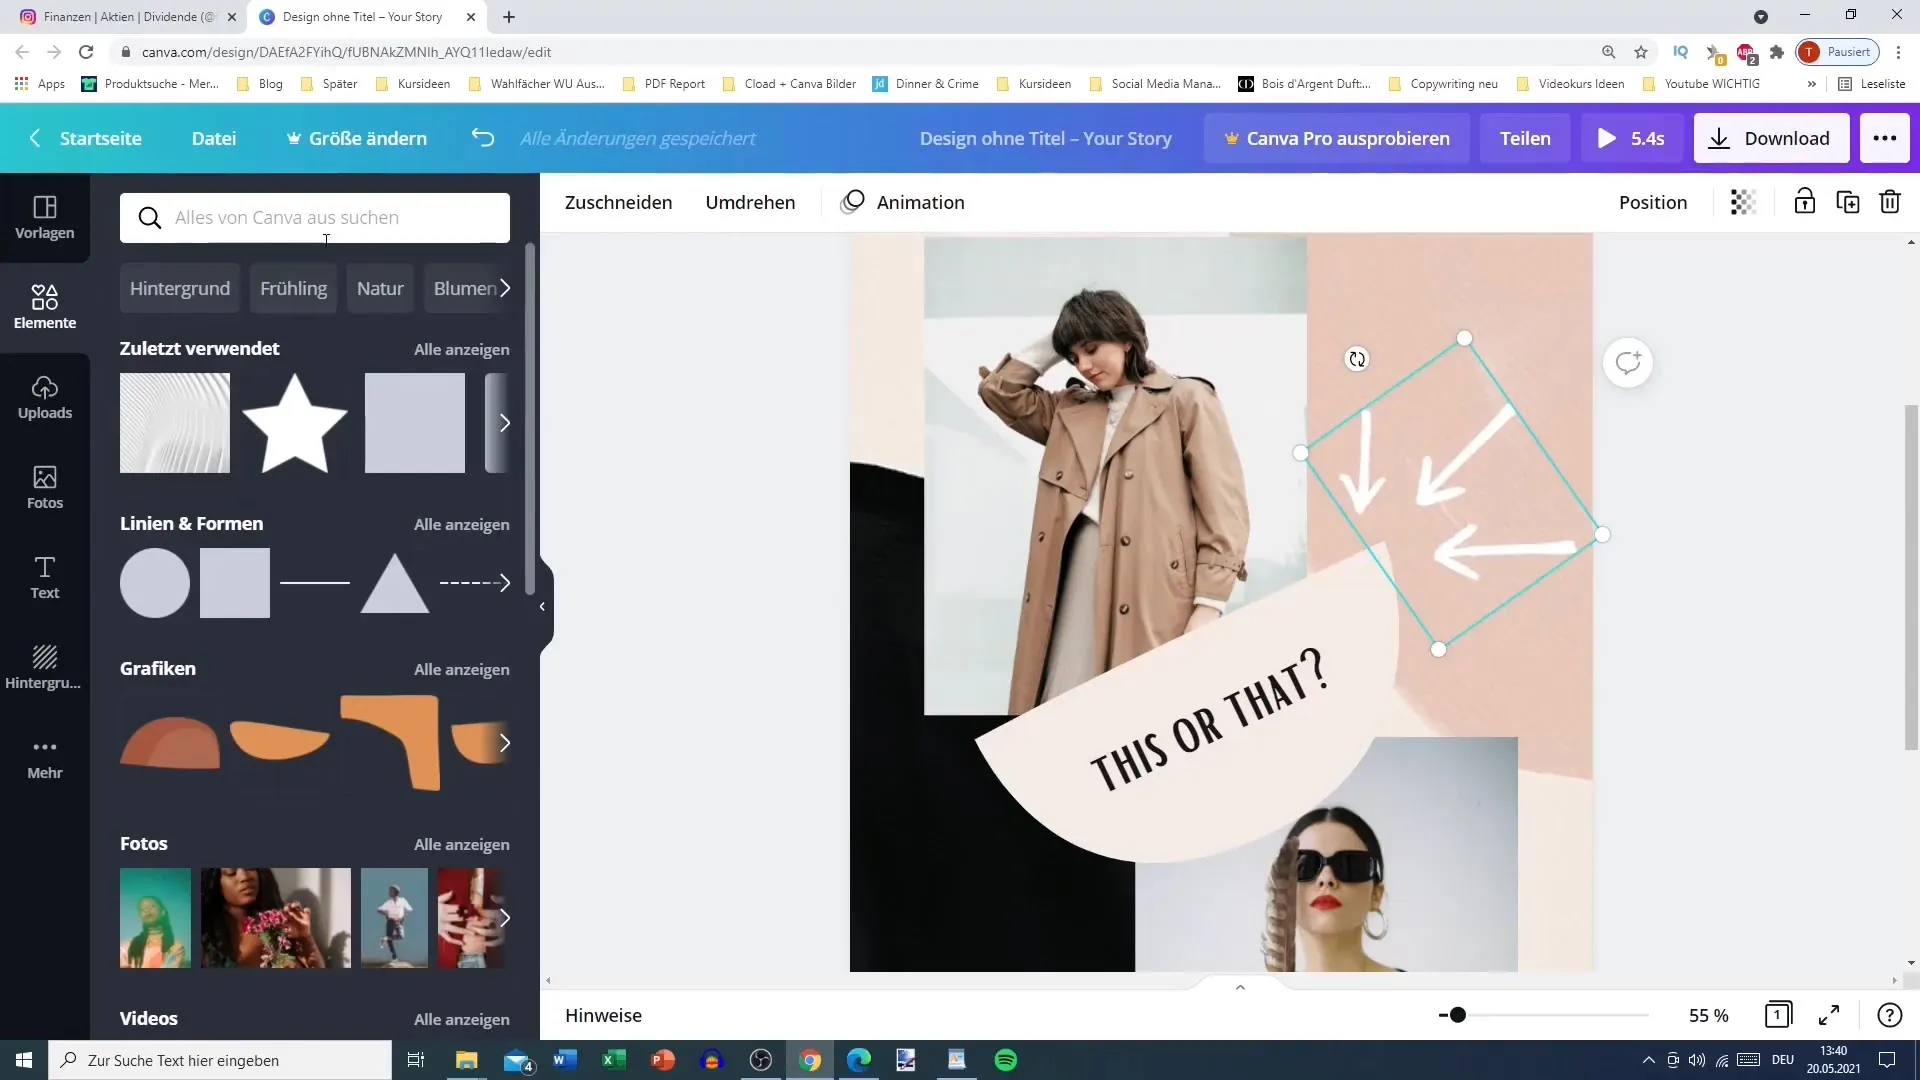
Now it's time to add animated graphics. You can choose various design elements such as animated arrows or icons to help viewers better understand the information. Go to the elements section and select an animation that fits your theme.
Step 4: Customize Animations
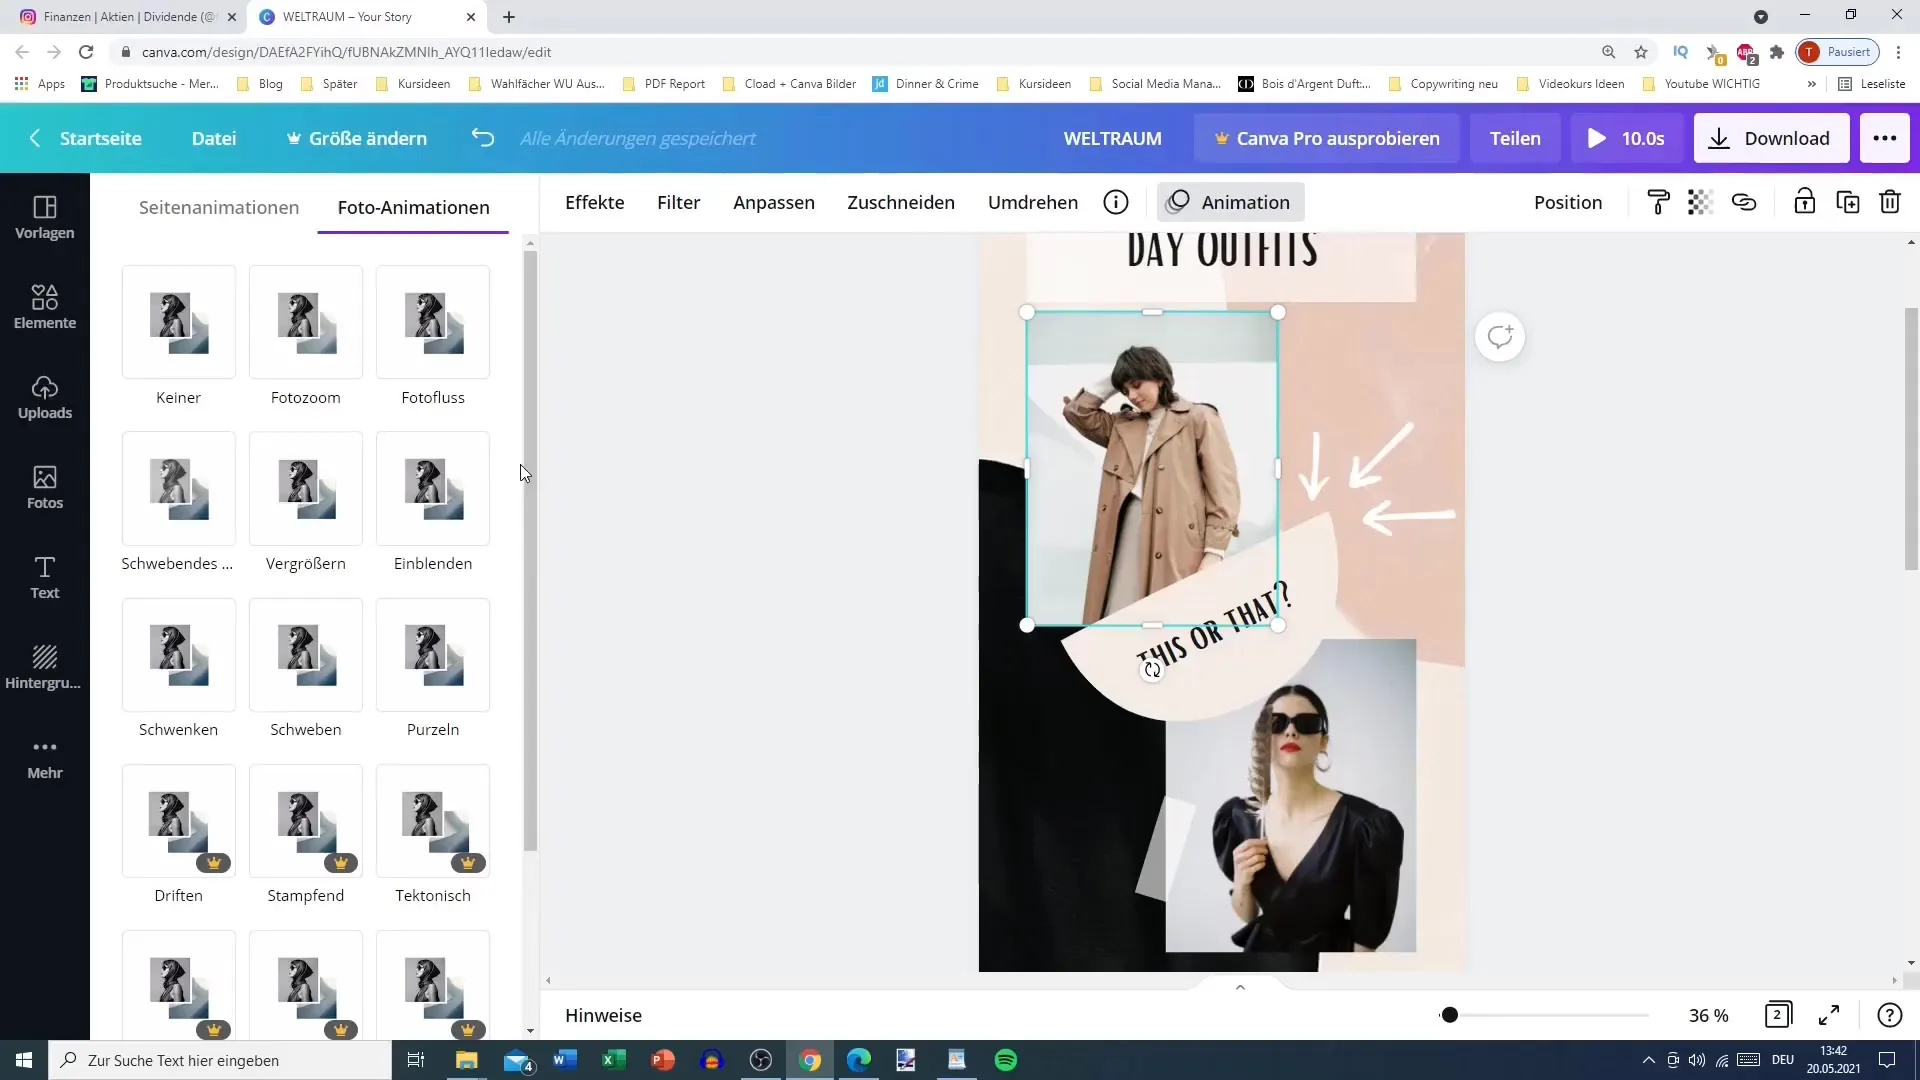
After adding your graphics, you can customize the animations. Play your video to see how the graphics appear. You can change the duration of the animation(s) to achieve the desired effect. For example, if you want the graphics to appear animated in five seconds, adjust the duration accordingly.
Step 5: Choose Background
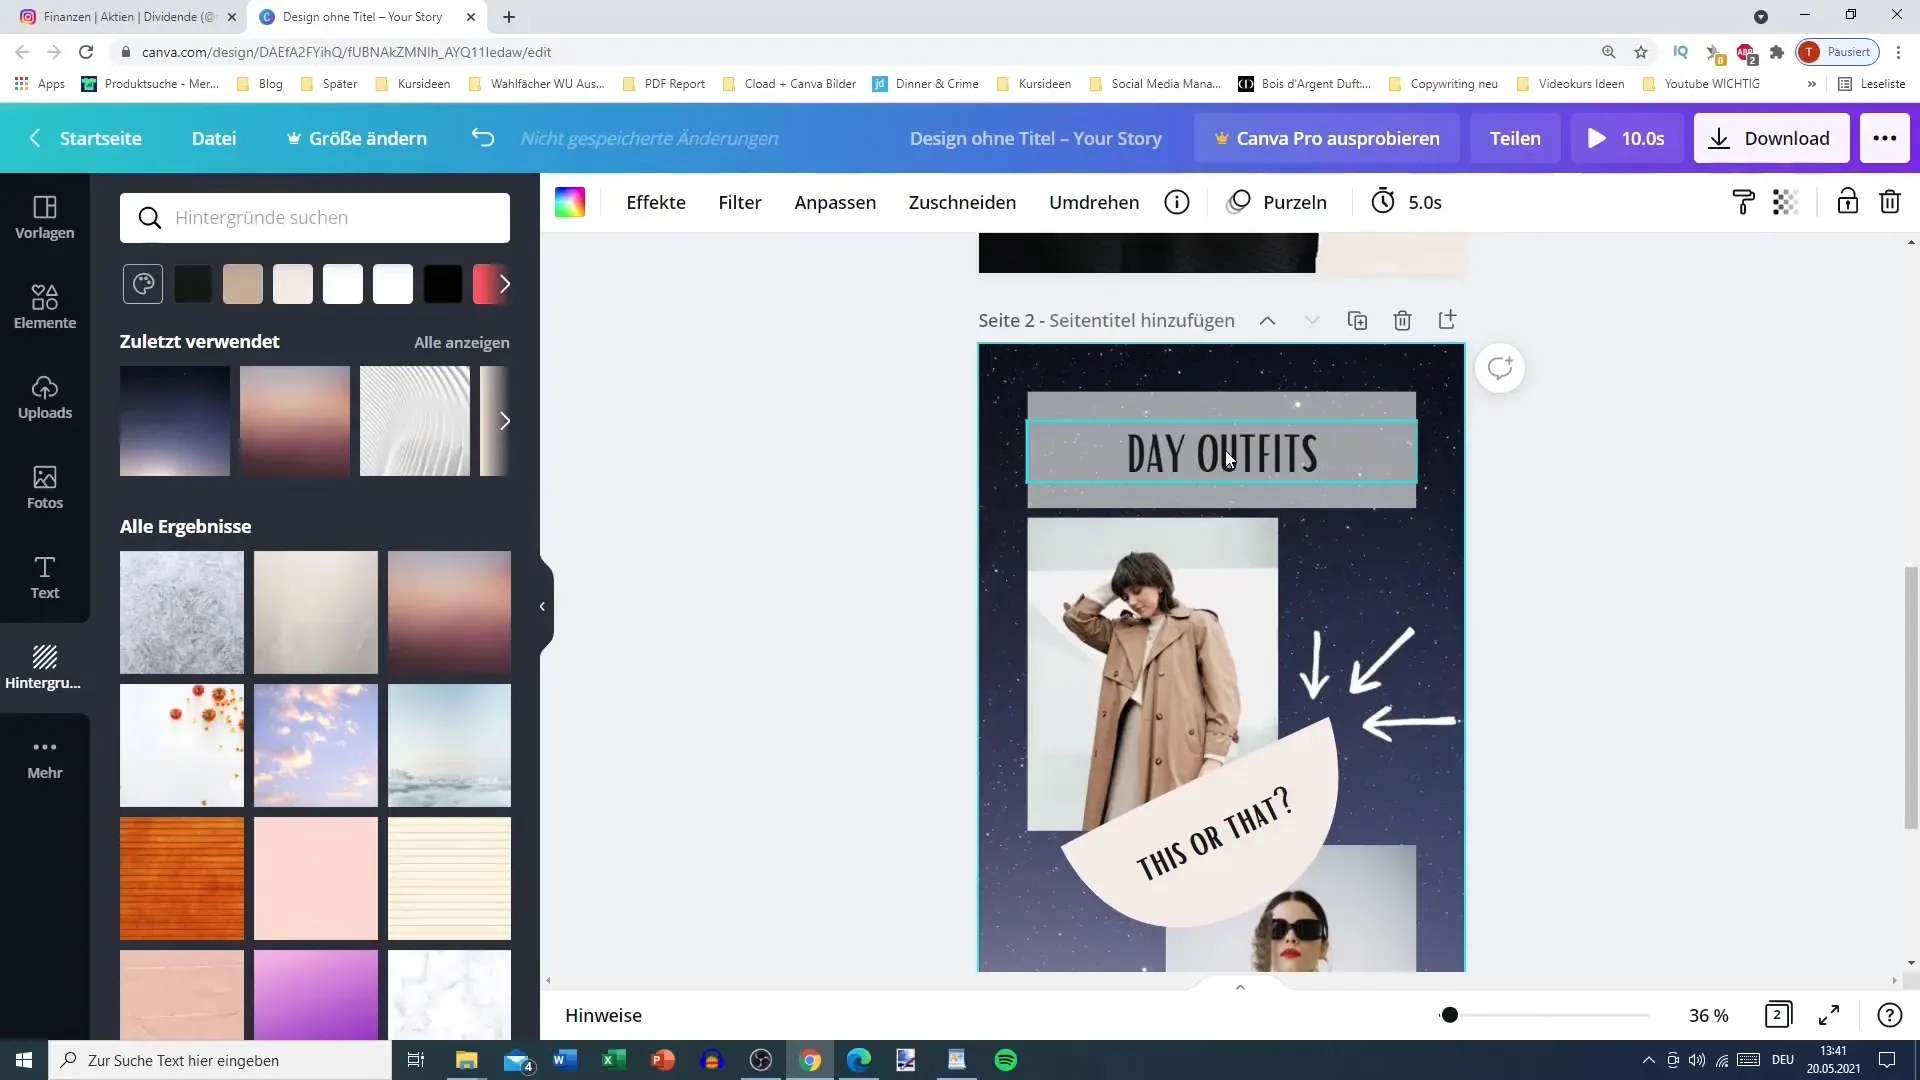
The right background can give your Reel the necessary flair. You can choose a simple or more complex background depending on what you want for your brand. In this tutorial, we'll select a specific one that fits our theme well. Experiment with different colors and styles to find what looks best.
Step 6: Add Second Page
To make your Reel more interesting, add a second page. This gives you the opportunity to present more information. You can create this page animated, so it appears after the first page. Ensure that transitions between pages are smooth to optimize the viewer experience.
Step 7: Adjust Page Animations
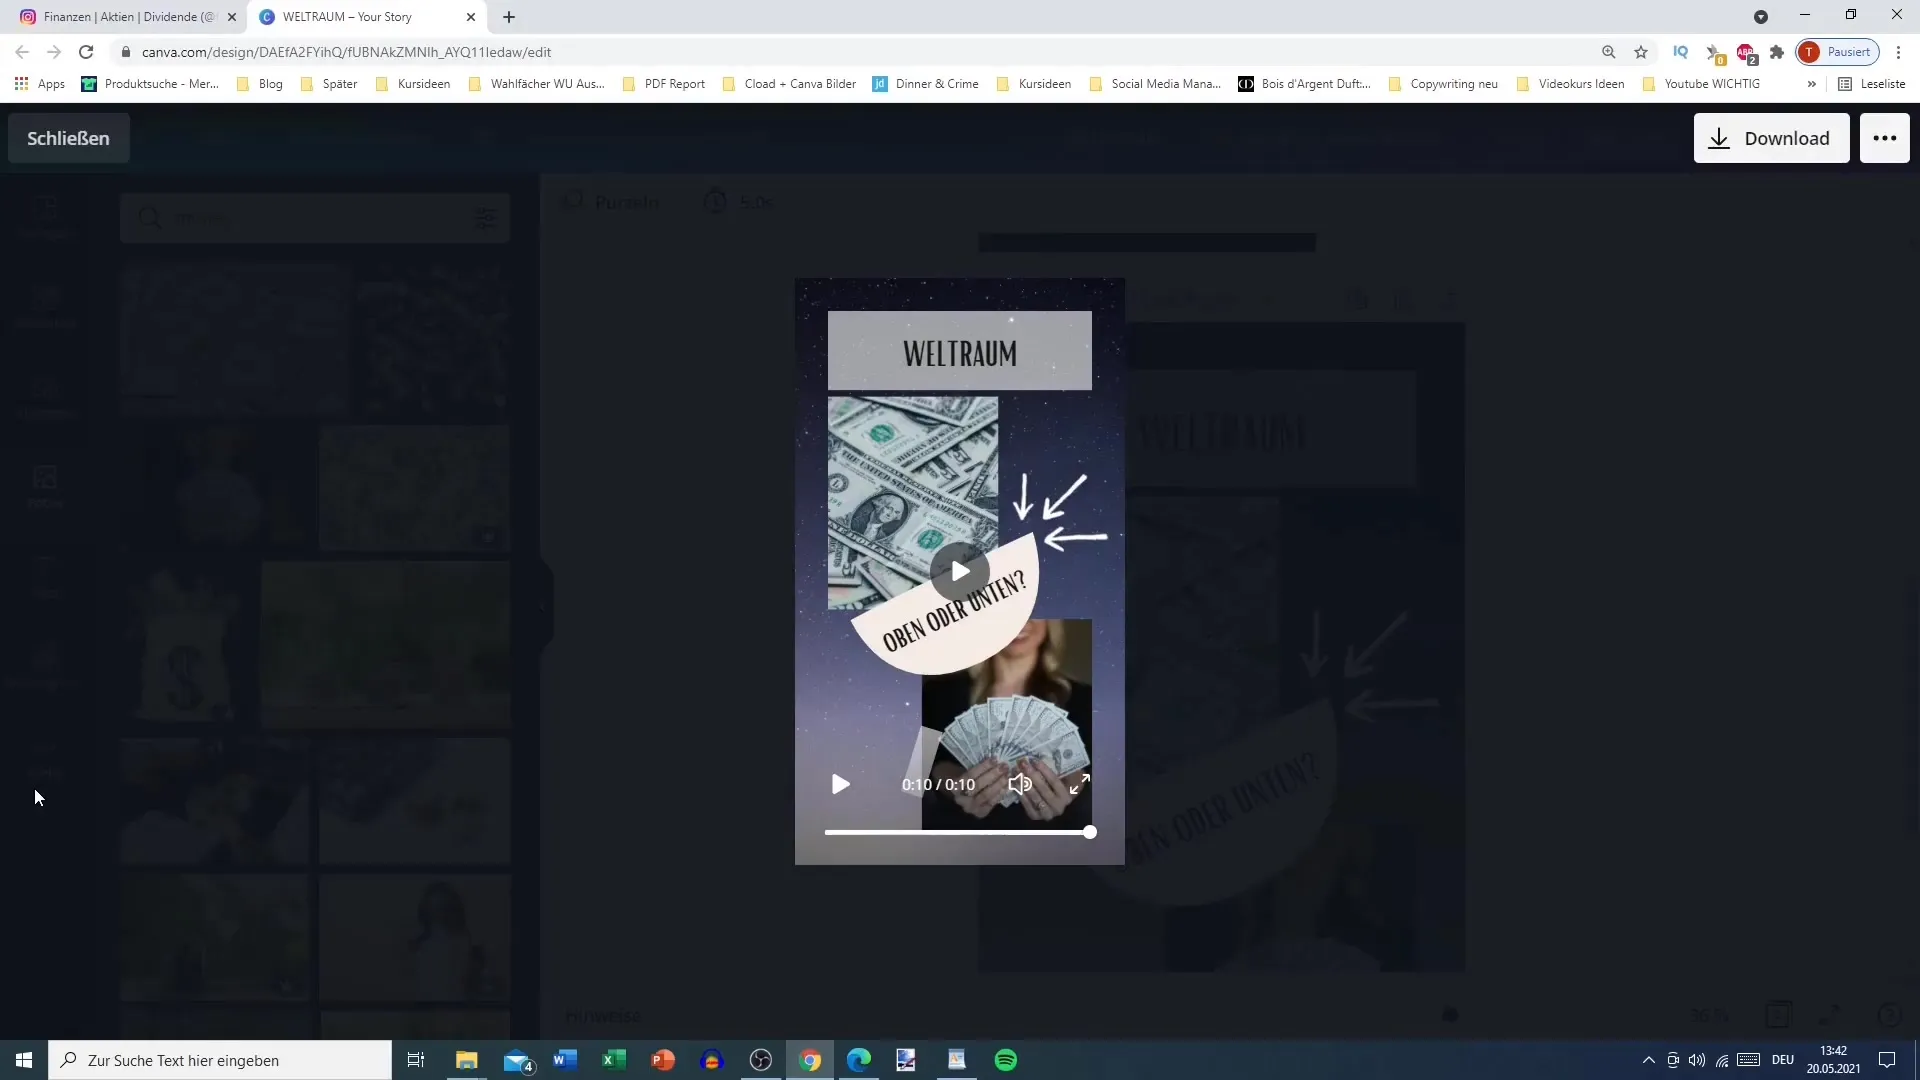
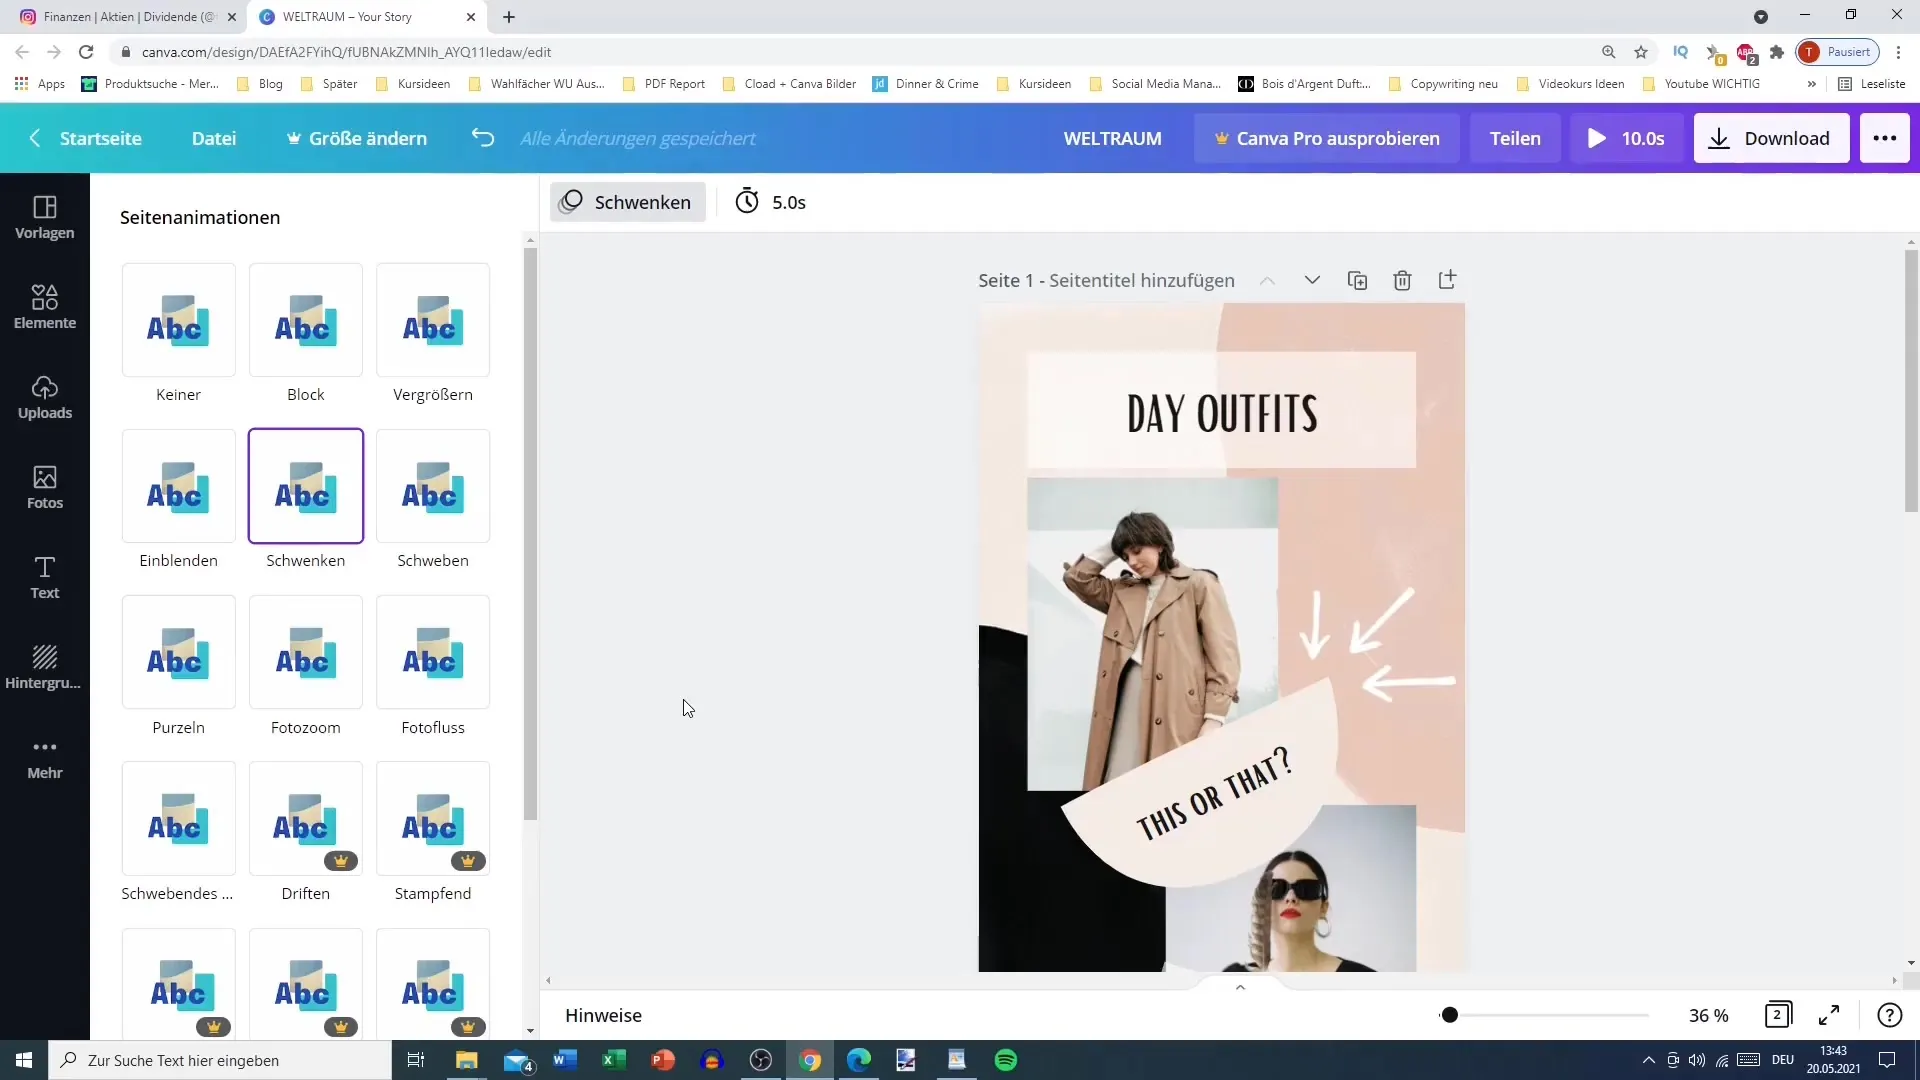
Now it's time to set the animations for the different pages. You can assign different animations to each element or use a uniform animation for all elements. This gives your Reel a cohesive and professional look. Consider whether you want the elements to fly in or pan, for example.
Step 8: Export Video
After adding and adjusting all elements, it's time to export your video. Make sure to select the correct formatting for Instagram. Your Reel must be under 30 seconds long to be uploaded. By staying within this length, you can ensure that your content is presented optimally on Instagram.
Summary
In this tutorial, you have learned how to create an engaging Instagram Reel using video templates and animated graphics. We have gone through the steps from selecting the base video to the final export. Use this information to effectively present your content.
Frequently Asked Questions
How long should an Instagram Reel be at most?An Instagram Reel can be a maximum of 30 seconds long.
Can I use other platforms to create Reels?Yes, you can use the same techniques to create videos for TikTok or Pinterest.
Do I need to pay for the animations?Some video templates or backgrounds are paid. Pay attention to the licensing terms.


