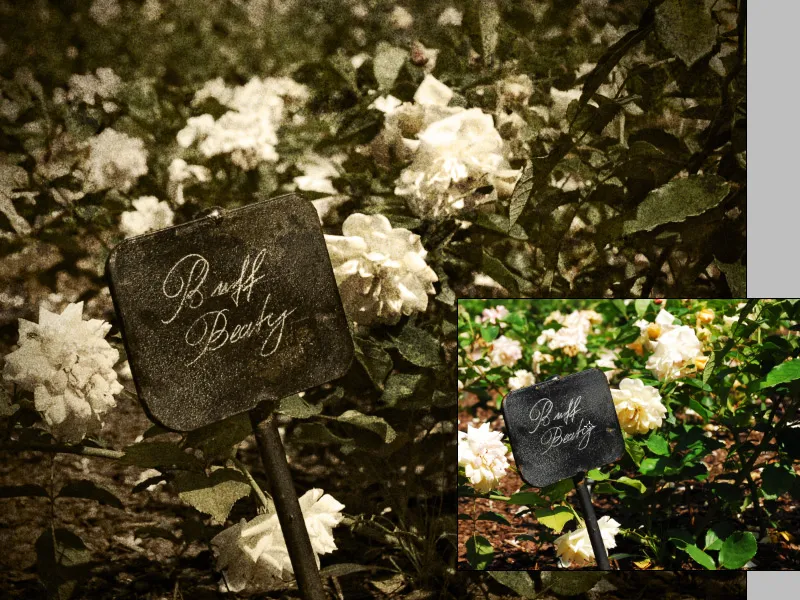
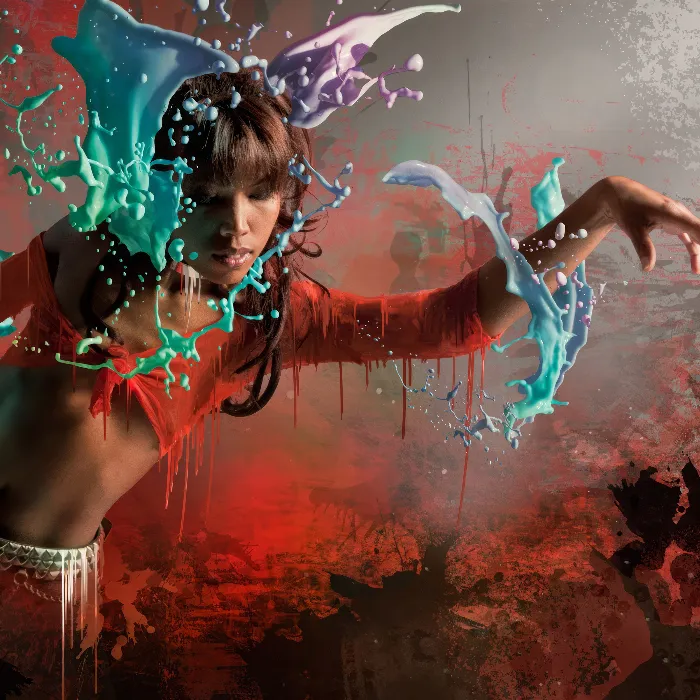
An image aging effect gives your photos a nostalgic and timeless look. With Photoshop, you can realistically age images by skillfully combining textures and blending modes. Whether for vintage designs, retro projects, or creative artwork – this effect is versatile. In this tutorial, I will show you step by step how to use textures, grain, and color adjustments to give your images an authentic aged look. Let's get started and transport your photos back in time!
Preface:
For this tutorial, I am using a self-taken picture. I cropped it with the pen tool so that the castle and the left climbing aid are aligned precisely on the line structure following the Golden Ratio. While cropping, I also aligned the image horizontally. The image is attached to this tutorial as working material.
The image has a width of 1200 pixels.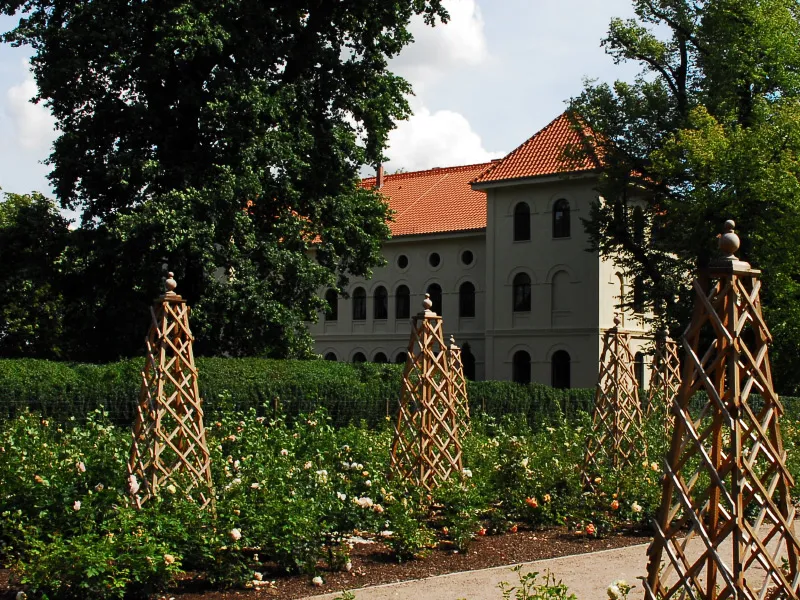
Step 1: Soften the image slightly
The photo was taken with a Nikon D200, which produces very sharp images. To achieve an old and weathered look for the image, I first need to soften it slightly. Since the ancient shots naturally cannot compete with the sharpness of today's images.
First, I convert my layer into a Smart Object. I then select the Filter>Blur>Gaussian Blur from the menu. The blurring value should be 0.2 to 0.3 pixels Radius.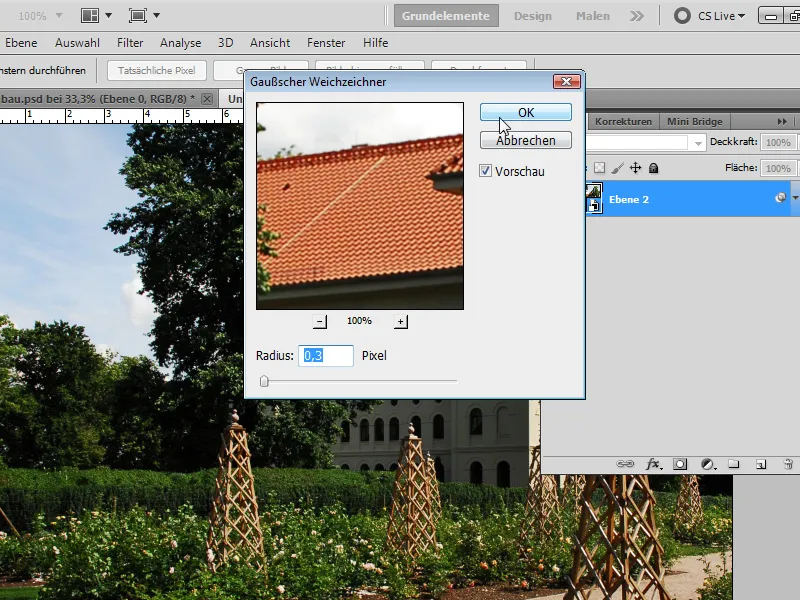
Step 2: Brighten shadow areas
To bring out more details from the shadow areas in the image, I perform an exposure correction. I open the Smart Filter Shadows/Highlights via the menu Image>Adjustments and set the following values under Shadows:
• Amount: 40 percent
• Tone: 12 percent
• Radius: 30 pixels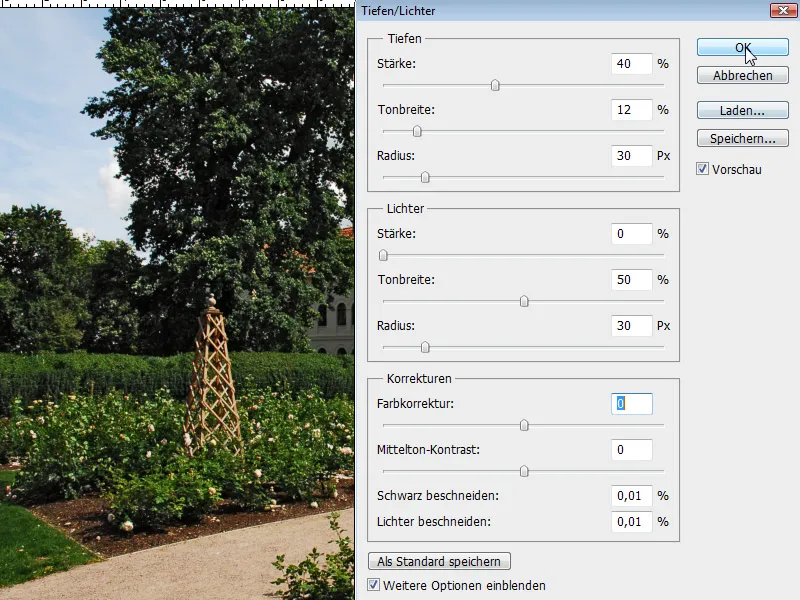
The effect is as follows: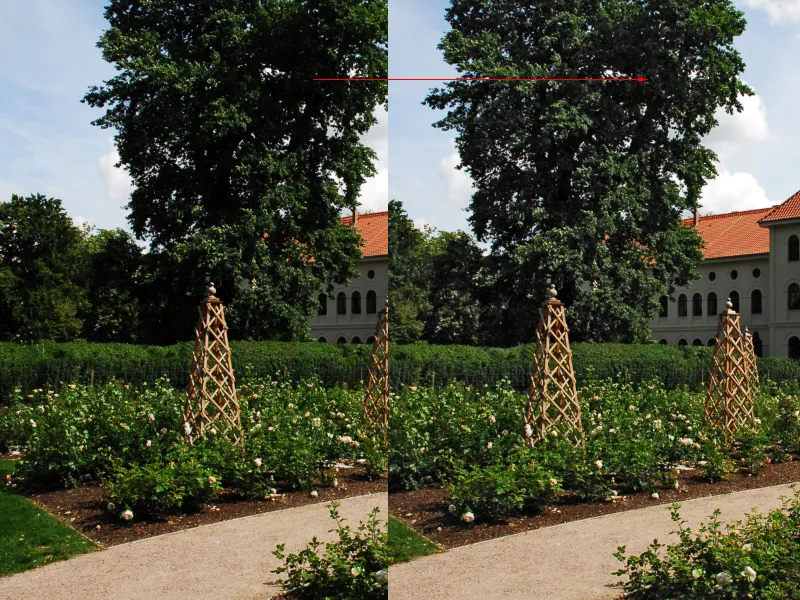
Step 3: Implementing Vignetting
To create a typical vignetting effect for old shots, I apply a Lens Correction as a Smart Filter. I adjust the Strength slider to -70. The Midpoint value remains at 50.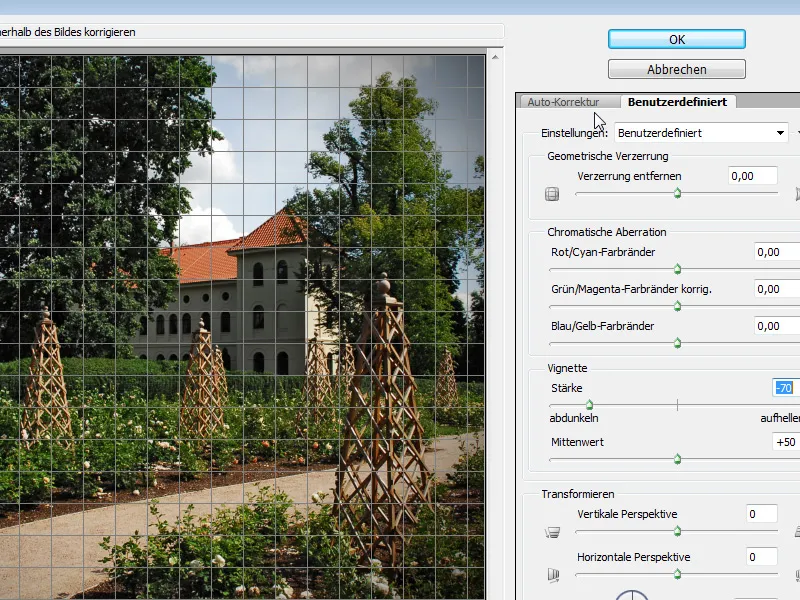
Now I have a pleasant vignette effect in the image.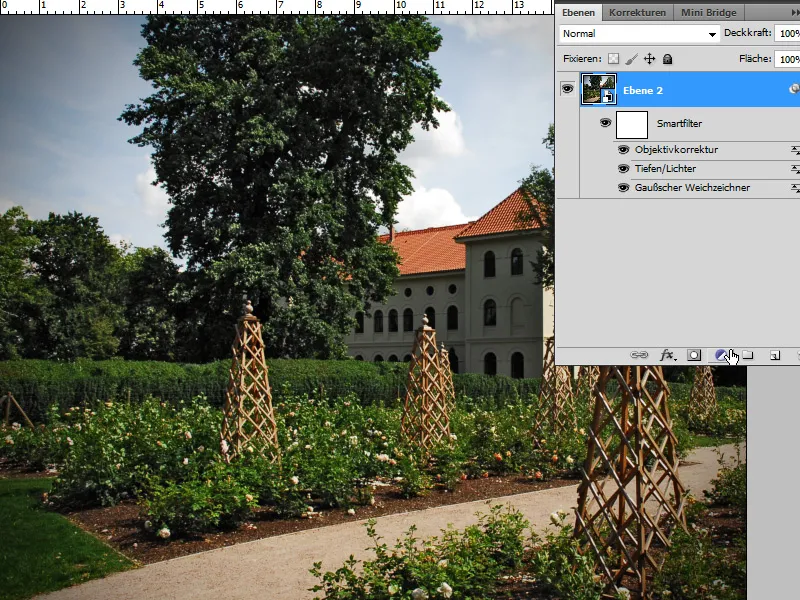
Step 4: Generating Sepia Tone
I create a Black & White adjustment layer as a Clipping Mask to the image layer and activate the checkbox to colorize the image. A color tone similar to sepia is already preset.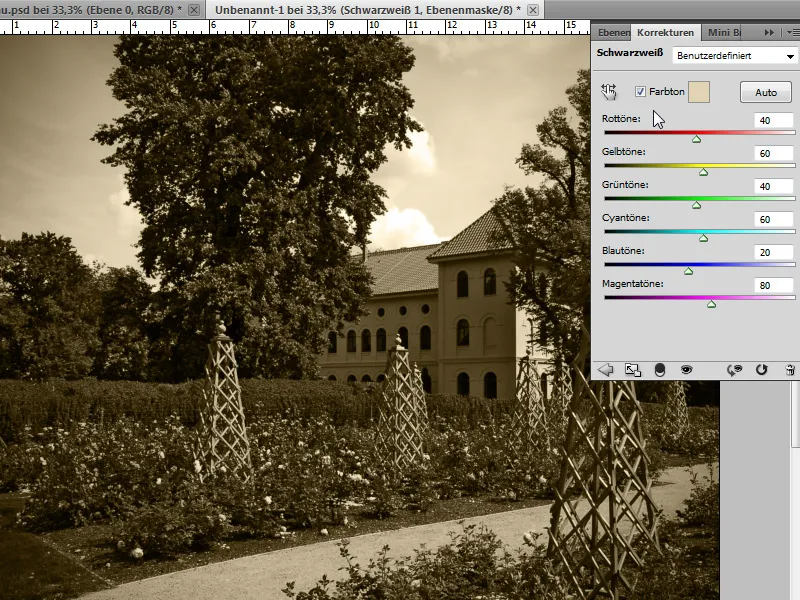
I further reduce the Opacity of the adjustment layer to 80 percent, allowing a hint of the red areas on the castle roof and the green of the trees to come through slightly.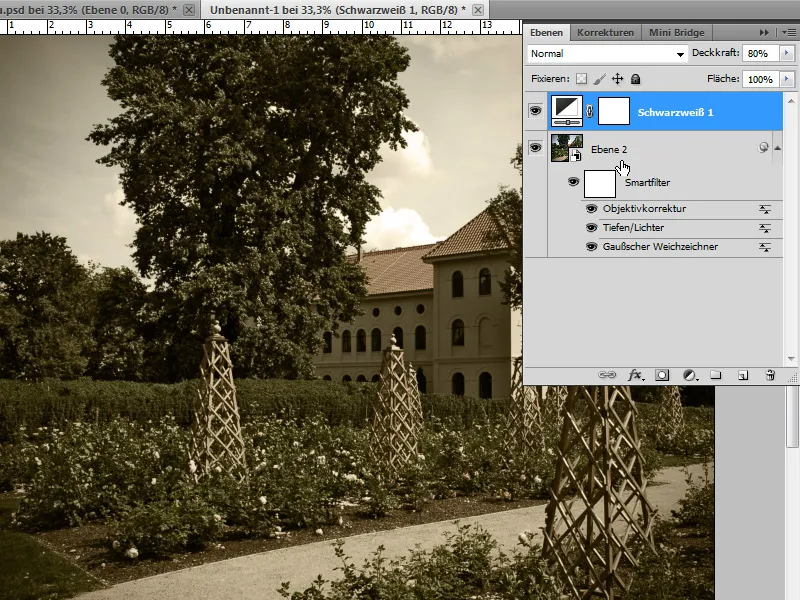
Step 5: Texture Overlay
In the next step, I open a texture containing a stone structure. With its help, I can imitate aged paper.
Using the menu File>Place, I insert my texture into the document.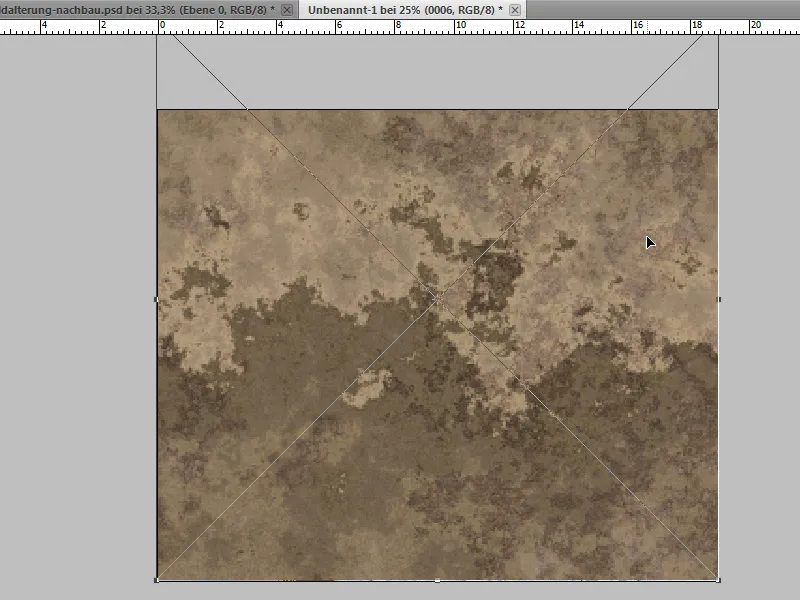
By using the shortcut Shift+Alt+O, I set the blending mode of the texture layer to Overlay. This already shows a nice texture overlay, gradually creating the aging effect.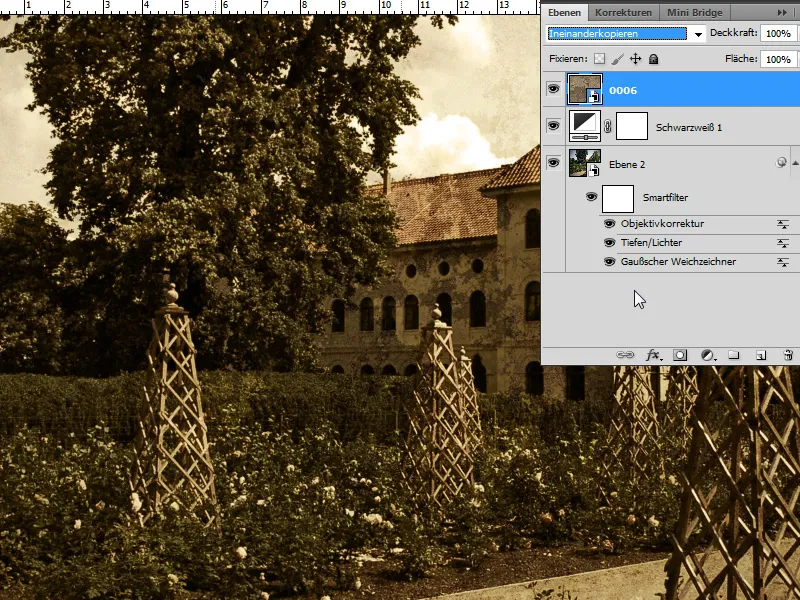
Step 6: Reduce the saturation of the texture layer
Since the Overlay mode not only calculates the structures of the texture layer but also considers saturation levels, I create a Hue/Saturation adjustment layer as a Clipping Mask and drag the Saturation slider to -80.
Now, I only have the texture layer structure in the document, but no longer the color information. This restores the sepia tone of the image from before. The texture also adds a bit of drama to the image, especially noticeable in the sky.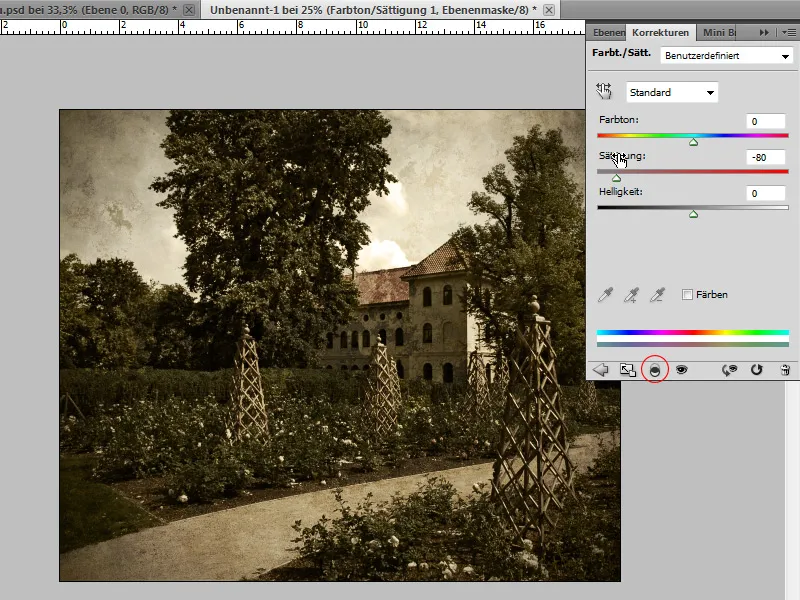
Step 7: Soften the texture
The texture still appears a bit too harsh for an old image. Therefore, I choose the Smart Filter Gaussian Blur with a Radius of 0.2 to 0.4 pixels to slightly soften the texture overlays.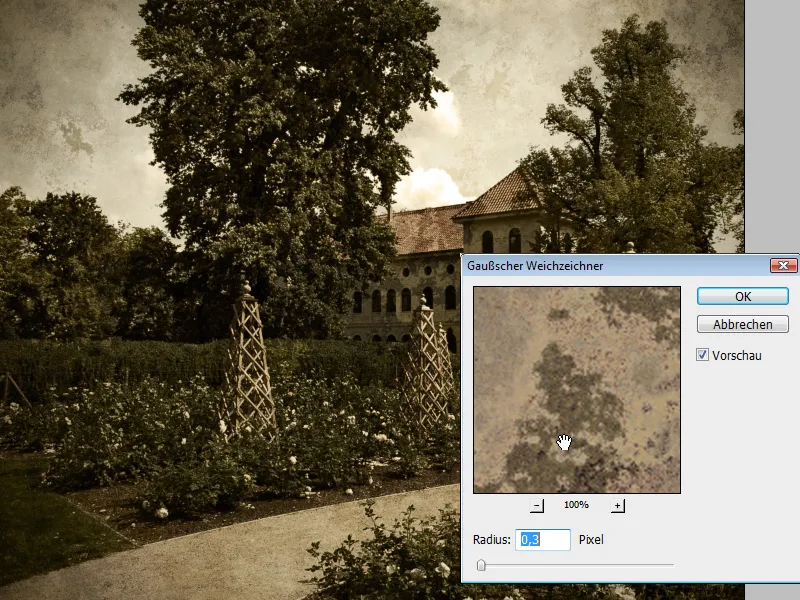
Step 8: Adding Grain
I create a new layer with neutral gray in the Overlay mode. The quickest way to do this is via the shortcut Ctrl+Shift+N. Afterwards, the layer is converted into a Smart Object.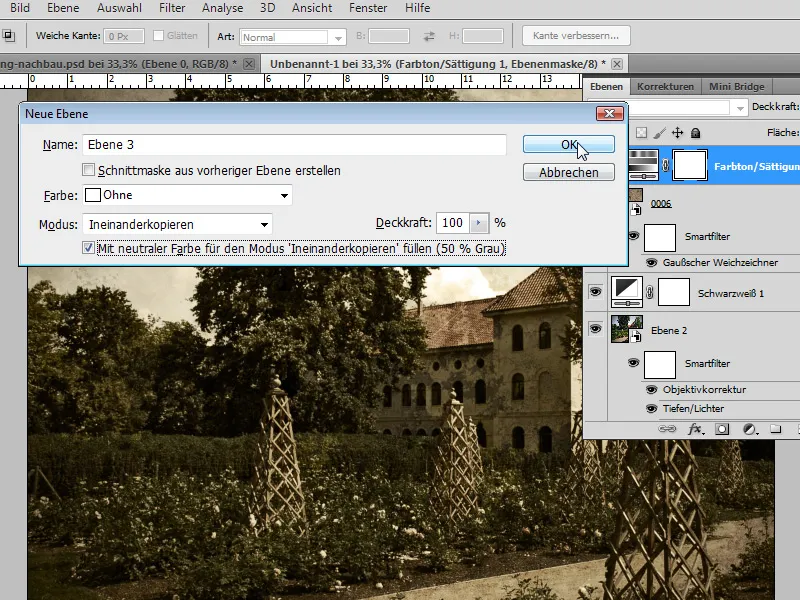
First, I apply the Smart Filter Add Noise.
• Strength: 300 percent
• Gaussian Distribution
• Checkbox for Monochromatic is activated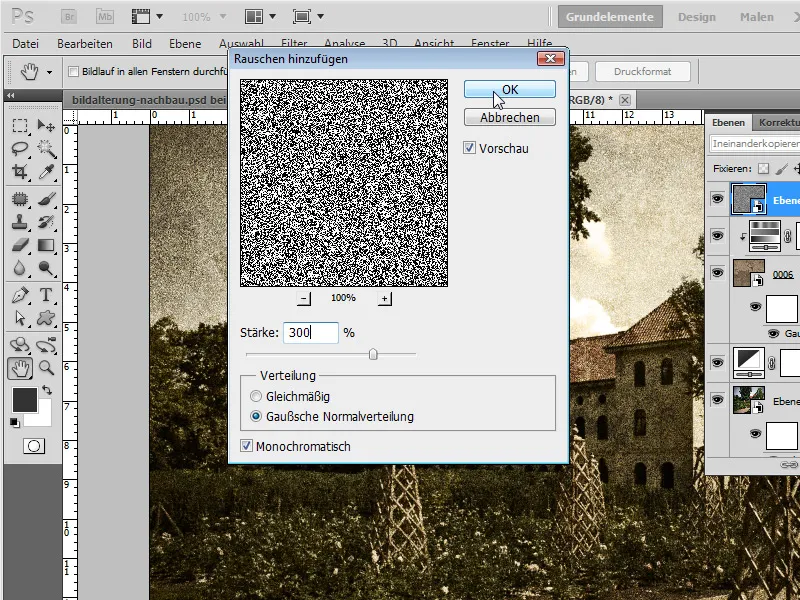
Currently, the noise is quite coarse. However, in the next step, I will apply the Smart Filter Gaussian Blur with a Radius of approximately 0.7 to 1.0 pixels.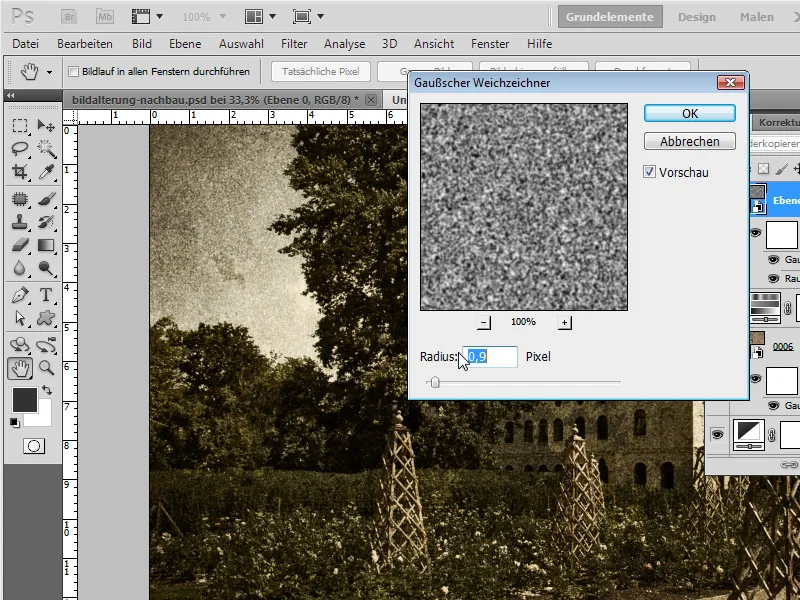
The grain effect is quite coarse, as it should be. Lastly, I simply reduce the Opacity to 60 percent. Thanks to the Smart Filters, I can always adjust the grain effect to be finer or coarser. I simply vary the values in the Smart Filters.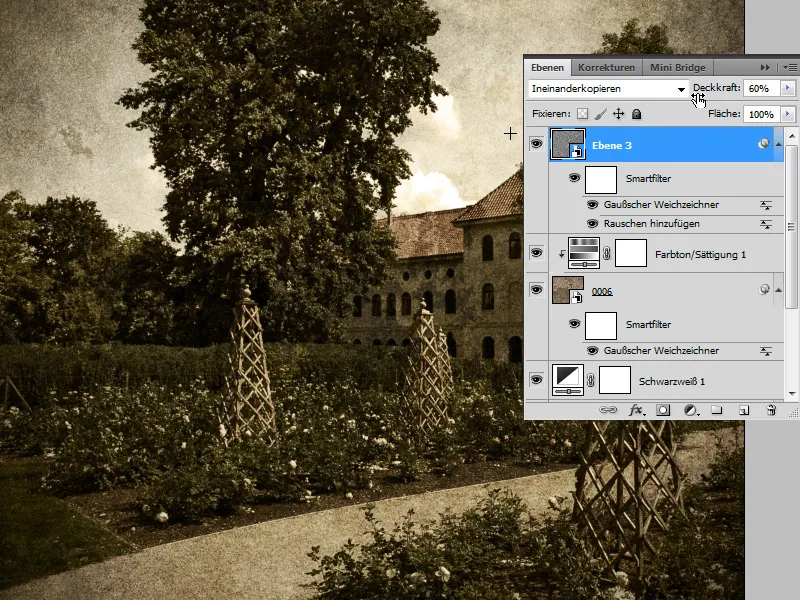
Step 9: Highlighting Details
Essentially, I have finished the aging process of the image. Depending on the image and requirements, I can still highlight individual details with a brush in a grainy look.
I create a new layer using the shortcut Ctrl+Shift+Alt+N and set it to Soft Light mode. In the Brush panel, I add the Watercolor brushes to the existing brushes and select the rough dry brush there.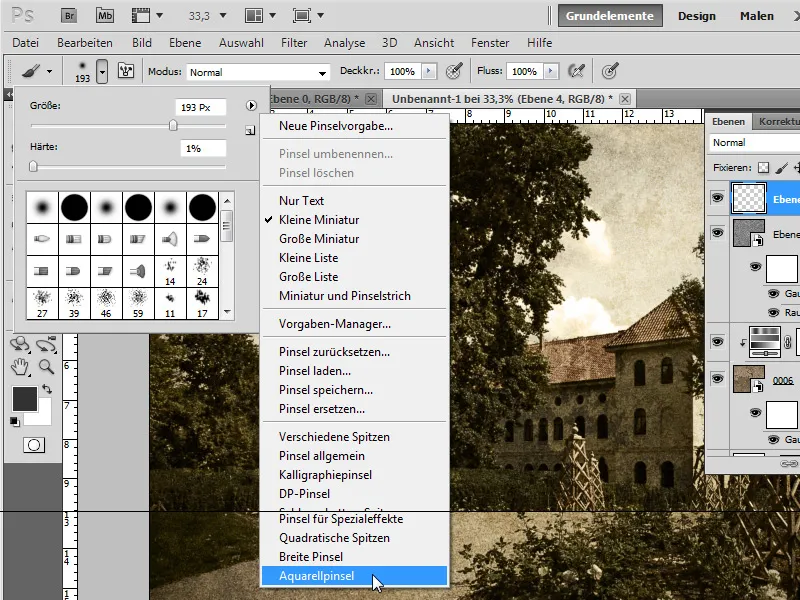
The brush has the following settings:
• Size: 40 px
• Spacing: 36 percent
• Size Jitter: 30 percent
• Angle Jitter: 80 percent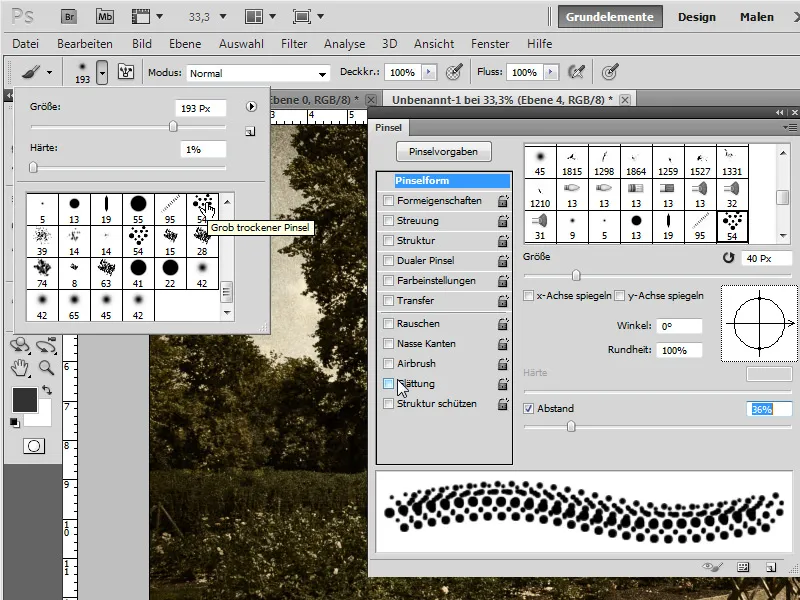
With an Opacity of about 33 percent, I can now selectively add some grain and texture effects to my image. This allows me to make the sky a little more dramatic, enhance the vignette effect, etc.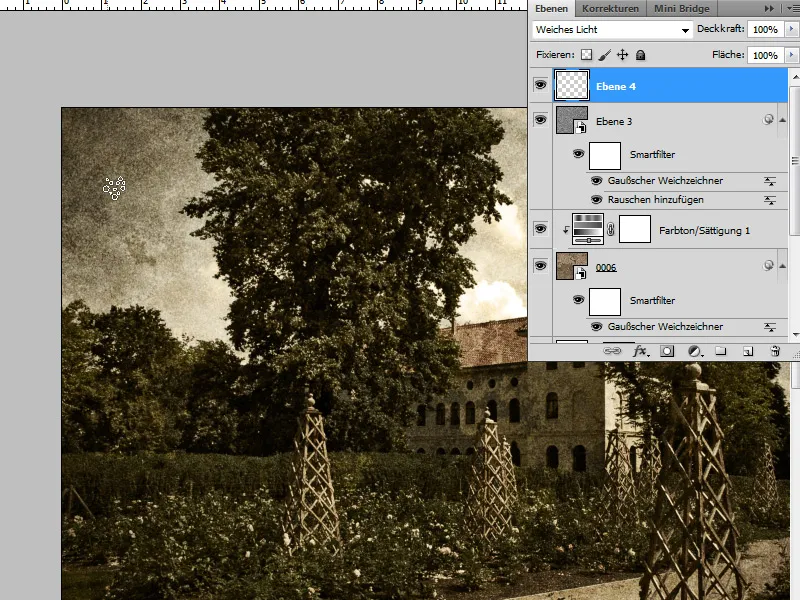
And there's my vintage-style image!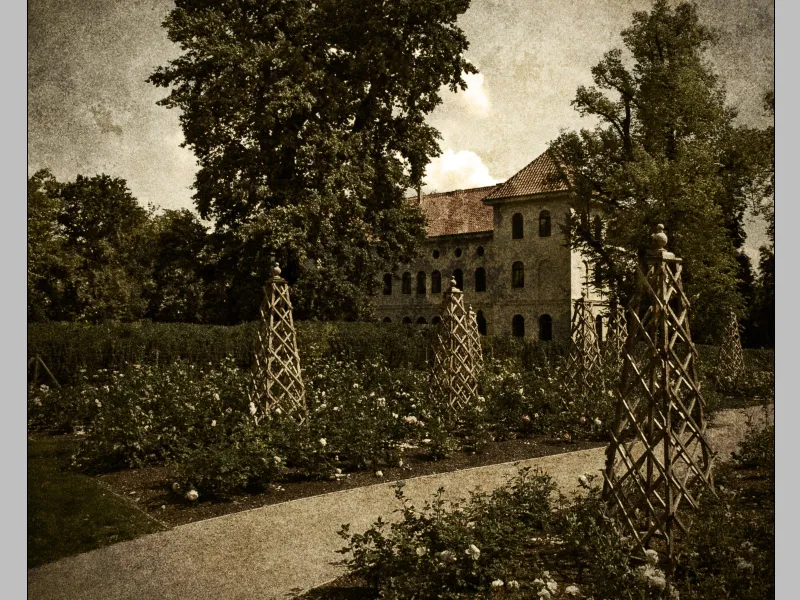
The cool thing about this effect is that the entire editing process was non-destructive. Now, I simply click on the Smart Object thumbnail of my original image.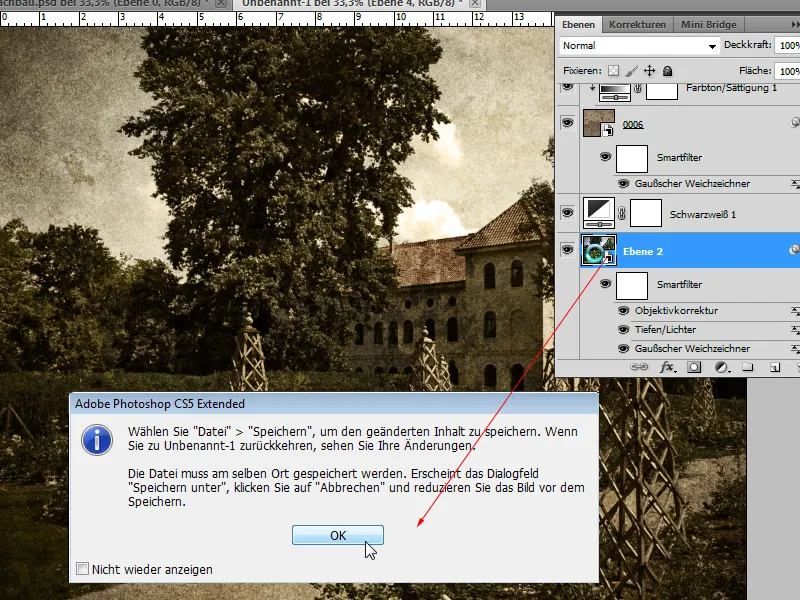
The.PSB file opens, where the original Smart Object sleeps. I will now place another image there.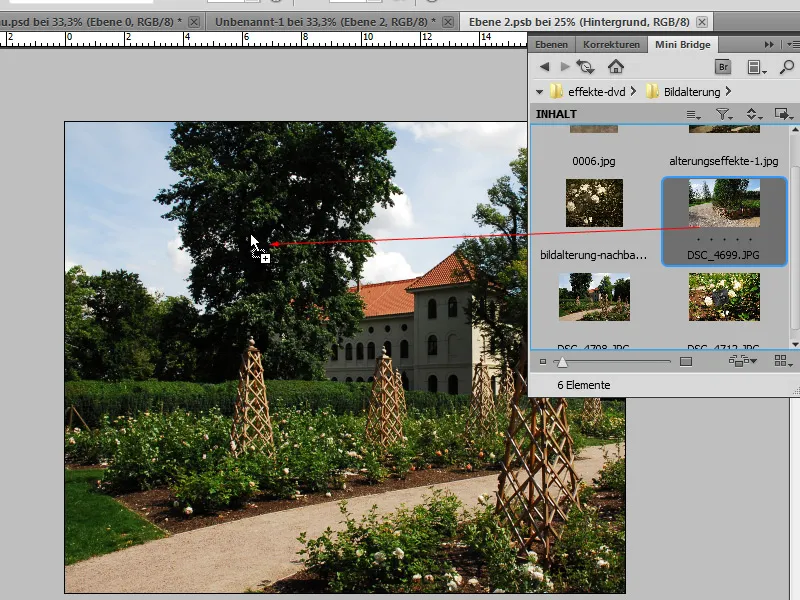
Important: Save! And just like that, I have the same aging effect here as well.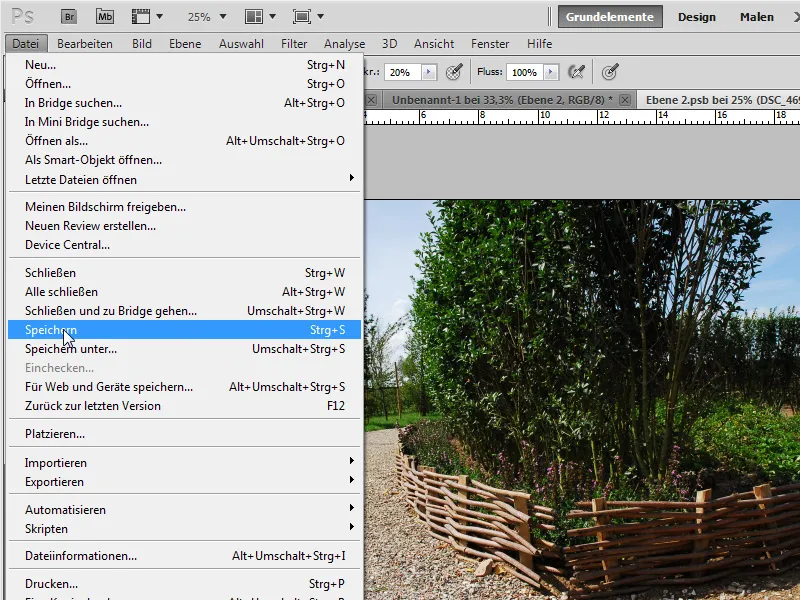
Depending on the image, slight adjustments may be necessary. Here, I simply reduce the Opacity of my Black and White Adjustment Layer and slightly move the texture - and done!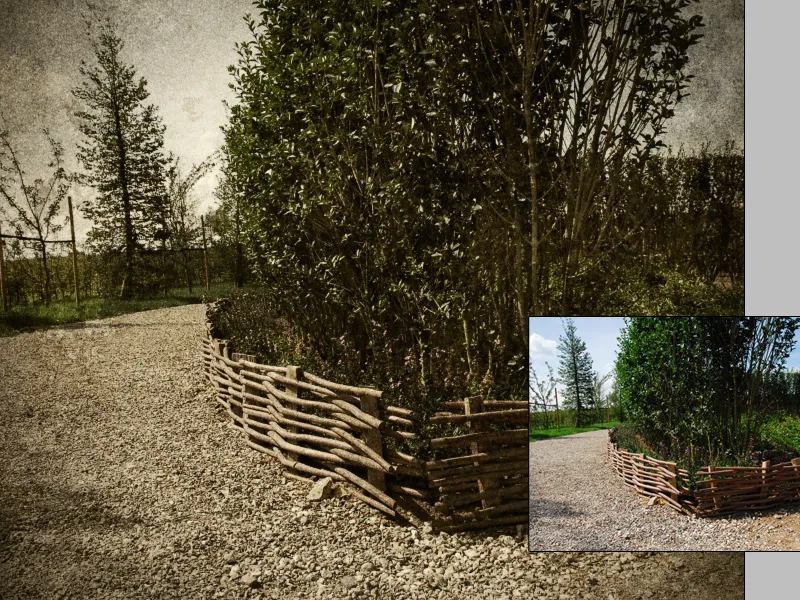
Or a third example: The rose image. Here, I simply enhance the vignette. And done! Have fun aging your photos digitally!