Content Marketing is essential, and Instagram Reels provide an excellent platform to share creative content with your audience. Preplanning these Reels can help you organize your content strategically and ensure you post regularly without having to decide spontaneously what comes next. In this guide, I'll show you how to preplan Instagram Reels to optimize your marketing strategy.
Key Insights
- Currently, you cannot preplan Instagram Reels automatically, but you can only save drafts.
- Preplanning must be done directly through the Instagram app on your phone.
- Be sure to carefully check the publishing options in your feed before sharing your Reel.
Step-by-Step Guide
To successfully preplan Instagram Reels, follow these steps:
1. Install and open the Instagram app
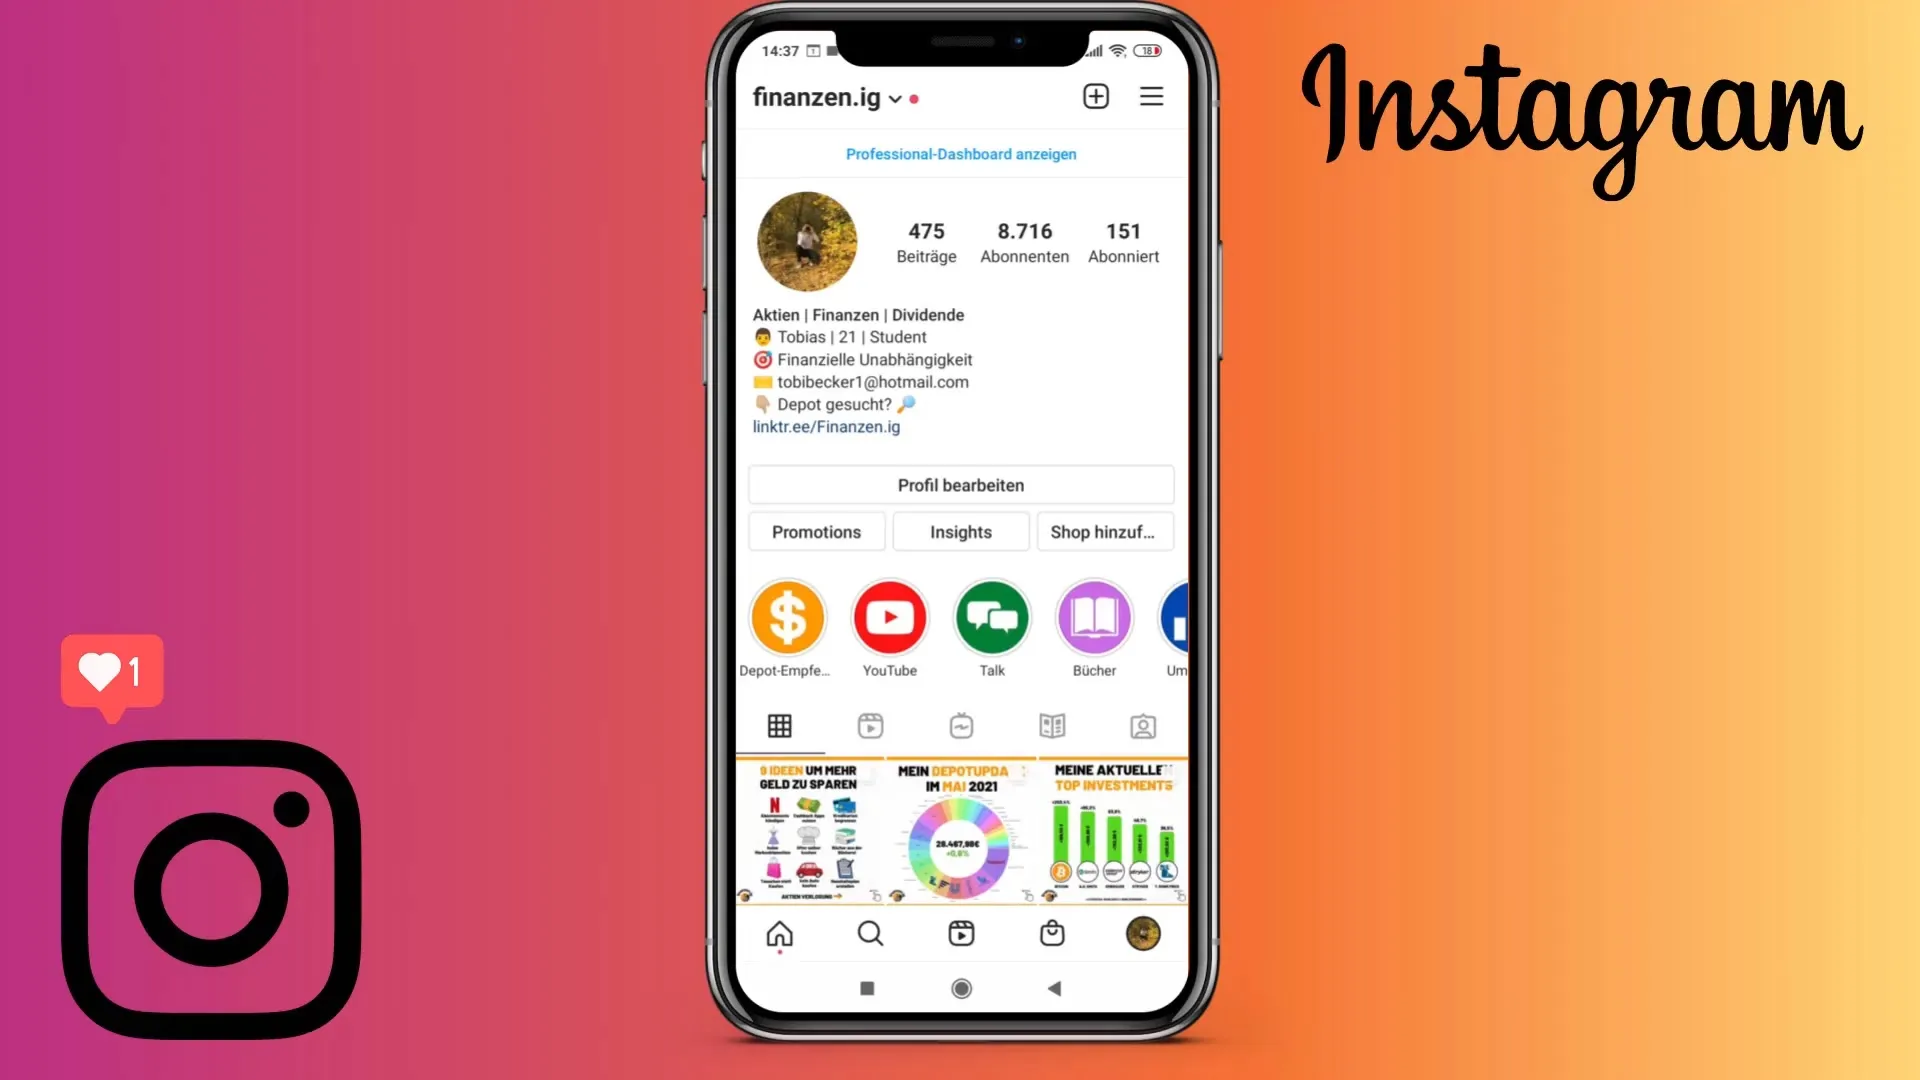
To start preplanning your Reels, make sure you have installed the latest version of the Instagram app. Open the app and log in to your account.
2. Find the Reels section
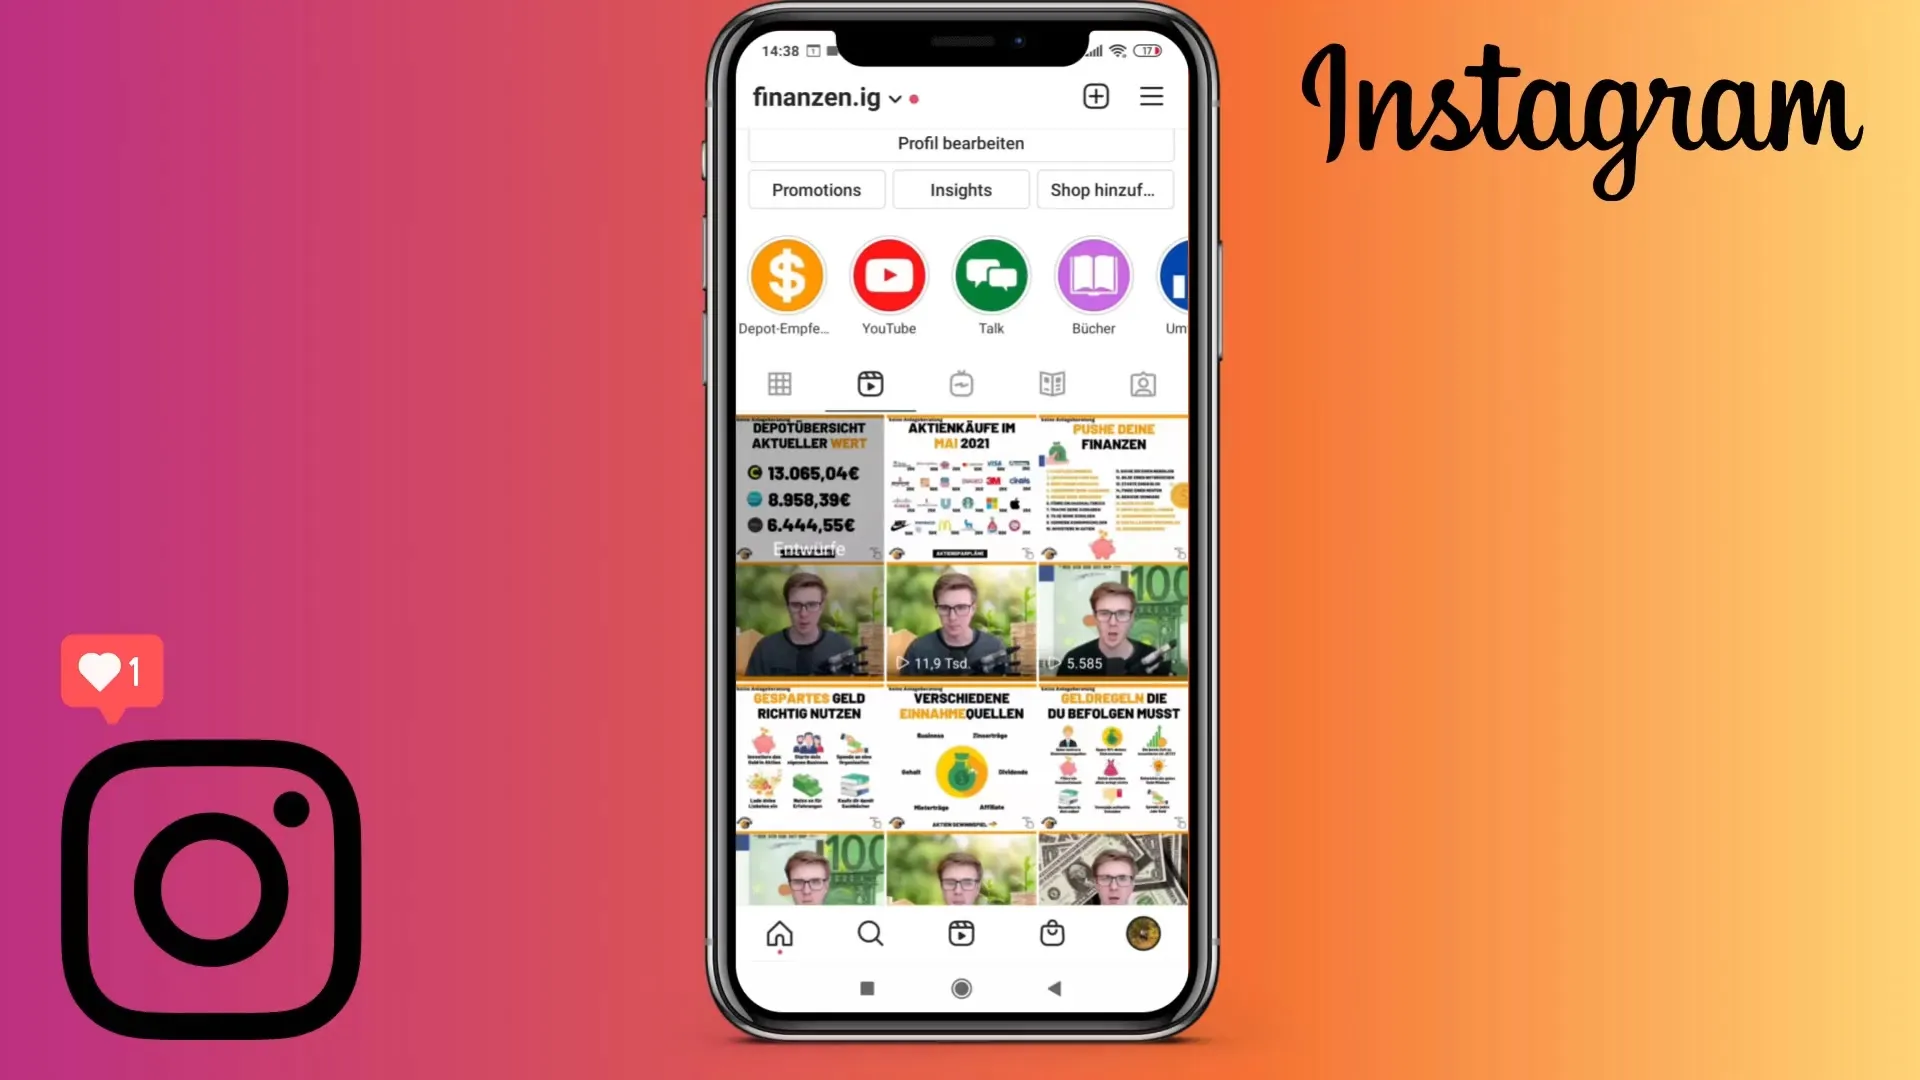
Switch from your feed to the Reels section by clicking on the small video icon on your profile. Here you will find all your previously uploaded Reels as well as the ability to create new Reels.
3. Create a new Reel
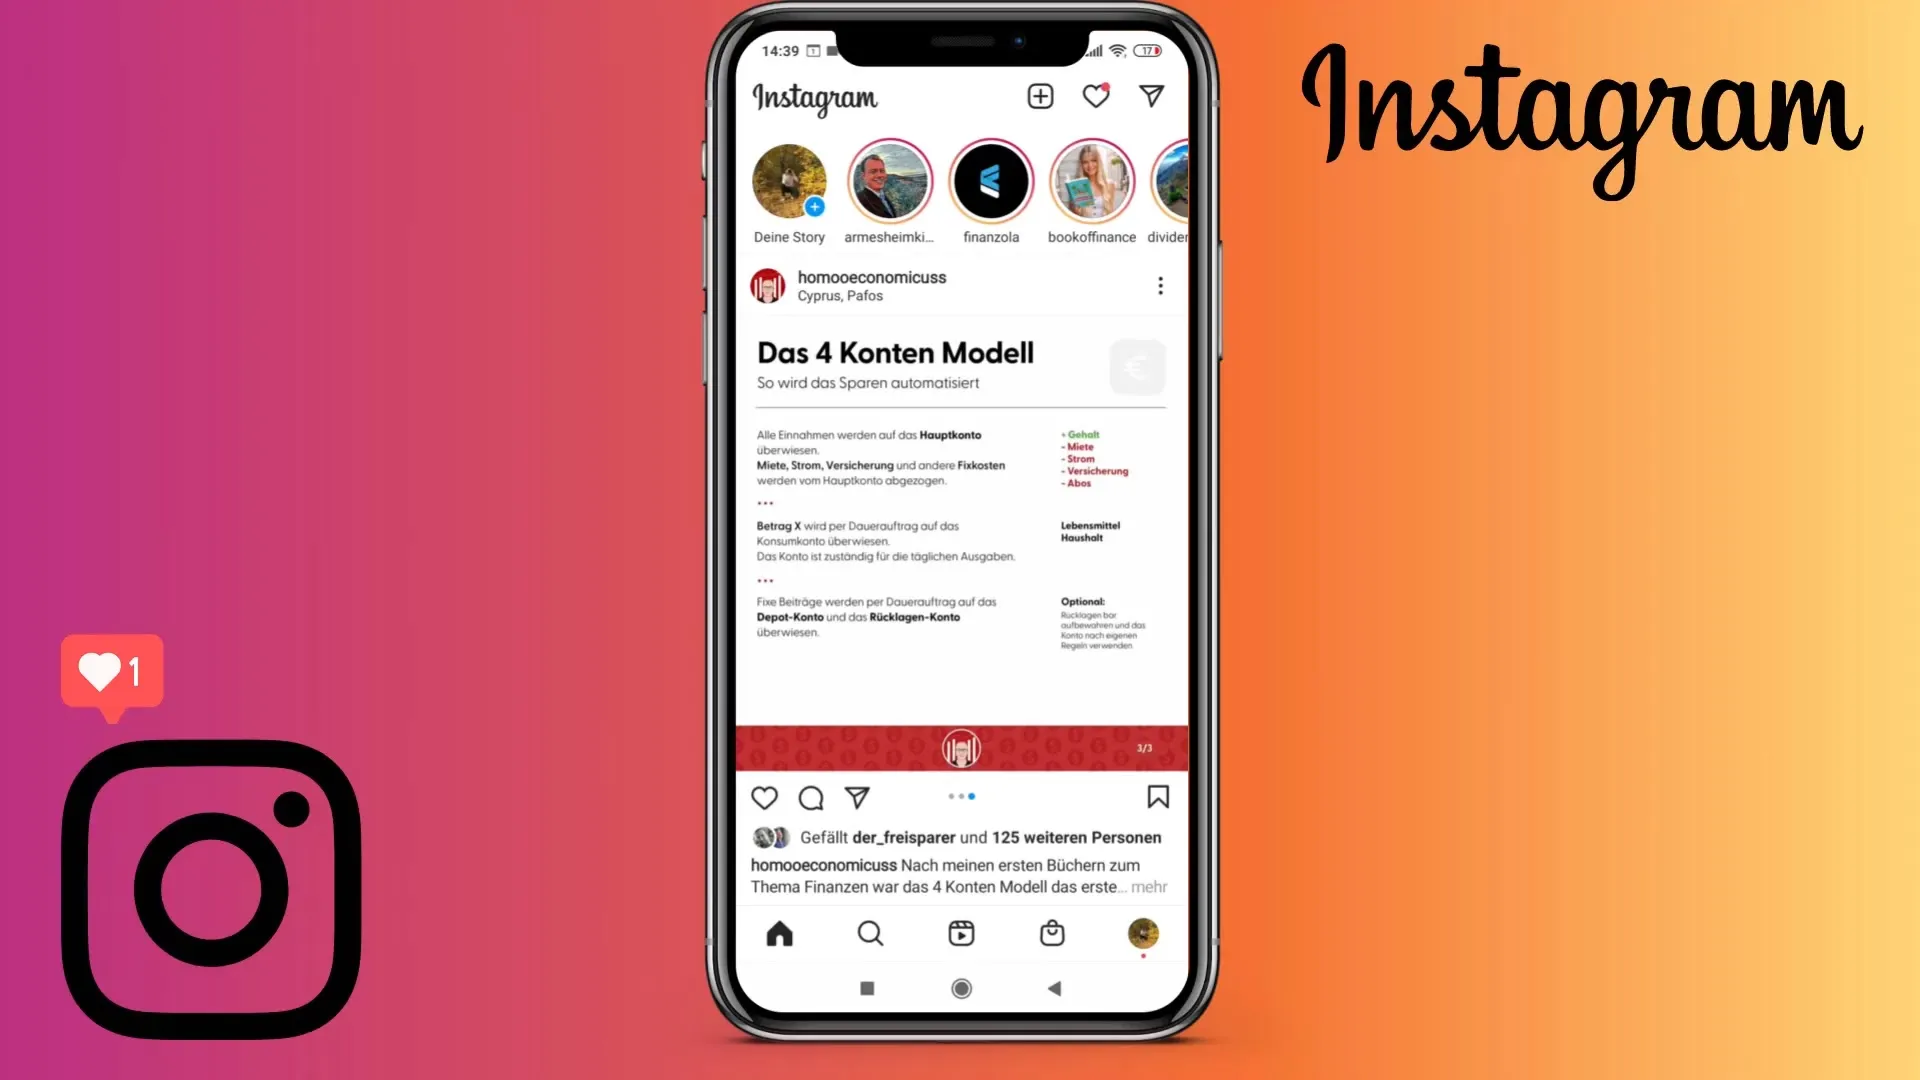
To create a new Reel, click on the plus sign at the top of your screen. Then select the "Reel" option to record a new video or upload a previously saved video.
4. Record your Reel or upload a video
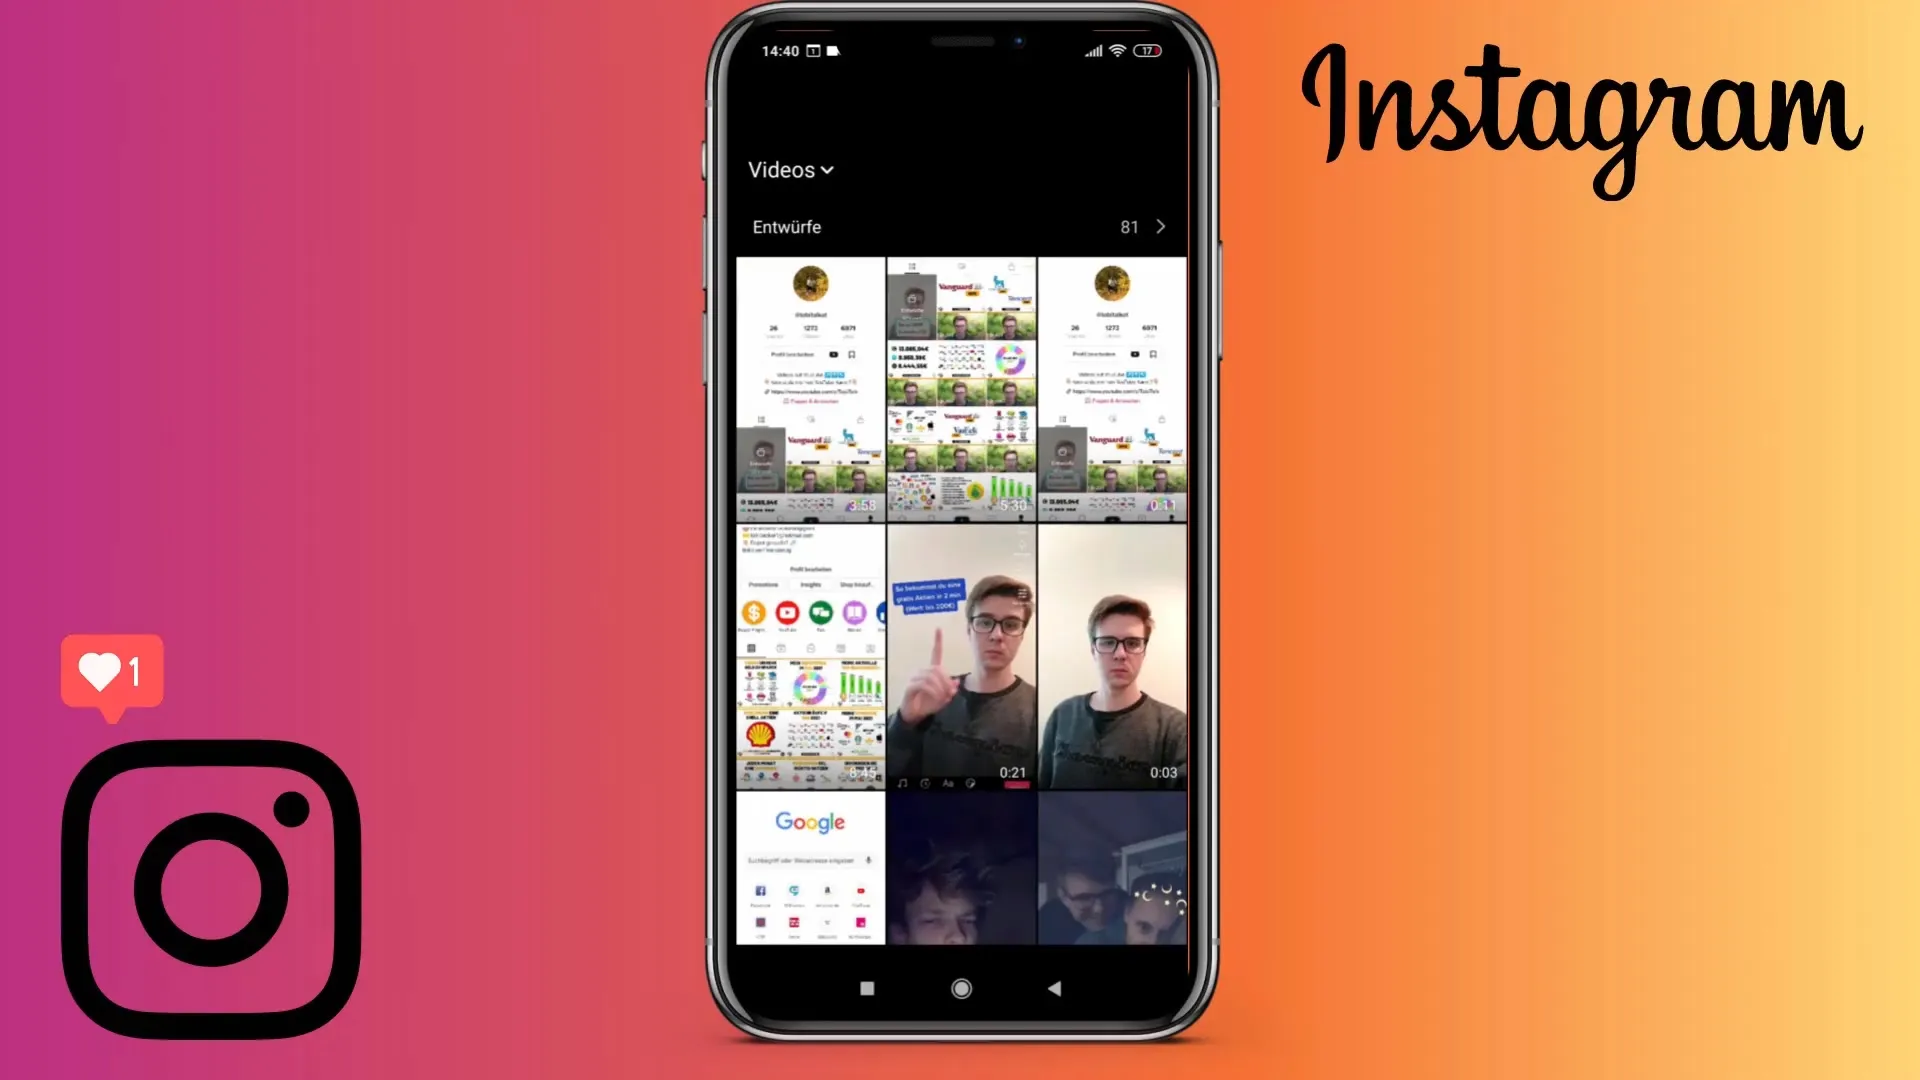
Appreciate the flexibility Instagram offers when creating a Reel. You can either record a new video or choose an already recorded video from your device. If you want to upload a video, simply go to the corresponding option and select the video.
5. Edit the video
Once your video is uploaded, you have the opportunity to edit it. Here you can trim the video and decide which parts you want to keep or remove.
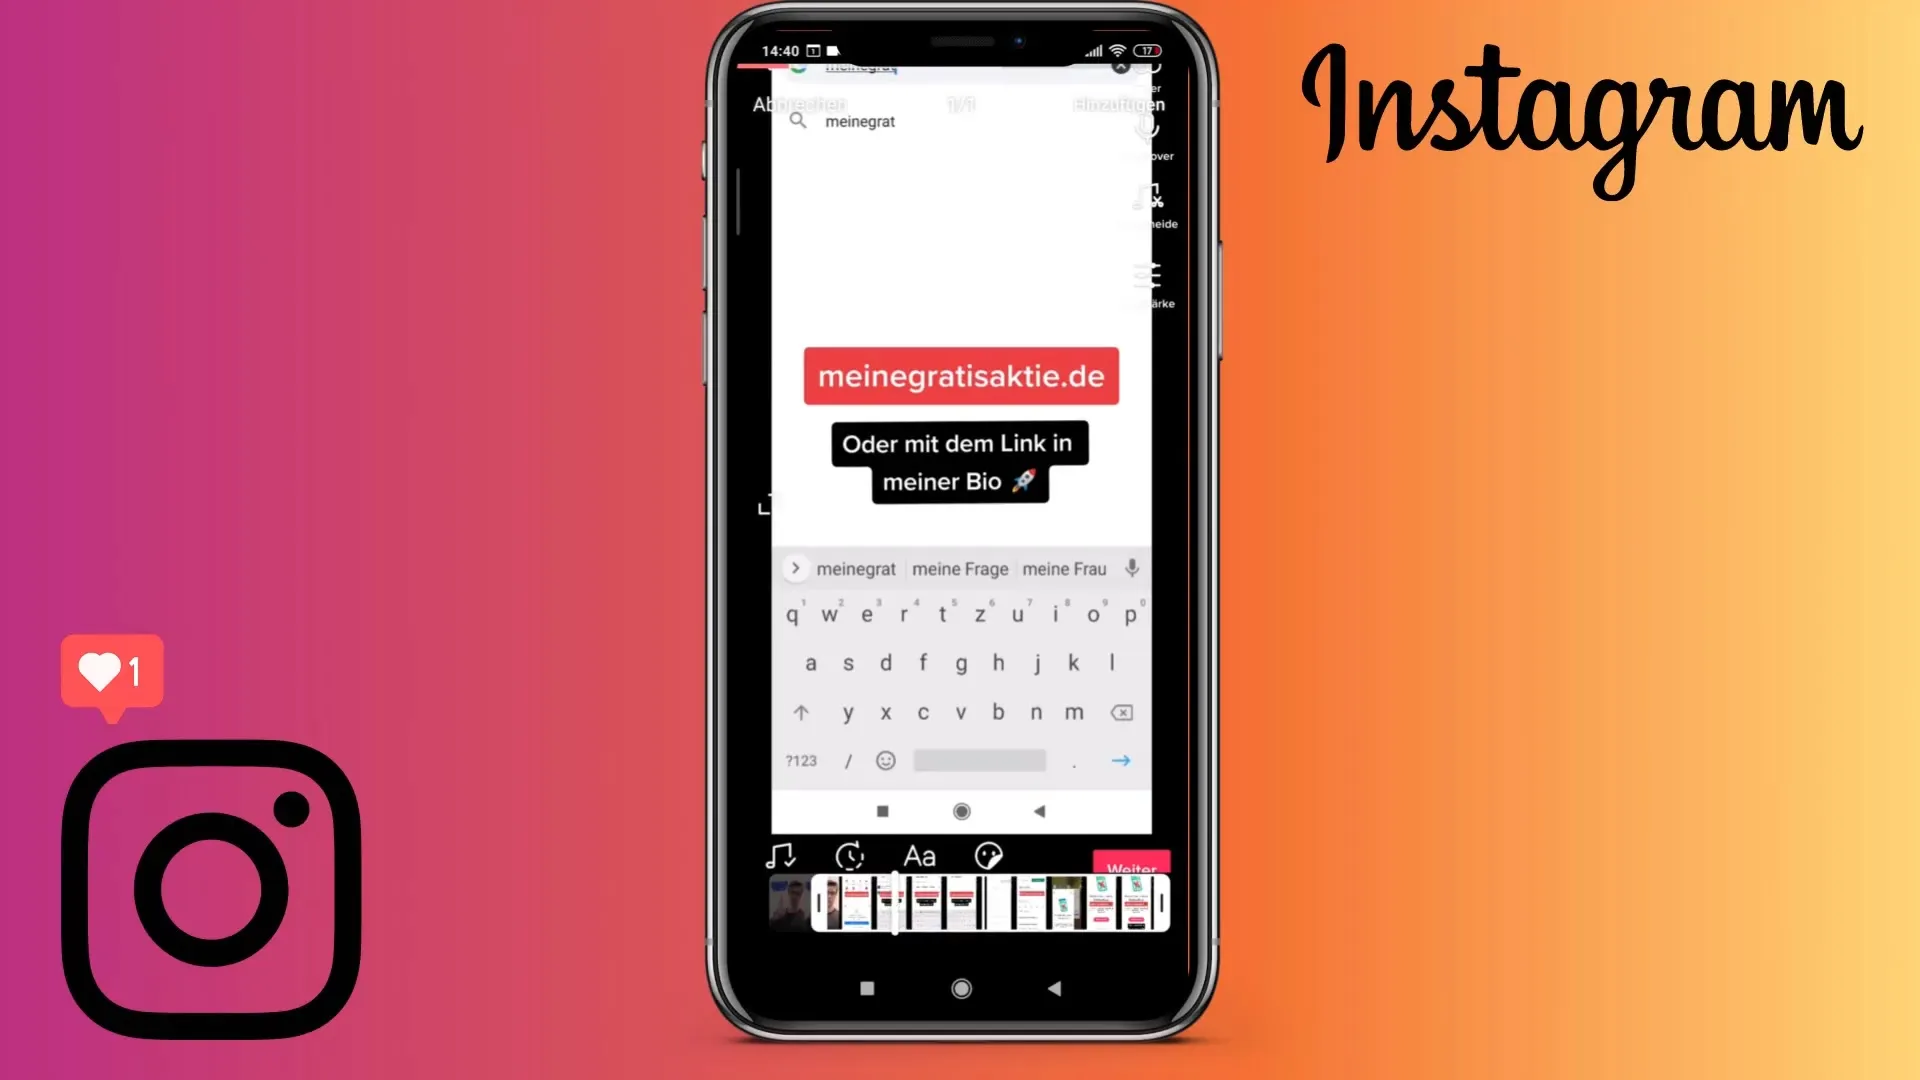
6. Add effects and music
Instagram offers you a variety of effects and music to add to your Reel. Experiment with different options to give your video a personal touch.
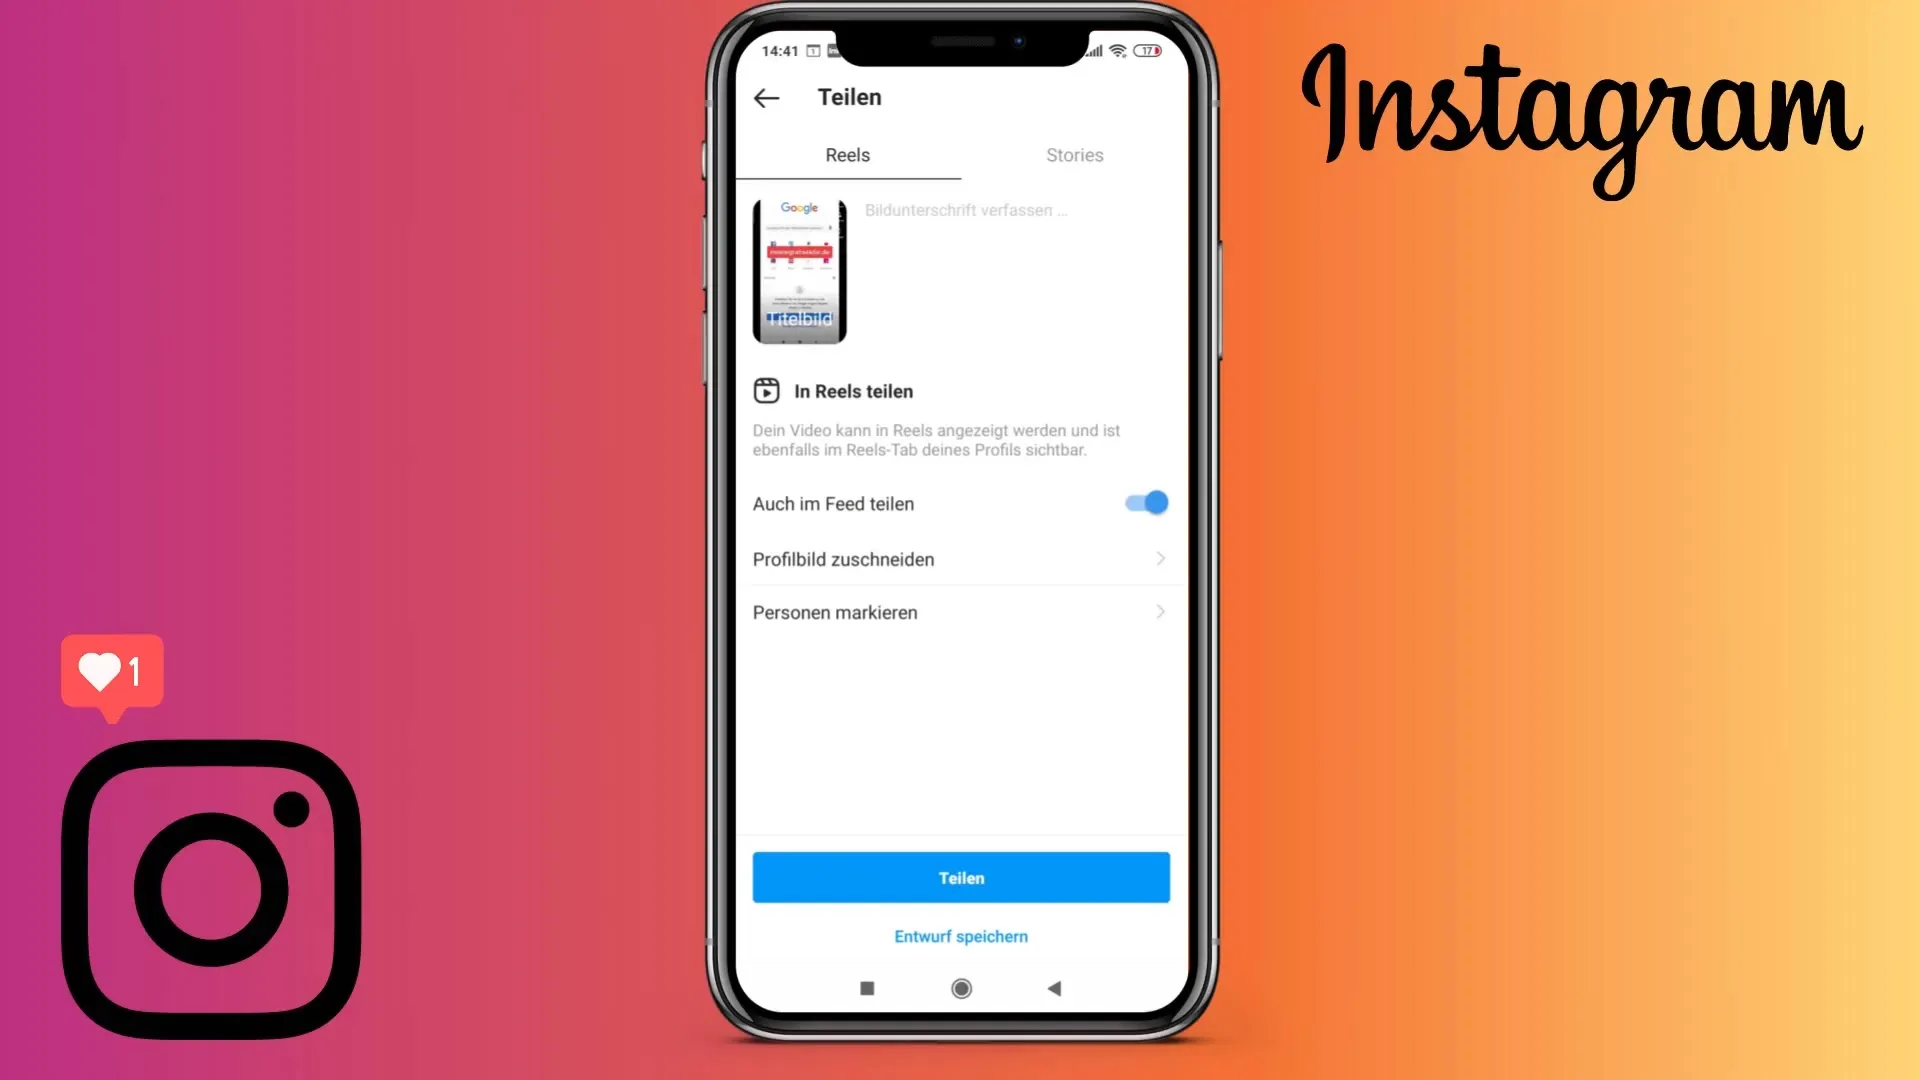
7. Write a caption and hashtags
After finishing editing your Reel, you can write a caption. Here you can provide information about the video and add relevant hashtags. Even though hashtags are currently not required for Reels, they can still increase visibility.
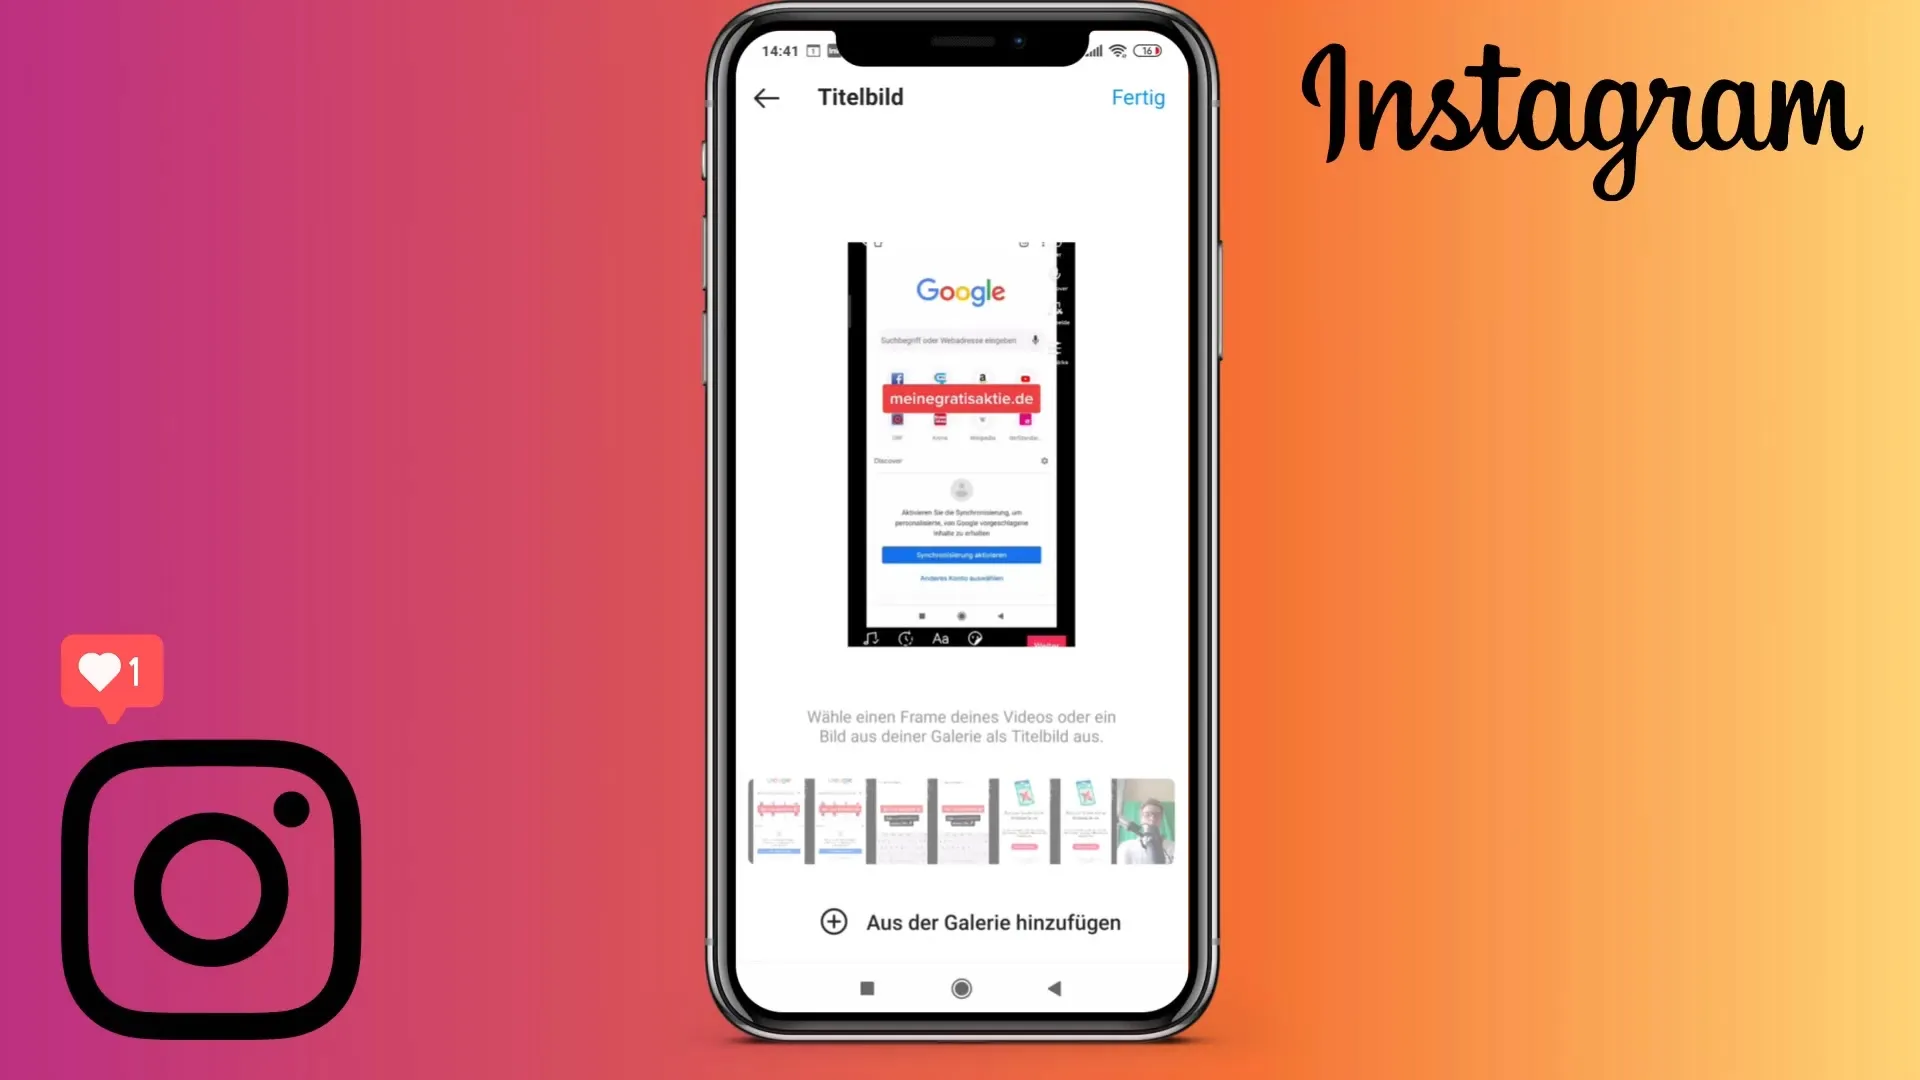
8. Choose a cover image
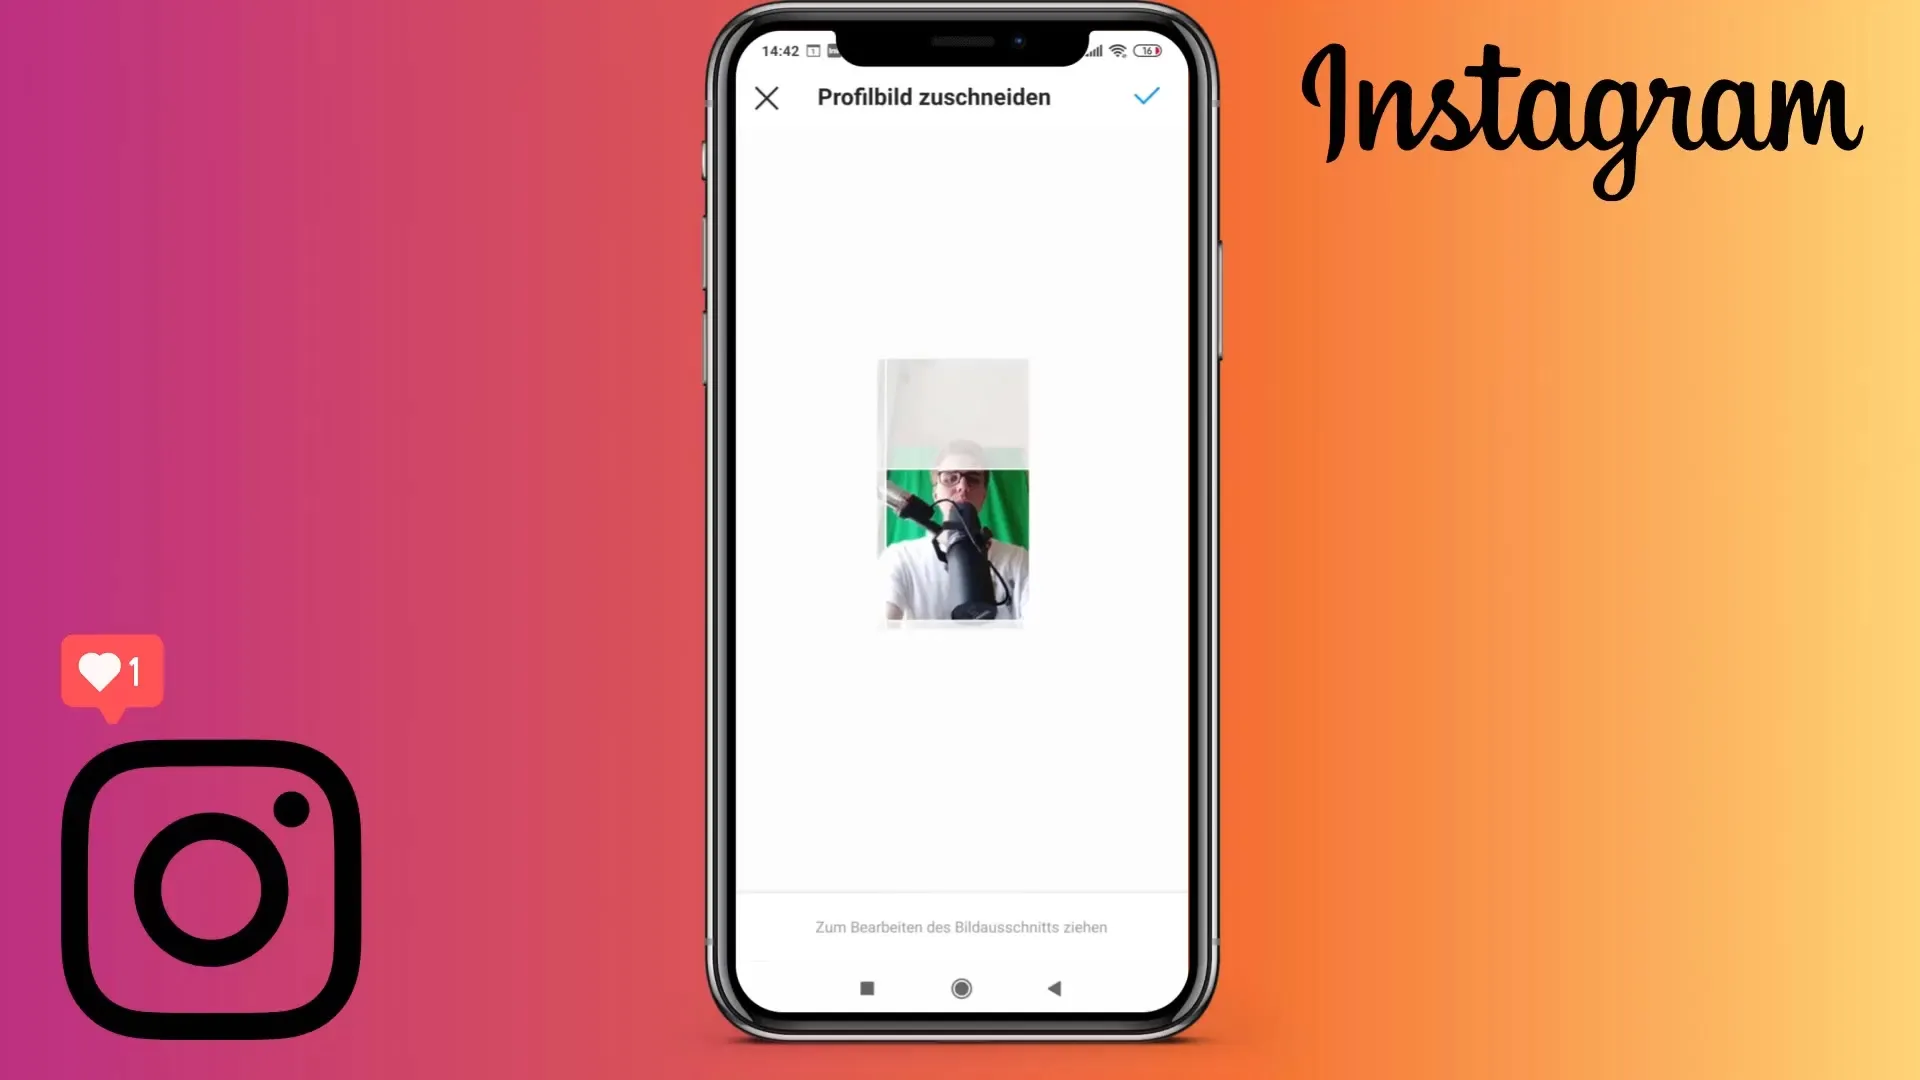
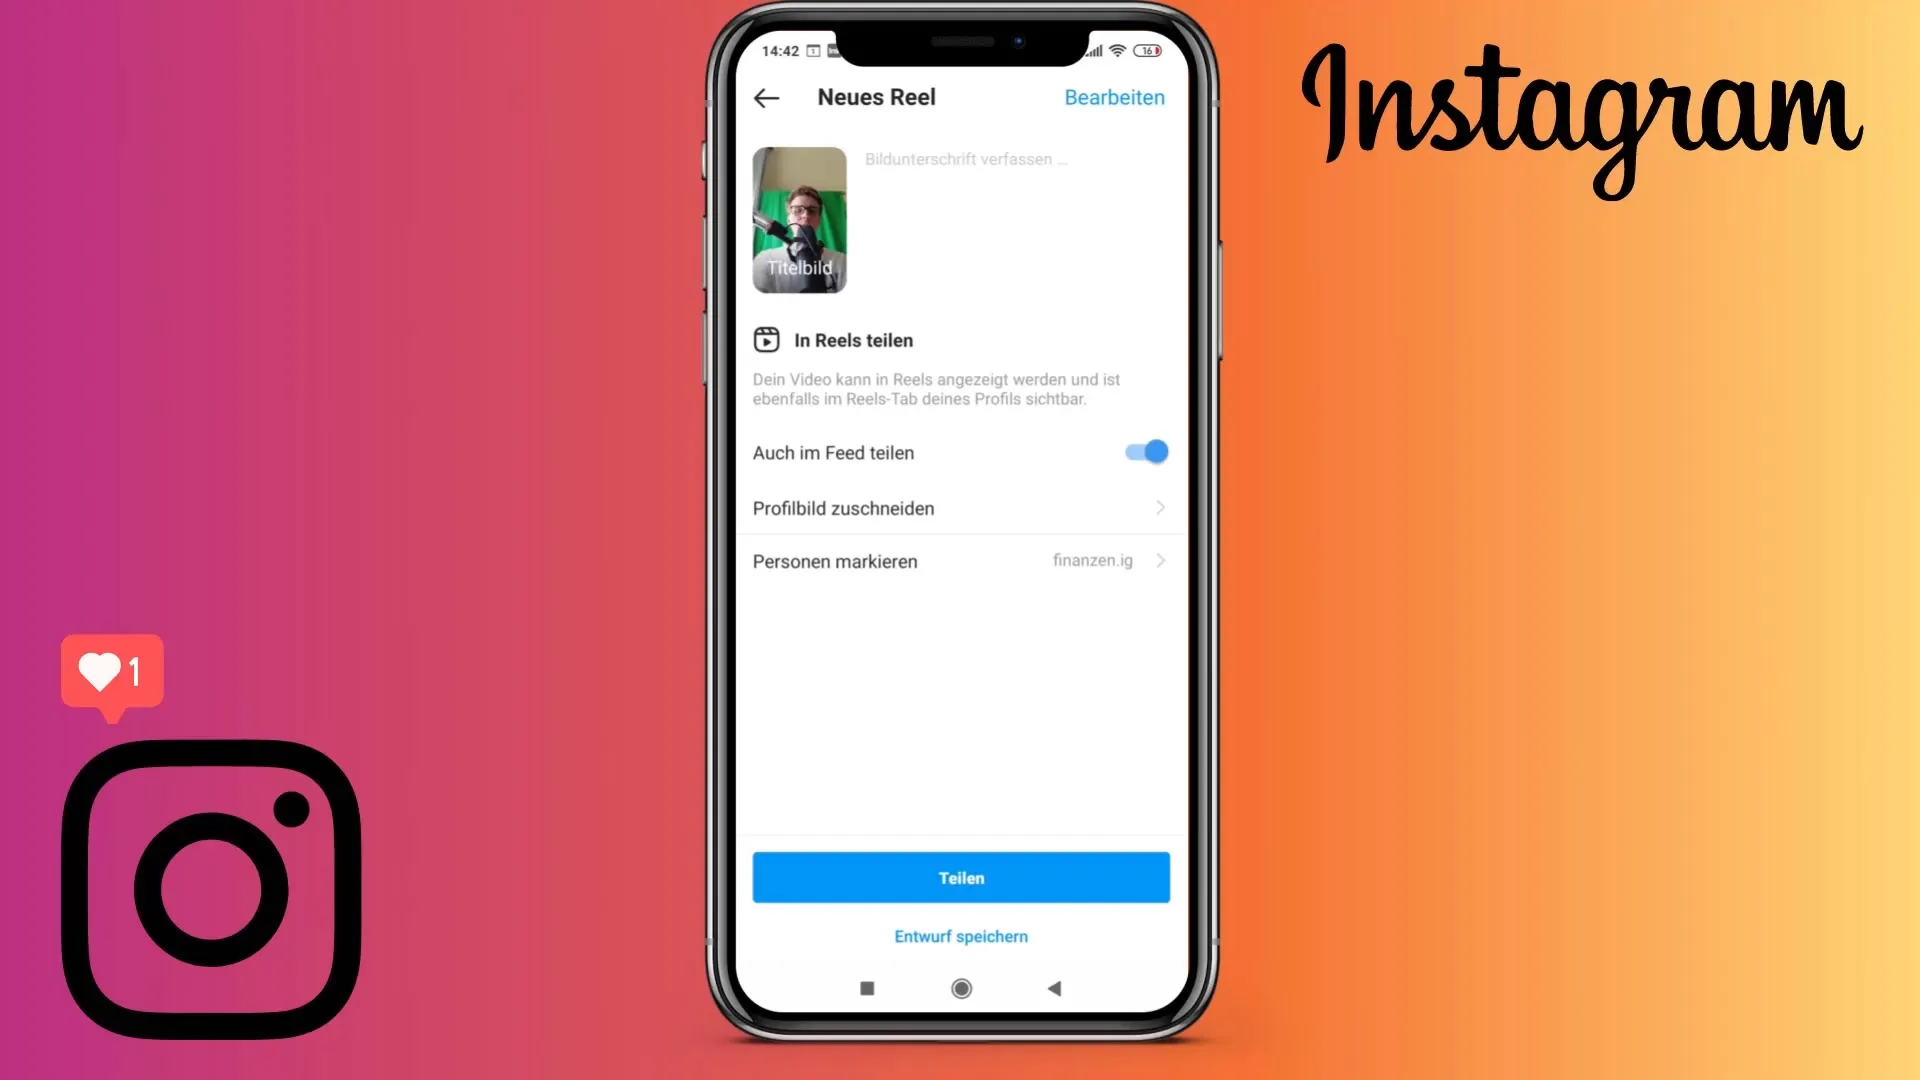
You have the option to choose a cover image for your Reel. You can either use a still from your video or upload an image from your gallery.
9. Enable or disable Feed Sharing
Check if you want your Reel to also appear in your feed. If you want to ensure that it is only visible under the Reels section, disable the "Share in Feed" option.
10. Save Reels as Draft
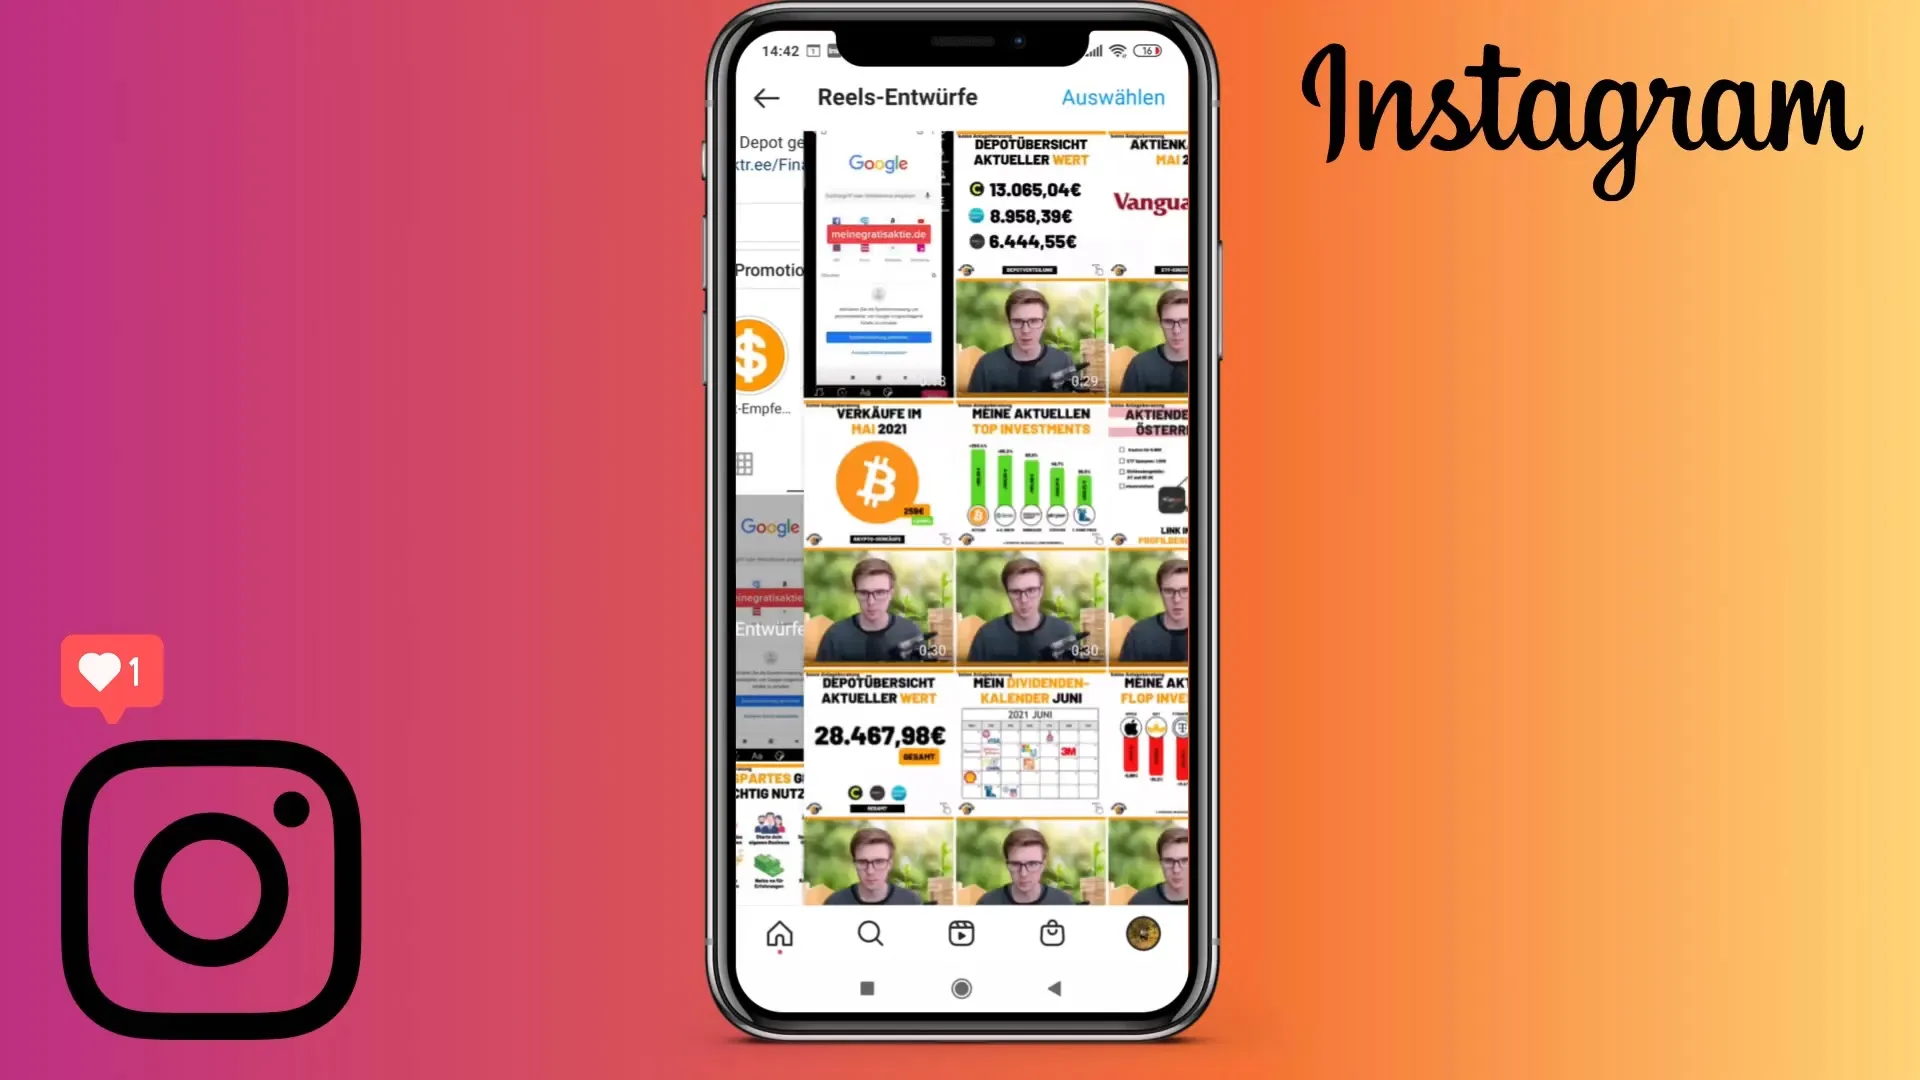
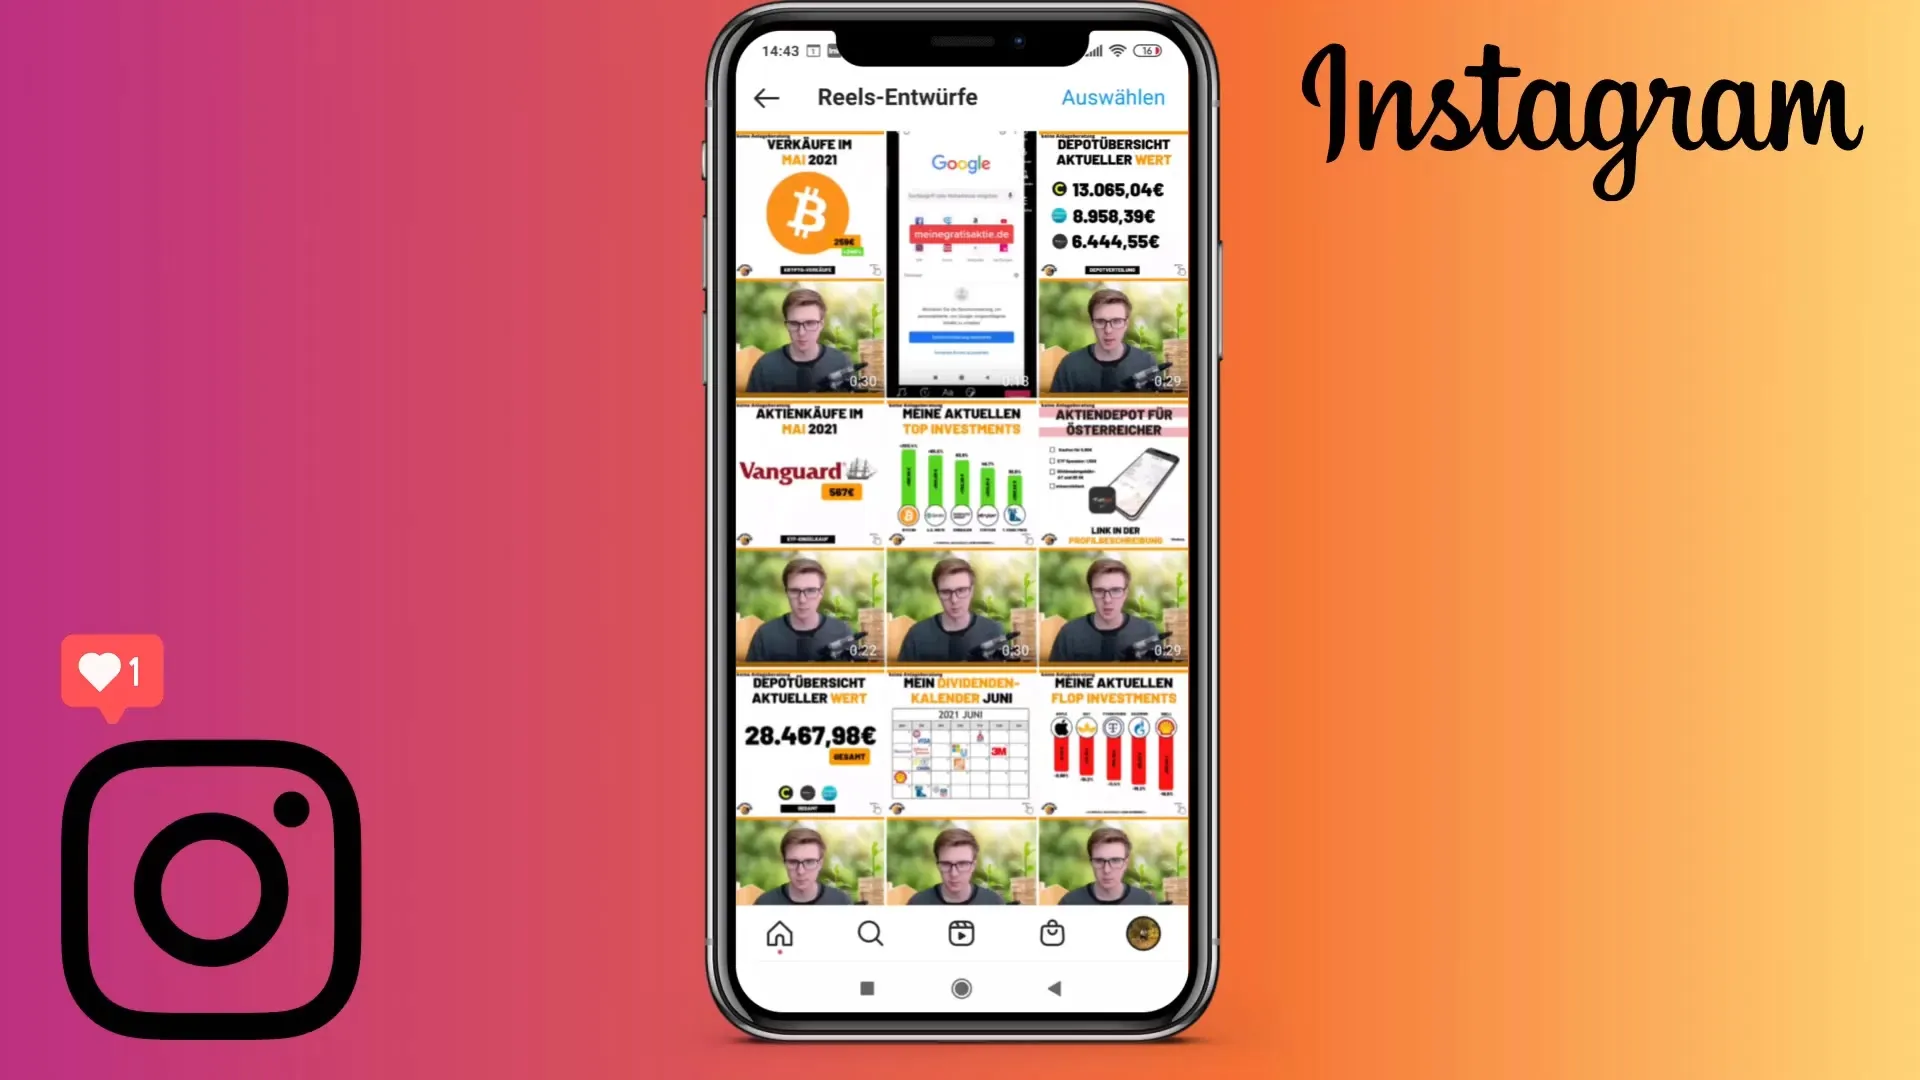
Instead of sharing the Reel immediately, choose the option "Save Draft". This way, you can review and post your video again at a later time.
11. Reviewing Saved Drafts
Go back to your Reels section to check which Reels you have saved as drafts. You can edit them anytime or post them later.
12. Anticipating Future Features
In the future, it may be possible to schedule Reels directly through the Facebook Creator Studio. However, only drafts that need to be manually shared are currently available. Keep an eye out for Instagram updates that provide more flexibility.
Summary
Although scheduling Instagram Reels can currently only be done by saving drafts, it allows you to strategically plan your content. Even if you cannot automatically post at the moment, this should not deter you from creating creative and engaging content.
Frequently Asked Questions
How can I schedule Instagram Reels?You cannot schedule Reels automatically, but you can save them as drafts and manually share them later.
Do I have to create my Reel on my phone?Yes, currently Reels must be created and managed through the Instagram app on your phone.
Can I add hashtags to my Reel's description?Yes, you can add hashtags to the caption, although they are not necessarily required at the moment.
