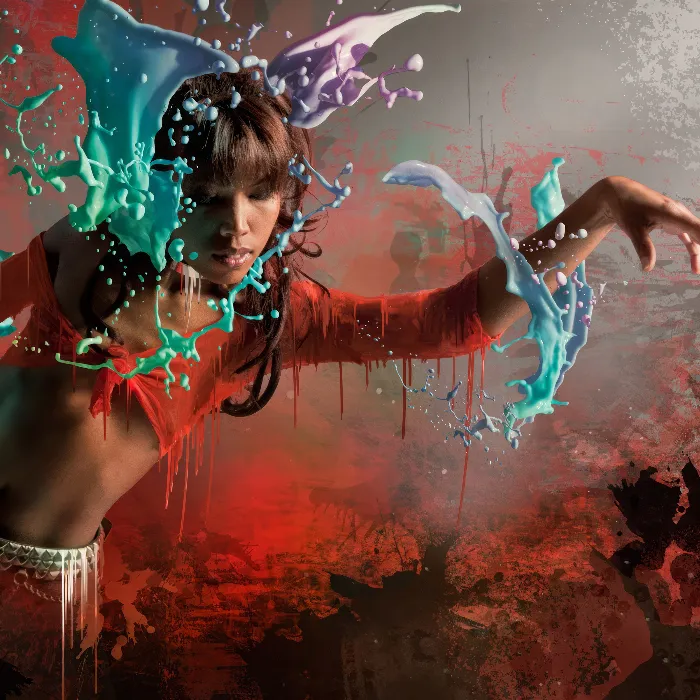
A continuous color-background effect is a great way to add movement and depth to your designs. This effect is perfect for posters, social media graphics, or digital artworks that focus on seamless color gradients and smooth transitions. With Photoshop, you can easily achieve this look by combining gradients, masks, and dynamic brushes. In this tutorial, I will show you step by step how to create an impressive continuous color background. Let's get started and add a vibrant touch to your designs!
Step 1
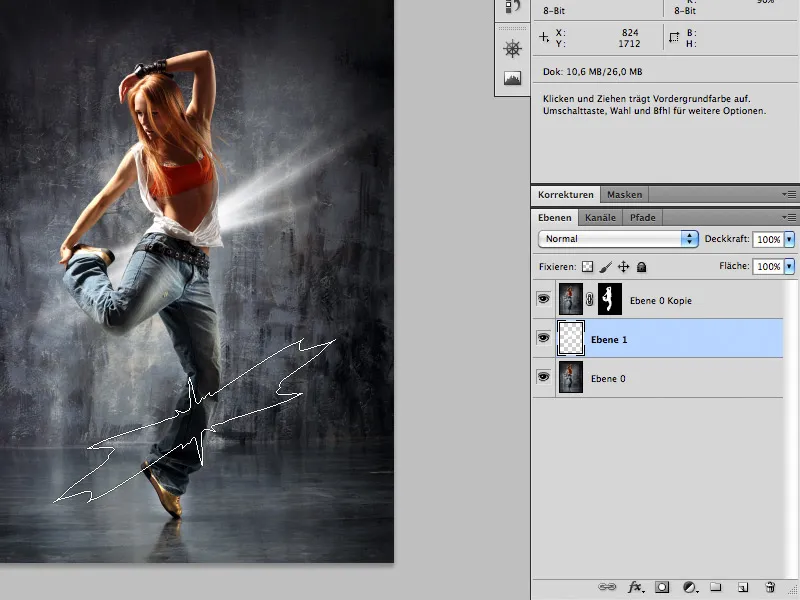
First, we need to separate the woman from the background so that we can later add the color effects in between.
This means, initially, the young lady needs to be cut out. This can be done using the Path Tool or the Extract Filter.
Important: Duplicate the image beforehand so that the woman is on a separate layer later.
It is not necessary to meticulously cut out the hair because we will later duplicate the cut-out woman and place her over the background layer.
.webp?tutkfid=61056)
This means: Cut-off hairs will show through the background, and the loss won't be too apparent..webp?tutkfid=61057)
Here is the final result after cutting out:
Step 2
After cutting out the woman, ensure she is placed directly over the woman in the background layer. Usually, this is the case if you haven't accidentally moved her.
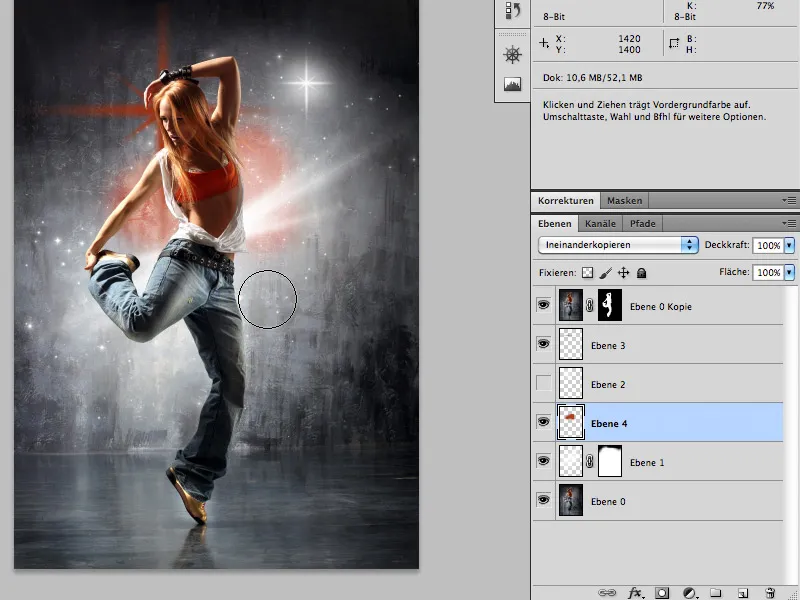
Now, we can start creating a contour between the background layer and the woman using some brushes (color: white).
The brushes I used in this tutorial are from deviantart.com: http://simen91.deviantart.com/art/Star-and-Light-Effect-Brushes-201395034?q=boost%3Apopular%20effect&qo=100.
Brushes can be loaded via Edit>Presets Manager..webp?tutkfid=61059)
Brush selection (Brush Tool [B]) and a Right-click on the image will open the corresponding window..webp?tutkfid=61060)
Apply various white brushes to separate layers (in case adjustments are needed later).
Step 3
Once you have brushed the background adequately (not too much, as it may appear overloaded), create a new layer above your brush layers.
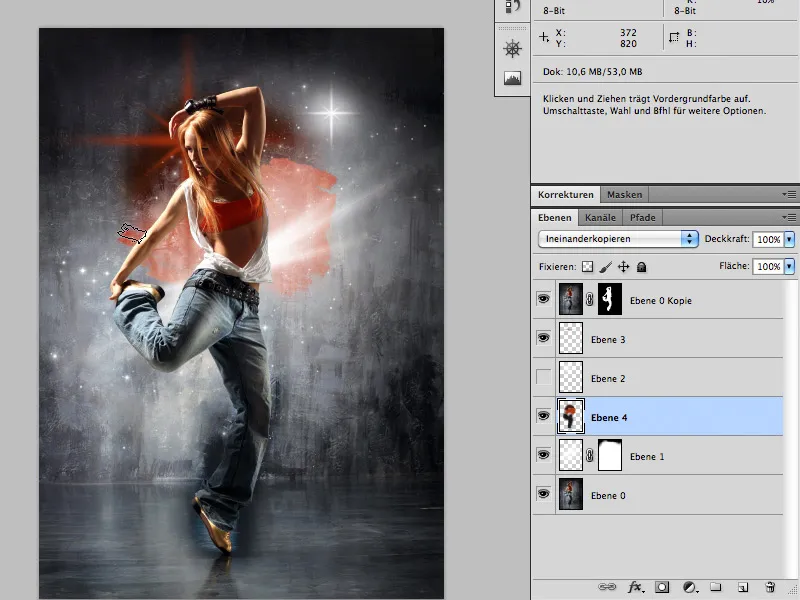
On this layer, also use the Brush Tool and paint with the desired colors over the areas of the underlying brush layer.
Color over the areas:
Here is a before-and-after view with the white brushes and later with the color overlay:
Before:
After:
The layer must be set to Screen mode.
Step 4
The rest is essentially a matter of taste, meaning: Draw the brushes and color as you see fit for harmony. The star behind the woman was directly colored and not first in white and then painted over.
Enjoy recreating it.
The working files consist of the complete PSD created during the tutorial.


