In this guide, you will learn how to fix a faulty page menu on a website. We will look at a specific example and analyze the functionality of the menu to identify where the issues are. Using the Chrome Developer Tools, you will be able to locate and fix the errors. This method is not only effective but also allows you to develop a better understanding of how HTML and CSS work.
Main Insights
- To correctly expand and collapse the menu, the right CSS properties and positions must be used.
- An invisible checkbox is crucial for the toggle functionality.
- Errors in CSS, especially with the position properties, can significantly affect the functionality.
Step-by-Step Guide
To fix the error in the page menu, follow these steps:
1. Analyzing the Page Menu Error
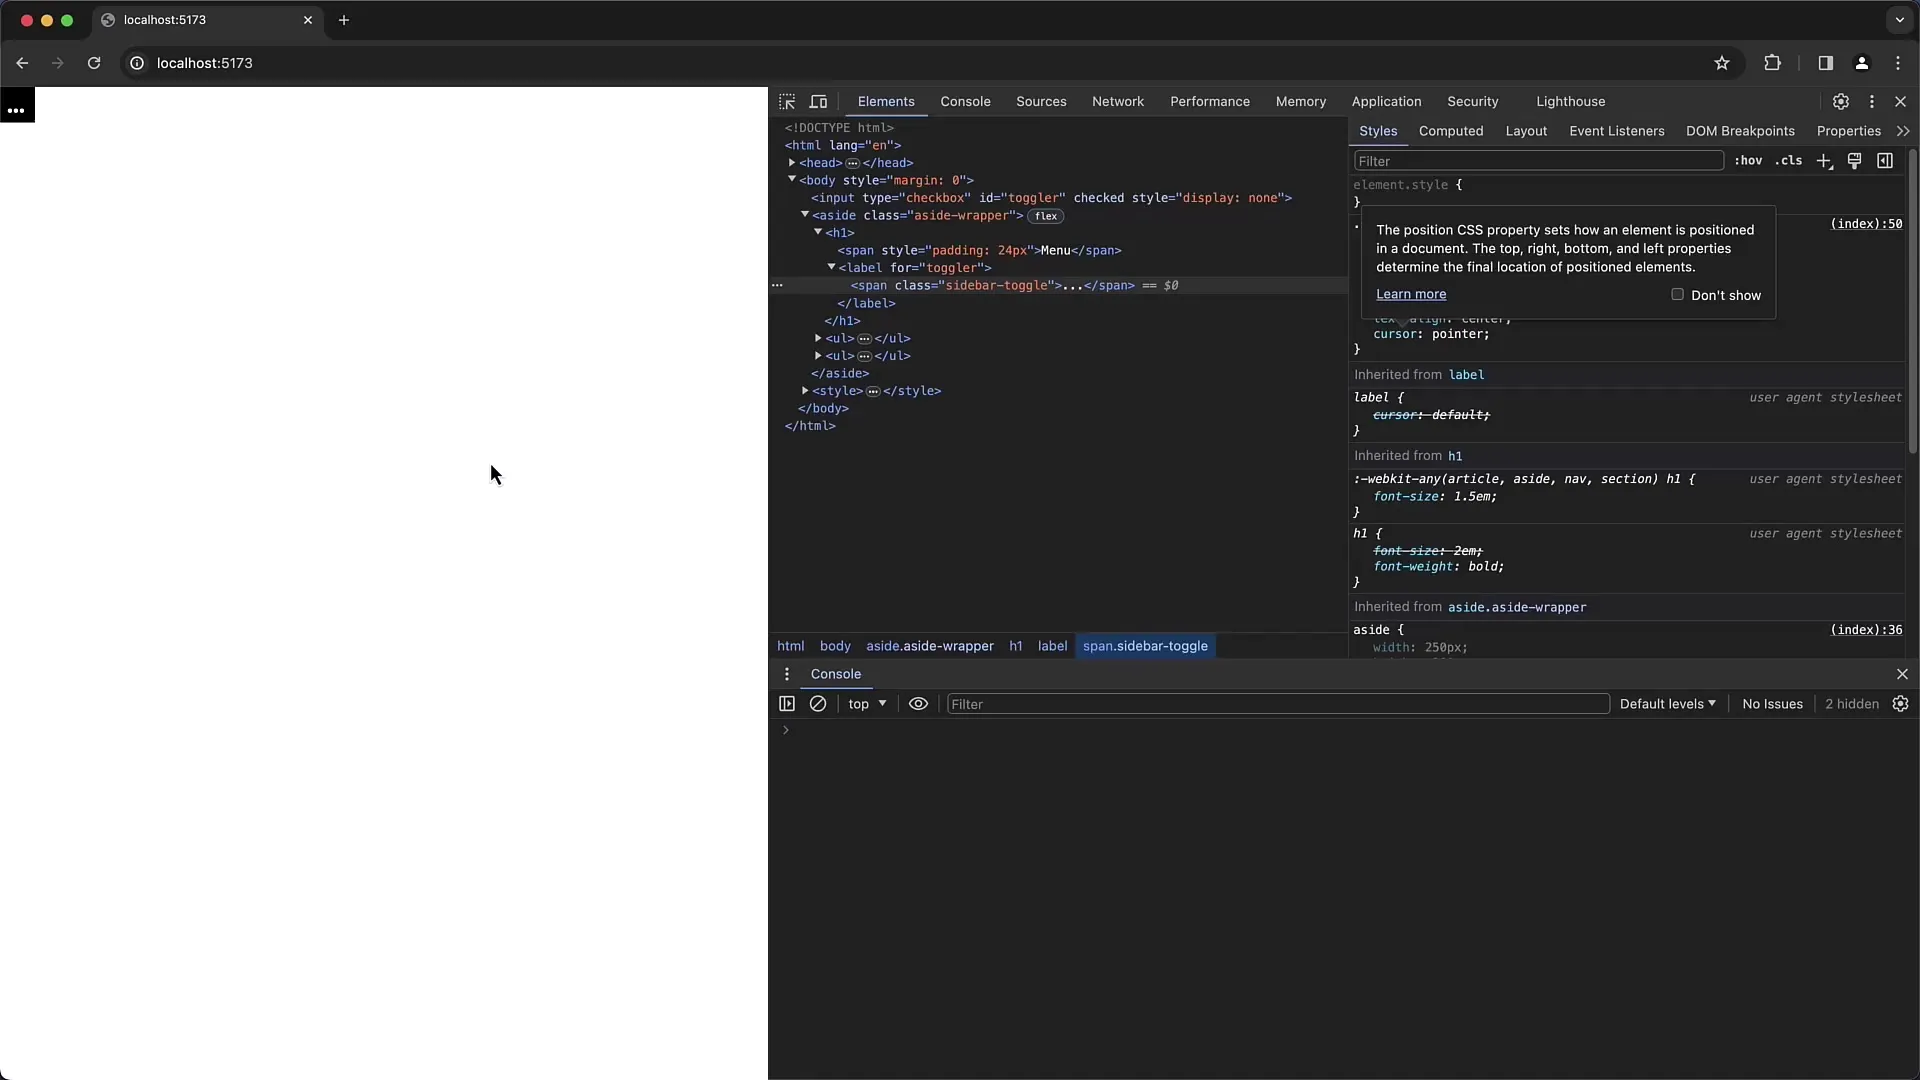
First, you will analyze the existing page menu and the expected behavior. The menu should expand and collapse when clicking on the three dots. However, upon testing the menu, you notice that it is not functioning. To identify what is going wrong, you open the Chrome Developer Tools.
2. Checking the Checkbox Functionality
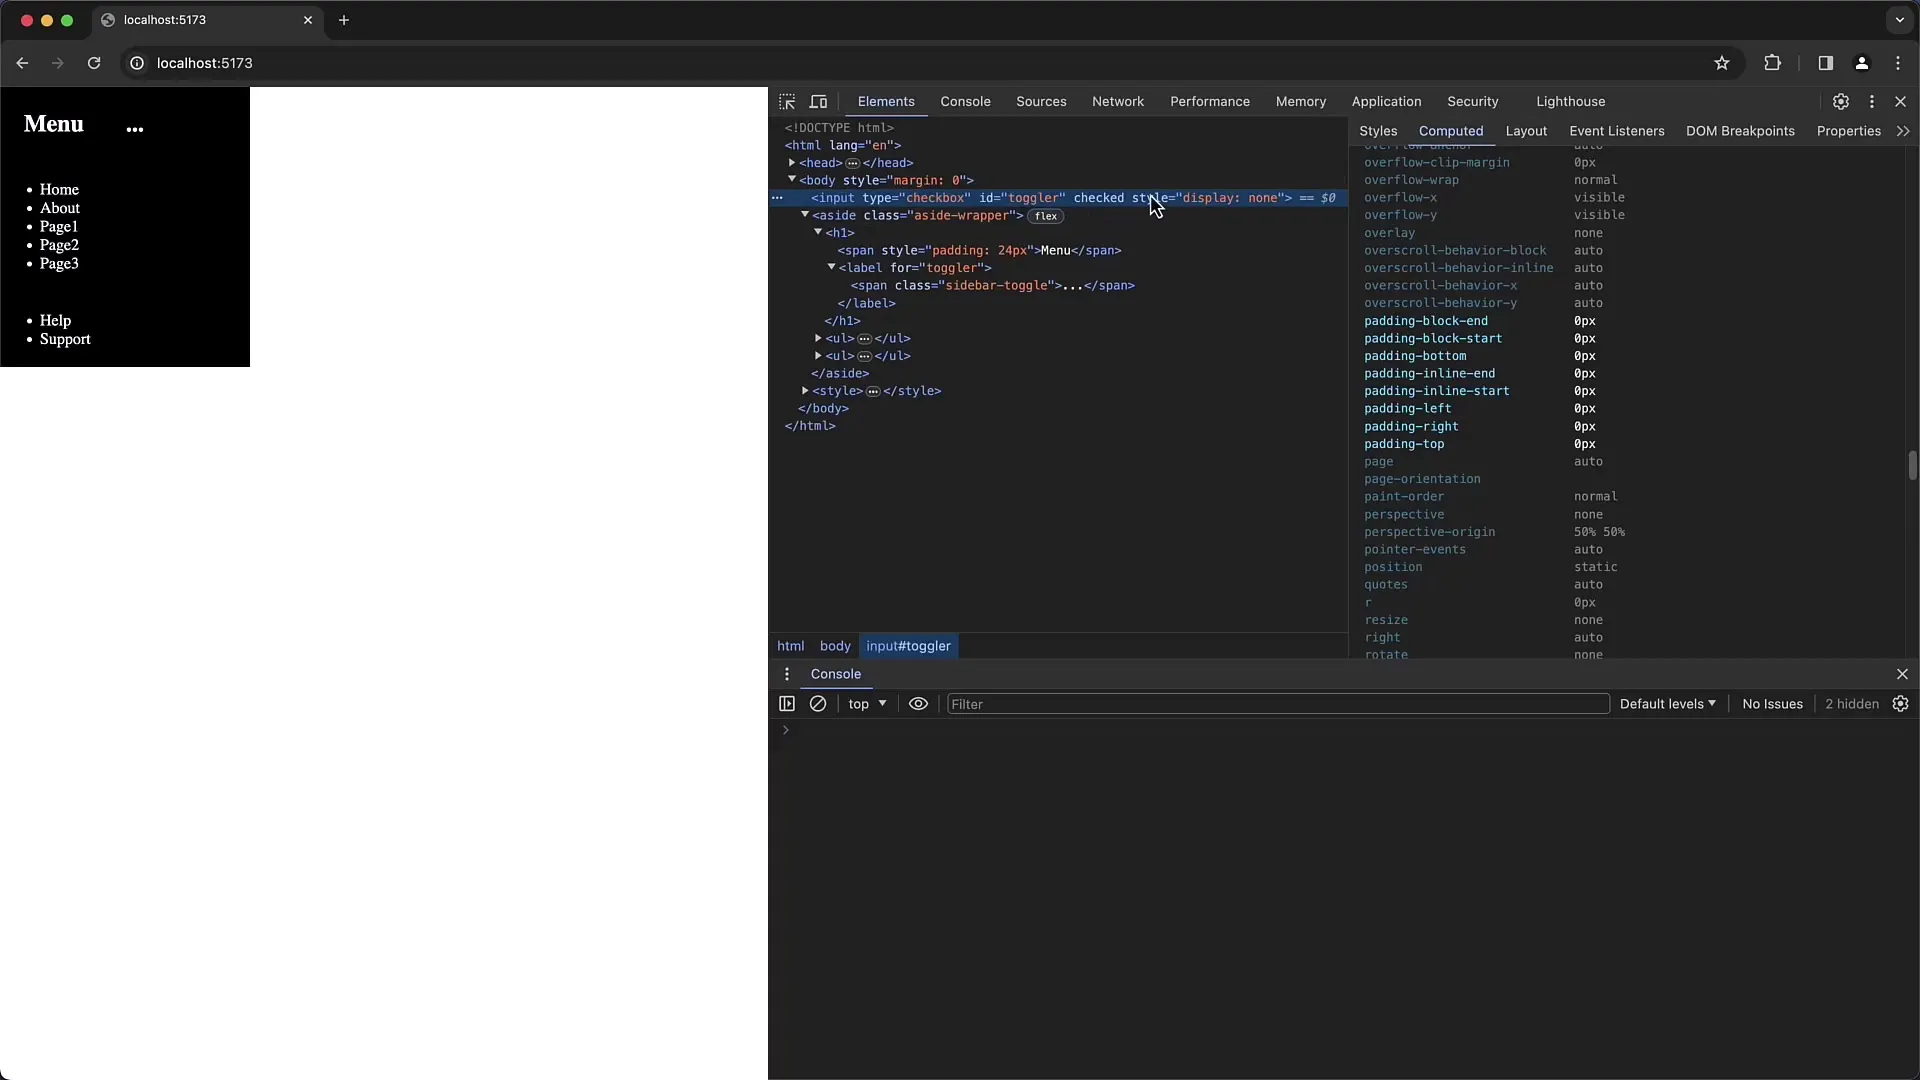
The menu operates with an invisible checkbox that is activated or deactivated when clicking on the label. Check the code and ensure that the checkbox is indeed present and defined as invisible. You can make the checkbox visible to ensure it functions correctly.
3. Checking the CSS Styles
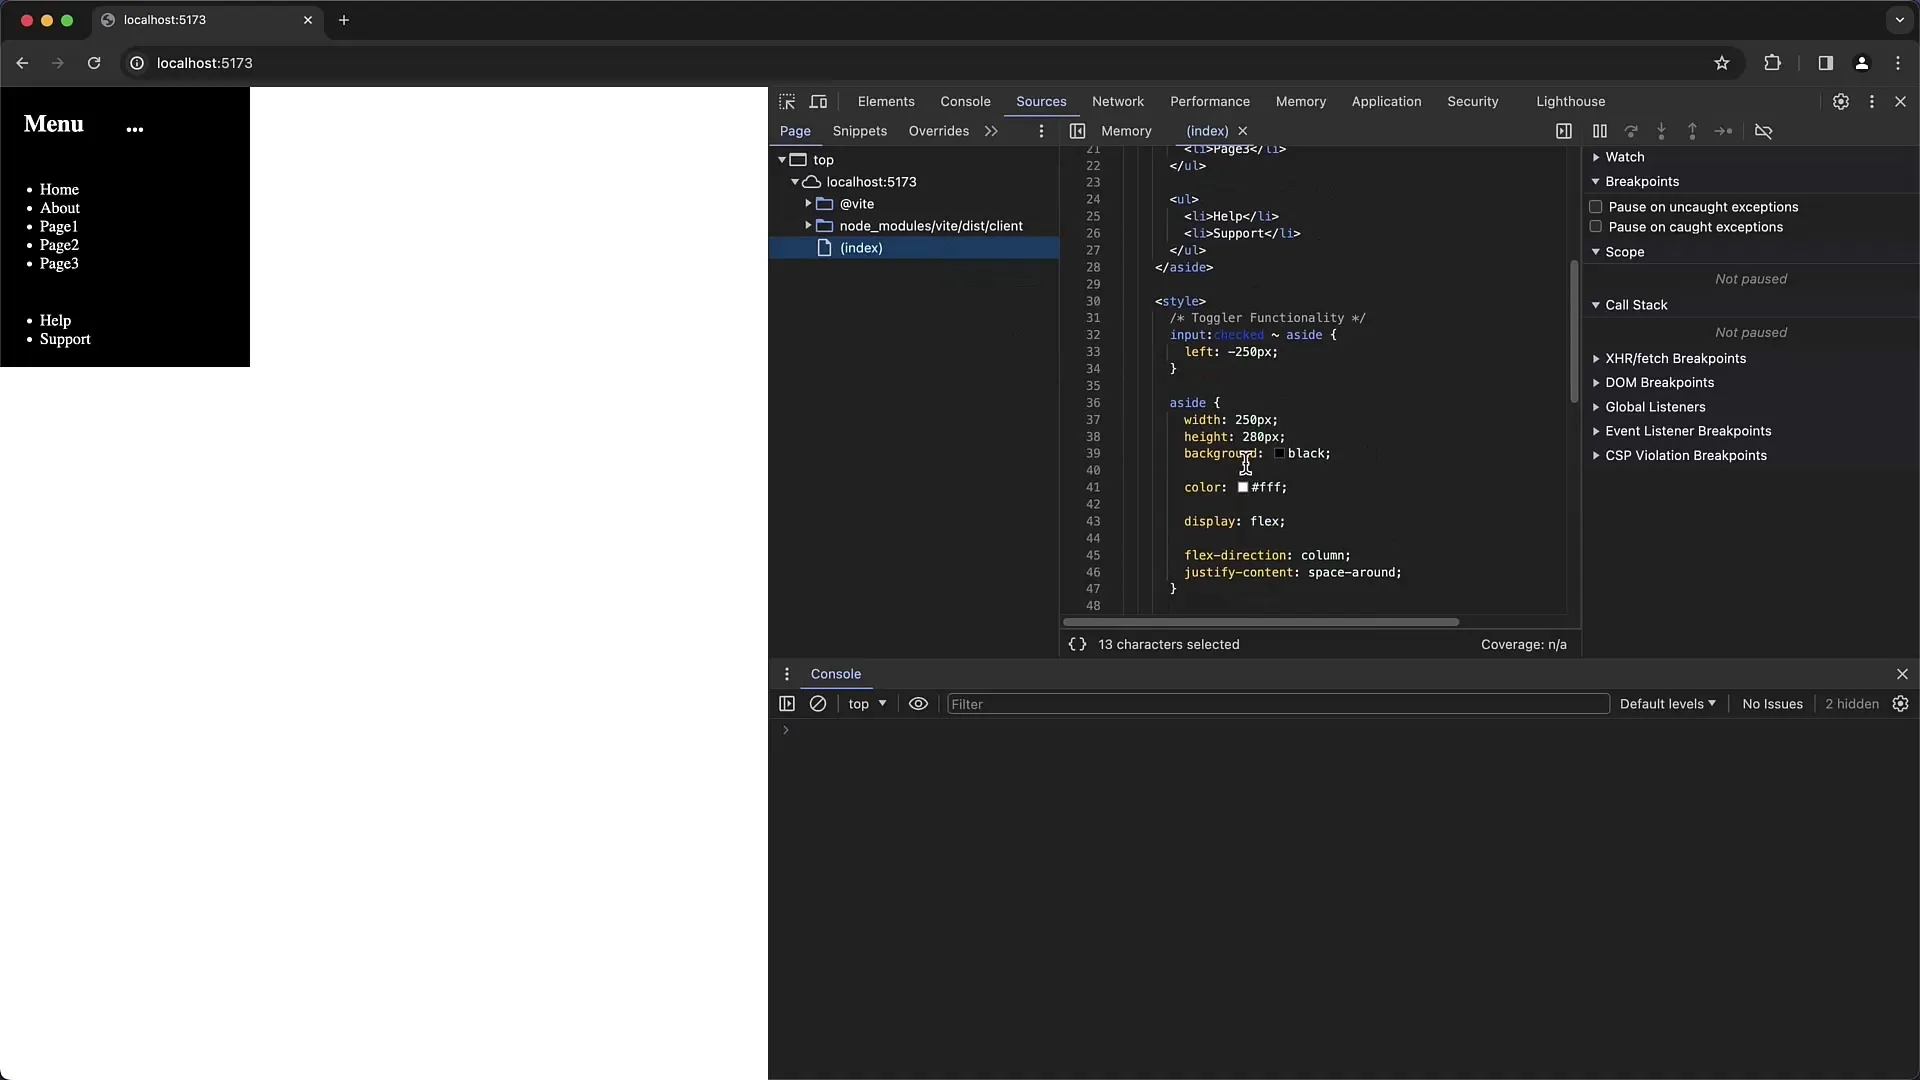
Now, you should check the CSS rules being applied to the page menu. In this example, there is a rule for the sidebar positioning. Make sure that the relevant CSS properties are set correctly.
4. Checking the Position Properties
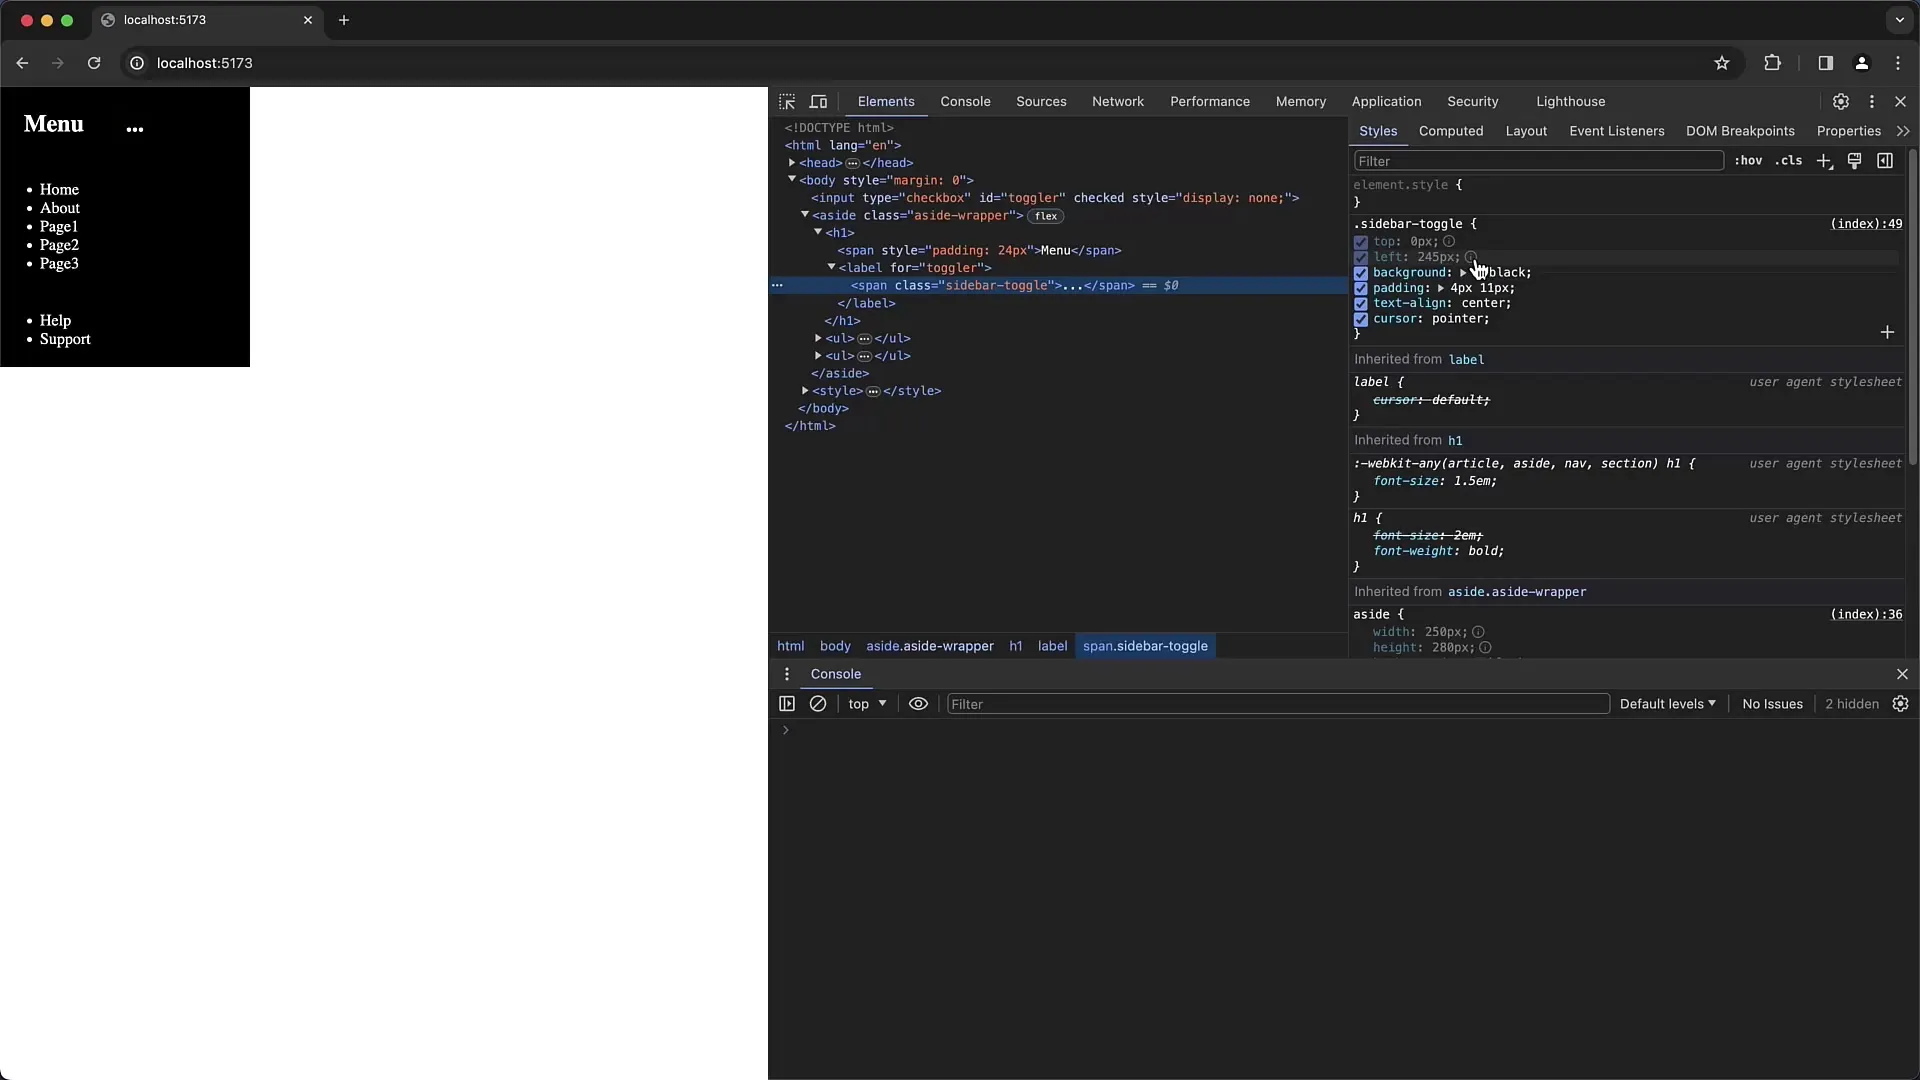
A common error you may find is the incorrect use of position properties. When the position is set to "static," the left positioning is ignored. You can see that the "left" and "top" are greyed out here, indicating this conflict.
5. Correcting the Position
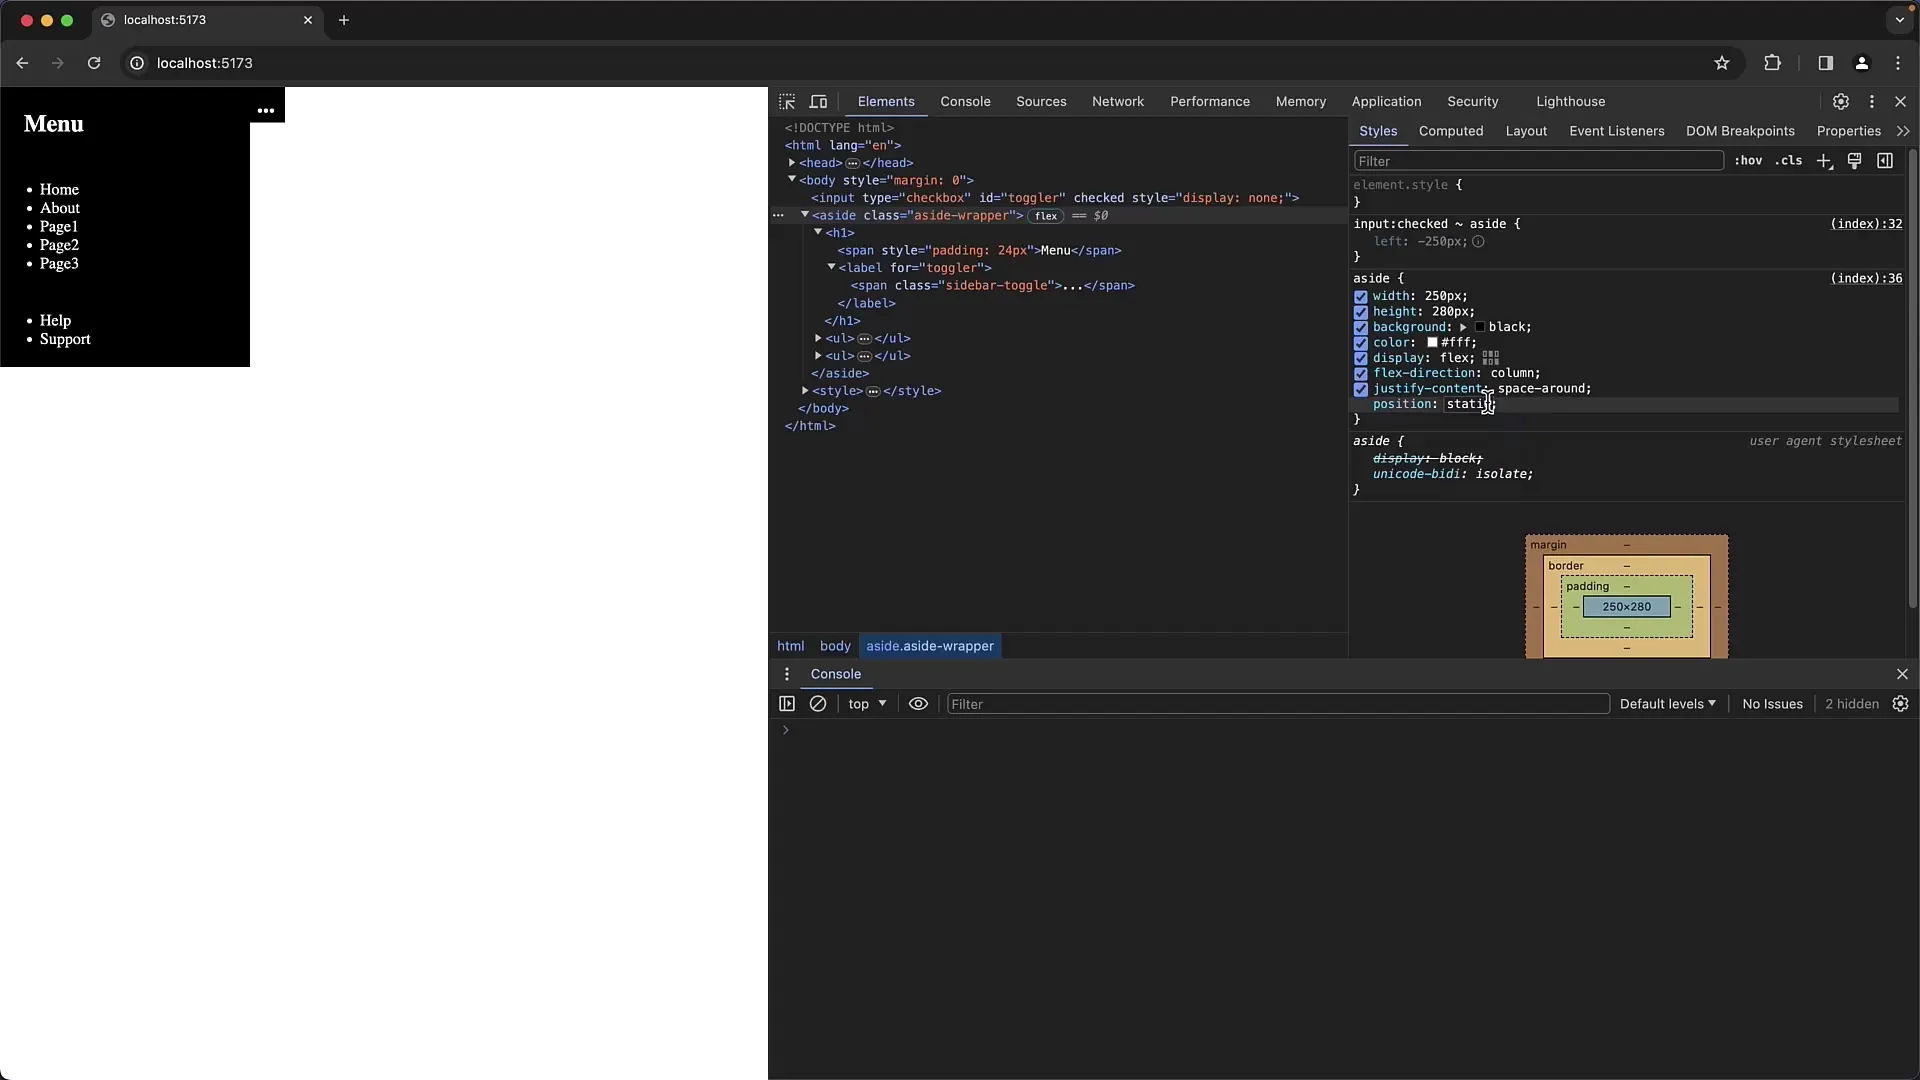
To fix the error, you need to change the position of the element. Instead of "static," you should use "absolute" or "fixed" to allow correct positioning. Set the position to "absolute".
6. Checking the Toggle Mechanism Functionality
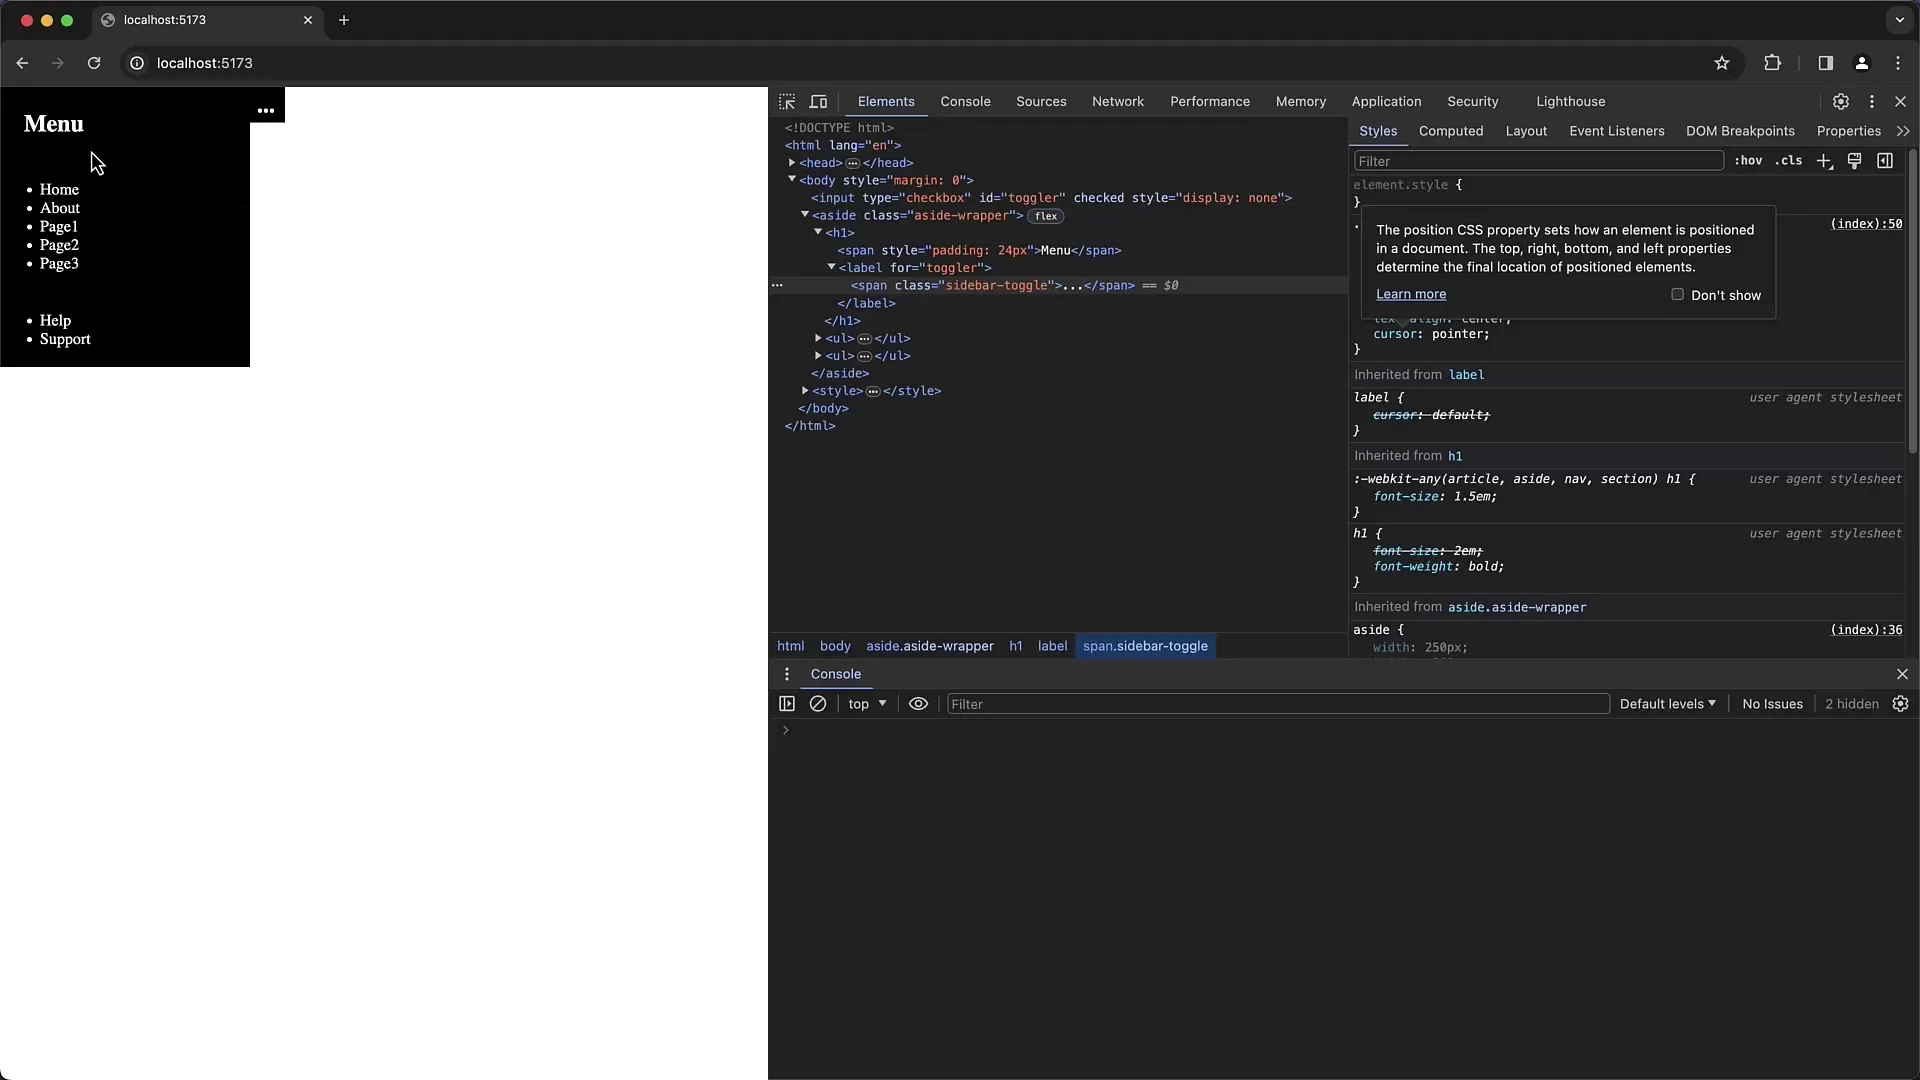
After making the positional change, check if the toggle functionality is now working correctly. The rule for moving the menu in and out should now take effect when you activate the checkbox.
7. Making Code Changes
Now it's crucial to make the changes in your source code. You made adjustments in the Elements tab of the Developer Tools; however, these changes need to be saved in your CSS file as well to persist after a page reload.
8. Final Testing for Verification
In this final step, you should test the menu again to ensure everything is working as desired. Click on the three dots and see if the menu opens and closes correctly. If everything looks good, you have successfully fixed the issue.
Summary
In this step-by-step guide, you have learned how to successfully troubleshoot a page menu. You analyzed the menu's functionality, checked the code, and made necessary adjustments. By using the correct positioning properties and CSS styles, the menu now functions as intended.
Frequently Asked Questions
How can I better design the page menu?You can customize the menu with more CSS style rules to enhance the design.
What should I do if the menu still doesn't work after the change?Double-check all CSS and HTML rules to ensure there are no additional errors.
Can I make the checkbox visible?Yes, you can make the checkbox visible to verify the functionality while testing.


